Creating a Residence Layout, Seating plan, Toilet and Utility room plan using AutoCad
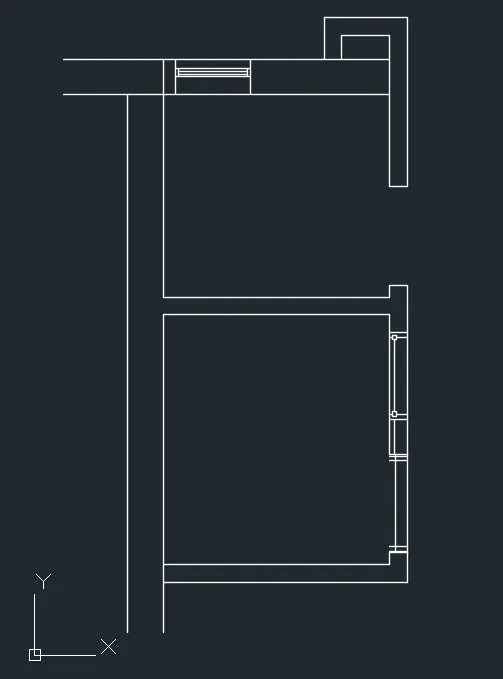
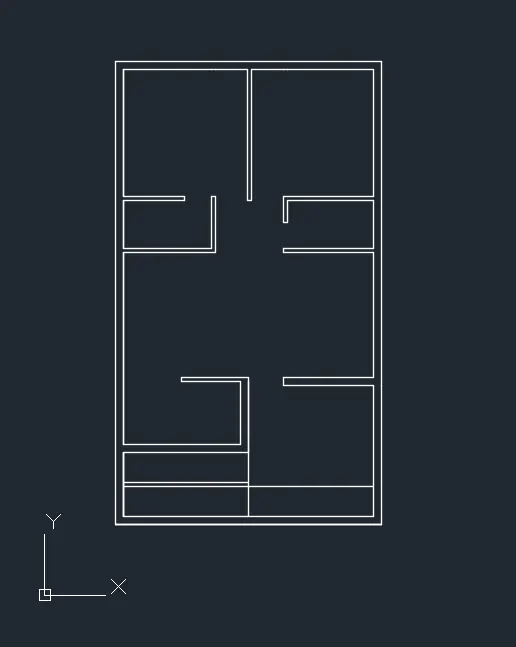
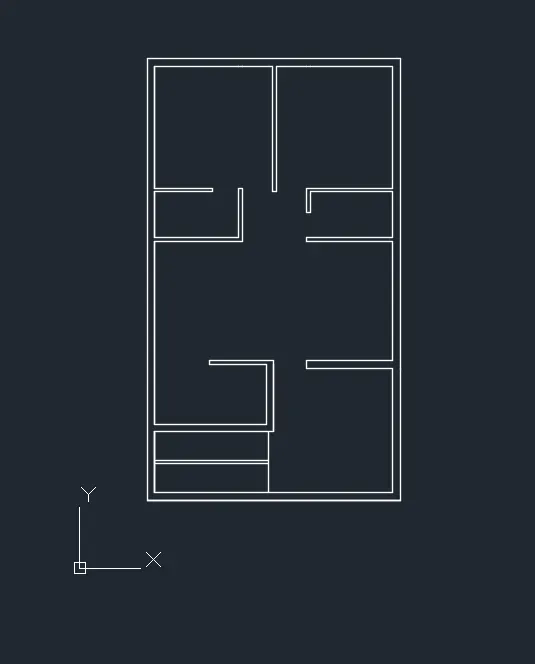
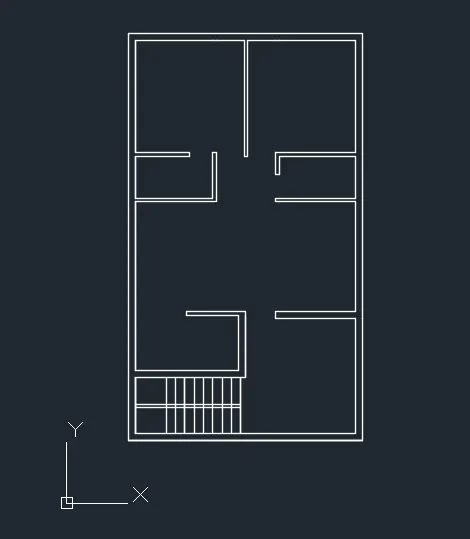
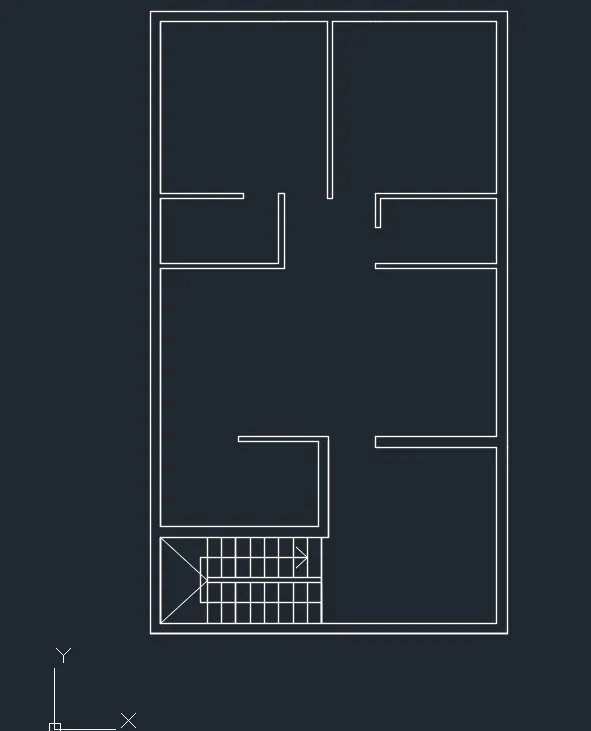
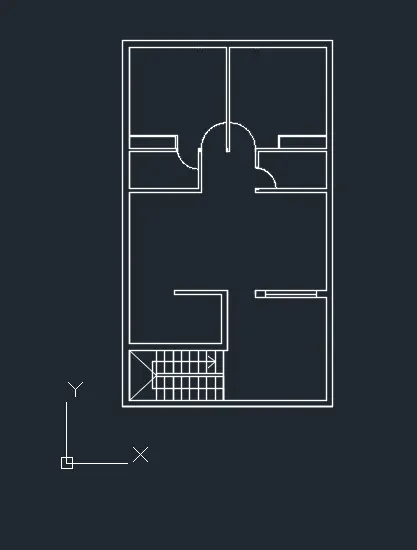
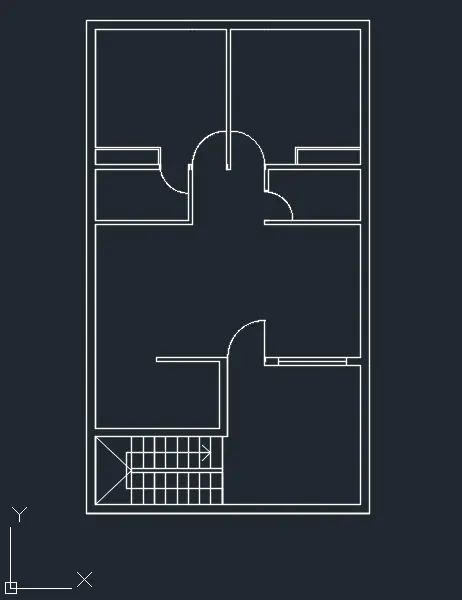
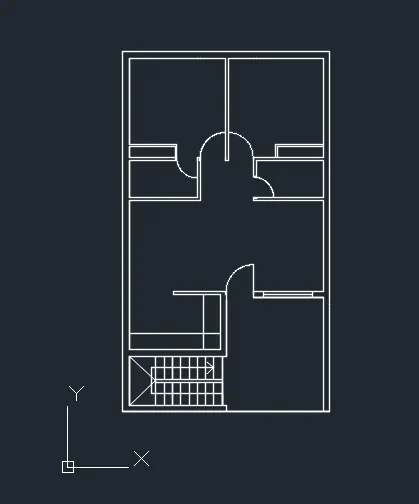
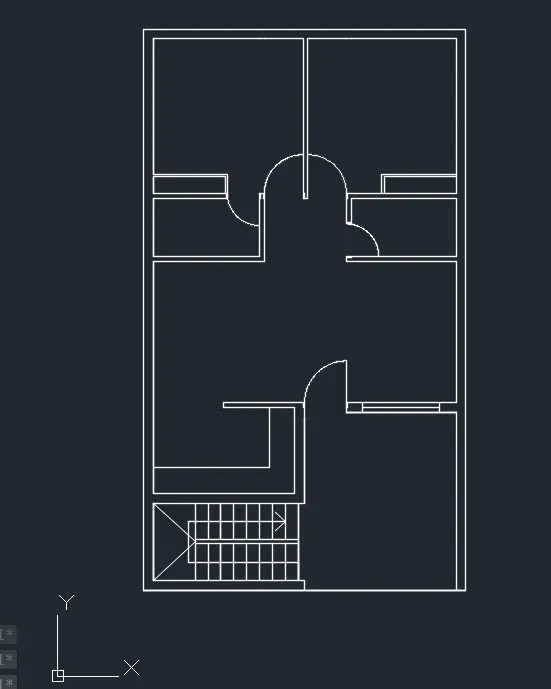
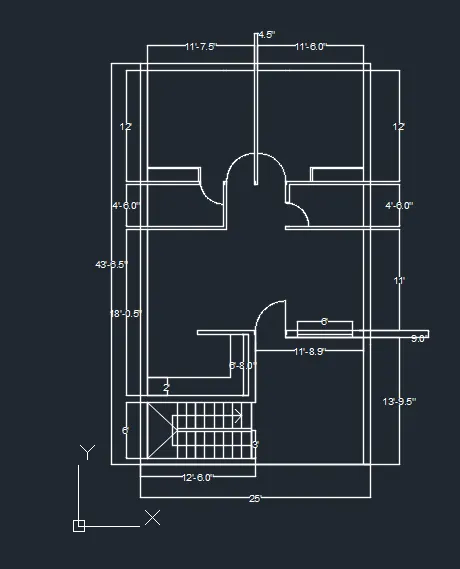
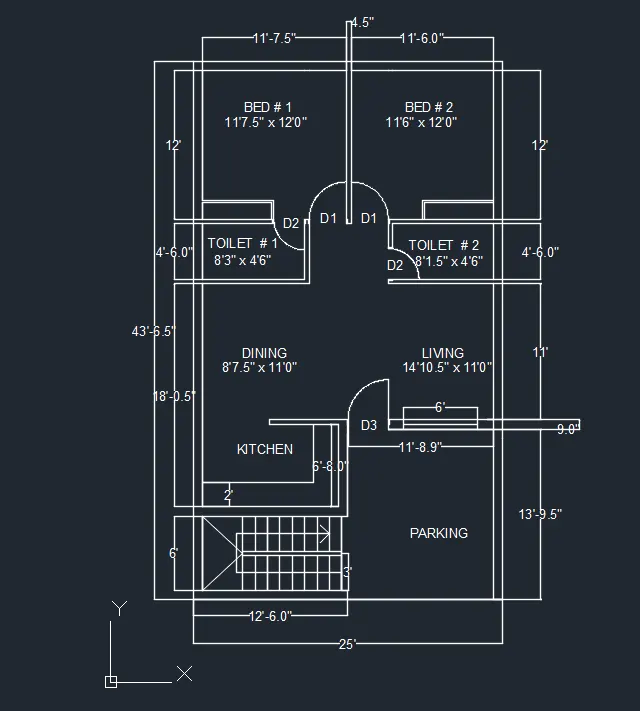
Q1: Aim: To Sketch the layout of a residence, and illustrate the procedure involved.
Procedure:
- Create a new drawing from the dropdown menu
- Select the imperial system and Engineering units
- To set the drawing limits type LIMMAX
- Enter the maximum limit as 100',100'
- Type Z and press enter
- Type A and press enter
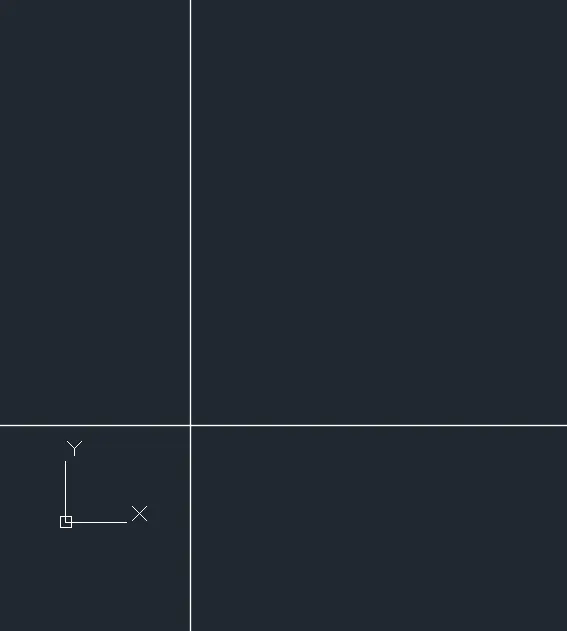
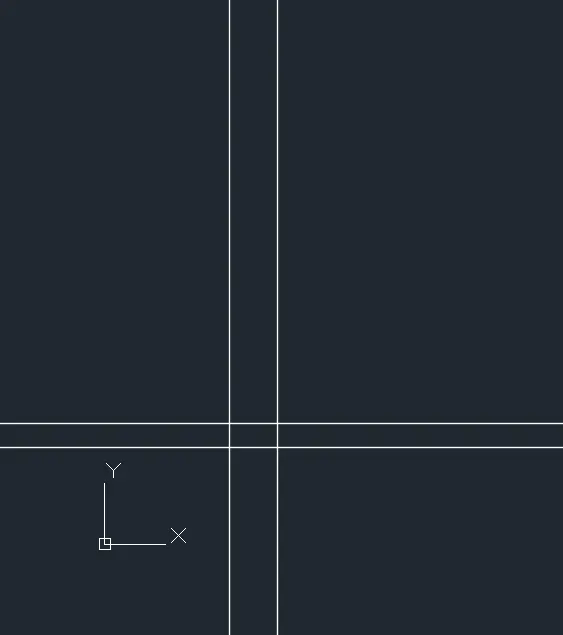
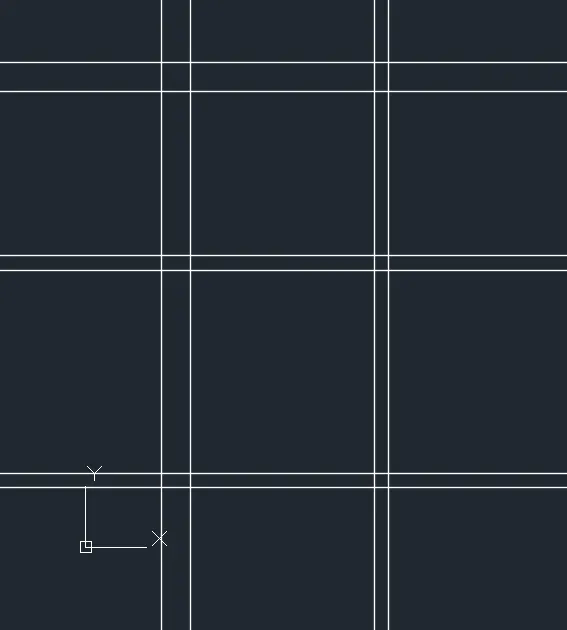
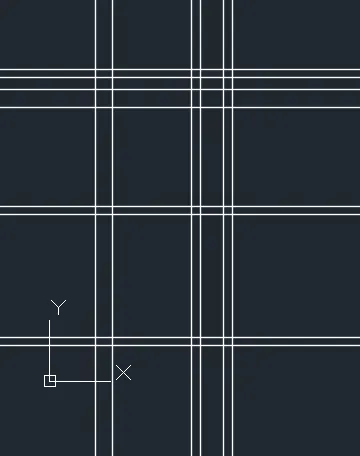
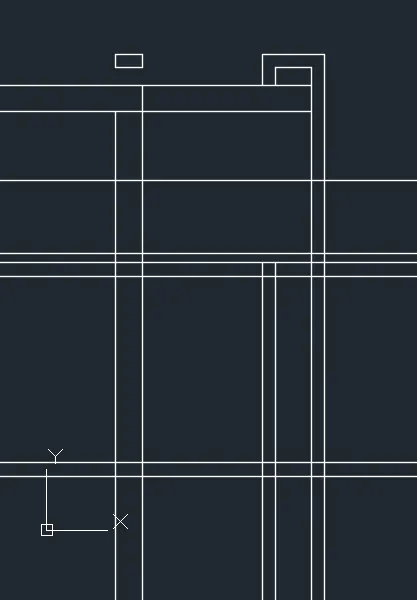
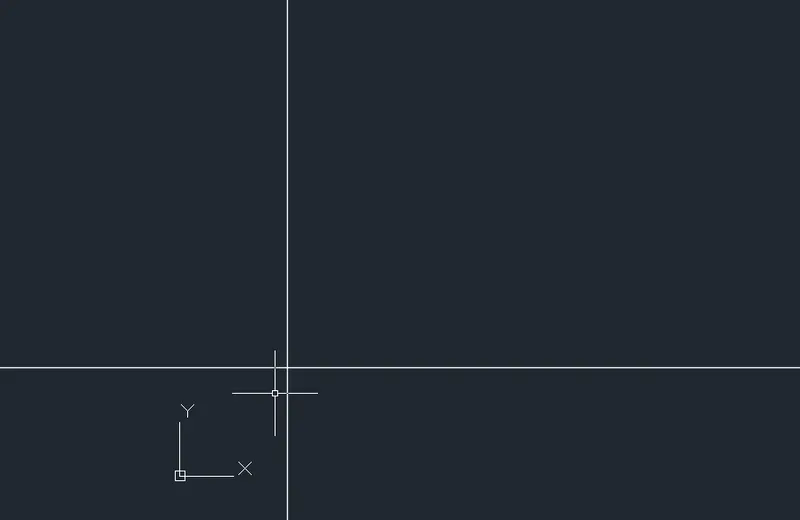
- Type XLINE to create a construction line and select vertical and select a suitable point
- Type XLINE to create a construction line and select horizontal and select a suitable point to intersect the vertical line
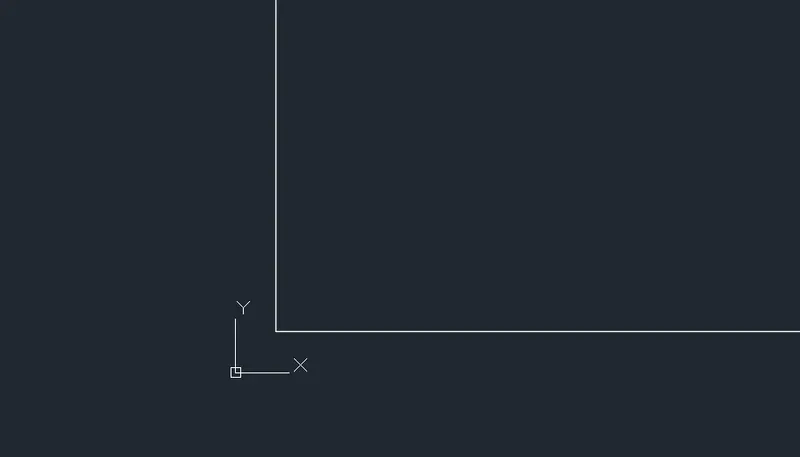
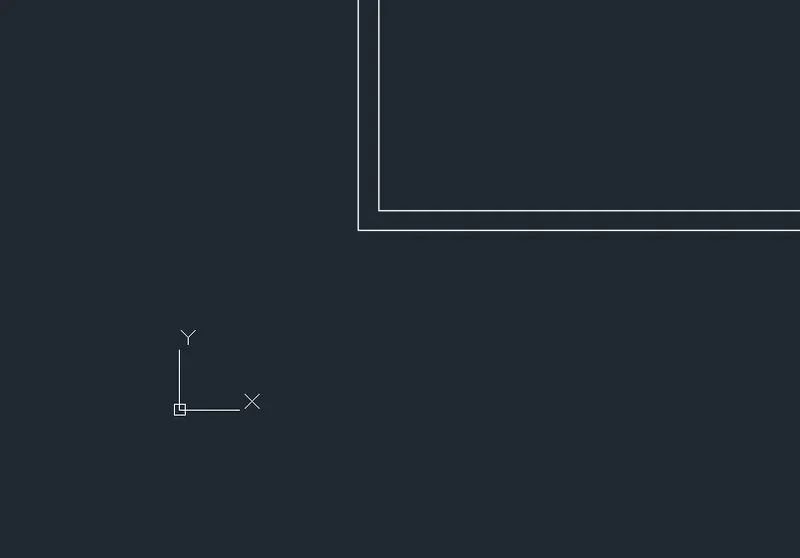
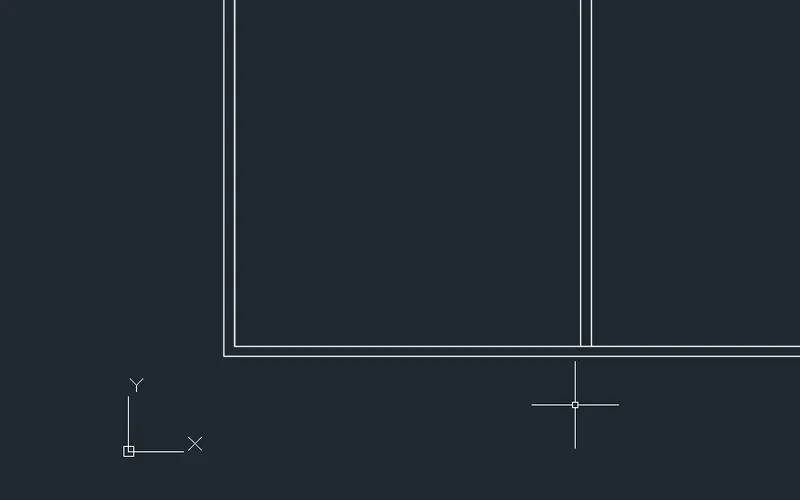
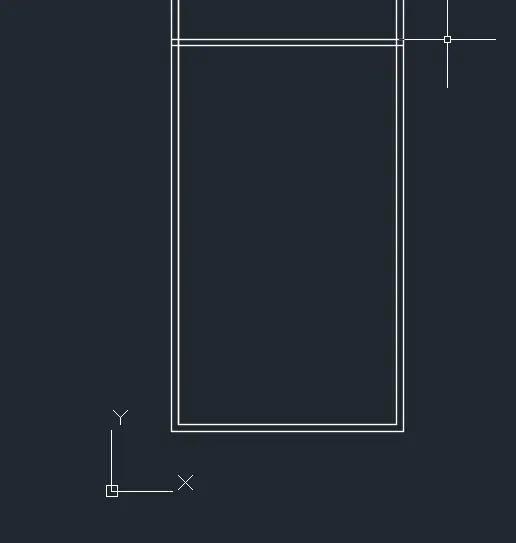
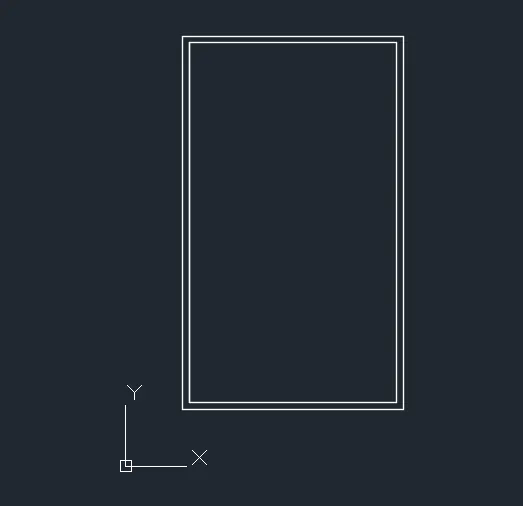
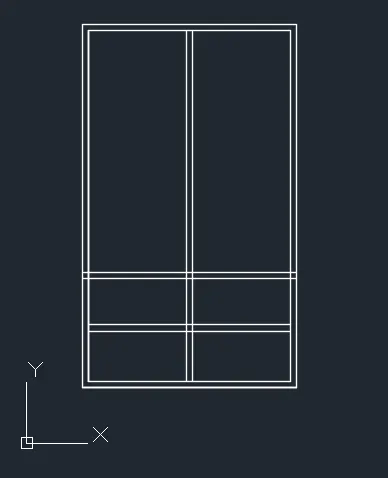
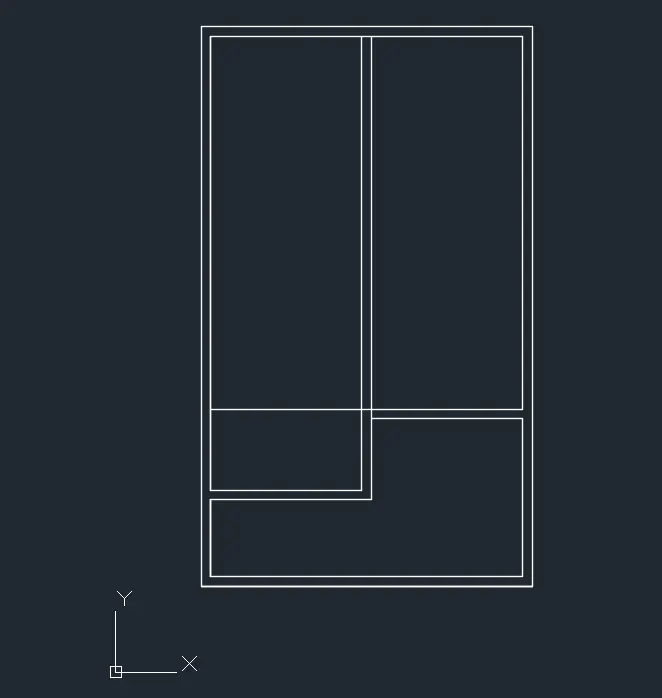
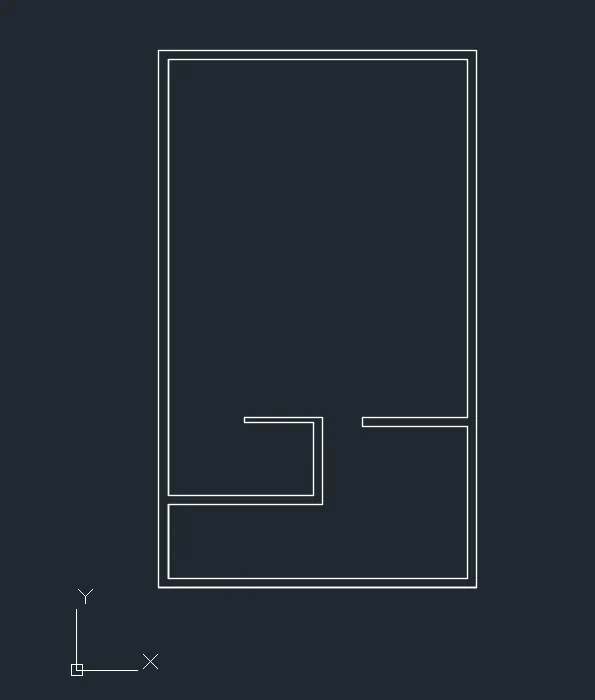
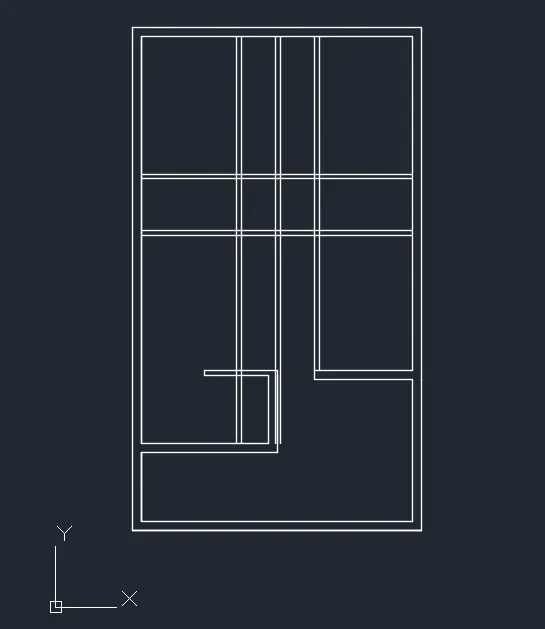
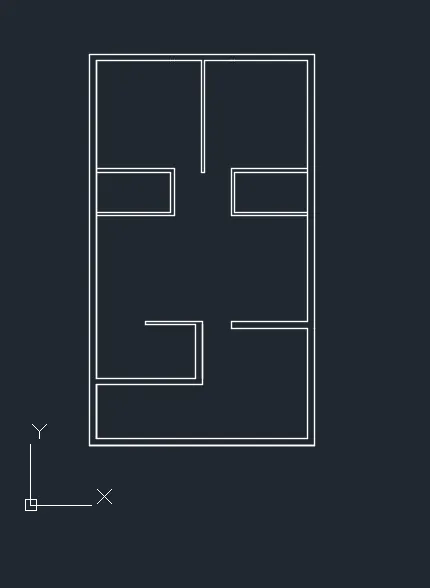
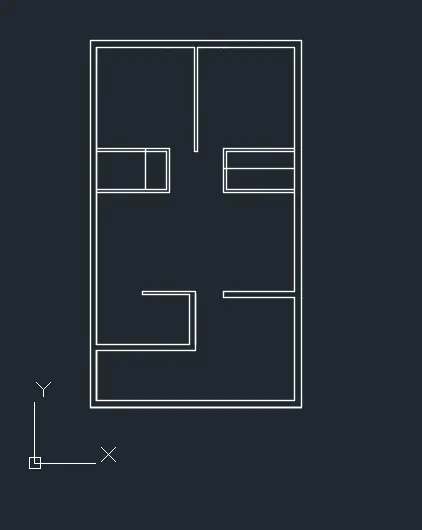
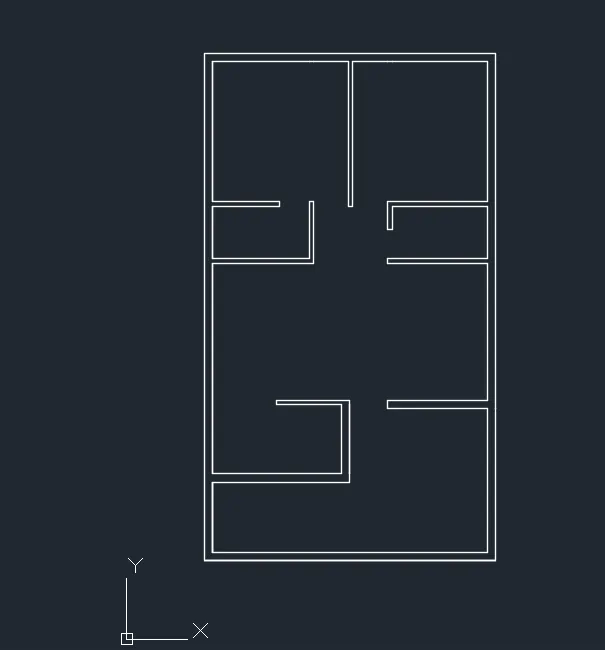
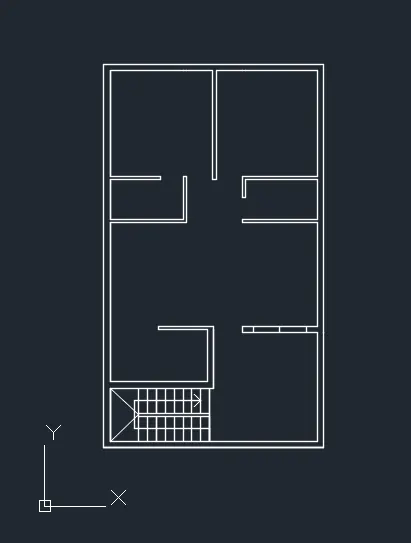
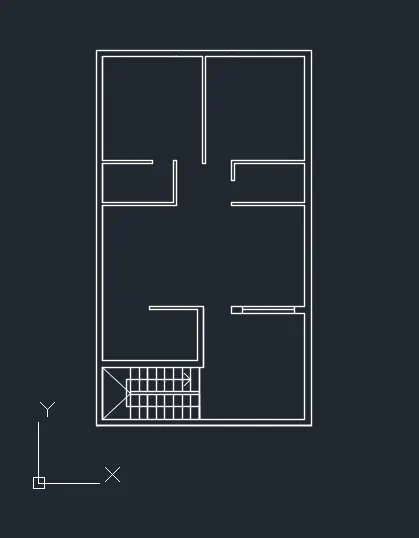
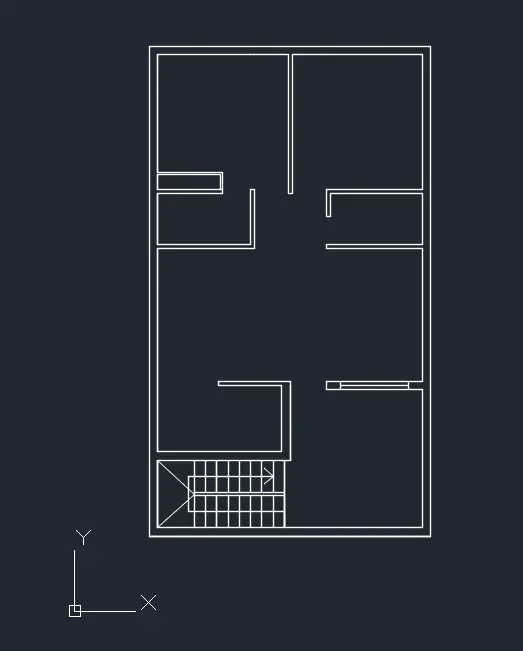
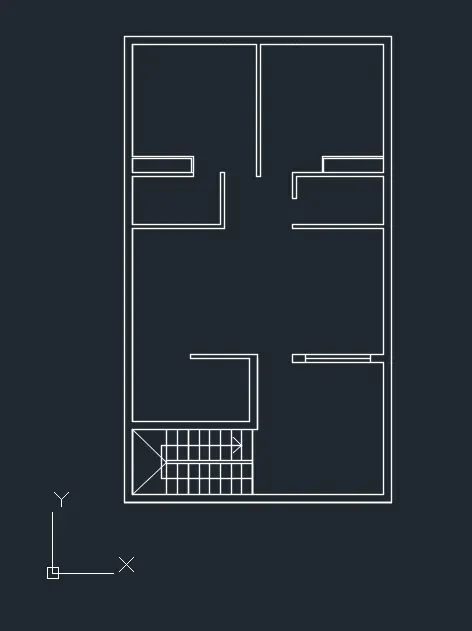
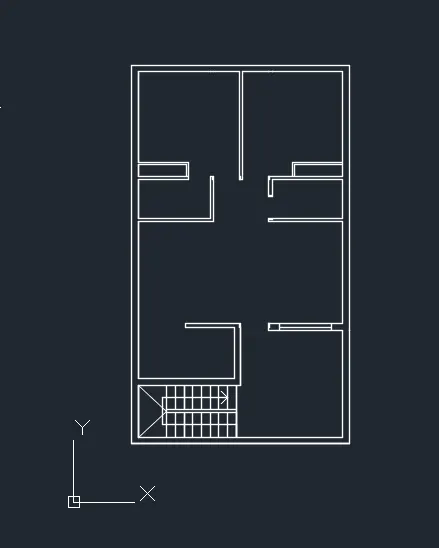
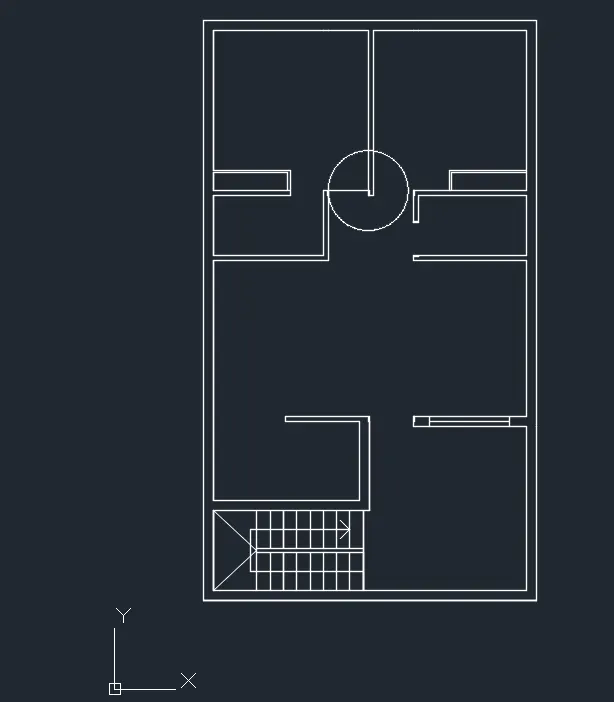
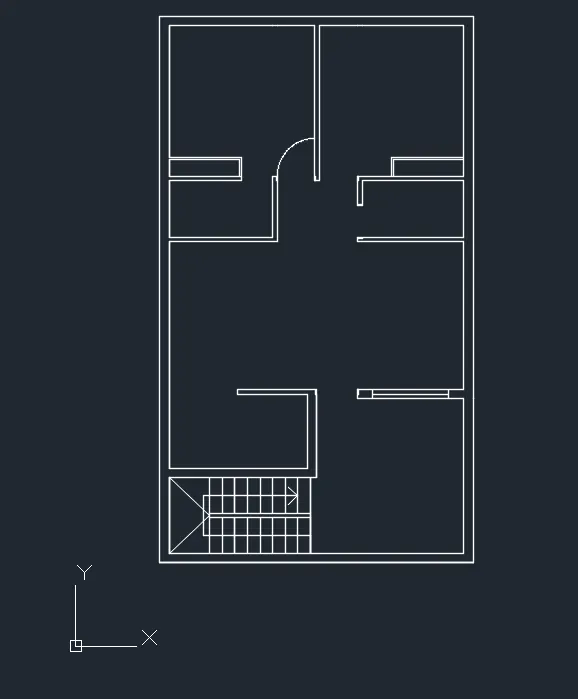
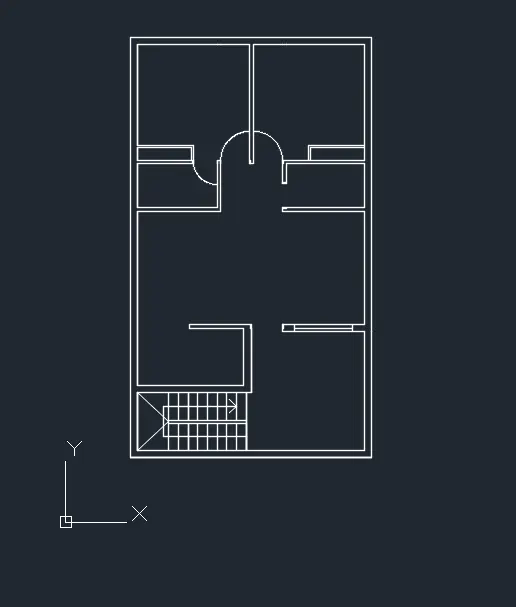
 .
.
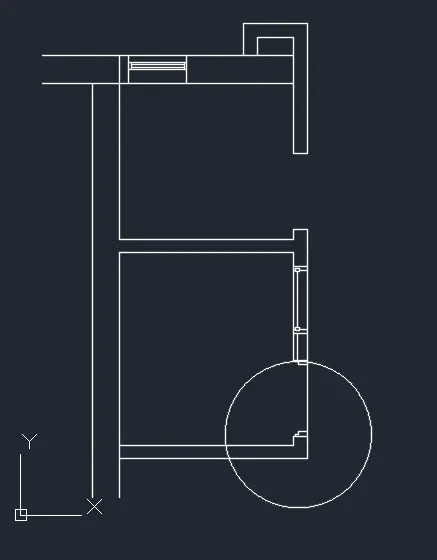
Q2: Aim: To draw the seating plan for an outdoor canopy, and illustrate the procedure involved.
Procedure:
- Create a new drawing from the dropdown menu
- Select the imperial system and decimal units
- Type UN to open drawing units
- Change the insertion scale units to centimetres
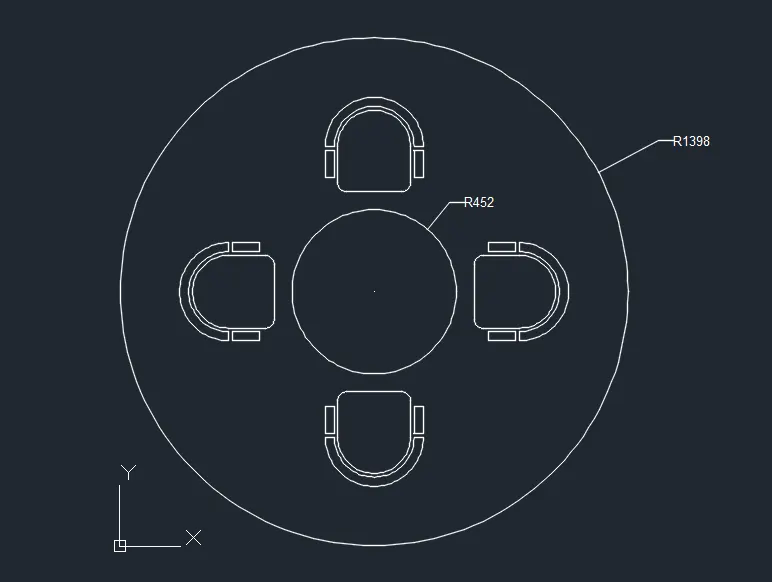
- Type C to activate circle tool
- Enter centre of the circle 1400, 1400
- Enter the radius of the circle 1398
- Type C to activate circle tool
- Enter centre of the circle 1400, 1400
- Enter the radius of the circle 452
- Type XLINE fore construction line
- Select horizontal
- Specify the point as the centre of the circle
- Type XLINE fore construction line
- Select vertical
- Specify the point as the centre of the circle
- Type O to activate offset tool
- Enter the offset distance 550
- Select the line
- Specify the point on the top to create an offset line
- Type O to activate offset tool
- Enter the offset distance 250
- Select the line
- Specify the point on the top to create an offset line
- Type O to activate offset tool
- Enter the offset distance 200
- Select the line
- Specify the point to create an offset line
- Type O to activate offset tool
- Enter the offset distance 200
- Select the line
- Specify the point on the top to create an offset line
- Type O to activate offset tool
- Enter the offset distance 200
- Select the line
- Specify the point on the left to create an offset line
- Type O to activate offset tool
- Enter the offset distance 200
- Select the line
- Specify the point on the right to create an offset line
- Type O to activate offset tool
- Enter the offset distance 20
- Select the line
- Specify the point on the right to create an offset line
- Type O to activate offset tool
- Enter the offset distance 50
- Select the line
- Specify the point on the right to create an offset line
- Type O to activate offset tool
- Enter the offset distance 20
- Select the line
- Specify the point on the left to create an offset line
- Type O to activate offset tool
- Enter the offset distance 50
- Select the line
- Specify the point on the left to create an offset line
- Click arc on the ribbon and select 3 point
- By selecting the 3 points create 3 nos arc
- Type TR to activate the trim tool
- Enter 2 times and trim all the extra lines
- Type F to activate fillet tool
- Select radius
- Enter the radius 50
- Select the two objects for fillet on the left side
- Type F to activate fillet tool
- Select radius
- Enter the radius 50
- Select the two objects for fillet on the right side
- Type ARRAY to activate array tool
- Select the above object press enter
- Select the path option
- Select the path curve as R452 circle
- Move the cursor on the arrow clockwise to create another 3 objects and press enter
- Save the drawing
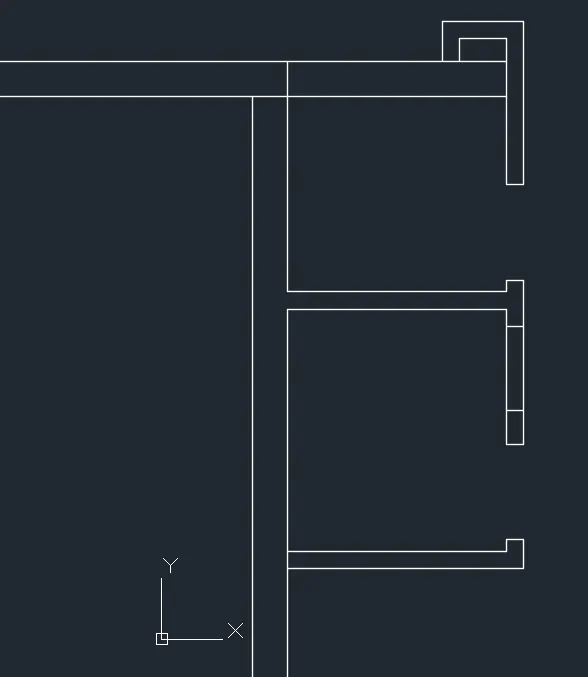
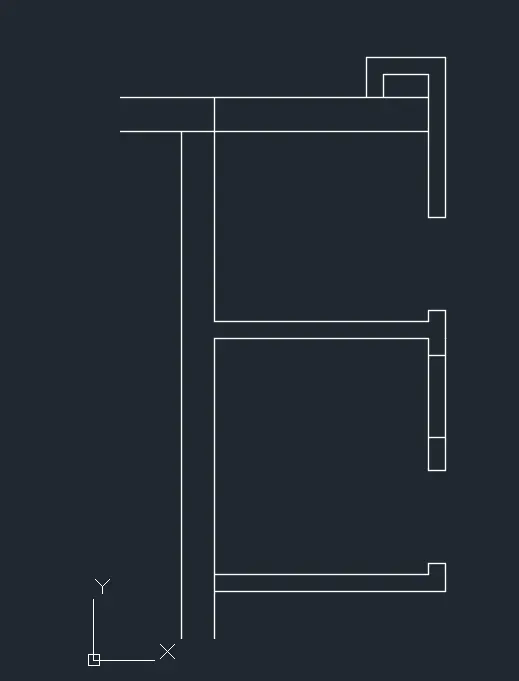
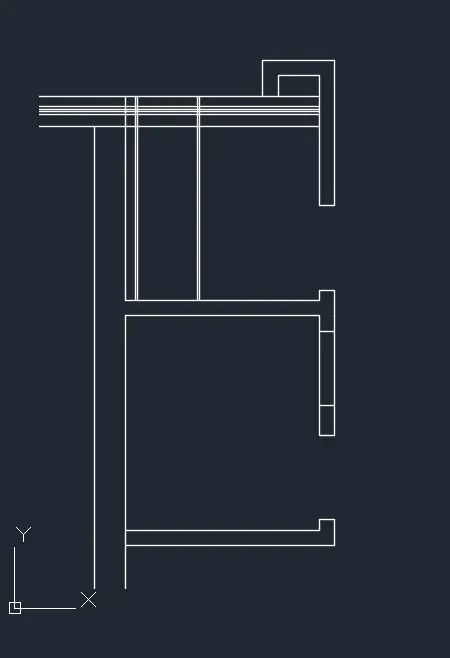
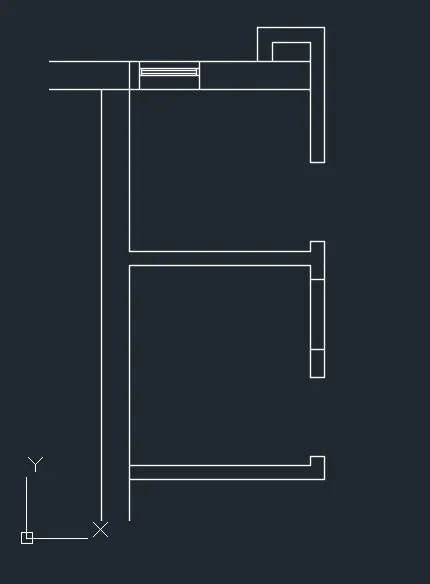
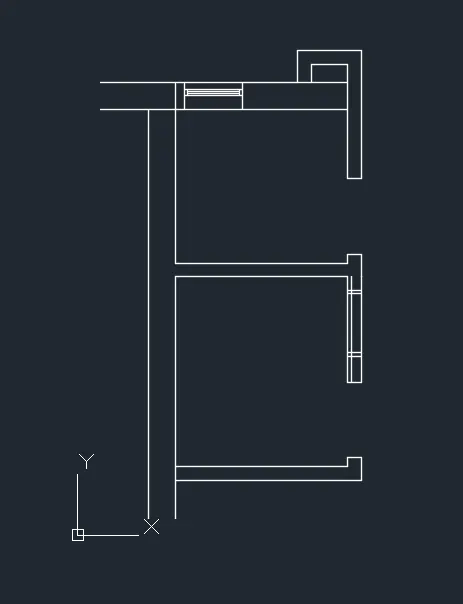
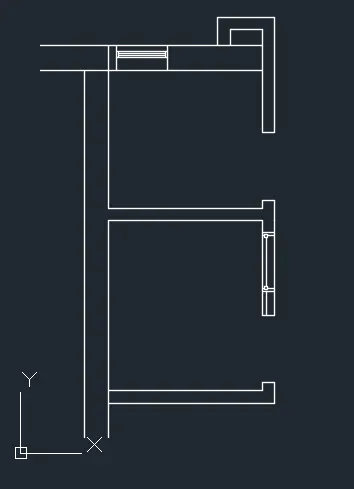
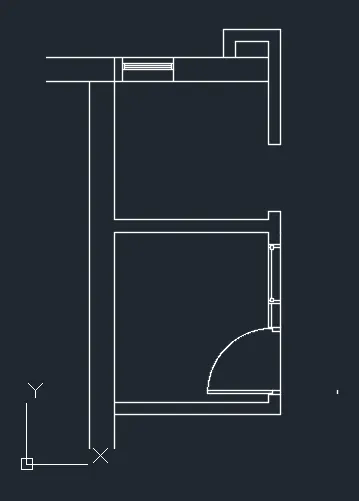
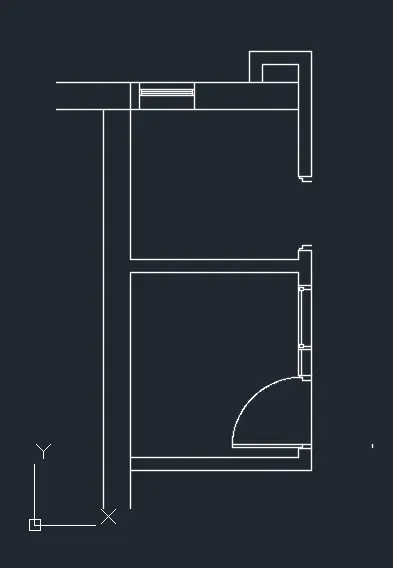
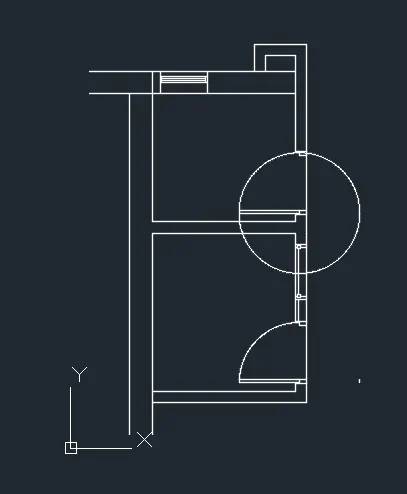
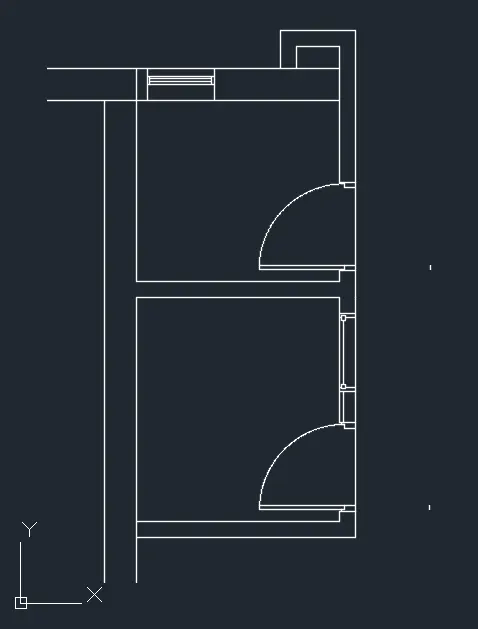
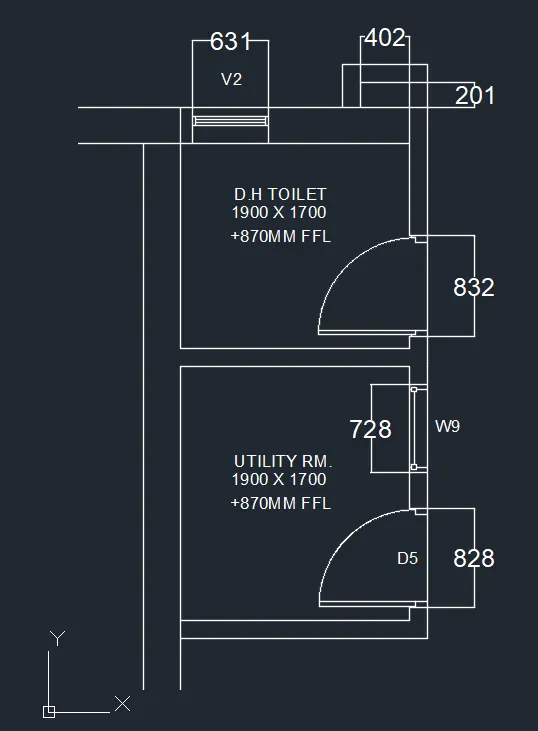
Q3: Aim: To draw the part plan for the toilet and utility room, and illustrate the procedure involved.
Procedure:
- Create a new drawing from the dropdown menu
- Select the imperial system and decimal units
- Type UN to open drawing units
- Change the insertion scale units to millimetres
- To set the drawing limits type LIMMAX
- Enter the maximum limit as 100',100'
- Type Z and press enter
- Type A and press enter
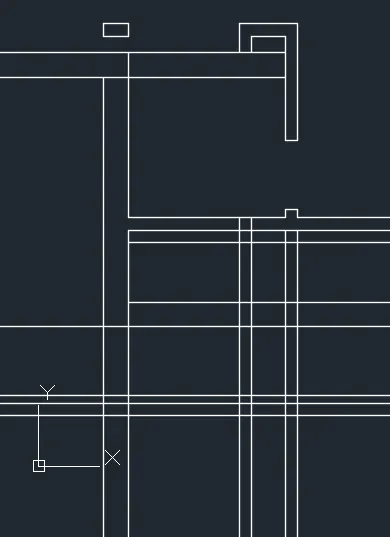
- Type XLINE to create a construction line and select vertical and select a suitable point
- Type XLINE to create a construction line and select horizontal and select a suitable point to intersect the vertical line