Creating a Layout, Section and Elevation with dimensions using AutoCad
Q.1
Aim:-
- Create the Plan and Sections as shown in the Figures. Use proper dimension techniques and dimension styles to document the project. Assume the sizes of the doors and windows as per construction standards. Refer to sections for stair details if required.
Procedure:-
- Give the Command of XL and Press Enter
- Select the V From the Command Bar and Specify the Corner of Work Space
- Press Enter
- Give the Command of XL and Press Enter
- Select the H From the Command Bar and Specify the Bottom of the Work Space
- Press Enter
- Select the Horizontal Line and Give the Command of Offset and Give the Offset Distnace as 250 and Press Enter
- Select the Previously Offsetted Line and Give the Command of Offset and Give the Offset Distnace as 3100 and Press Enter
- Select the Previously Offsetted Line and Give the Command of Offset and Give the Offset Distnace as 125and Press Enter
- Select the Previously Offsetted Line and Give the Command of Offset and Give the Offset Distnace as 4475 and Press Enter
- Select the Previously Offsetted Line and Give the Command of Offset and Give the Offset Distnace as 125 and Press Enter
- Select the Previously Offsetted Line and Give the Command of Offset and Give the Offset Distnace as 125and Press Enter
- Select the Previously Offsetted Line and Give the Command of Offset and Give the Offset Distnace as 3000 and Press Enter
- Select the Previously Offsetted Line and Give the Command of Offset and Give the Offset Distnace as 250 and Press Enter
- Select the Vertcical Line and Give the Command of Offset and Give the Offset Distnace as 250 and Press Enter
- Select the Previously Offsetted Line and Give the Command of Offset and Give the Offset Distnace as 3100 and Press Enter
- Select the Previously Offsetted Line and Give the Command of Offset and Give the Offset Distnace as 125and Press Enter
- Select the Previously Offsetted Line and Give the Command of Offset and Give the Offset Distnace as 2550and Press Enter
- Select the Previously Offsetted Line and Give the Command of Offset and Give the Offset Distnace as 125and Press Enter
- Select the Previously Offsetted Line and Give the Command of Offset and Give the Offset Distnace as 1250 and Press Enter
- Select the Previously Offsetted Line and Give the Command of Offset and Give the Offset Distnace as 125 and Press Enter
- Select the Previously Offsetted Line and Give the Command of Offset and Give the Offset Distnace as 1250and Press Enter
- Select the Previously Offsetted Line and Give the Command of Offset and Give the Offset Distnace as 125and Press Enter
- Select the Previously Offsetted Line and Give the Command of Offset and Give the Offset Distnace as 3000 and Press Enter
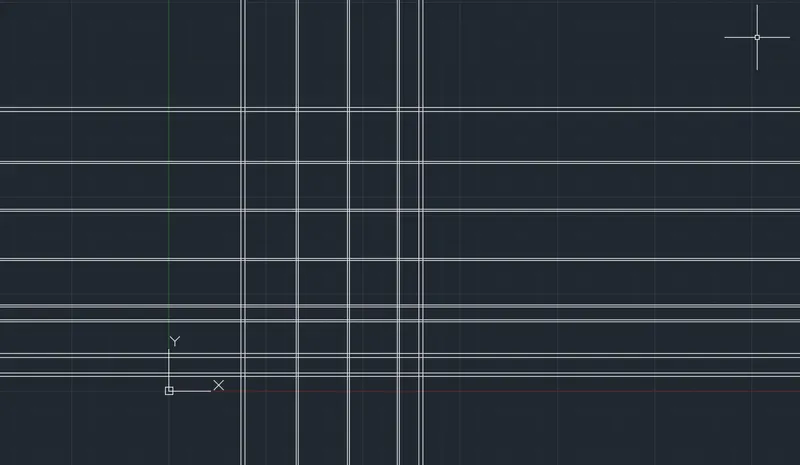
- Give the Command of Trim for Trim the Unwanted lines
- Give the Command of Fillet to Corner poitns Where iTs Required
- Give the Offset Suitable Places as Per Given Figure
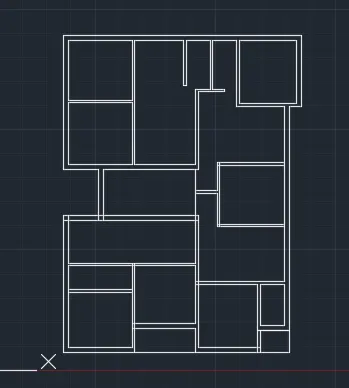
- Select a Layer From the Ribbon Tab Create New layers as a Outer Walls and Select the Colour Suitble For it.
- Create another layers as a Inner Walls and Select the Colour Suitble For it.
- Select the outer Walls and Set the Layer to Outer Walls Press enter
- Select the Inner Walls and Set the Layer to Inner Walls Press enter
- Trim the Lines For Doors Where its Suitable assume required size to Its and Press Esc.,
- Draw a Rectangle as a Suitable size of Column Size and Hatch it as a Concrete and Press enter
- Copy the Object and Place its Very Its Suitable as Per Given Figure
- Draw a Rectangle as a Suitable size of Window Press enter
- Copy the Object and Place its Very Its Suitable as Per Given Figure
- Create another layers For Linel Line and Select the Colour & line Type as Dot Dot and Press Enter
- Set Its to a Curent Layer and Draw a Line As per Given Figure
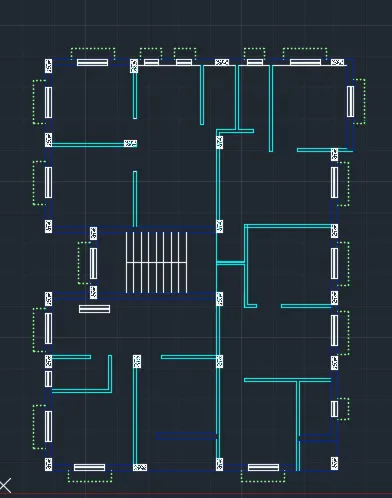
- Select the Text tool From the Ribbon tab and Specify the Point Where its Required and Give the Text to its Suitable press enter
- Repeat the Procedure Where the Text is Suitable to it from the Given Figure
- Select the Annotative tab From the Ribbon tab and Select the Multi Leader and Place its where its Required and Set Optinal to Suitable and place its wehere its Required
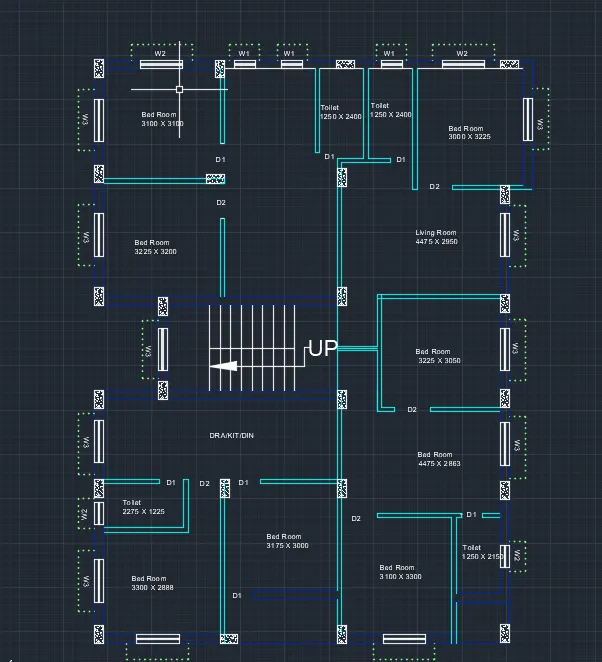
- Create a another Layer as Sectional Lines Select a Line as Suitable of Sections and Press enter
- Set as a Current Layer and Draw a Lines and press enter
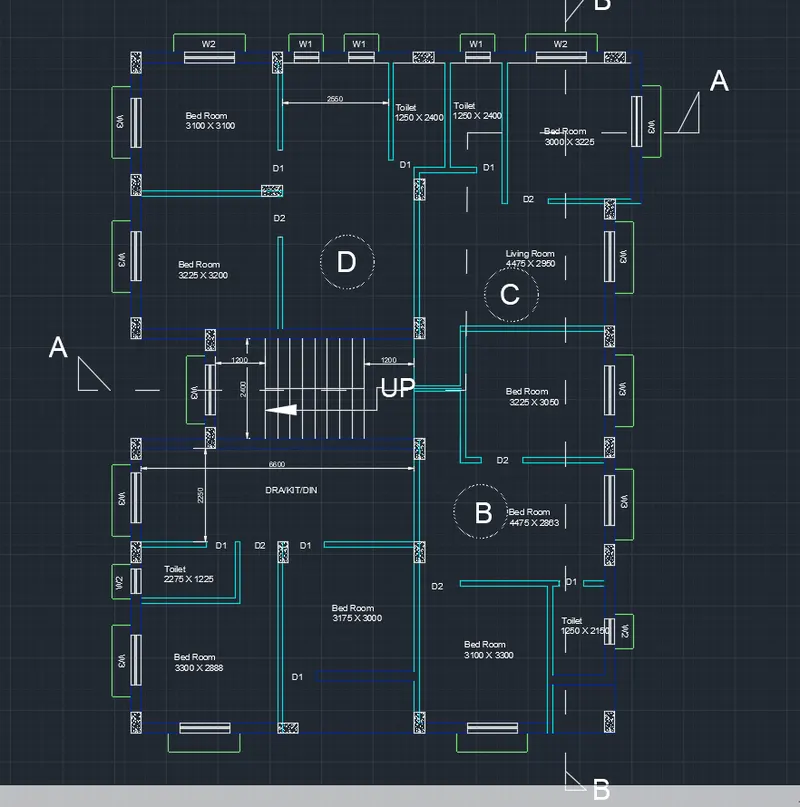
Result:-
SECTION:-AA
AIM:- To Draw a Section AA.
Procedure:-
- Give the Command of X Line and Press enter Give the Commandof Vertical and Project the Lines as Per Section AA Press Esc.,
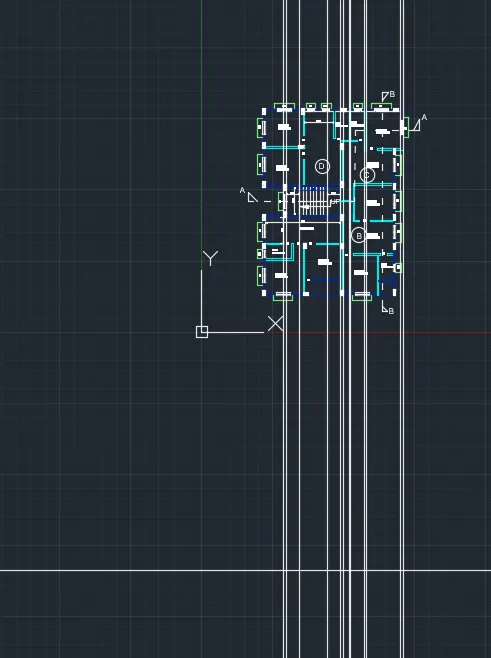
- Give the Command of X Line and Press enter and give the Command of Horizontal and Press enter
- Specify the Points as Bottom of the Working Space and Press Enter
- Give the Command of Offset and Press Enter Select the Bottom of Horizontal Line and Give the Command of 2450 and Press Enter
- Give the Command of Offset and Press Enter Select the Previous Offsetted Line and Give the Diatance 2850 and Press Enter
- Give the Command of Offset and Press Enter Select the Previous Offsetted Line and Give the Diatance 2850 and Press Enter
- Give the Command of Offset and Press Enter Select the Previous Offsetted Line and Give the Diatance 2850 and Press Enter
- Give the Command of Offset and Press Enter Select the Previous Offsetted Line and Give the Diatance 000 and Press Enter
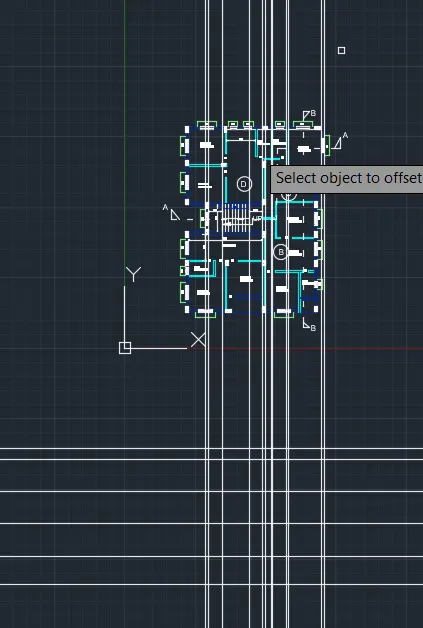
- Give the Command of Trim in Command Bar and Press Enter to Trim the Unwanted Lines
- Select the 2850 offsetted Line and Give the Offset Command and Give the Slab Thickness 115 and Press Ener to Offset
- Select the 2850 offsetted Line and Give the Offset Command and Give the Slab Thickness 115 and Press Ener to Offset
- Select the 2850 offsetted Line and Give the Offset Command and Give the Slab Thickness 115 and Press Ener to Offset
- Select the 100 offsetted Line and Give the Offset Command and Give the Slab Thickness 115 and Press Ener to Offset
- To Draw a Stair Cases Select the Line tool From the Ribbon tab and Press enter
- Specify the Starting Point From the as Per Given Figure and Move the Cursor to Up Ward Direction +Y Give the Rise and Move the Cursor to +X horizontal Directionto Give Thread, Until the Complition of Steps and Specify the Slab Press Enter
- Repeat the Procedure Untill the Complition of the Stair Sace
- Select Layer as Dotted Line and Set as Current Layer and Press Enter
- Gve the Command of Line for L enter To Draw a Rail as Per Given Figure
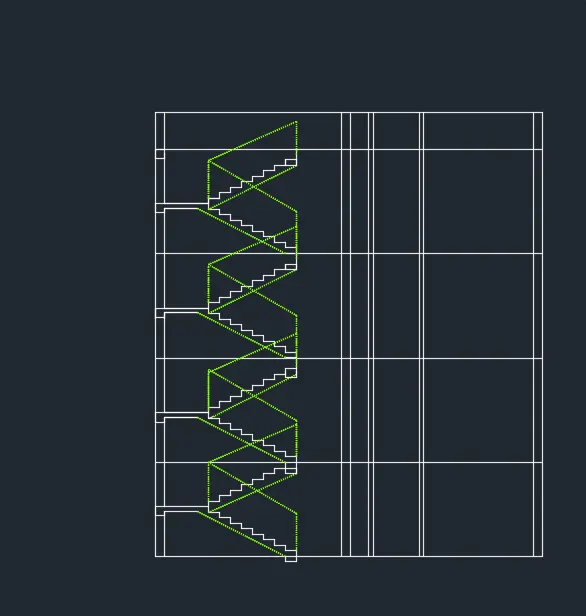
- Give the Command of Rectnagle and Press Enter
- specify the Starting Point and Give the Dimension as Per Suitable For Window
- Copy the Object and specify its Where its Required as per Given Figure
- Give the Command of Rectnagle and Press Enter
- specify the Starting Point and Give the Dimension as Per Suitable For Door
- Copy the Object and specify its Where its Required as per Given Figure
- To Draw a Sun Shade as per Suitable Dimensins and Specify its Where its Suitable
- Give the Command of Trim to unwanted Lines Press Enter
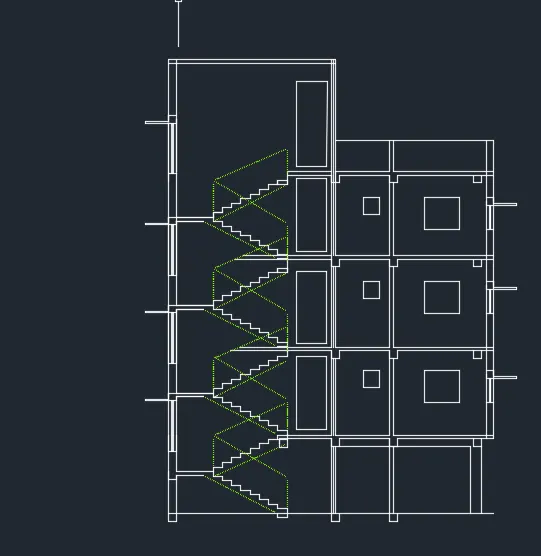
- Give the Command of Offset and Press Enter Select Top of the Horizontal Line Specify the Offseted Distance 2500 and Press Enter
- Give the Command of Offset and Press Enter Select the Previous Offsetted Line and Give the Ofsfseted Distance as 115 and Press Enter
- Give the Command of Offset and Press Enter Select the Previous Offsetted Line and Give the Ofsfseted Distance as 115 and Press Enter
- Give the Command of Offset and Press Enter Select the Previous Offsetted Line and Give the Ofsfseted Distance as 450 and Press Enter
- Give the Command of Offset and Press Enter Select the Previous Offsetted Line and Give the Ofsfseted Distance as 1200 and Press Enter
- select a Vetical Line of Left Side Line and Give the Command offset and Specify the Offset Distanc as per Requirement and Press Enter
- Give the Command of Trim used to Trim unnecessary Lines
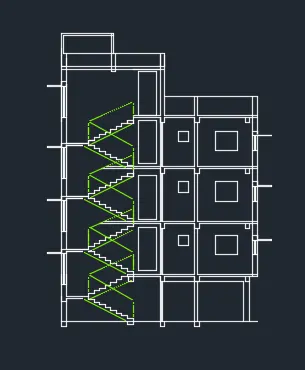
- Give the Command of Offset and Press Enter Select Bottom of the Horizontal Line Specify the Offseted Distance 150 and Press Enter
- Give the Command of Offset and Press Enter Select Bottom of the Horizontal Line Specify the Offseted Distance 50 and Press Enter
- Give the Command of Hatch and select the Bottom of Lines to Hatch as per suitability and Requirement Press Enter
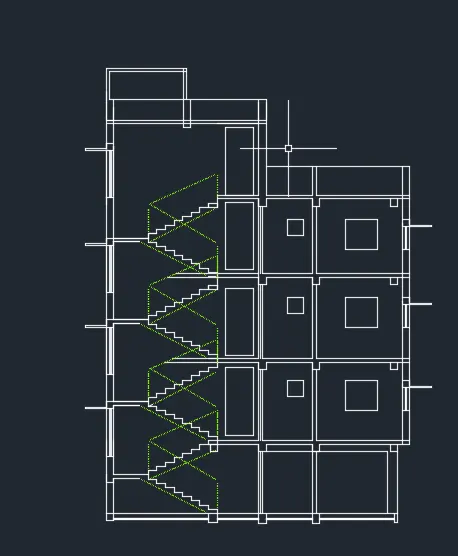
- Select the Single Line Text and Specify the Point Give the Height and angle as Suitable and Give the Text and Press Enter
- Repeat the Procedure where the Text is Used
- Slect the Annotative tab and Select Multi Leader and Specify the Settings Suitablity
- Specify the Points as per Sutablity and Type the text and press Enter
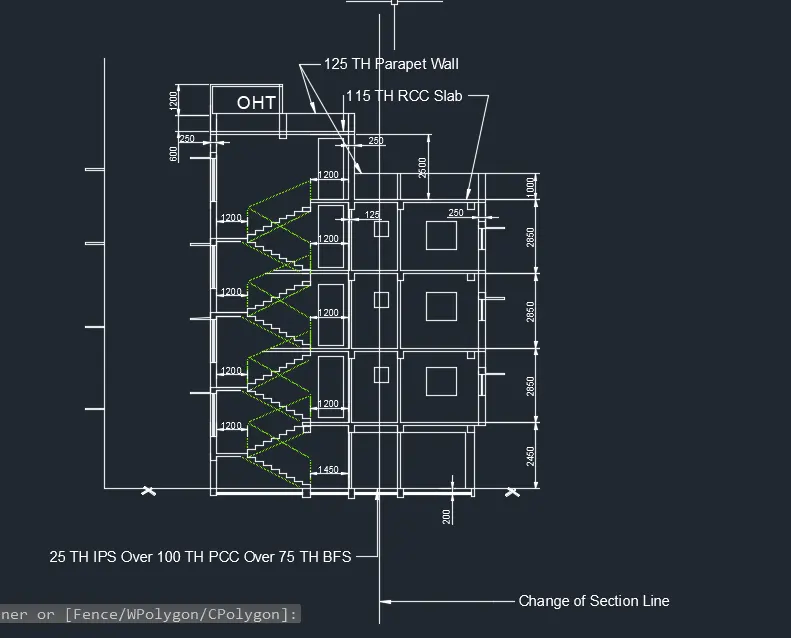
Result:-
SECTION:-BB
AIM:- To Draw a Section BB.
Procedure:-
- Give the Command of X Line and press Enter
- Select V and Specift the Point as in Corner of the Work Space
- Give the Command of X Line and press Enter
- Select H and Specift the Point as in Bottom of the Work Space
- Select the Vertical Line and Give the Command of Offset and and Specify the Offset Distance as 2450 to Right Side Press Enter
- Select the Previous offseted Line Give the Command of Offset and Give the offset Distance as 2850 and press Enter
- Select the Previous offseted Line Give the Command of Offset and Give the offset Distance as 2850 and press Enter
- Select the Previous offseted Line Give the Command of Offset and Give the offset Distance as 2850 and press Enter
- Select the Previous offseted Line Give the Command of Offset and Give the offset Distance as 1100 and press Enter
- Select the Horizontal Xl Line and Give the COmmand of offset and Specify the Offset Distance as 250 and Press Enter
- Select the Previos offseted Line Give the Offseted Line Specify the Offset Distance as Per Given Figure
- Select the Previos offseted Line Give the Offseted Line Specify the Offset Distance as Per Given Figure
- Select the Previos offseted Line Give the Offseted Line Specify the Offset Distance as Per Given Figure
- Select the Previos offseted Line Give the Offseted Line Specify the Offset Distance 125 Slab Thickness
- Repeat the Procedure Untill Complete the all Floors
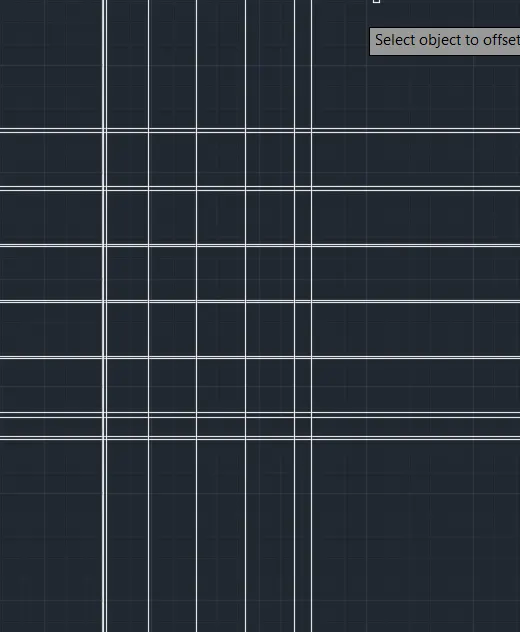
- Use the Trim Command to Trim the Unnecessary Lines
- Give the Fillet Command and Its Used Where its Required
- Draw a Window for Suitable Size By Using Rectanlge Command and Specify the Where its Required
- Draw a Sun Shade for Suitable Size By Using Rectanlge Command and Specify the Where its Required
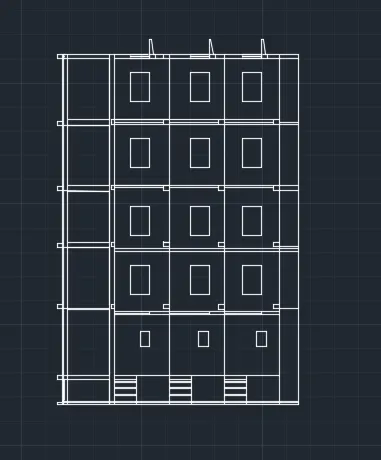
- Select the Outer Walls and Set the Layer into Outer Walls Press Enter
- Select the Inner Walls and Set the Layer into Outer Walls Press Enter
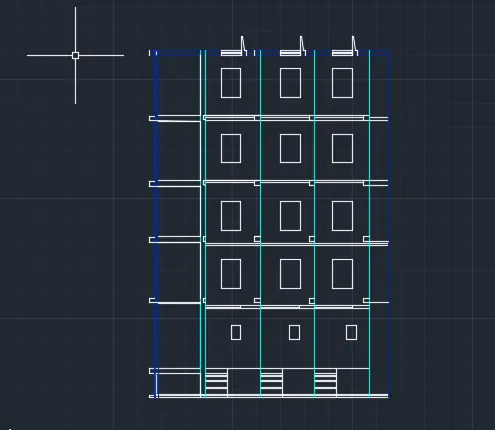
- Select the Text tool From the Ribbon tab Specify the Text as its Required
- and Give the dimensions By Using By Linear Command and Specify the starting & Ending Point and Give Continues and Repeat the procedure .
- Slelect the anotative bar and Select Multi Leader From it and Specify the Point and Where its Required and Give the Text press Ok from the Ribbon Tab
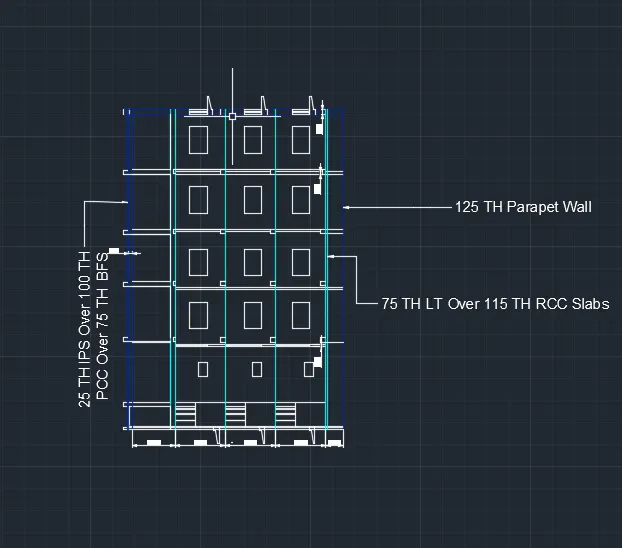
Result:-