Creating a Layout, Section and Elevation with dimensions using AutoCad
1. Create the Plan and Sections as shown in the Figures. Use proper dimension techniques and dimension styles to document the project. Assume the sizes of the doors and windows as per construction standards. Refer to sections for stair details if required.
INTRODUCTION:
DIMENSIONING IN AUTOCAD:
- AutoCAD provides a whole range of dimensioning tools which can be used to quickly dimension any drawing without the need for measurement.
- AutoCAD dimensions are special blocks which can be easily edited or erased as necessary.
- AutoCAD divides dimensions into four main categories: Linear,radial,angular and ordinate.
LINEAR DIMENSION COMMAND:
- These are used to dimension along straight lines.
- There are five linear dimension commands,namely: DIMLINEAR,DIMCONTINUE,DIMBASELINE,DIMALIGNED,DIMROTATED.
- DIMLINEAR command is probably the most commonly used dimension command.
- This tool can be evoked from toolbar,pull down-->dimension-->linear;Keyboard Command : DIMLINEAR
CONTINUE DIMENSION COMMAND:
- This command can be used to add a string of dimensions which aligns perfectly.
- This tool can be ekoved from toolbar,pulldown-->dimension-->continue,Command : DIMCONTINUE
- First we have to DIMLINEAR command , the rest can be continued using DIMCONTINUE command
BASELINE DIMENSION COMMAND :
- This tool can be evoked from toolbar; pulldown-->dimension-->baseline;Command : DIMBASELINE.
- This command can be used to generate a series of dimensions from a single base point.
- First dimension have to created using DIMLINEAR command the rest can be created using DIMBASELINE command.
ALIGNED dimension command:
- This tool can be evoked from toolbar;pulldown-->dimension-->aligned;Command:DIMALIGNED.
- This command is used to created aligned dimensions.These are dimensions along inclined lines which cannot be dimensioned with the DIMLINEAR dimension command because that command will only give a measured dimension in either a horizontal or vertical direction
- DIMCONTINUE and DIMBASELINE commands can be used in conjunction with DIMALIGNED dimensions
RADIAL DIMENSION COMMAND:
- There are mainly two radial dimension commands,DIMRADIUS and DIMDIAMETER .
- Both commands result in similar looking dimension, so autocad automatically inserts a R to indicate a radius and the dimension symbol (%%c) to indicate dimension.
DIAMETER DIMENSION COMMAND:
- This tool can be evoked from toolbar; pulldown-->dimension-->diameter , Command: DIMDIAMETER
- Diameter command can be used to annotate a circle or an arc.
- To achieve this simple start the command,pick a point on the circumference of the circle,pick a second point to determine the length of the leader and then add the dimension text.
RADIUS DIMENSION COMMAND:
- This tool can be evoked from the toolbar; pulldown-->dimension-->radius; Command: DIMRADIUS
- This command is identical to the diameter to the diameter command except that the dimension is radius and the resulting dimension is prefixed with "R" to indicate radius.
ANGULAR DIMENSION COMMAND:
- This tool can be evoked from toolbar , pulldown-->dimension-->ordinate , Command : DIMANGULAR
- This command is flexible and can be used to indicate an angle in almost any situation.
ORDINATE DIMENSION COMMAND :
- This tool can be evoked from toolbar,pulldown-->dimension-->ordinate;Command: DIMORDINATE.
- This command is used to annotate co-ordinate points with X or Y points.
- This may be useful for setting out onsite plans.
ANNOTATION WITH LEADERS
Leader command:
- This tool can be evoked from toolbar; pulldown-->dimension-->leader,Command : LEADER
- This command can be used to annotate any point on a drawing.
Dimension text edit command:
- This tool can be evoked from toolbar, pulldown-->dimension-->align text-->options; Command: DIMEDIT
- This command is used to modify the text position of any single dimension.
Dimension edit command:
- Command : DIMEDIT
- Command is used to modify the text position of any single dimension.
Dimension edit command:
- Command : DIMEDIT
- Command is used to modify and change the text of any number of dimensions.
AIM:
To create the plan and sections as given by using proper dimension techniques and dimension styles.
PROCEDURE:
- Initially set the units of the drawing as decimal(millimeters)
- Now set the limits of the drawing:
*Specify the lower left corner : (0,0)
*Specify the upper right corner :(40000,52000)
- PLAN:
* Now,choose the line command and draw rectangle having dimension 12150x16388
* Now,by offsetting the lines different rooms can be created. External walls are having thickness of 250mm and internal walls are having thickness of 125mm.
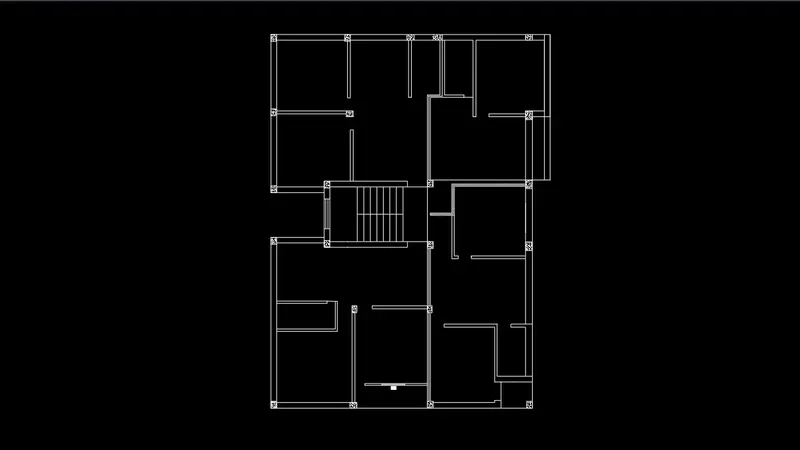
* Now, place the columns and position the doors in the plan
* The place windows in the appropriate positions
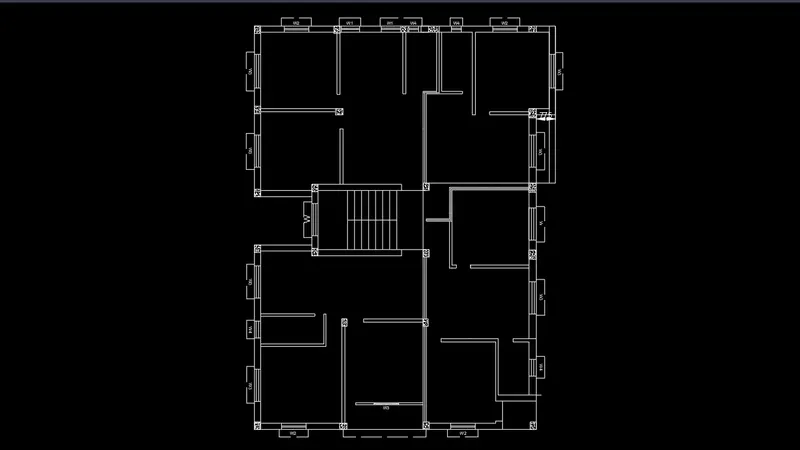
*Now provide appropriate hatchings to the column
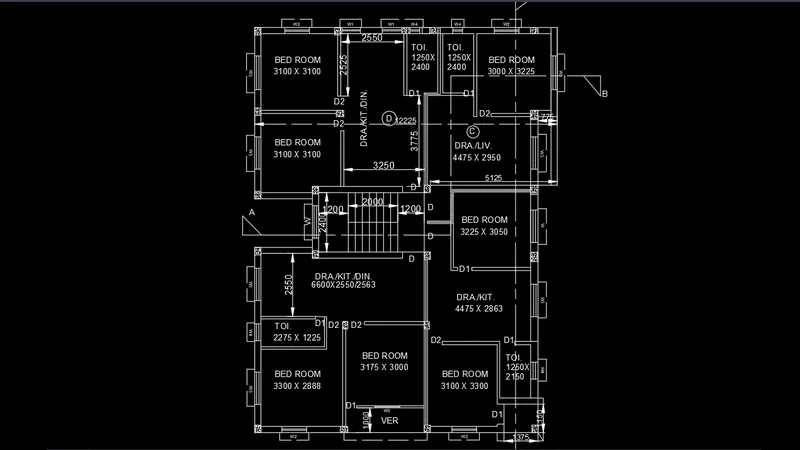
*Now, complete the drawing by providing the dimensions and text.
*Also, mark the sections as marked in the given figure.
- SECTION AA
Inorder to draw the section, initially choose the Xline and elevate the prts through which the given section cuts.
Choose line command and draw the outline of the section as per the dimensions given in the figure
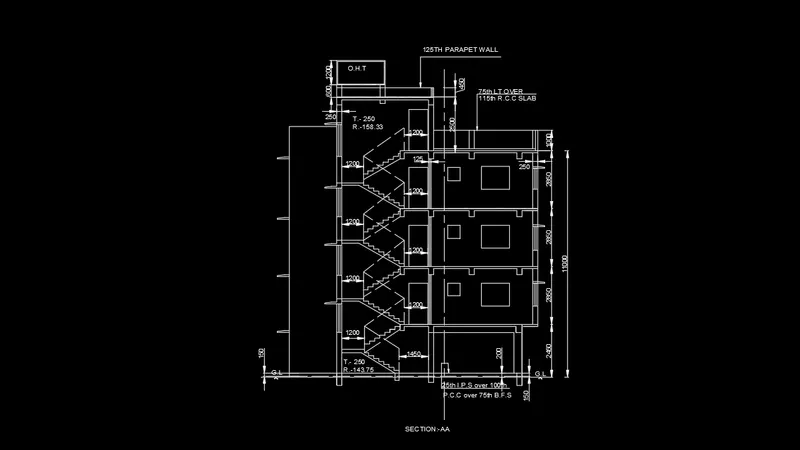
Staircase section is also drawn using the line command; staircase connecting groundfloor and 1st floor has riser dimension as 143.75mm and tread dimension as 250mm. The rest of the staircase has riser dimension as 158.33mm and tread dimension as 250mm
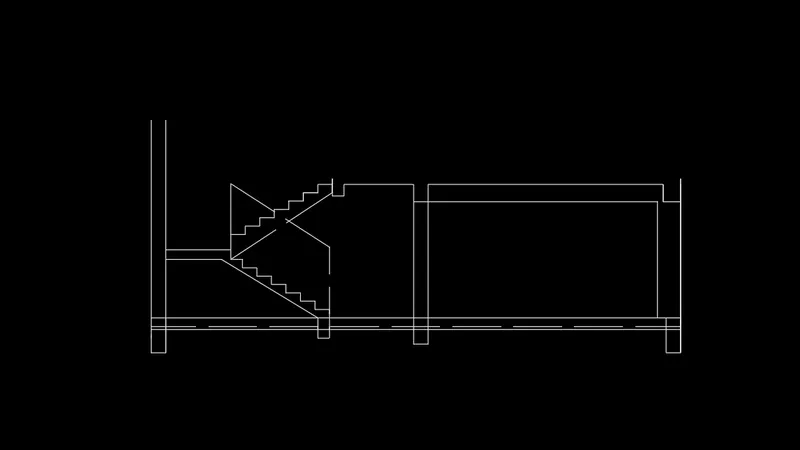
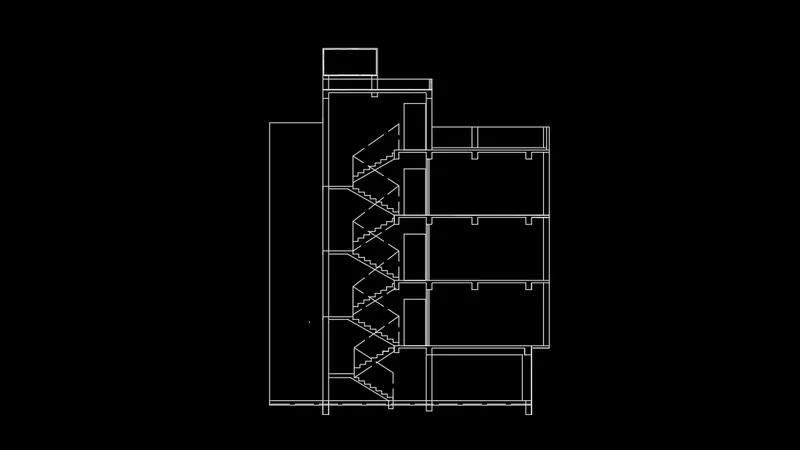
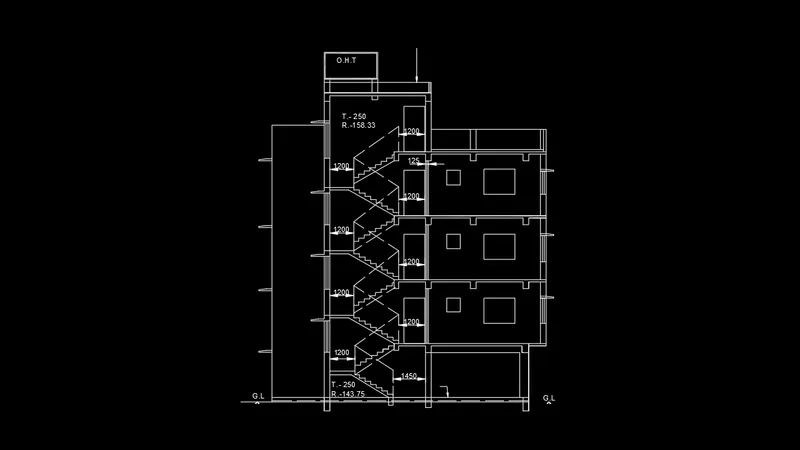
* Now the section is completed by providing necessary texts and dimensions
SECTION BB:
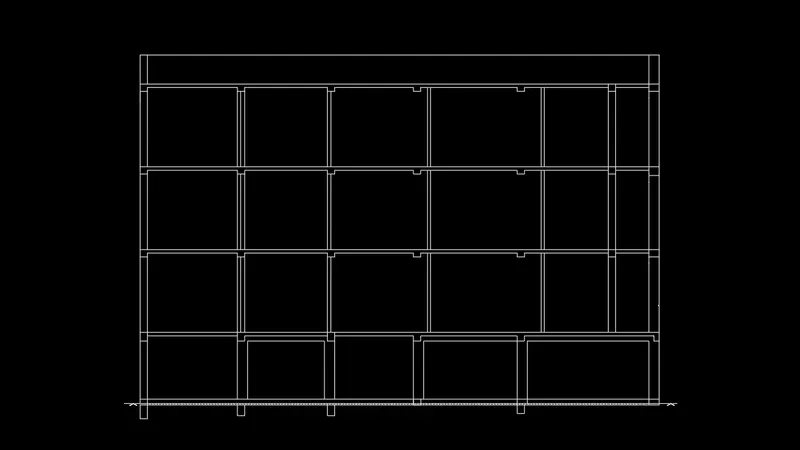
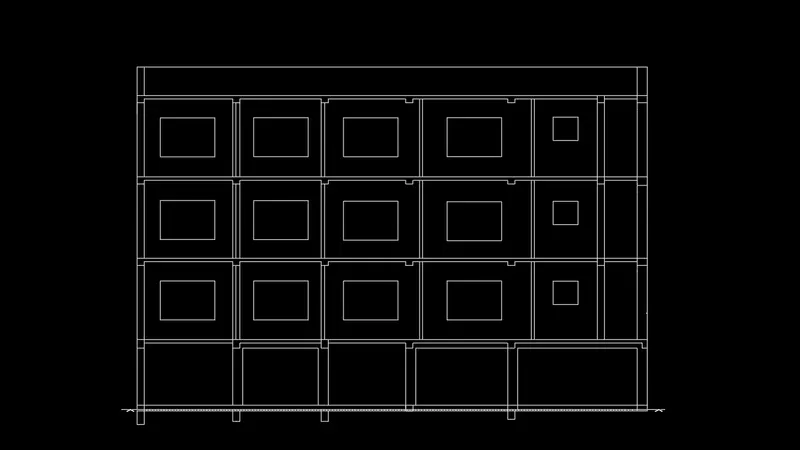
*Inorder to draw the section, choose Xline command(horizontal) and elevate the elements side ways from the section given in the plan.
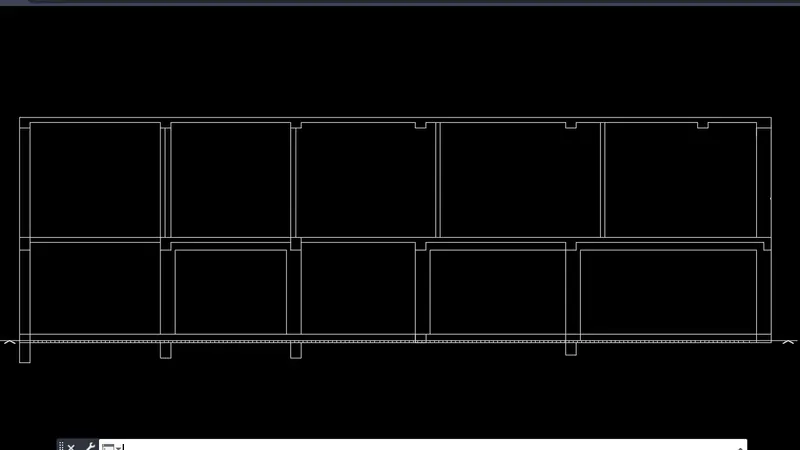
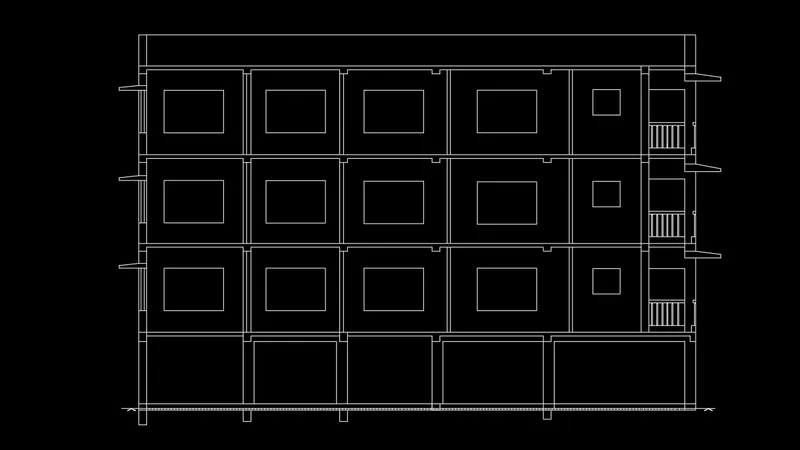
* Now create the outline of the section and then trim off the unwanted lines.
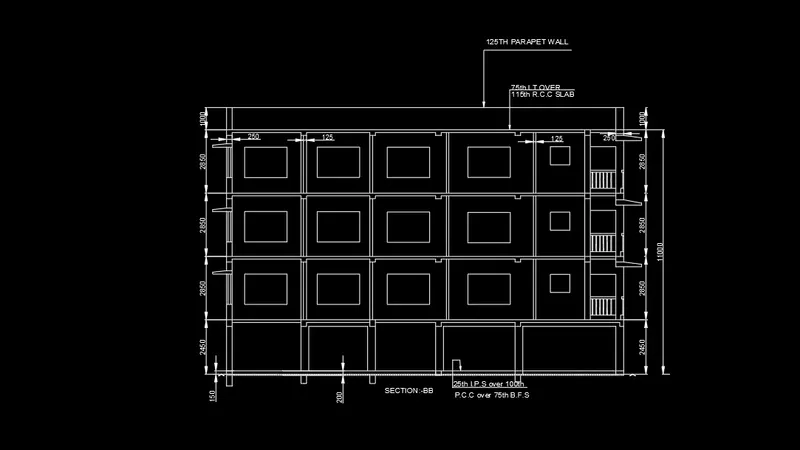
* Now complete the figure by providing necessary texts and dimensioning it.
RESULT:
The plan,Section AA and Section BB of the drawing is completed and is obtained as follows: