Creating a Layout, Section and Elevation with dimensions using AutoCad
AIM: To create the Plan and Sections as shown in the Figures. Use proper dimension techniques and dimension styles to document the project. Assume the sizes of the doors and windows as per construction standards. Refer to sections for stair details if required.
INTRODUCTION: This project comprises of three parts, i.e., layout plan of the floor, section AA, and section BB. The plan of the floor has been hand-drawn using the tools like line, rectangle, hatch, fillet, xline, dimension, ds, ptype, dtext, mtext, layer, offset, trim, snap, etc. The rest of the two sections were imported from the pdf given in the attachment section of the challenge. Both the sections are then rescaled and then given dimensions and labeling where ever required. All the details and the procedure followed for sketching them are provided below. The whole and sole purpose of this challenge is to make the students familiar with the dimensioning and annotation bar tools.
- LAYOUT PLAN
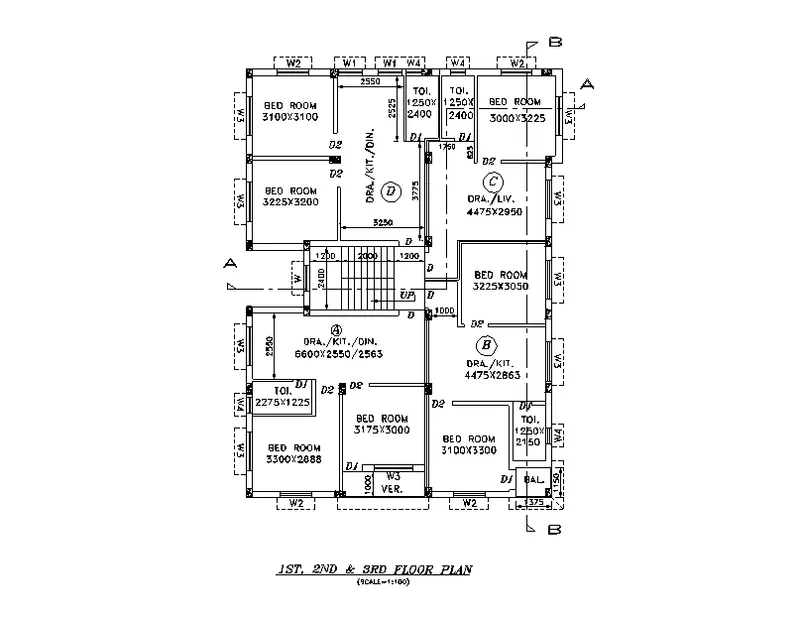
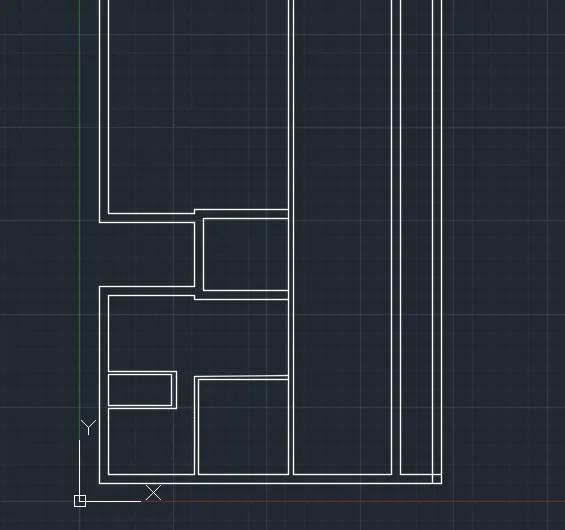
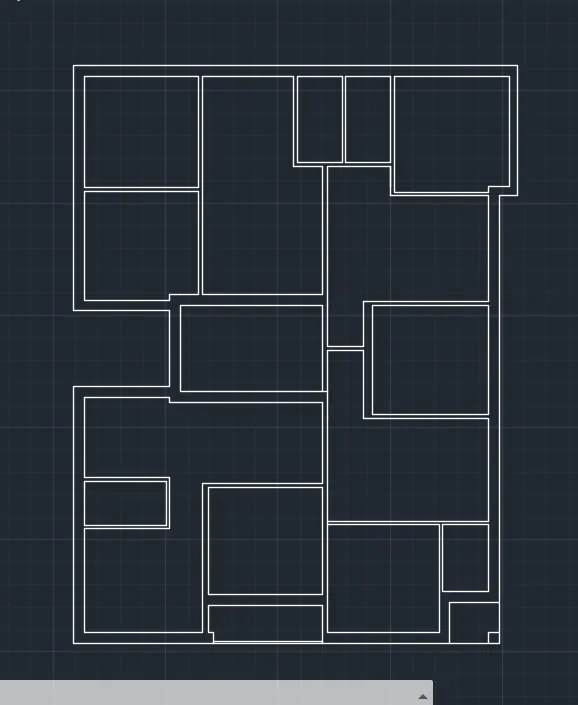
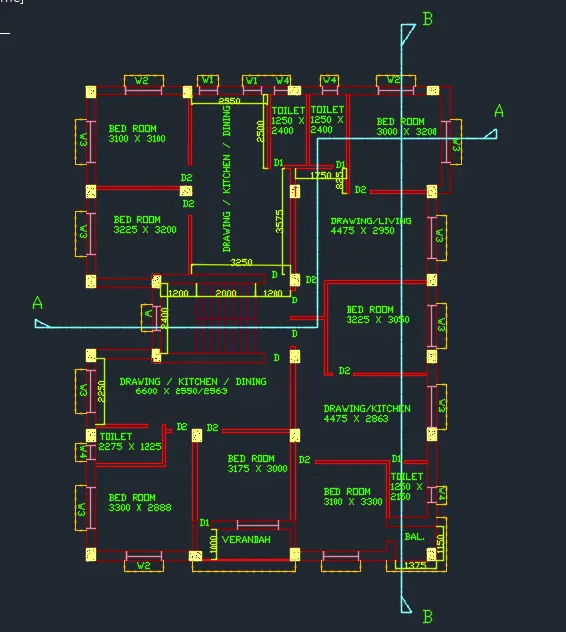
Procedure:
- Take the xline command and draw two xlines, one horizontal and the other vertical.
- Trim the excess xline and then using the offset command start drawing the sketch.
- Plot the whole plan using the offset, trim, extend and erase command.
- Once drawn now apply layers to the drawing.
- Once the layers are assigned and color coding is specified, then start drawing windows and doors.
- Then draw the chajjas to all the windows.
- Then draw columns of section 300mm x 400mm, and apply hatch.
- Once the whole sketch is plotted, start labeling and giving dimensions wherever required.
- SECTION AA:
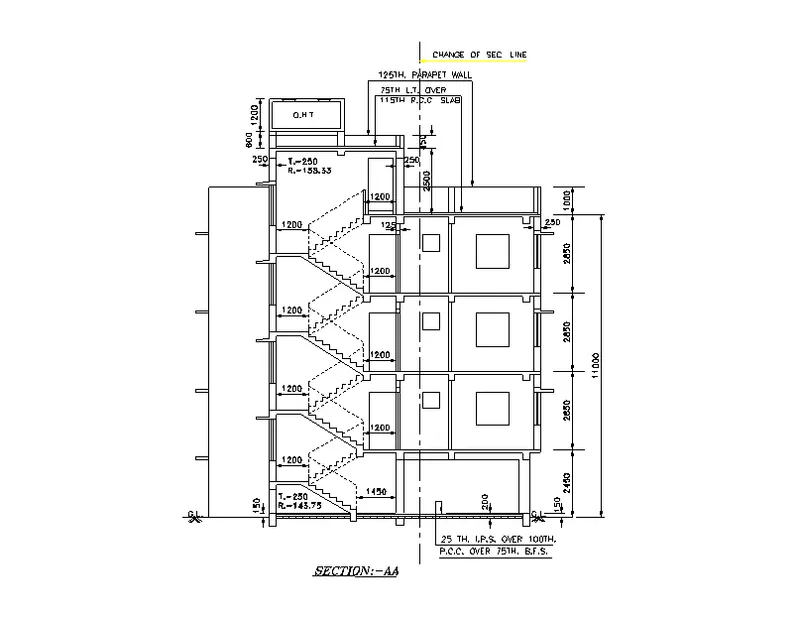

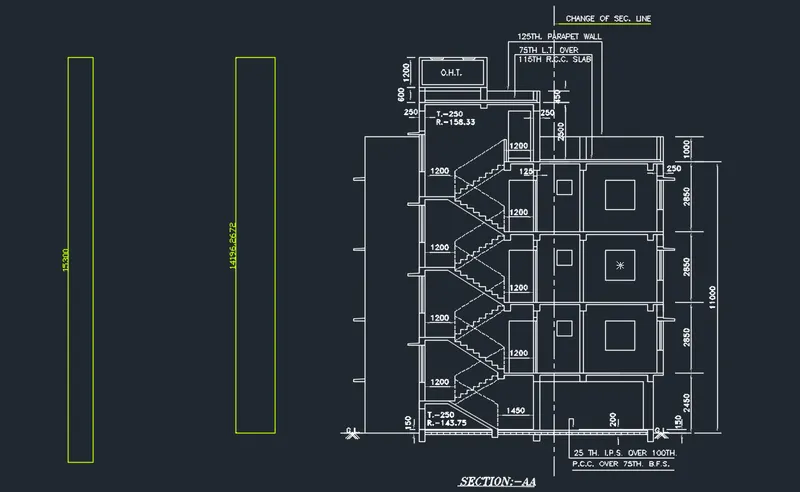
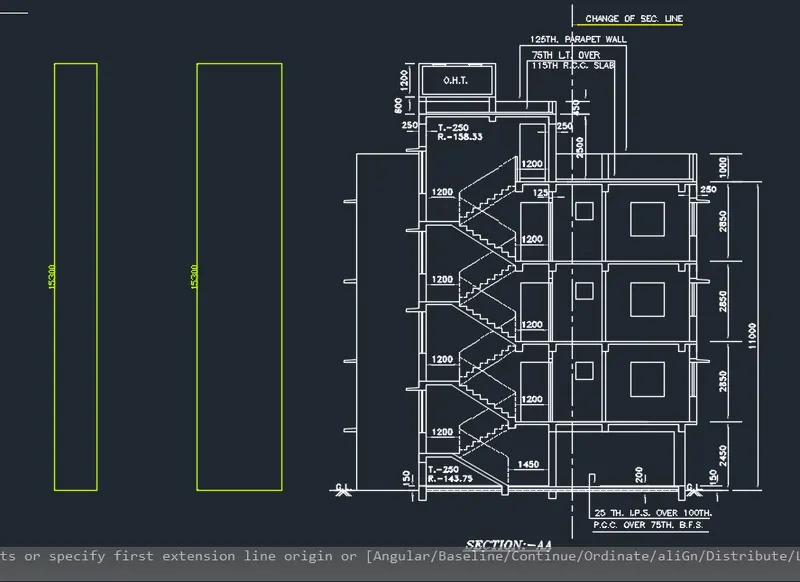
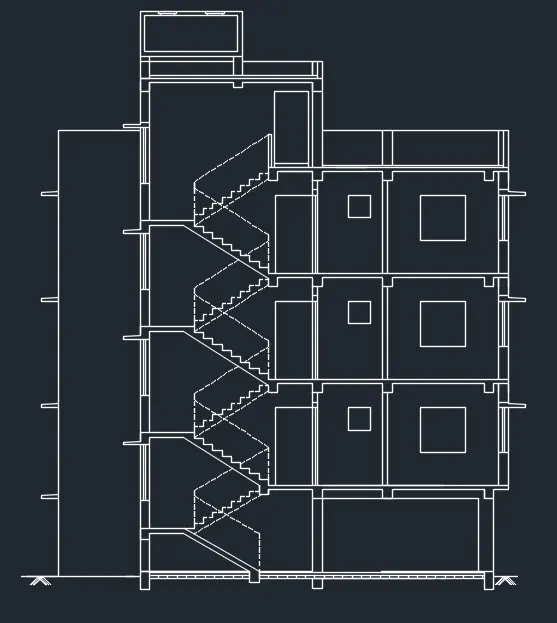
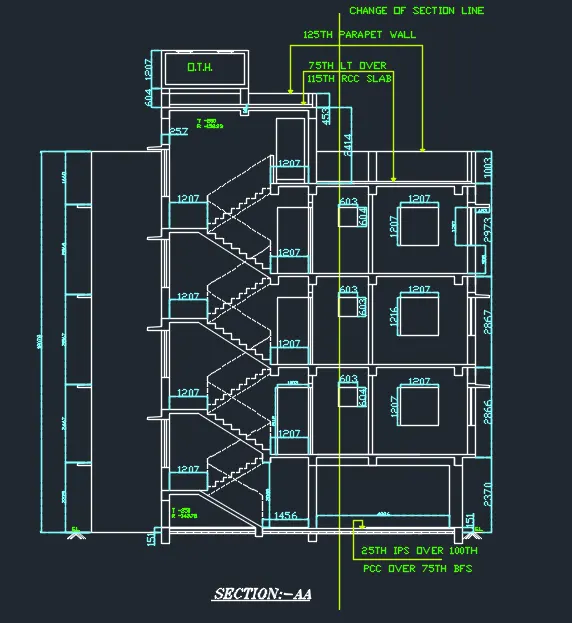
Procedure:
- Go to the insert bar and click on the import pdf.
- Insert the section AA page from the pdf.
- Rescale the whole plan using the reference method, as shown in the snips above.
- Once the Section is rescaled, check whether it's correct or not.
- Once verified, start giving dimensions and labeling to the section wherever required.
- SECTION BB:
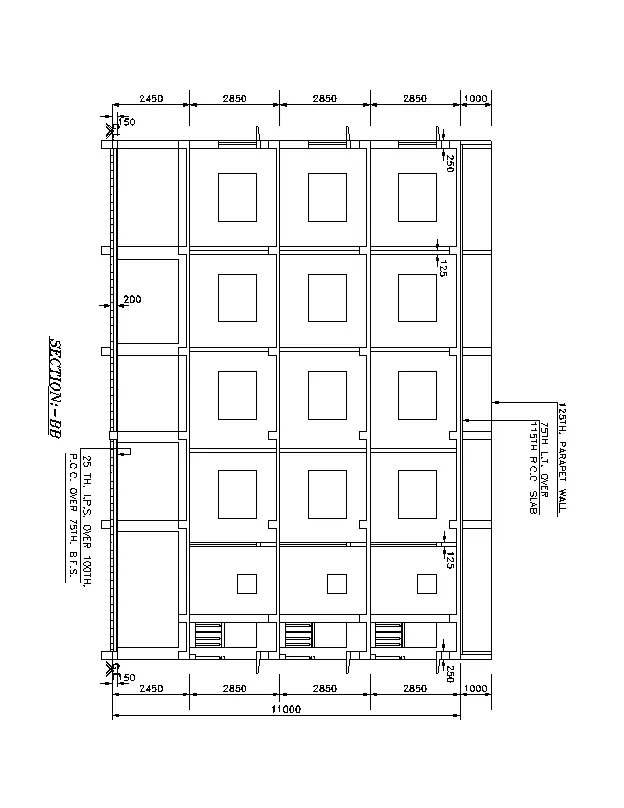

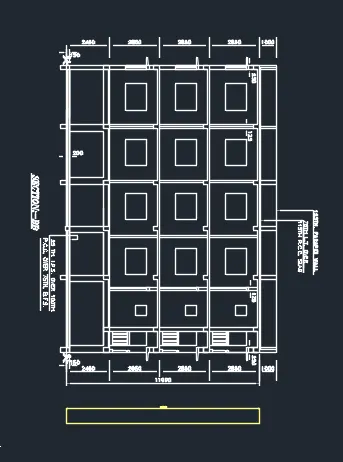
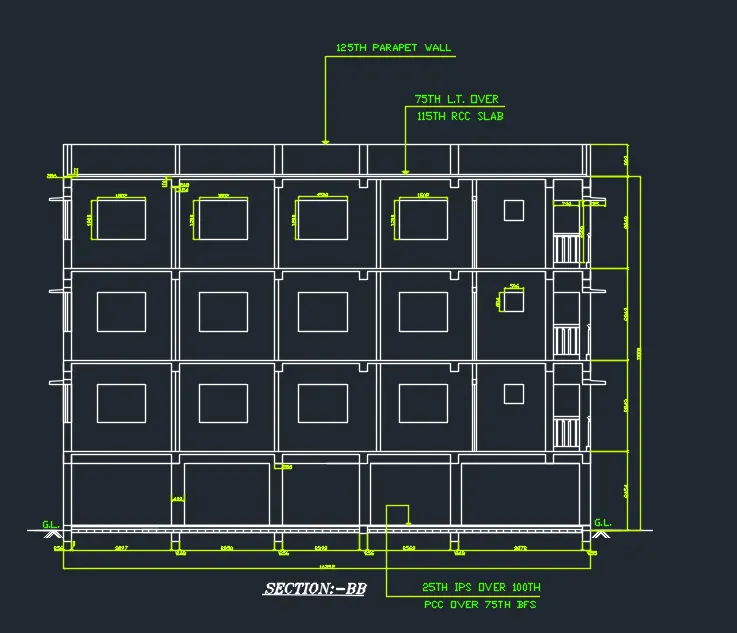
Procedure:
- Go to the insert bar and click on the import pdf.
- Insert the section AA page from the pdf.
- Rescale the whole plan using the reference method, as shown in the snips above.
- Once the Section is rescaled, check whether it's correct or not.
- Once verified, start giving dimensions and labeling to the section wherever required.
RESULTS: From the following challenge, I can conclude that I have gained a very good amount of knowledge about the annotation menu of the AutoCAD software. This challenge also helps in settling down of hand on using the AutoCAD software with ease and make plans fasters.