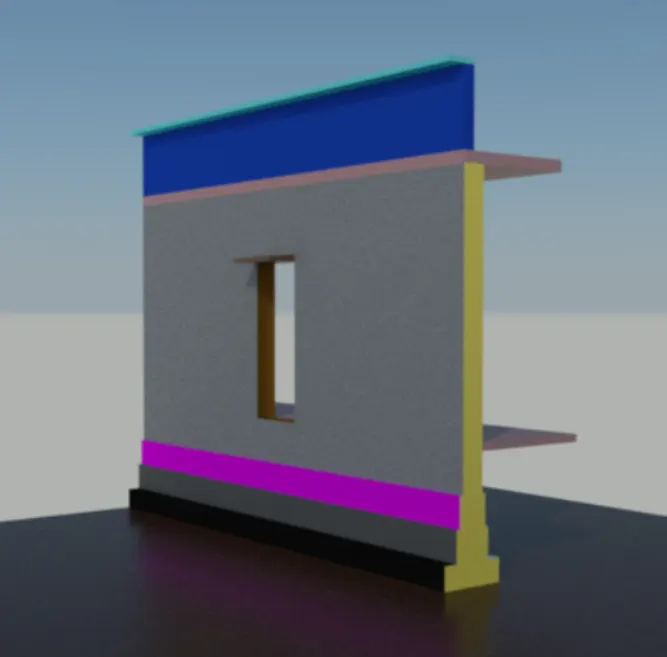
Creating 3D Isometric view of various structural elements in AutoCAD
Aim:
To create a 3D Isometric View of the building with plan and elevation given.
Procedure:
- Draw a rectangle of the dimension of 10'9"X10'9".
- Draw 2 windows of size 3' x 9" and 9" X 3'-2".
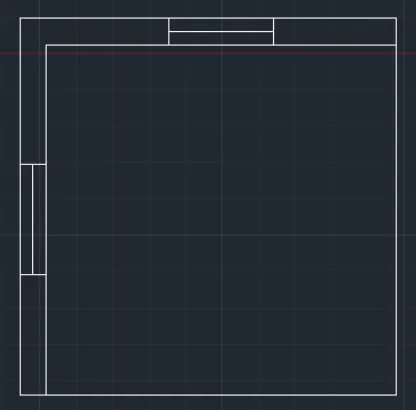
- Now draw the elevation of A and B as shown
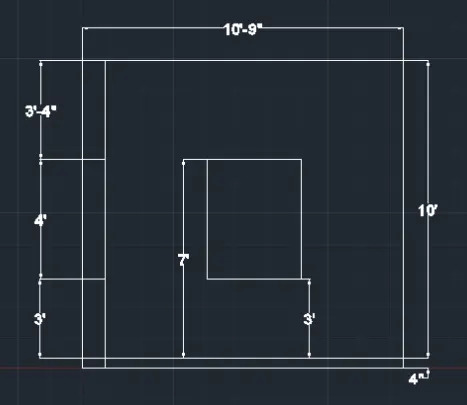
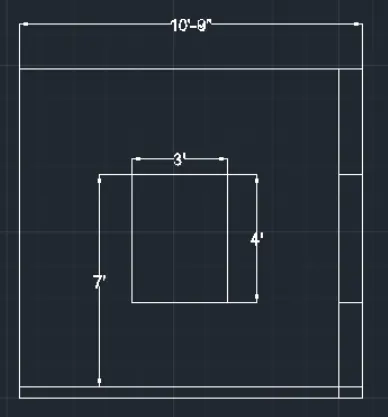
- Using line command draw windows of sizes 3'X4' and extrude as shown
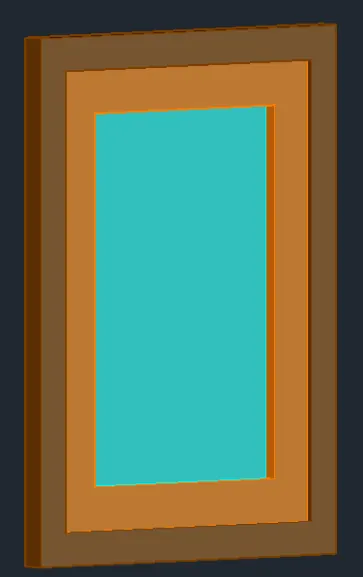
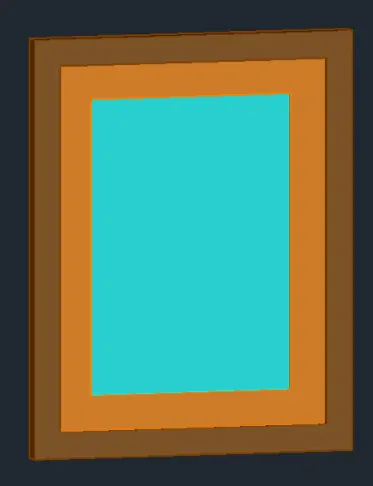
- Now using the extrude command draw the walls
- Using layer provides colors
- Attach the windows.
Result:
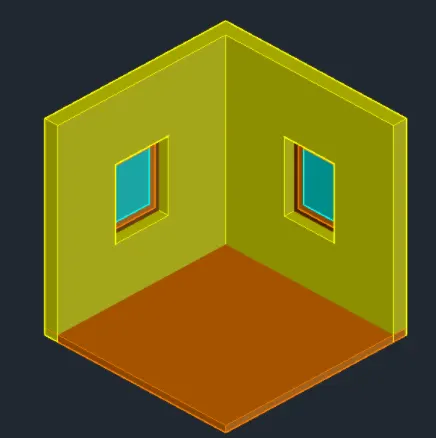
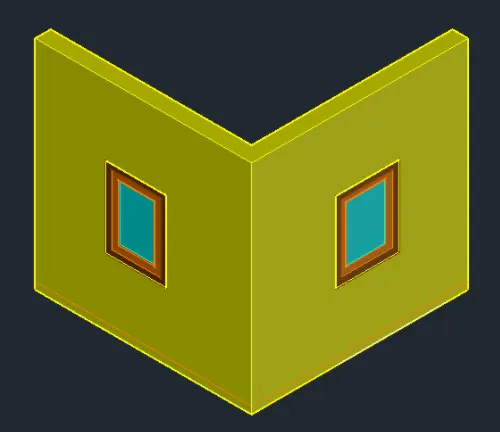
____________________________________________________________________________________________________
2.
Aim:
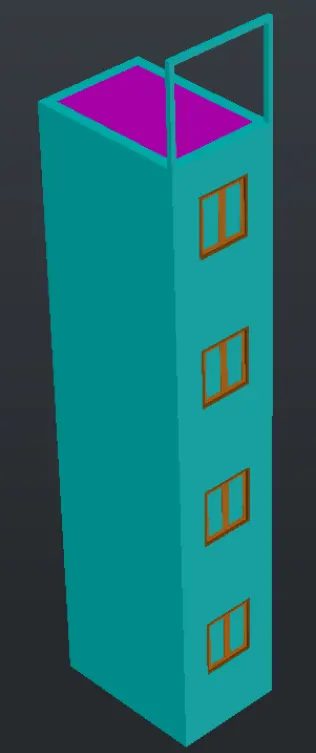
To create the 3D View of the Building Façade as given in the plan and elevation.
Procedure:
- Draw a rectangle of size 7'6" X 10'9"
- Draw window of size 3'2" X 9"
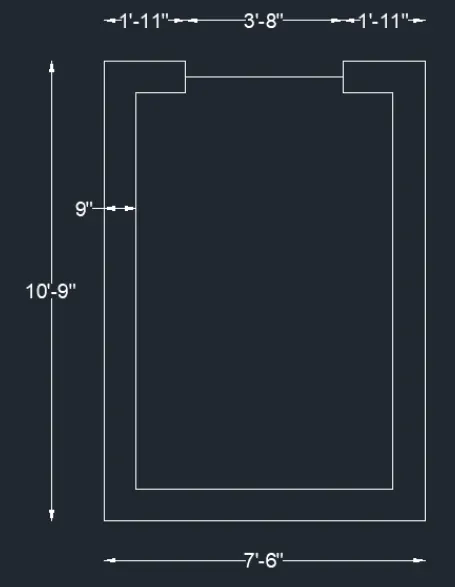
- Using region command, select the obb=ject
- Extrude the plan using extrude command with the height of 40'10"
- Subtract the window portions vertically in the building facade with the distance 5'-11" with the window size of 3' X 4'.
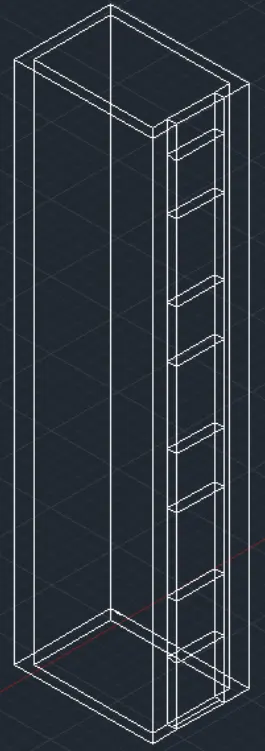
- Type UNION and press ENTER
- Provide colors using layer command
- Extrude the top as shown
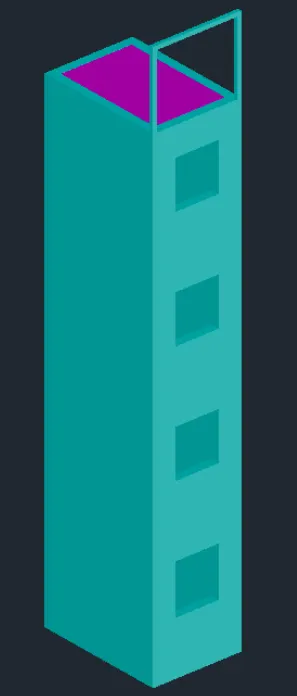
- Using line command draw and extrude a window as shown
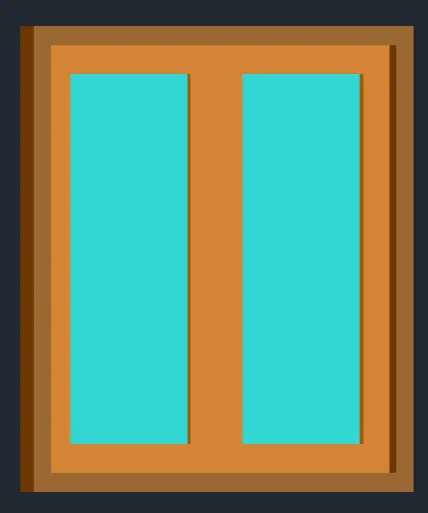
- Attach the windows in the desired position using COPY
Result:
____________________________________________________________________________________________________
3.
Aim:
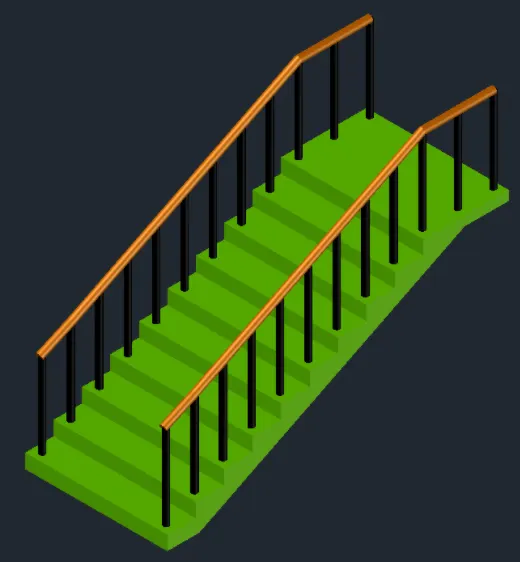
To Create the isometric 3d view of a stair with a railing as shown in the plan and elevation.
Procedure:
- Using line command draw stairs with riser of 6" and tread of 1' as shown.
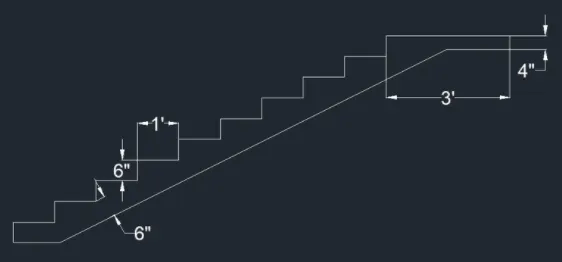
- Extrude the object as shown below.
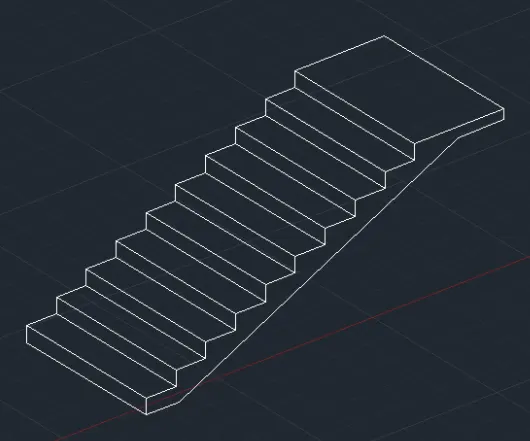
- Draw the railing using the circle command and sweep command.
- Give the colors using layer command.
Result:
____________________________________________________________________________________________________
4.
Aim:
To create the 3D view of a Wall with spread footing
Procedure:
- Draw the plan of the wall with the spread footing with given dimensions as shown.
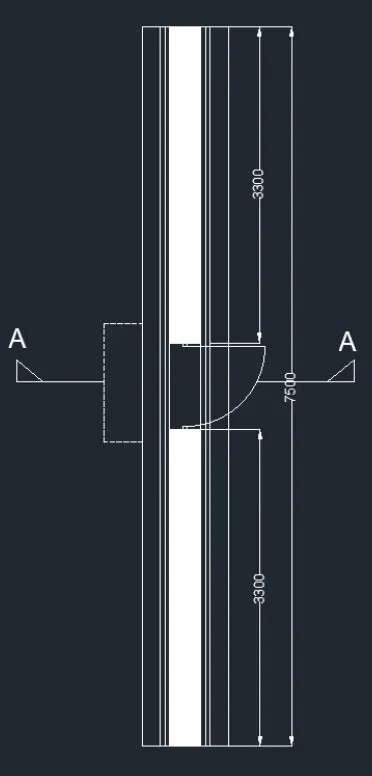
- Draw the isometric view of the wall with the spread footing using extrude command.
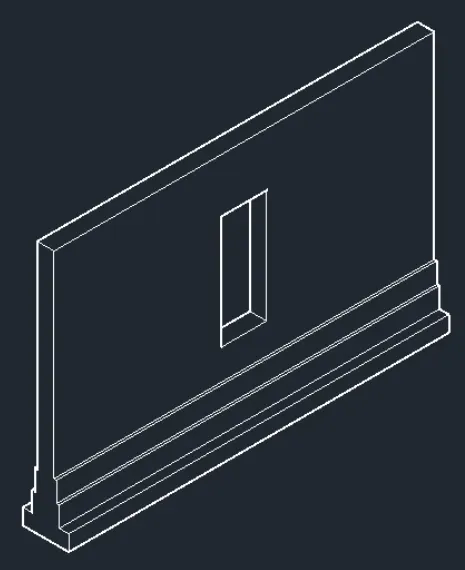
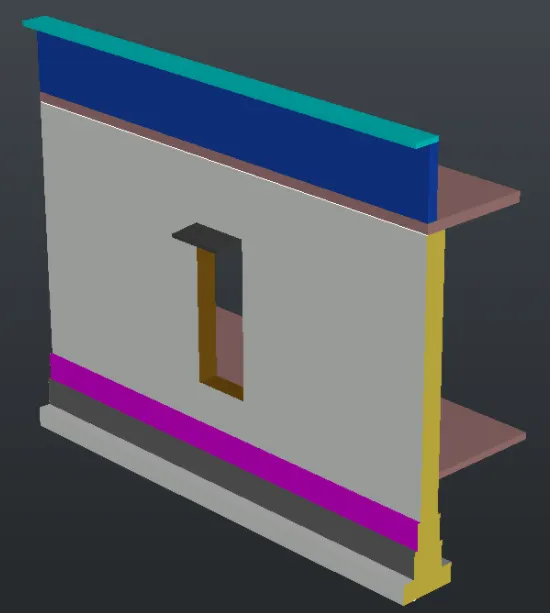
- Provide colors using layer command.
- Provide different materials for the wall with spread footing as shown
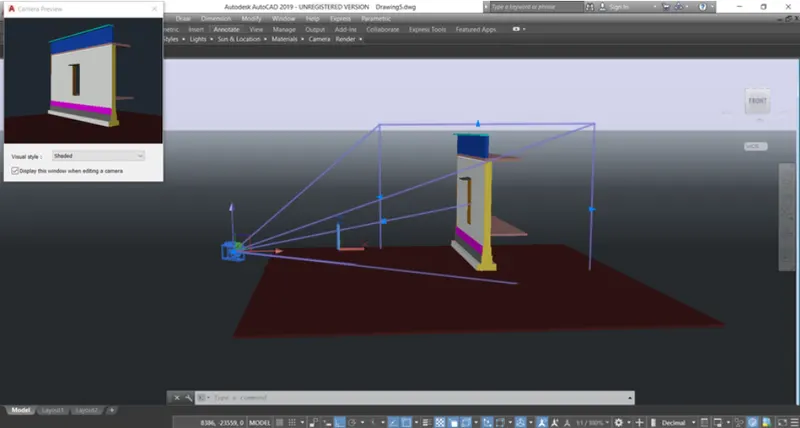
- Select the camera and put it in the required position and then press enter
- Click the camera a small tab will appear at the top of the left corner as shown
Result: