Creating 3D Isometric view of various structural elements in AutoCAD
1.
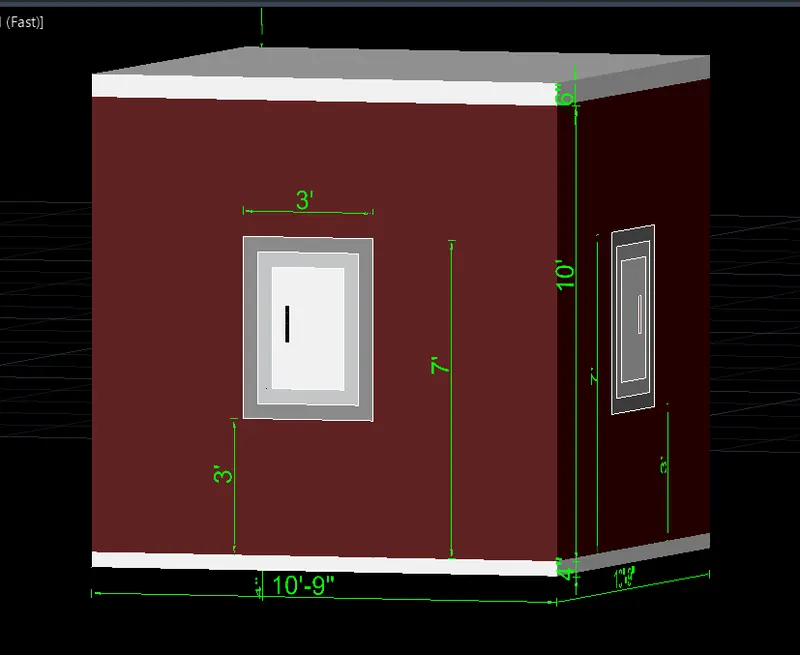
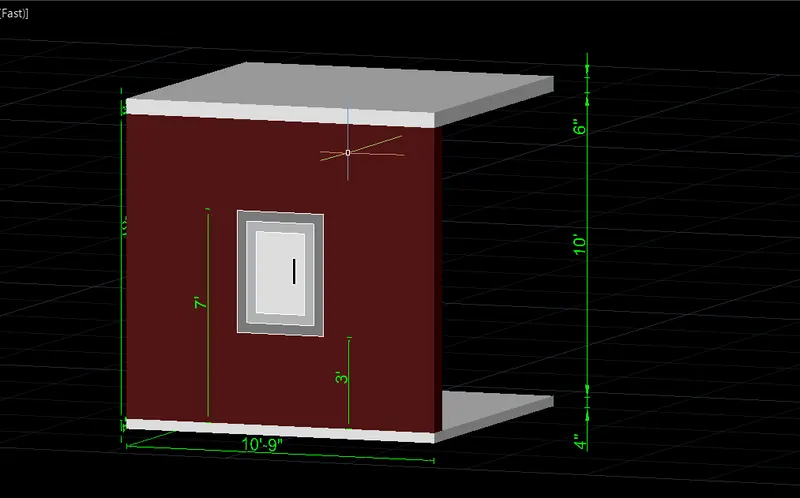
AIM: To Create a 3D Isometric View of the building with a plan and elevation given
PROCEDURE:
1. First set the unit to engineering and inches
2. Creating the necessary layer for the project
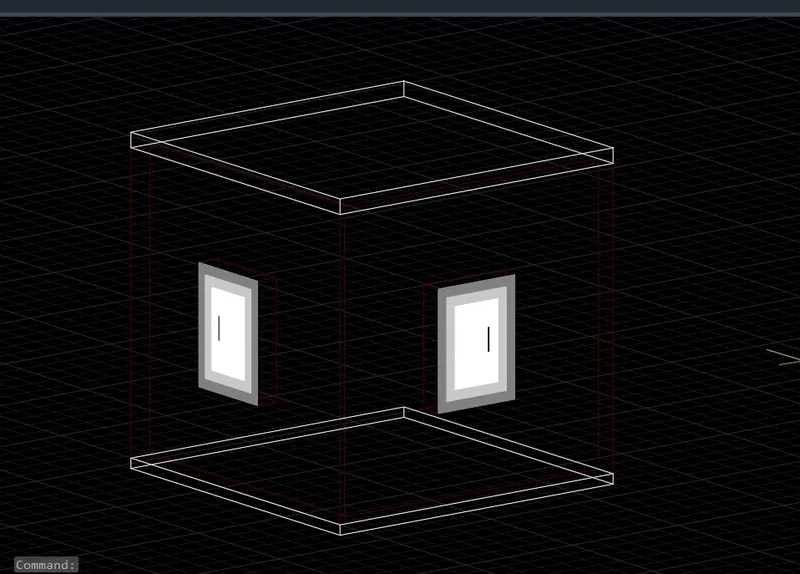
3. Create the first object with the help of the BOX command of size 10'9"x10'9"x4"
4. Over that box create a wall with the help of the POLYSOLID command for a thickness of 9"
5. And again construct a Slab type of object over that wall of size 10'9"x10'9"x6"
6. Now create a window of a given size that is 3'x4" and 9" thick with the help of the BOX command
7. Create two of them and add them to the wall at the center
8. With the help of SUBTRACT command Subtract the window with the wall in order to make a hole in it
9. Now assign each element to its respective layer and assign the color
10. Determine the dimension of the geometry with the help of the DIMLINEAR command
RESULT:
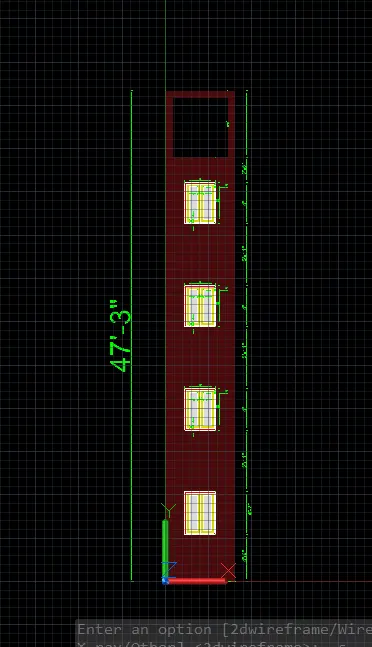
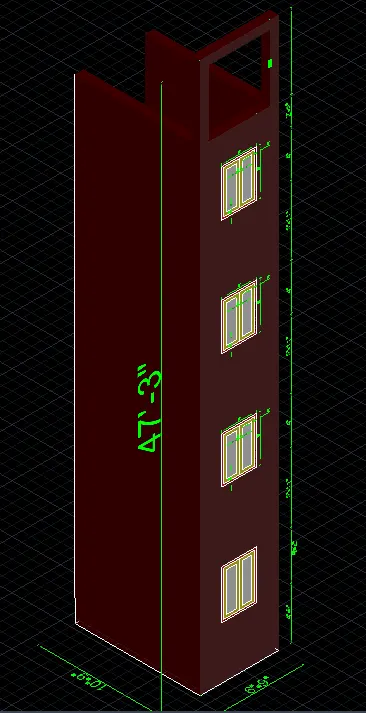
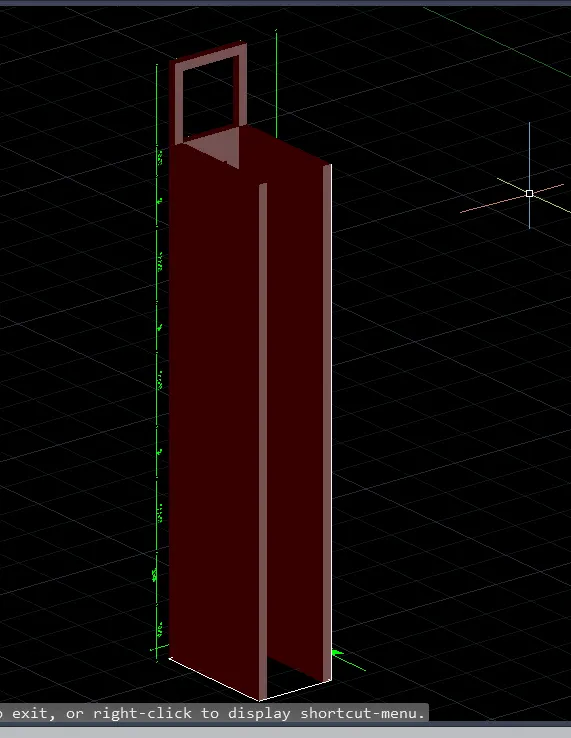
2. AIM: To Create the 3D View of the Building Façade as given in the plan and elevation
PROCEDURE :
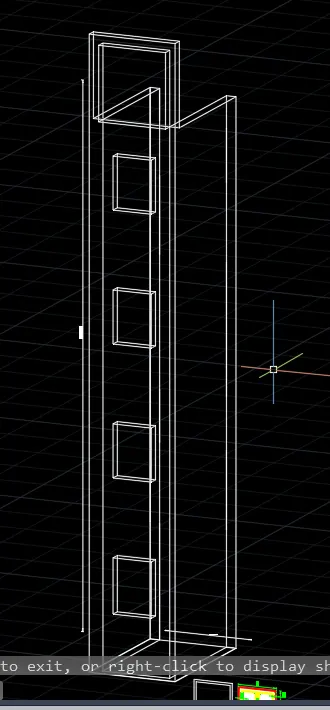
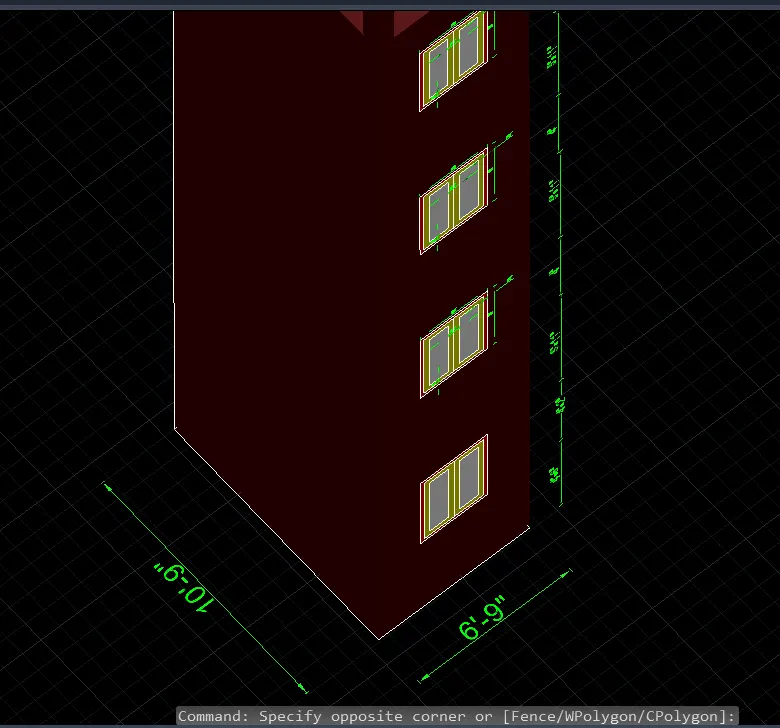
1. First create a base plan for the structure of size 6'9"x10'9"
2. Now create a wall over that plan as per the given dimension for a thickness of 9" and for a height of 40''10'
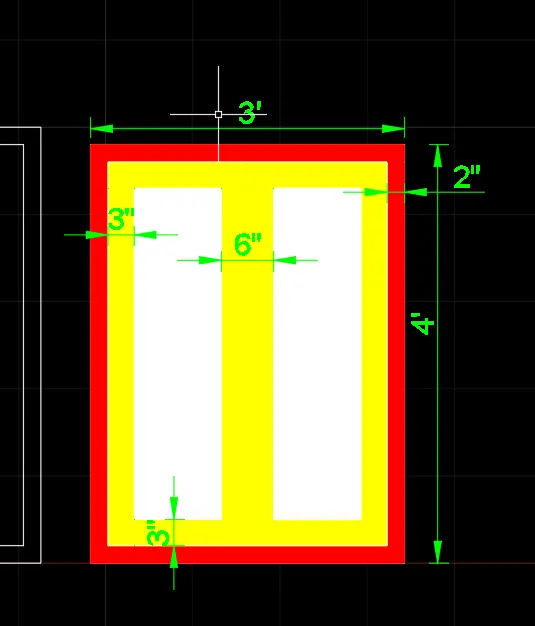
3. Now create a Window with the help of the BOX command for the size of 3'x4'x9"
4. Now Align the window on the wall as per the given dimension
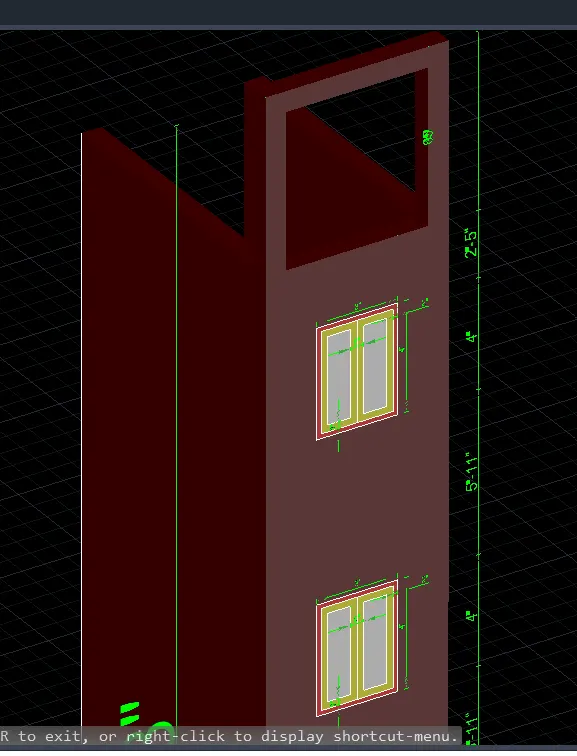
5. And with the help of SUBTRACT command Subtract the Window in the wall
6. Now create a column on the topmost edge of the building as per the given dimension With the help of the BOX command
7. Copy the column for another location and create a beam over that two columns and make it one entity
8. With the help of the UNION command join those columns and beam to the wall making it a single entity
9. Now assign each element to its respective layer and provide them with different color
10. With the help of the DIMLINEAR command determine the dimension of the geometry
11. Use the UCS command to determine the dimension of the geometry
RESULT:
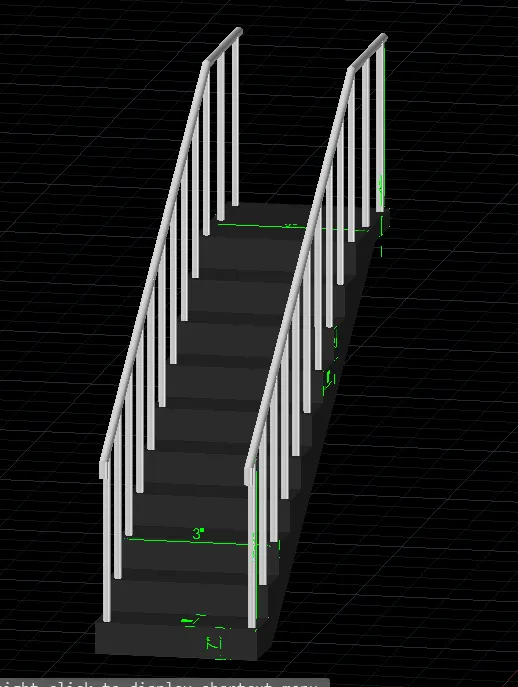
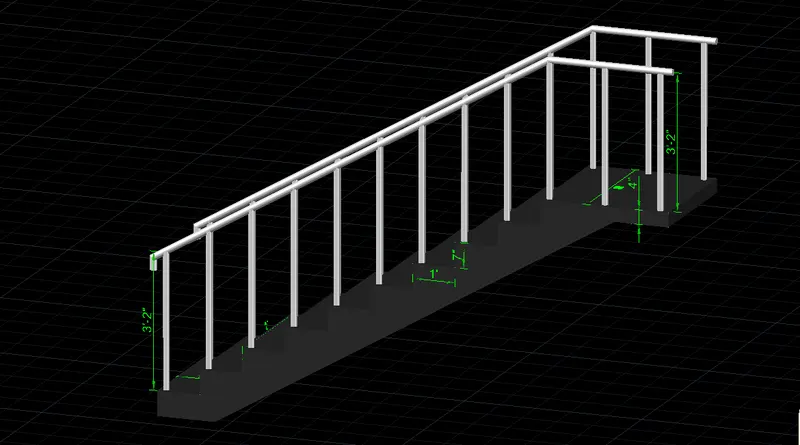
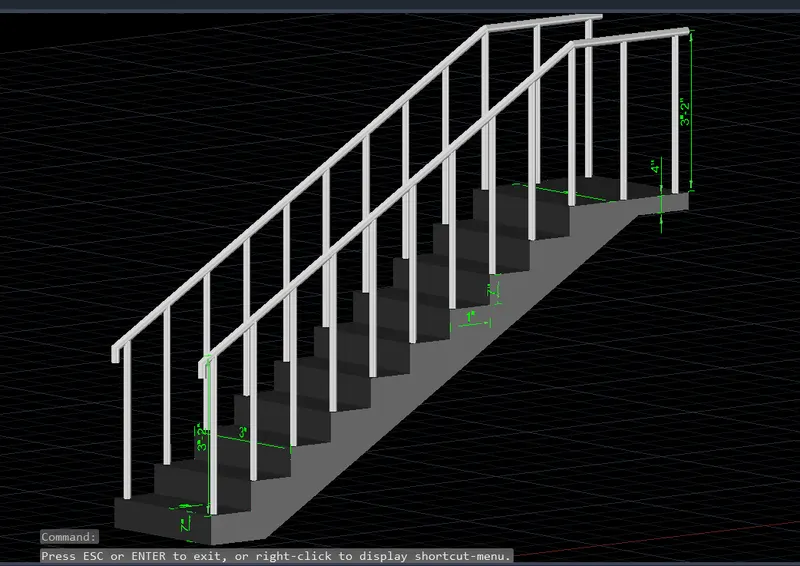
3. AIM: To Create the isometric 3d view of a stair with a railing
PROCEDURE:
1. First create the side elevation of the staircase
2. Tread= 1' and riser= 7"
3. Determine the steps as per the diagram
4. landing length is about 3'
5. Convert it into a region with the help of the REGION command
6. With the help of EXTRUDE command prolong the steps in the y-axis for the length of 3'
7. Create a geometry for the railing with the help of CYLINDER command
8. Use the copy command to replicate another railing
9. Draw a line Form the first railing to the last railing then Draw a circle of 2" in diameter using the SWEEP command to create a handle for the railing
10. Determine the dimension with the help of the DIMLINEAR command
RESULT:
4. AIM: To Create the 3D view of a Wall with spread footing
PROCEDURE:
1. First change the unit to decimal and mm
2. Now create the respective layer
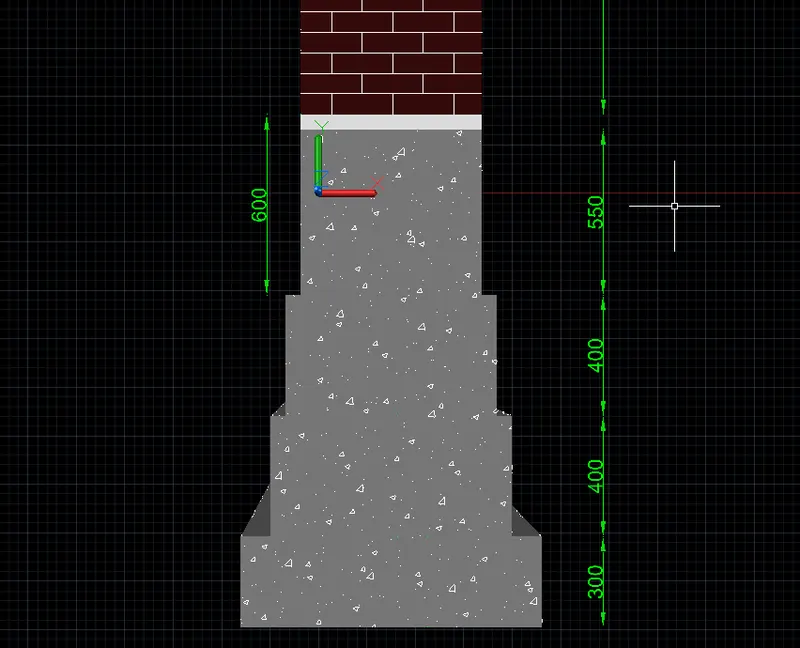
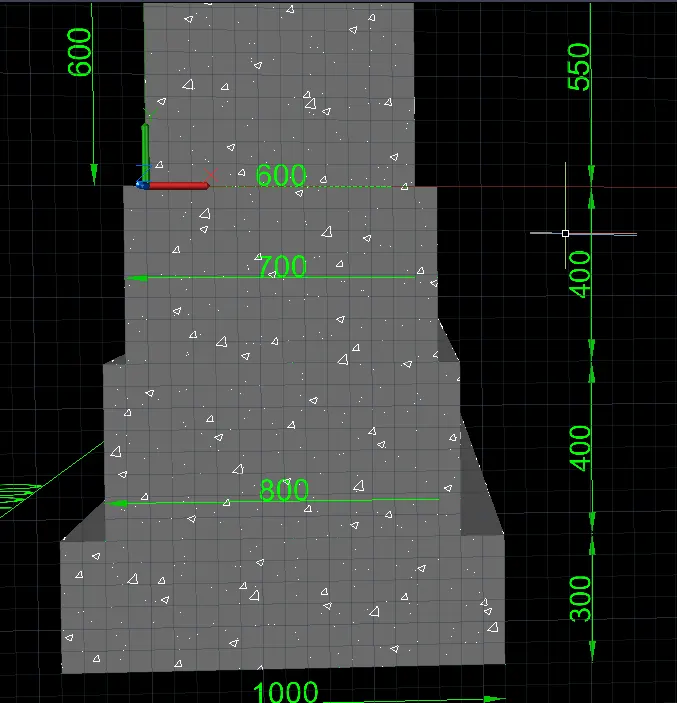
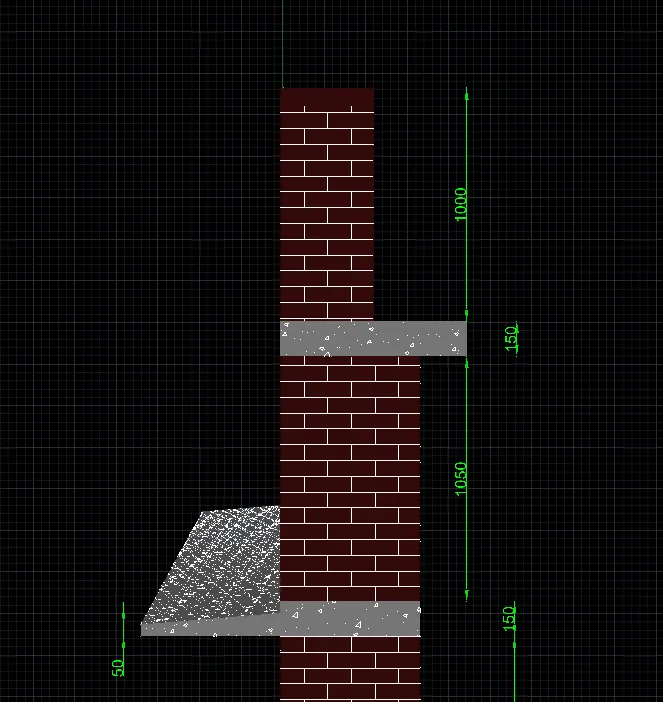
3. Now first draw an elevation that comprises each footing, wall, parapet wall, slab, sunshade, etc.
4. Primarily start with RECTANGLE command and create 1st footing of size 1000x300mm
2nd footing= 800x400mm
3rd footing = 700x400mm
4th footing = 600x550mm
and then a DPC = 50mm thick
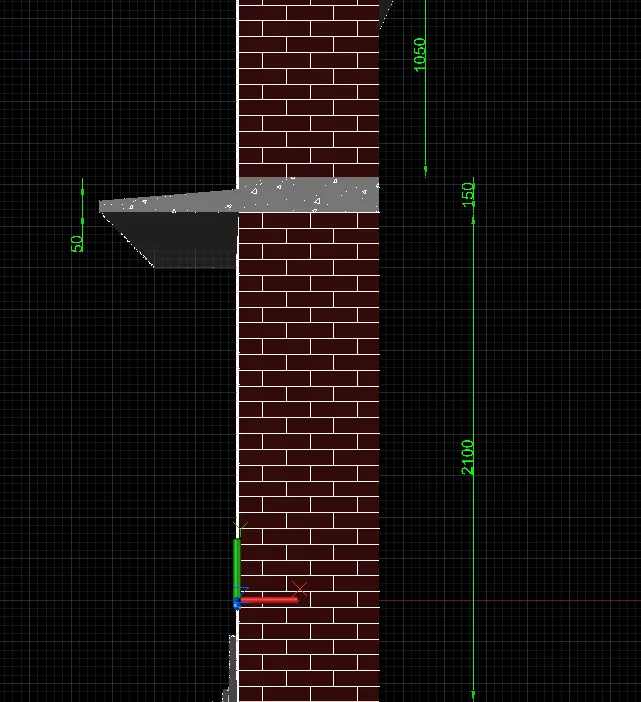
5. Then create a wall with the help of the RECTANGLE command for size 600x2100mm
6. Then sunshade with the help of POLYLINE command with a thickness of 150mm
7. Then create a parapet wall of thickness 300mm and a slab of 150mm thick
8. Convert them into regions with the help of the REGION command
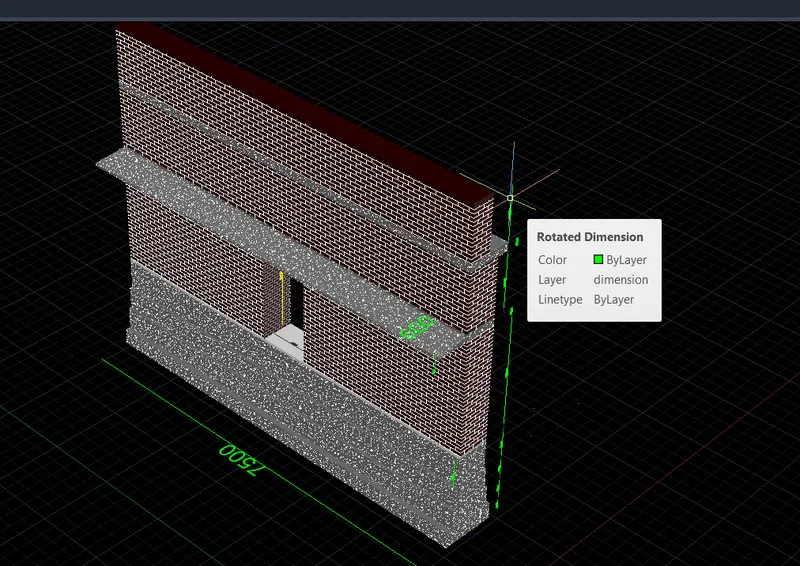
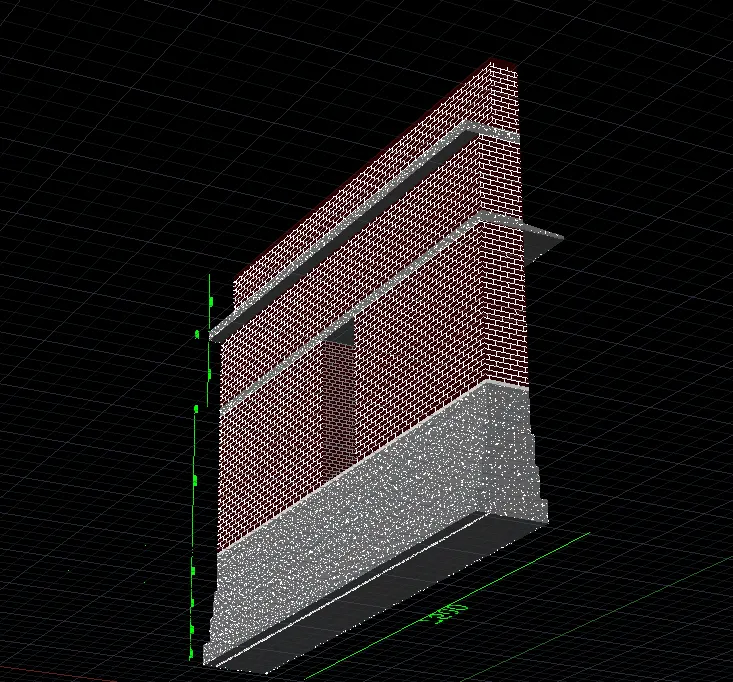
9. Then use EXTRUDE Command to enlarge them for a length of 7500mm
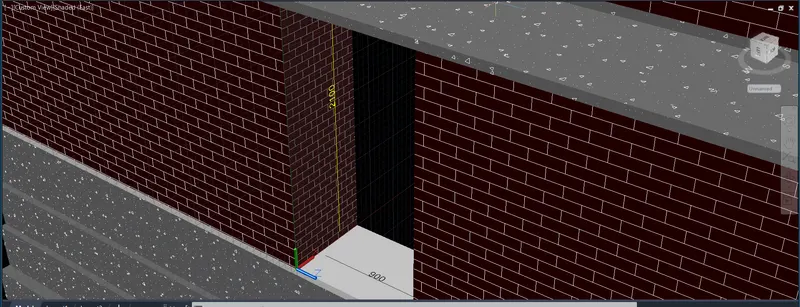
10. Cerate a door of size 900x2100mm and the same thickness as the wall with the help of BOX command
11. Placed it at the center of the wall
12. Subtract it with the help of SUBTRACT command IN order to create a doorway
13. Assign the respective component to their layer
14. Hatch them as per their nature of material using the HATCH command
15. Use the DIMENSION command to determine the dimension
16. Use the UCS command to determine the face while creating geometry
RESULT: