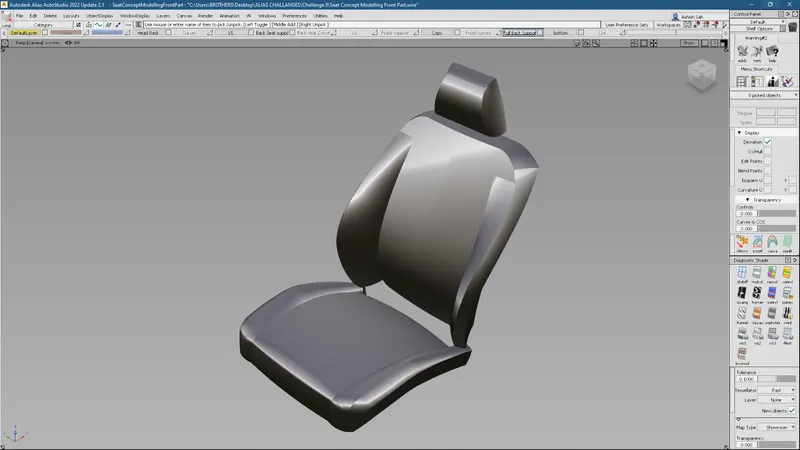
Challenge 8 : Concept Modeling of Seats
Title of the Project: Concept Modelling Of Seats
Objectives: To build the surfaces for the seat.
Introduction:
A surface, as the term is most generally used, is the outermost or uppermost layer of a physical object or space. It is the portion or region of the object that can first be perceived by an observer using the senses of sight and touch and is the portion with which other materials first interact. Surface provides a geometrical description of the article boundary with no topologies data.
Autodesk Alias (formerly known as Alias StudioTools) is a family of computer-aided industrial design (CAID) software predominantly used in automotive design and industrial design for generating class A surfaces using Bezier surface and non-uniform rational B-spline (NURBS) modeling method.
Design Approaches:
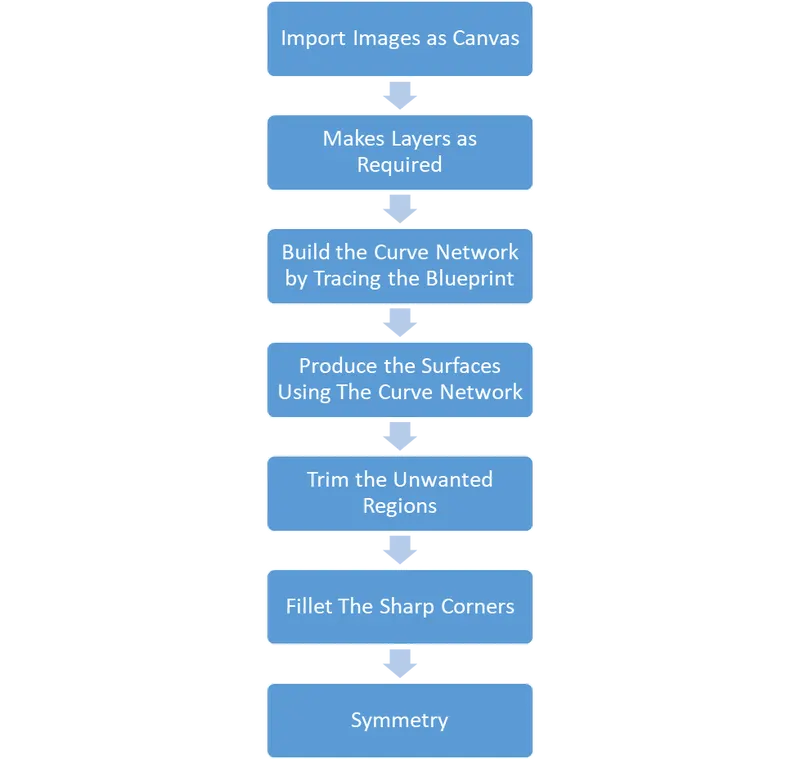
Description:
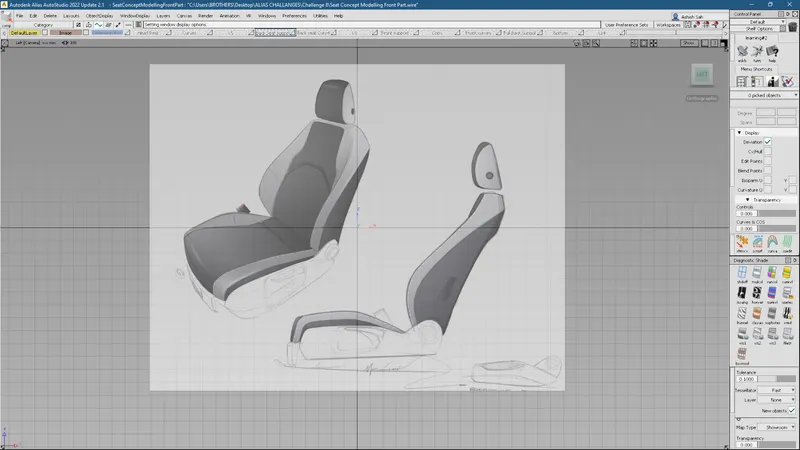
1. Import the given image as a canvas in one of the layouts as shown:
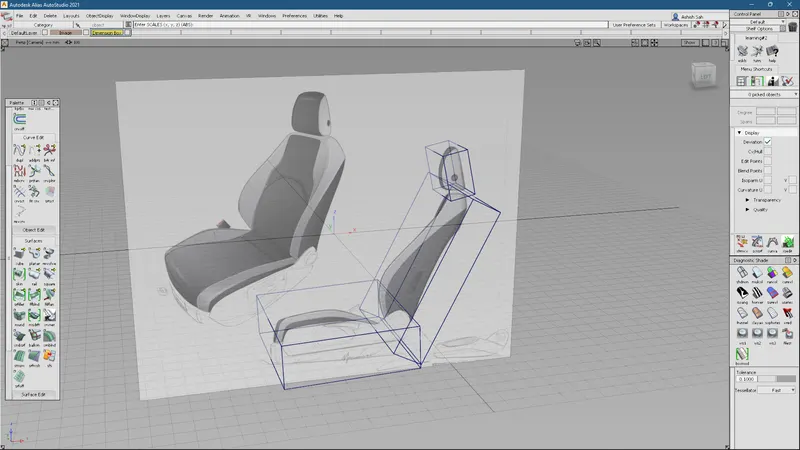
2. make proper dimension boxes for each section as shown in the figure:
3. After importing these images, make layers and assign these images to a particular layer and make it as references. Also, make layers as required.

4. To build the model, I have divided it into three parts:
i. Head Rest
ii. Back Support
iii. Bottom Support
5. As we have only one canvas image with two perspective views we can try to visualize the image and trace the curves based on a particular view.
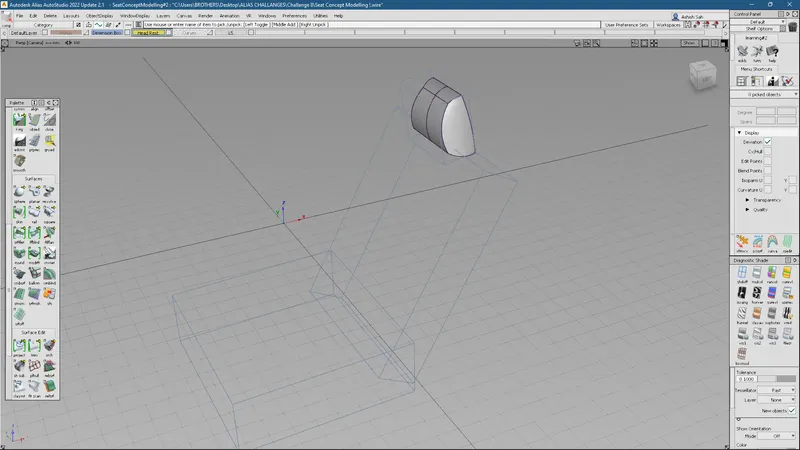
6. First of all, the headrest is made as shown in the figure:
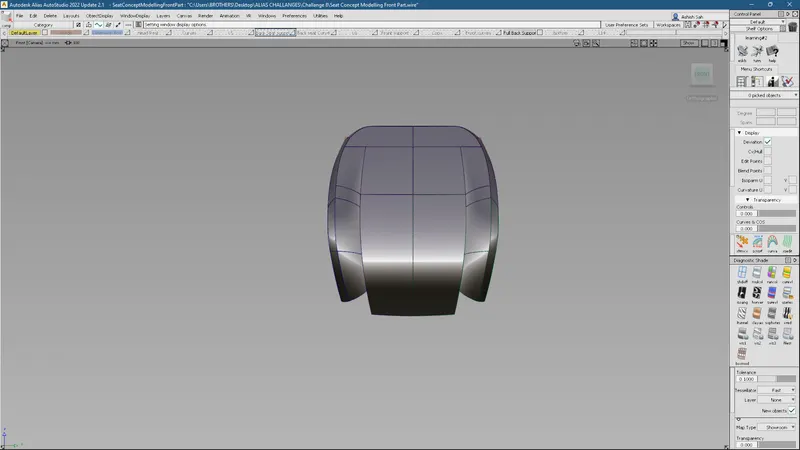
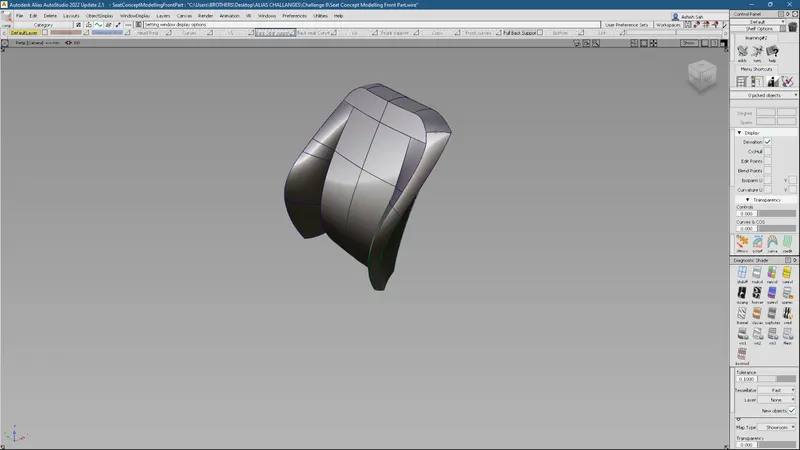
6. Then, the back support is made as shown in the figure:
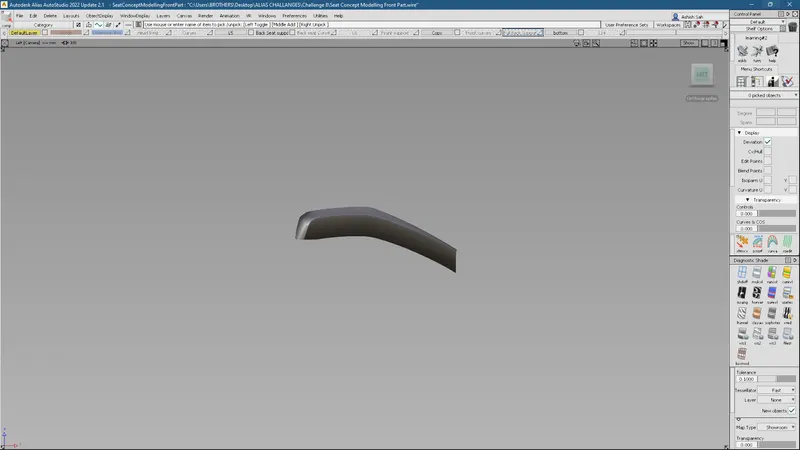
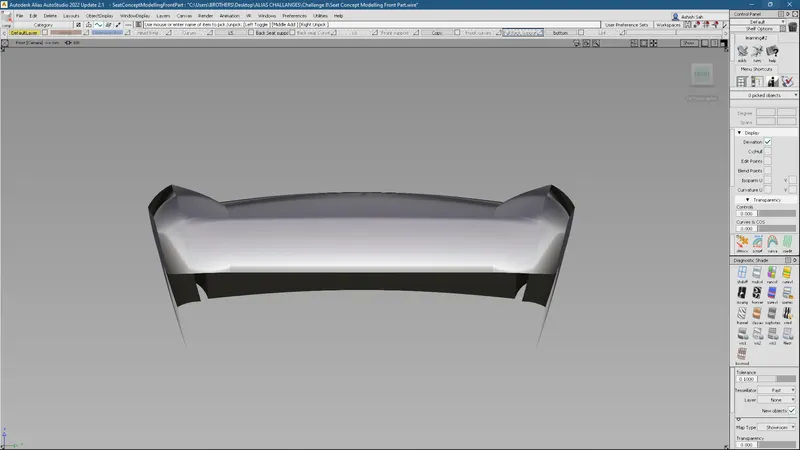
7. Finally, the Bottom support is created as shown in the figure:
8. All these parts were created by using different commands and features. Some of them are listed below:
- cv curve tool
- align tool
- blend
- skin
- rail
- square
- srfcon
- project & intersect
- surface fillet, etc.
Some of them are explained below:
Features Used:
To build the curve networks, cv Crv and blend commands are used.

Surfaces are generated using Surface Tools such as:
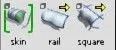
- skin: Creates a skin across multiple curves
- rail: Extrude profile freely or on path curves to make sweeping
- square: fill in the boundaries outline by connecting curves
After creating these surfaces, they are aligned and the continuity is applied to the adjacent surfaces. The surfaces are aligned using the Align tool and the continuity is checked using srfcon under evaluate tab.


To create some cut-outs on the surfaces as shown in the figure, first of all, the curves are projected onto the surface and the unwanted surface is trimmed out using the project tool and trim tool respectively.

To know the construction history, you can use the following tool:

To form Fillets between the surfaces, 'Surface Fillet Tool' is used.

After the completion of one half of the part, the other half is produced by using the symmetry feature in the layers menu.
Conclusions:
Hence, the surface for seats is built.
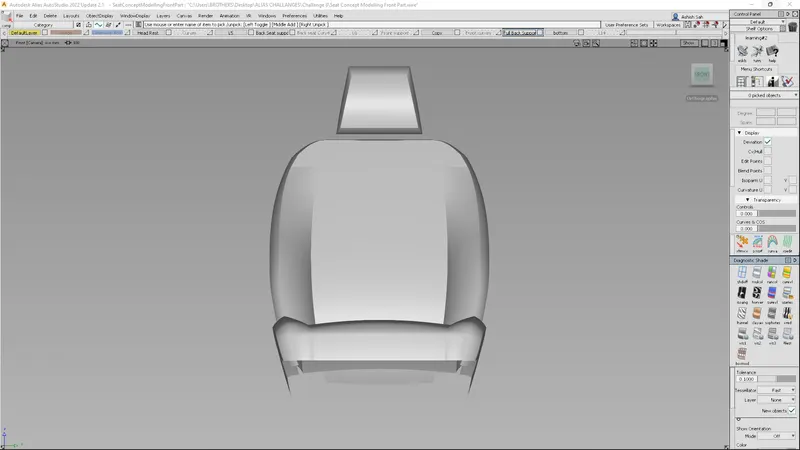
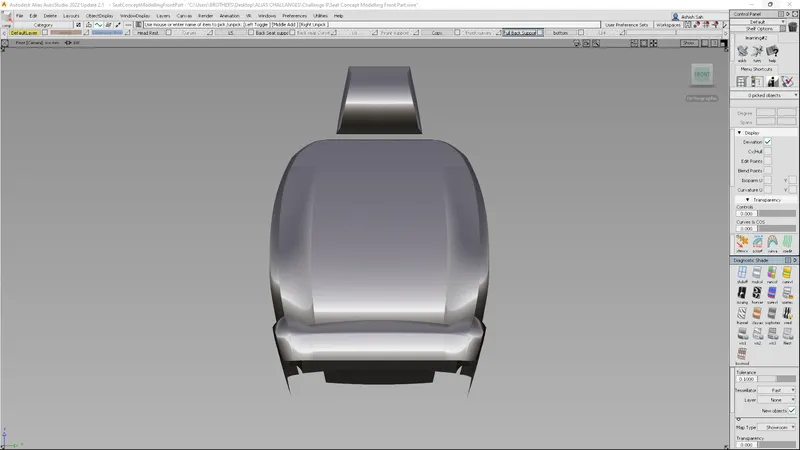
Different views of the seats are as shown below:
1. Front View
2. Side View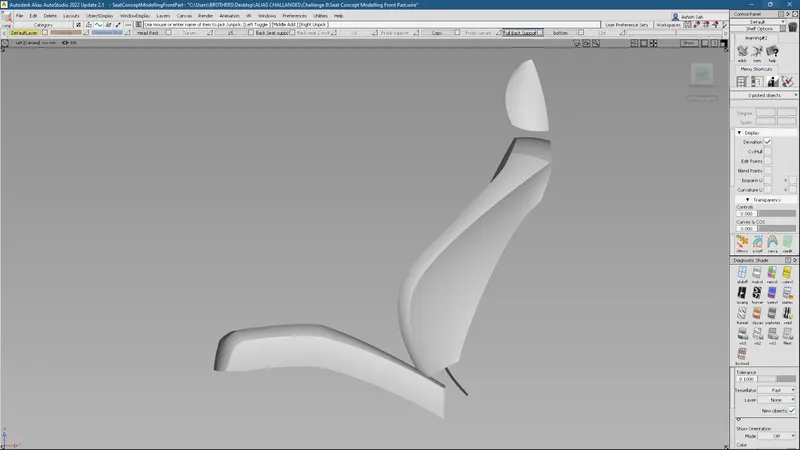
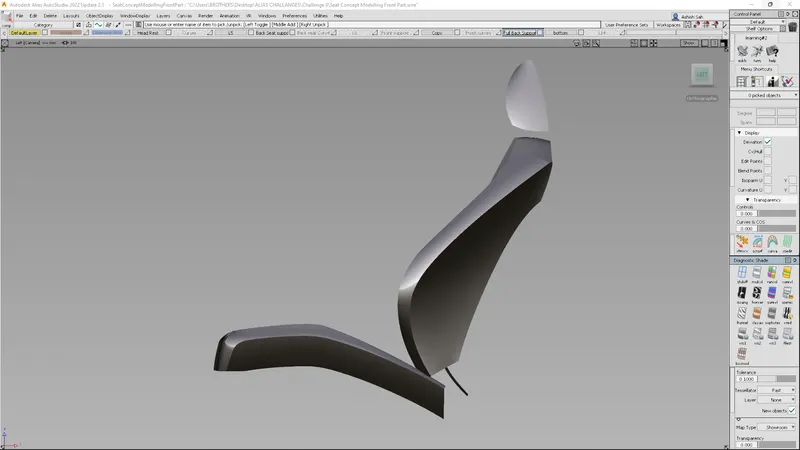
Isometric View: