Challenge 8 : Concept Modeling of Seats
1. title :- To design seat model and check surface with ALIAS software
2. objective:-
1. Seat 3D model is created with using of alias software as per providing sketch of seat
2. Examing of the surface and check surface quality
3. given the basic info about command
4. plannig of creating model is writen
3. introduction:-
Seat have been using with many year ago in the automotive and automobile field. it use for the passenger as well as driver to seat with comfortably in driving time. seats are making with use of leather, cotton, polyster and other kind of fabric use in the recent days.
Automobile industry is growing these days and also they have developed the seat with the adding many features like manual or electronic adjustment, heater and cooler air circulation and massage provided.
project is releted about creat 3D model of seat and we are checked the surface quality to try a good quality surface. model is created in the ALIAS software. planning and which type of command use for generate model is writed in the further.
4. Design methodology:-
preparation plan of steering wheel for generating model
1. find out a same pattern on the blue print ( there is same pattern in the seat image )
2. Seat are dividing two part- right side and left side
only right or left side creat and other side use command mirror.
3. seat divid three sections (seat head, support side, seating side)
start with head , support area and last seating area
4. model is starting to draw from the outer to inner side or bottom to top side
5. use curve tools and surface tools for making surface.
step for generate model
1. set a image on left side of the software.
2. divide a blue print as per same pattern (there is divid image of seat)
3. starte making from the head and support part and seating part
4. generate surface on the curve network
5. check surface quality
5. Description
- Input image
File – import – canvas image – open browser and select photo
Another way is you can select image and hold right mouse button and move in the software screen (automatic image input in your need side).
- Curve tools
Window – palette – curves tool – (line, blend, curve and many tools are their)
This tools use for network generation.
- Surface tools
Window – palette – surface tool- (sphere, planar, skin, rail, square, multiple curve ).
Above tools are use for surface generation. Skin tools is create two side surface. Rail tools is crate two, three and four side surface. Square tools use for four side surface. And multiple curve tool use for more then 4 side surface.
- joining of two curve
pick the curve - move – press ctrl + right button mouse or ctrl + alt + mouse middle button
- Short key for pick, move, scale
Shift + ctrl + right button mouse
Shift + ctrl + middle button mouse
Shift + ctrl + left button mouse
- Zoom in and zoom out
Shift + alt + mouse right button
Middle button move round
- Project, trim tool
In the Palette - surface edit - project (any curve project on the surface)
In the Palette - surface edit – trim tools ( any portion cut by this tool)
- Check surface quality
For quality of surface, Skin control bar, rail control bar and square control bar open and find check surface quality and also G0, G1, G2, G3 option through change quality of surface. Crvcvtr tool use for curve smoothness.
9.mirror and dublicet
edit - dublicate- select (mirror or object )
mirror is use for the copy of pattern and paste on the other side.
object use for mode is copy and rotation paste.
10. surface filet
this tool is making round and champer edge of the surface
palette - surface - filet
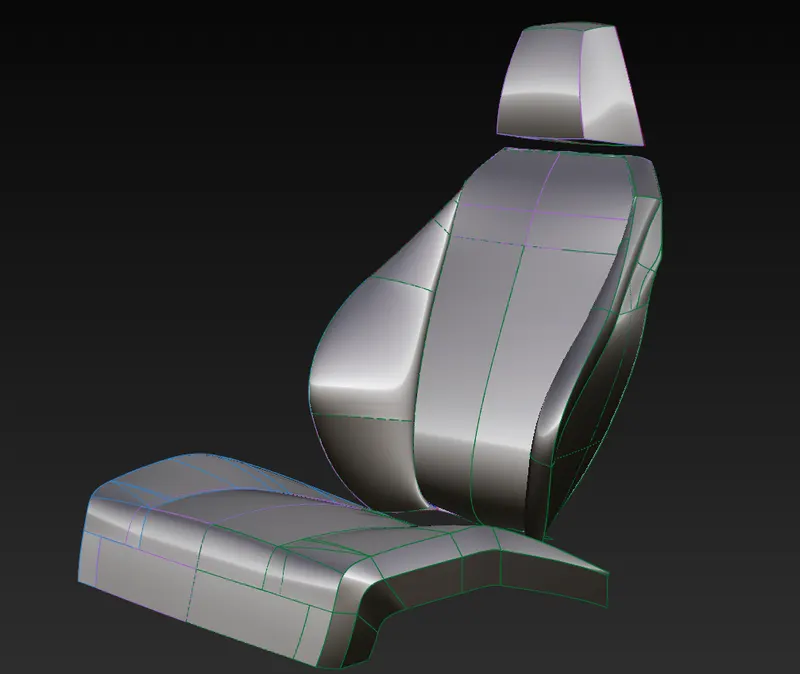
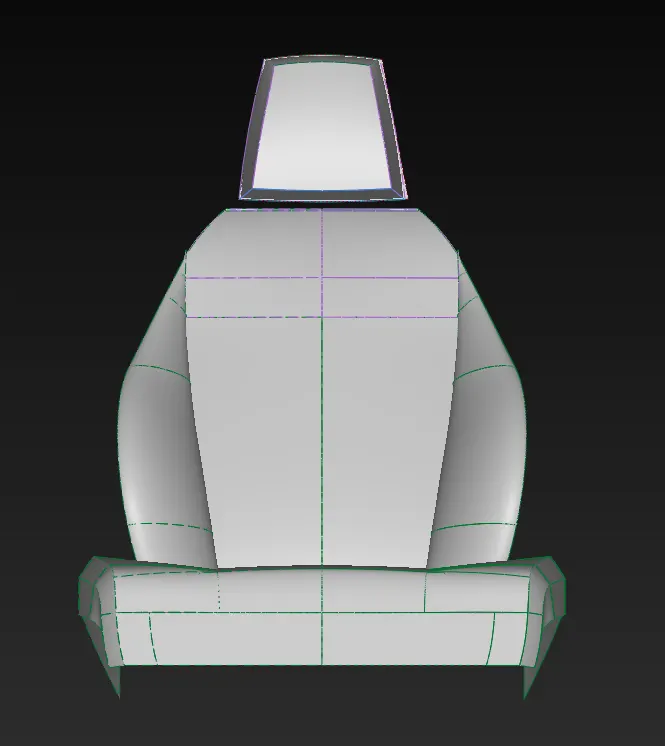
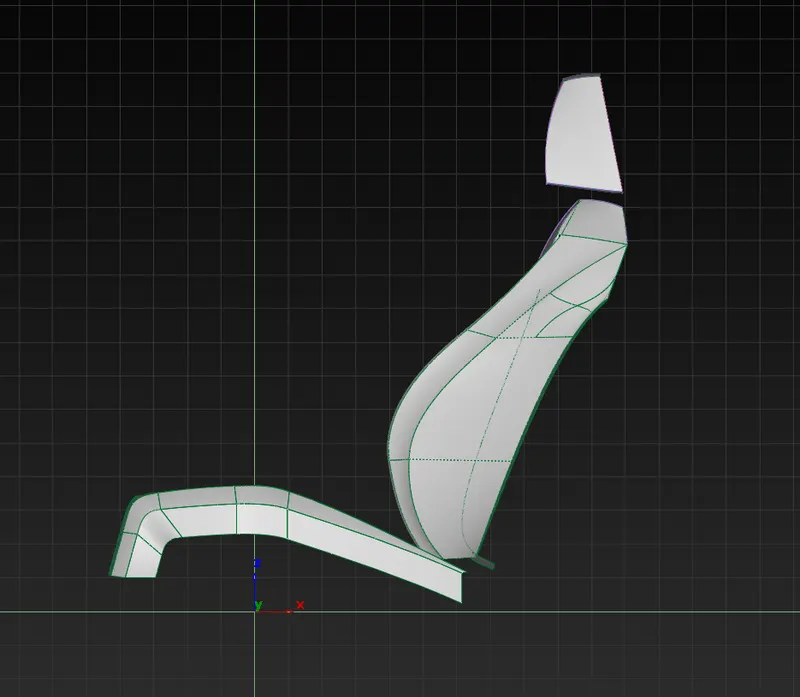
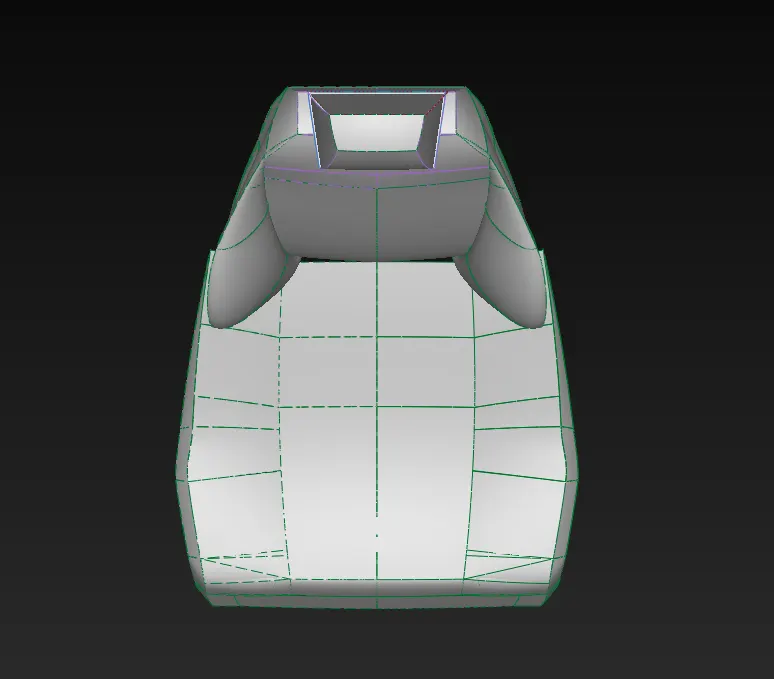
6. Model image
isometric view
front view
side view
top view
7. Conclusion
overall, blue print is divided in two part and only one side is made. model is in subpart like head ,support area and seating area , the model is genaret by the following above steps and last analys the surface .