Assignment 5-RADIOSS Interfaces & Study of Effect of Notches Challenge
RADIOSS "Interfaces" & 'Study of Effect of Notches Challenge'
Objective :
- To Create mesh for bumper assembly with size of 6mm.
- Import the crush tube model and observing the changes happening in the model.
PROCEDURE :
BUMPER ASSEMBLY MESHING :
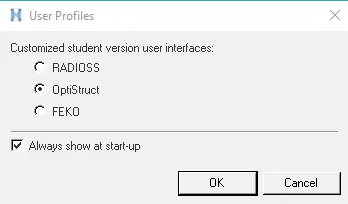
- Open Hyperworks > optistruct > OK
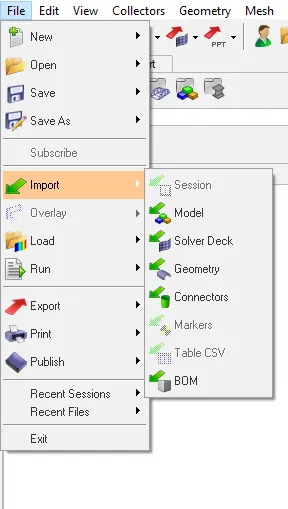
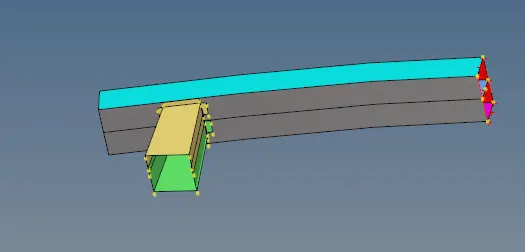
- Go To File > Import > model > Downloads > Bumper_System
 >>
>>
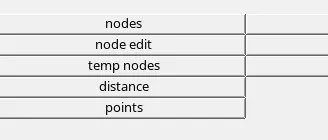
- Then Clear all the temporary nodes in geometry edit.......Temp nodes > clear all
 >>>>
>>>>
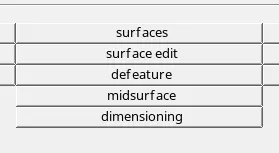
- Select Surface edit > trim with surf > self intersecting surfs > trim
 >>
>>
- iT WILL BE OBSERVED AS BELOW IMAGE .
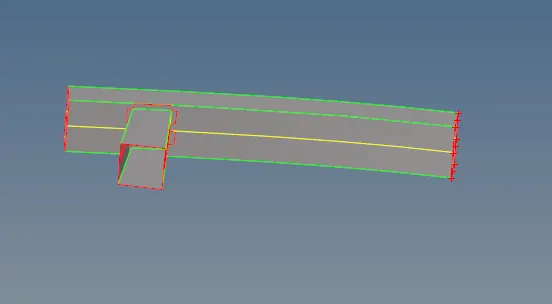
- Then Extend > Extend over edges > lines to extend over >surfs:to extend and >extend

- Clear all Unnesssary Surfaces and check the elemnt quality and maintain 6mm nodes gap betwwn the elements.
- Go to 2D > automesh > select the surfaces>mesh.
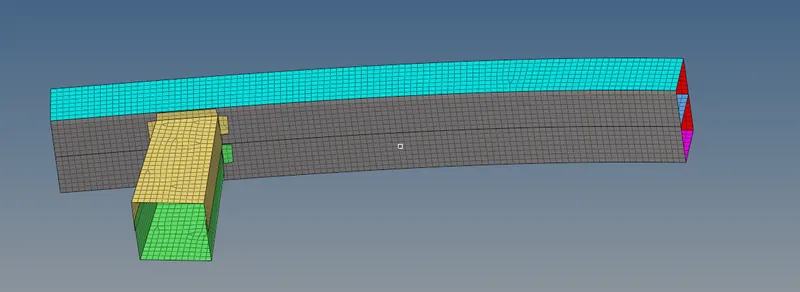
- Then select tools > reflect > elements > displayed > along y axis > reflect
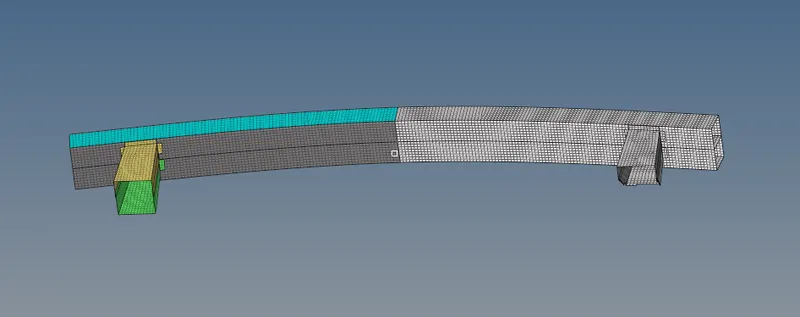
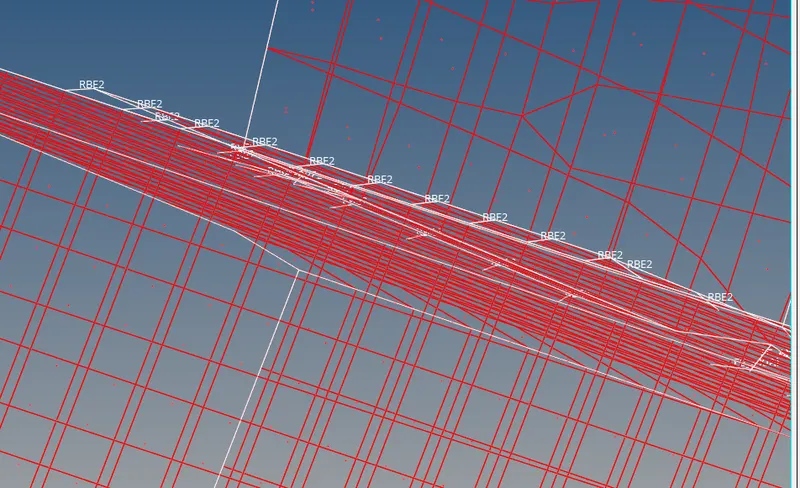
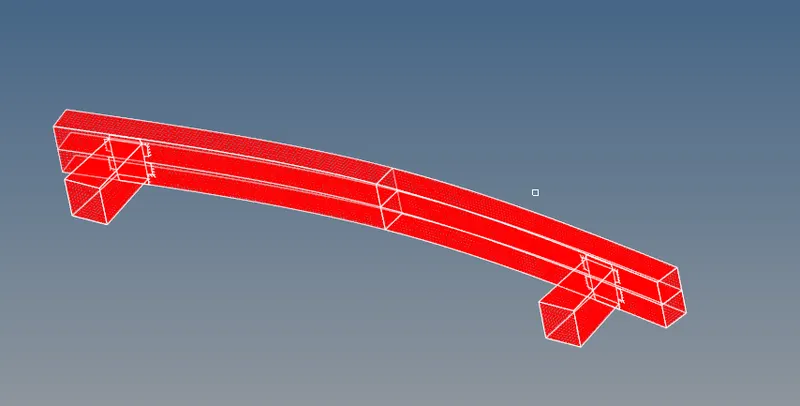
- After completing there will be a gap between crash box and bumper assembly we have to connect them through 1D connecters using rigids, rods, bars, welds.
- Therefore ,the meshing and 1D assembly of bumper is completed.
-------------------------------------------------------------------------------------------
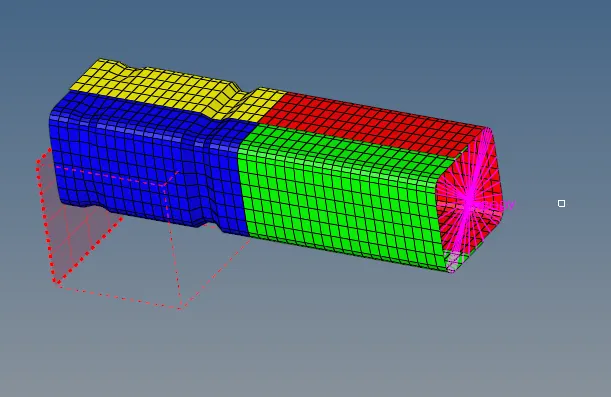
CASE : 1 ''''''''To import the crush_tube model and run as it is , and observe the results.
- File >Import>solver deck>crush_tube_0000.rad>import
- Save the model in a seperate folder before running the simulation.
- Analysis > Radioss > tick include connectors > no of iterations as > -nt 4 > Radioss
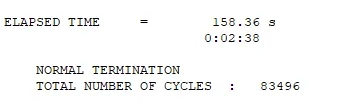
- If there is no errors in .out file and .rst file then we will be seeing the simulation runs. Check for results and observe the output file errors .
 >>>
>>>
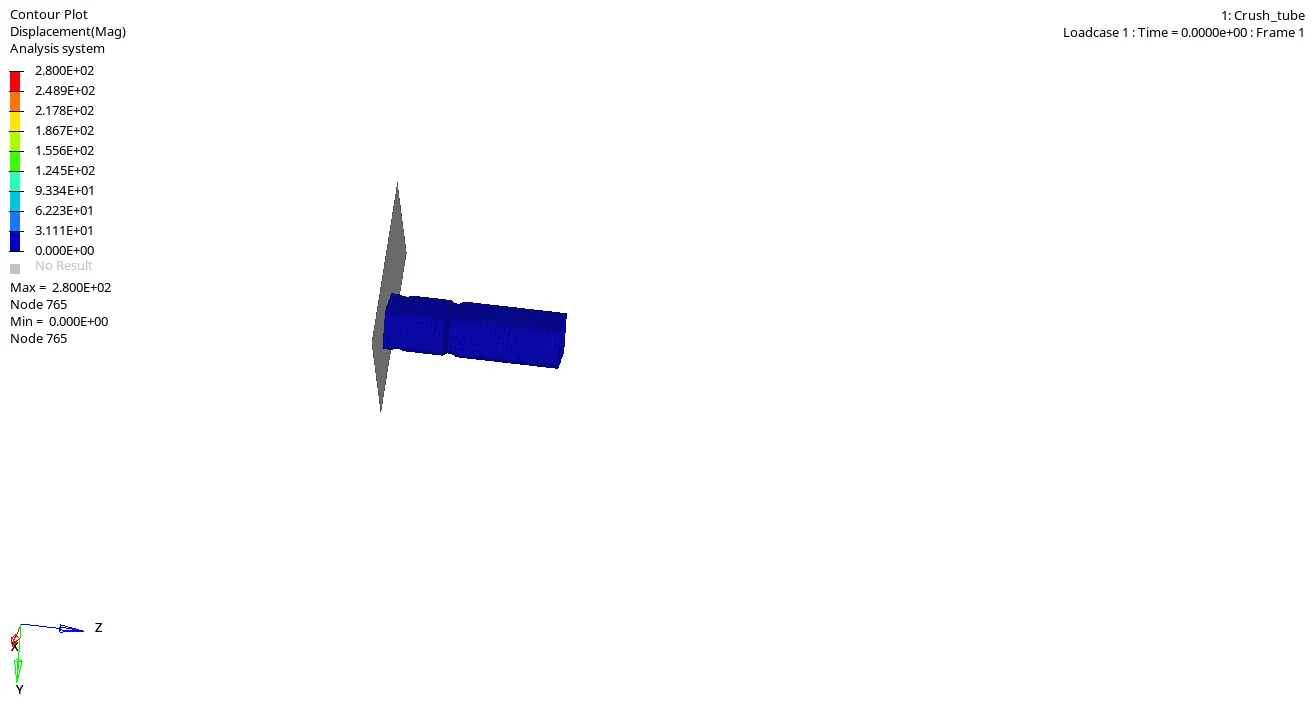
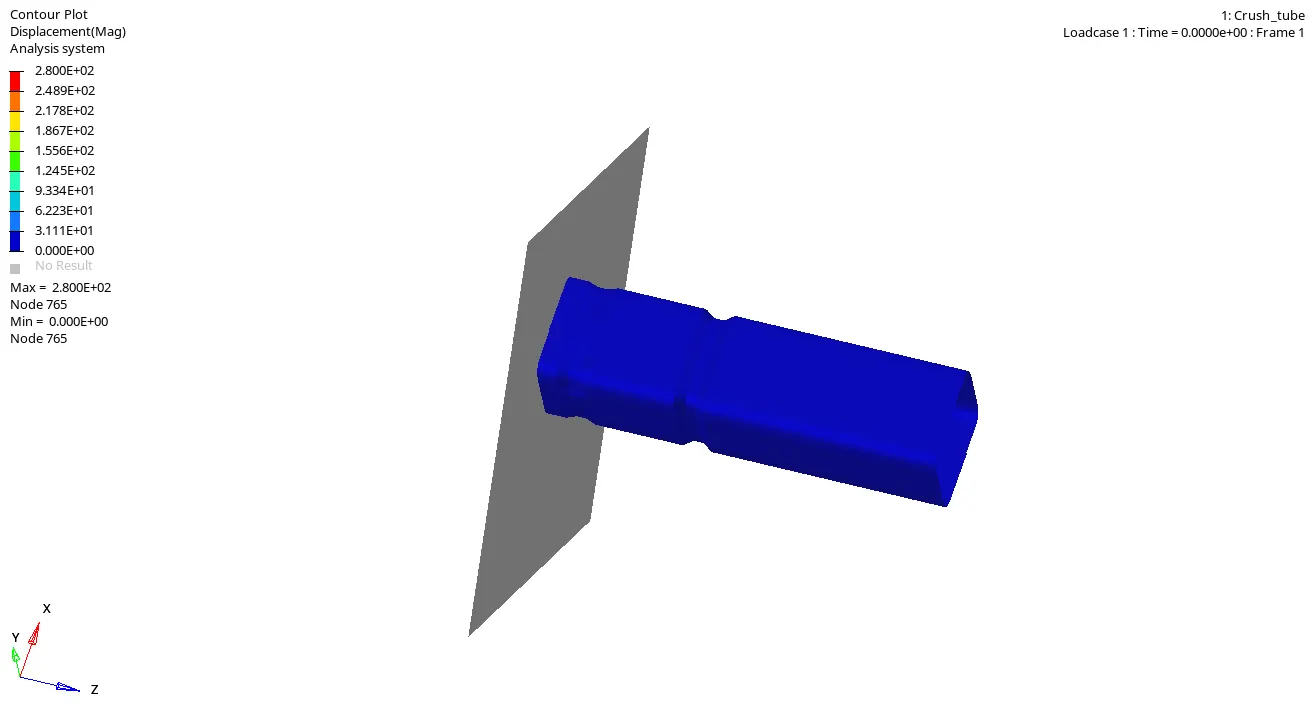
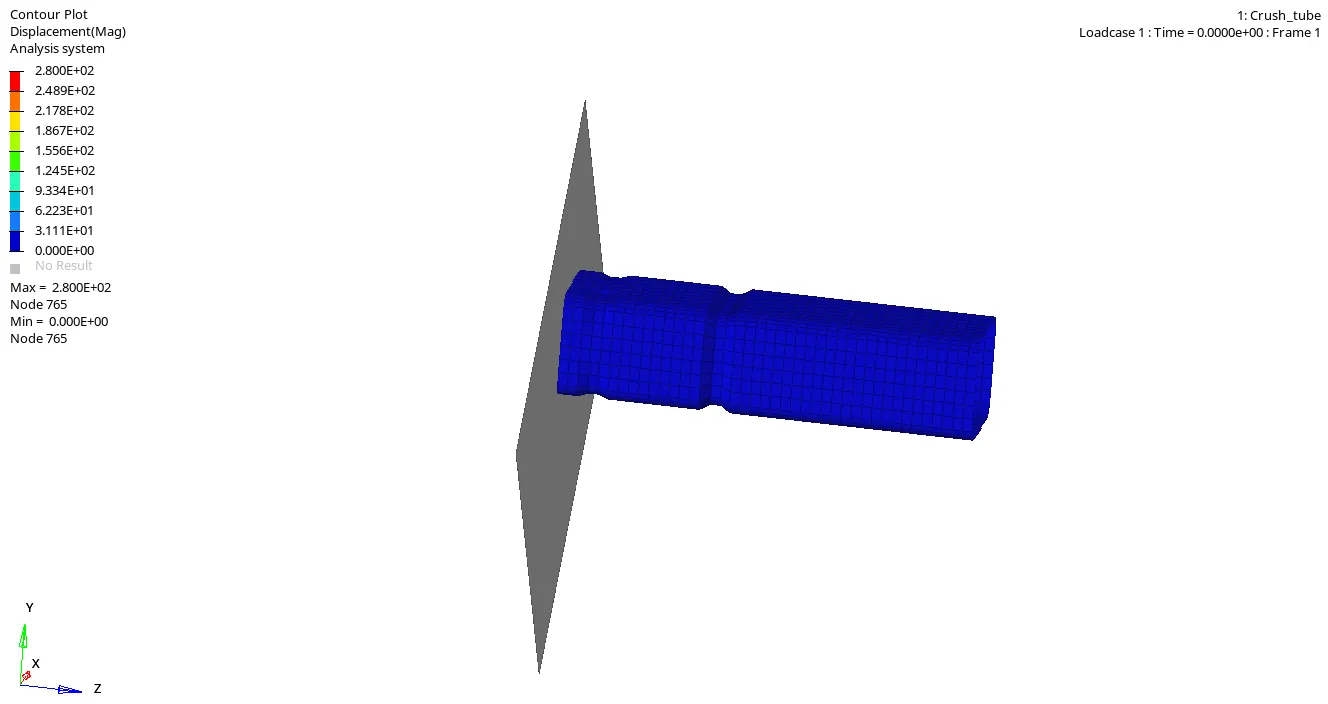
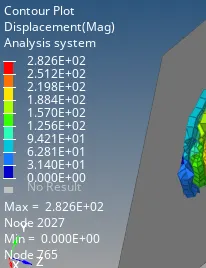
- We Observe the crash is happening with minimum time of 0 ms and max of 2.8 ms .
- The Notch in the crush tube undergoes for hard crush followed by the whole tube with second notch too when force is applied on the tube from otherside.
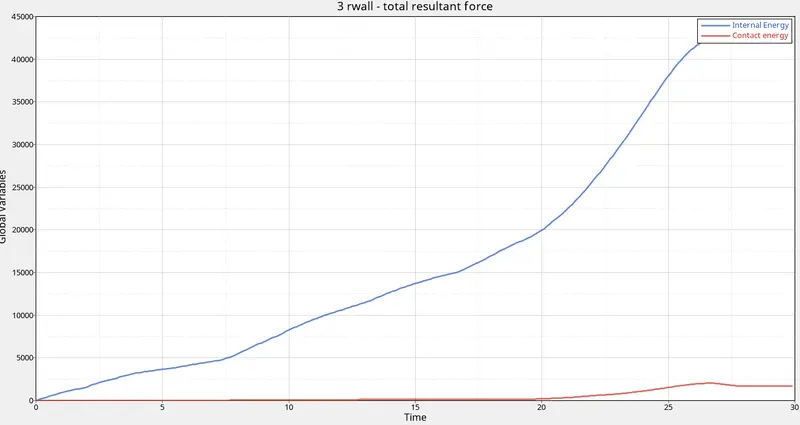
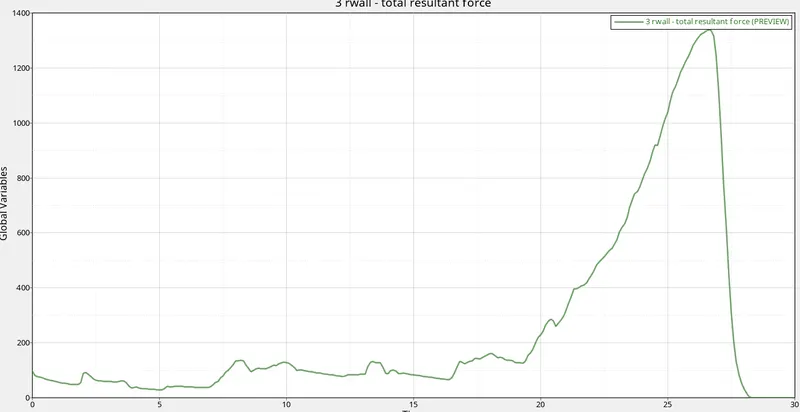
- Lets Plot the graphs for the following Avi Video .
- Hypergraph 2D >Select File >T01 > select X-axis >Y-axis>apply
 ----
----
-----------------------------------------------------------
CASE :2 ''''''''''Change the inacti =6 and run the simulation
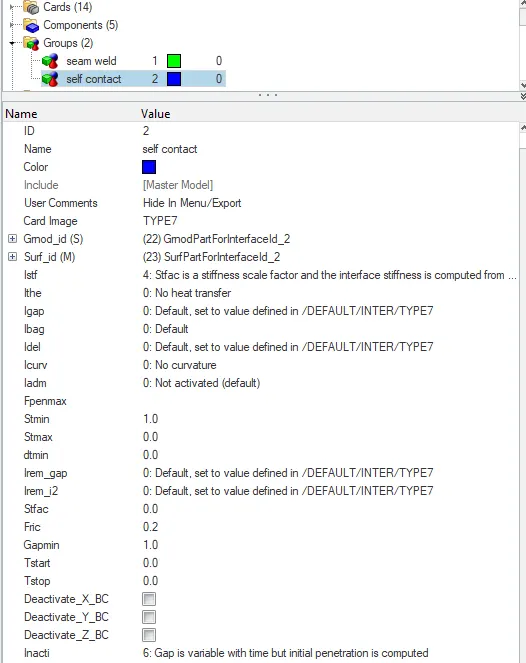
- Click on View > Browsers >Model >Groups > seam contact > inacti will be 0 change it to 6.
- File >Import>solver deck>crush_tube_0000.rad>import
- Save the model in a seperate folder before running the simulation.

- Analysis > Radioss > tick include connectors > no of iterations as > -nt 4 > Radioss
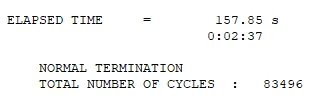
- If there is no errors in .out file and .rst file then we will be seeing the simulation runs. Check for results and observe the output file errors .
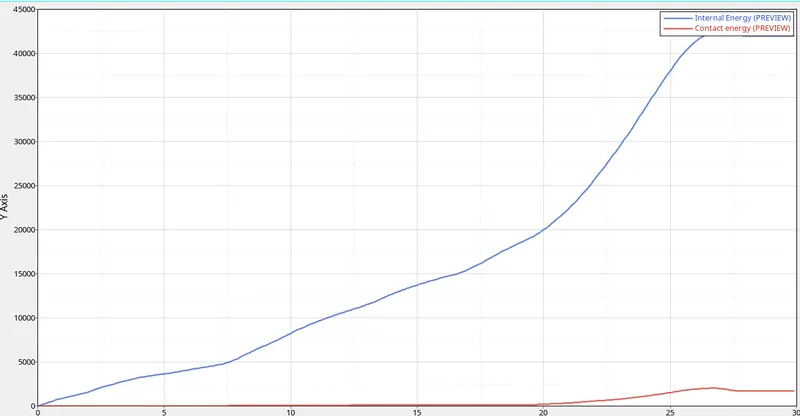
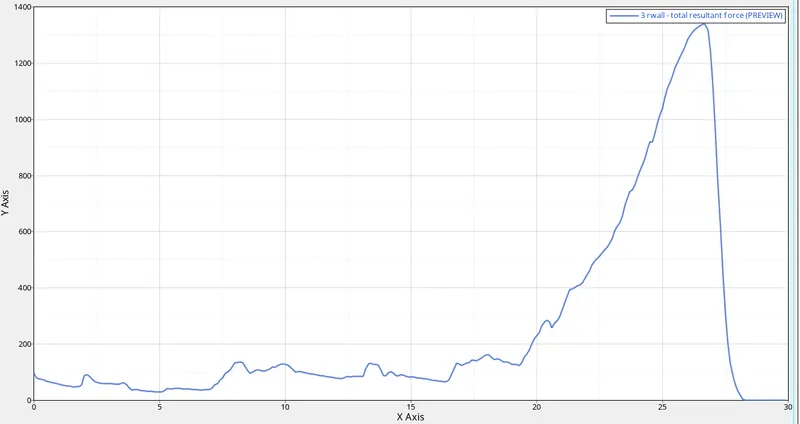
- Lets Plot the Graphs for following Avi Video .
- Hypergraph 2D >Select File >T01 > select X-axis >Y-axis>apply
 ----
----
----
-----------------------------------------------------------------------
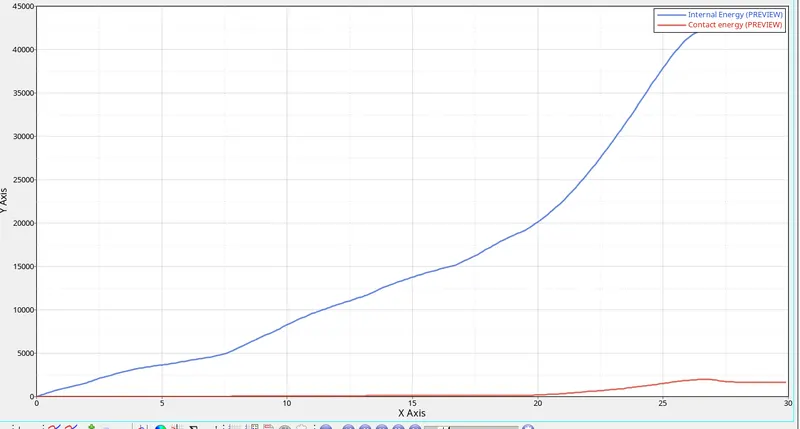
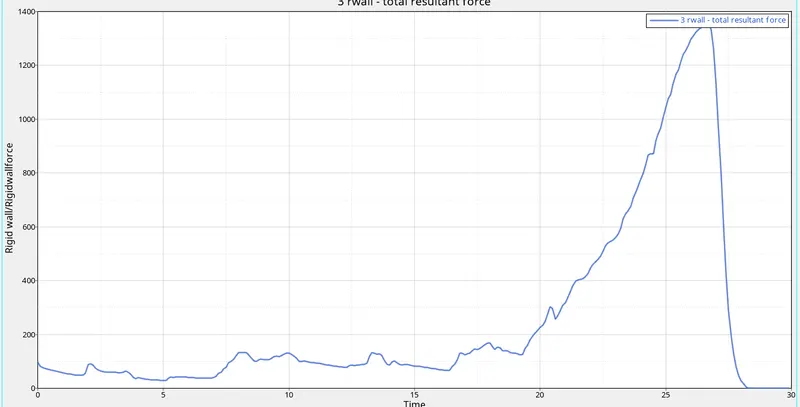
CASE : 3''''''''''Create the type 11 contact and run.
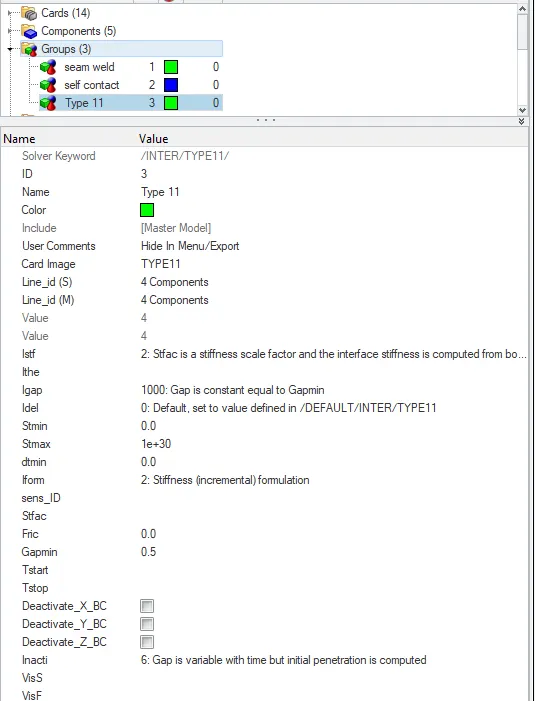
- Click on View > Browsers >Model >Groups >create >Type 11
- Change the card image and parameters as follows.
- File >Import>solver deck>crush_tube_0000.rad>import
- Save the model in a seperate folder before running the simulation.
 >>>
>>>
- Analysis > Radioss > tick include connectors > no of iterations as > -nt 4 > Radioss
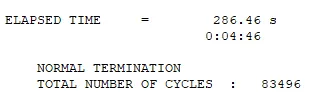
- If there is no errors in .out file and .rst file then we will be seeing the simulation runs. Check for results and observe the output file errors .
----
- Lets Plot the Graphs for following Avi Video .
- Hypergraph 2D >Select File >T01 > select X-axis >Y-axis>apply
 ----
----
-----------------------
CASE 4 : Remove both notches and remove boundary condition on rigid body node then run.
- File> import>solver deck>crush_tube_0000.rad >import
- Edit The notches and aling them.
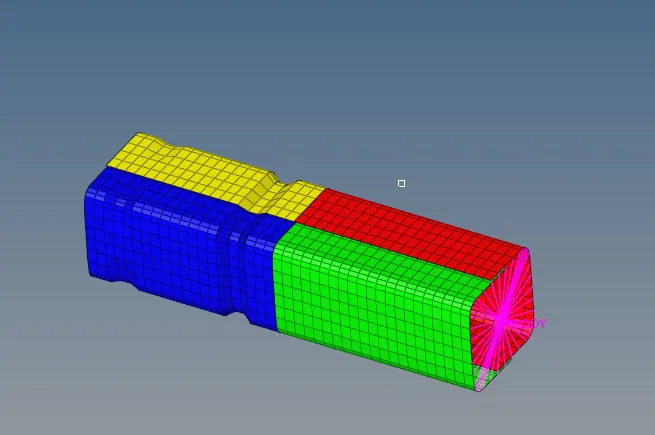 >>>>SHORTCUT FOR EDITING IS F7
- Geom>node edit>align node>align

- Select the nodes and aling them to clear Notches.
- Detailed Image without Notches.
- Observe the Changes In the Simulation.
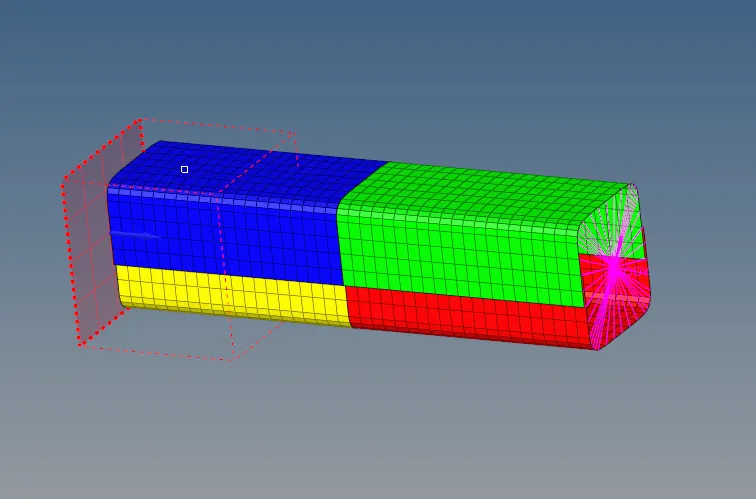
- Delete the boundary Conditions from the rigid boundary node.
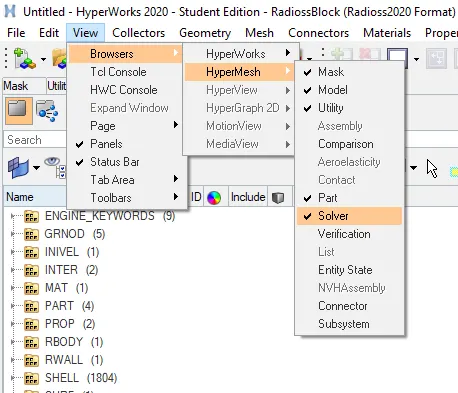
- View>browsers>hypermesh>solver>BCs>delete
- Save the model in a seperate folder before running the simulation.

- Analysis > Radioss > tick include connectors > no of iterations as > -nt 4 > Radioss
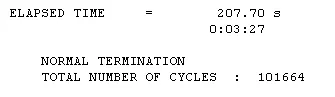
- If there is no errors in .out file and .rst file then we will be seeing the simulation runs. Check for results and observe the output file errors .
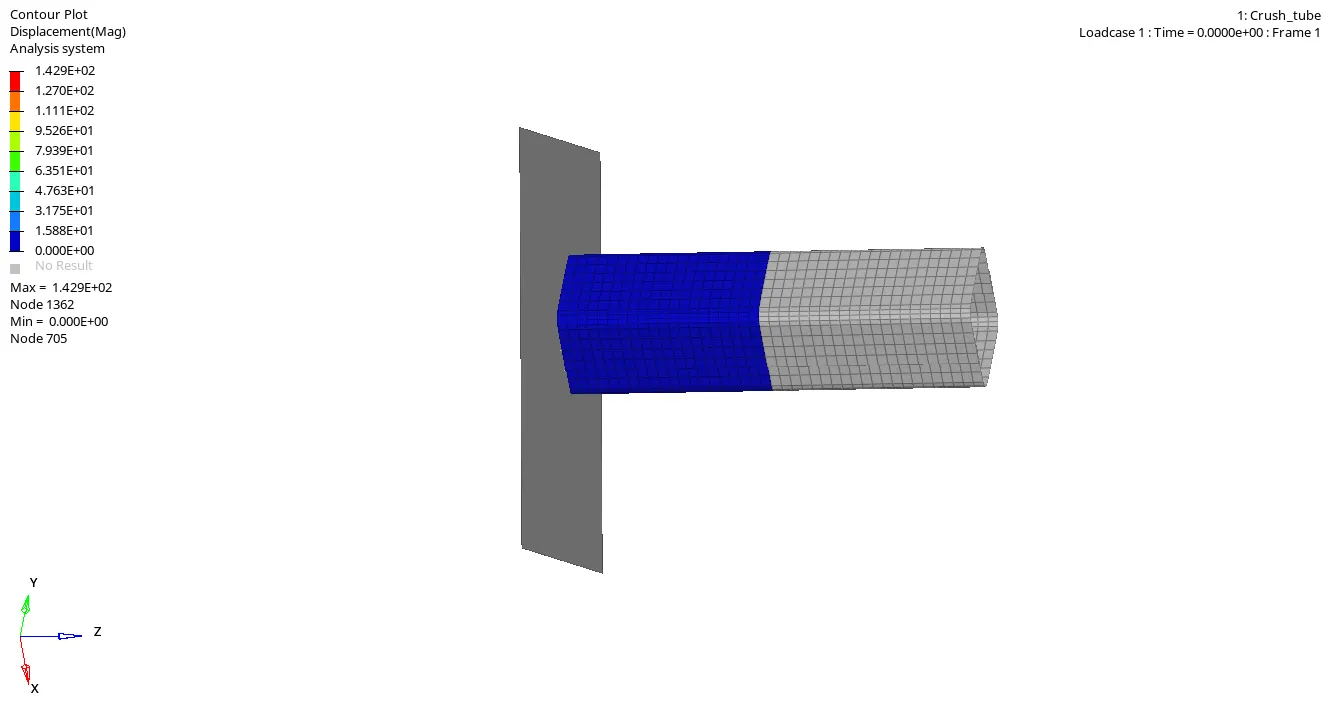
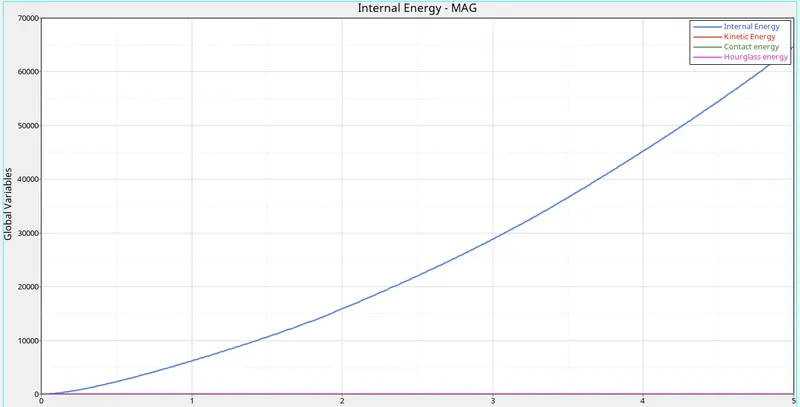
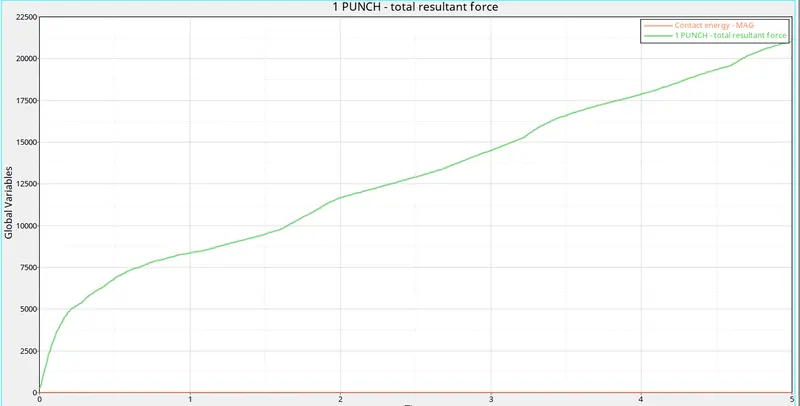
- Lets Plot the Graphs for following Avi Video .
- Hypergraph 2D >Select File >T01 > select X-axis >Y-axis>apply
----------------------------------------------------------
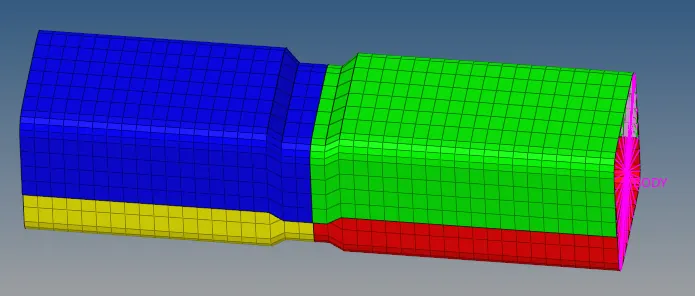
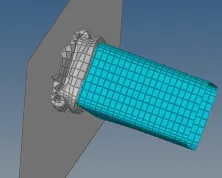
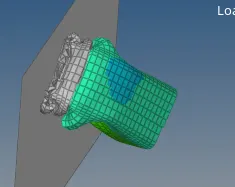
CASE 5 : Create a new notch in the middle ,select the whole section and run.
- Open Model Case 4 and import.
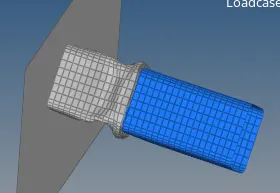
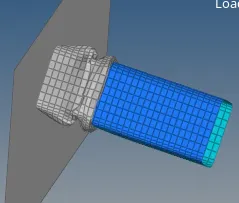
- Create a new notch and observe the changes happening.
- Goto Tools>translate select nodes >in the direction>translate+ or translate-

..
- Save the model in a seperate folder before running the simulation.

- Analysis > Radioss > tick include connectors > no of iterations as > -nt 4 > Radioss
- If there is no errors in .out file and .rst file then we will be seeing the simulation runs. Check for results and observe the output file errors.
 >>
>> >>
>> >>
>>
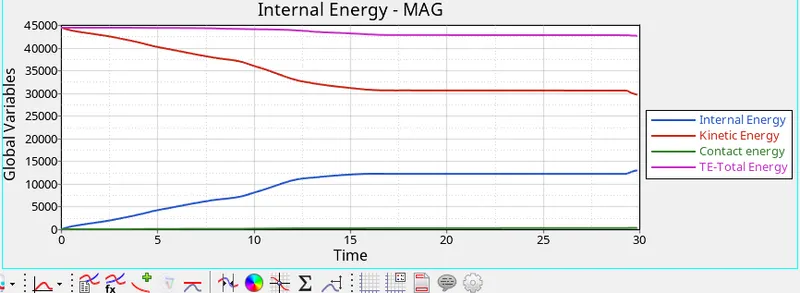
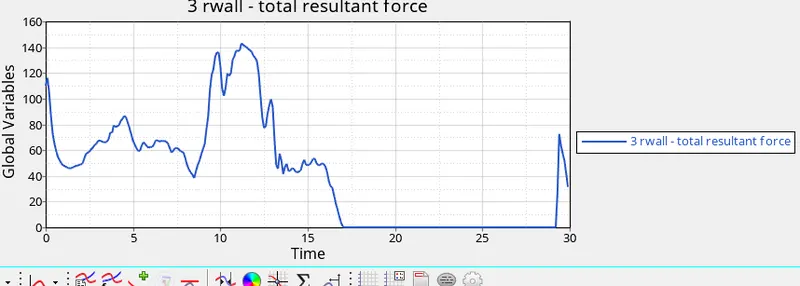
- Lets Plot the Graphs for following clips
- Hypergraph 2D >Select File >T01 > select X-axis >Y-axis>apply
------------------------------------------------------
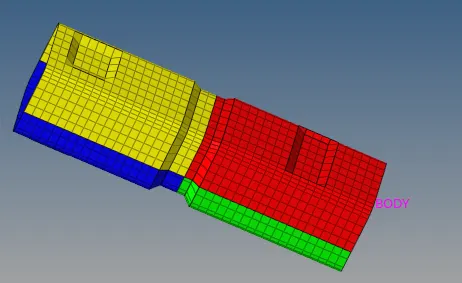
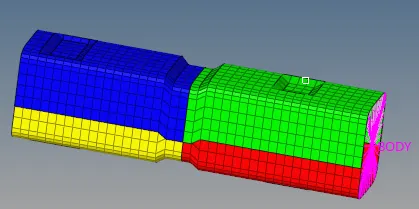
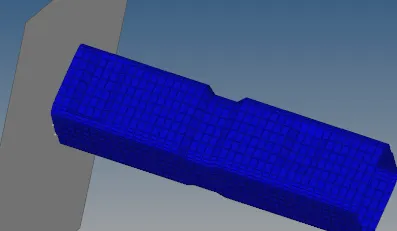
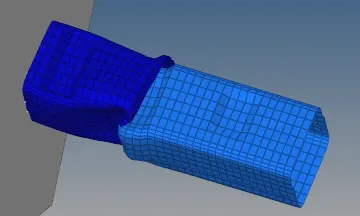
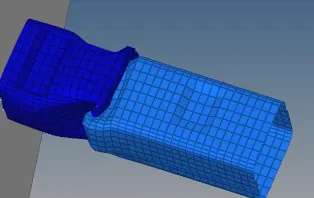
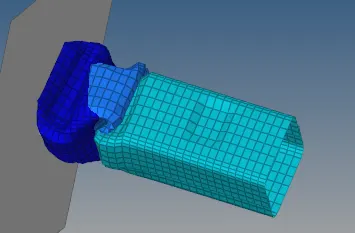
CASE 6 : Create a new notch with nodes only from opposing 2 faces and run.
- Open Model Case 5 and import.
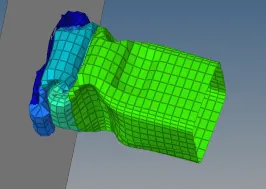
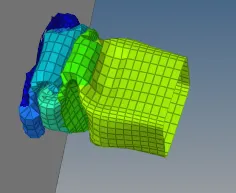
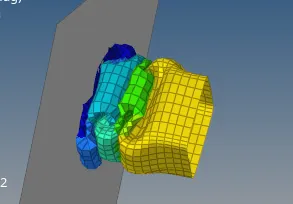
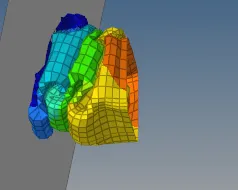
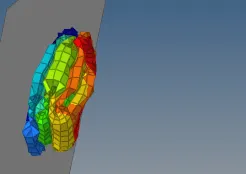
- Create a two notchs facing opposite each other one above and below and observe the changes happening.
- Goto Tools>translate select nodes >in the direction>translate+ or translate-
 >>
>>
- Save the model in a seperate folder before running the simulation.

- Analysis > Radioss > tick include connectors > no of iterations as > -nt 4 > Radioss
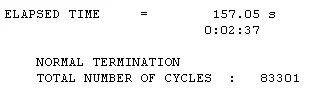
- If there is no errors in .out file and .rst file then we will be seeing the simulation runs. Check for results and observe the output file errors.
 >
> >
> >
> >
> >
> >
> >
> >
>
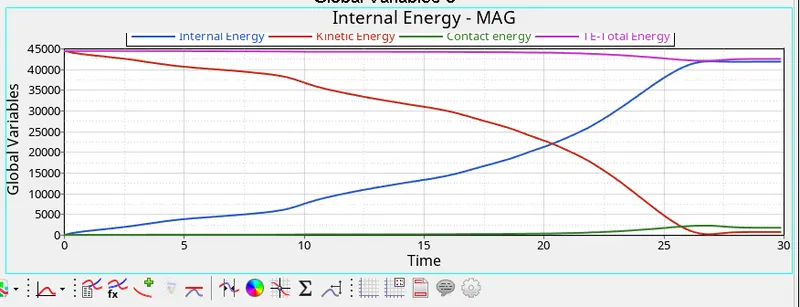
- Lets Plot the Graphs for following clips
- Hypergraph 2D >Select File >T01 > select X-axis >Y-axis>apply
 >
>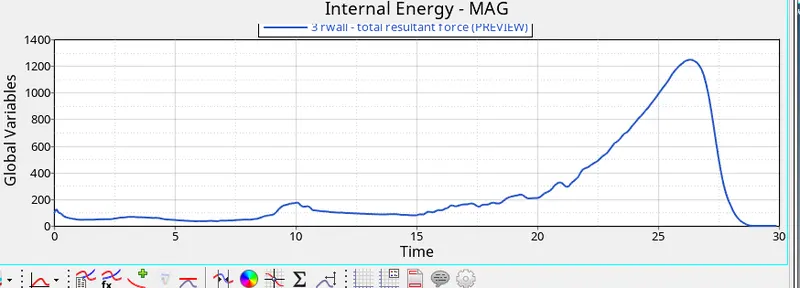
- Finally all the case study is done and observed the contact engery changes with respect to each case.
- Case Study with and without notches is understood with similar crush_tube example.
- An overview of Crash Interface is case study in radioss is done.