Assignment 5-RADIOSS Interfaces & Study of Effect of Notches Challenge
ASSIGNMENT 5: RADIOSS INTERFACES & STUDY ON EFFECT OF NOTCHES
AIM:
- To mesh the given Bumper assembly model.
- To modify and compare the effect of notches on the given Crash tube model.
1) BUMPER MODEL:
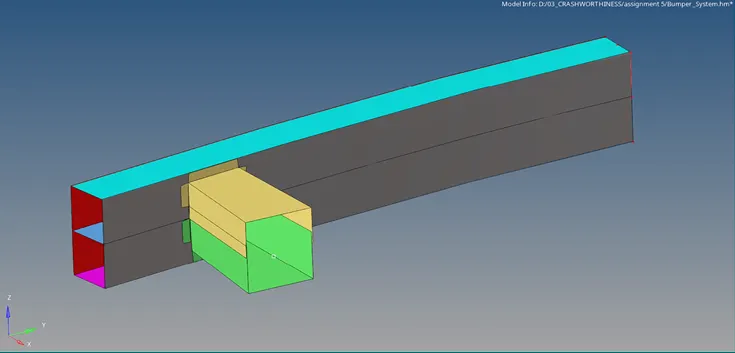
PROCEDURE:
- Check the surfaces and edges for connectivity.
- Toggle the surface with single edges together using Quick edit panel.
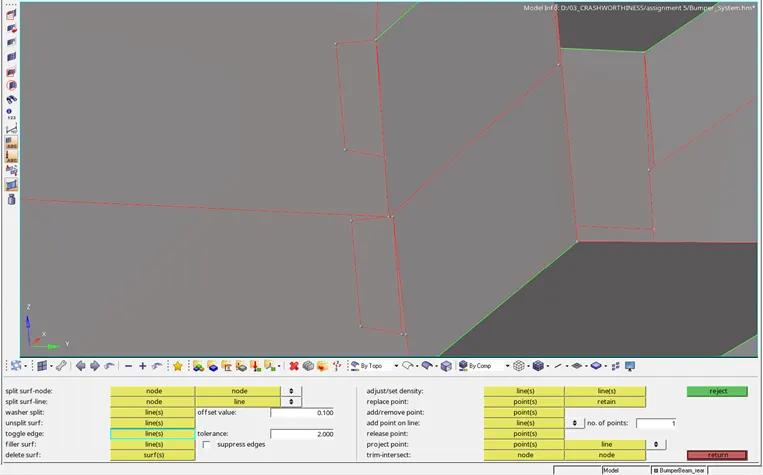
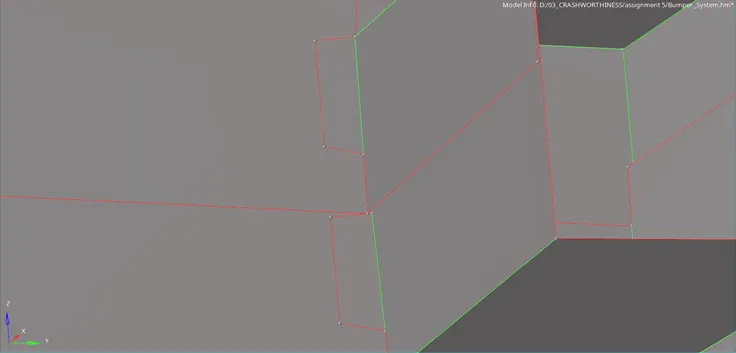
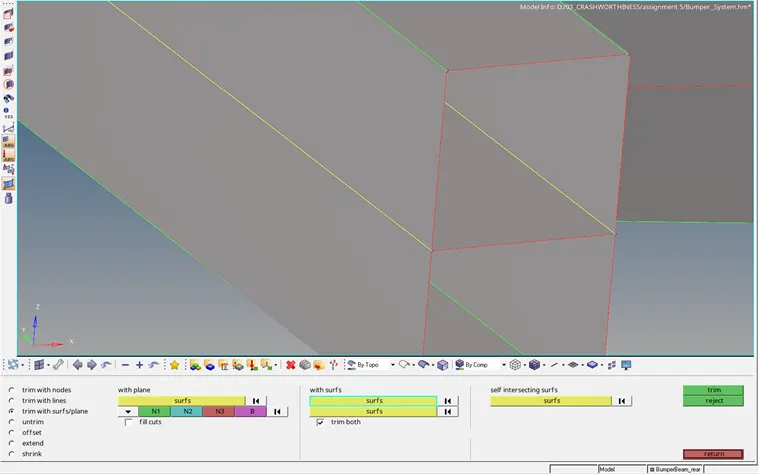
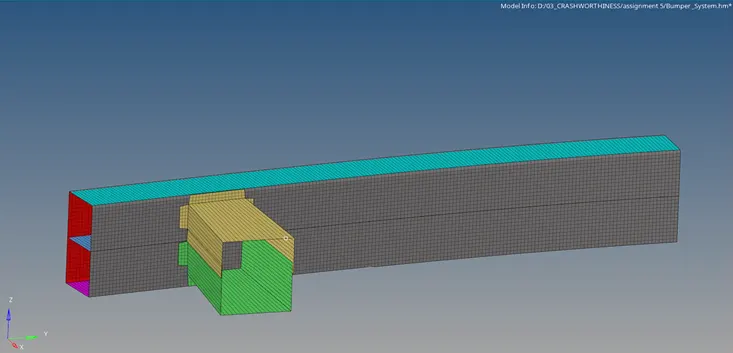
- Intersect the surfaces by trim option in Surface edit panel.
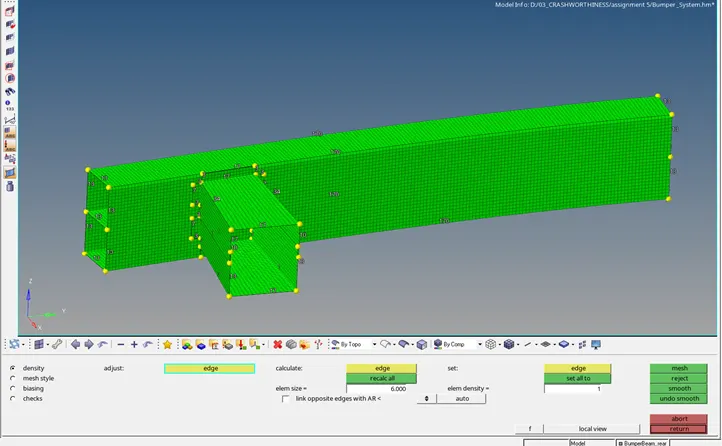
- Mesh the whole model surfaces with mesh size as 6 units.
- Adjust the node numbers for proper quad elements.
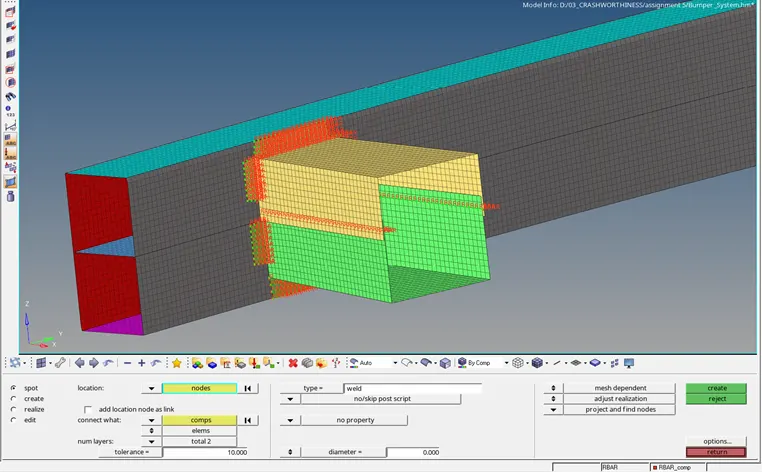
- Connect the assembly using spot-weld elements.
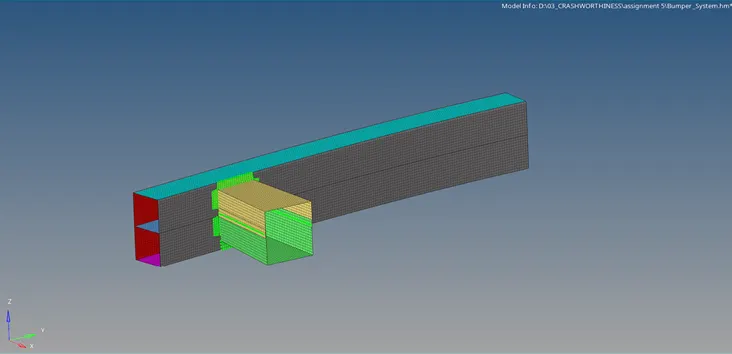
Final Model:
2) CRASHTUBE MODEL:
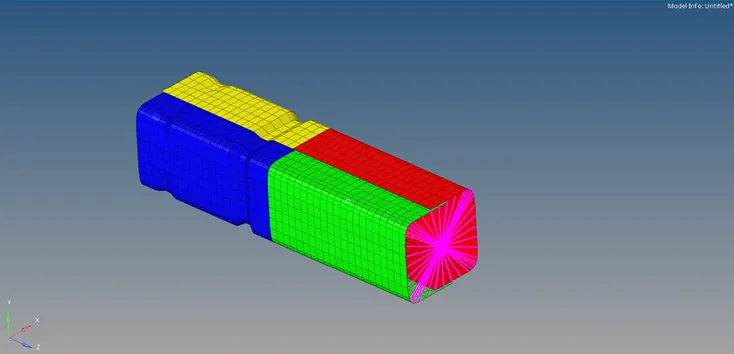
PROCEDURE:
- Import the given starter file to Radioss profile.
- Open the Solver section in Browser and create a TH/PART card for all the components.
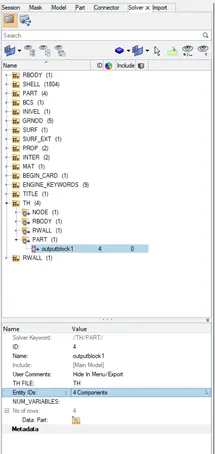
Case 1:
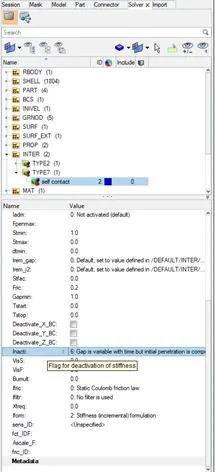
- The given model contains Type7 interface with Inacti=0.
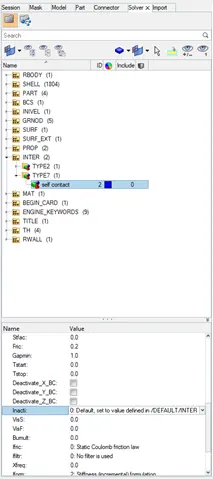
- Under Analysis panel run the analysis and check the results.
- Open the H3D file and apply the Von Mises stress contour plot using HyperView window.
- Open T01 file in HyperGraph 2D window and plot Rigidwall forces, Internal energy and Contact energy.
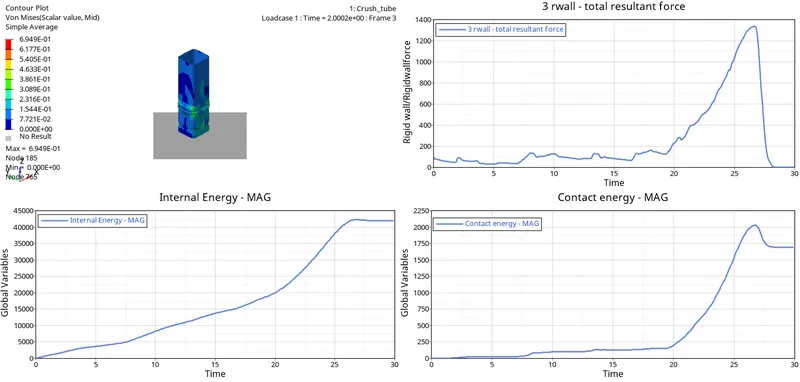
Case 2:
- Import the Case 1 starter file to Radioss profile.
- Activate the Inacti=0 under Type7 interface.
- Under Analysis panel run the analysis and check the results.
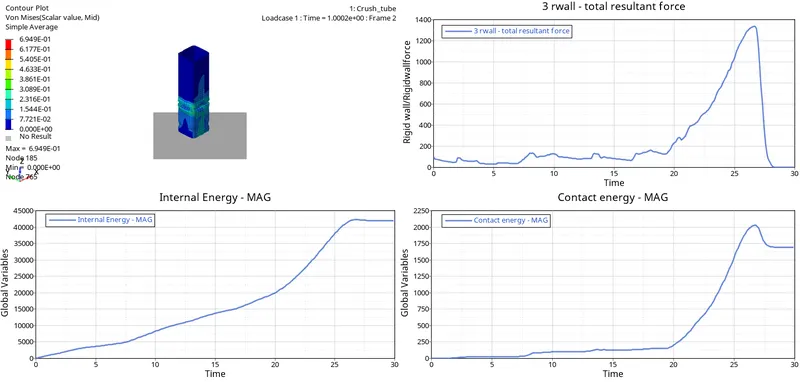
- Open the H3D file and apply the Von Mises stress contour plot using HyperView window.
- Open T01 file in HyperGraph 2D window and plot Rigidwall forces, Internal energy and Contact energy.
Case 3:
- Import the Case 2 starter file to Radioss profile.
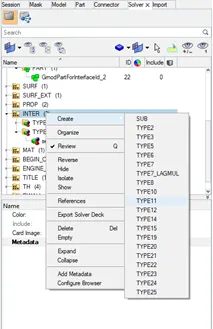
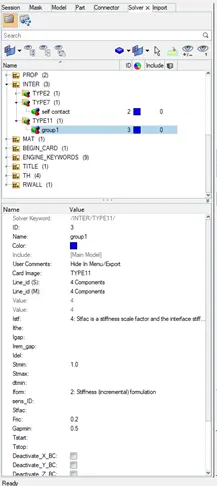
- Create Type11 interface and select the components in the model.
- Under Analysis panel run the analysis and check the results.
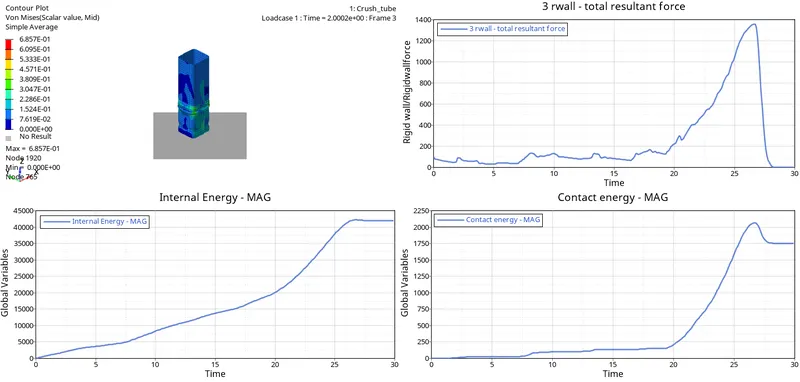
- Open the H3D file and apply the Von Mises stress contour plot using HyperView window.
- Open T01 file in HyperGraph 2D window and plot Rigidwall forces, Internal energy and Contact energy.
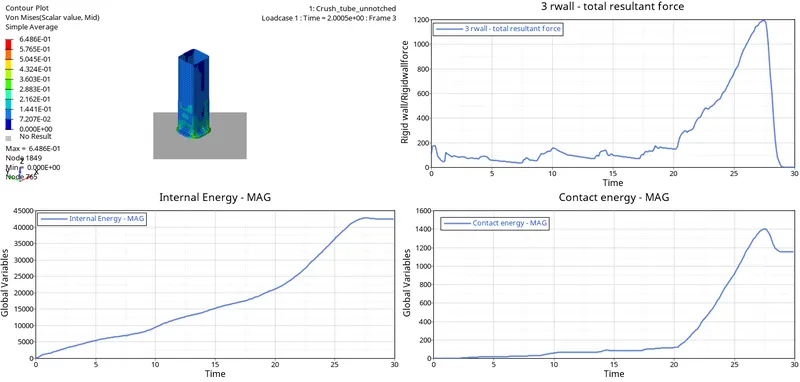
Case 4:
- Import the Case 3 starter file to Radioss profile.
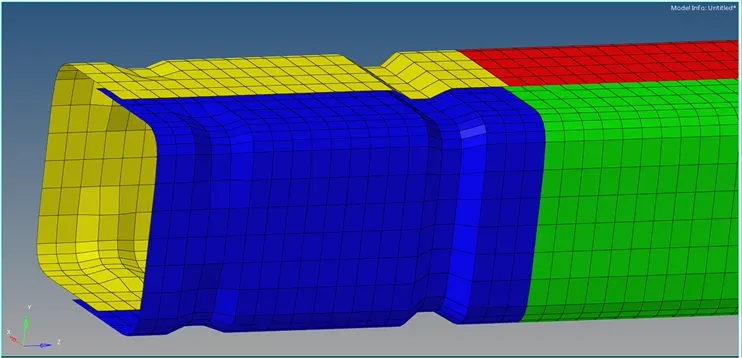
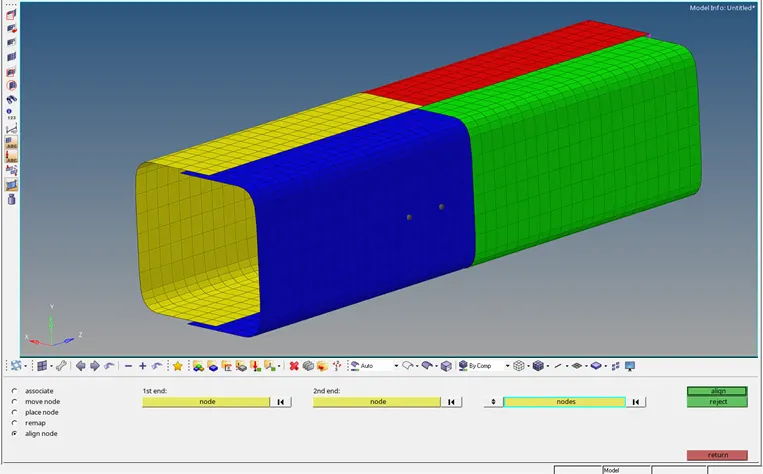
- Remove the notches on the model using Align nodes option in Node edit panel .
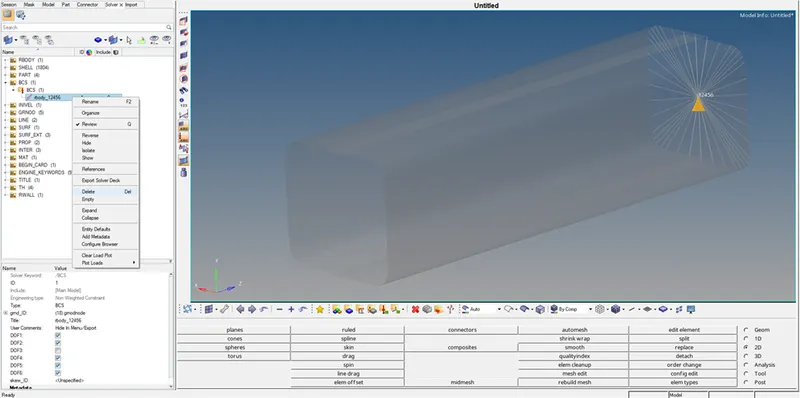
- Delete the Boundary Conditions card from the Solver tab.
- Under Analysis panel run the analysis and check the results.
- Open the H3D file and apply the Von Mises stress contour plot using HyperView window.
- Open T01 file in HyperGraph 2D window and plot Rigidwall forces, Internal energy and Contact energy.
Case 5:
- Import the Case 4 starter file to Radioss profile.
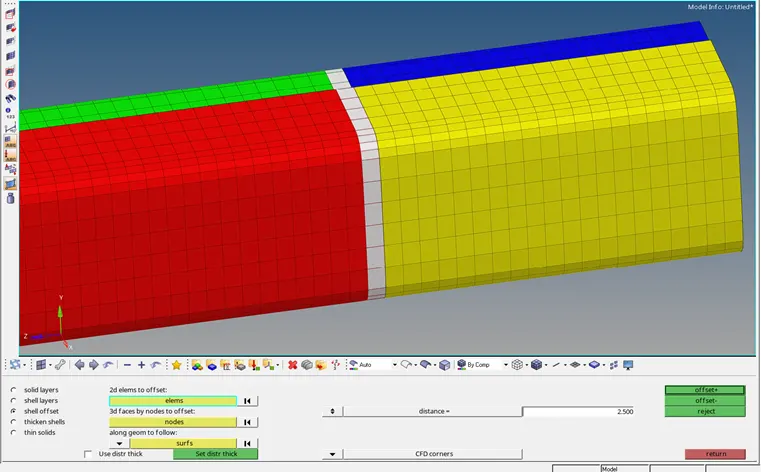
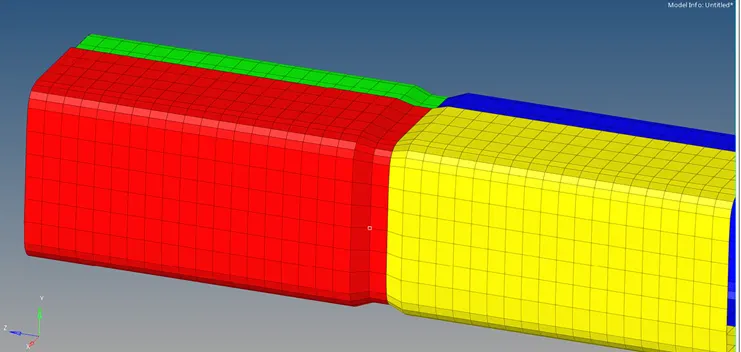
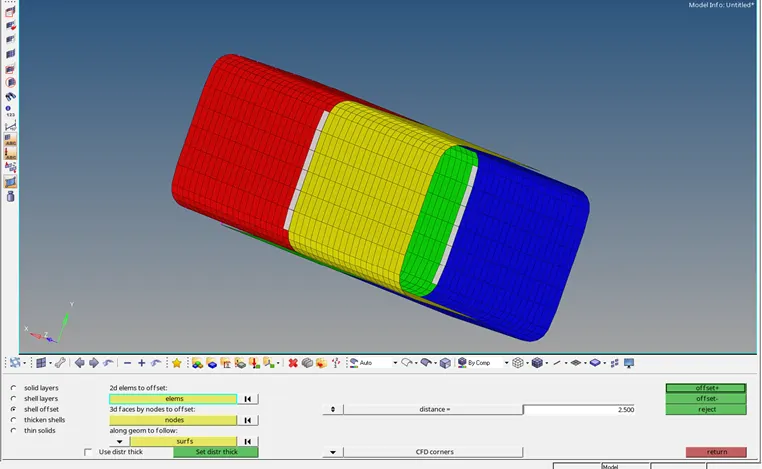
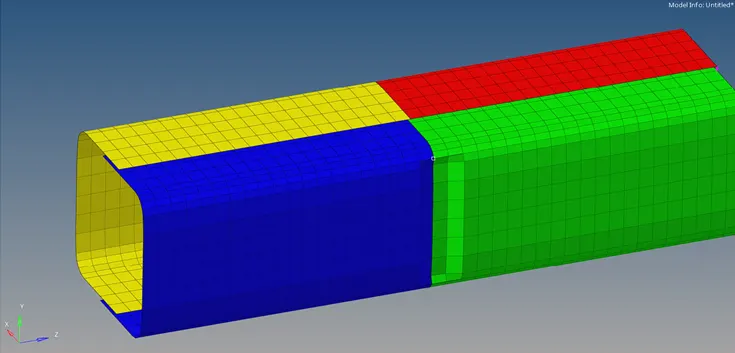
- Create a notch in the mddle of the model using Elem offset panel.
- Under Analysis panel run the analysis and check the results.
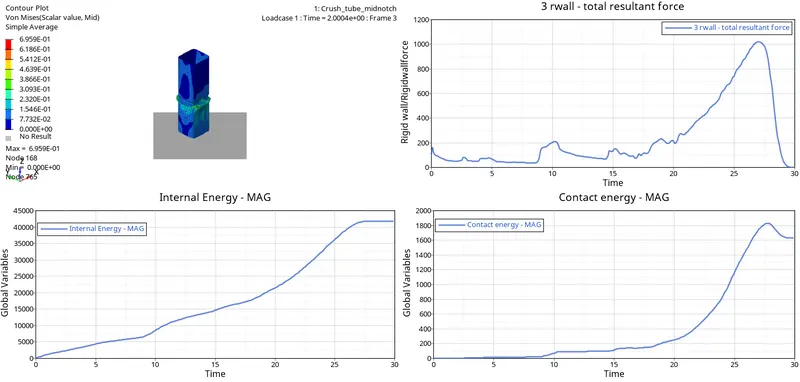
- Open the H3D file and apply the Von Mises stress contour plot using HyperView window.
- Open T01 file in HyperGraph 2D window and plot Rigidwall forces, Internal energy and Contact energy.
Case 6:
- Import the Case 4 starter file to Radioss profile.
- Create notches on the opposite faces in the mddle using Elem offset panel.
- Under Analysis panel run the analysis and check the results.
- Open the H3D file and apply the Von Mises stress contour plot using HyperView window.
- Open T01 file in HyperGraph 2D window and plot Rigidwall forces, Internal energy and Contact energy.
RESULT:
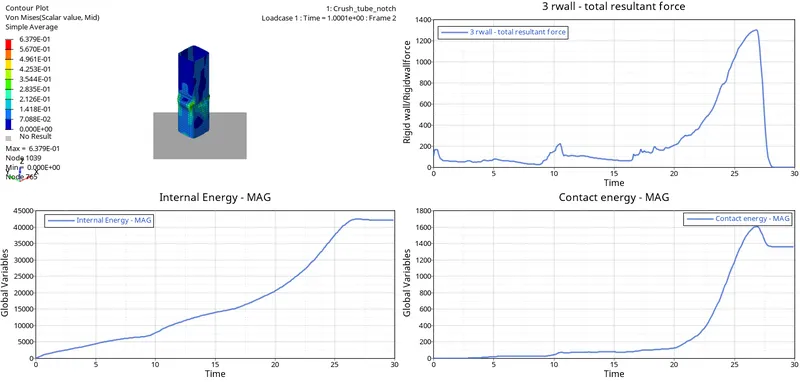
- Case5 : Crash tube with middle notch has produced less Rigidwall-force and lowest Internal energy.
- Case4 : Creash tube without notches has lowest Contact energy due to no boundary condition and flat surface.