Assignment 5
Objective: To run the given problem under different conditions based on structure, contact types. And also generate the mesh for the given model.
PART 1
Case 1:
Run the model without any change
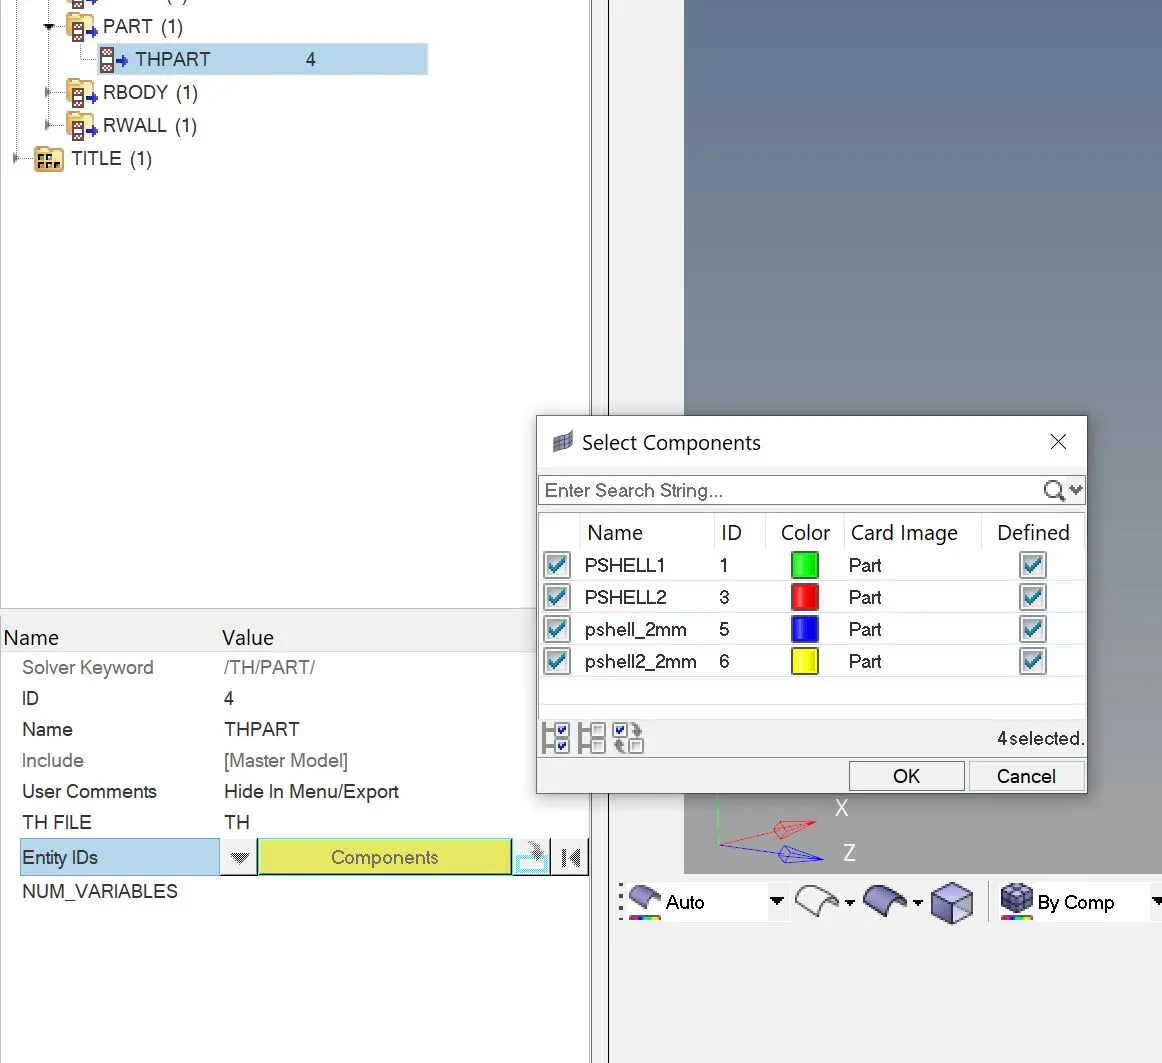
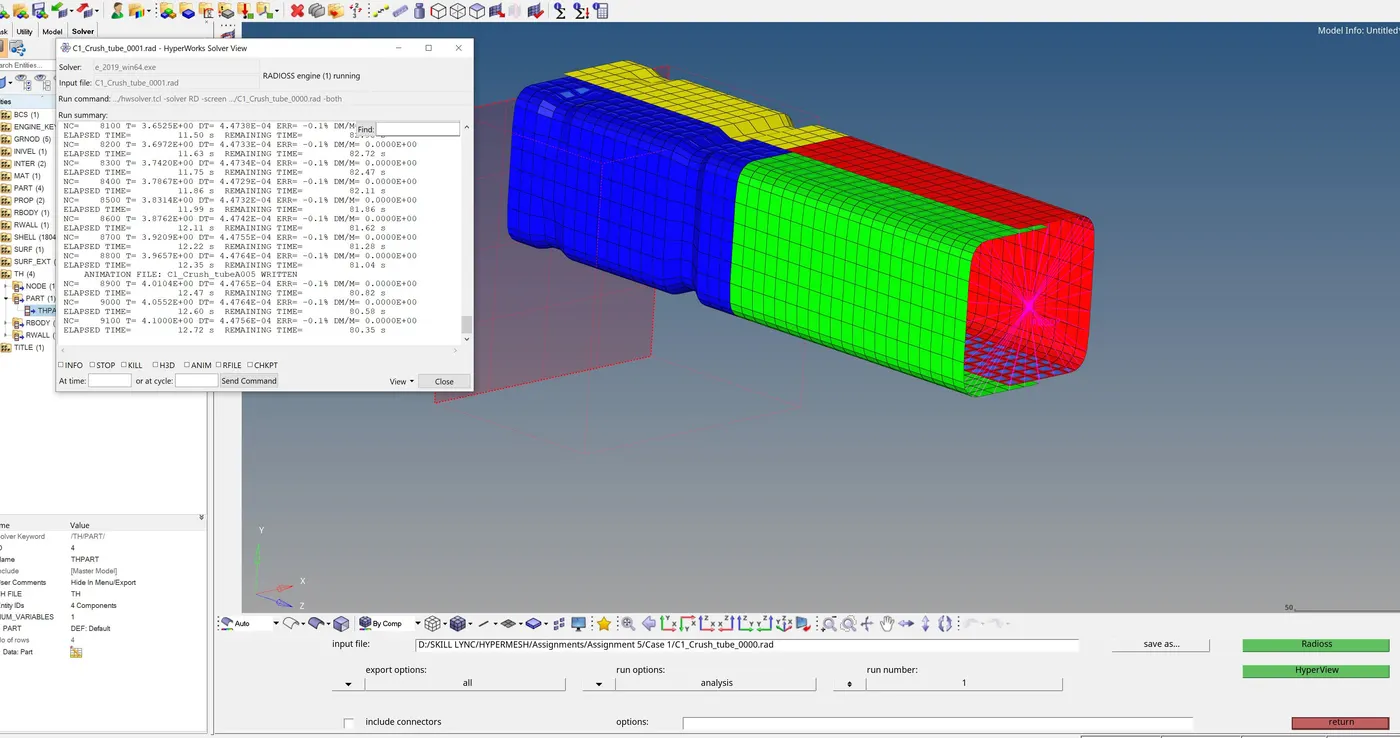
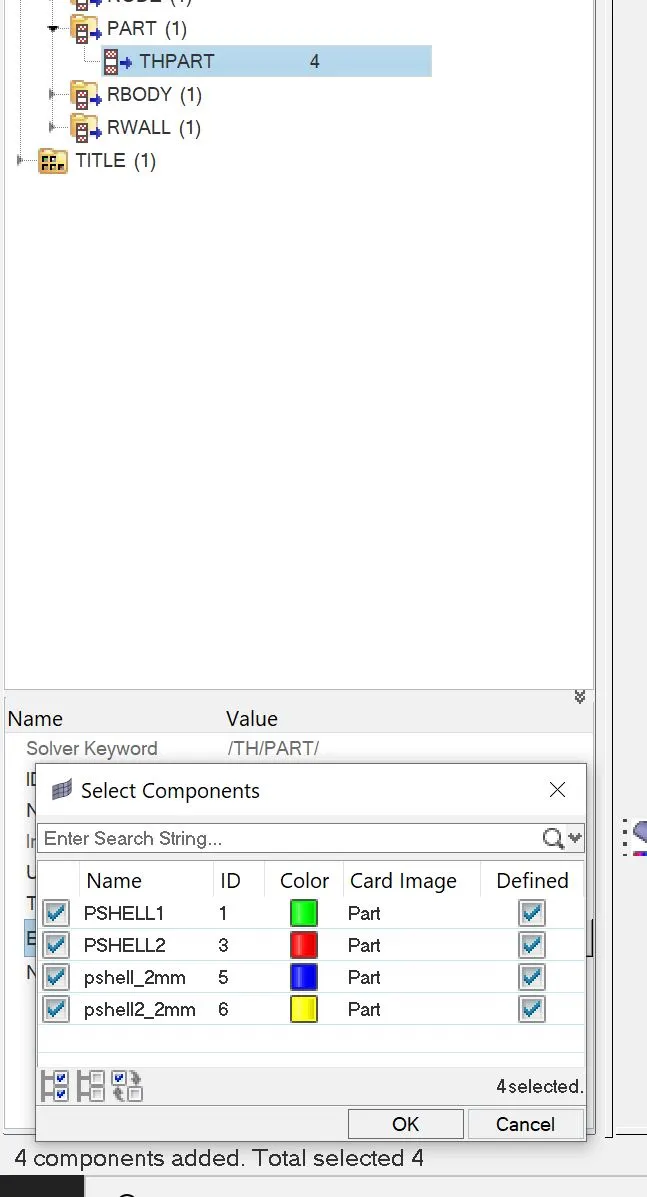
The model is imported in Hypermesh, the TH/PART is created as requested and the study is run
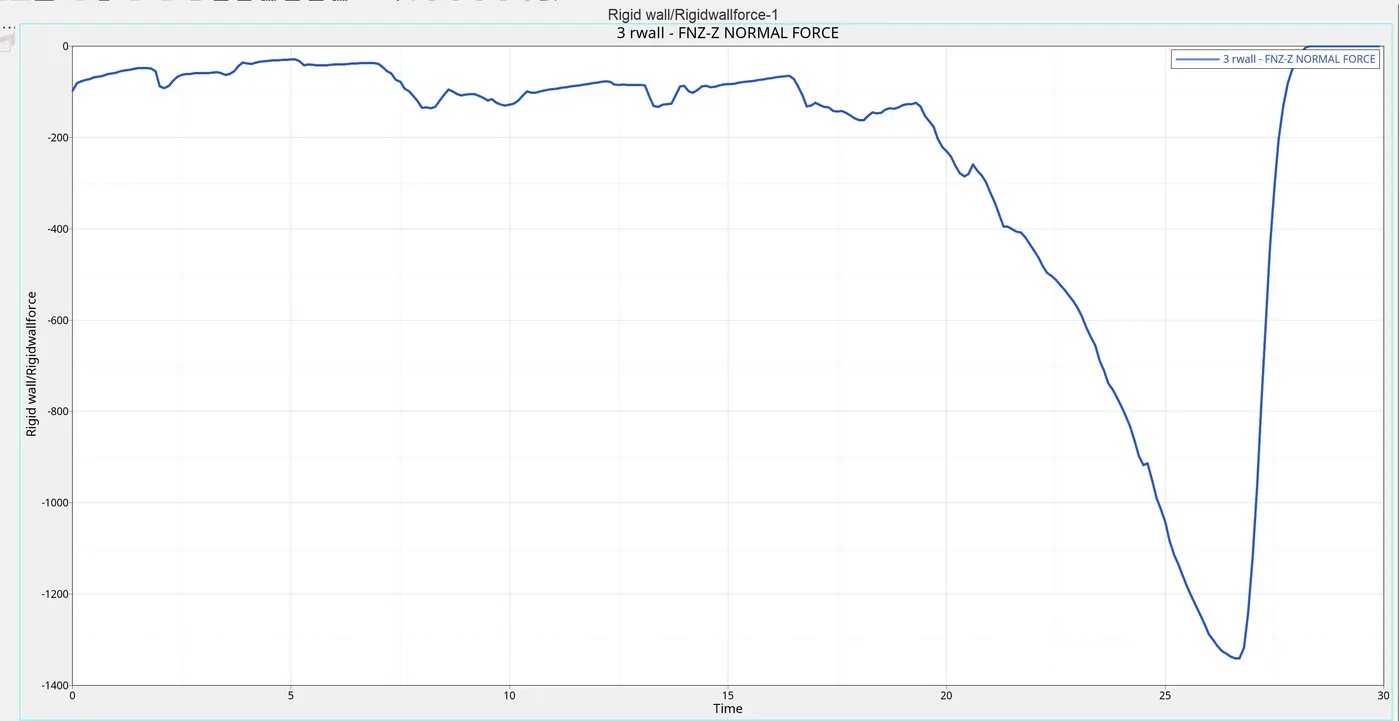
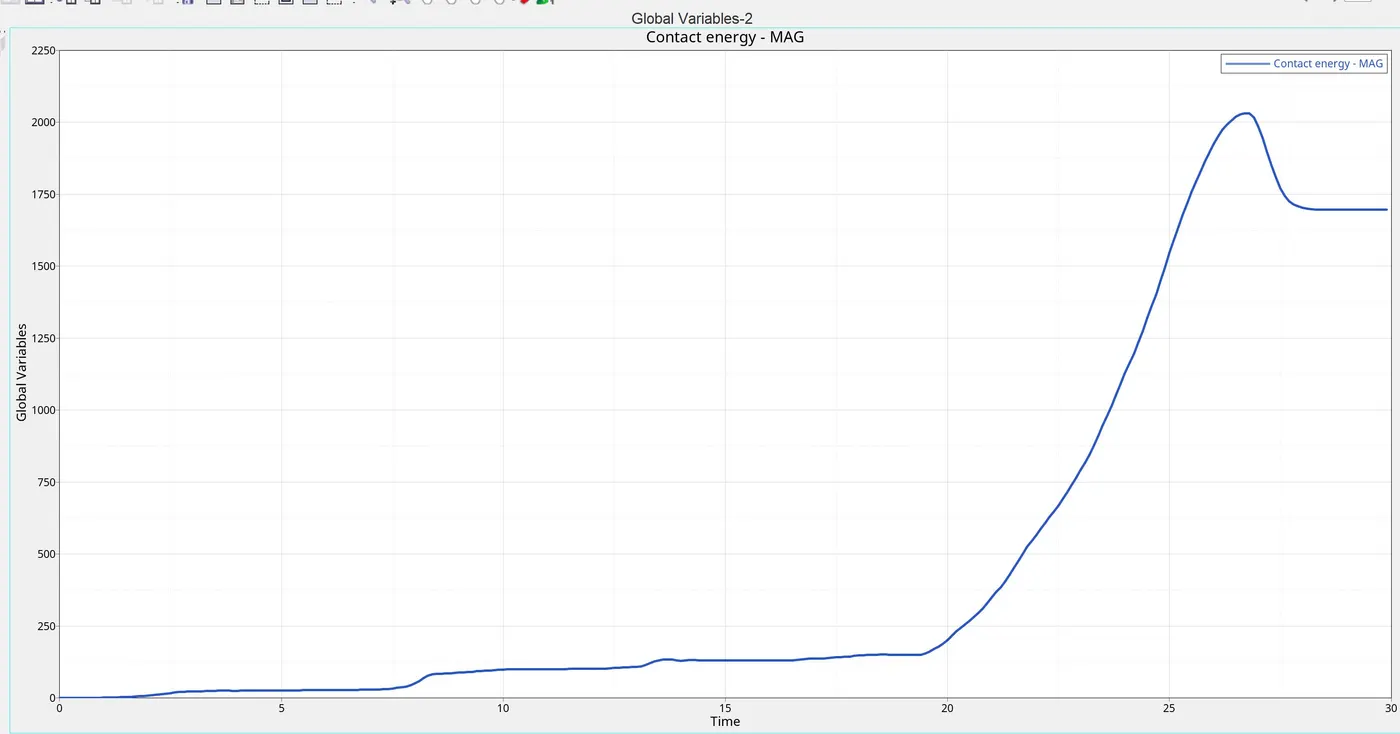
The requested graphs are:
RWALL forces: Contact energy:
Internal energy: Animation (Von Mises contour plot):
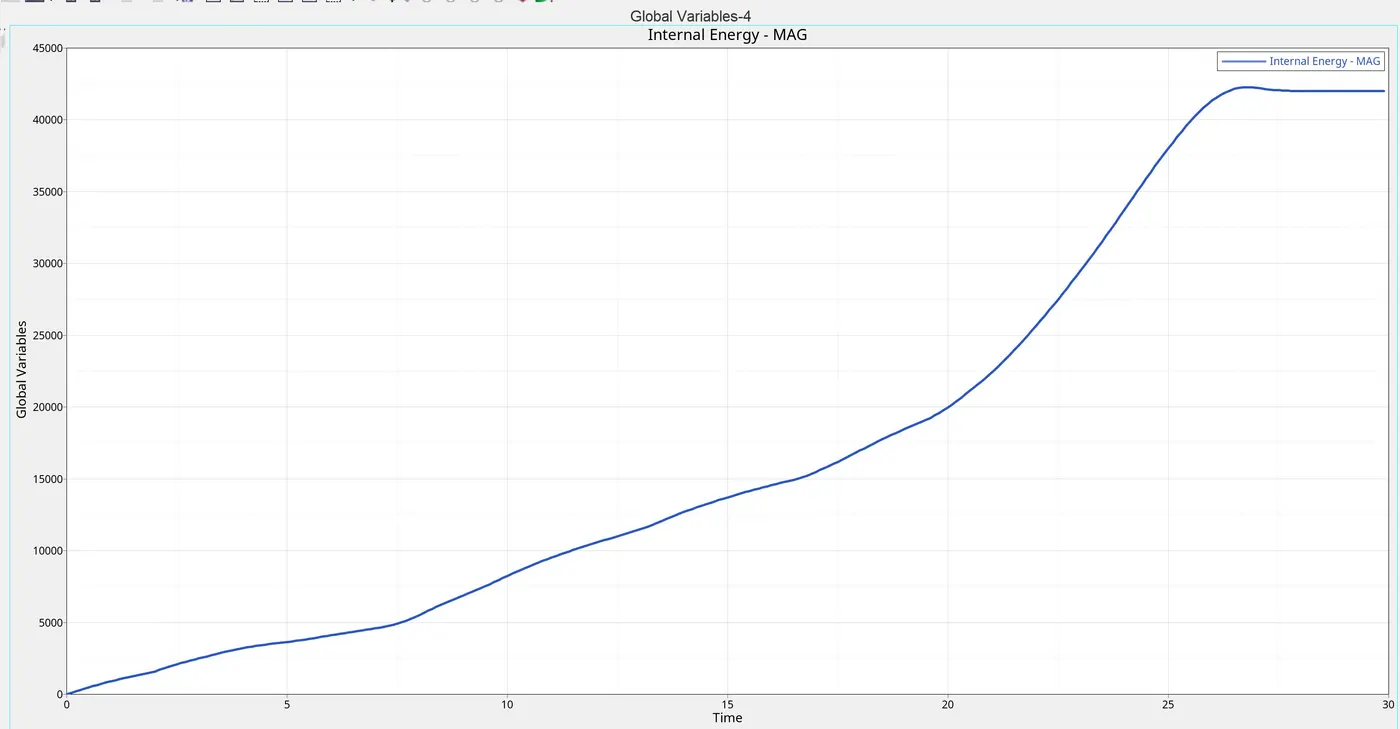
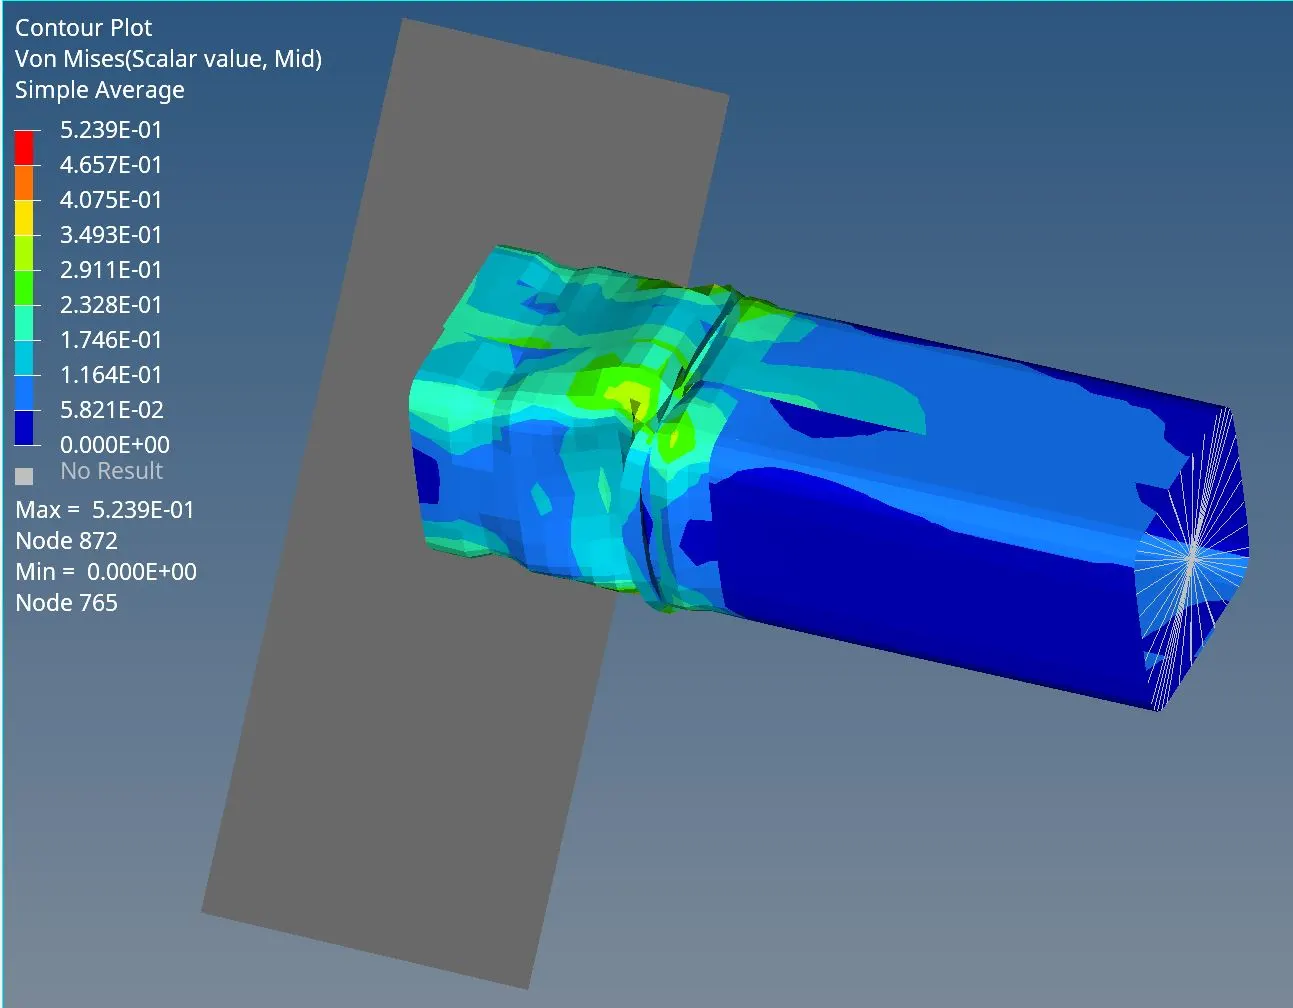
Case 2:
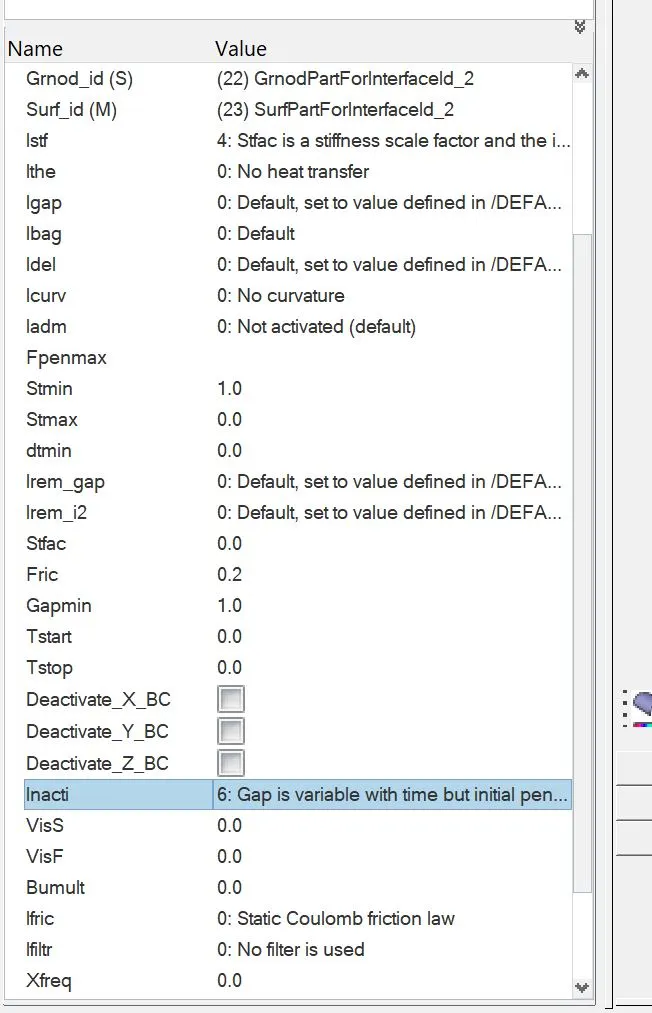
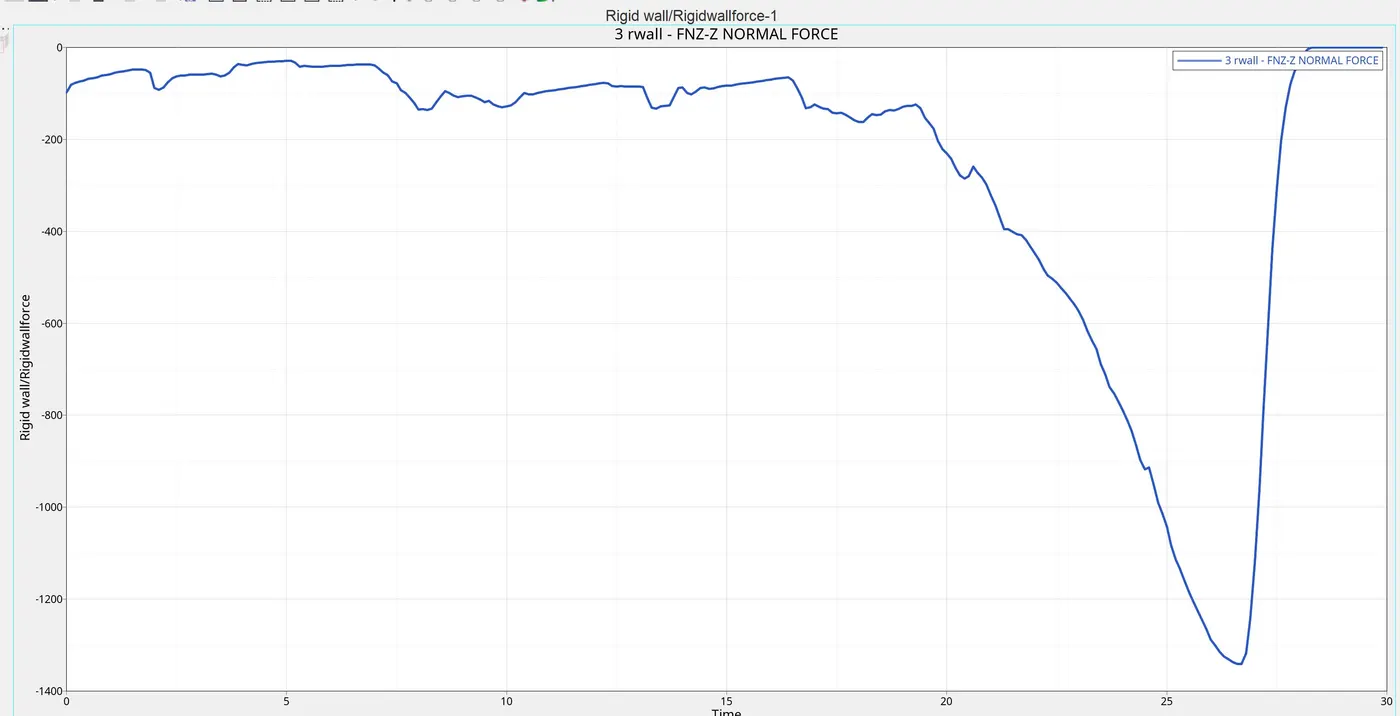
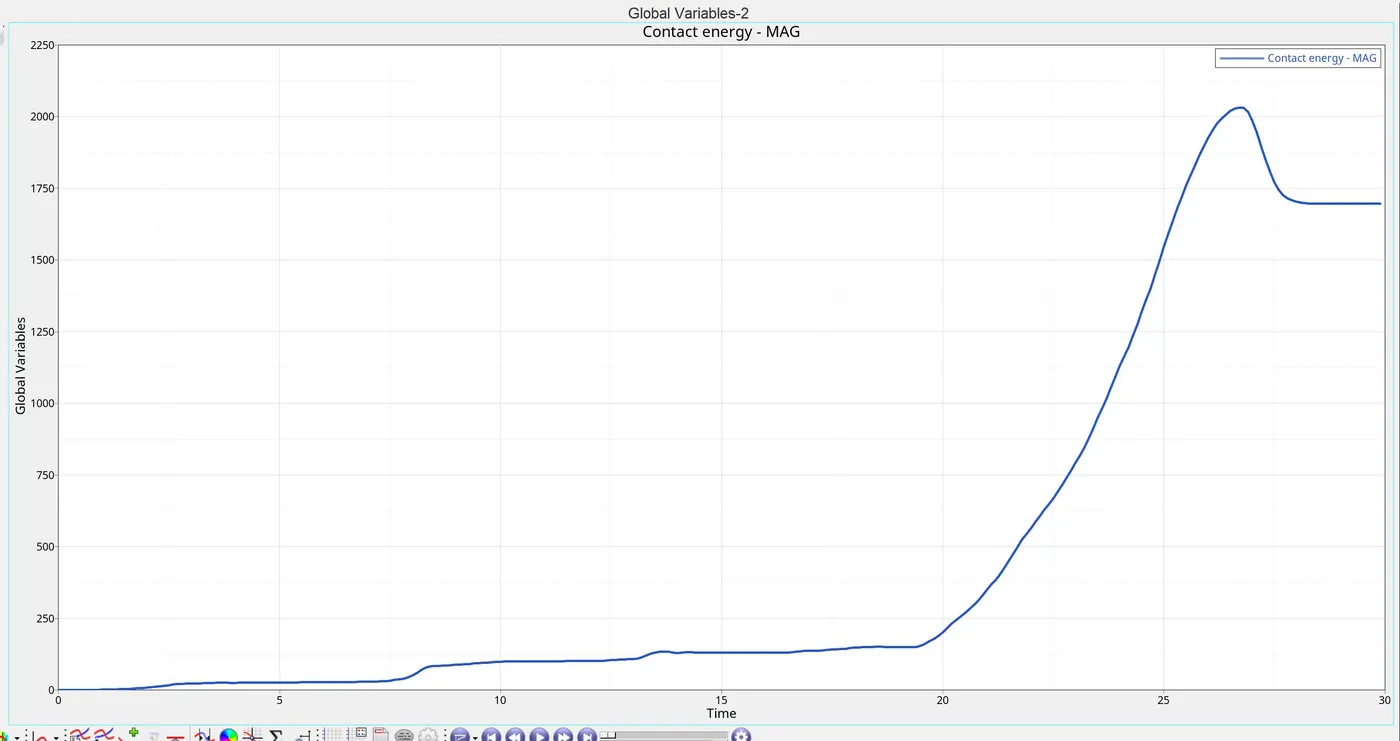
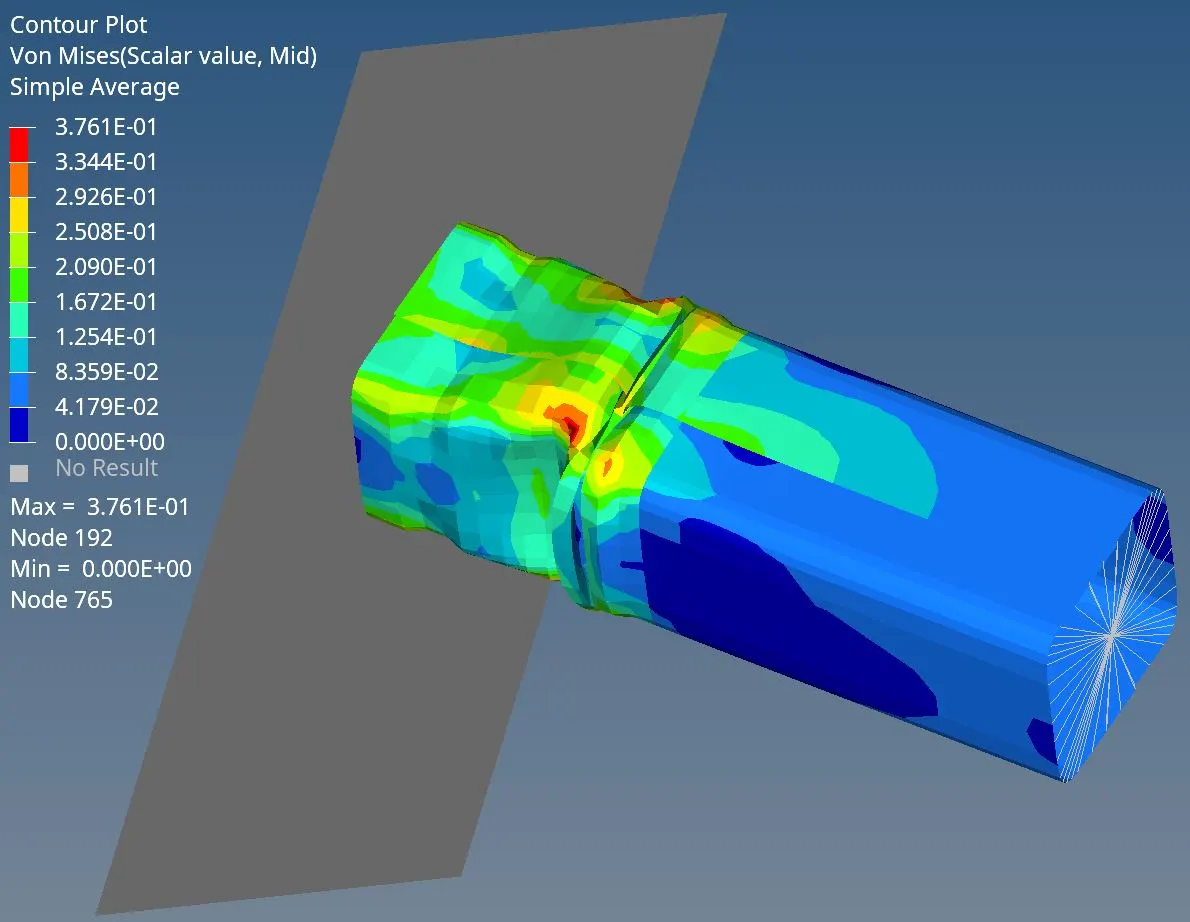
Change INACTI=6 and run
With INACTI = 6, all possible initial penetrations are removed. The defined gap value is reduced to 30% everywhere else.
The resulting graphs are:
RWALL Forces: Contact energy:
Internal energy: Animation (Von Mises contour):
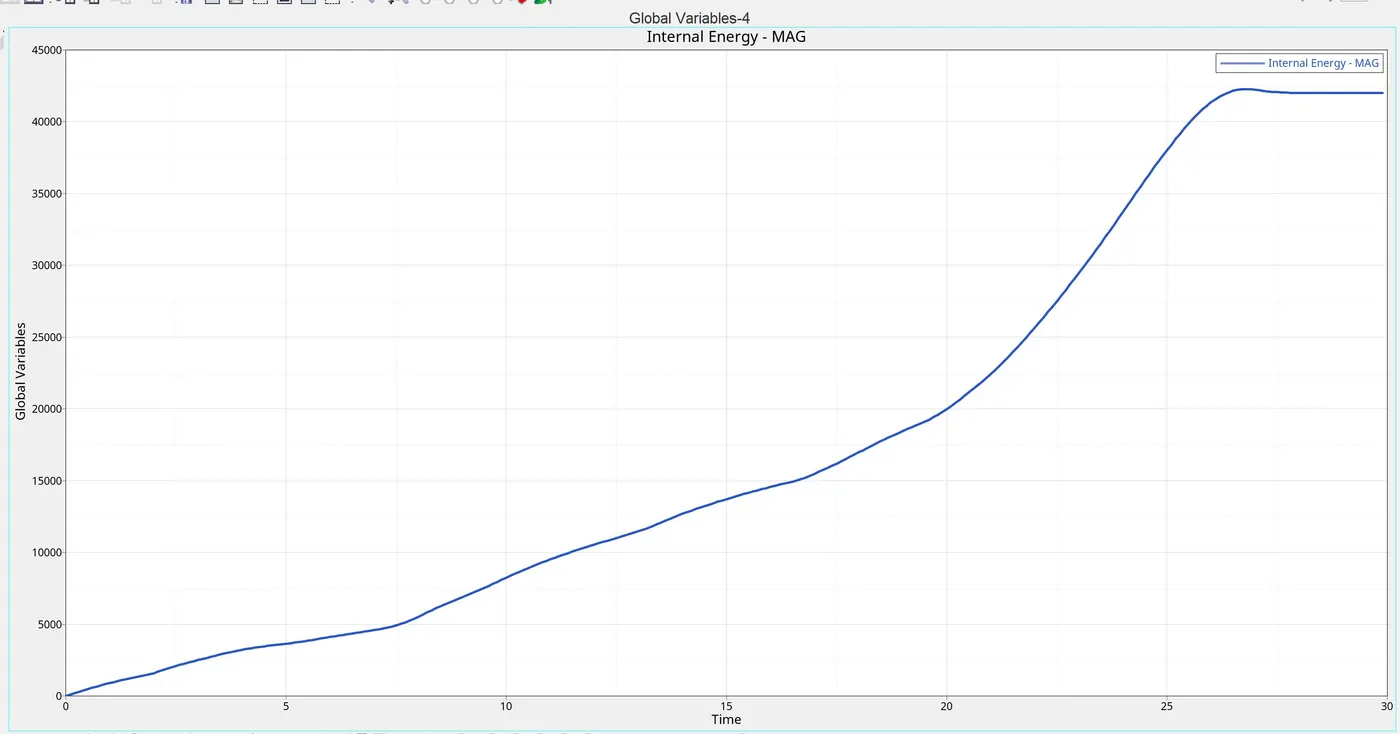
In terms of energy, the curves follow quite similarly.
Case 3:
Create Type 11 contact
Type 11 interface helps to avoid edge interference in the model.
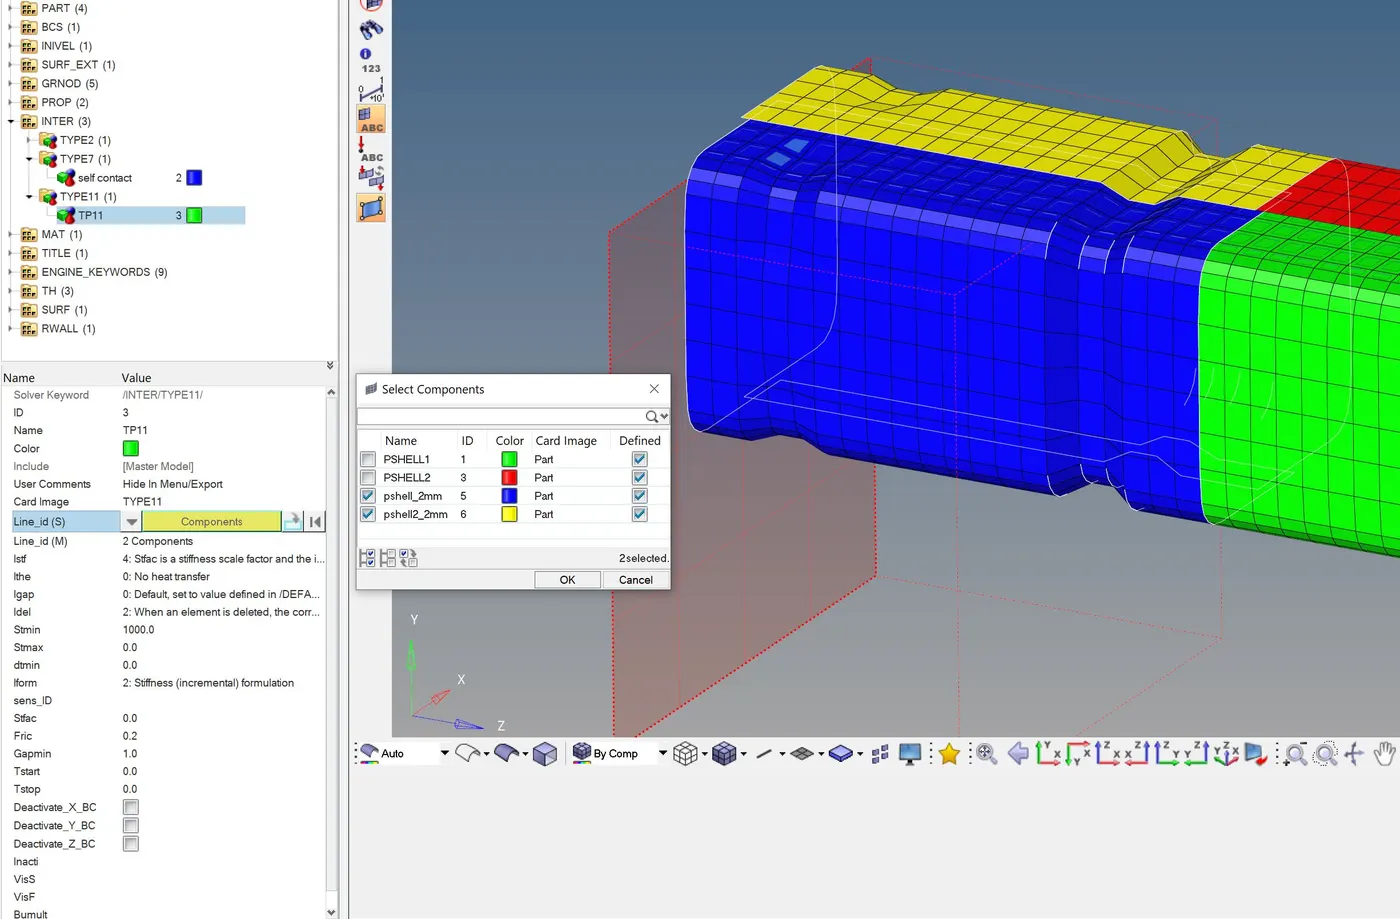
The energy curves are:
RWALL Forces: Contact energy:
Internal energy: Animation (Von Mises contour):
RWALL Forces are observed to highest in this case, because the edge to edge interface is captured due to Type 11 and the impact is fully transferred without any energy loss.
Case 4:
Remove notches and the boundary conditions on Rigid body node
The notches are removed using align node command,and study is run.
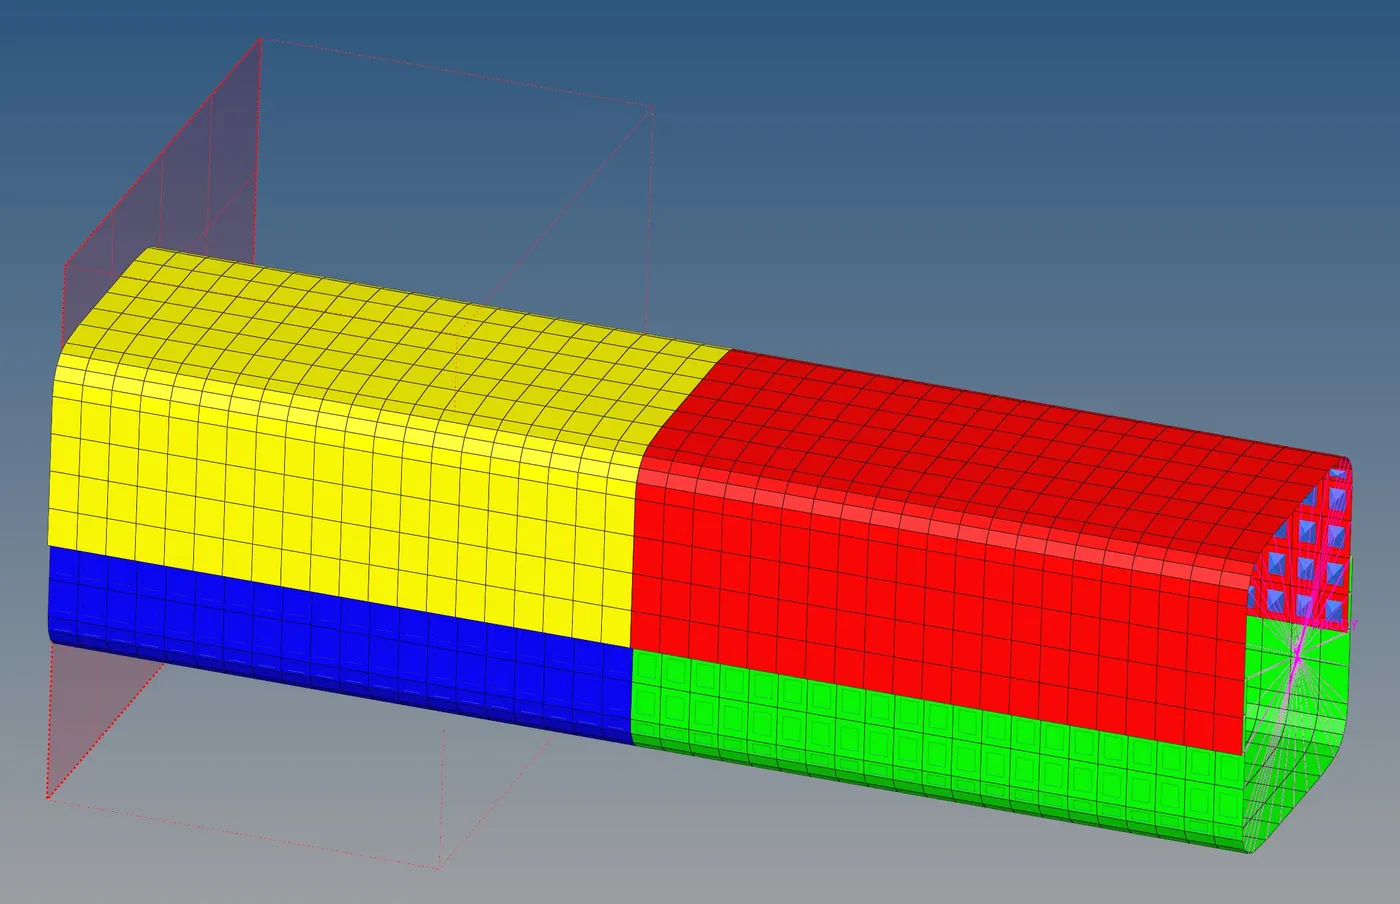
The energy plots are:
RWALL forces: Contact energy:
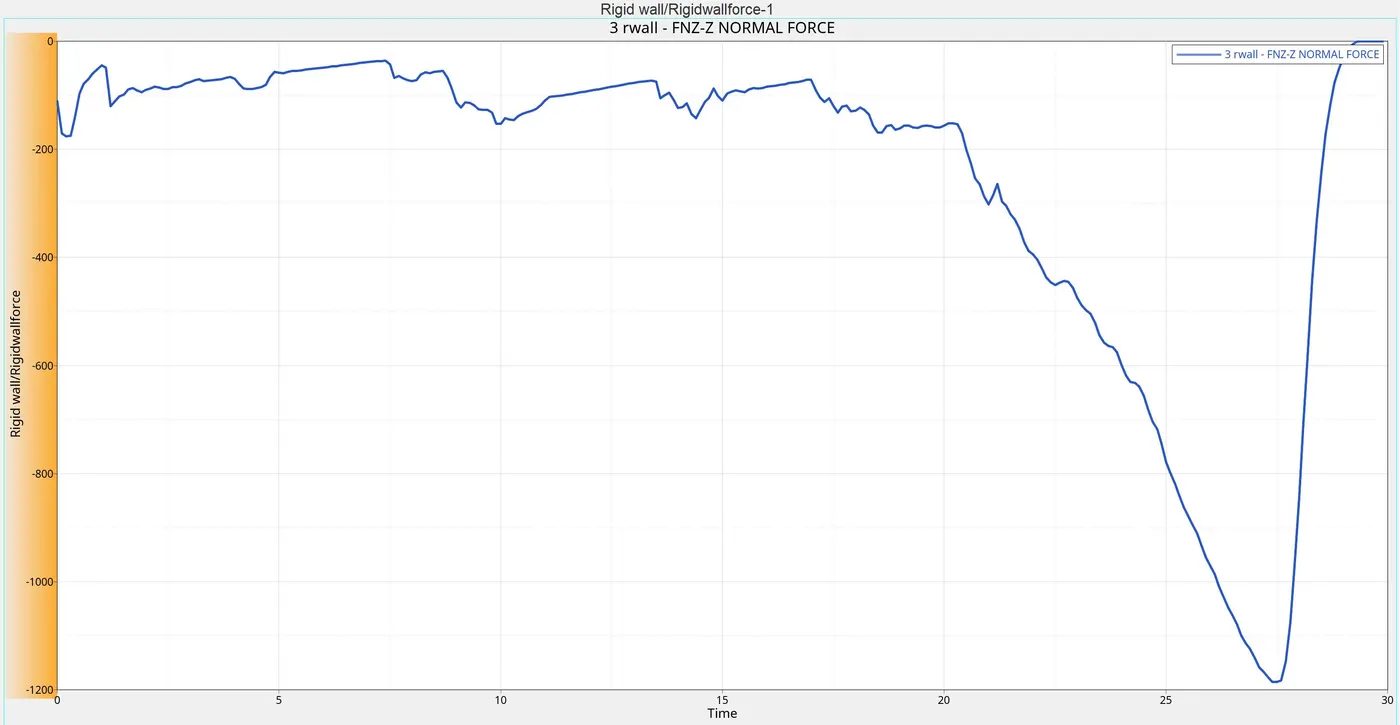
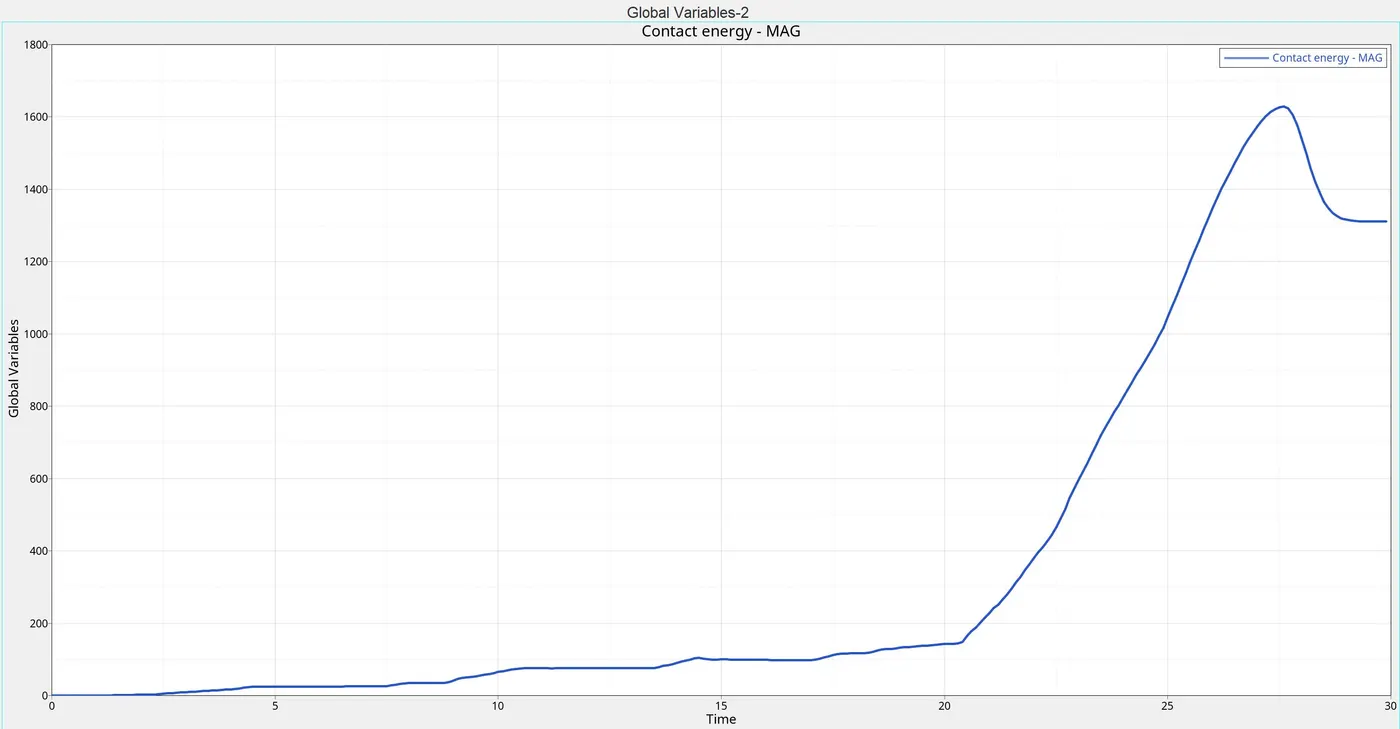
Internal energy: Animation (Von Mises contour):
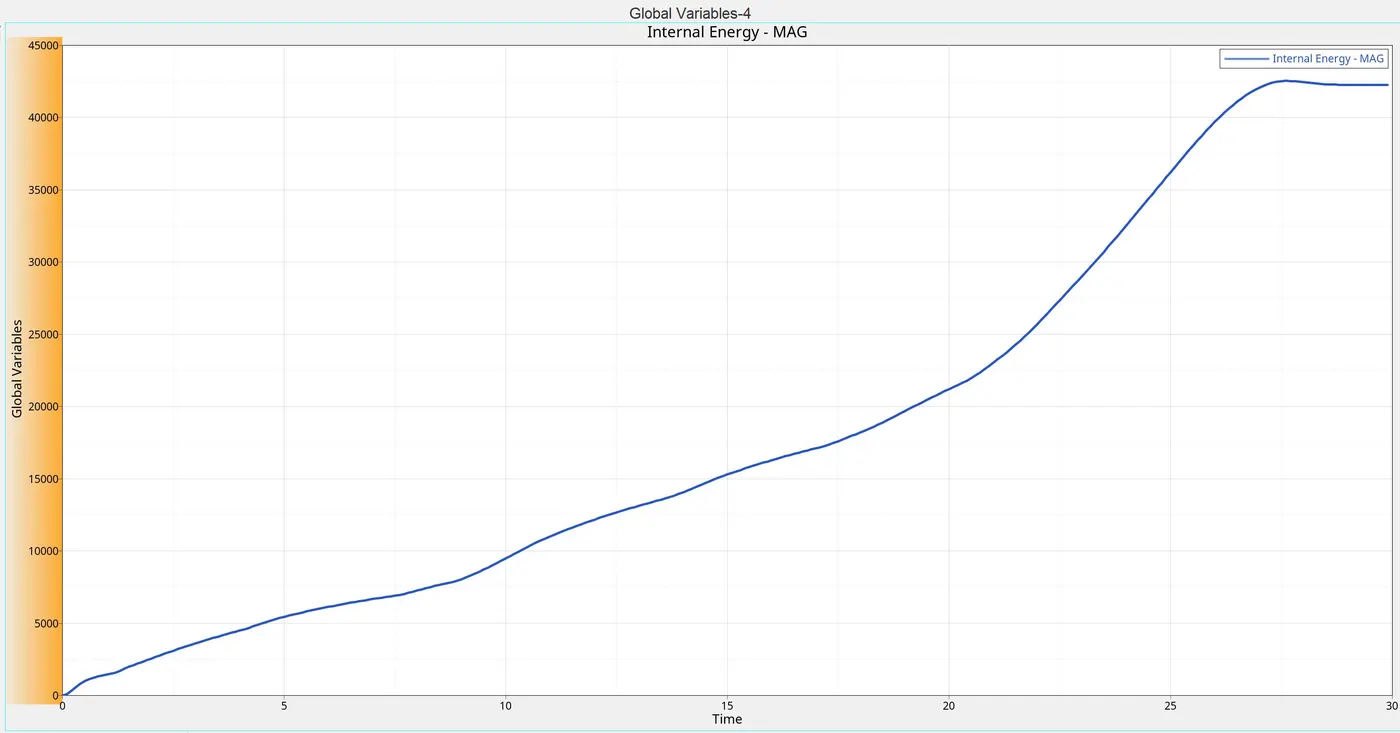
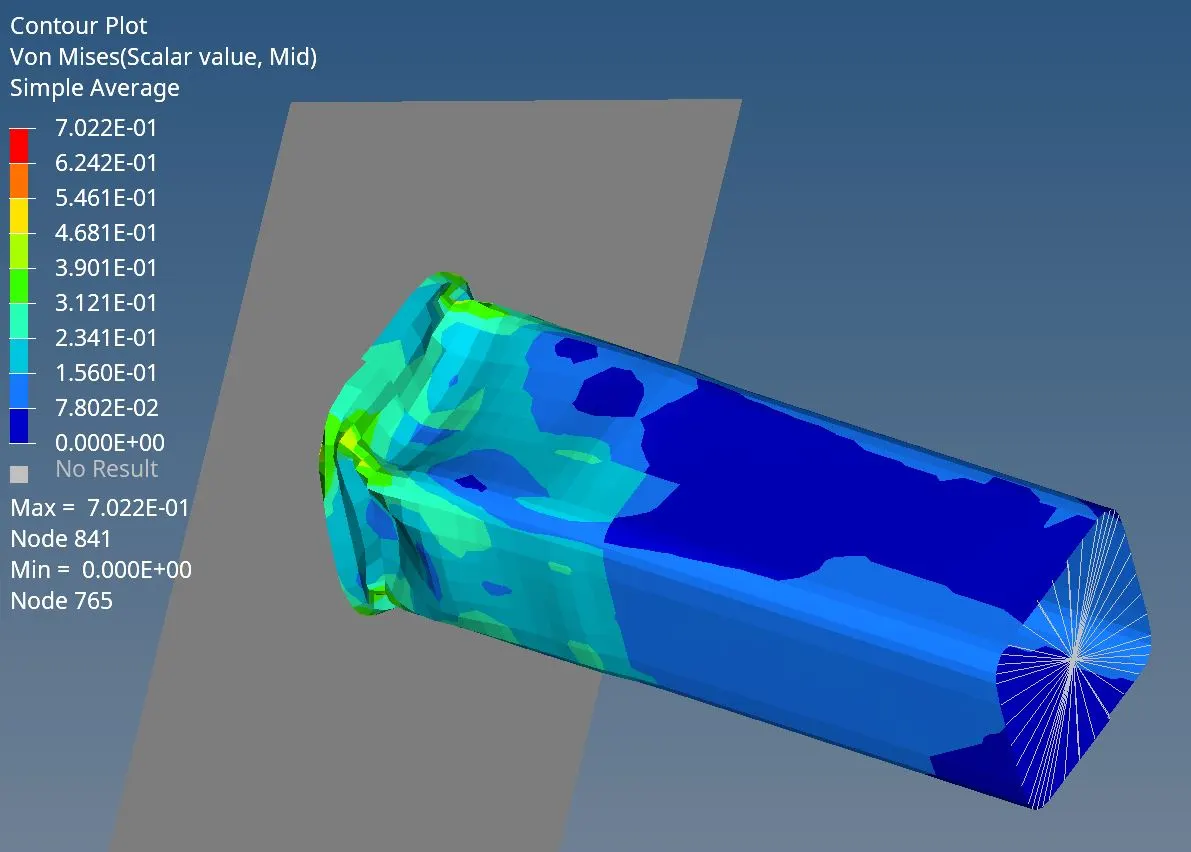
The deformation is observed on a higher scale becuase of the absence of stiffners which absorb the impact energy.
Case 5:
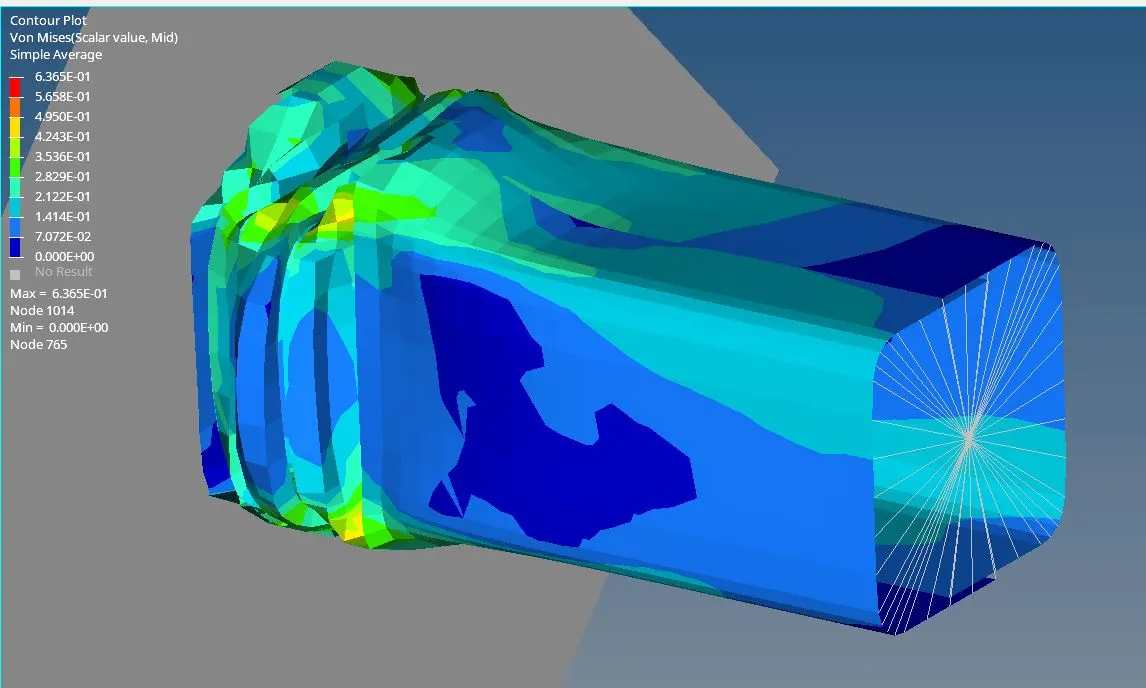
Create a new notch around the whole section, and run
The notch is created using translate command
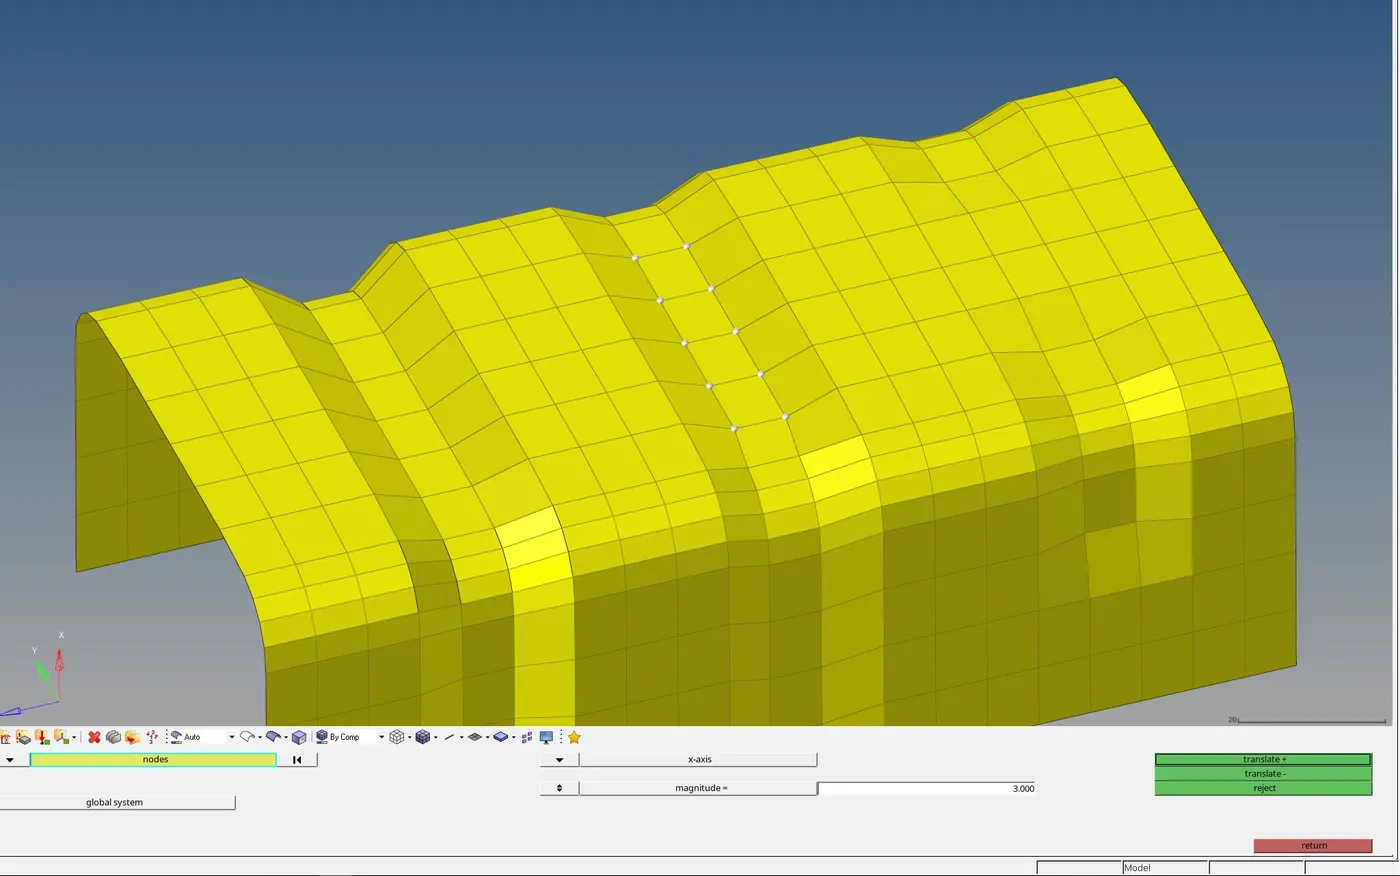
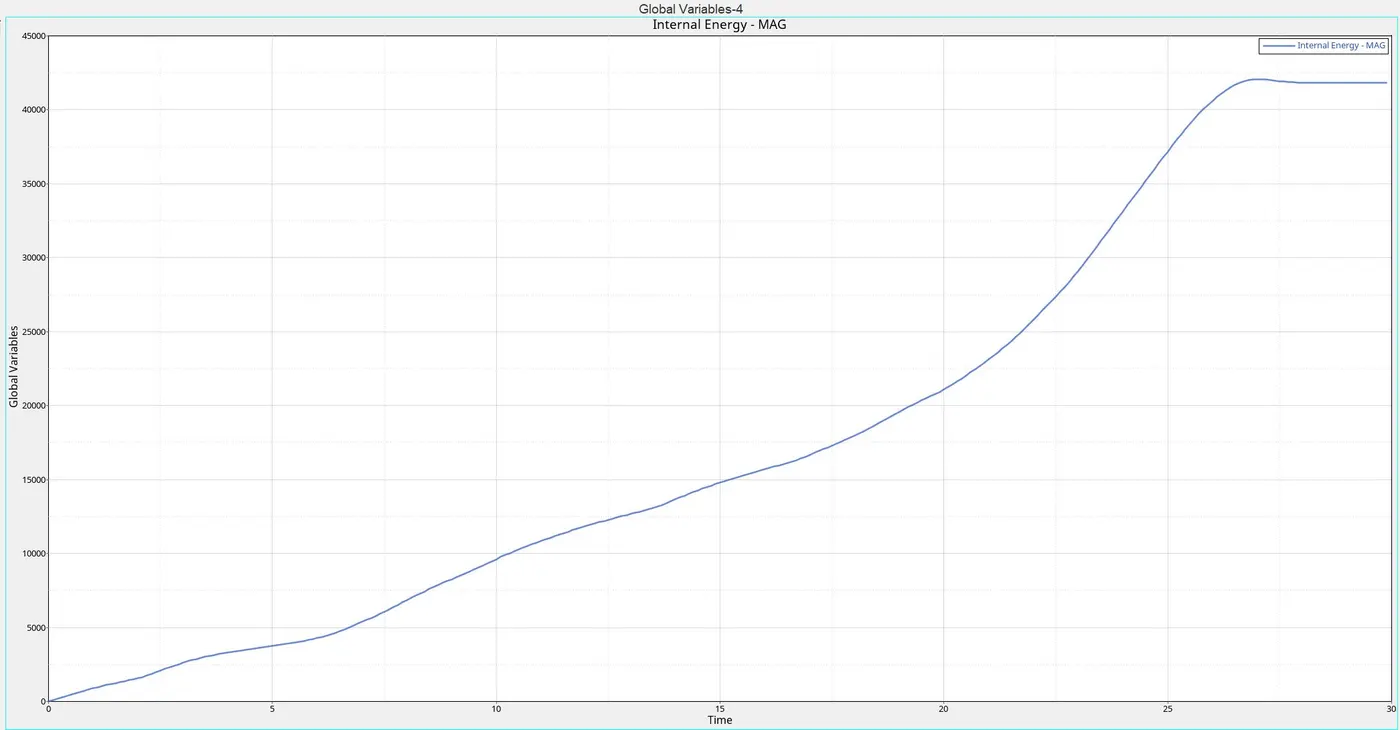
The Energy plots are:
RWALL Forces: Contact energy:
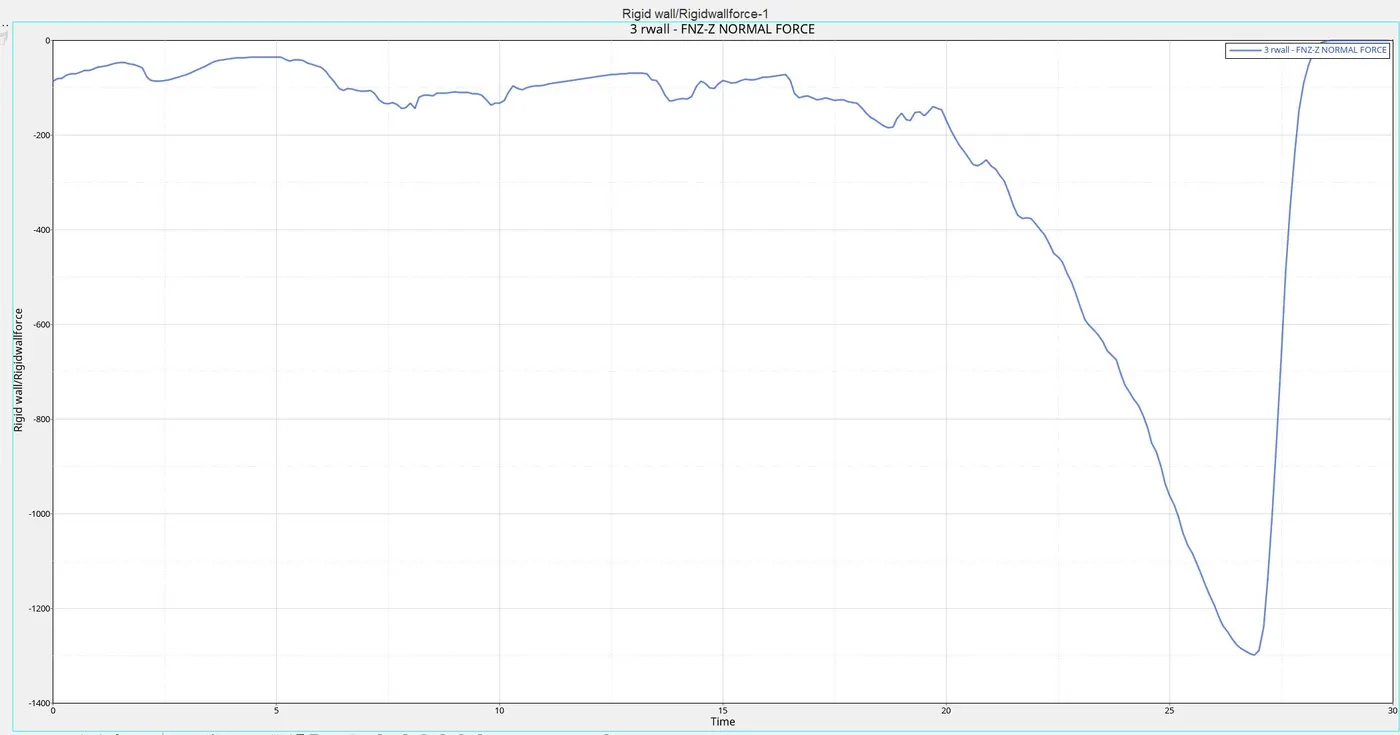
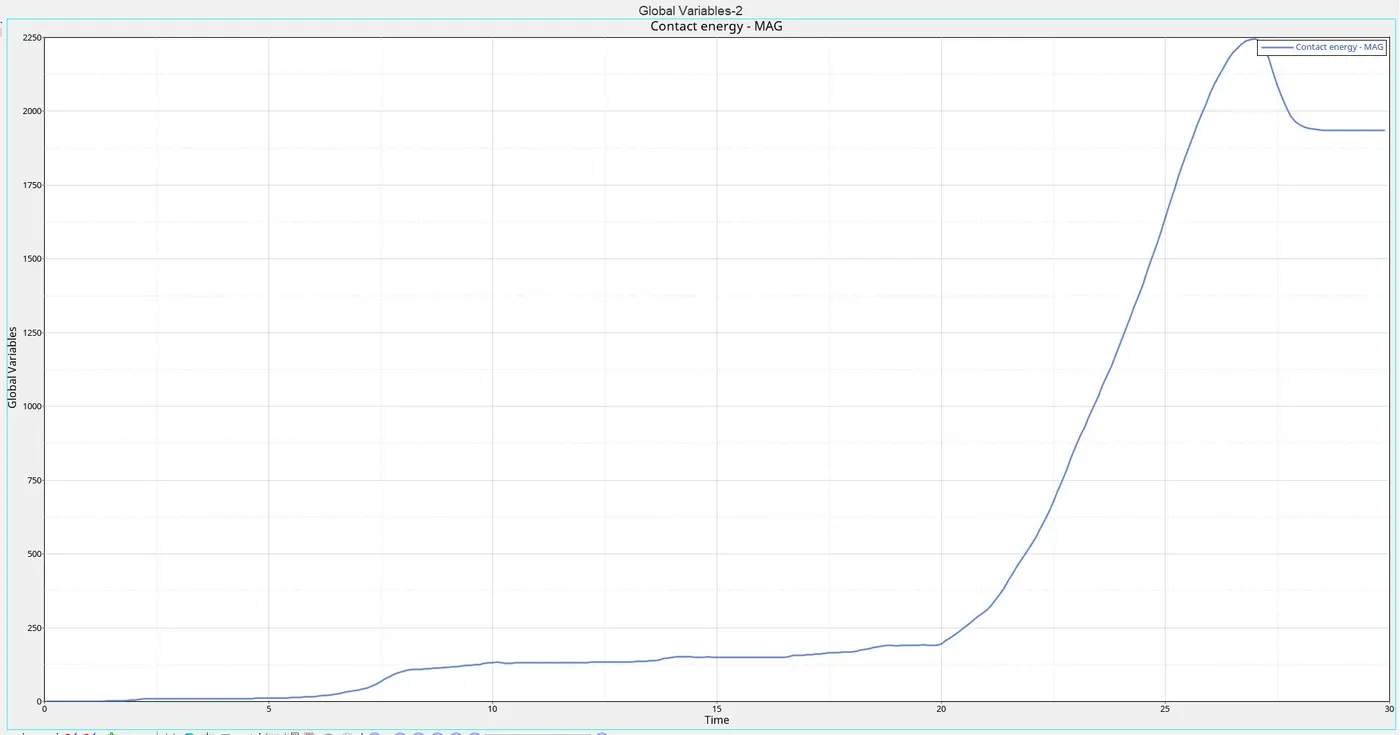
Internal energy: Animation (Von Mises contour):
Case 6:
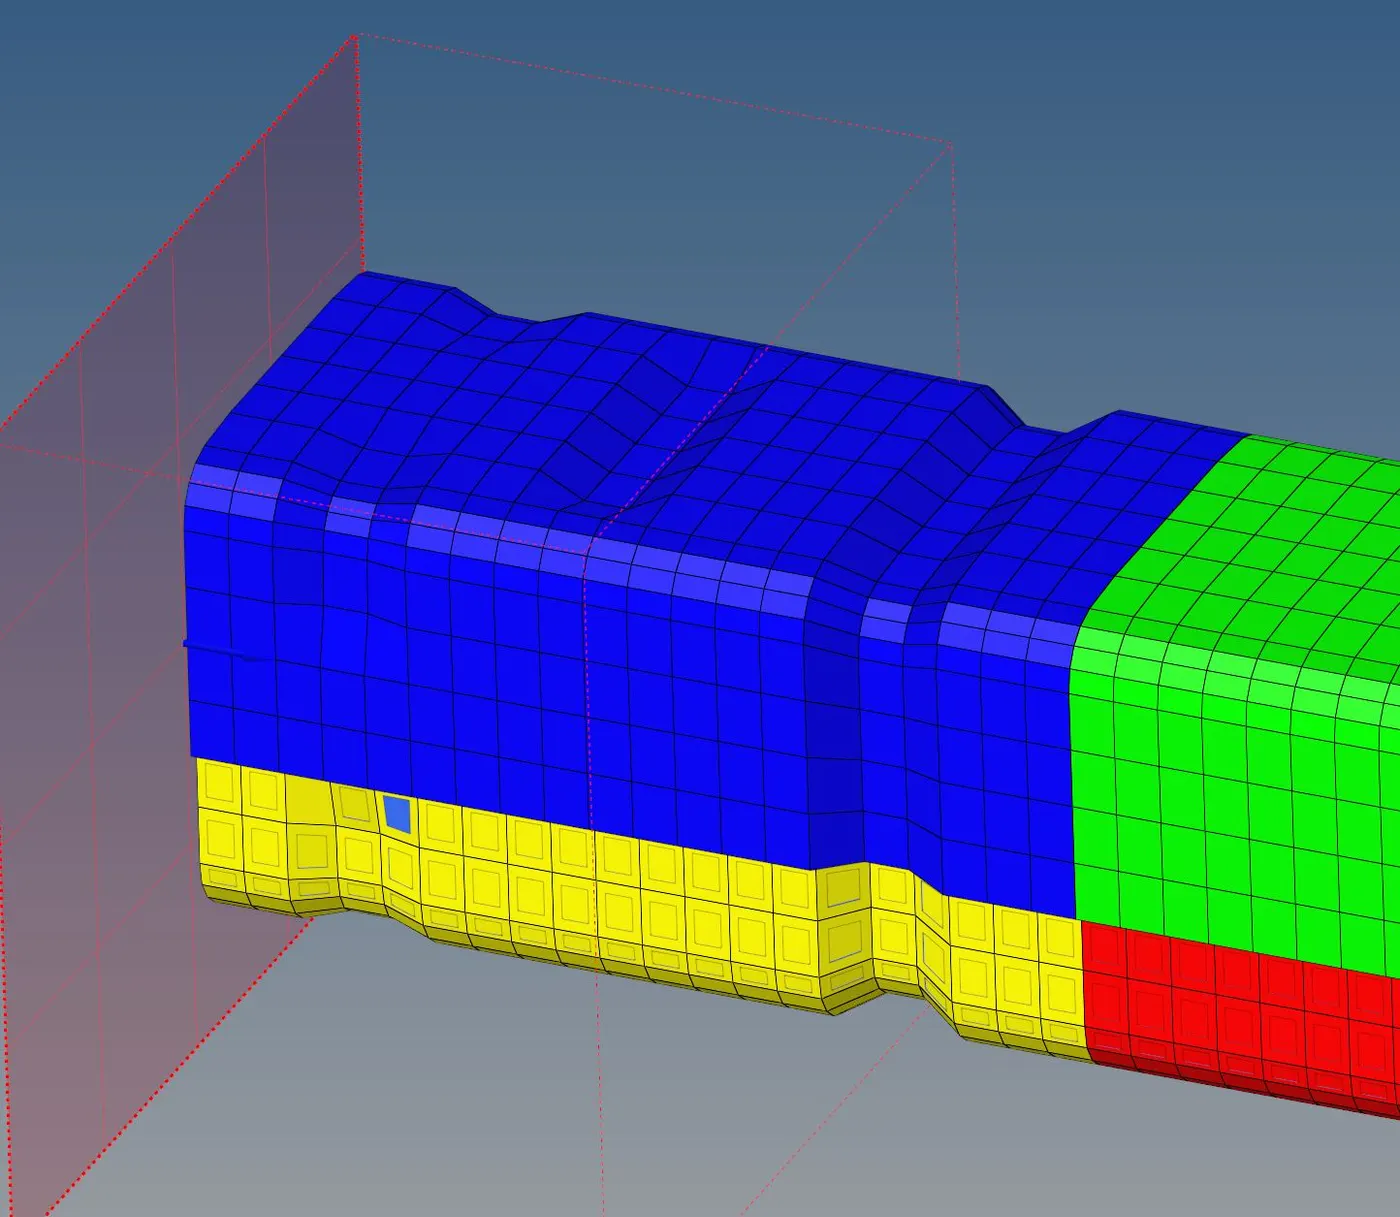
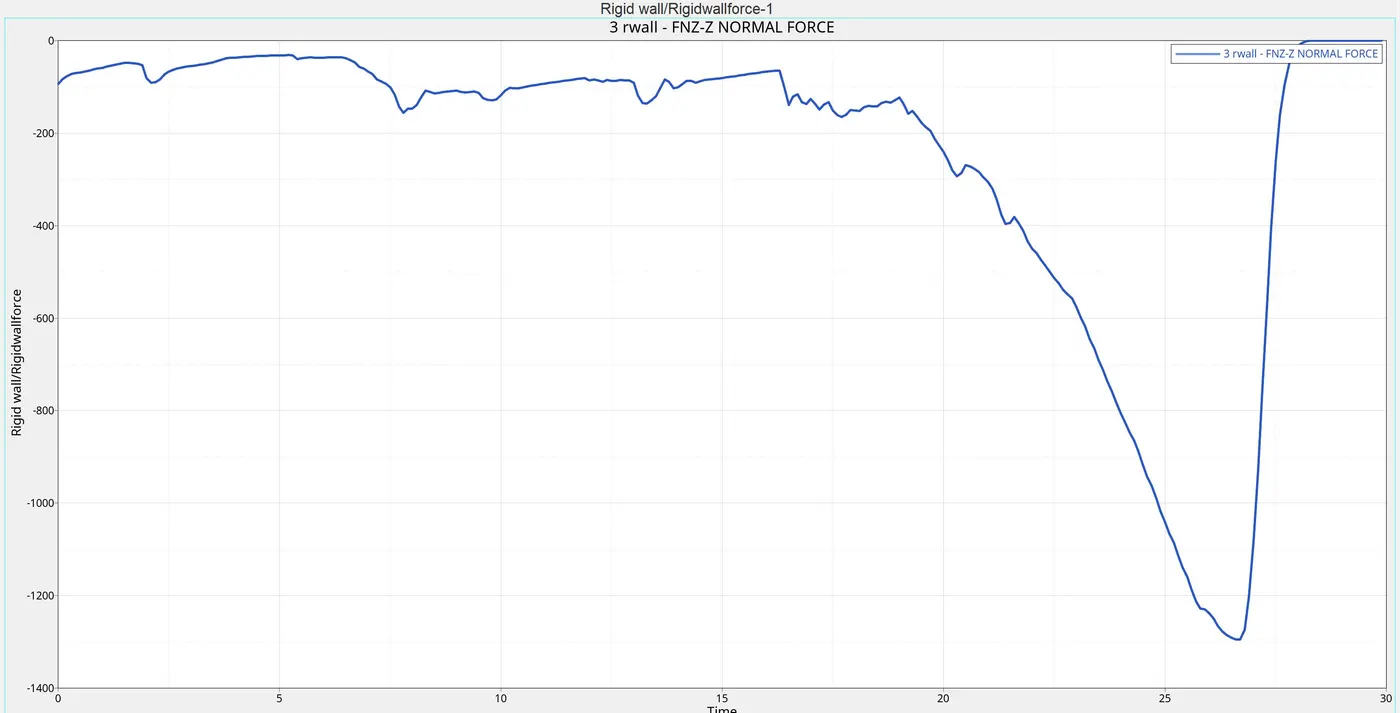
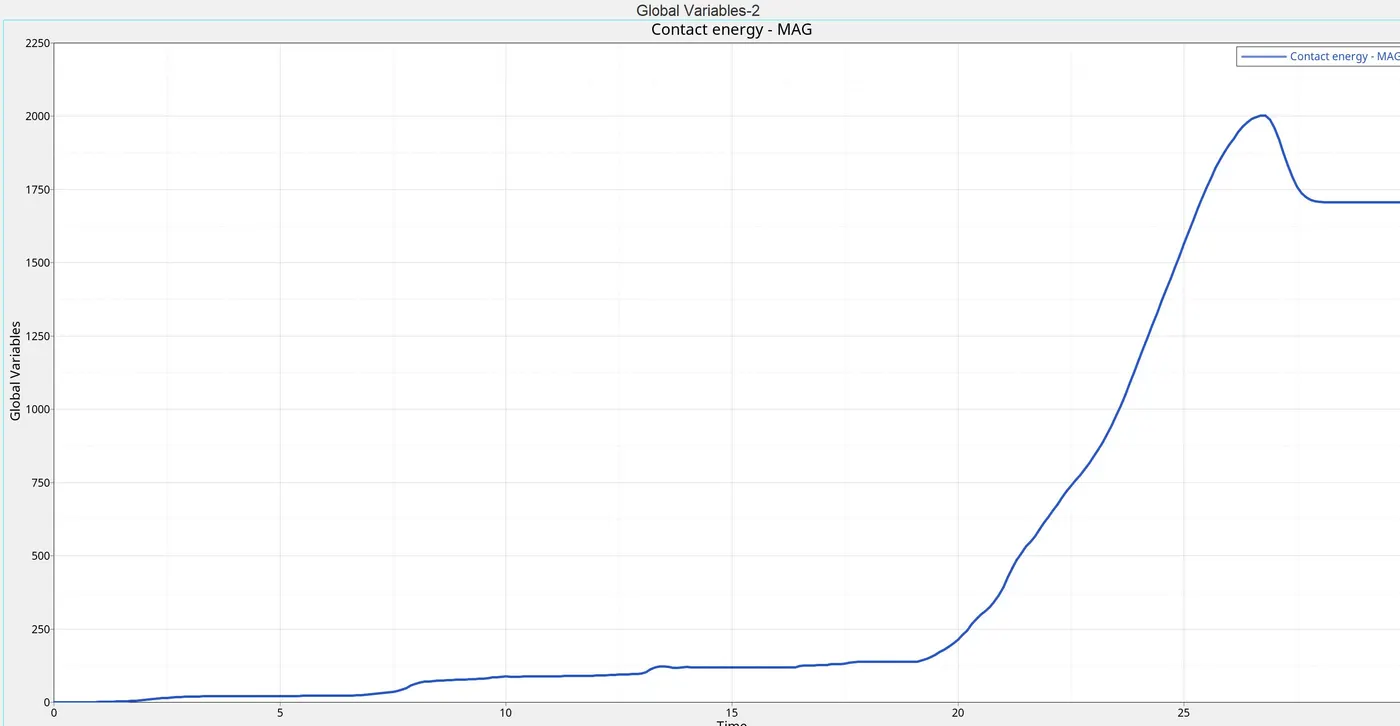
Create notch only on 2 opposite faces, and run
Notches are created using nodes
The energy plots are:
RWALL Forces: Contact energy:
Internal energy: Animation (Von Mises contour):
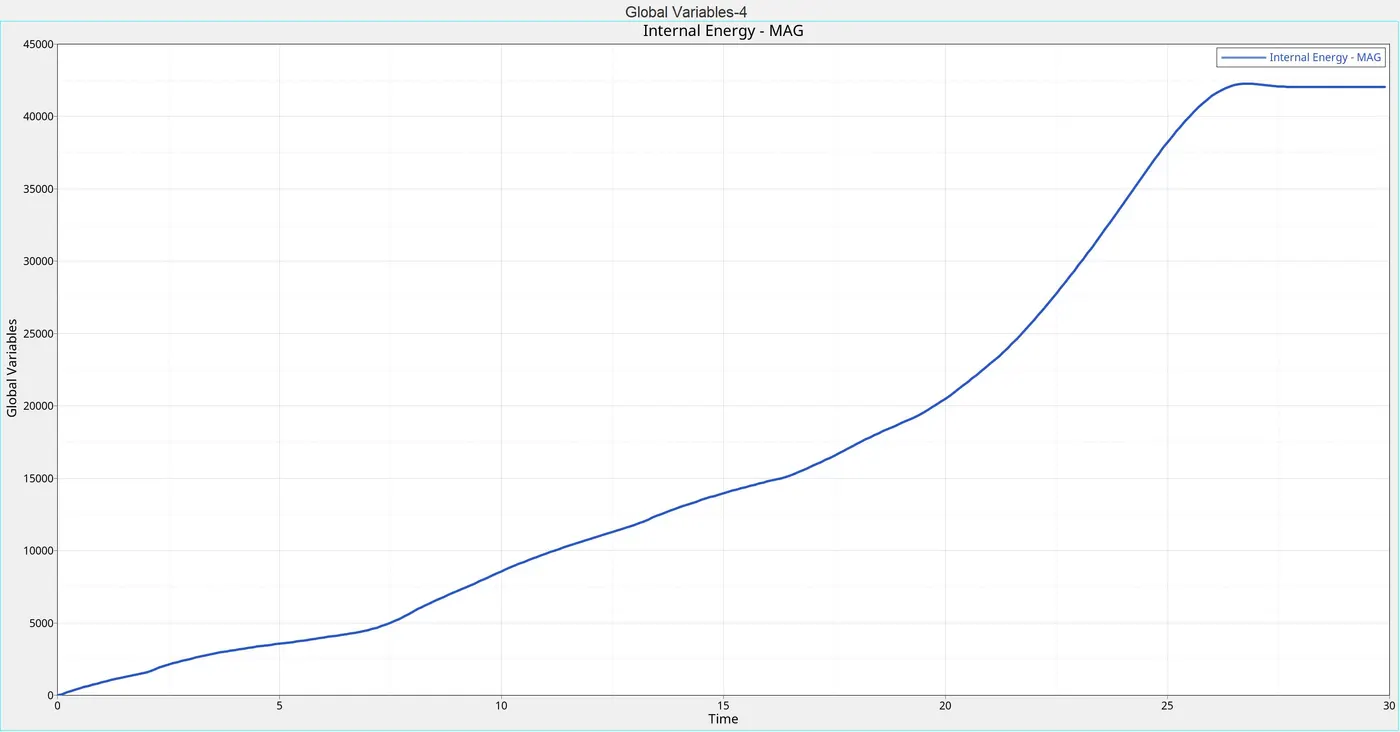
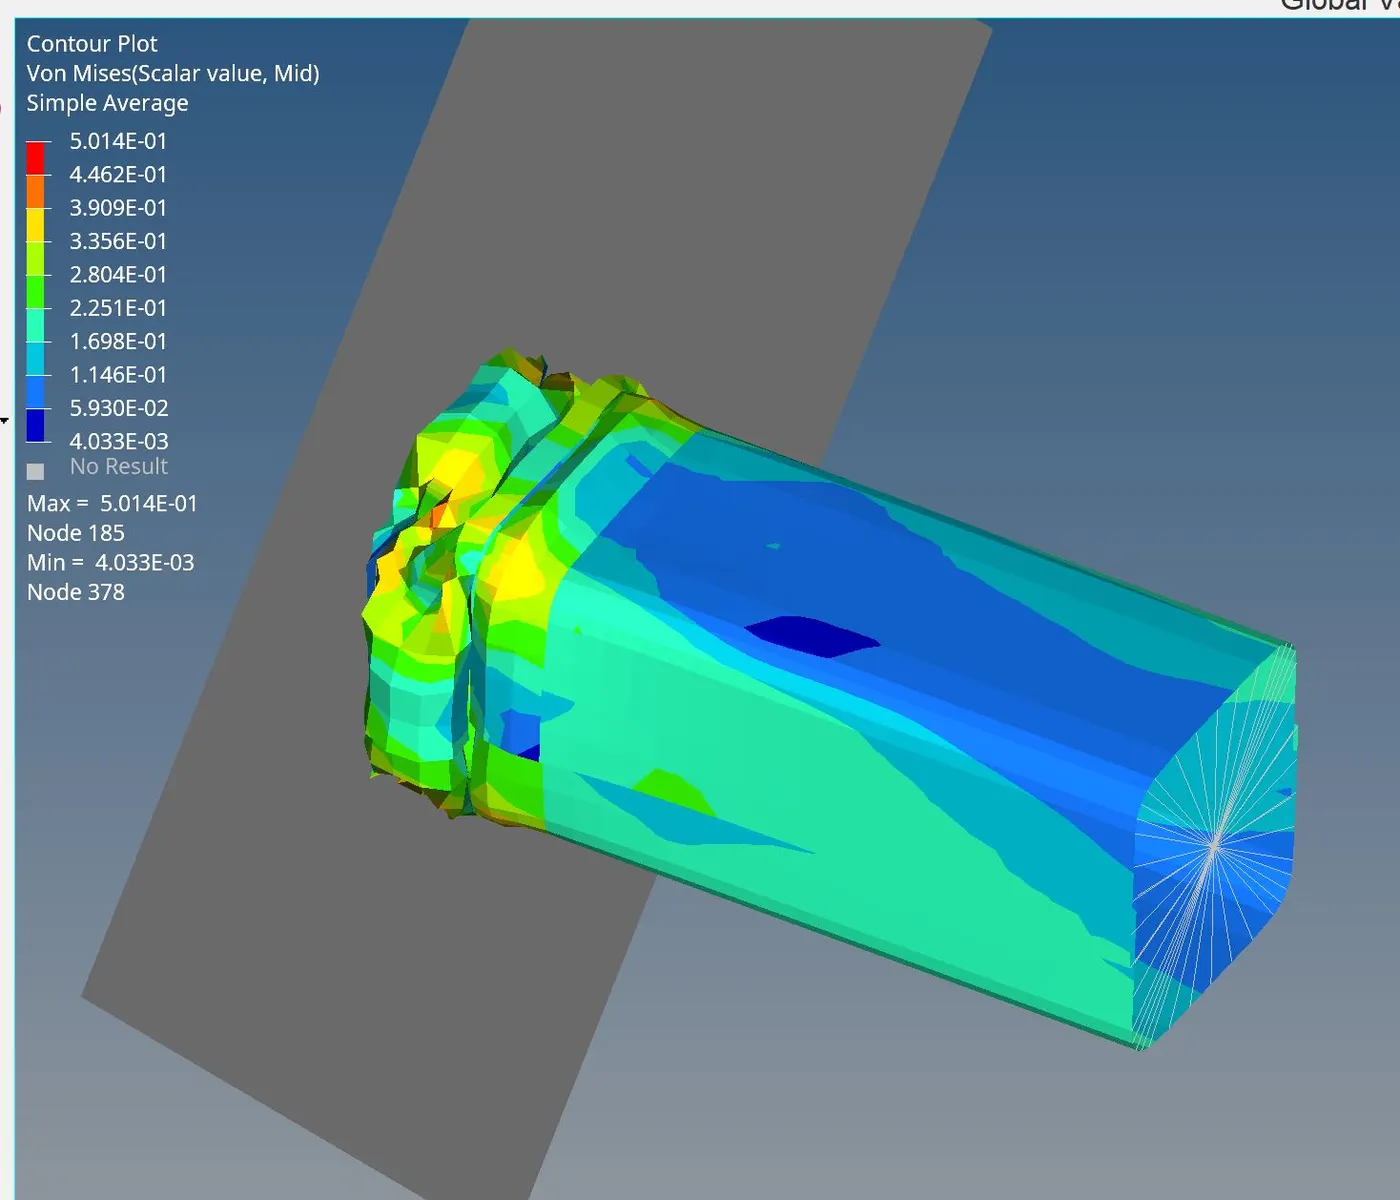
Hence, from all above mentioned cases, it is evident that notches make the sturcture stiffer, and the impact is tranferred to the wall. While, Type 11 interface helps to capture the physics of edge to edge contact.
PART 2:
Meshing the given model:
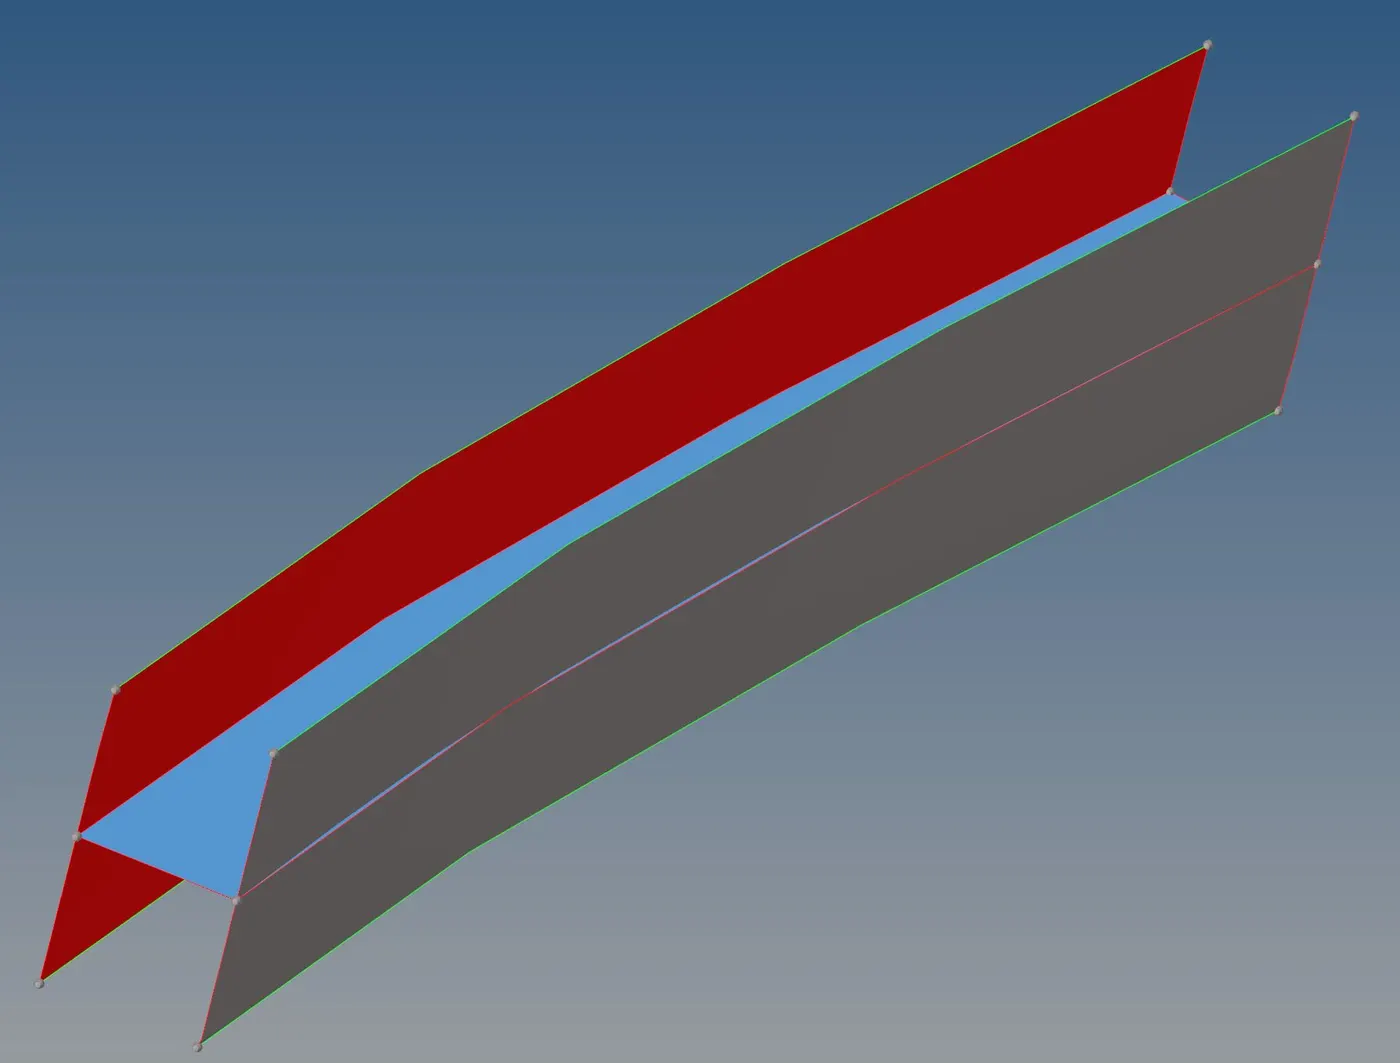
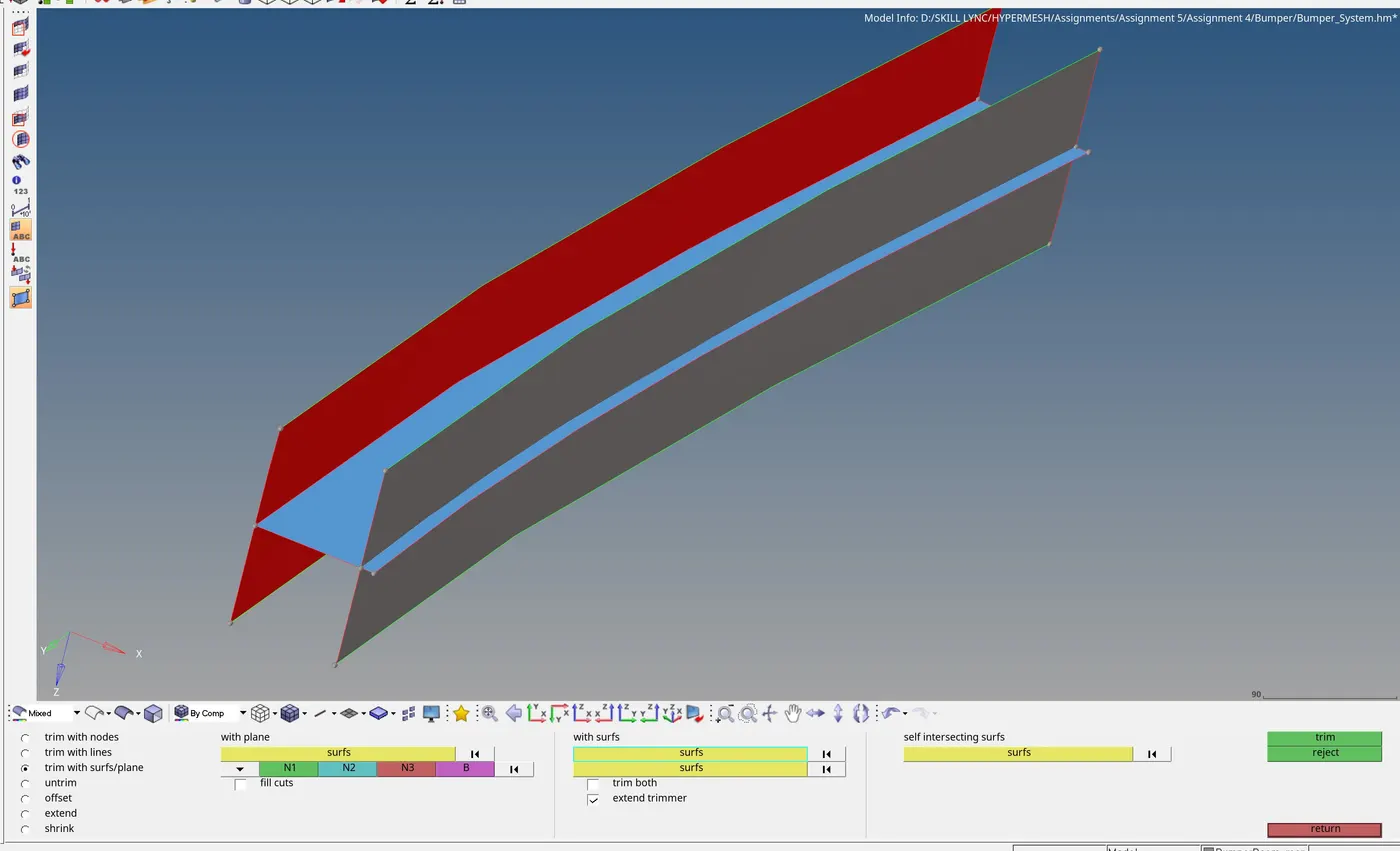
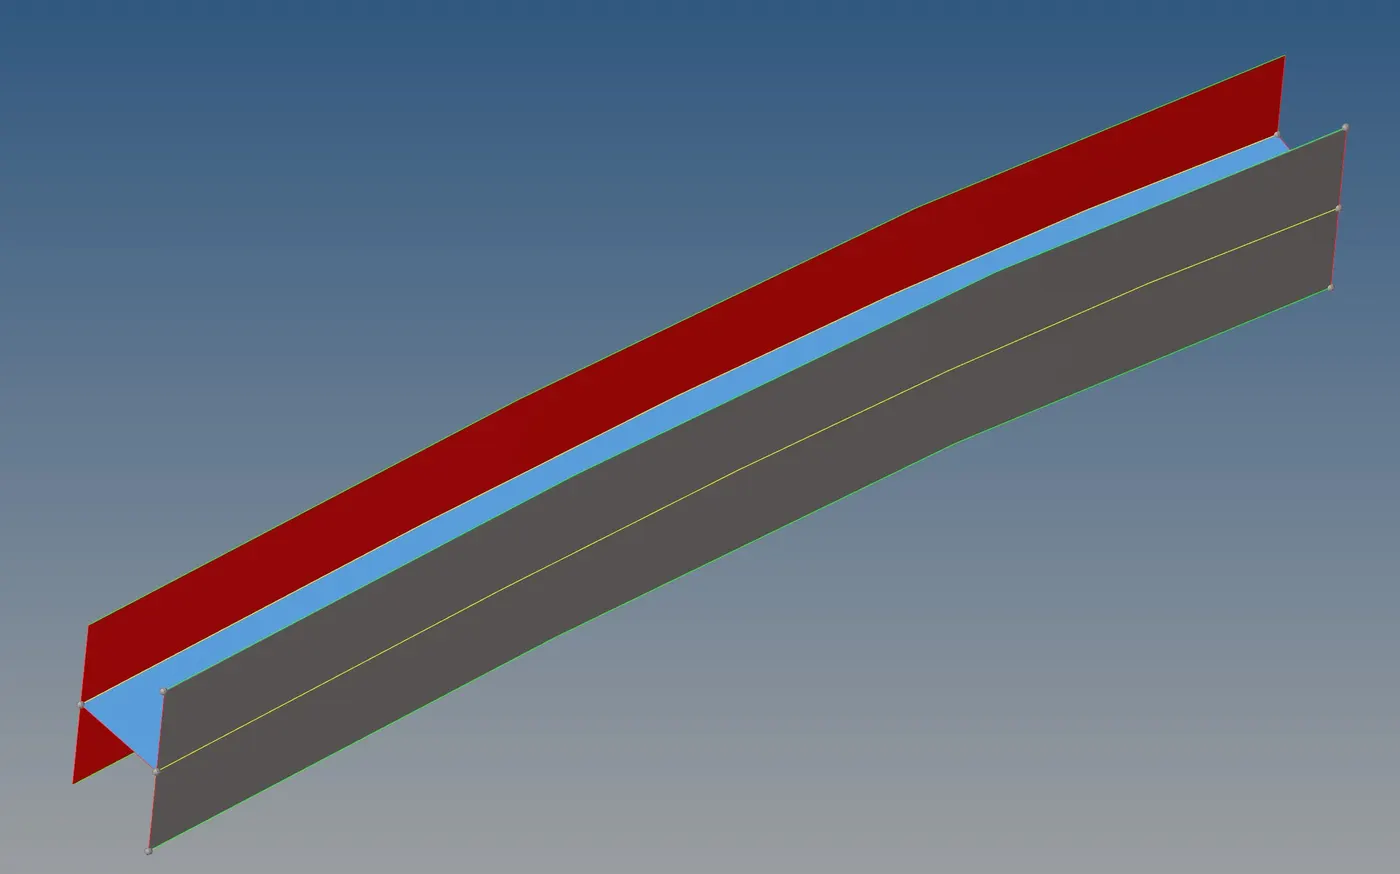
1) Geometry cleanup, toggle all the free edges using project and trim command
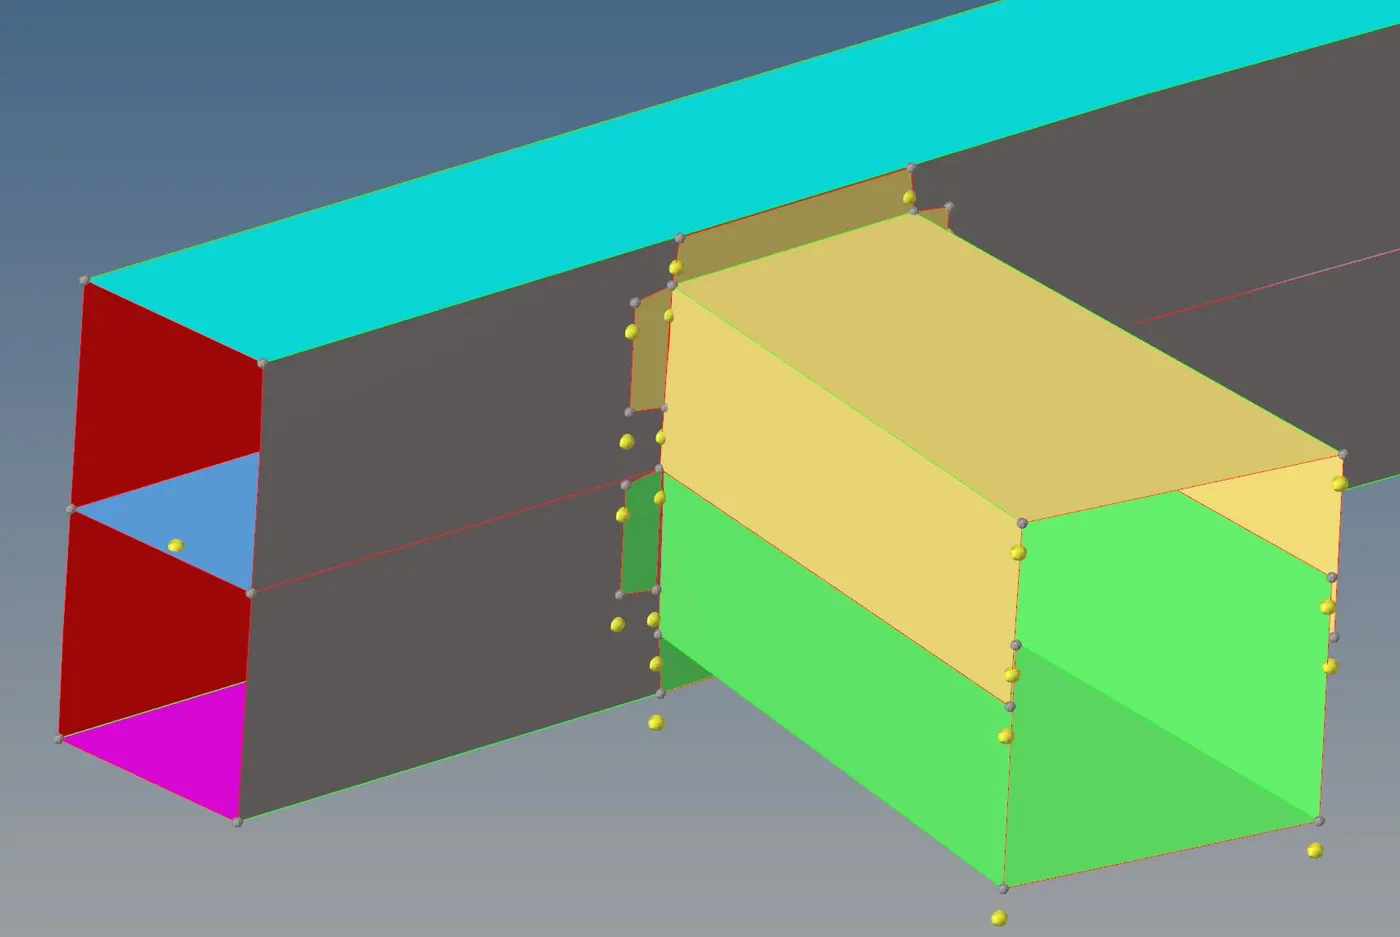
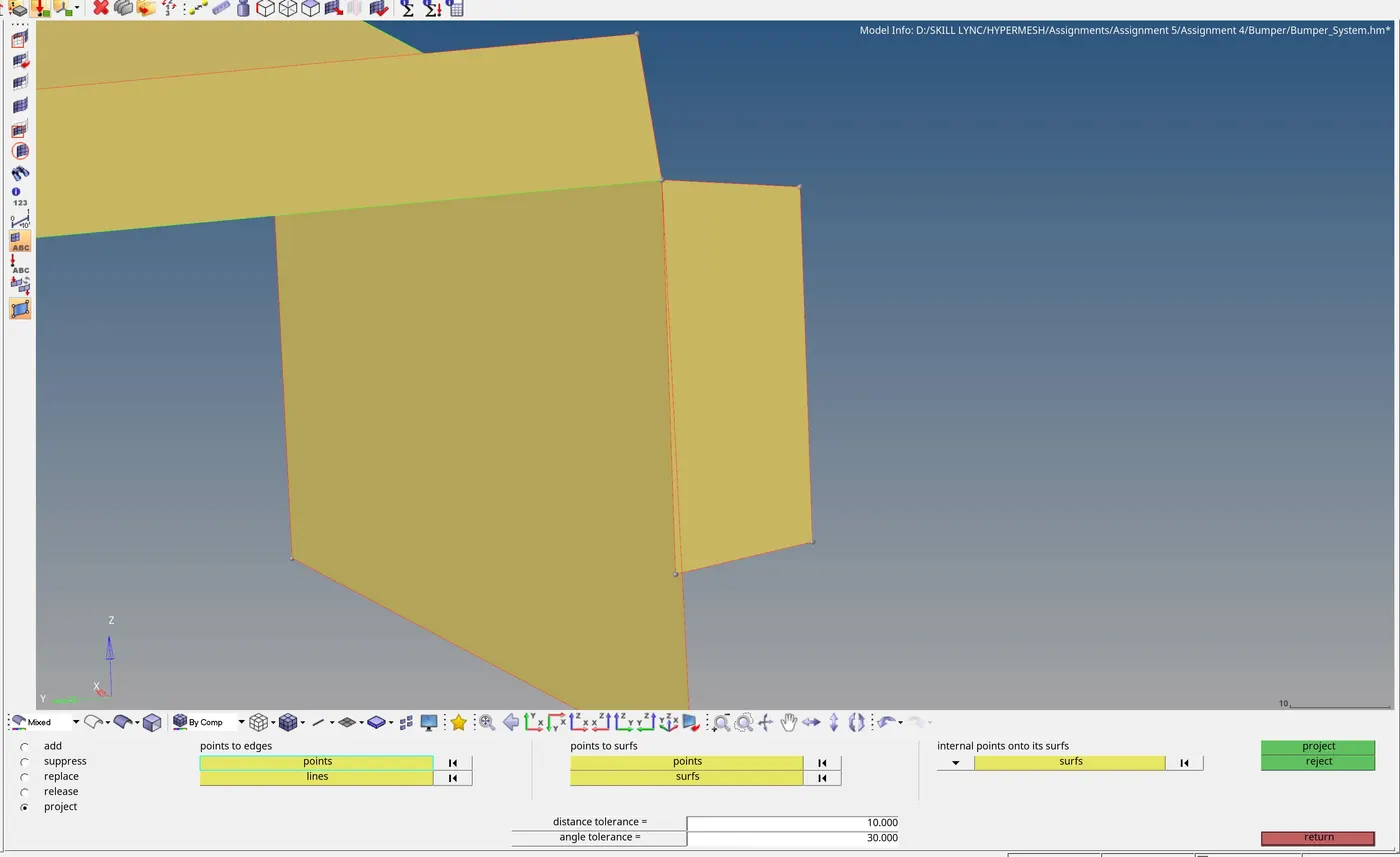
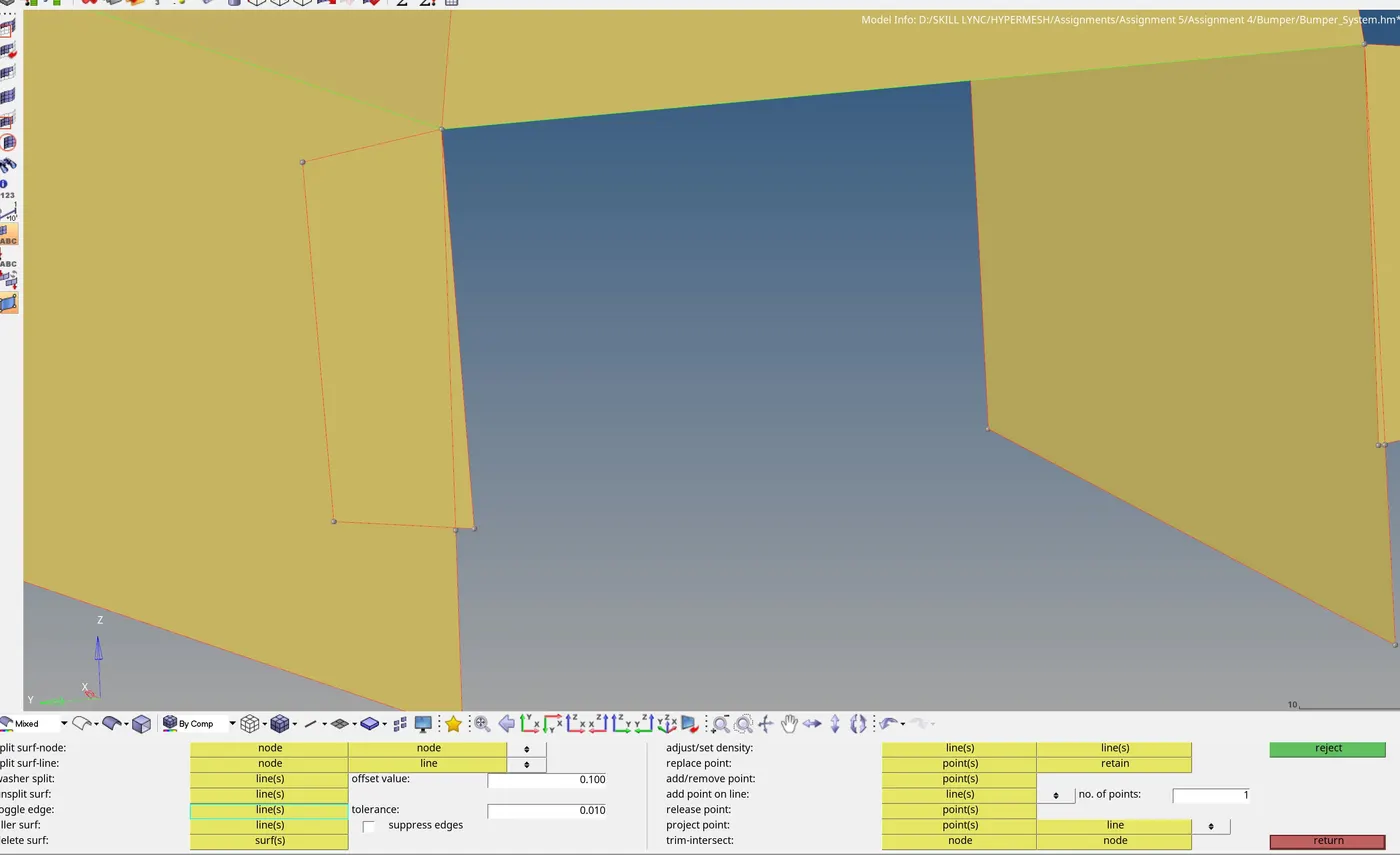
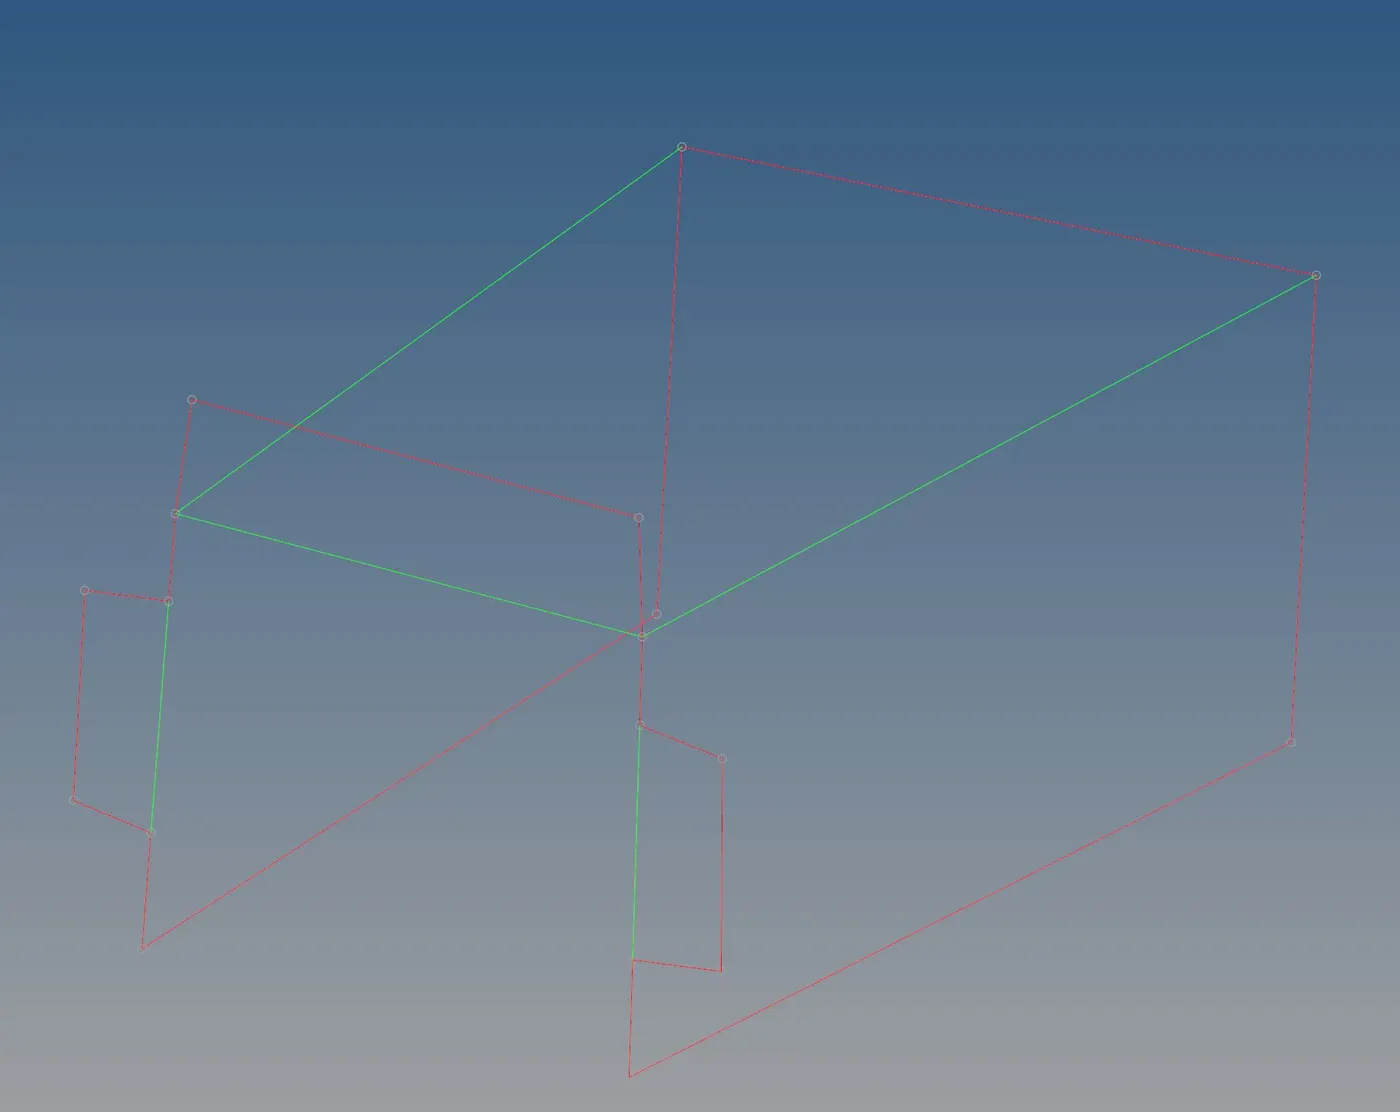
Using Extend and Trim command the edges issues are resolved:
Mesh of size 6 is created
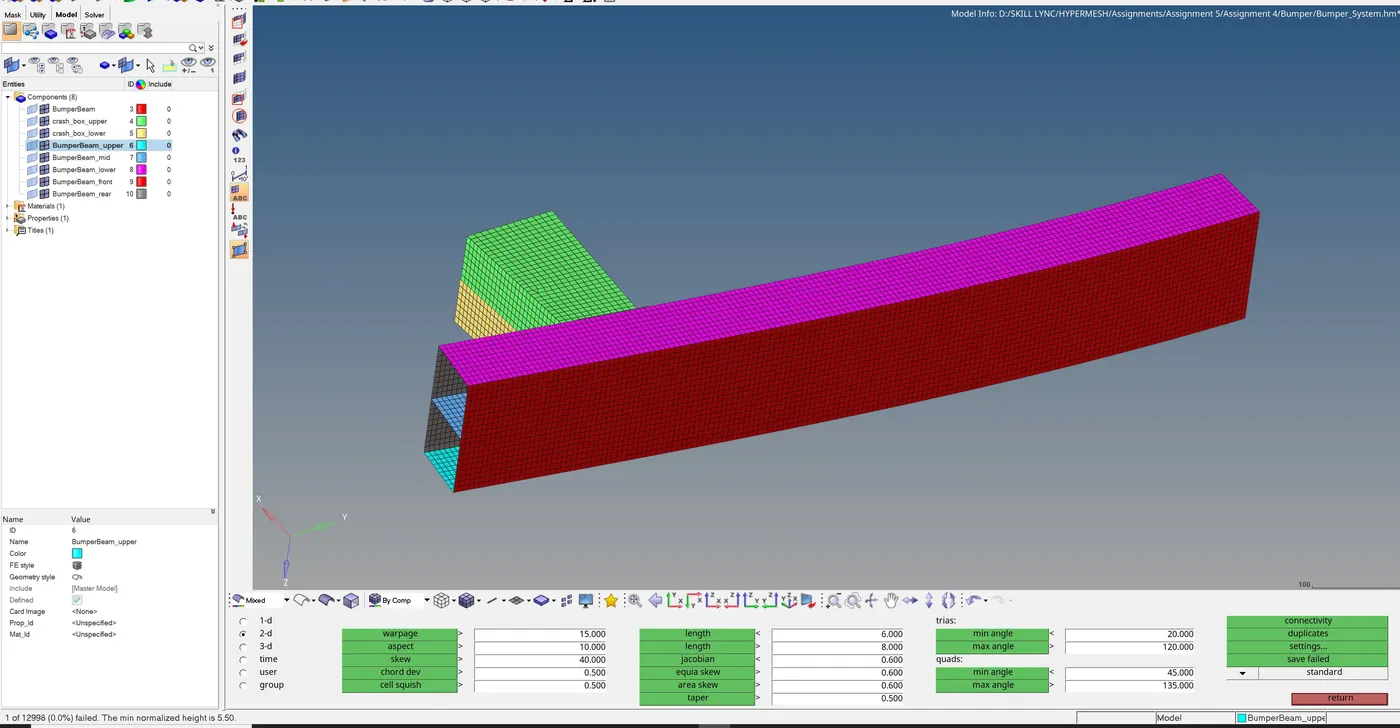
Conclusion: Meshing is completed as per the quality criterion of 6 size.
NOTE: Files are attached.