Assignment 2-RADIOSS Engine File Editing & 3D Meshing Challenge
objective:
1. Check the material properties of the rail component and calculate the speed of sound in steel rail
2. The length of the rail is about 1000 mm.calculate the time takes for a shock wave to travel from one end of the rail to the other.
3.Time for sound to travel length of rail
4.Edit the engine file so that the stress wave can be monitored, moving from one end of the rail to the other during impact -this will require a termination time equal to the time it takes for the sound to travel the length of the rail(set on/RUN card)
5.Set the frequency of animation output to a time that will give 20 animation steps(/ANIM/DT)
6.Change /print -10.
7.3d meshing tetra mesh and hex mesh
- Repeat class examples and, maintain the quality.
- Target tet size=5mm,hex size=10mm,tet collapse=0.15.
Procedure:
1. Check the material properties of the rail component and calculate the speed of sound in steel rail:
¬ Check the matertial properties of rail components first import the geometry in Hypermesh.
¬Open Radioss and import file in solver deck.
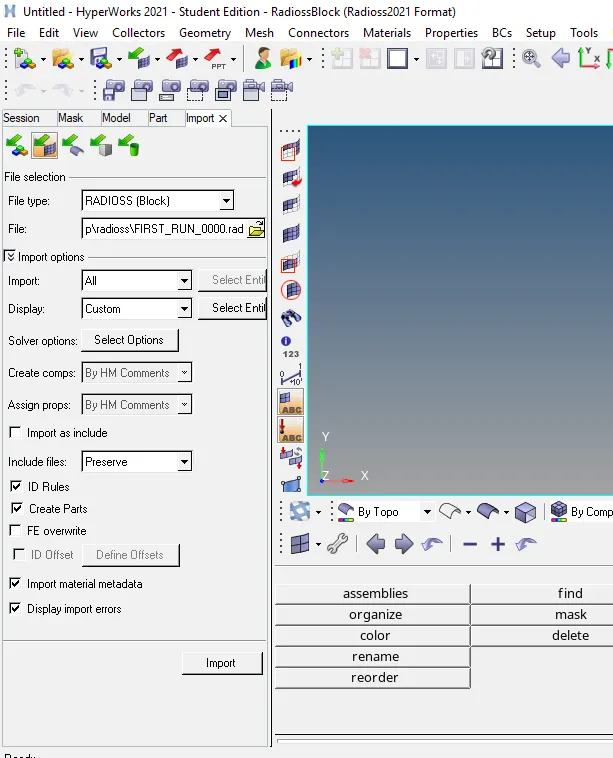
¬ Import the file.
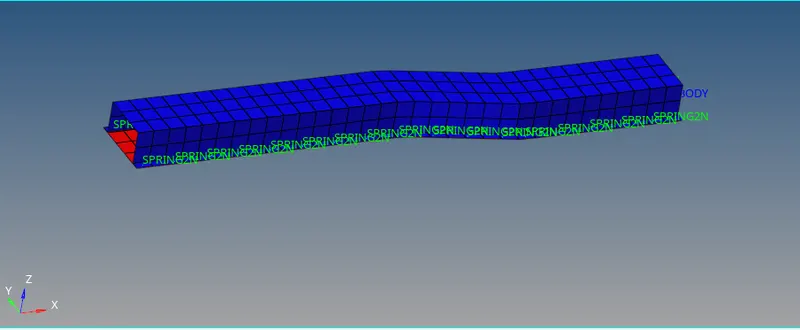
¬Now check the material properties
Calculate speed of sound formula:
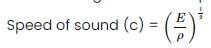
E - youngs Modulus
Rho - density
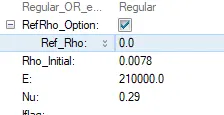
speed of the sound (c) = (210000/0.078)1/2
c = 5188.7452 m/s
2. The length of the rail is about 1000 mm.calculate the time takes for a shock wave to travel from one end of the rail to the other.
L = 1000mm
shock wave speed = sound of speed
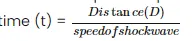
t = 1000/5188.7452
t = 0.1927 ms
3. Time for sound to travel length of rail
shock wave speed = sound of speed
t = 0.1927 ms
4.Edit the engine file so that the stress wave can be monitored, moving from one end of the rail to the other during impact -this will require a termination time equal to the time it takes for the sound to travel the length of the rail(set on/RUN card)
¬ Calculated the end time is 0.1927
¬First open the FIRST_RUN_0001.rad
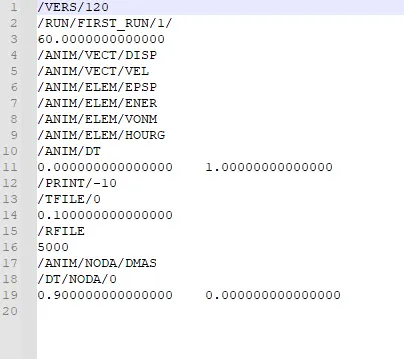
¬ Edit the end time value as 0.1927
¬ After edit end time.
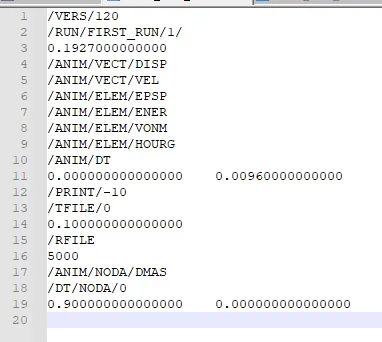
5.Set the frequency of animation output to a time that will give 20 animation steps(/ANIM/DT)
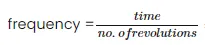
Frequency = 0.1927/ 20
Frequency = 0.009635
Then open FIRST_RUN_0001.rad
¬Edit the /ANIM/DT value as 0.009635
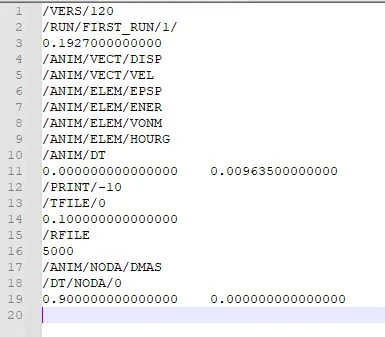
6.Change /print -10.
¬Default value is /PRINT/-10 no need to change.
Conclusion:
¬Learn to calculate sound of speed.
¬Learn to calculate time.
¬learn using solver deck import.
¬learn starter and engine file.
1D Element between two plates:
Procedure:
¬Import the model into Hypermesh.
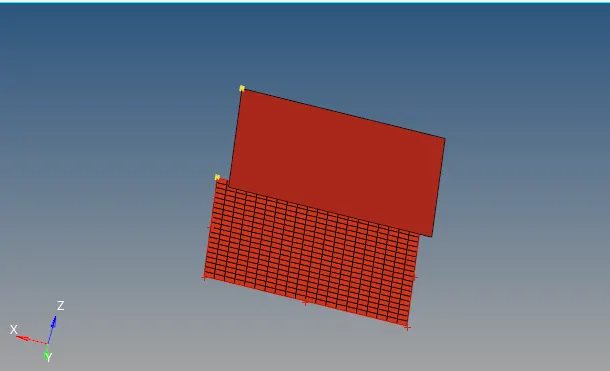
¬1d element also used to make connection between different components.
¬before connection mesh the remaing part.
¬ Go to automesh take target value as 0.5 to meshed the parts.
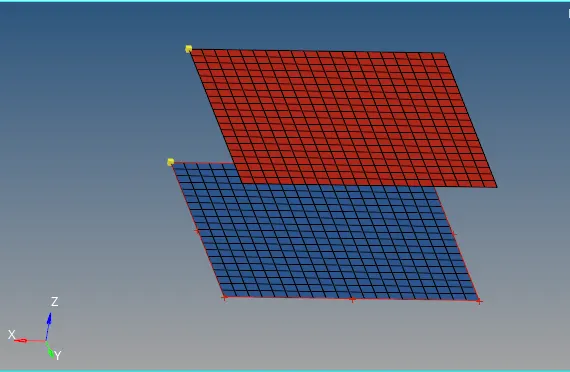
¬Now parts are meshed go connect using rigid option.
RBE 2 :
¬ Go to 1D - Rigid - create - select multiple nodes - calculated nodes.
¬select the one node on upper surface and multiple node bottom surface.
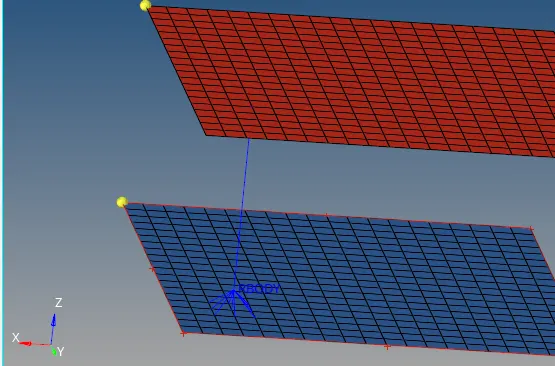
RBE3 :
¬ Go to RBE3- create dependent-select nodes option.
¬select the one node on upper surface and multiple node bottom surface.
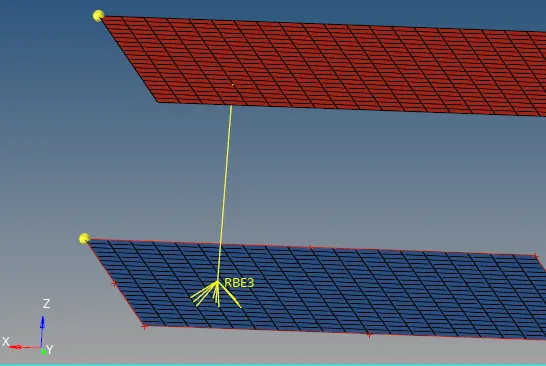
Beam, truss , spring:
¬Crete the beam, truss and spring usoing 1D connection.
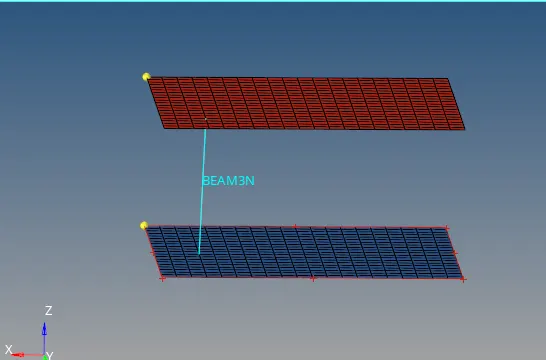
¬ go to 1d - bars - select node A and B.
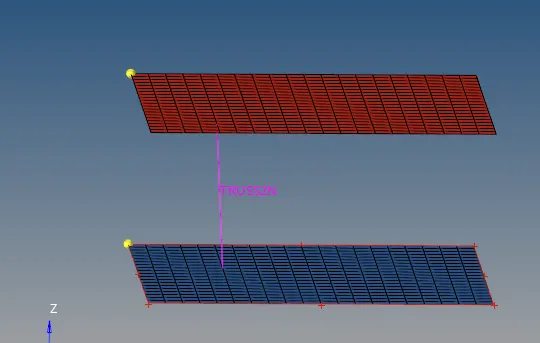
¬Go to 1D - rods - select the nodes click ok.
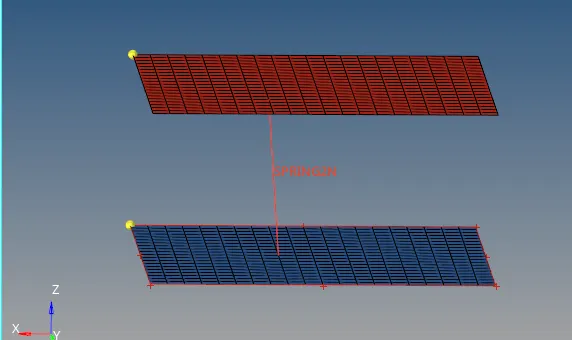
¬Go to 1d - select spring - select nodes.
Final model od 1D Element:
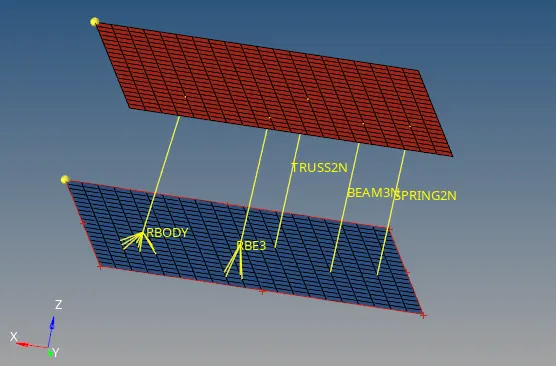
Conclusion:
¬ Learn to know what are connect are used .
¬learn to used the bars ,rods, beams and sping.
¬ learn to meshing the 2d model.
3D Meshing of housing components:
Procedure:
¬Import the geometry file into hypermesh.
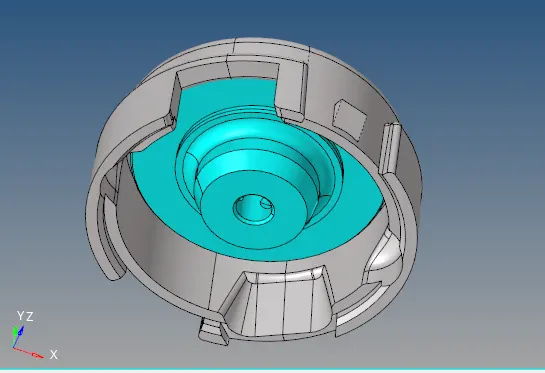
¬Seperate one components and start 2d meshing.
¬Now 2d meshing performed using only tria elements
¬ Go to 2d - automesh - element size 5 - type tria
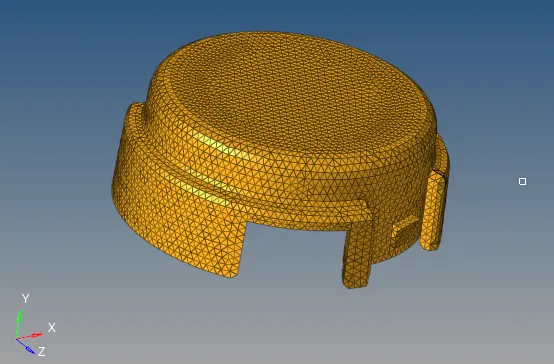
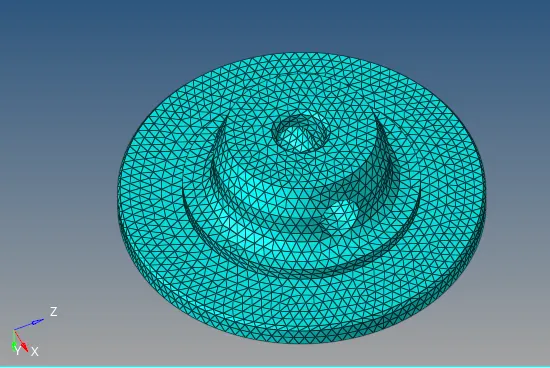
¬Now going to convert 2d elemt meshing to 3d element.
¬ Go to 3d - tetra mesh - select element - give remeshed.

¬ Set Tetramesh parameters set tet collapse value as 0.15.

¬ This mehod used to mesh the 2d elemnet to 3d element.
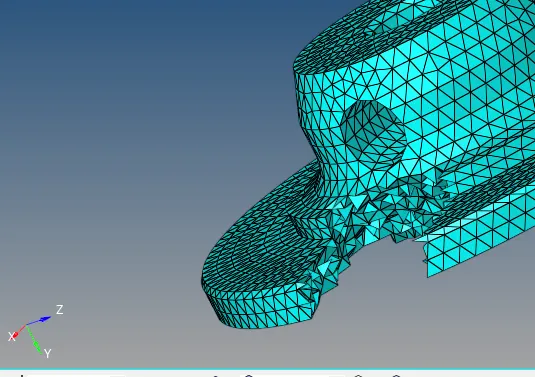
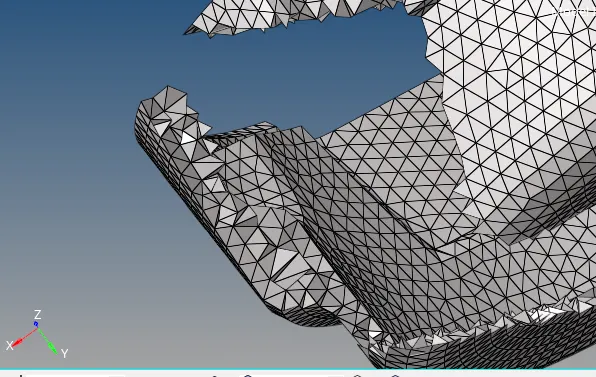
¬ Then going to check the tet collapse to be less than 0.15 .
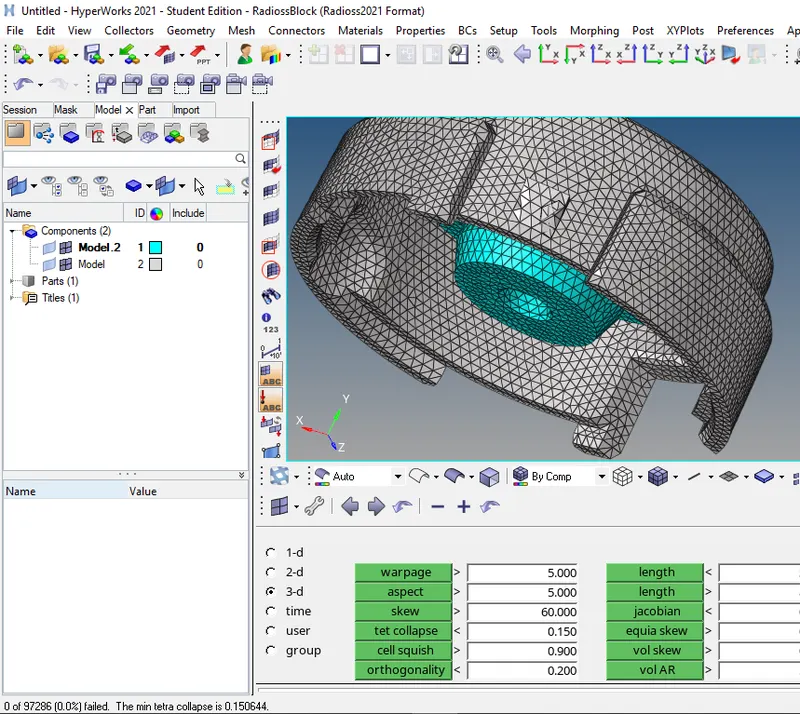
¬Go to check element - 3d - tet collapse is 0.15 .
¬ There are no tet collapse.
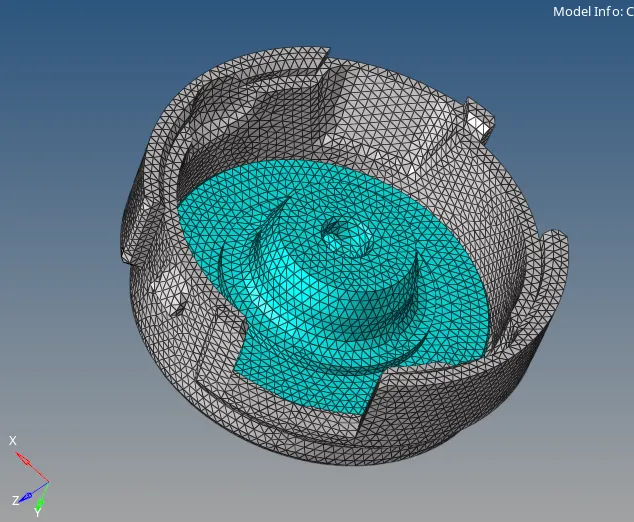
Final Model of components:
Conclusion:
¬ Learn to mesh the 3d object.
¬learn tetra meshing.
¬Learn to tet collapse value make as zero.
Hexa mesh for arm bracket:
Procedure:
¬import the CAd file into hypermesh.
¬hexa mesh is complicated as tetra meshing and 2d meshing.
¬ This meshed part by part.
¬separte the all the parts.
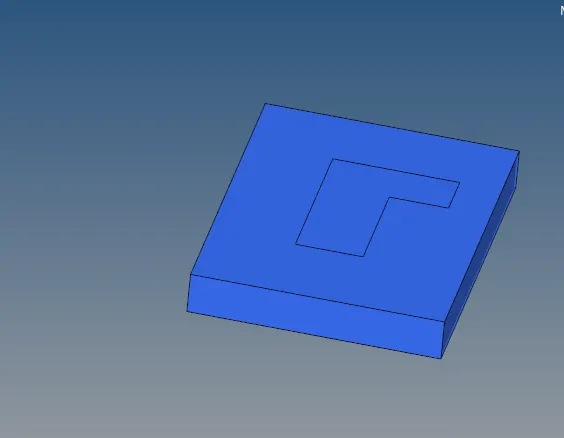
¬First mesh this parts select the top face and meshed as 2d element.
¬go to 2d - automesh - element size as 10
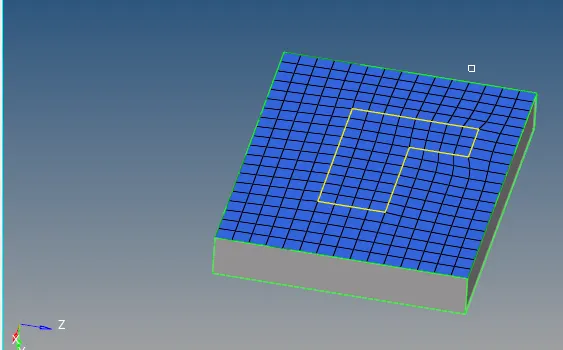
¬ Now 3d - solid map - select element trought element drag.
¬Select destination surafce.
¬Along geometry

¬ Meshed fully using solid map.
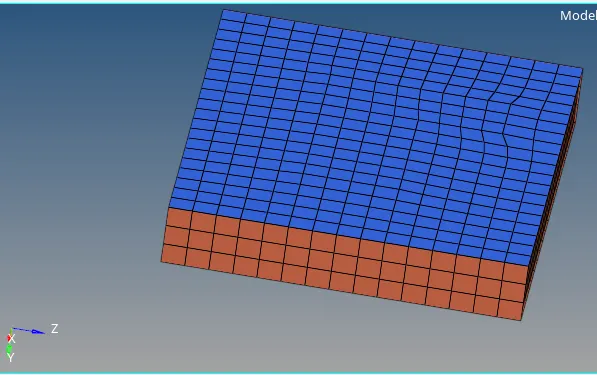
¬Then moved to next part.
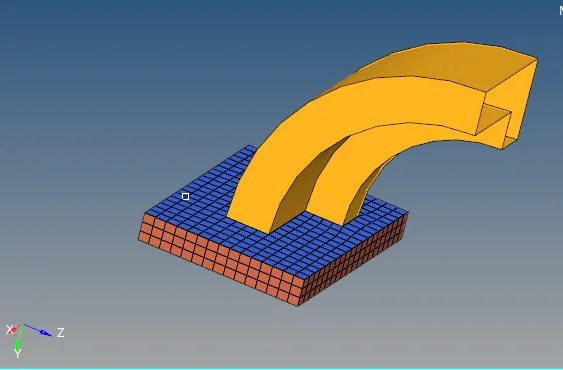
¬This part used differe method solve .
¬ hide base hexa element and select 2d element .
¬used spin option - select element - angle as 90 - on spin as 25.

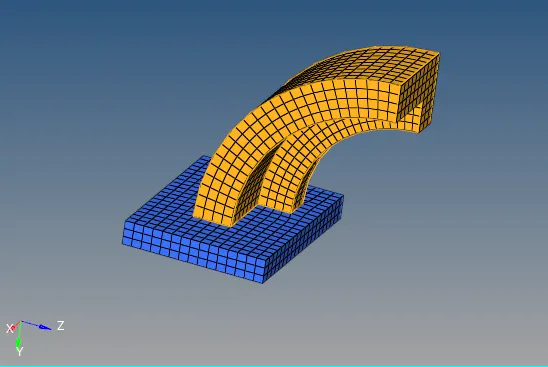
¬Next part used linear option to mesh.
¬This part have taper edge.
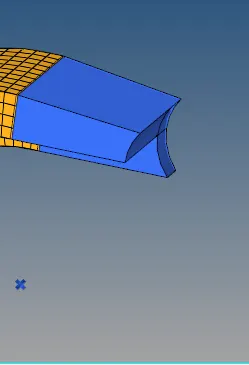
¬ The arm curve is convert into 2d using faces option method.
¬ go to tools - select faces - select element - convert into 2d.
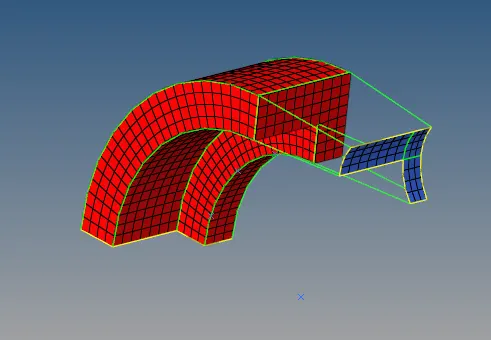
¬go to 3d - select 2d element faces and straight arm faces.
¬Give correct alignment.

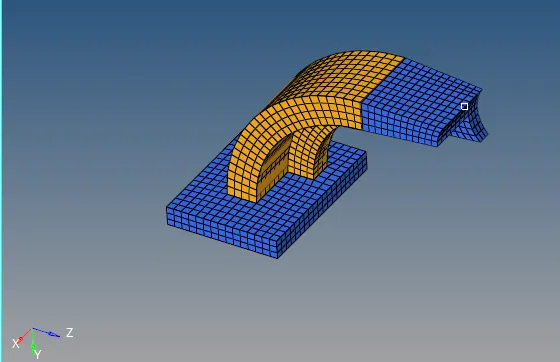
¬The next part.
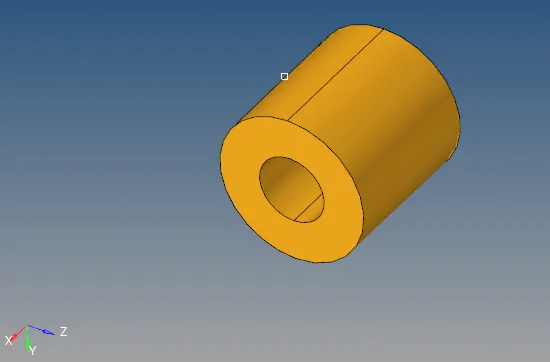
¬ This part meshed by solid map.
¬first meshed one side as quad element.
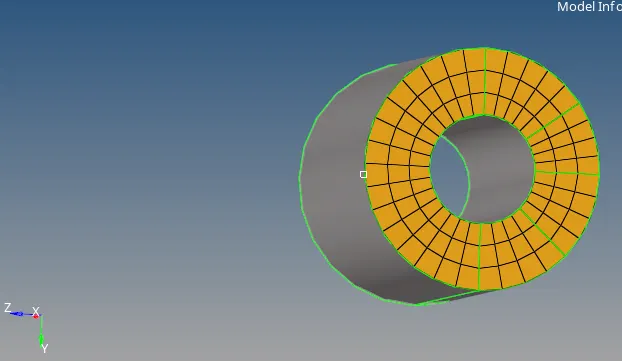
¬Then using the solid map method and solve this.
¬similar to the base part done previous.
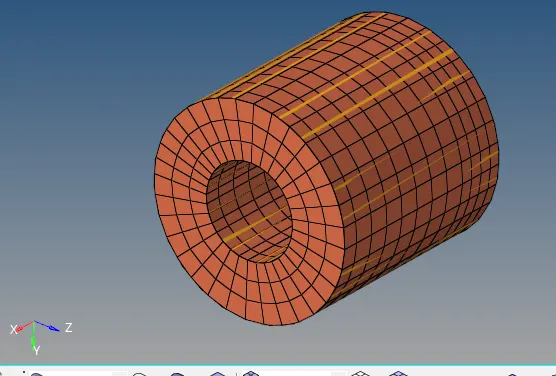
Final model:
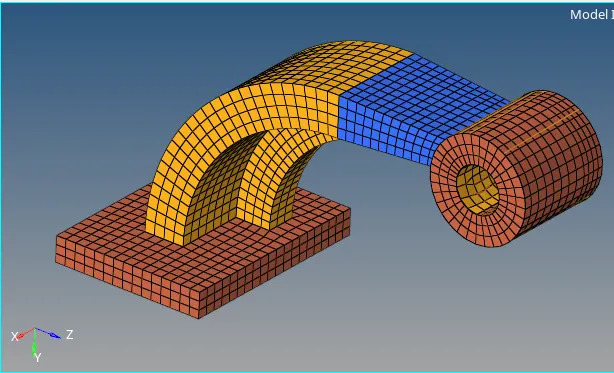
Conclusion:
¬Learn to mesh 2d components.
¬learn hexa meshing .
¬solve quality errors.