Assignment 1-2D Meshing Challenge
ASSIGNMENT 1: 2D MESHING CHALLENGE
AIM: To perform 2D meshing on the given models.
OBJECTIVES:
- To perform geometry cleanup on the models.
- To extract midsurface.
- To create mesh with target length 5 mm, min element size 3mm and max element size 7 mm.
- To assign proper thickness to the mesh.
PROCEDURE:
1) Importing the given models.
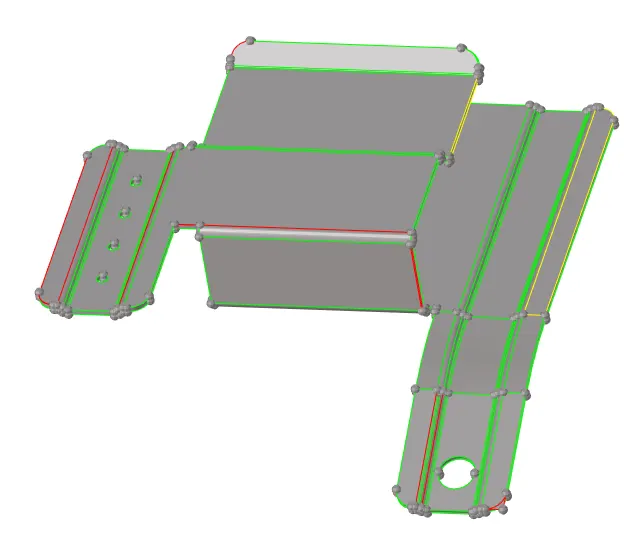
2) Changing the view to topo view to see the free edges of the model.
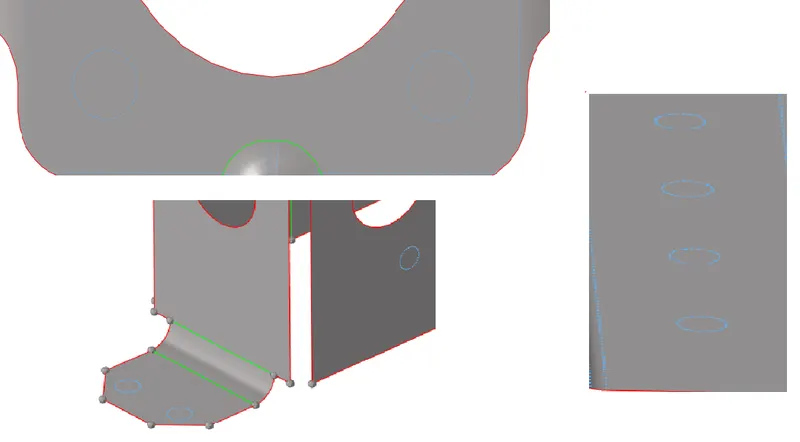
3) Unwanted free edges are identified as shown in the figure below.
4) These errors are corrected using quick edit panel and surface edit panel from geometry section.
5) Now we use the automidsuface option from midsurface panel to extract the midsurface of the model.
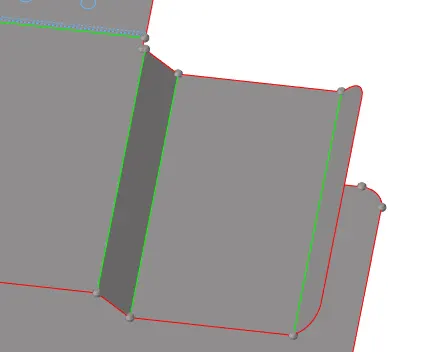
5) We defeatured some small fillets as shown below to satisfy the meshing quality criteria.
6) Some lines were toggled using quick edit panel to get proper mesh.
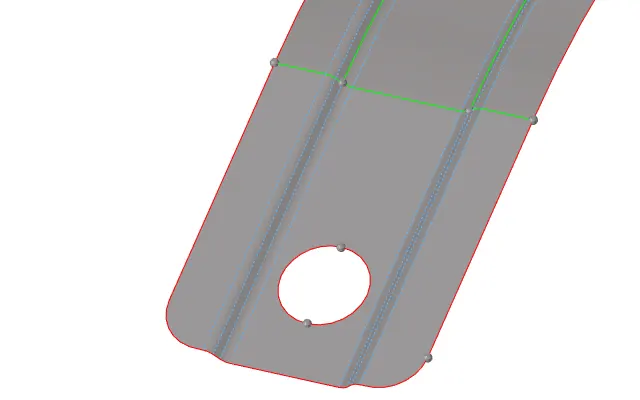
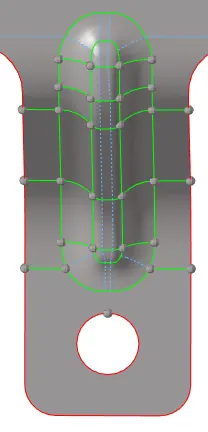
7) We filled the holes with diameter<= 5 mm to capture the mesh properly.
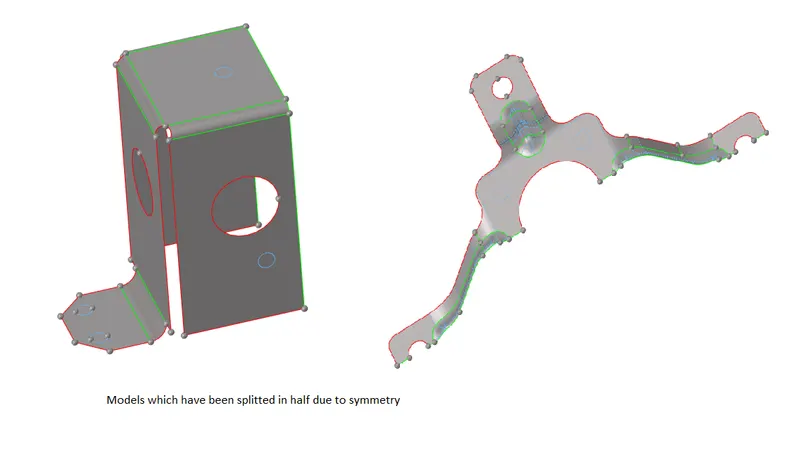
8) We also split the symmetrical models in half to ease the meshing process.
9) Now we perform meshing using automesh panel from 2d section. We give target element size of 5 mm.
10) To check the quality of the mesh we first need to change criteria file parameters from the preferences menu bar. We defined minimum size of 3.5 mm and maximum size of 7mm.
11) To check the mesh quality we used the quality index panel from 2D section to see the failed elements. If the elements have failed quality criteria they appear red or yellow in color. We need to rectify these elements using cleanup tools from quality index panel or have to remesh those using element cleanup panel.
12) For 2 of given the models we have to reflect the elements to complete the meshing. Elements are duplicated and reflected using reflect panel.
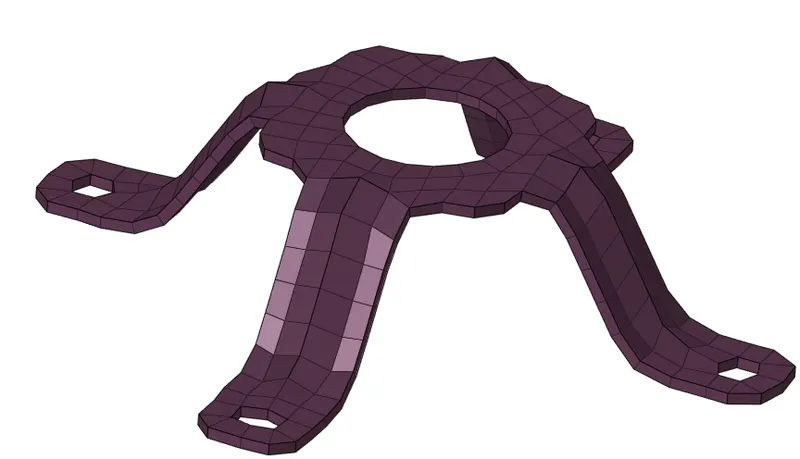
13) So we have created mesh for the given models and also satisfied the quality criteria.
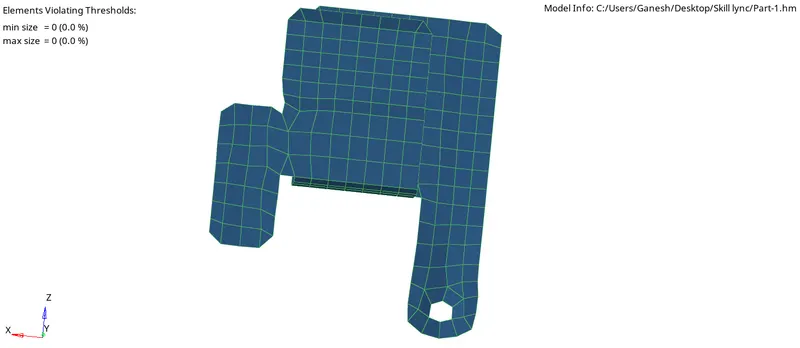
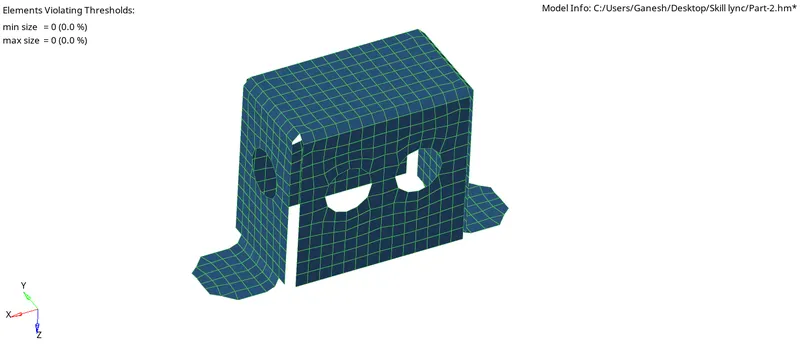
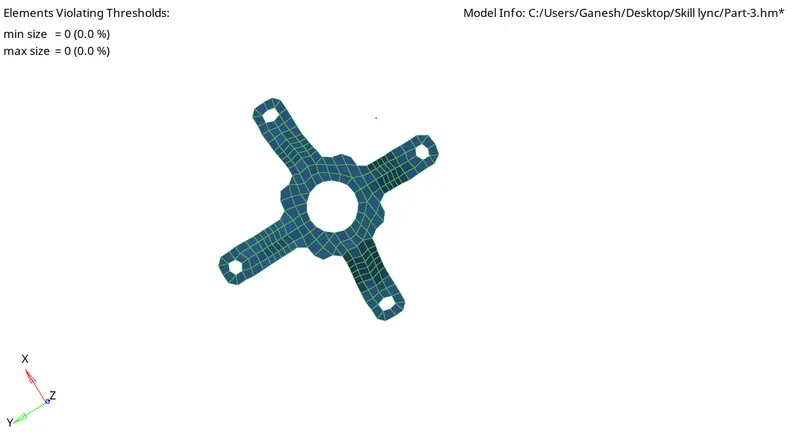
14) Now we give thickness to each of the models. To give thickness we need to create property in model browser and give thickness according to model. For model 1 average thickness was 0.91 mm;for model 2 average thickness was 2.0 mm and for model 3 average thickness was 1.8 mm.
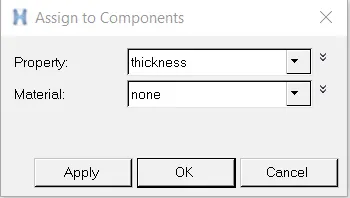
15) We assign this property to model in model browser by right clicking on the component having the mesh and selecting the assign option from dropdown menu.
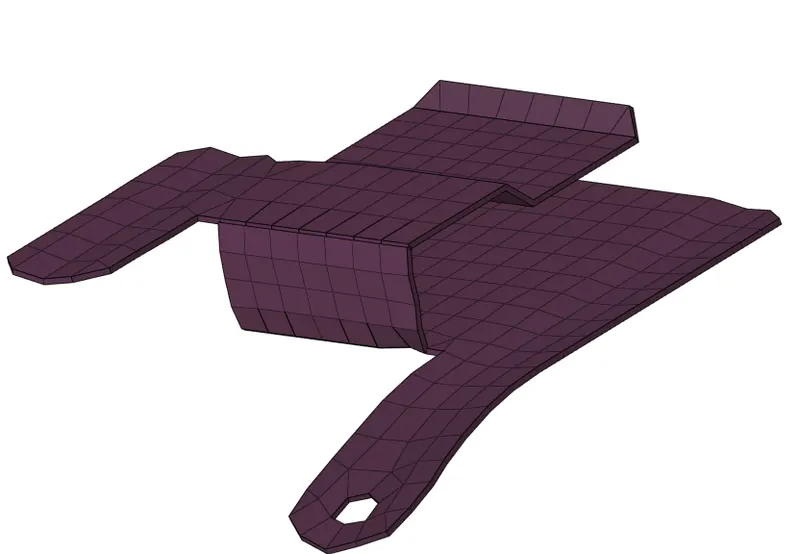
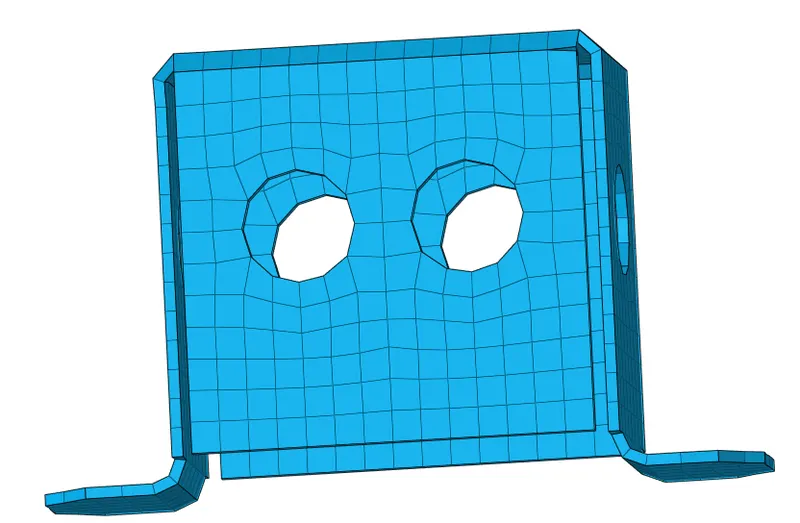
16) So after assigning mesh we can see thickness of elements by changing the element representation to 2D Detailed Element representation.
CONCLUSION:
- So from this assignment I got to know to perform geometry cleanup as well as how to create midsurface of the given model.
- I learned to mesh the model according to the given quality criteria and also how to rectify the elments that failed the quality criteria.
- I also how to assign thickness to elements.