Assignment 1-2D Meshing Challenge
OBJECTIVE:
- To Extract the mid surface of given model.
- To check the extracted mid surface for any Damaged surface or Duplicate surface or any type of other Geometrical errors.
- To mesh the Mid surface according to the given criteria.
- To check the elements for mesh flow , equivalance and any free edges.
PROCEDURE:
Steps carried out for Model 1
- Import the model into the sotware, since the given model is in ".hm" format the file can be opened directly
- Initial Cad model is shown in below image
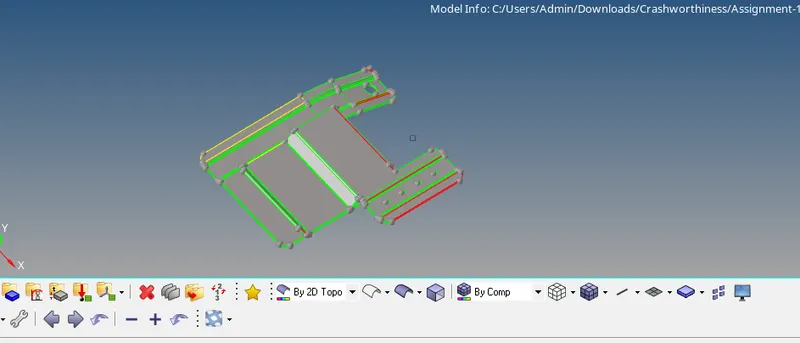
- The given model has free edges, Missing surface and duplicate surfaces
- Free edges can be fixed by toggle edges option from "Geom>quick edit >toggle edges"
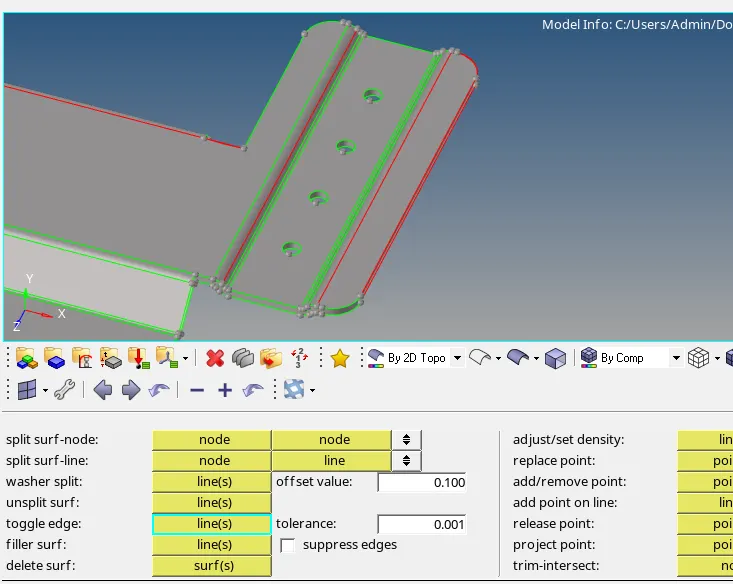
Free edges before toggle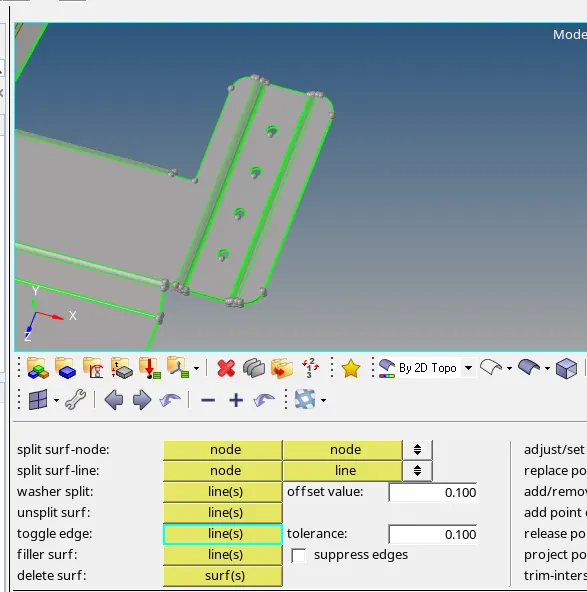
Free edges after toggle - Missing surface can be fixed by filler surf option from " geom>quick edit>filler surf "
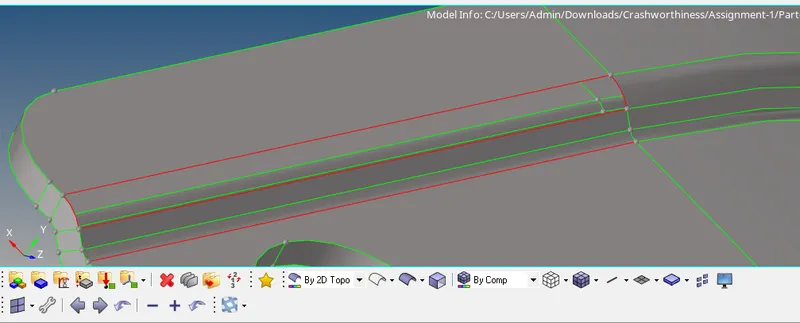
Above image shows the missing surface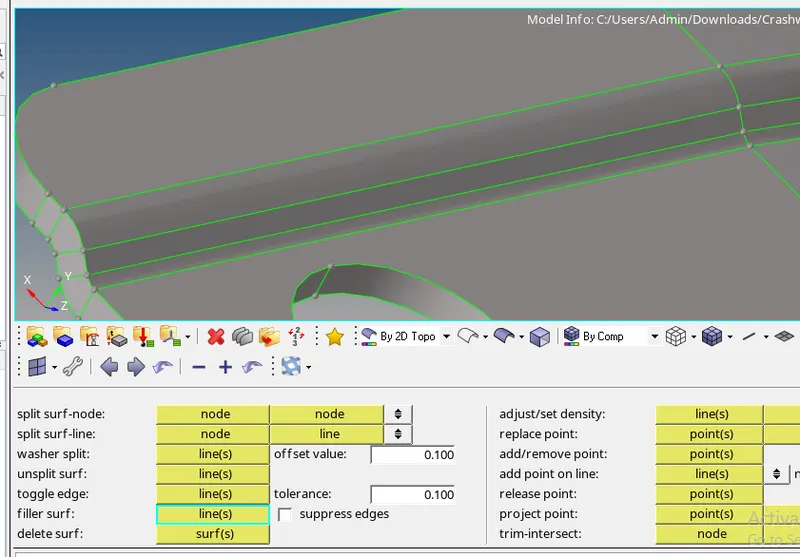
Missing surface fixed - Duplicate surfaces can be found by looking at the colour of the edge, in below image we can see a yellow coloured edge , this colour represents the line sharing with three edges
it is clearly evident that the line is sharing only two surfaces so the colour of edge should be green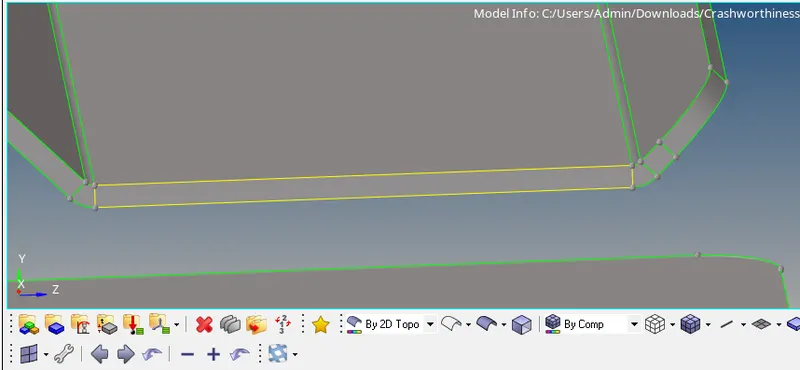
- To Fix this issue, one of the surface should be deleted
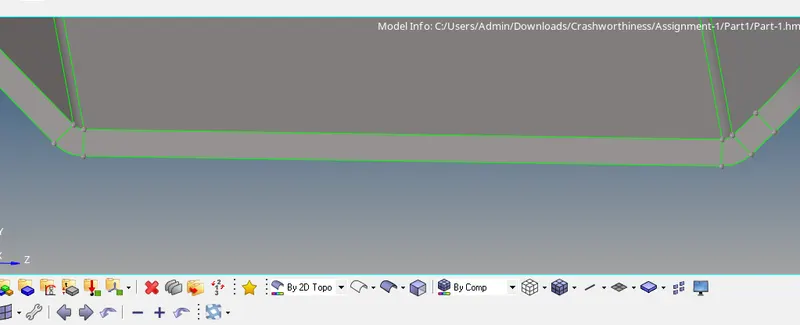
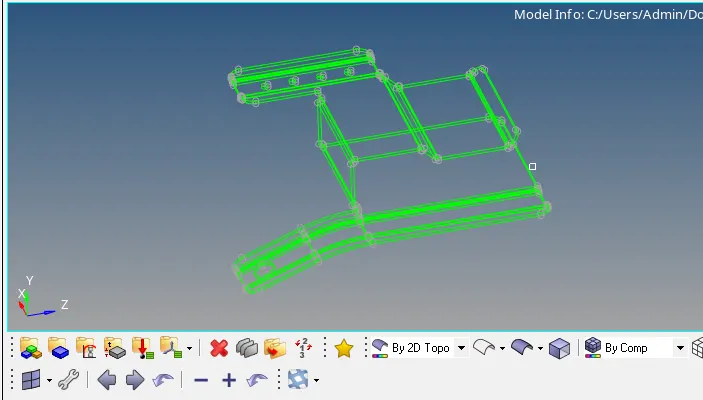
No free edges are in the model - Once the geometrical errors are fixed we should carry on with the mid surface extraction by "Geom>midsuface>autoextraction", below image shows the extracted mid surface
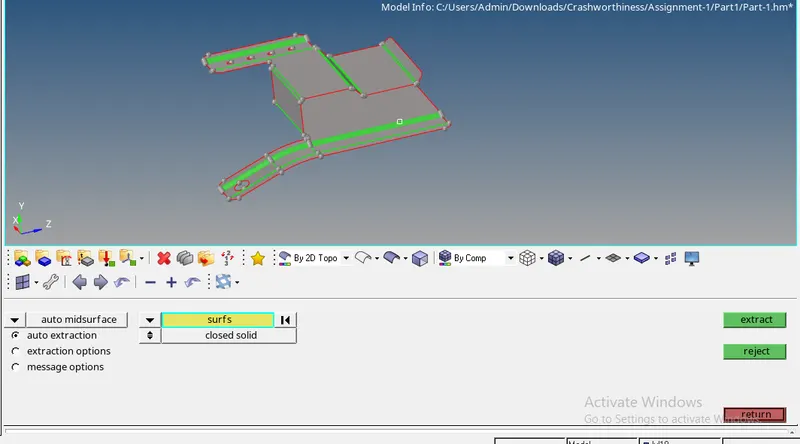
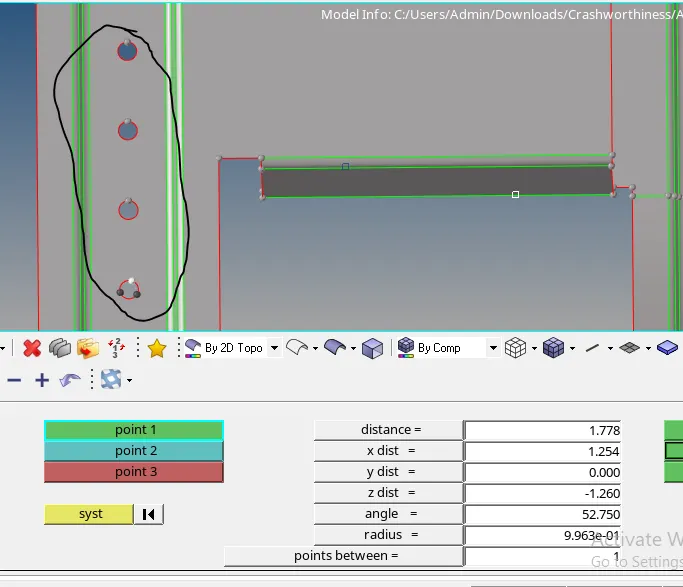
- We have to fill the below shown holes, because the dia of hole is less than 5mm
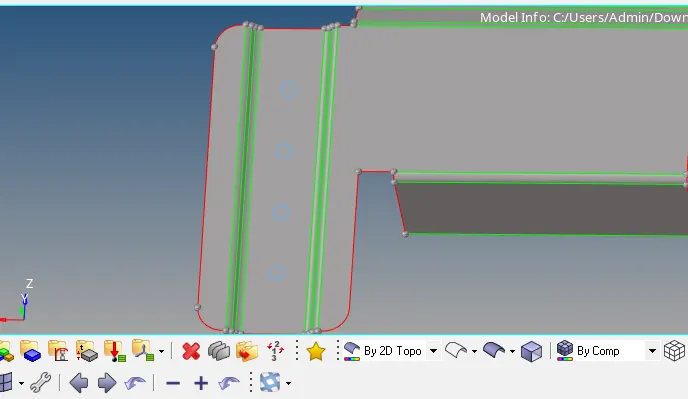
- Close the holes by filler surface and suppress the edges by toogle edges option, like shown in below image
- Mesh the surfaces portion by portion go to "2d>automesh", correct the mesh flow by remeshing
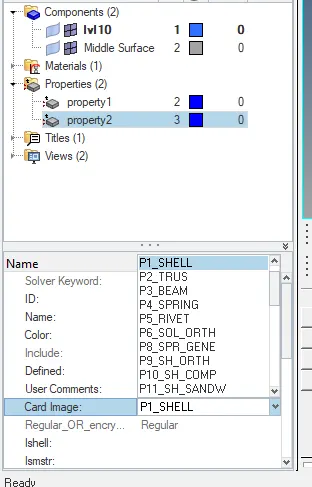
- After meshing create a new property card and give the card image as PSHELL for 2d shell element and give thickness in property card, assign the property to the respective component
- Below image shows fully meshed model
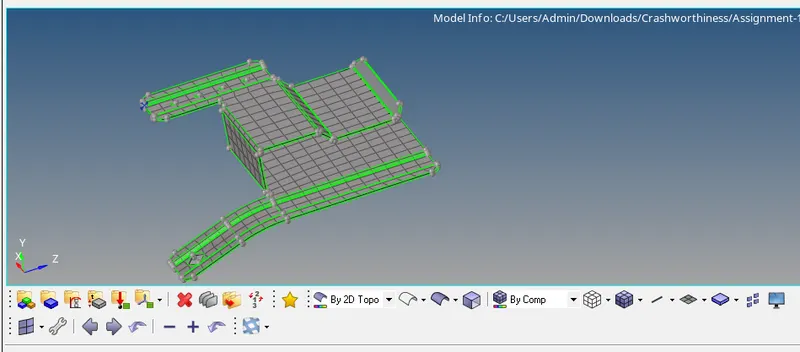
Steps carried out for Model 2
- The given model is in ".hm" format so directly we can open the model
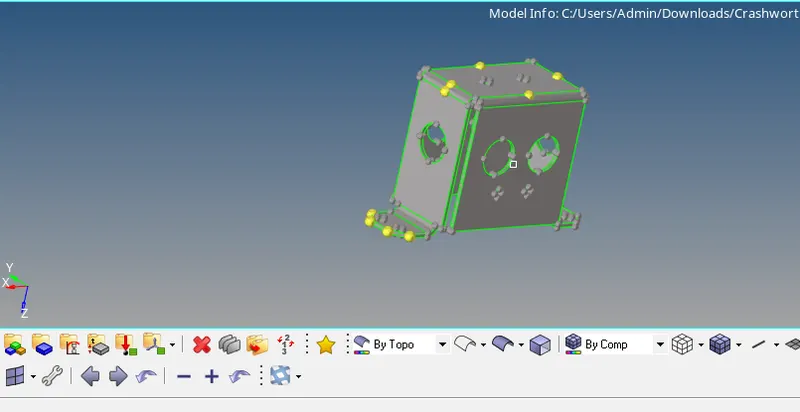
- Look for any geometrical errors , in this given model there is no such
- Since there is no free edges , we can directly extract the mid surface for the model
- go to geom>midsurface>auto mid surface , keep auto extraction type as skin offset, mid surface will be extracted like shown below
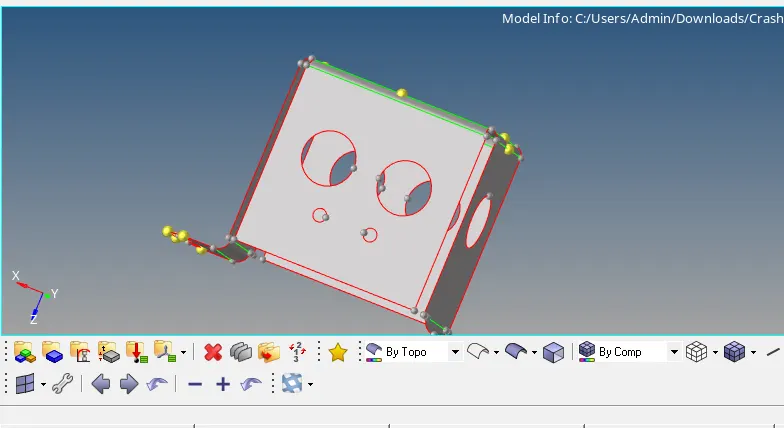
- Fill the holes which are having dia less than or equal to 5mm, fill the holes by filler surface option and suppress the line by toggle edges
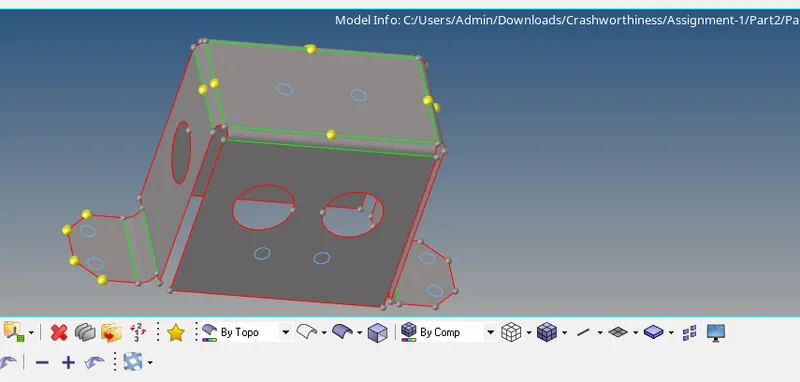
- Inorder to get proper mesh flow add washer split to the holes, to add washer splits go to "geom>quick edit>washer split", like shown in below image
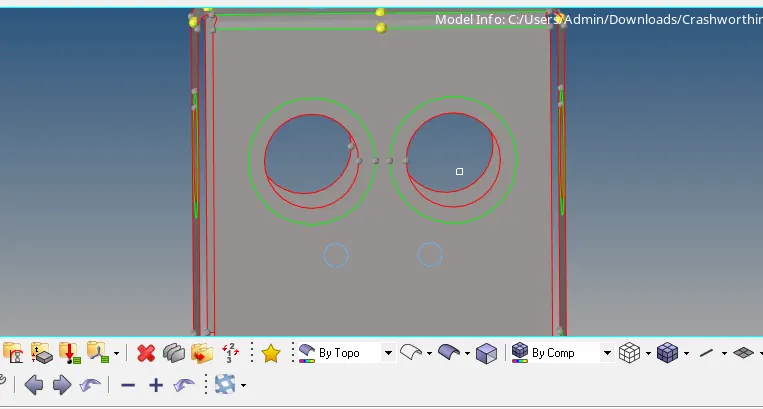
- Now the model is symmetric , so we can mesh half model and mirror the same on other side using reflect option
- go to "tools>reflect>elements> selct the elements to be mirrored" , before rflecting select on which plane it has to be reflected and duplicate the elements to its original component
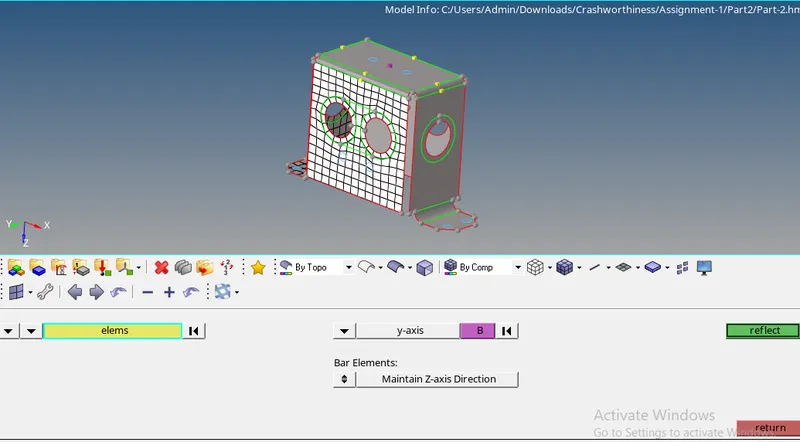
- After reflecting the elements check for free edges and equivaalnce in "tools>edges>elements>preview equivalance" set the desired tolerance and check the equivalance, correct it by equivalance or by replacing nodes
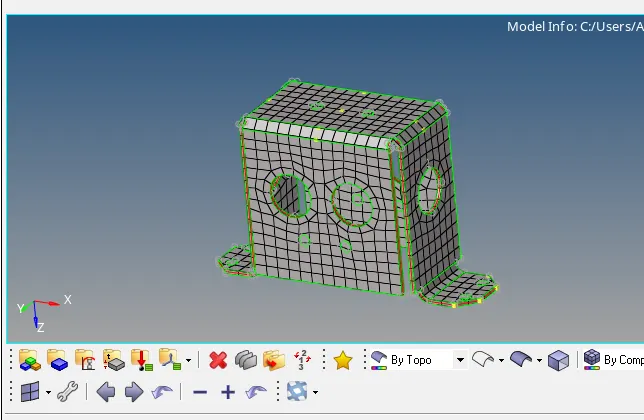
- Same like model 1, create Pshell type property card with models thickness, assign it to the component
- Below image shows the thickened surface
Steps carried out for Model 3
- Open the model directly ,because the file is in ".hm" format
- Initial model is shown in below image
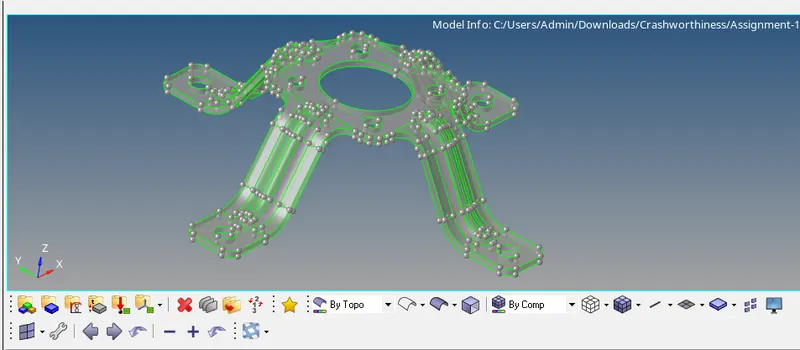
- This model is not having any geometrical errors, so we can directly create auto midsurface
- Extracted mid surface is shown below
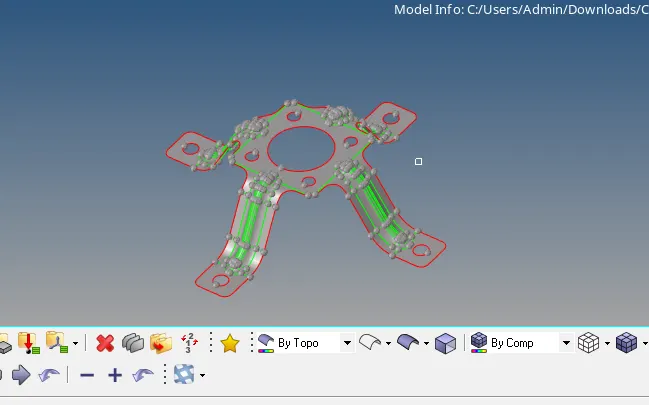
- Fill the holes of dia less than or equal to 5mm, like done in above two models
- Toggle the edges which are very smal to capture the feature
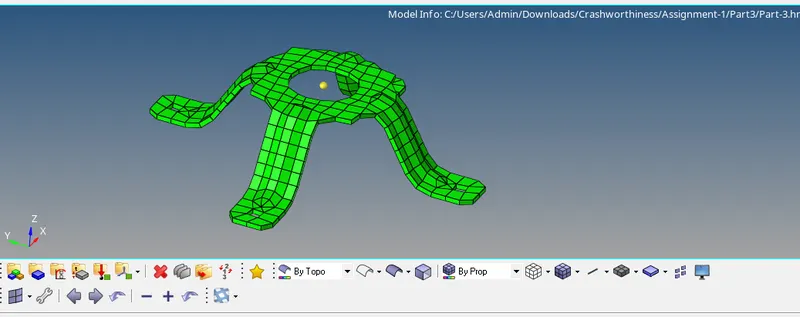
- In this model after meshing the one side of the stand , use position option and move it to desired position like shown below
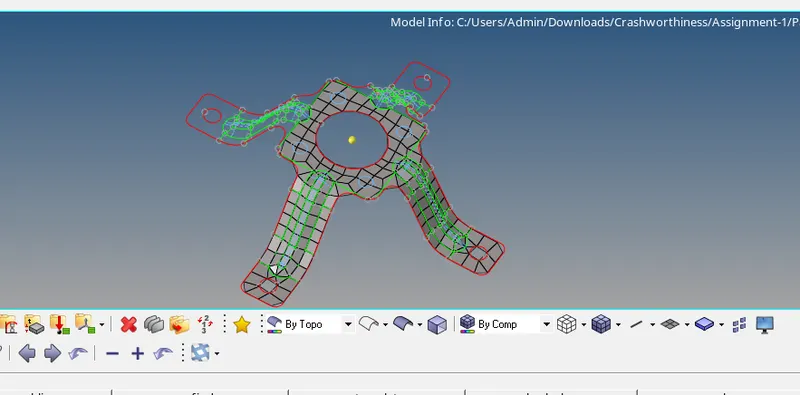
- After positioning the elements , reflect the elements to the other sides by having a duplicate of elements to its original components
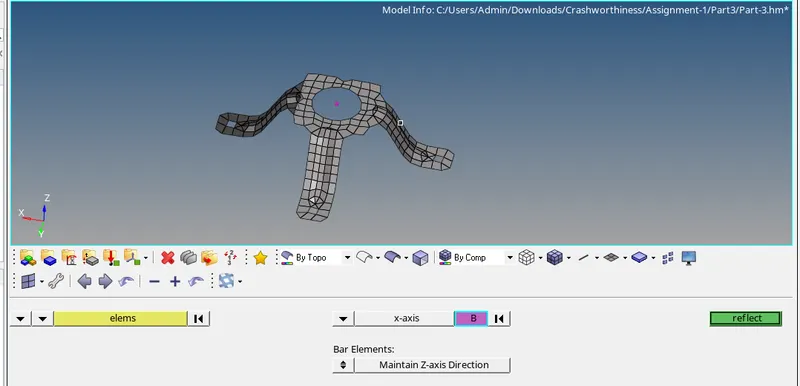
- Once the elements are reflected check for equivalance and free edges apart from where it should be
- correct if any equivalance error by equivalnce option or by replacing node
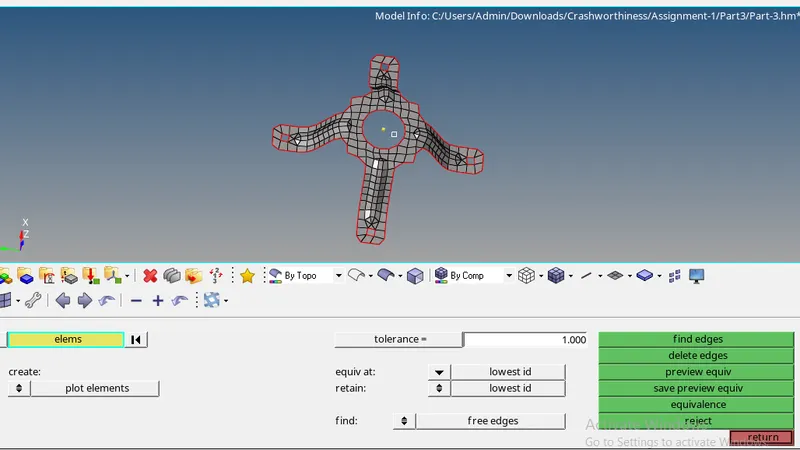
- Above image shows there is no unnecessary free edges or gap between the elements
- Create a Pshell property card and give thickness and assign the same to the component
- Below image shows the final result of model 3 with thickness
CONCLUSION:
- From this assignment understood how to correct the mesh flow
- Understood how to create auto mid surface by different auto extraction type
- Learnt how to position the elements to a desired location
- Understood how to assign property to the component