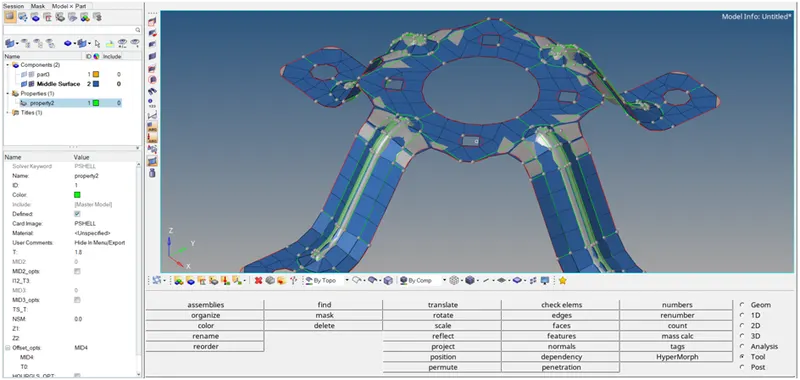
Assignment 1-2D Meshing Challenge
Report
AIM:
For the given model,Take the mid surface for all the components after checking the geometrical errors and mesh the mid surface with the given element Quality criteria. (Refer the table Below for the Quality criteria)
Quality criteria:
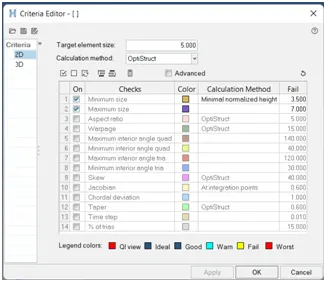
Create 2D mesh with target length 5mm, min 3.5mm max 7mm
MODEL1
Procedure:
following step to be done for meshing the model.
1] Import Geometry:
import the geometry in the .stl,.STEP,.IGES format. import > import geometry > Choose the File and hit on open.
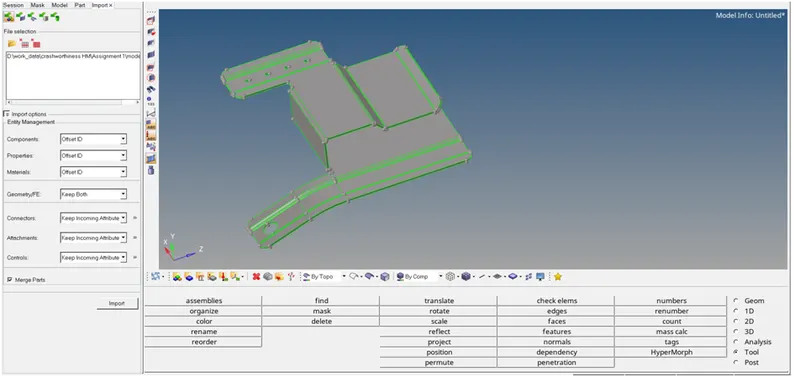
2] assign the Quality Criteria :
preferences > criteria file setting >put the proper value
3] checking the thickness:
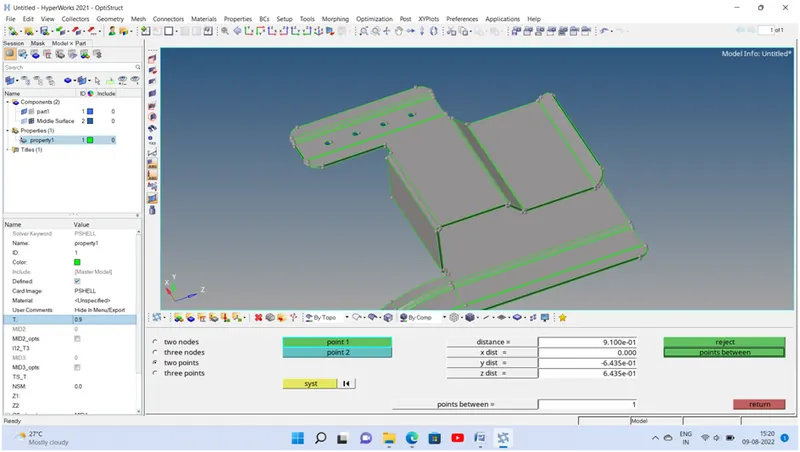
checking the thickness first so we understand the here 2D mesh required and its sheet metal component bcoz it has uniform thickness throught out component. by using distance command we are checking the thickness.
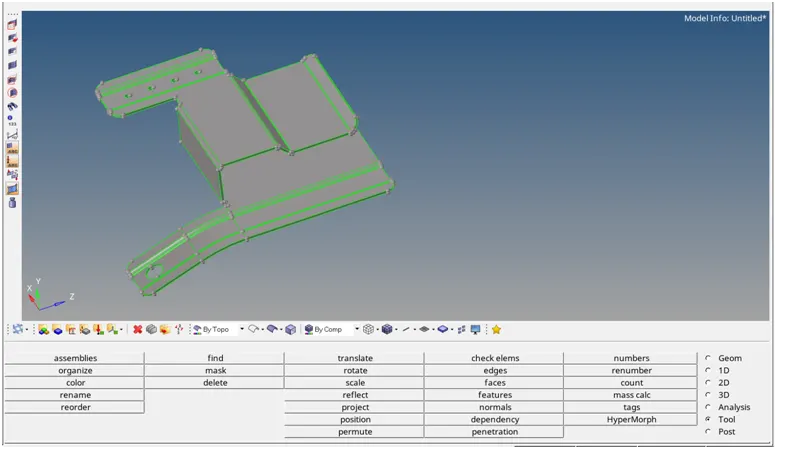
4] geometry clean-up:
by using the sum of this command we clear the geometry
geometry > surface > ruled/spline
geometry > surface edit > trim/extend
geometry > quick edit panel
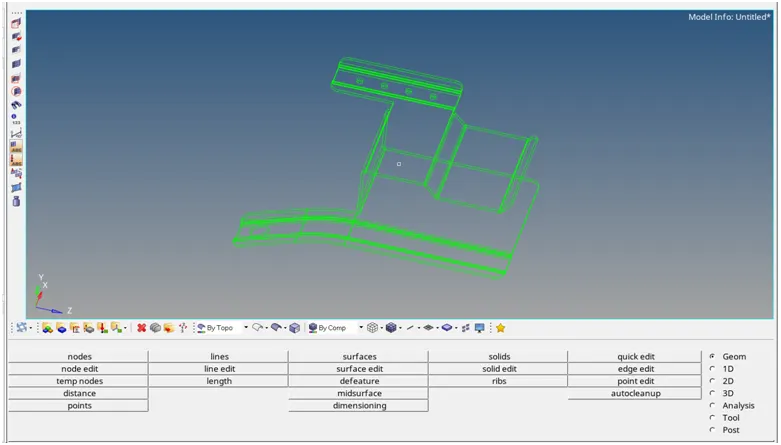
5] visualization panel:
from visualization panel we check the free edge are present in the geometry,if any free edge are present then remove this free edge.
6] creating mid-surface:
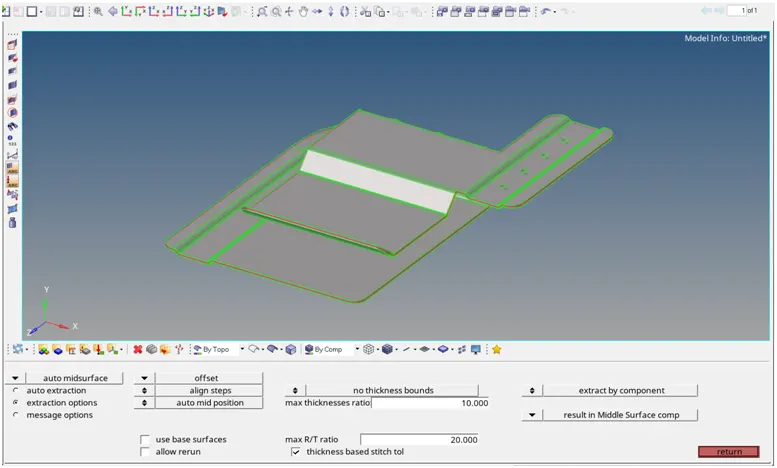
for 3D mesh we directly select the surface of given geometry but for do the 2D mesh we require the surface.that why we extract the middle surface.
by using the skin offset method we get the almost accurate mid-surface.(geom > mid surface > skin offset)
7] finding the symmetry:
we found the symmetry in the component so we delete the one half and after the meshing we reflect the surface as well as mesh.
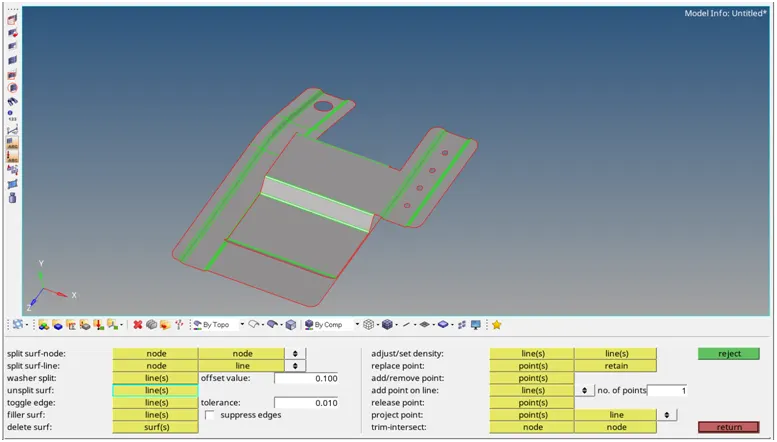
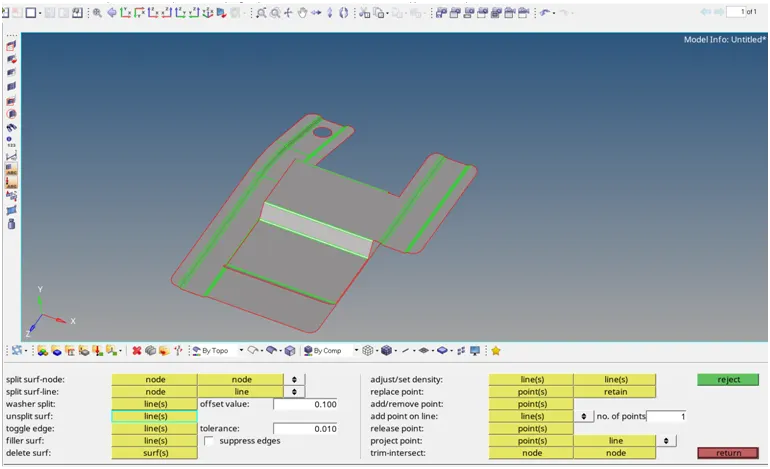
8] mid-surface cleaning and splitting the mid-surface:
by using the following the command we use the clear the mid-surface
- geometry > surface edit > trim with surf
- geometry > surface > ruled/spline
- geometry > surface edit > extend
- geometry > quick edit panel
9] creating the mesh:
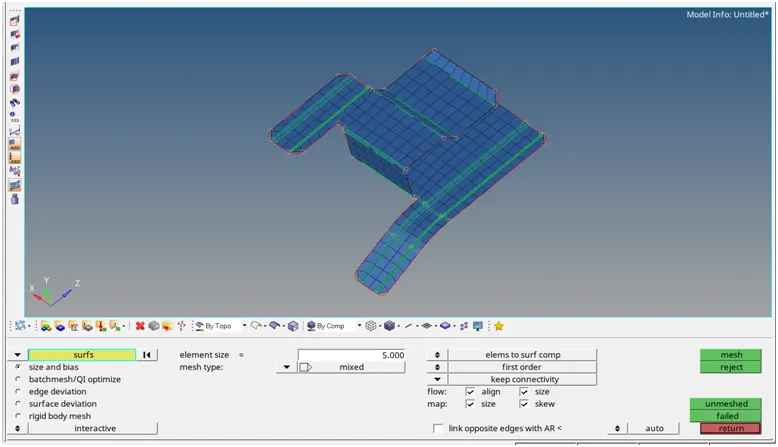
creating the mesh on the mid-surface by using automesh.here we use the element size is 5 mm and element type is mixed type.
10] checking for quality criteria:
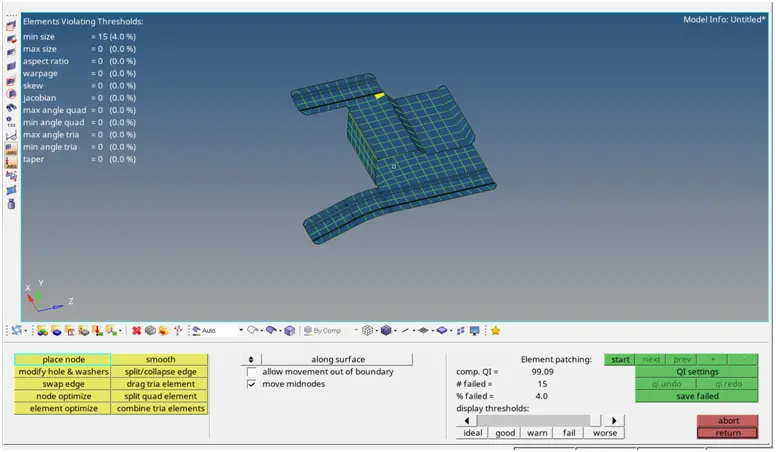
by using the quality index option we check the quality of mesh and also clear the quality.
11] Reflect:
by using the reflect command we reflect the surface and element on other half
12] assign the property and assign the thickness:
for assigning the thickness to that perticular components we requied specific property.after creating the property we give the thichness value and assign this property to the respective component.
MODEL2
Procedure:
following step to be done for meshing the model.
1] Import Geometry:
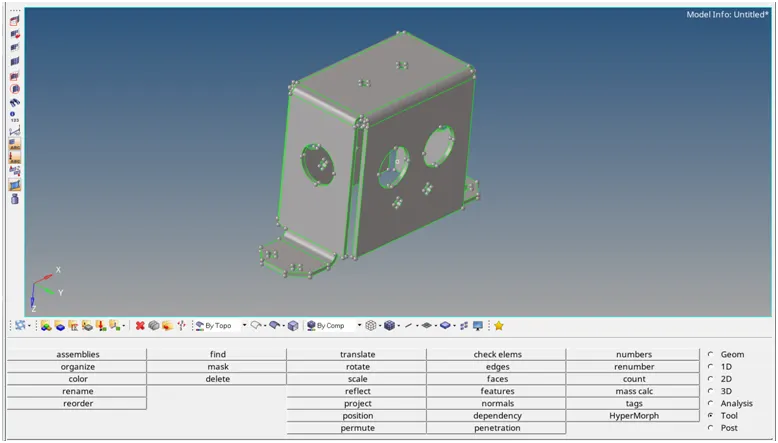
import the geometry in the .stl,.STEP,.IGES format. import > import geometry > Choose the File and hit on open.
2] assign the Quality Criteria :
preferences > criteria file setting >put the proper value
3] checking the thickness:
checking the thickness first so we understand the here 2D mesh required and its sheet metal component bcoz it has uniform thickness throught out component. by using distance command we are checking the thickness.
4] geometry clean-up:
by using the sum of this command we clear the geometry
geometry > surface > ruled/spline
geometry > surface edit > trim/extend
geometry > quick edit panel
5] visualization panel:
from visualization panel we check the free edge are present in the geometry,if any free edge are present then remove this free edge..
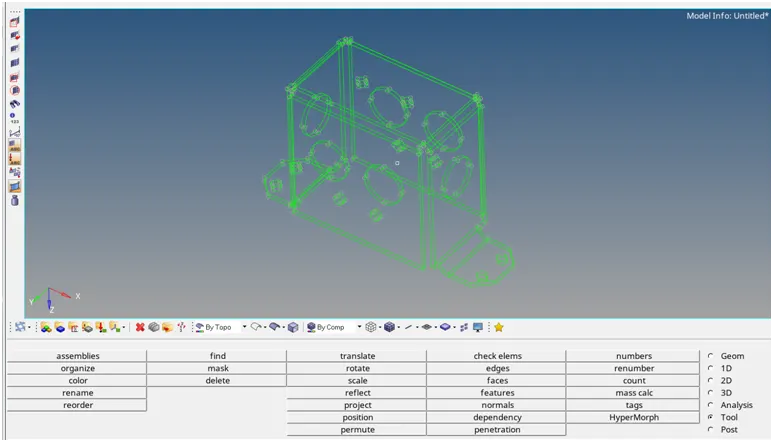
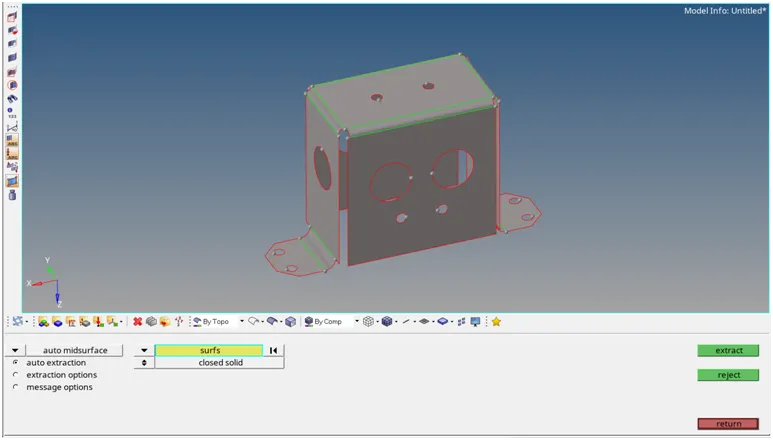
6] creating mid-surface:
for 3D mesh we directly select the surface of given geometry but for do the 2D mesh we require the surface.that why we extract the middle surface.
by using the skin offset method we get the almost accurate mid-surface.(geom > mid surface > skin offset)
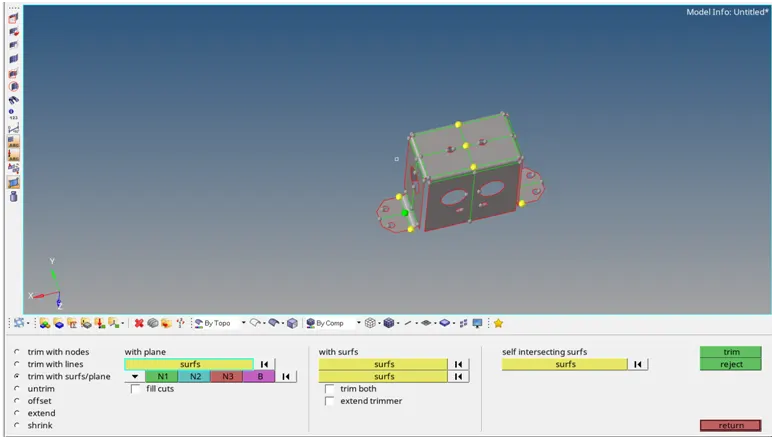
7] finding the symmetry:
we found the symmetry in the component so we delete the one half and after the meshing we reflect the surface as well as mesh.
8] mid-surface cleaning and splitting the mid-surface:
by using the following the command we use the clear the mid-surface
- geometry > surface edit > trim with surf
- geometry > surface > ruled/spline
- geometry > surface edit > extend
- geometry > quick edit panel
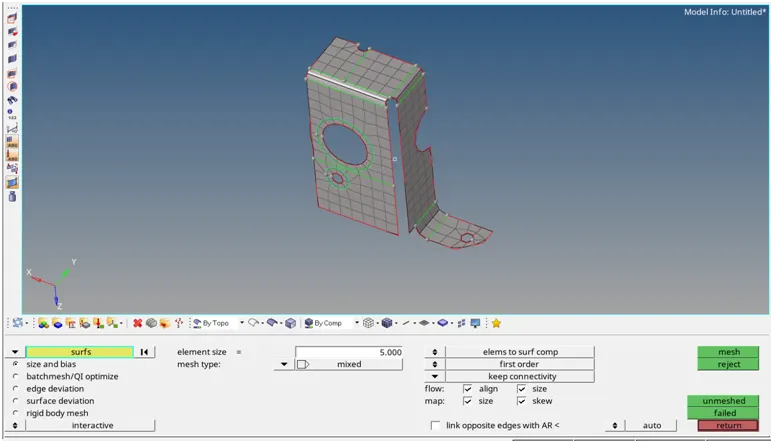
9] creating the mesh:
creating the mesh on the mid-surface by using automesh.here we use the element size is 5 mm and element type is mixed type.
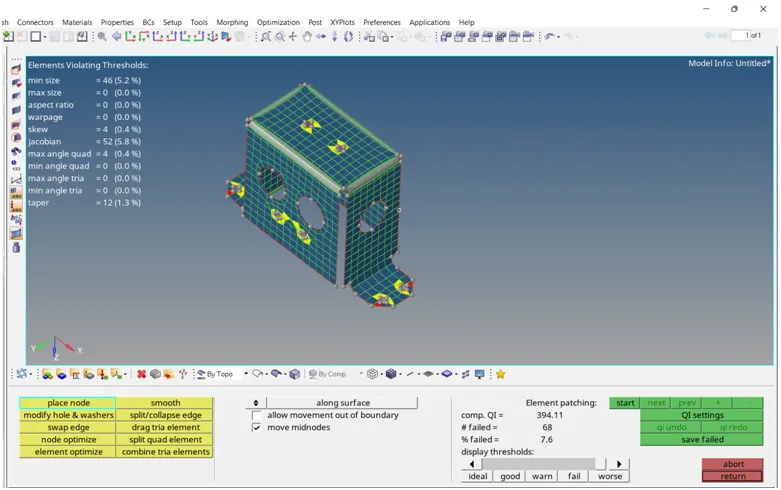
10] checking for quality criteria:
by using the quality index option we check the quality of mesh and also clear the quality.
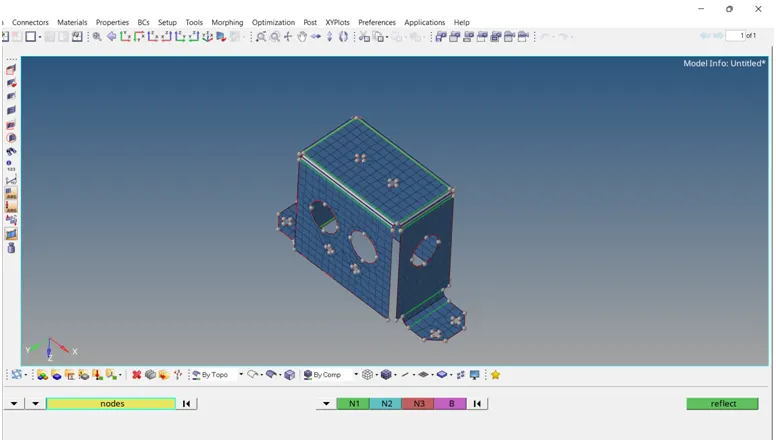
11] Reflect:
by using the reflect command we reflect the surface and element on other half
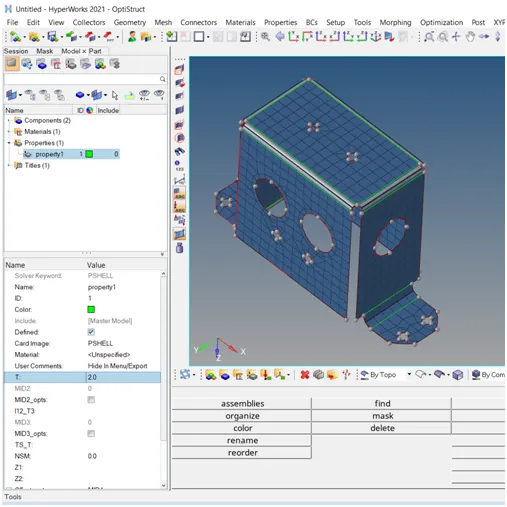
12] assign the property and assign the thickness:
for assigning the thickness to that perticular components we requied specific property.after creating the property we give the thichness value and assign this property to the respective component.
MODEL3
Procedure:
following step to be done for meshing the model.
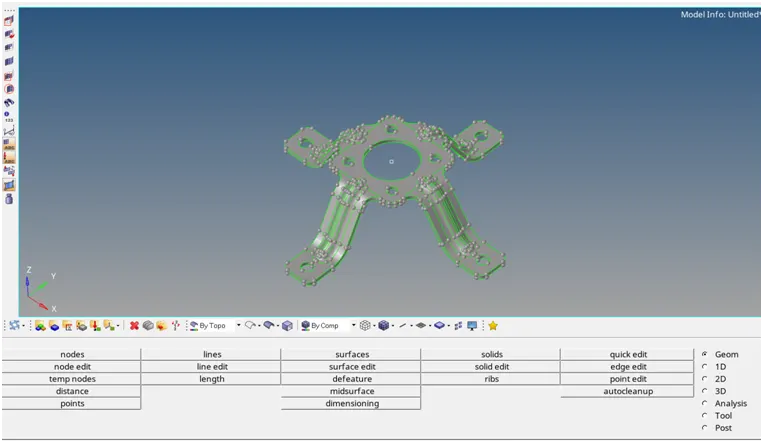
1] Import Geometry:
import the geometry in the .stl,.STEP,.IGES format. import > import geometry > Choose the File and hit on open.
2] assign the Quality Criteria :
preferences > criteria file setting >put the proper value
3] checking the thickness:
checking the thickness first so we understand the here 2D mesh required and its sheet metal component bcoz it has uniform thickness throught out component. by using distance command we are checking the thickness.
4] geometry clean-up:
by using the sum of this command we clear the geometry
geometry > surface > ruled/spline
geometry > surface edit > trim/extend
geometry > quick edit panel
5] visualization panel:
from visualization panel we check the free edge are present in the geometry,if any free edge are present then remove this free edge.
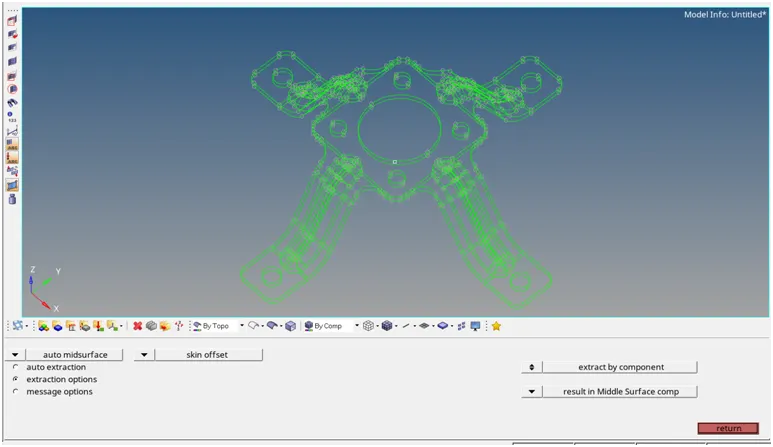
6] creating mid-surface:
for 3D mesh we directly select the surface of given geometry but for do the 2D mesh we require the surface.that why we extract the middle surface.
by using the skin offset method we get the almost accurate mid-surface.(geom > mid surface > skin offset)
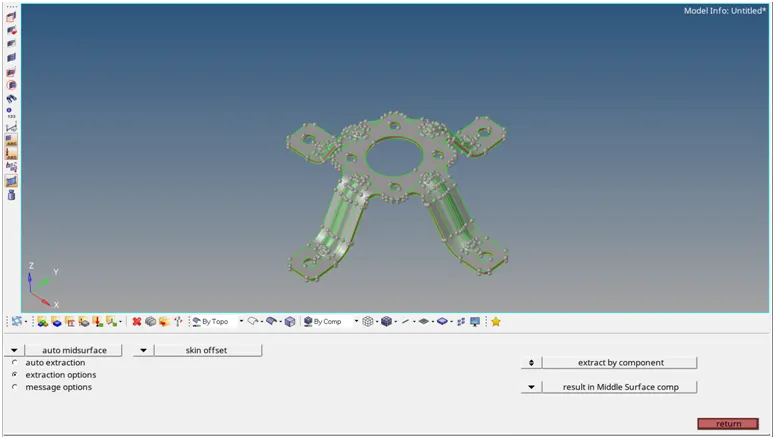
7] finding the symmetry:
we found the symmetry in the component so we delete the one half and after the meshing we reflect the surface as well as mesh.
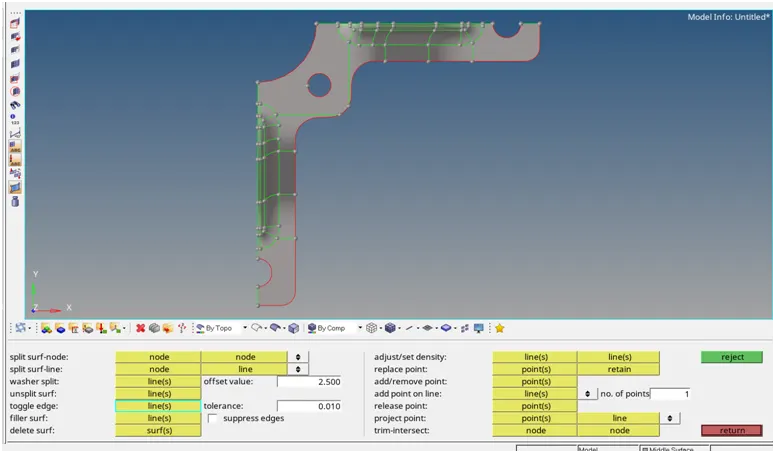
8] mid-surface cleaning and splitting the mid-surface:
by using the following the command we use the clear the mid-surface
- geometry > surface edit > trim with surf
- geometry > surface > ruled/spline
- geometry > surface edit > extend
- geometry > quick edit panel
9] creating the mesh:
creating the mesh on the mid-surface by using automesh.here we use the element size is 5 mm and element type is mixed type.
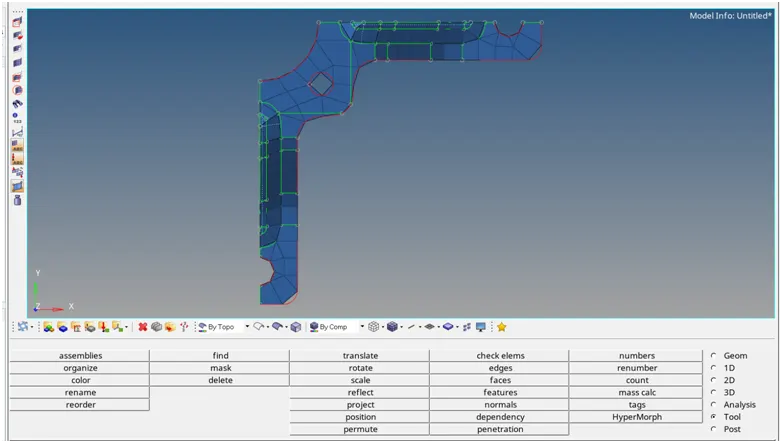
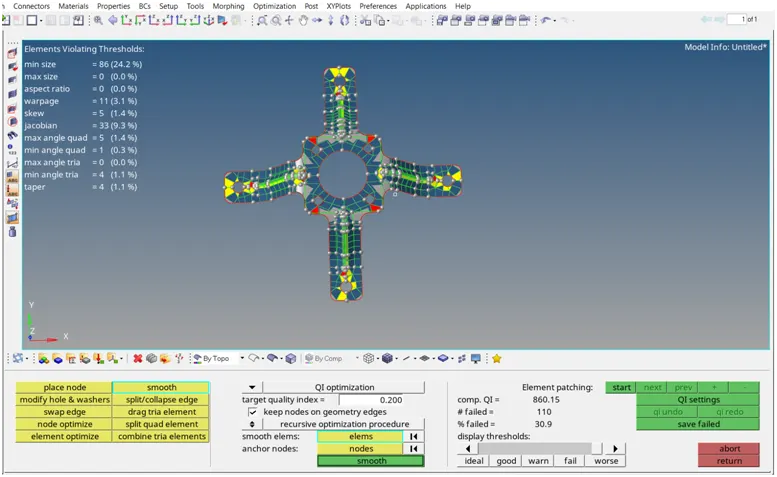
10] checking for quality criteria:
by using the quality index option we check the quality of mesh and also clear the quality.
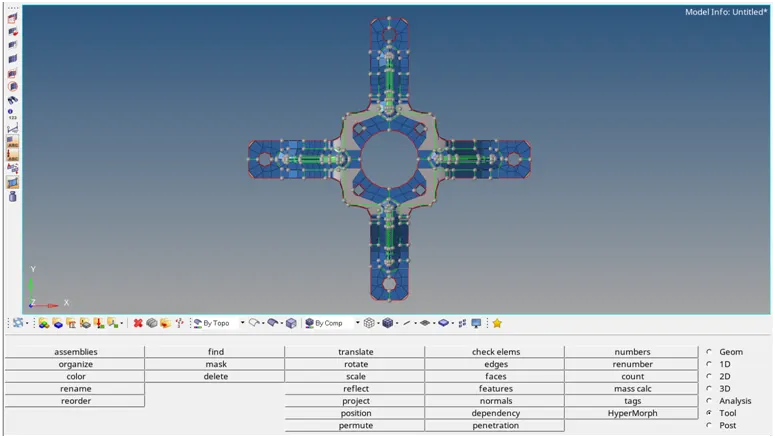
11] Reflect:
by using the reflect command we reflect the surface and element on other half
12] assign the property and assign the thickness:
for assigning the thickness to that perticular components we requied specific property.after creating the property we give the thichness value and assign this property to the respective component.