Assignment 1-2D Meshing Challenge
Objective:
- To clean the geometry.
- Extract midsurface.
- To mesh the midsurface.
- To assign proper thickness by creating a generic property.
Cad model image:
- Part 1
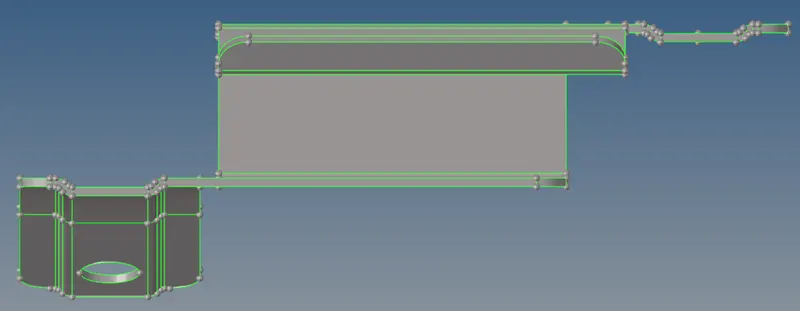
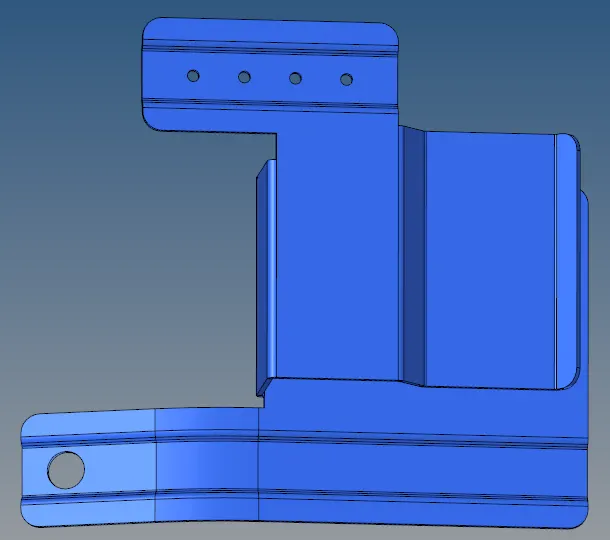
- Part 2
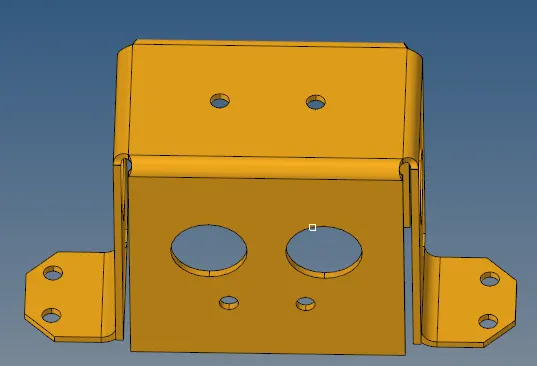
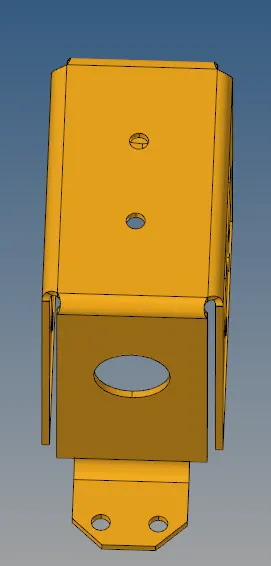
- Part 3
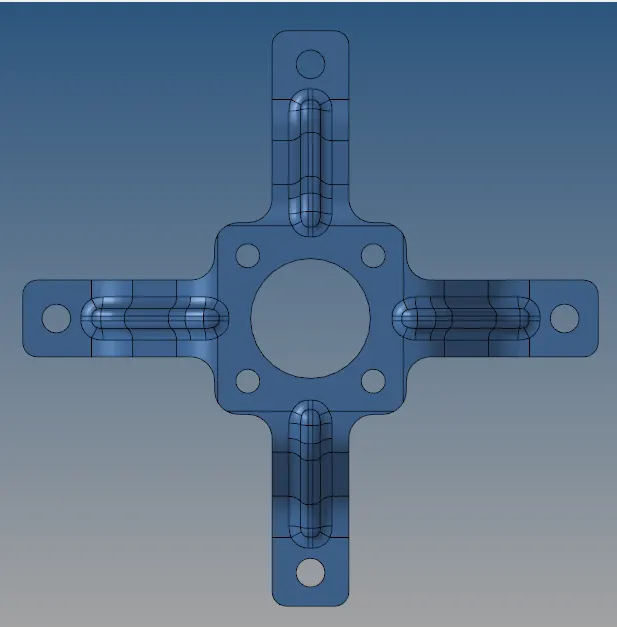
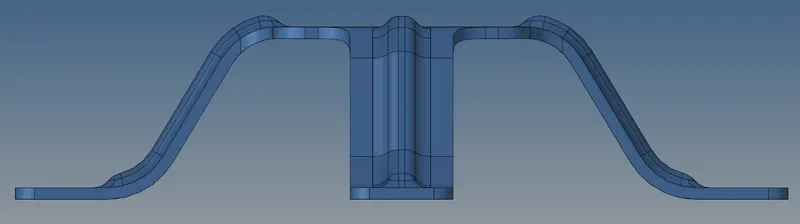
Procedure:
For Part 1,
- We have to understand the geometry and find errors and clear them.
- Like toggling free edges, fill the missing surfaces, delete the extra surfaces and trim and delete extra surfaces.
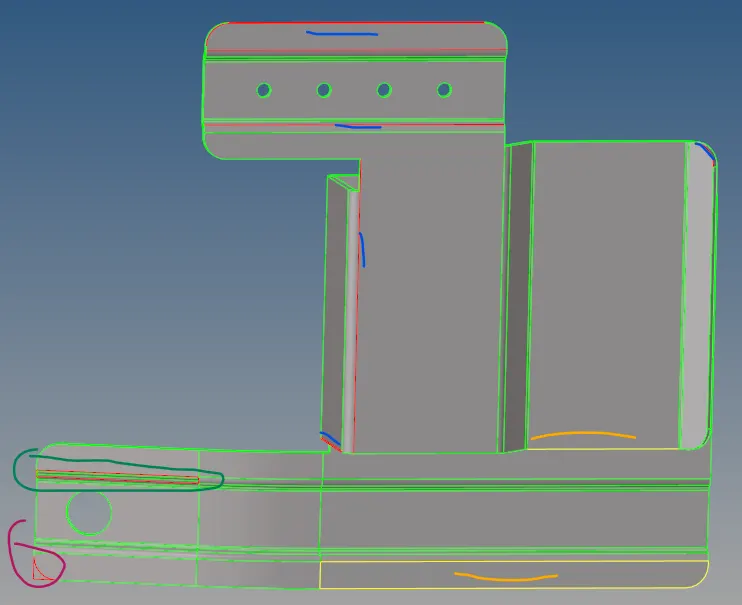
- Blue- Toggle free edges.
- Orange- delete extra surfaces
- Green- Missing surface
- Purple- Trim with planes or surfaces and remove extra surface.
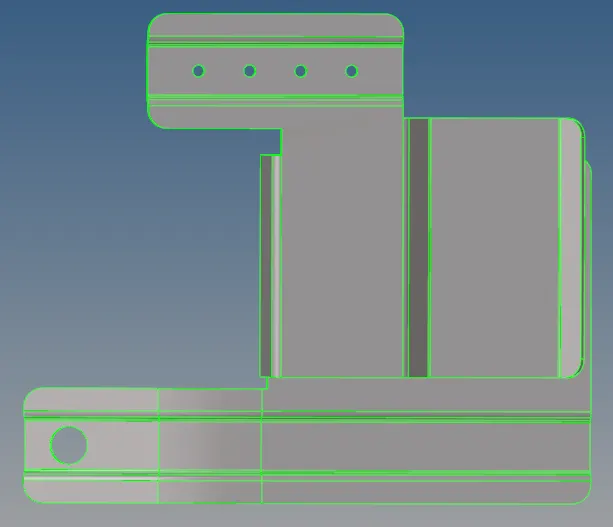
- Extract the midsurface by using automidsurfacing.
- Used the offset only in automidsurface.
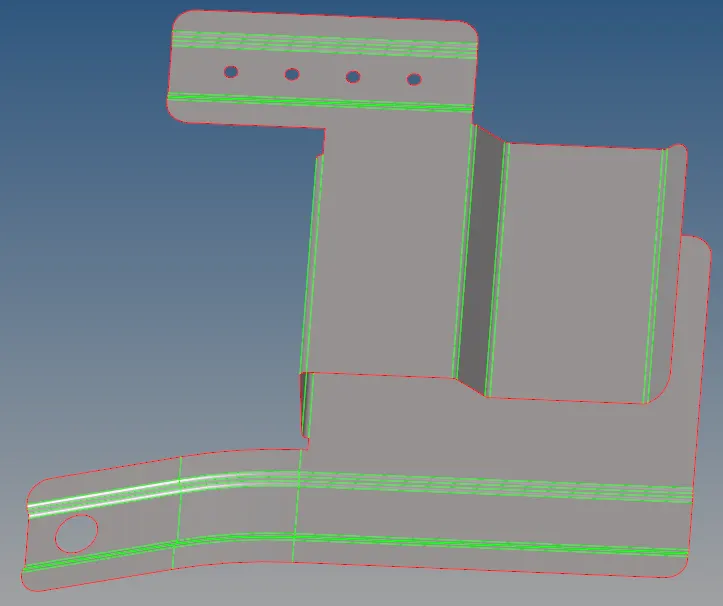
- Now we have to cleanup the midsurface to get a good mesh flow.
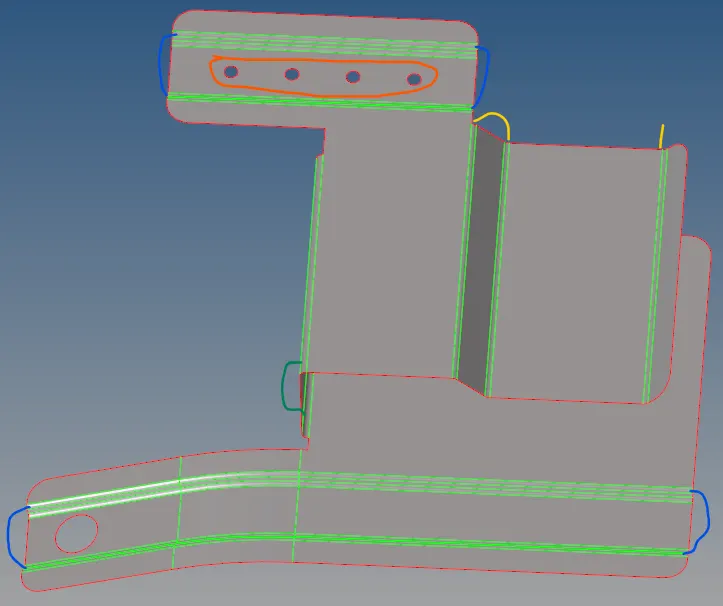
- Blue- Toggle these lines as the area is very small so the geometry would fail if we try to capture the geometry.
- Orange- remove the holes as they are less than 5mm diameter.
- Yellow- defeature the fillets.
- Green- Toggle these as we cannot defeature because it makes two points very close and cannot be meshed without failing the elements.
- If we defeature and mesh the elements fail for minimum element length.
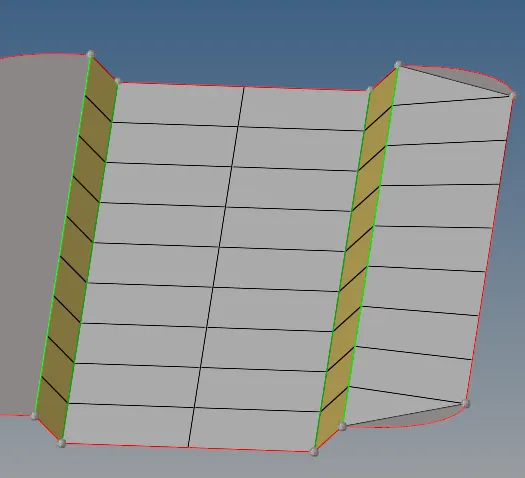
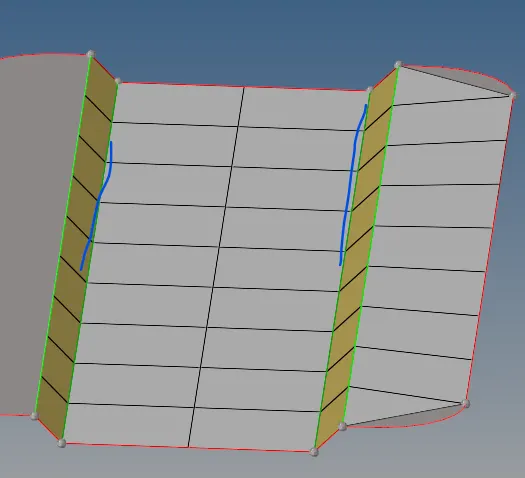
- Toggle these lines.
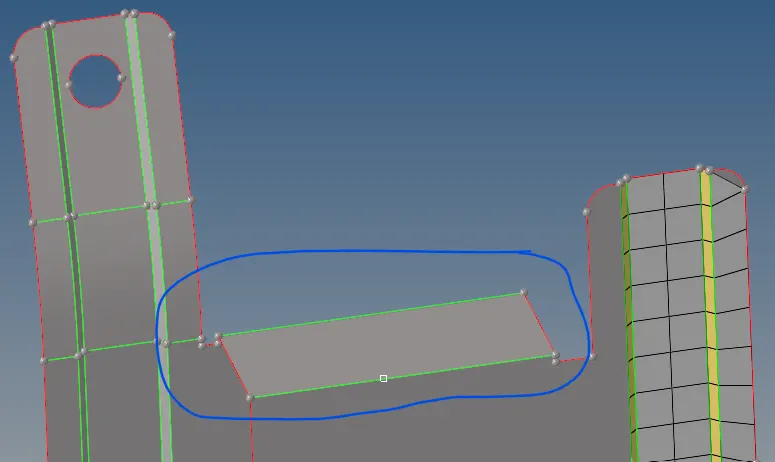
- Thats why we cannot defeature this and instead we toggle it as it makes 2 points very close to each other and also far away that we cannot replace these points.
- Cleaned Geometry,
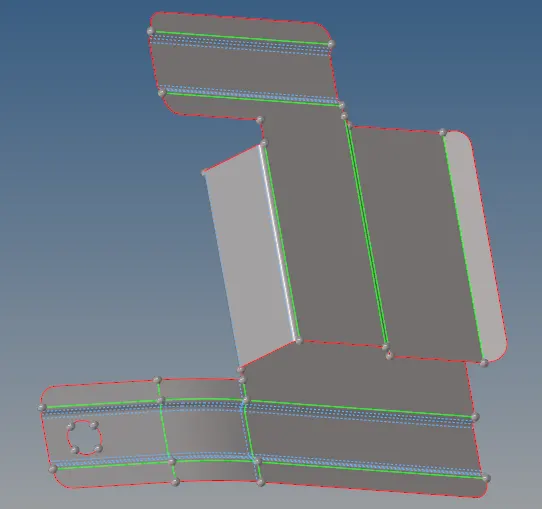
- Now we mesh the part.
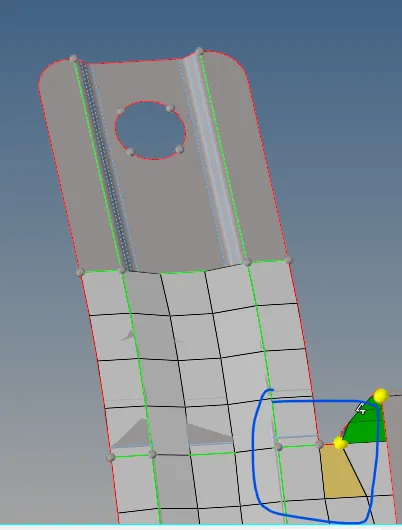
- At this part we should replace the points as the points are very close and element will fail over there.
- After replacing,
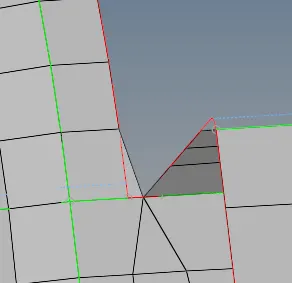 .
. - These portion has to be captured this way, because the component is very small.
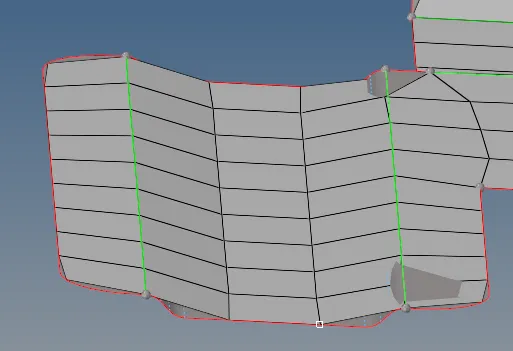
- In this model, there are two options, 1st to capture the entire geometry and let the elements fail or 2nd to focus on the quality.
- Last step is to assign property and thickness to the component.
For Part 2,
- All the operations are similar to part 1
- Extract midsurface by offset.
- For cleanup the top surface had two points very close so just replace those points.
- And being symmetrical component we can use options like reflect and position and connect the points by equivalance from edges.
- Here the bottom part has holes which cannot be captured without failing the element and all the small holes have the same size of 5mm.
- So it creates a confusion whether to keep the holes or not.
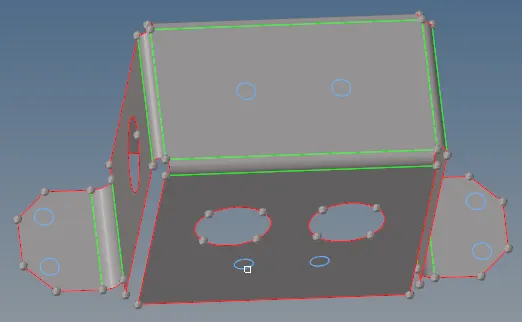
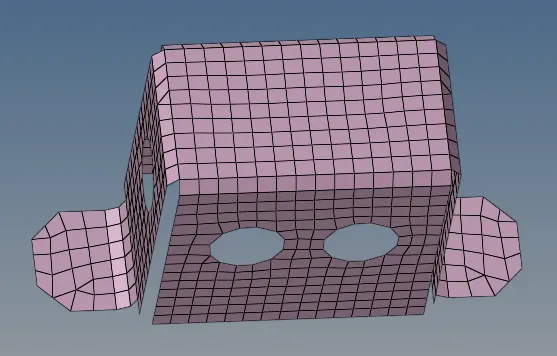
- I was advised to remove the holes so I removed it.
- The cleaned up geometry and mesh are like this,
- If we keep holes,
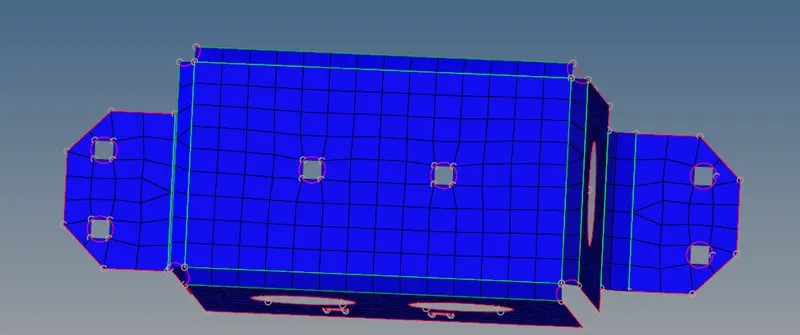
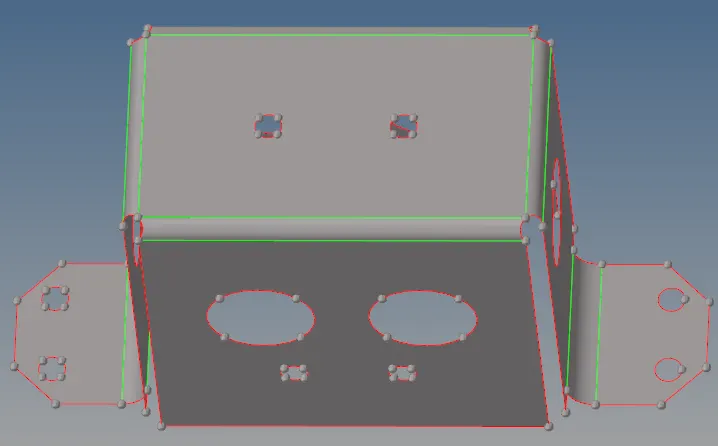
- But keeping holes leads to failure of elements,
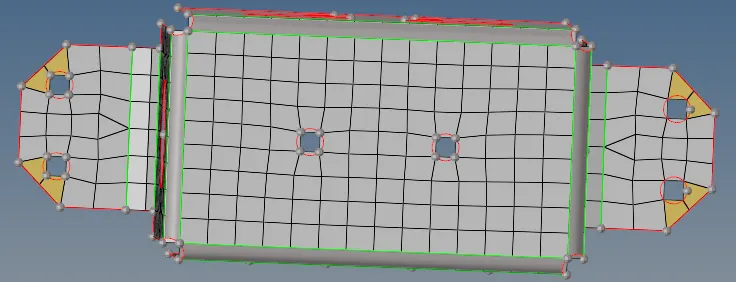
- Final steps include passing the quality criteria and assigning thickness property.
For Part 3,
- Very much similar to part 2 in operations but the geometry was very complicated.
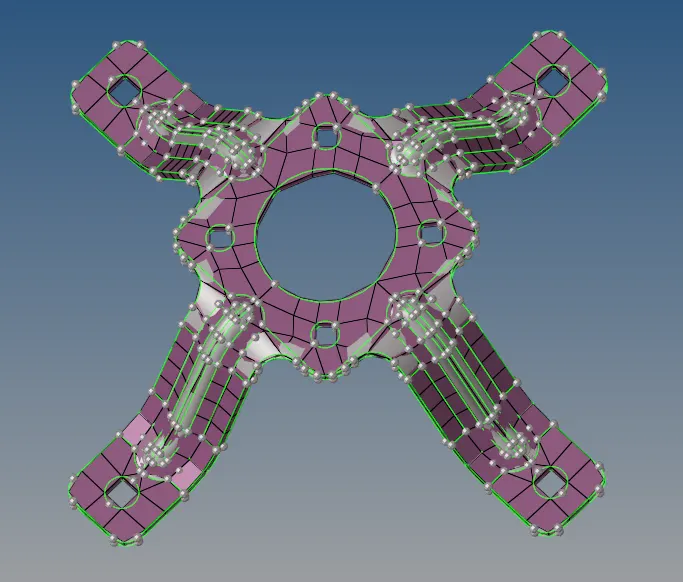
- Similar to part 2 being symmetrical component we can use options like reflect and position and connect the points by equivalance from edges.
- Here we toggled huge part of the fillet region and let the mesh decide for itself.
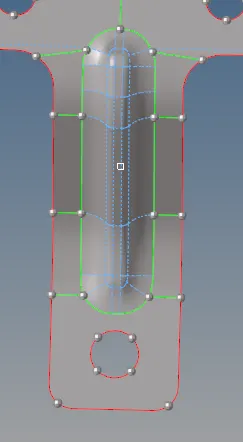
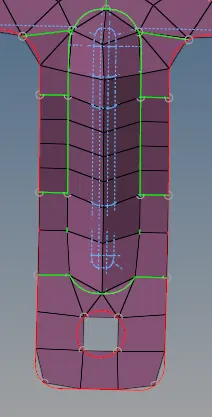
- Had to remesh and rebuild mesh and perform various quality improving criterias to protect the elements from failing.
- Here the reflect and position were used alot.
- Cleaned geometry,
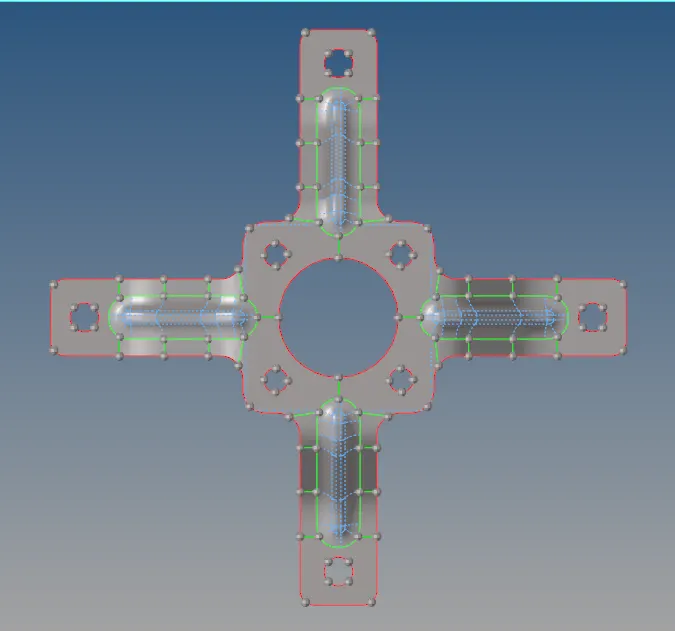
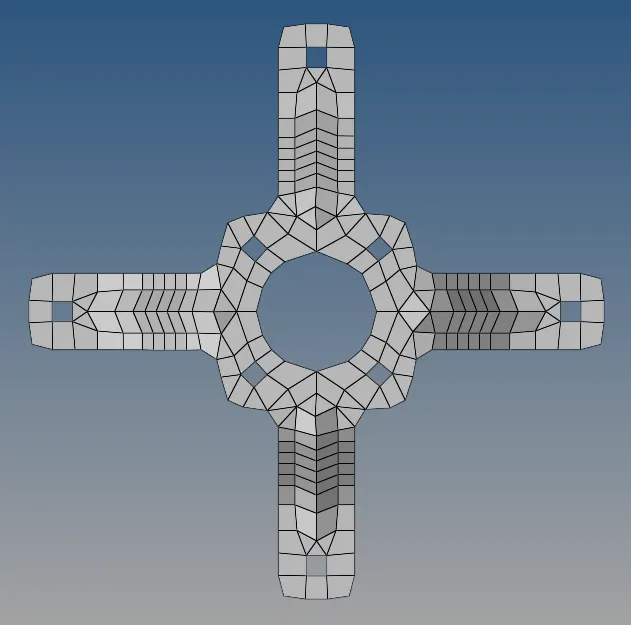
- Lastly check quality and assign thickness property.
Result and final model:
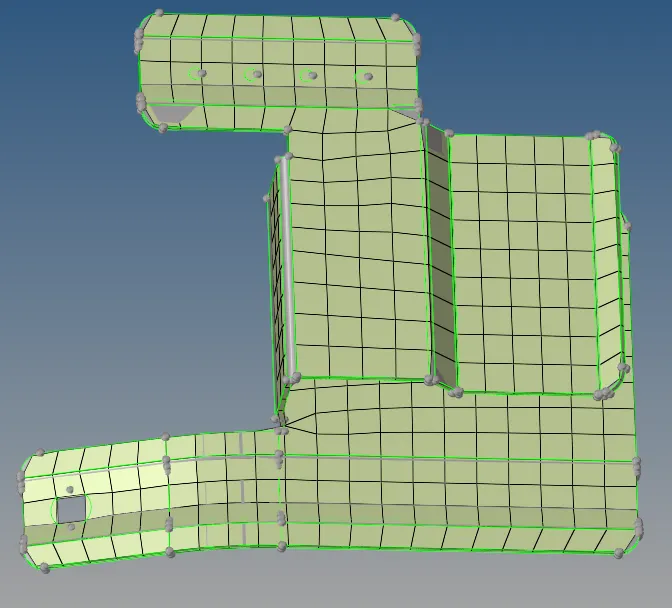
After turning on 2d detailed element representation.
Part 1
Part 2
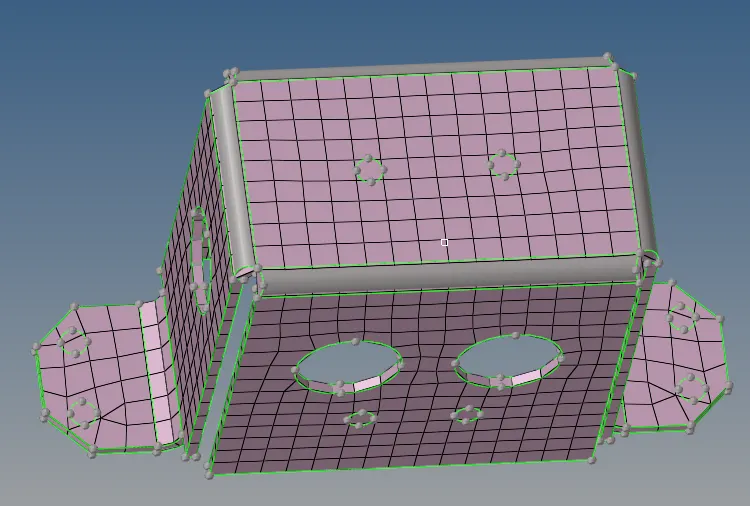
Part 3
Conclusion-
- Hence we learned how to clean geometry, extract midsurface, clean midsurface geometry and assign property with thickness.