Assembly of Yacht
Designing & Modelling of Sunseeker Predator Yacht
Objective :
To design a Sunseeker Predator Yacht.
Intro :
This report explains the designing of a Sunseeker Predator Yacht starting from part modelling and assembling in Solidworks 2019 to final rendering using Solidworks Visualize 2019.
Methodology :
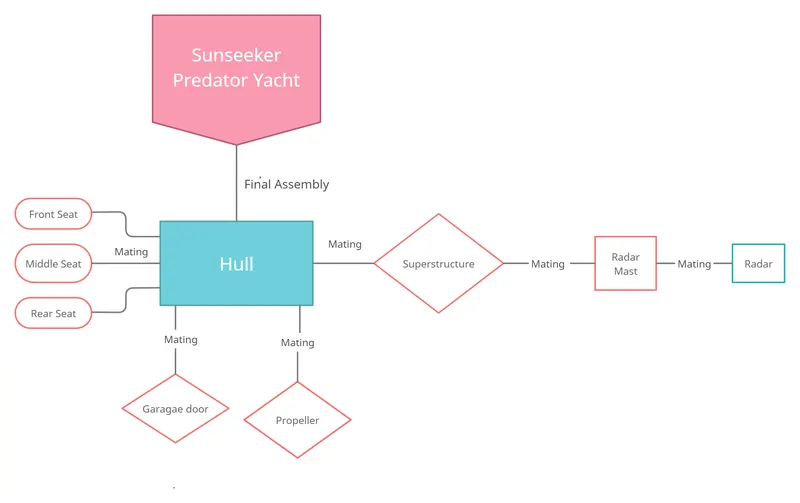
All the parts for the assembly of Sunseeker Predator Yacht were made separately first and then were assembled in Solidworks and then were rendered using Solidworks Visualize.
Description :
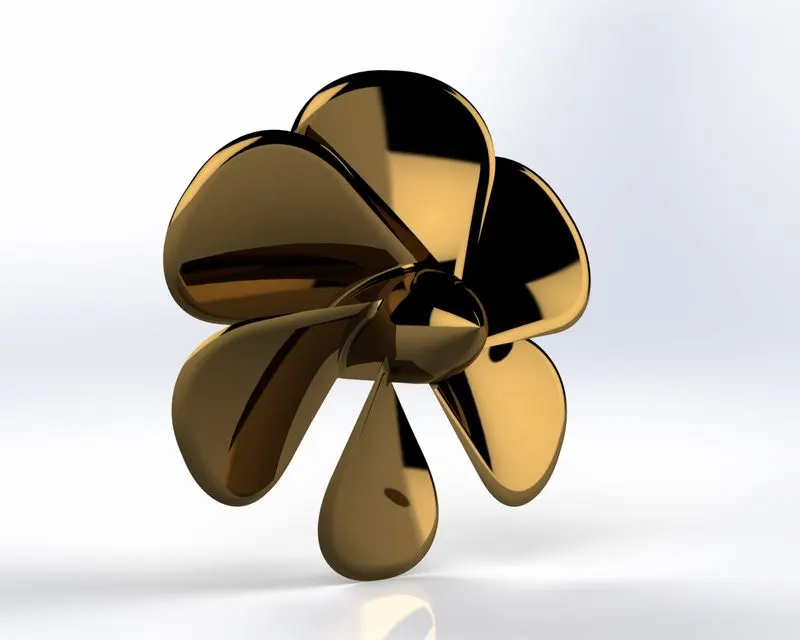
1. Propeller :
While creating propeller , following features were used -
1. Sketch - The sketch is a 2d representation of the model concerning the plane/view from the outside of the model.
2. Revolve - To create a revolve , create a sketch that contains one or more profiles and a centerline/line to use as the axis of revolution.
3. Circular Pattern - By using this feaure multiple patterns of propeller blades are created.
4. Loft - Lofts are the surfaces, which are generated by multiple 3D Curves or existing edges creating a smooth tangency between the selected curves.
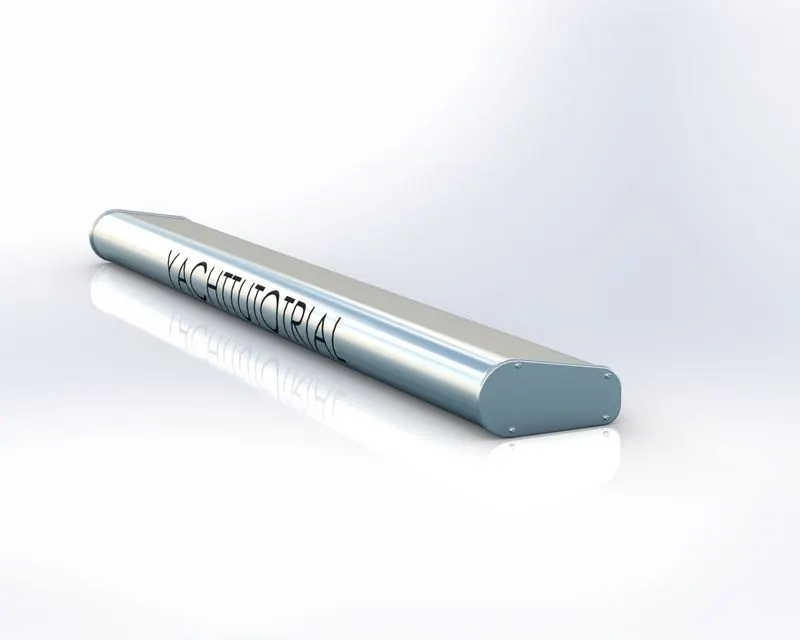
2. Radar :
While creating Radar , following features were used -
1. Sketch - The sketch is a 2d representation of the model concerning the plane/view from the outside of the model.
2. Extrude - Extrude feature extrudes the 2d sketch we created into a 3d body as per the sketch dimensions.
3. Mirror - This feature mirrors the faces of radar.
4. Cut Extrude - Extrude cut is another cool handy feature which helps to remove materials from the 3D model.
5. Fillet - Fillet gives a round curved surface on the selected face or edge of the model.
6. Sketch driven pattern - This feature creates a number of patterns of the sketch created.
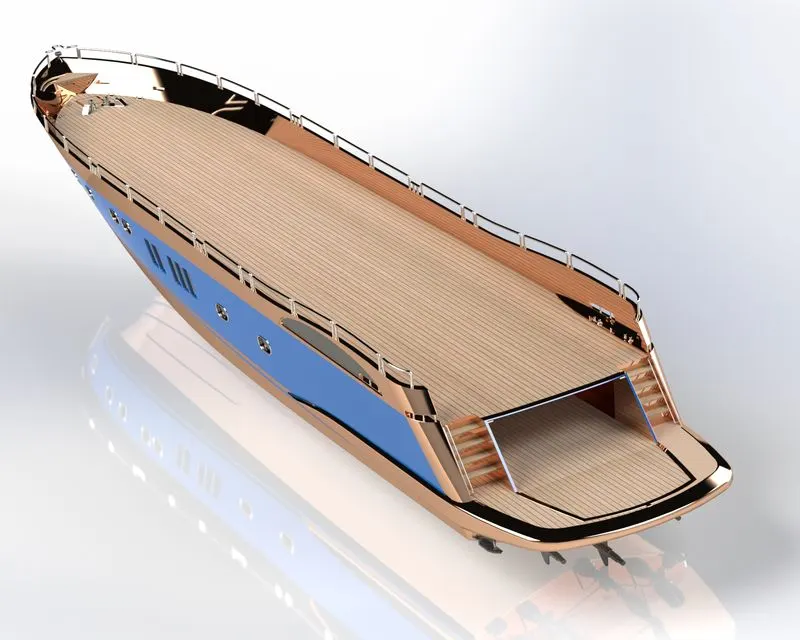
3. Hull :
While creating Hull , following features were used -
1. Project Curve - Project curve is the kind of 3D curve which is projected based on the two different 2D sketches
2. Swept Surface - A swept surface is the surface generated by moving a curve along another curve.
3. Loft surface - Loft Surfaces are surfaces generated by multiple 3D Curves or existing edges creating a smooth tangency between the selected curves
4. Extruded surface - This feature creates surface extrude upto desired extent.
5. Extend Surface - This feature extends the already generated surface upto desired extent.
6. Surface Knit - This tool is used to combine two or more faces and surfaces into one.
7. Extrude - Extrude feature extrudes the 2d sketch we created into a 3d body as per the sketch dimensions.
8. Cut Extrude - Extrude cut is another cool handy feature which helps to remove materials from the 3D model.
9. Split - This tool is used to split a surface or body into two.
10. Shell - The shell tool hollows out a part, leaves open the faces you select, and creates thin-walled features on the remaining faces.
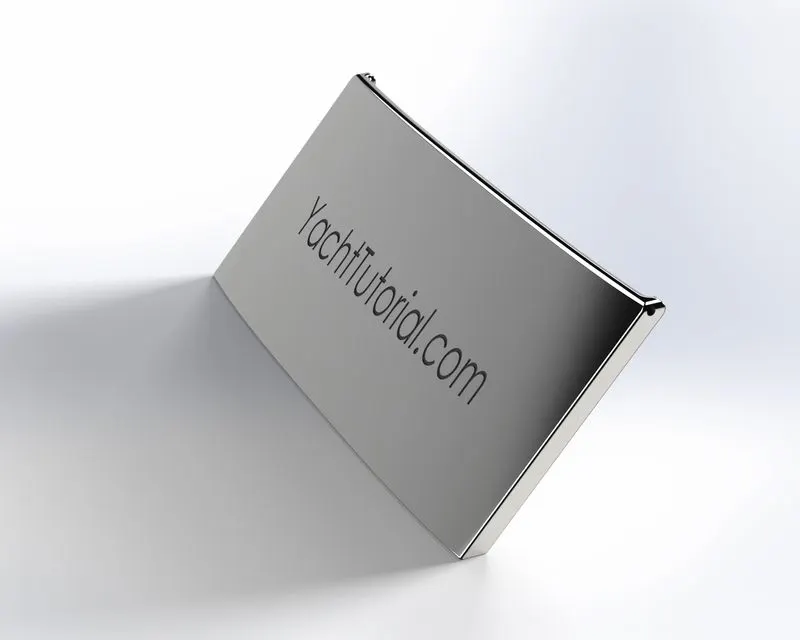
4. Garage door :
While creating Garage door , following features were used -
1. Insert - This feature is used to insert part models.
2. Shell - The shell tool hollows out a part, leaves open the faces you select, and creates thin-walled features on the remaining faces.
3. Text - Using this feature we can add text on the surface or body.
4. Split - This tool is used to split a surface or body into two.
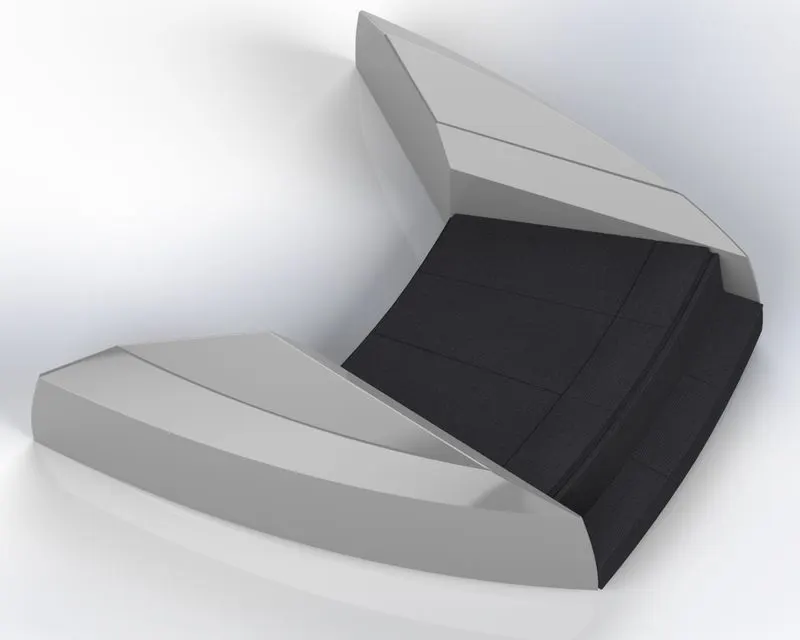
5. Front Seat :
While creating Front seat, following features were used -
1. Project Curve - Project curve is the kind of 3D curve which is projected based on the two different 2D sketches
2. Swept Surface - A swept surface is the surface generated by moving a curve along another curve.
3. Loft surface - Loft Surfaces are surfaces generated by multiple 3D Curves or existing edges creating a smooth tangency between the selected curves
4. Ruled Surface - The Ruled Surface command creates surfaces that extend out in a specified direction from selected edges.
5. Extend Surface - This feature extends the already generated surface upto desired extent.
6. Surface Knit - This tool is used to combine two or more faces and surfaces into one.
7. Extrude - Extrude feature extrudes the 2d sketch we created into a 3d body as per the sketch dimensions.
8. Cut Extrude - Extrude cut is another cool handy feature which helps to remove materials from the 3D model.
9. Fillet - Fillet gives a round curved surface on the selected face or edge of the model.
10. Mirror - This feature mirror bodies along the selected plane.
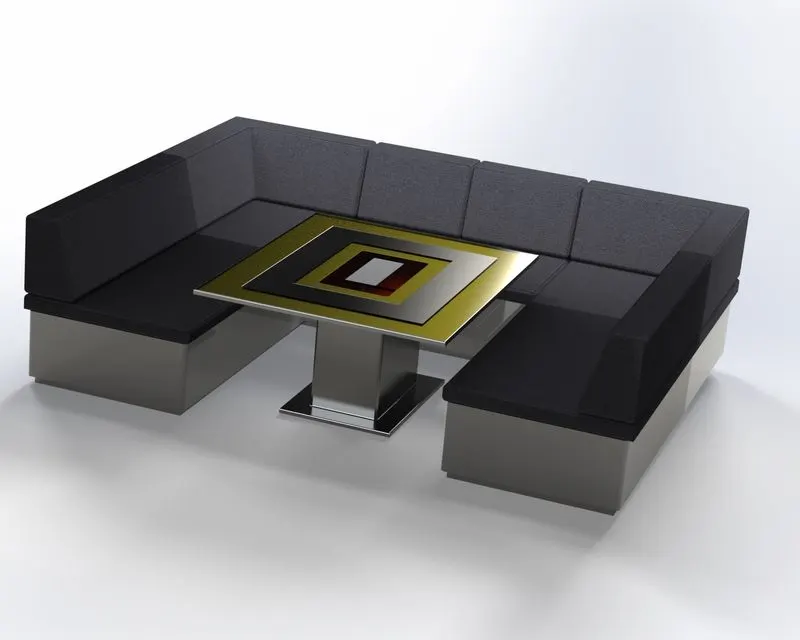
6. Middle Seat :
While creating middle seat, following features were used -
1. Sketch
2. Extrude
3. Chamfer
4. Fillet
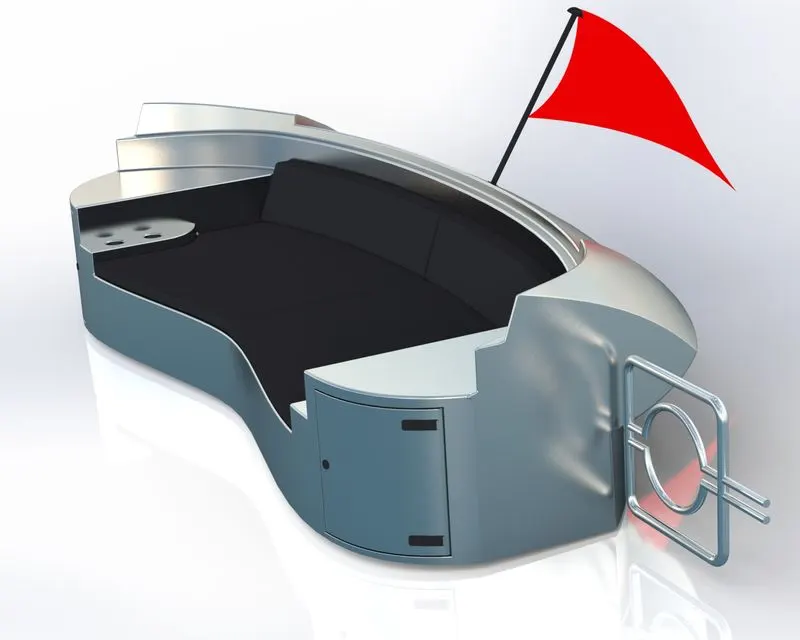
7. Rear Seat :
While creating rear seat , following features were used -
1. Project Curve - Project curve is the kind of 3D curve which is projected based on the two different 2D sketches
2. Swept Surface - A swept surface is the surface generated by moving a curve along another curve.
3. Loft surface - Loft Surfaces are surfaces generated by multiple 3D Curves or existing edges creating a smooth tangency between the selected curves
4. Ruled Surface - The Ruled Surface command creates surfaces that extend out in a specified direction from selected edges.
5. Extend Surface - This feature extends the already generated surface upto desired extent.
6. Surface Knit - This tool is used to combine two or more faces and surfaces into one.
7. Extrude - Extrude feature extrudes the 2d sketch we created into a 3d body as per the sketch dimensions.
8. Mirror - This feature mirror bodies along the selected plane.
9. Cut Extrude - Extrude cut is another cool handy feature which helps to remove materials from the 3D model.
10. Fillet - Fillet gives a round curved surface on the selected face or edge of the model.
8. Superstructure :
While creating superstructure , following features were used -
1. Project Curve - Project curve is the kind of 3D curve which is projected based on the two different 2D sketches
2. Swept Surface - A swept surface is the surface generated by moving a curve along another curve.
3. Loft surface - Loft Surfaces are surfaces generated by multiple 3D Curves or existing edges creating a smooth tangency between the selected curves
4. Ruled Surface - The Ruled Surface command creates surfaces that extend out in a specified direction from selected edges.
5. Extend Surface - This feature extends the already generated surface upto desired extent.
6. Surface Knit - This tool is used to combine two or more faces and surfaces into one.
7. Extrude - Extrude feature extrudes the 2d sketch we created into a 3d body as per the sketch dimensions.
8. Fill Surface - The Filled Surface feature constructs a surface patch with any number of sides, within a boundary defined by existing model edges, sketches, or curves, including composite curves.
9. Surface Trim - This too is used to trim the excessive or unnecessary surfaces.
10. Delete Face - This tool deletes a face from a surface body or deletes one or more faces from a solid body to create surfaces.
11. Mirror - This feature mirror bodies along the selected plane.
12. Cut Extrude - Extrude cut is another cool handy feature which helps to remove materials from the 3D model.
13. Fillet - Fillet gives a round curved surface on the selected face or edge of the model.
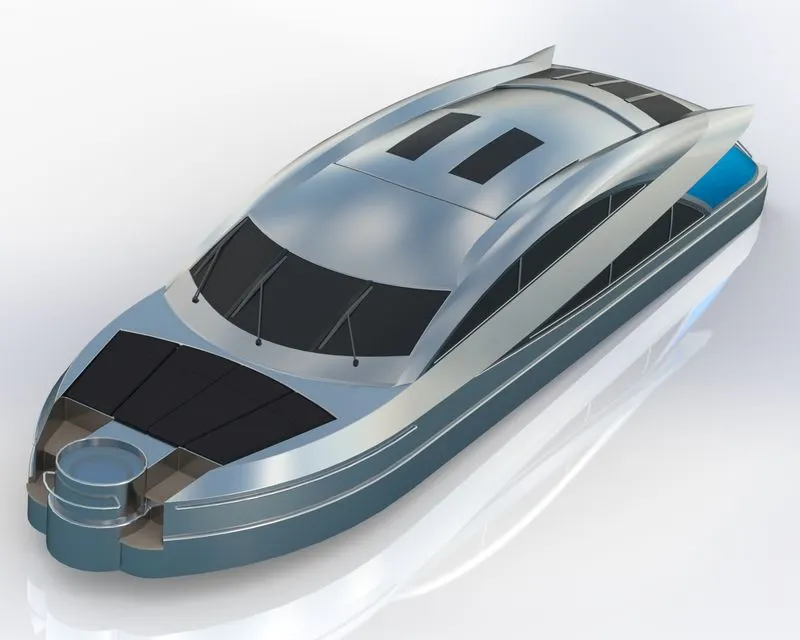
9. Radar Mast :
While creating Radar Mast, following features were used -
1. Extrude - Extrude feature extrudes the 2d sketch we created into a 3d body as per the sketch dimensions.
2. Revolve - Revolves add or remove material by revolving one or more profiles around a centerline
3. Sweep - It is the one feature in Solidworks that helps sweep a closed profile along a closed or open path.
4. Cut Extrude - Extrude cut is another cool handy feature which helps to remove materials from the 3D model
5. Fillet - Fillet gives a round curved surface on the selected face or edge of the model.
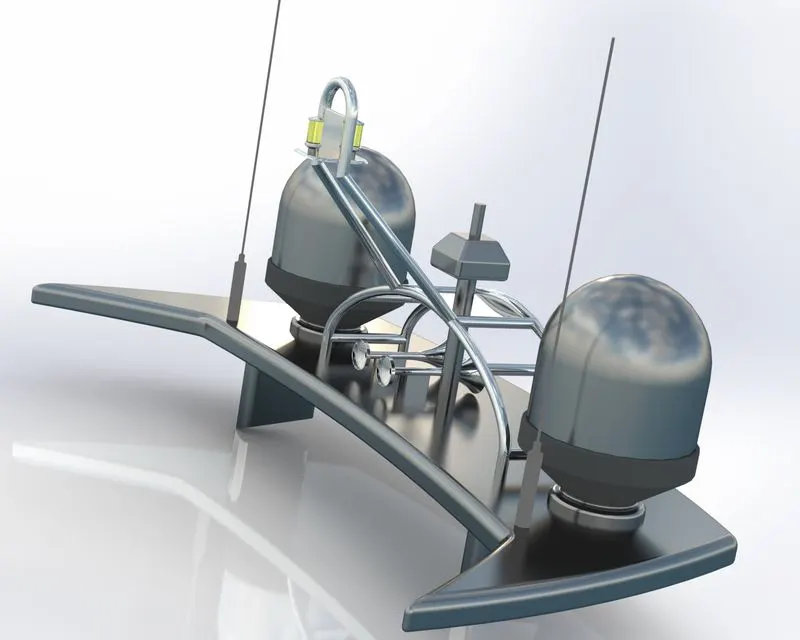
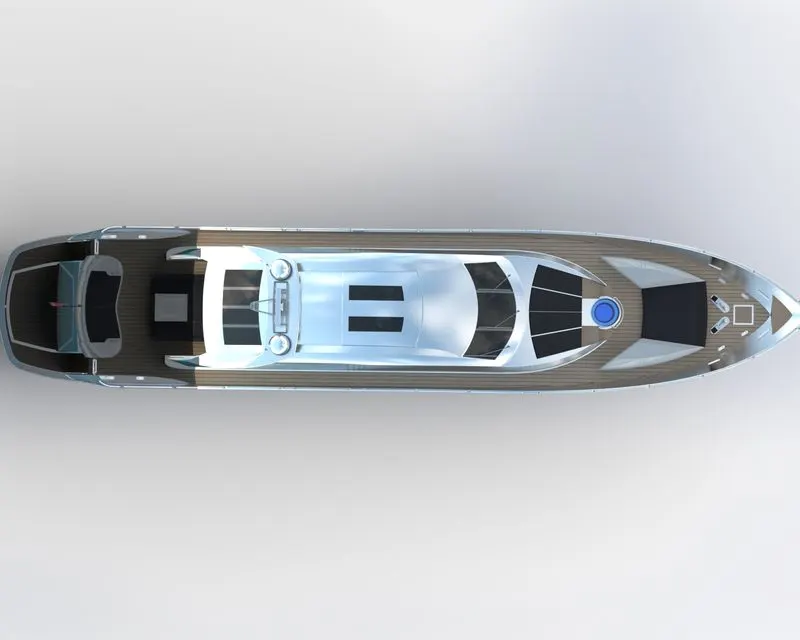
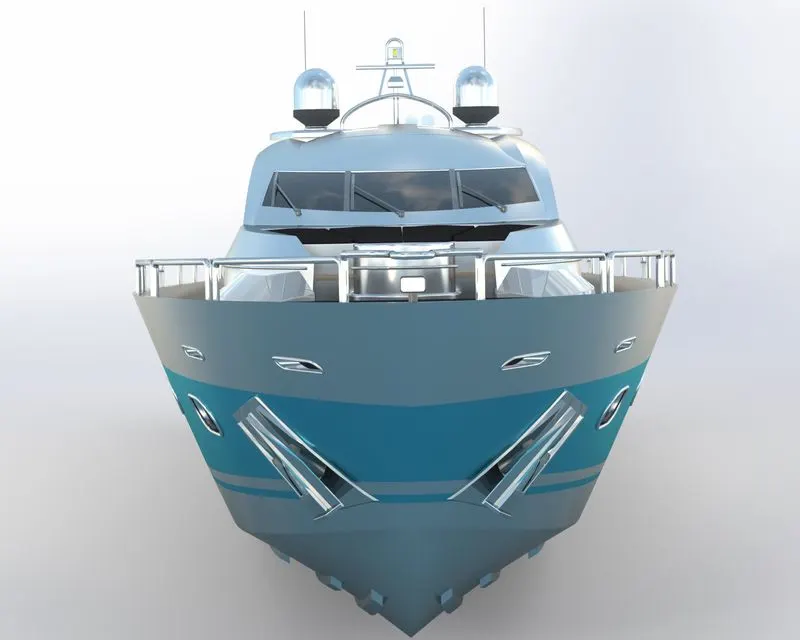
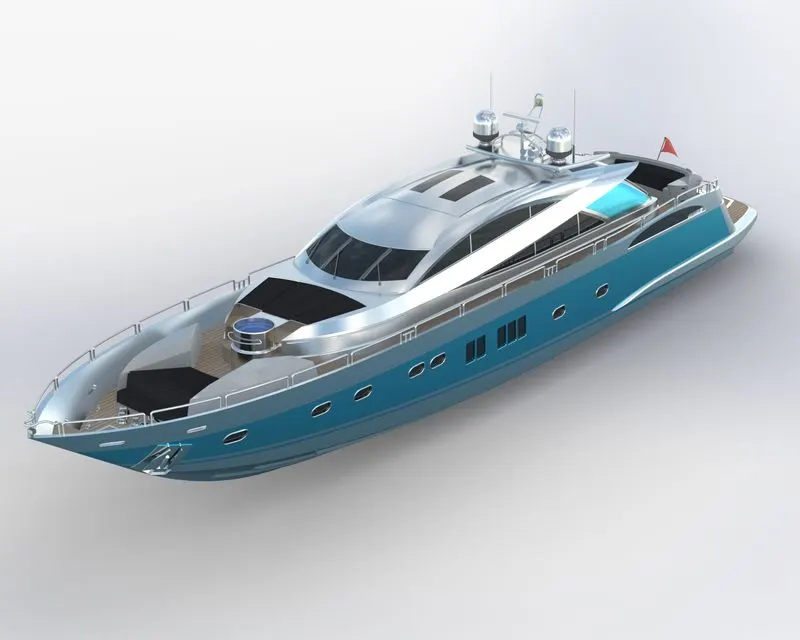
Rendered images of Sunseeker Predator Yacht from different view -
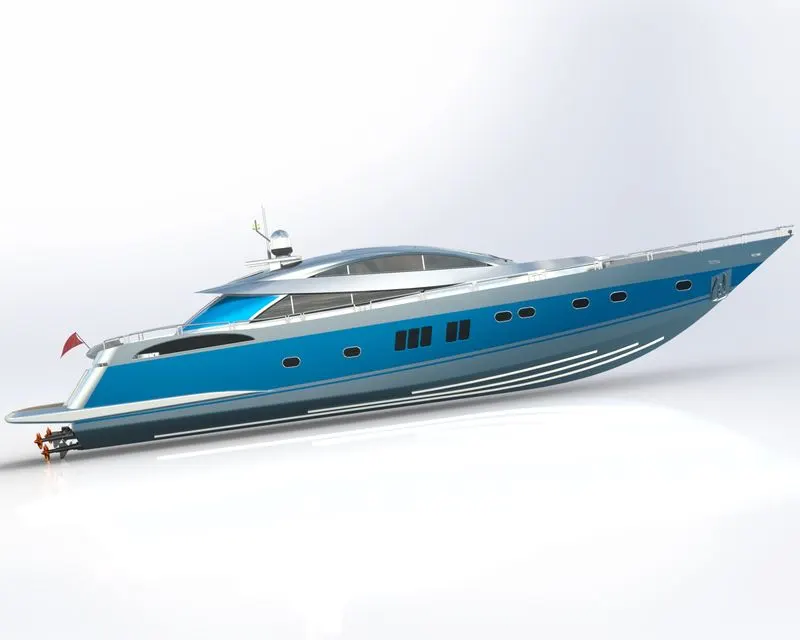
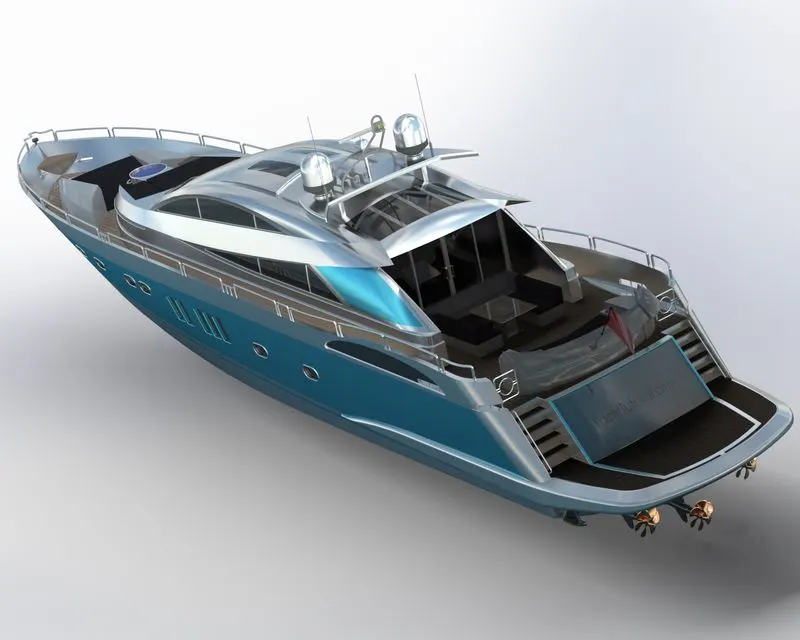
Rendered images in different environment -
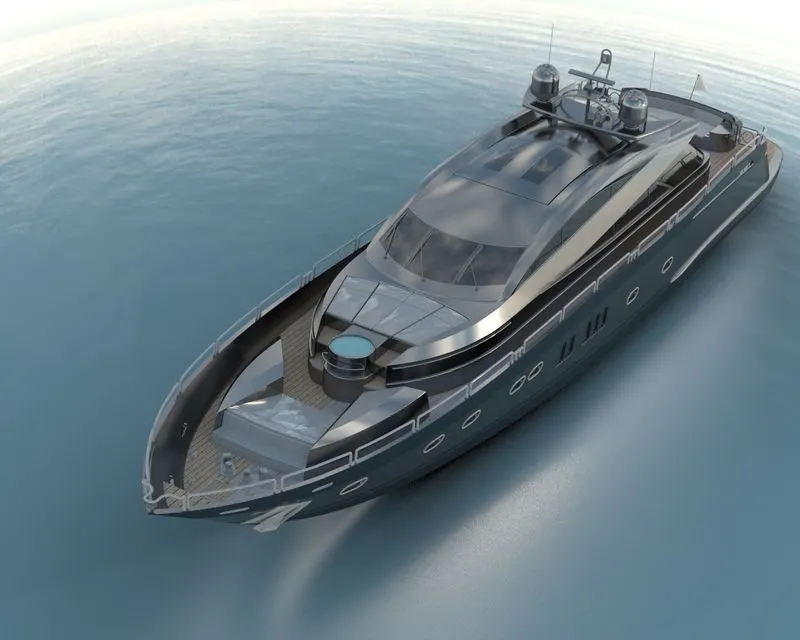
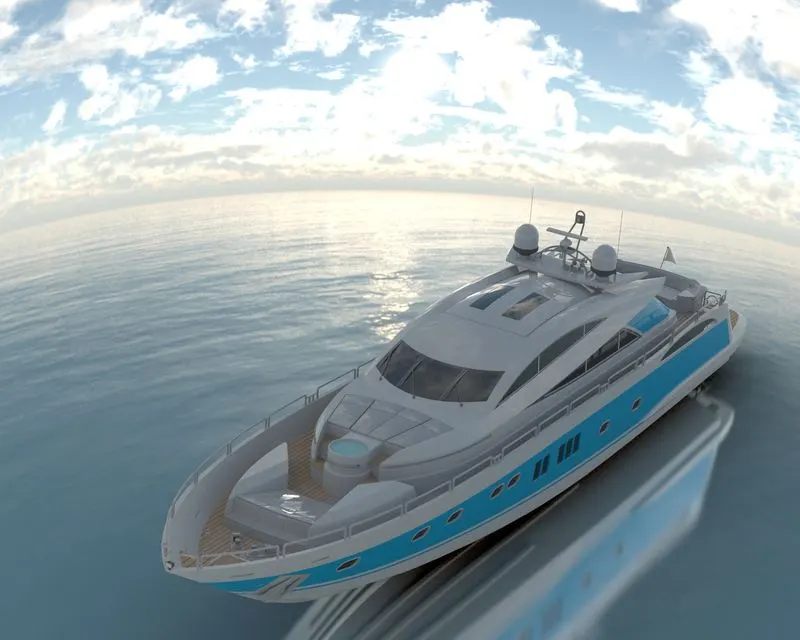
All the images are rendered in solidworks visualize 2019.
All rendered images are snapped to floor and in center.