Advanced Sheet Metal Design Using NX Cad Challenge_2_Box Assembly
Modelling of Box Assembly in Siemens PLM NX 12
By
Santhoshsivan.G
Introduction
In this model, we learn how to create box assemble on siemens PLM NX 12 by using some tools like tab, datum, normal cut out, Bend, unbend, flange, etc.
This are the following tools use to create box assemble model.
- Tab
- Datum
- Hem flange
- Unite
- Flange
- Break corner
- Dimple
- Normal cut out
- Mirror body
- Mirror feature
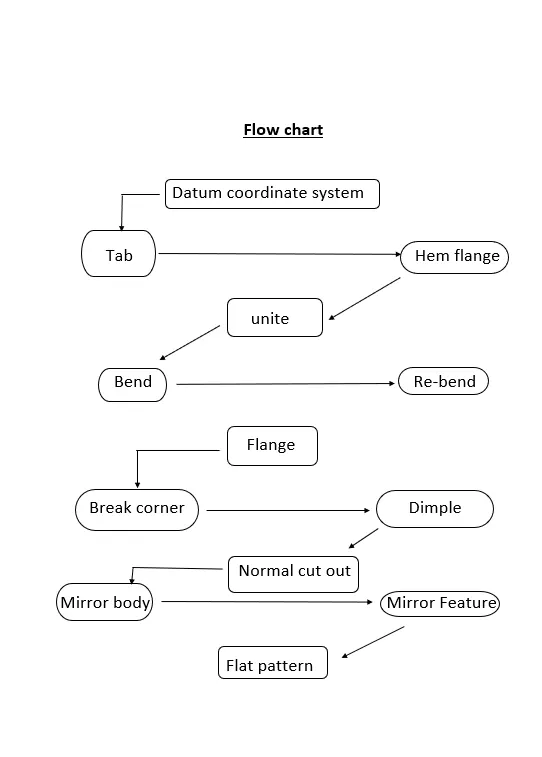
Step by step procedure to creating this model as shown in flowchart.
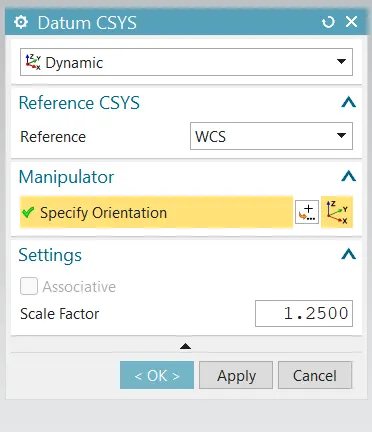
1.Datum coordinate system:
Datum coordinate system is the base plane for creating the components, which means the objects are created relative to some aspects, such as point, plane or axis. In this system have three categories. They are,
- Machine coordinate system
- Absolute coordinate system
- Work coordinate system
In machine coordinate system mainly used for CAM. CAM stands for computer aided manufacturing which means it’s used in this sectors CNC, VMC, etc.
In absolute coordinate system means to define a parametric location for an object such as point, or centre of an arc. In absolute coordinate system does not change or move. It provides a fixed point in space from which to begin modelling
In work coordinate system means the object is still used to determine the orientation and the origin. In WCS is moved nothing else go with it.
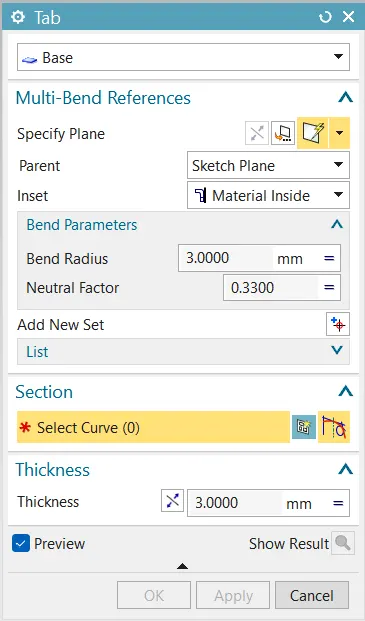
2.Tab:
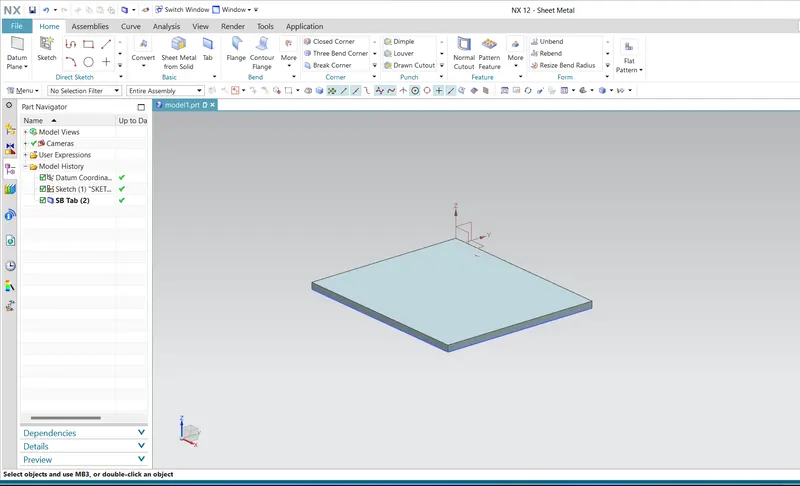
Tab means, the command which is used to create a base feature by extruding the sketch along a vector by a thickness value or by add material to existing face and bend the region of a sheet metal part.
3.Flange:
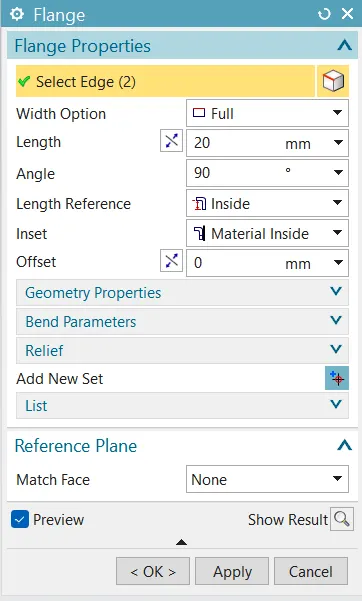
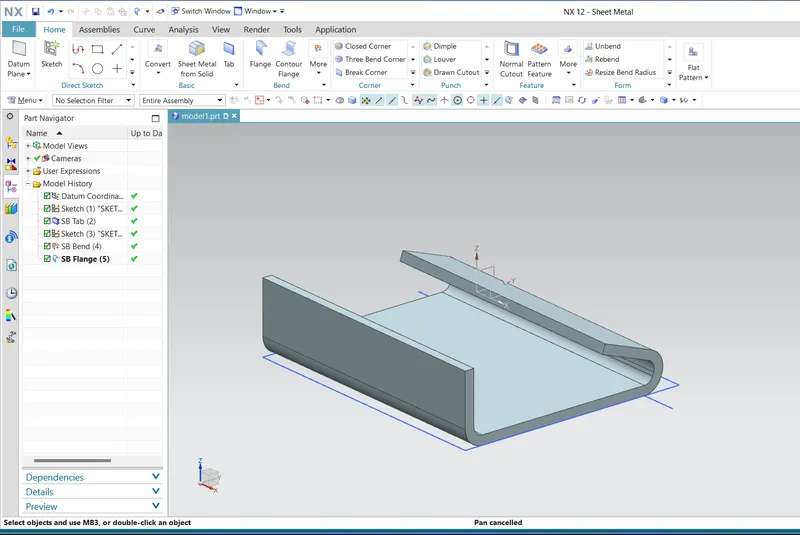
Flange means to create abend between two walls. The flange ca only be made on a straight edge. By creating flange select menu-->Insert-->Band-->Flange. In flange they are three types is there as following below
- Contour flange
- Lofted flange
- Hem flange
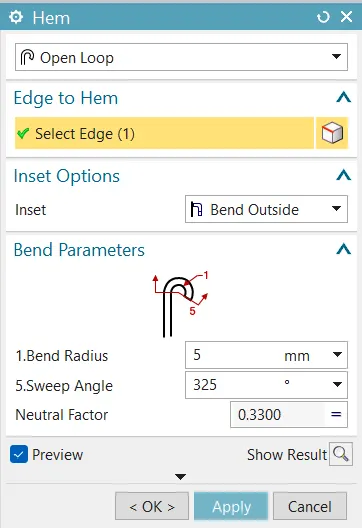
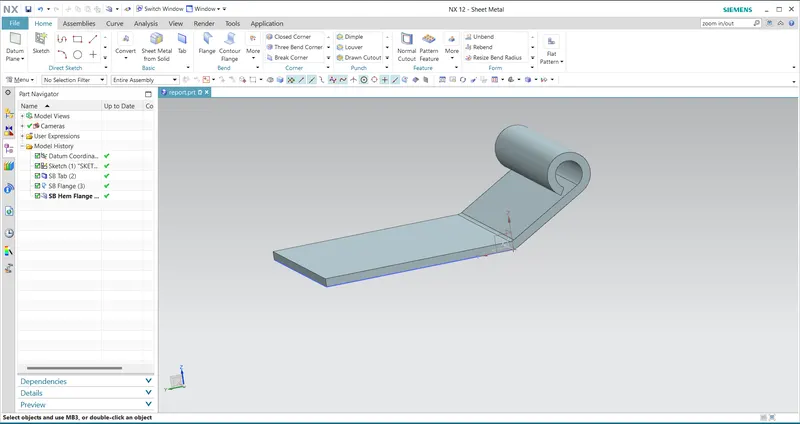
4.Hem flange:
This command to add various curly shape on edges of the sheet metal model, the thickness is same as the sheet metal model.
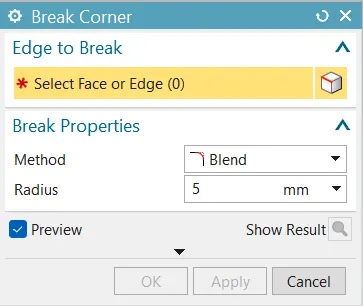
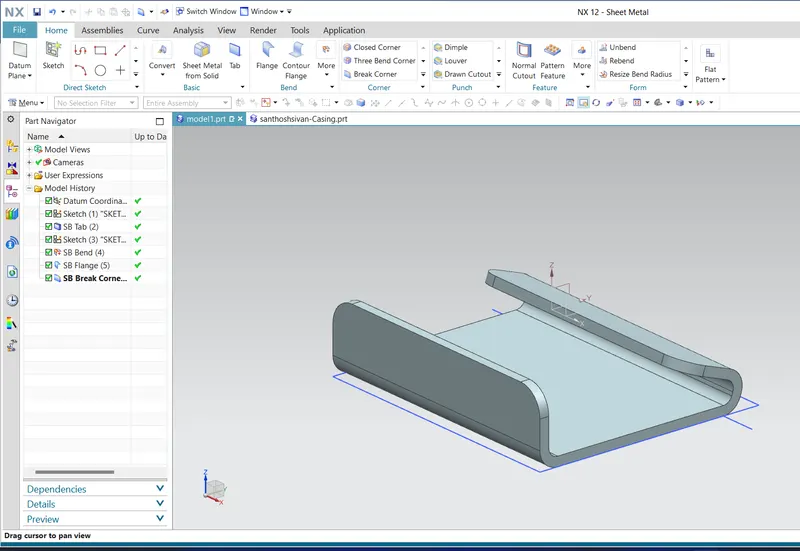
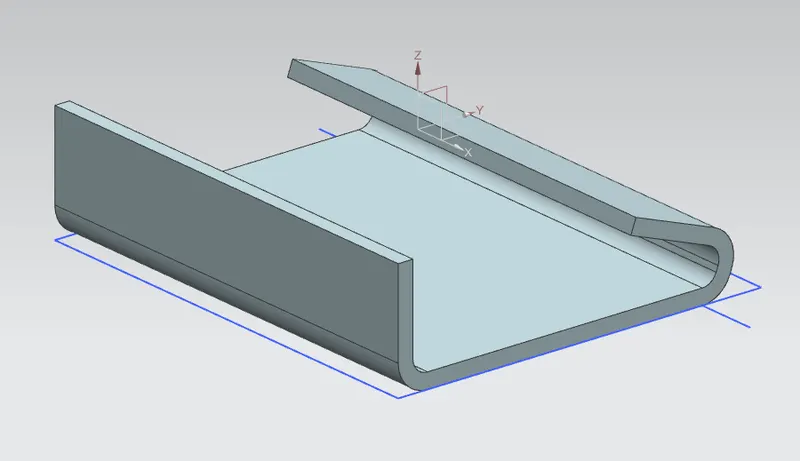
5.Break corner:
Break corner means which use to round or chamfer the sharp corners of a tab or flange (similar to fillet).
6.Dimple:
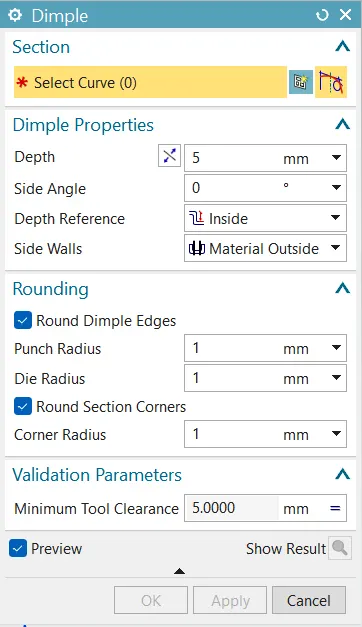
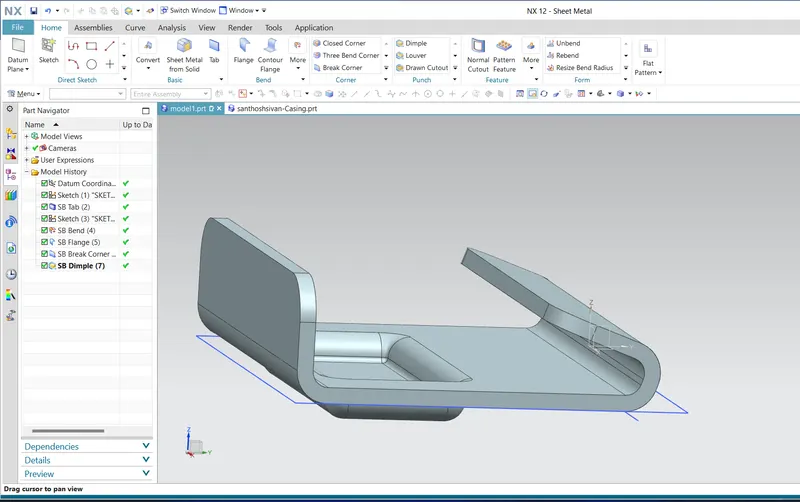
Dimple command adds a dimple to a flat sheet by deforming it. To activate dimple command, click Home-->Punch-->Dimple on the ribbon bar.
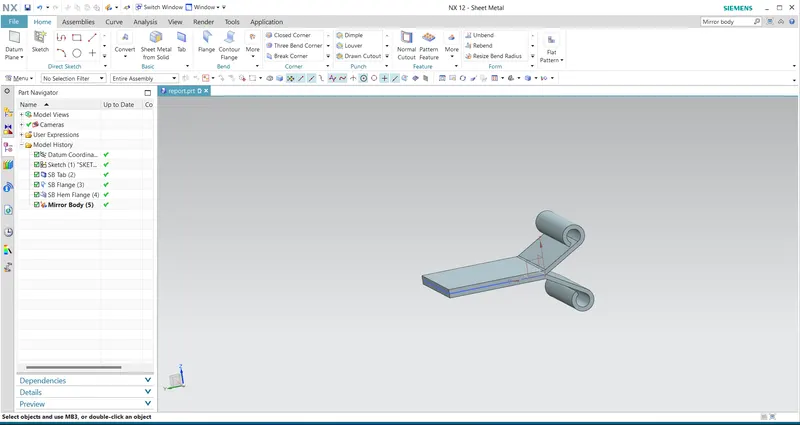
7.Mirror body:
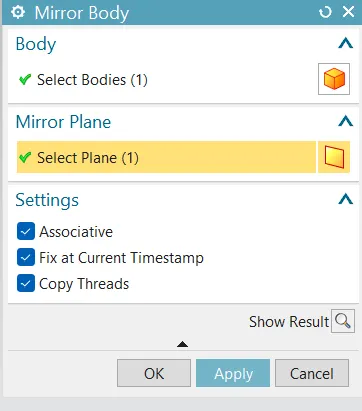
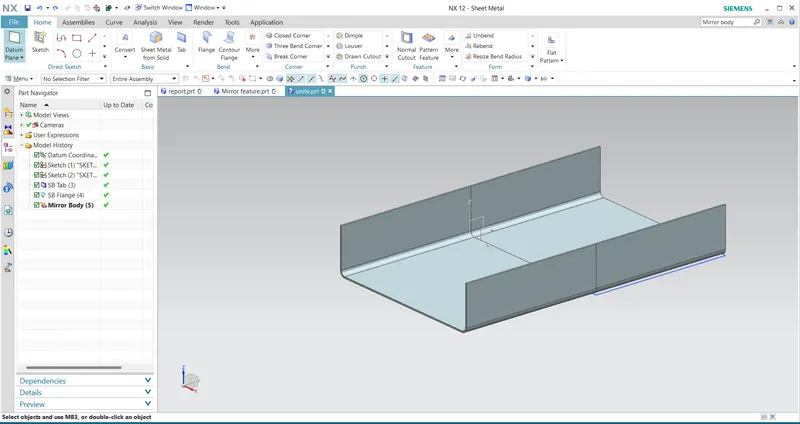
The Mirror Body command to mirror an entire body across a datum plan. When you mirror a body, the mirror feature is associative to the original body. You cannot edit any parameters in the mirrored body. Any features you later add to the original body will not be reflected in the mirrored body.
8.Mirror feature:
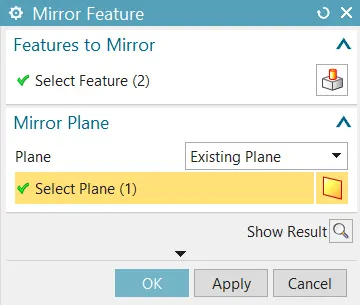
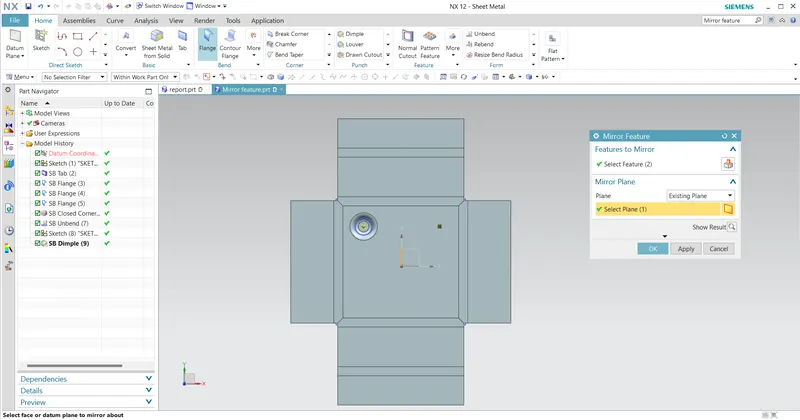
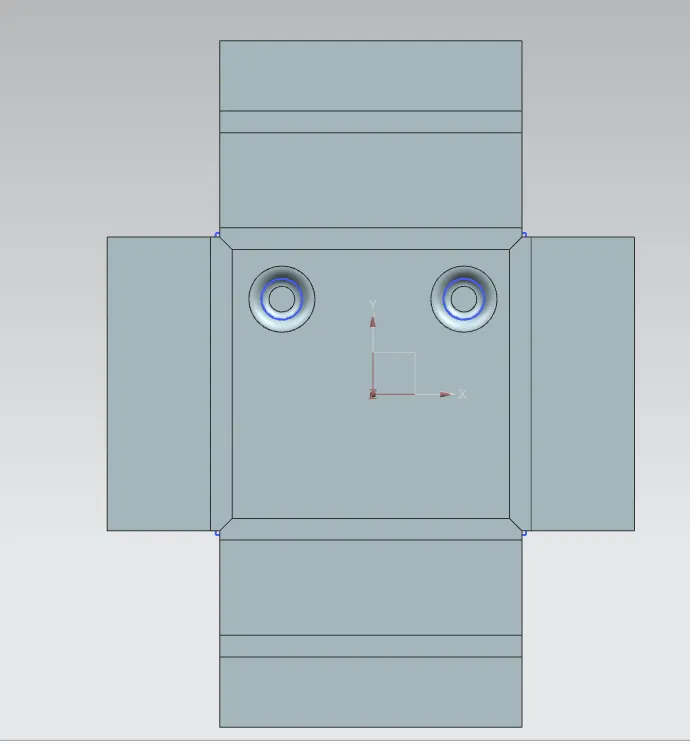
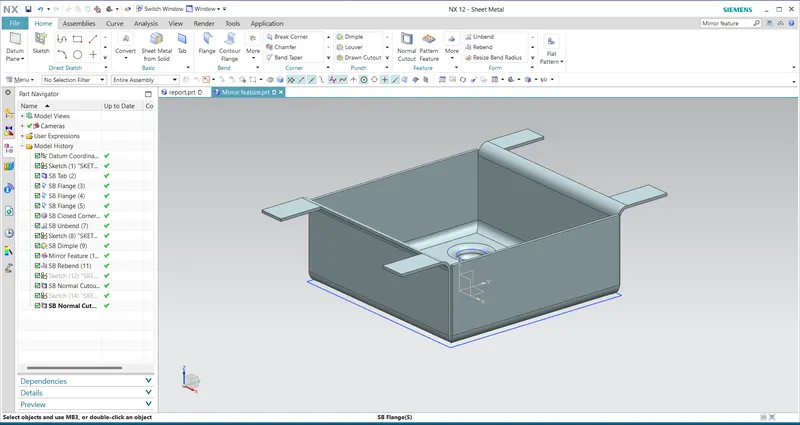
The Mirror Feature command to mirror one or more features within a body. Use this to build symmetrical parts.
9.Normal cut-out:
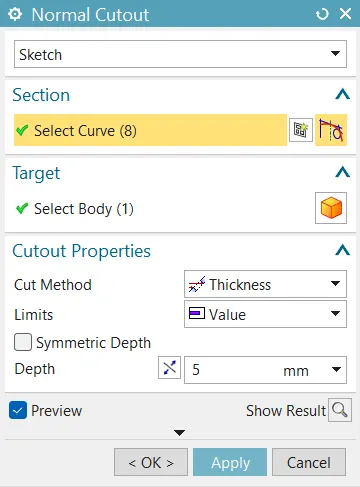
Use the Normal Cut-out command to cut material by projecting a sketch onto the model and then cutting perpendicular to the faces intersected by the projection. You can use planar sketches or 3D curves to specify the section for the normal cut-out.
The intersection curves of the two bodies are used as input to create a normal cut-out. The cut-out creates a void in the pipe hanger that allows the pipe to pass through it.
10.Unite:
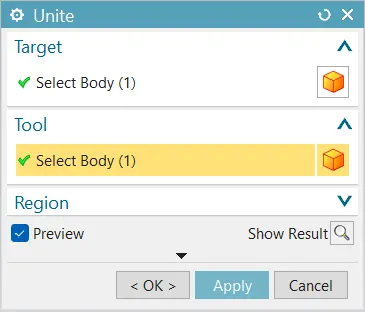
Unite means to combine both sketch after mirroring the boy on another datum(plane). It’s most easy tool to merge or subtract the sketches.
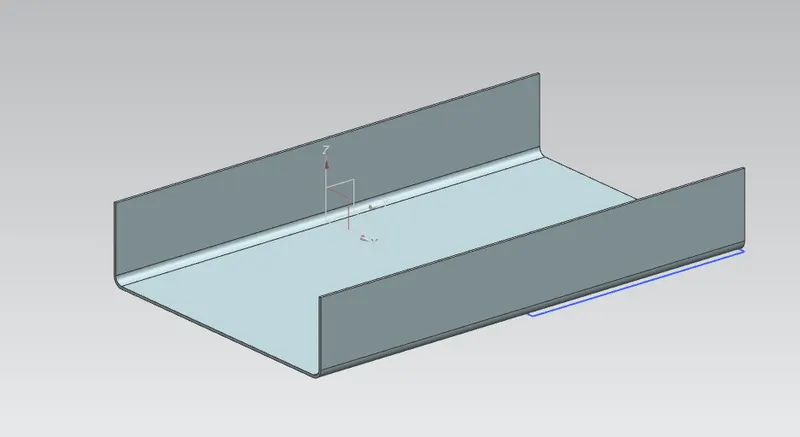
Modelling of Box assembly:
Modelling of box assembly, they are some commands which is used for creating the box assembly. Flow chart shows the step-by-step process and how to create it.
First select the sketch and create it. After creating the sketch select the tab and give the required values in tab property manager. Then go to flange and select the both corners in tab then give some value, angle and bend. click ok or apply.
Close the corners by using close corner command after creating the flanges then use hem flange to close both the edges for the requirements. Click mirror body option for mirroring the body (box) in opposite datum. After that, combine both body (actual and mirrored) by using unite command and again select sketch for making the dimple on both the side
Use dimple option and give some value for depth and angle. Then select the sketch and click apply. Unbend and rebend the sketch for creating dimple on both sides. Again, select the sketch and select bottom plane for creating one more dimple. Follow same method as previously use for creating dimple on both sides on the box.
Sketch the circle in bottom plane and use bead command for creating beads, create three more beads on the box by using mirror feature command. Again, use hem flange to bend the four corners on the box.
Completing the box model and select the new datum for creating cover. Select the sketch and select the plane then click ok. Draw the cover and click tab command, give appropriate value for thickness then click ok.
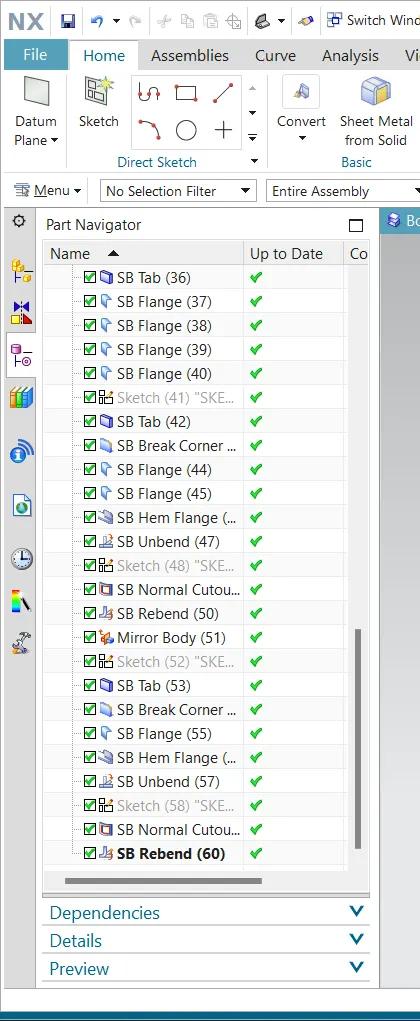
Use flange command for creating the bends. Again, select sketch and select box side face for creating the joints and use tab option for extrude. Then click bend command and select the corner has to be bend, give the appropriate value and click ok. Next hem flange command use, to make curly shape flange for provision. After creating hem flange unbend it then draw rectangle use normal cut out command to removing the portion from that sketch (like extrude cut). Select sketch for cut and click ok. Then click rebend and select the sketch and click ok.
Then use mirror body option for creating the sketch on another datum. Again, the same process uses to make another joint on the cover. Finally give the appearance for the box (colour).
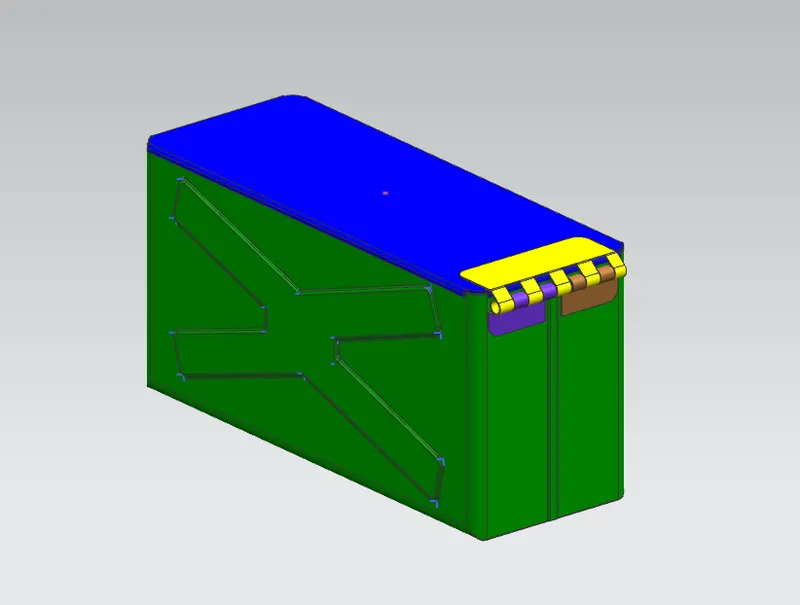
Box assembly model:
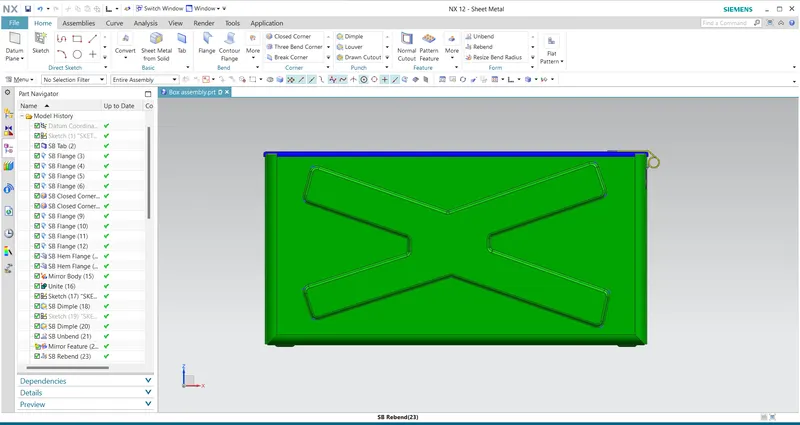
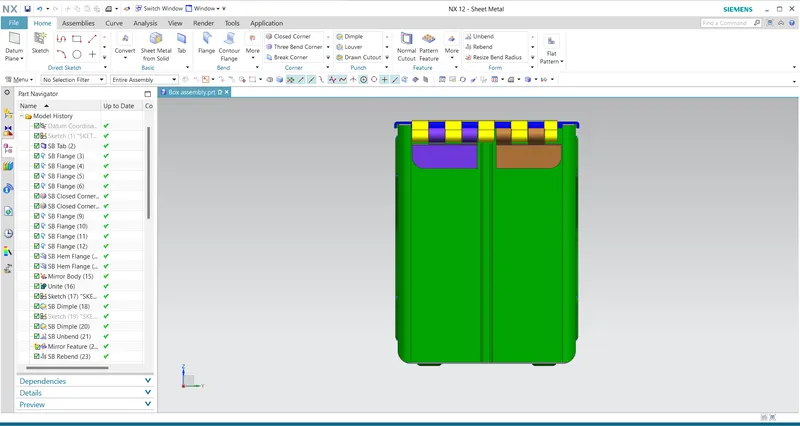
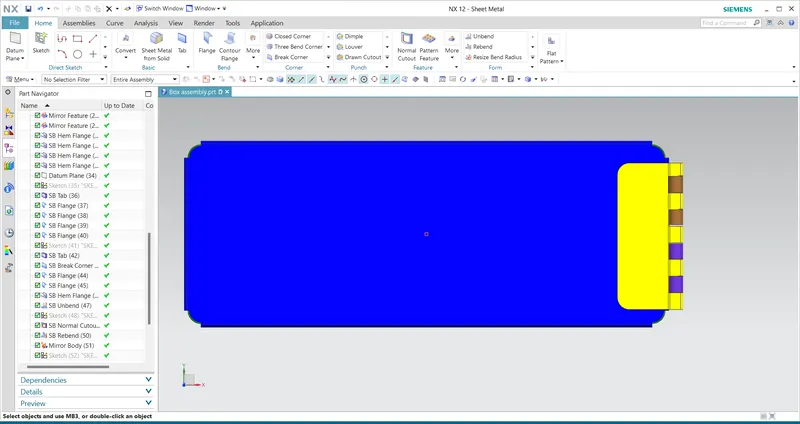
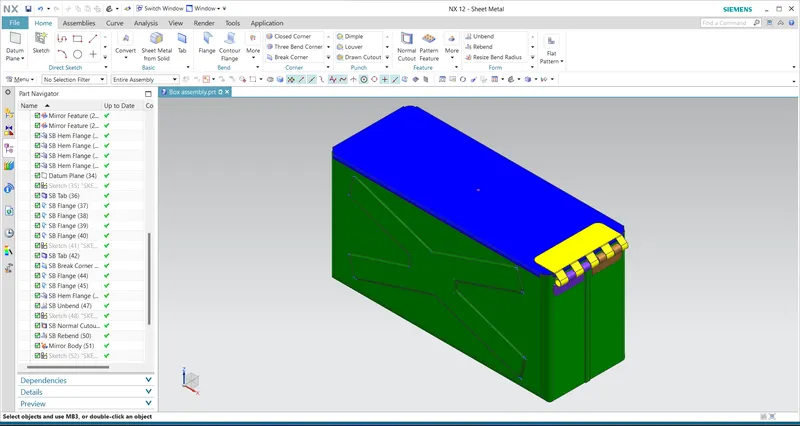
Conclusion:
The modelling of Box assembly as completed in PLM NX12. While creating the casing, understood the function and uses of the tools.
Box assembly
1.Front view:
2.Right side view:
3.Top view:
4.Isometric view:
5.History tree 1:
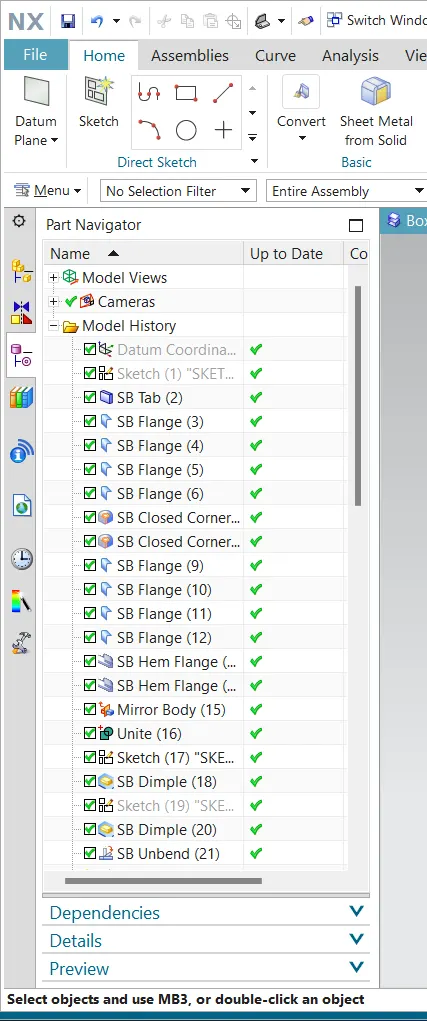
6.History tree 2:
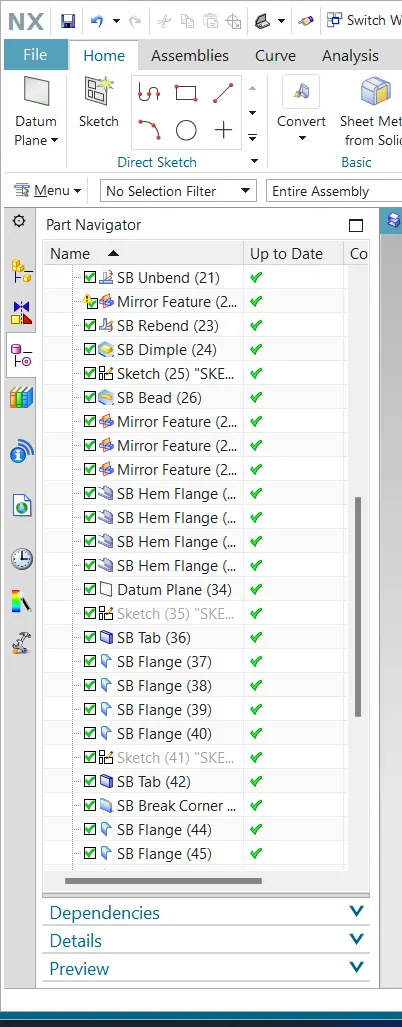
7.History tree 3: