Advanced Sheet Metal Design Using NX Cad Challenge_1_Casing Design
CASING DESIGN
OBJECTIVE:
To understand the step by step procedure to design the casing using NX CAD
INTRODUCTION:
Sheet metal fabrication includes important design considerations to help improve part manufacturability, enhance cosmetic appearance and reduce overall production time.
Sheet metal fabrication is the process of forming parts from metal sheet by punching, cutting, stamping and bending.
3D CAD files are converted into machine code, which controls a machine to precisely cut and form the sheets into the final part.
Sheet metal parts are known for their durability, which makes them great for end use application. Parts used for low volume prototypes and high volume production runs are most cost effective due to large initial setup and material costs.
Because parts are formed from a single sheet of metal, designs must maintain a uniform thickness. We have to be sure to follow the design requirements and tolerances to ensure parts fall closer to design intent and cutting sheets of metal.
DESIGN METHODOLOGY:
TOOLS AND FEATURES USED TO DESIGN CASING:
SKETCH: Sketch is the two dimensional representation of the model, in NX CAD there are different sketch options available to create sketch, the following are the sketch entities available in solid works line, arc, circle, rectangle.
TAB: Creates a base feature by extruding a sketch along a vector by a thickness value or adds a material to a plane face.
FLANGE: Adds a flange to an angle to a planar face and adds a bend between the two.
BEND: Modifies the model by bending material on one side of a sketch line adding a bend between the two sides.
BREAK CORNER: Rounds/fillet sharp corner.
DIMPLE: Lifts an area of the model inside a sketch that simulates stamping a tool.
BEAD: Lifts a material along a counter of sketch that simulates stamping a tool.
NORMAL CUTOUT: Cuts the model perpendicular to the sketch.
MIRROR : Mirror tool can copy geometry, surface, curves, patterns and datum features about a mirror plane.
UNBEND: Flattens a bend.
REBEND: Restores a bend.
FLAT PATTERN: Creates flat pattern feature from formed sheet metal part.
FLOW CHART:
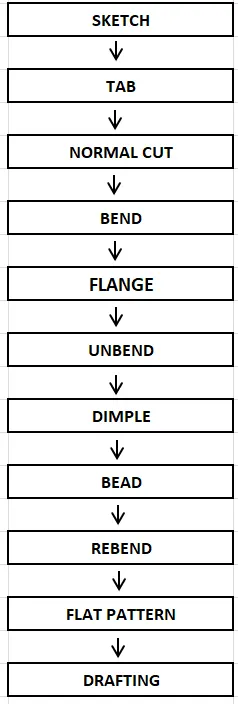
STEP BY STEP PROCEDURE TO DESIGN CASING:
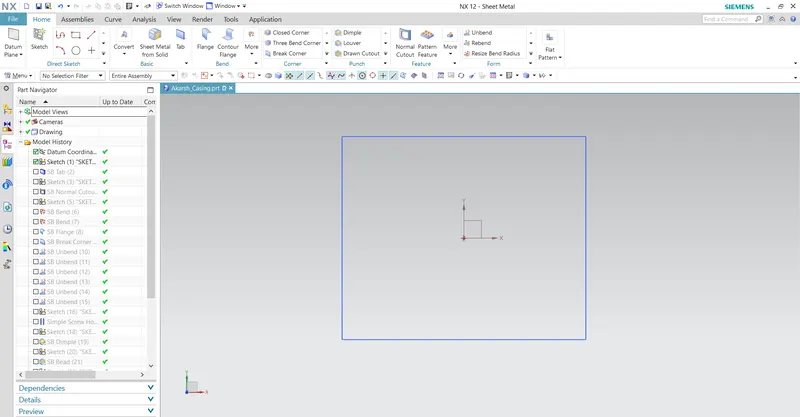
STEP 1: Sketch the rectangle as per required dimension.
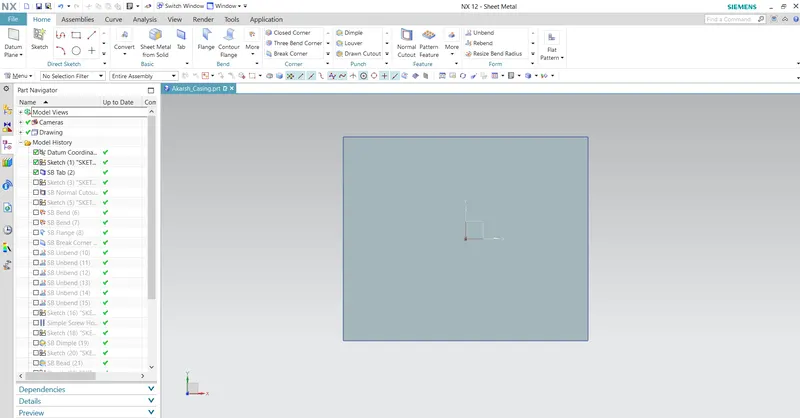
STEP 2: Select the tab command select the rectangle and input the required thickness.
STEP 3: Construct a rectangle as per requirment and select the normal cut option to cut the surface.
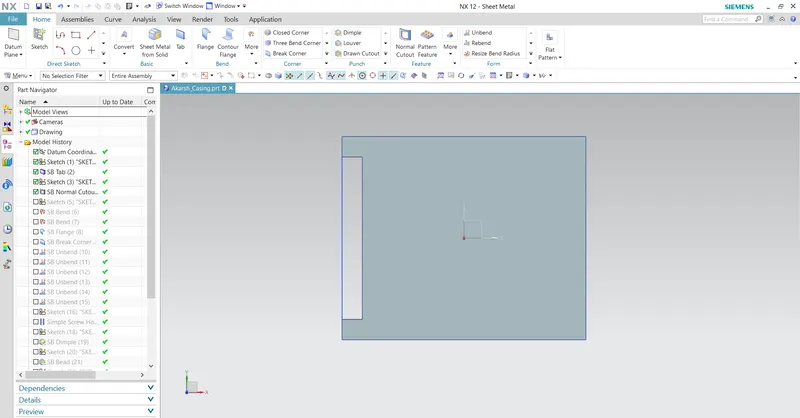
STEP 4: Sketch two lines as per the required dimensions, click the bend command and select the lines
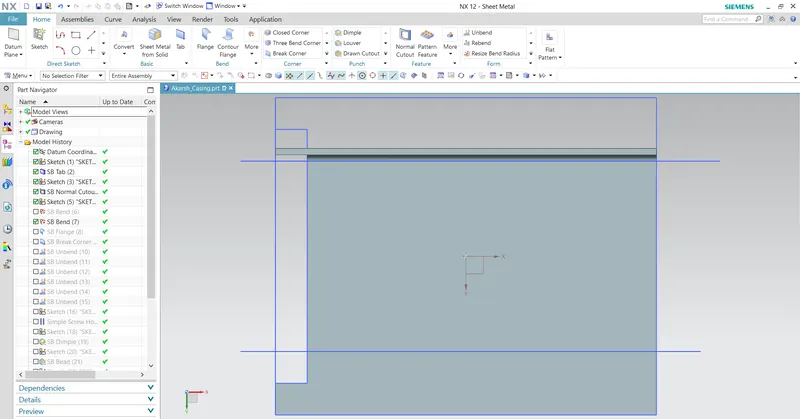
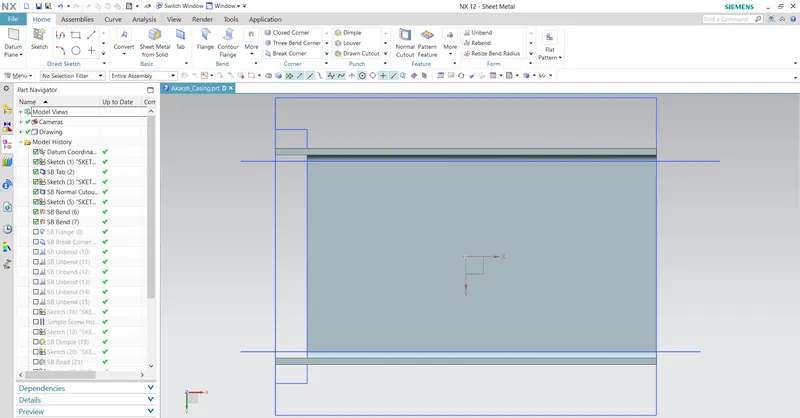
STEP 5: Click on the flange command and select the edges of the bent surface and input the required dimensions.
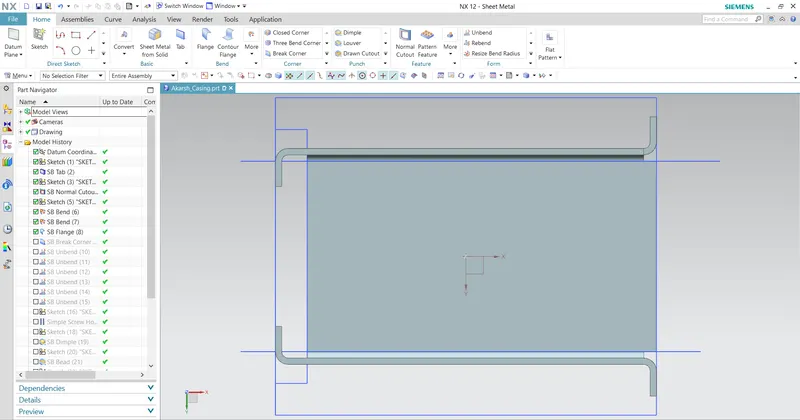
STEP 6: Click on the break corner option and select all the corners to make the corners round / to avoid sharp corners.
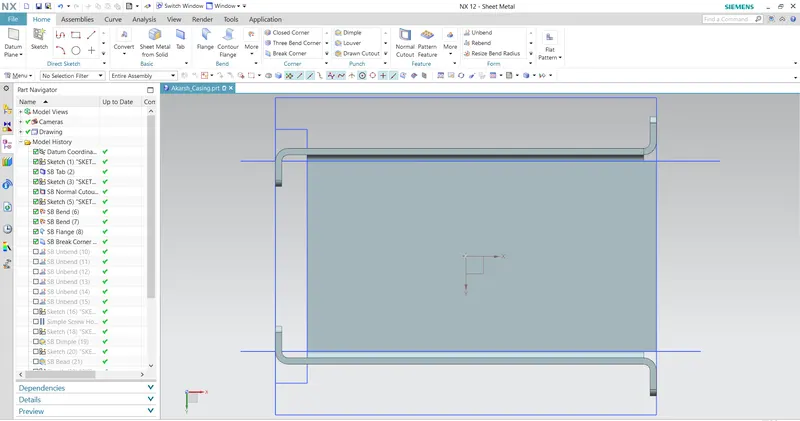
STEP 7: Click on the unbend command and select the edges to unbend.
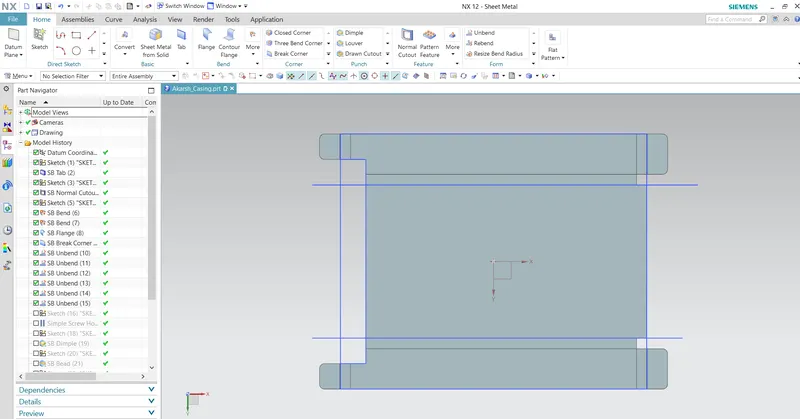
STEP 8: Sketch four circles on the flange surface as shown in in the picture and the select the hole command to create hole.
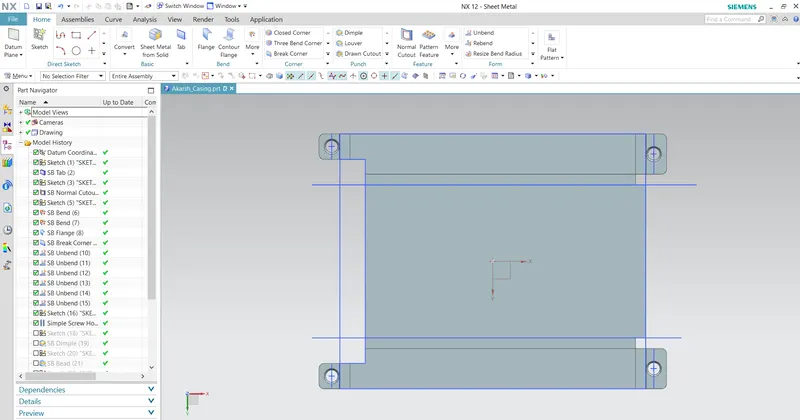
STEP 9: Click on the dimple command and the select the sketch which is constructed as per requirement, create the dimple by giving the required parameters.
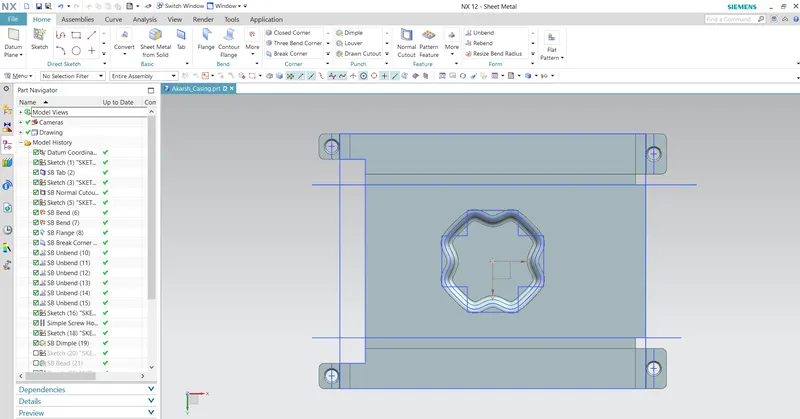
STEP 10: Construct a circle and select the bead option.
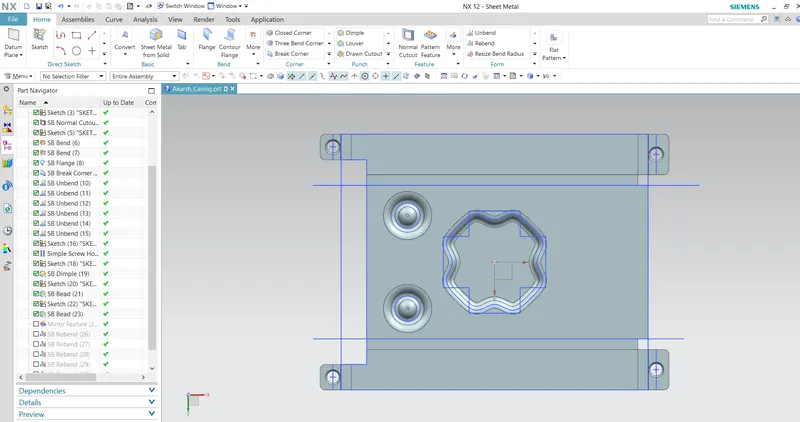
STEP 11: Click on the mirror feature option and select the bead which was done in previous step and select the required plane.
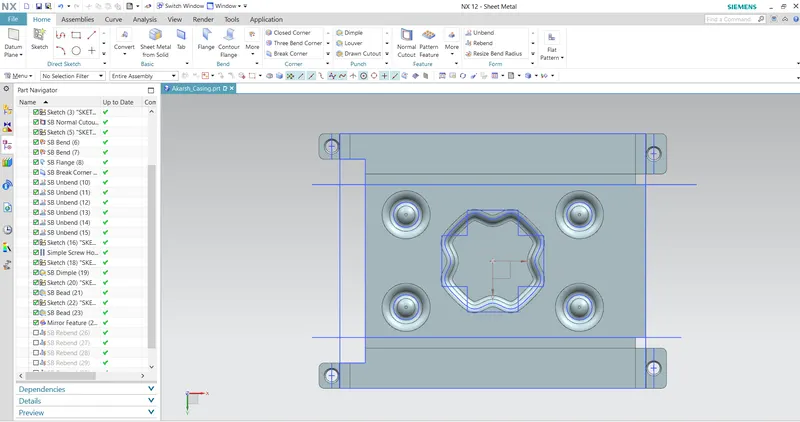
STEP 12: Select the Unbend option to unbend the edges
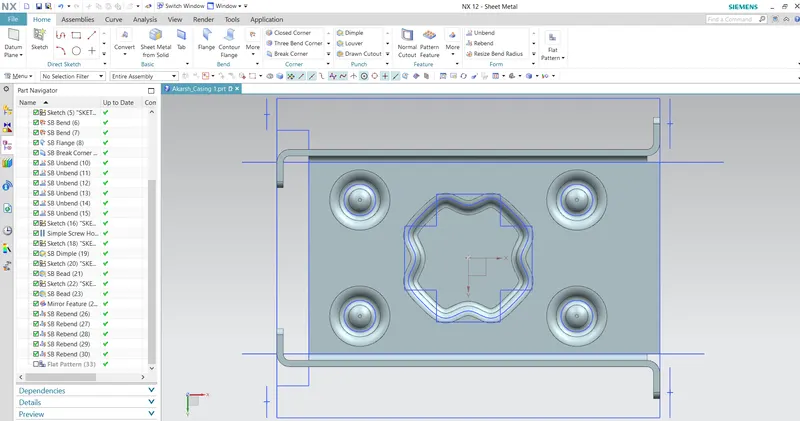
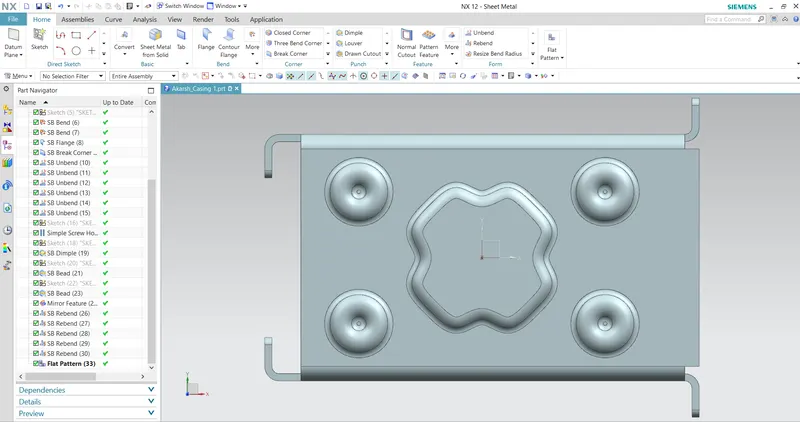
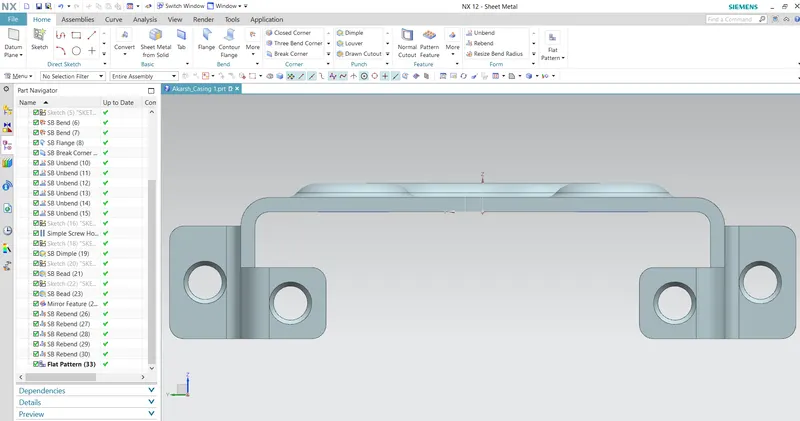
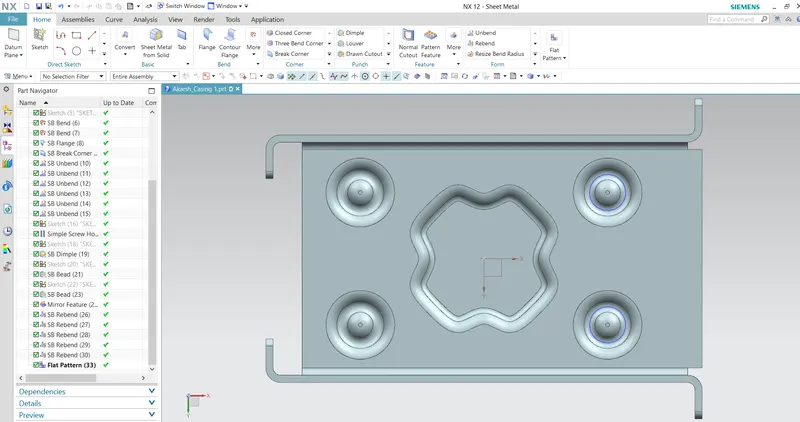
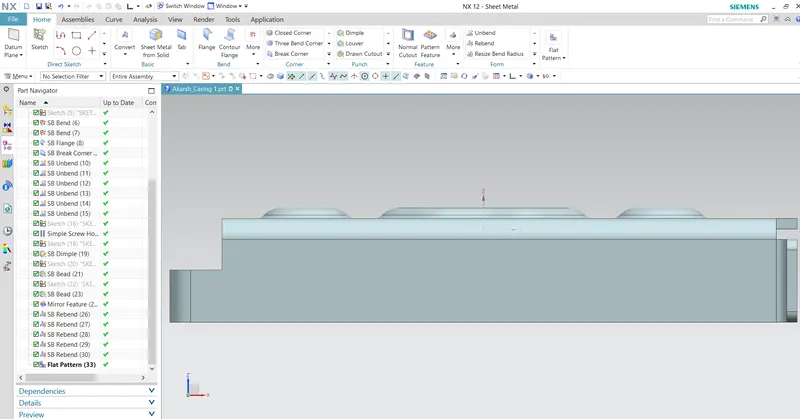
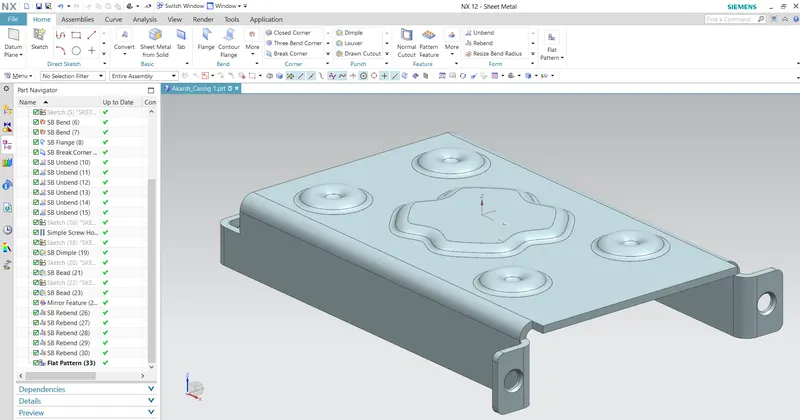
FINAL DESIGN OF CASING:
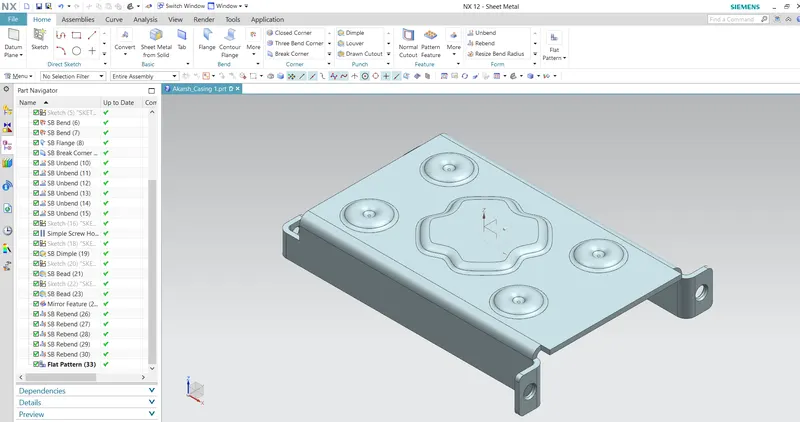
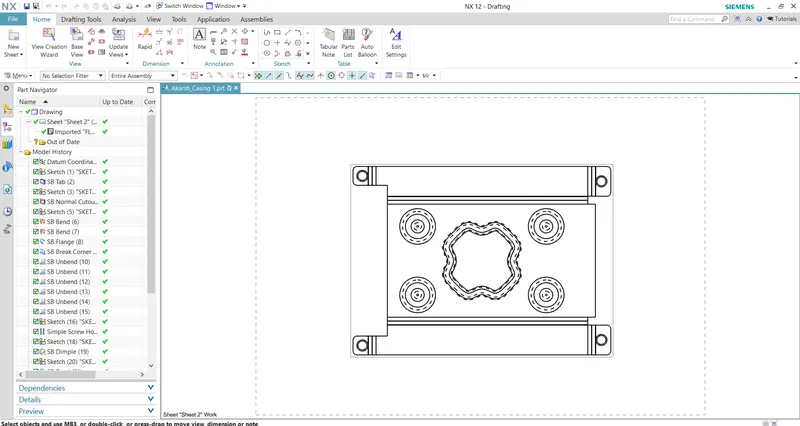
DRAFTING: