3D Creation of Celing, Roof, Architectural plan, Structural plan, Sectional view, Elevation view and Camera specific view for a house plan using REVIT
3D Creation of Celing, Roof, Architectural plan, Structural plan, Sectional view, Elevation view and Camera specific view for a house plan using REVIT
1) Based on the project saved from Week 3, proceed from the First Floor Level. Model a Ceiling from the architecture tab above the walls at the first-floor level.
AIM: To model a Ceiling from the architecture tab above the walls at the first floor level of the residential unit project saved in week-3.
INTRODUCTION: The procedure to create a Ceiling above the walls at the first floor level of the residential unit and align it to the grids is explained in detail and the final result is given.
Procedure:
- Project Browser>Ceiling Plans>First Floor.
- Select the Ceiling Tool by going to Architecture>Ceiling.
- Select the Pick line option from the Draw Panel.
- Select the Outer Edges of the walls in the first floor plan.
- Click on finish edit mode icon.
- The Ceiling has been created.
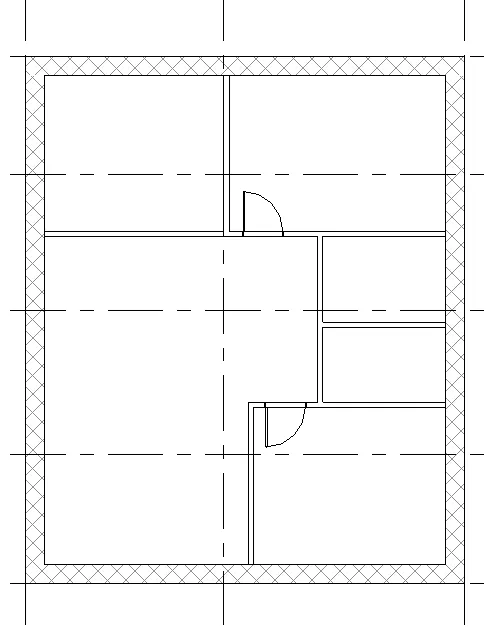
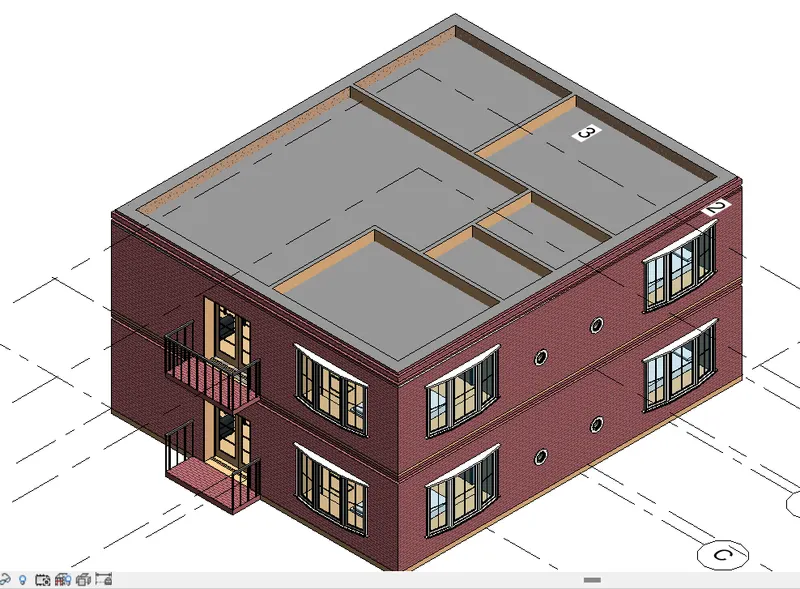
RESULT:
It Was Clearly illustrated how to model a Ceiling from the architecture tab above the walls at the first-floor level of the residential unit.
-------------------------------------------------------------------------------------------------------------------------------------------
2) Model a roof above the ceiling by selecting the footprints of the ceiling. Using the adjustment toolbars appearing on-screen adjust the roof slope to 10 degrees.
AIM: To model a roof above the ceiling by selecting the footprints of the ceiling and adjusting roof slope to 10 degrees using the adjustment toolbars appearing on-Screen.
INTRODUCTION: The procedure to create a roof above the ceiling and adjust its to 10 degrees is explained in detail and the final result is given.
Procedure:
- Project Browser>Floor Plans>Ground Floor.
- Go to Architecture>Column>Architectural Column.
- Properties>Edit type>Duplicate.
- Rename the Element according to the desired size of Column.
- Enter New Dimensions for the Column.
- Place the Columns at the adjacent Corners of the patio at the ground level.
- Project Browser>Floor Plans>Ground Floor.
- Go to Architecture>Stairs.
- Select Run and then Choose L-Shaped winder.
- Place the Stair at a Suitable Location.
- Click on the Finish edit mode icon.
- Project Browser>Elevations>East.
- Rename Level 3 as Roof.
- Project Browser> Floor Plans > First Floor.
- Select the roof tool by going to architecture>Roof>Roof by Footprint.
- Select Base level as roof level.
- select the Pick Line Option from the draw panel.
- Selec the outer Edges of the walls in the First Floor Plan.
- Go to Properties>Dimensions>Slope.
- Enter Slope value as 10.
- We can Edit Footprint to extend the edges of the roof.
- Click on finish Edit mode Icon.
- The Roof is Created.
- Save the Project File.
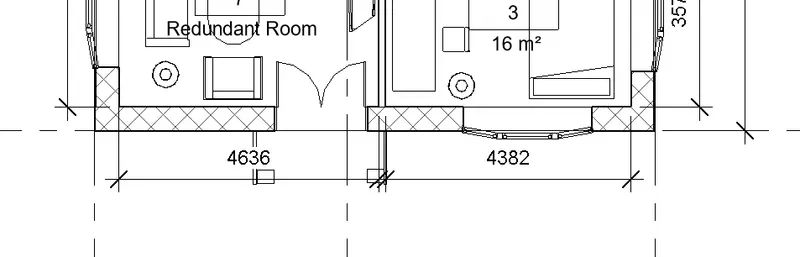
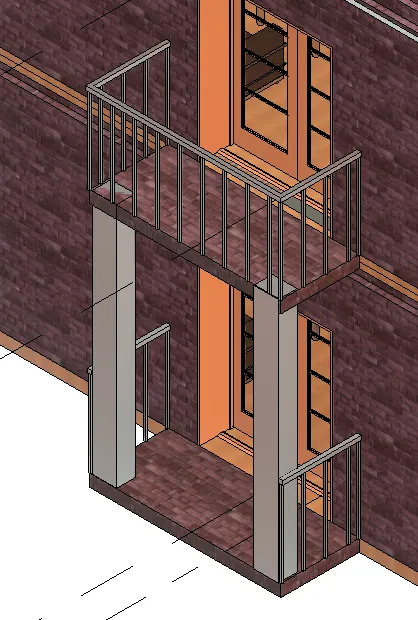
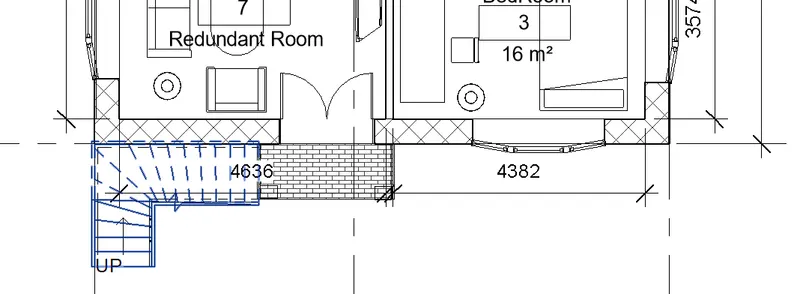
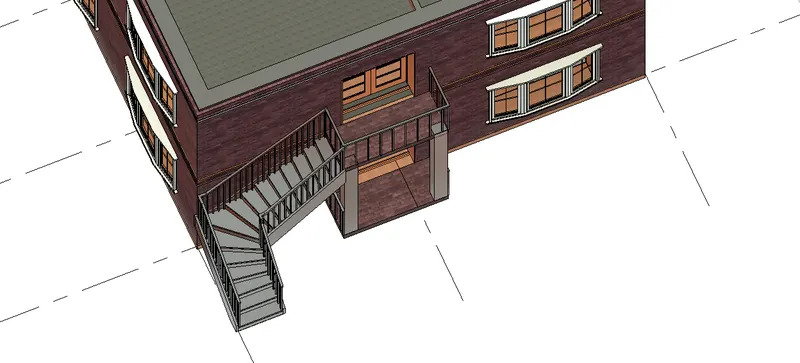
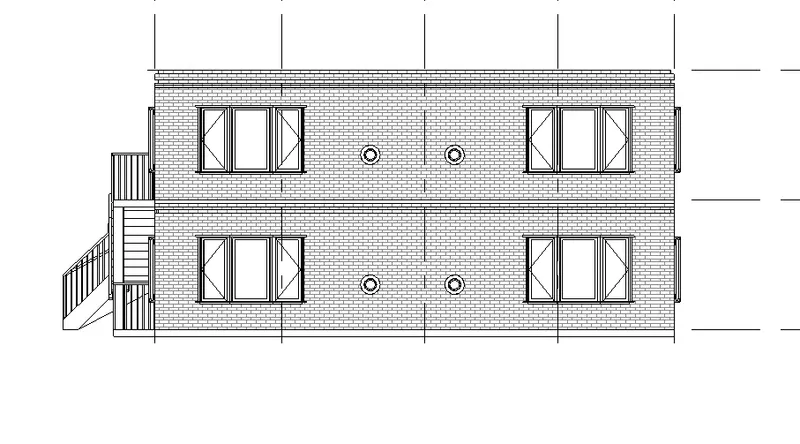
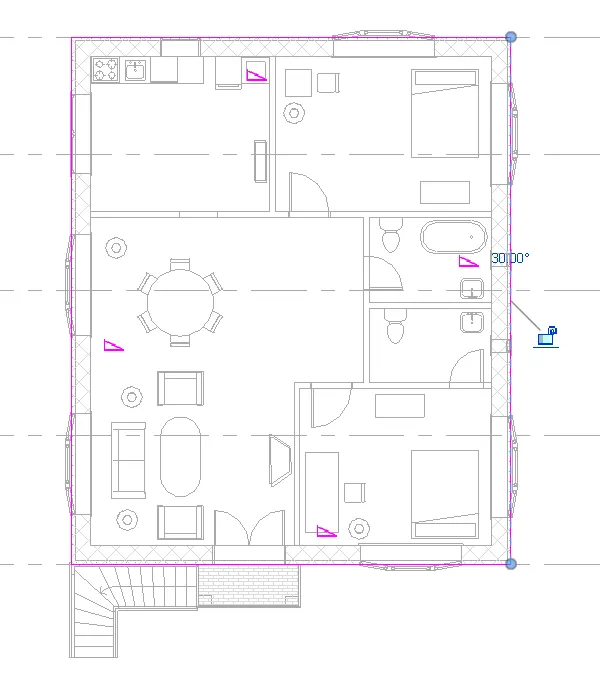
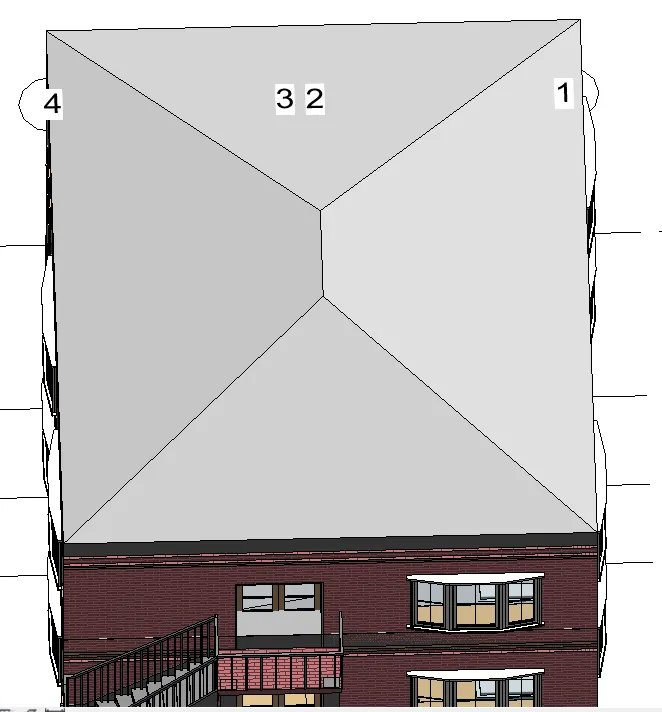
RESULT:
It has Been Clearly illustrated how to model a roof by selecting the Ceiling footprint and adjusting its Slope.
------------------------------------------------------------------------------------------------------------------------------------------
3) Using the file saved from weeks 2 to 4, create plan views for ground floor level and first-floor level including all the walls, floors, and components. Separate them to
architecture and structural plans.
a. Architecture plan must have walls, floors, and all the components placed within the building
b. Structure plan must have details of only walls, floors, and columns.
AIM: To Create plan Views for ground floor level and first floor level,and then Seprate them to Architectural and Structural Plans.
INTRODUCTION: The procedure to create plan Views for ground floor level and First Floor level including all the walls,floors, and Components of the residential unit and separate them to architecture and Structural plans.
Procedure:
- Go to View>Plan Views.
- Select Floor Plan.
- From the new Floor plan dialog box Select the Required Views.
- Repeat the process for getting the Structural Plan Views.
- To display the architectural plan of ground floor go to project browser>Floor Plans> Ground Floor.
- To Display the Architectural plan of the first floor go to project browser>Floor plans>First Floor.
- To add Columns,go to Structure>Column.
- Select the Suitable type of Column from the properties window.
- Edit the top and Base Constraints.
- Place the Columns at appropriate locations.
- To Display the Structural plan of first floor go to project browser>Structural plans> First floor.
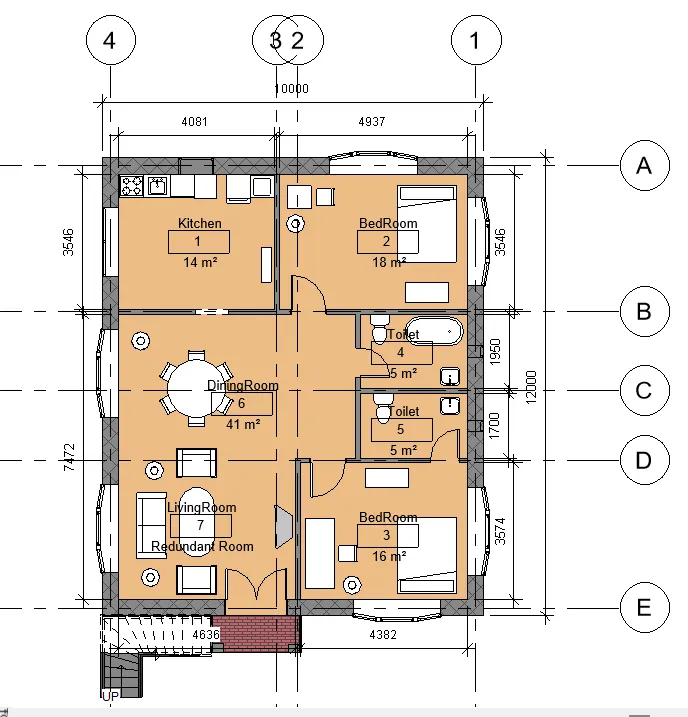
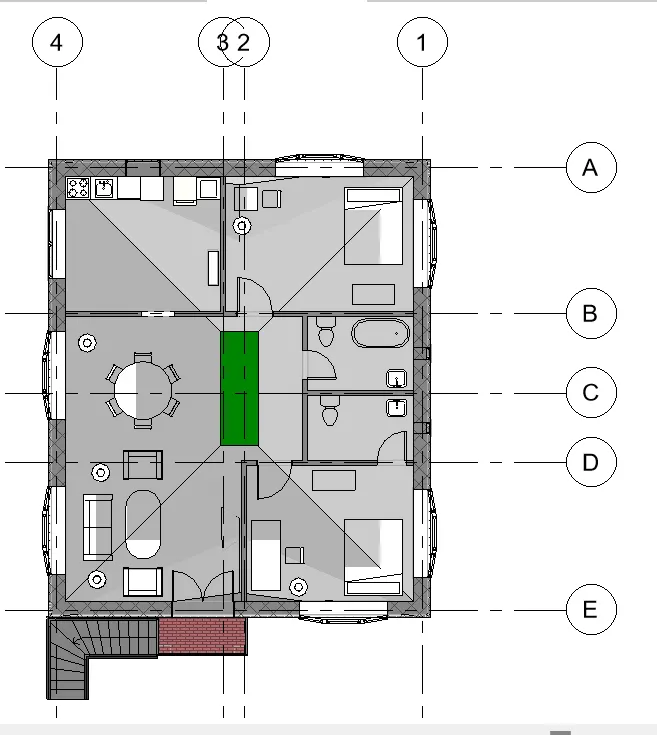
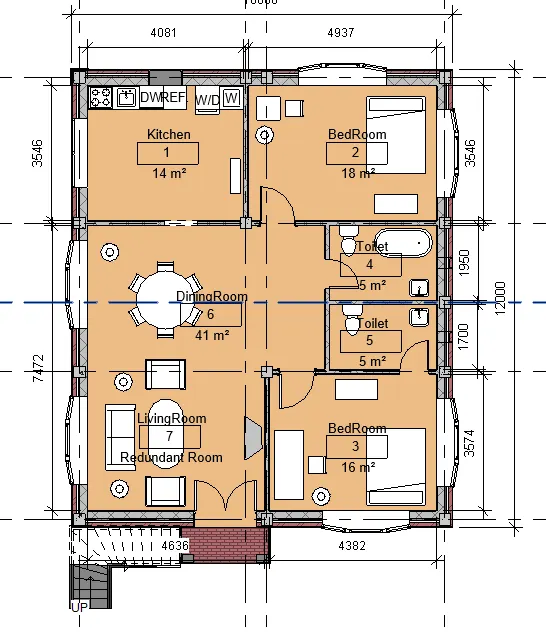
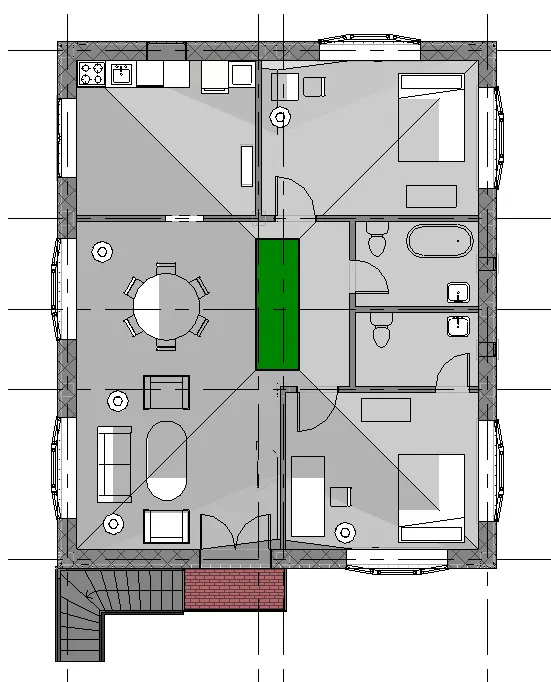
RESULT:
It has Been Clearly illustrated how to create plan views of ground floor level and first floor level including all the walls,floors, and components of the residential unit and seprate them to architecture and structural plans.
------------------------------------------------------------------------------------------------------------------------------------------
4) Using annotate toolbar add dimensions to all the walls and floors with reference to the longitudinal and transverse grids created in the project file.
a. The architecture plan dimensions include details on where the components are placed within the buildings with relation to grids. Overall dimensions are sufficient for architecture plans.
b. The Structure plan dimensions must include details on the position of all the walls and interior walls with reference to grids. Locate all the framing components of the building with reference to a fixed point using Structural plans.
AIM: To add dimensions to all the walls and floors using the annotate toolbar with reference to the longitudnal and transverse grids .
INTRODUCTION: The procedure to add dimensions to all the walls and floors of the residential unit with reference to the longitudnal and transverse grids is explained in detail and the final result is given.
Procedure:
- To provide dimensions to the architecture plan, go to project browser> Floor plans>Ground floor.
- Go to annotate Aligned.
- Select the grid lines between which the dimension is to be placed.
- Specify the location of the dimension line.Repeat the Same for all Elements.
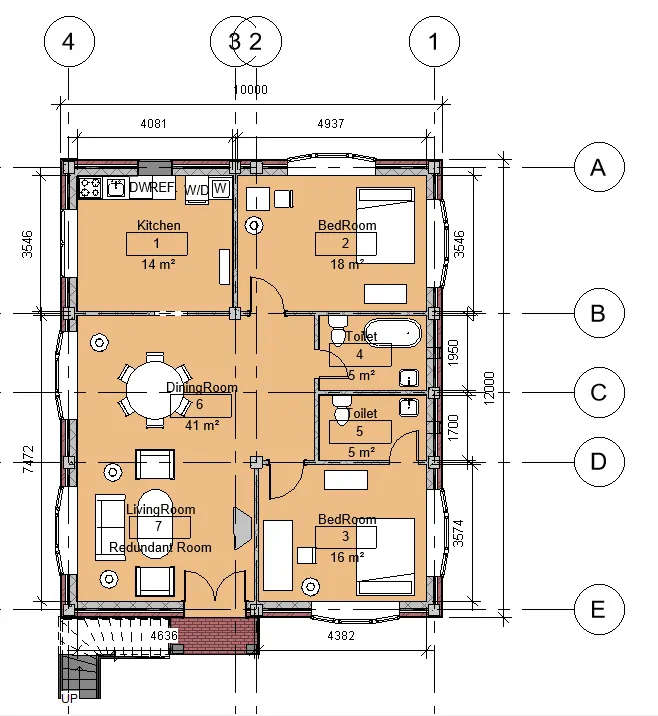
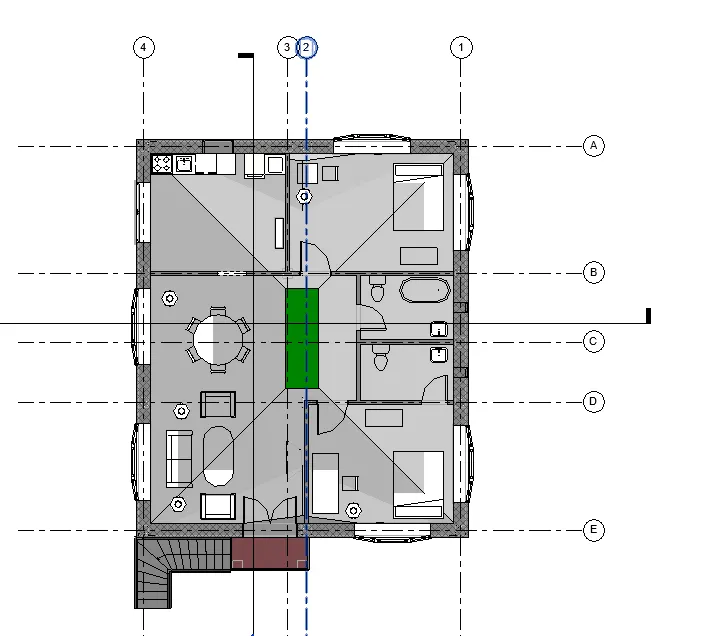
RESULT:
It has been Clearly illustrated how to add dimensions to all the walls and floors using the annotate toolbar with reference to the longitudnal and traverse grids.
-------------------------------------------------------------------------------------------------------------------------------------------
5) Create a sheet template from the view tab and adjust the parameters on the sheet to add appropriate views.
AIM: To Create a Sheet template from the view tab and to adjust the parameters on the sheet to add apropriate views .
INTRODUCTION: The procedure to Create a Sheet template from the view tab and adjust the parameters on the sheet is explained in detail and the final result is given.
Procedure:
- Go to insert>Load family.
- Libraries>US>Title Blocks.
- Go to View>Sheet.
- Select the desired sheet>Ok.
- The title Sheet will be displayed on the screen.
- Go to project browser>Sheet>Right Click>Add View.
- Select the View to be added to the Sheet.
- Click on add View to the sheet.
- Place the Viewport on the Sheet.
- Similarly other Views Can be Added to the Sheet.
- To adjust the scale of the view port and edit other details, Select the view port on the sheet and go to the properties window>apply.
- To change parameters suchas name,address etc on the sheet go to properties window and enter the required information>apply.
- Further we can edit the Sheet by Select Sheet>Modify>Edit Family.
- Make Necessary changes to the sheet.
- Click on Load project.
- Select overwrite existing versions and parameters option.
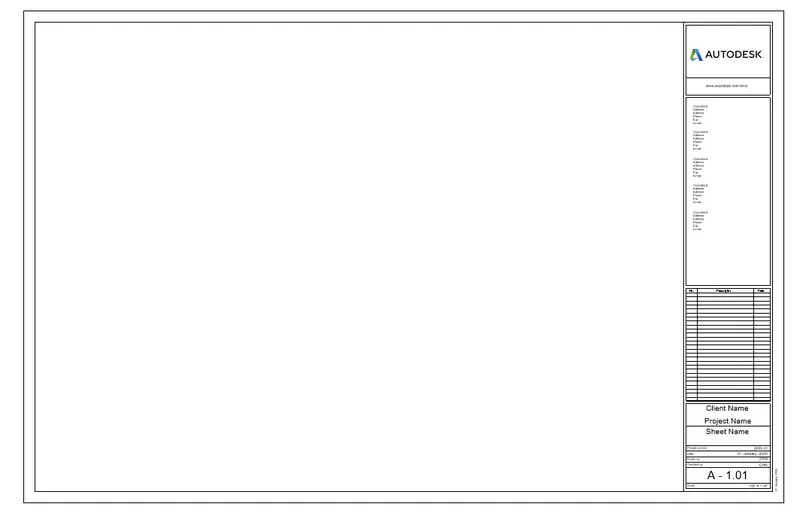
- The Sheet will be Displayed as below.
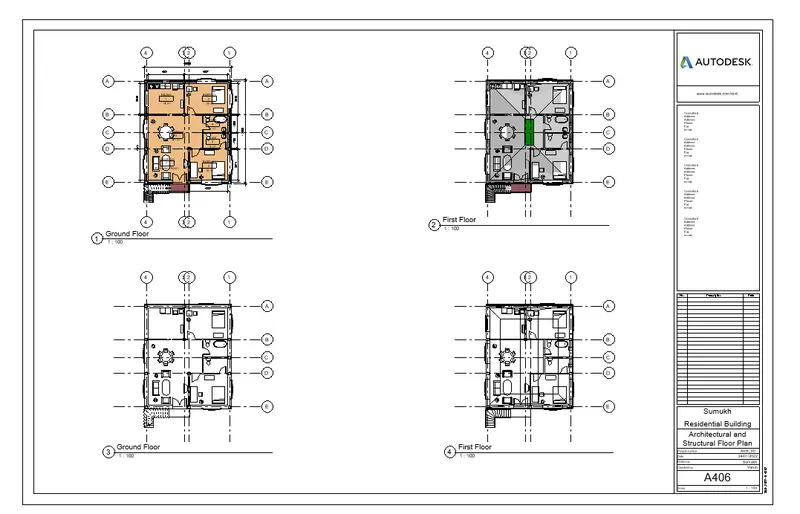
RESULT:
It has been Clearly illustrated how to create a sheet template from the view tab and to adjust the parameters on the sheet.
-------------------------------------------------------------------------------------------------------------------------------------------
6) Using the elevation tab create the elevation views, looking at your building from East, North, South, and West.
AIM: To Create the elevation views (North,South,East,West)of the Residential unit using the elevation tab.
INTRODUCTION: The procedure to Create the Elevation views,looking at the residential building from East,North, South,West,using the elevation is explained in detail and the final result is given .
Procedure:
- Project browser>Floor Plans>Ground Floor.
- Go to View>Elevation.
- Select the Elevation option from the drop down list.
- Place the elevation circle on all four sides of the plan view.
- Go to Project browser>View>Elevations.
- We can see that all the created Elevation Views are listed there.
- Go to Project browser>View>Elevations>North.
- The North Elevation of the Building will be displayed.
- Similarly by Selecting the other elevation views can see the East,South,and West Elevations of the Building.
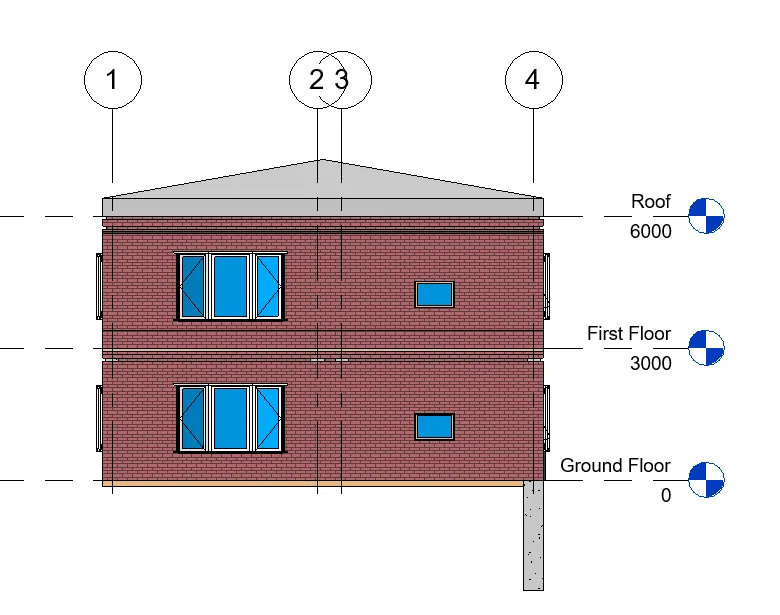
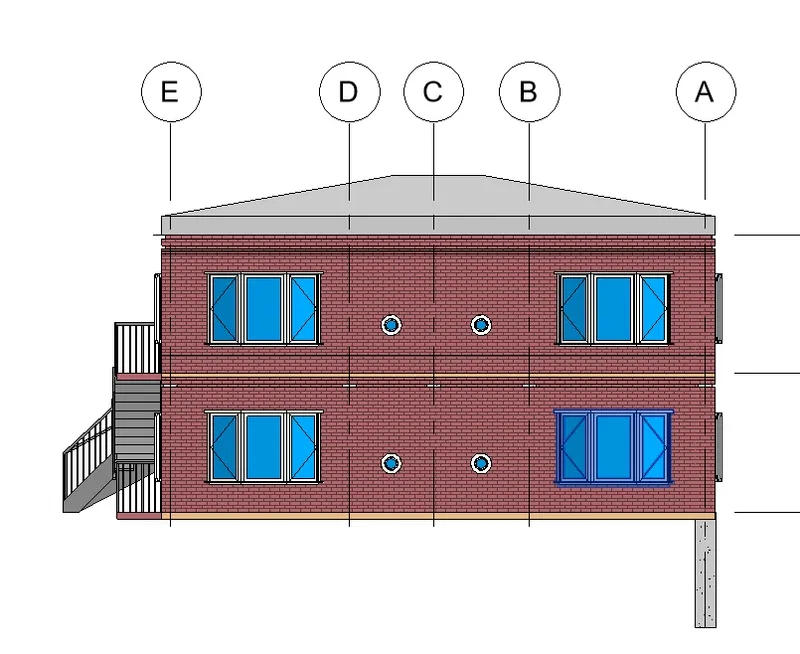
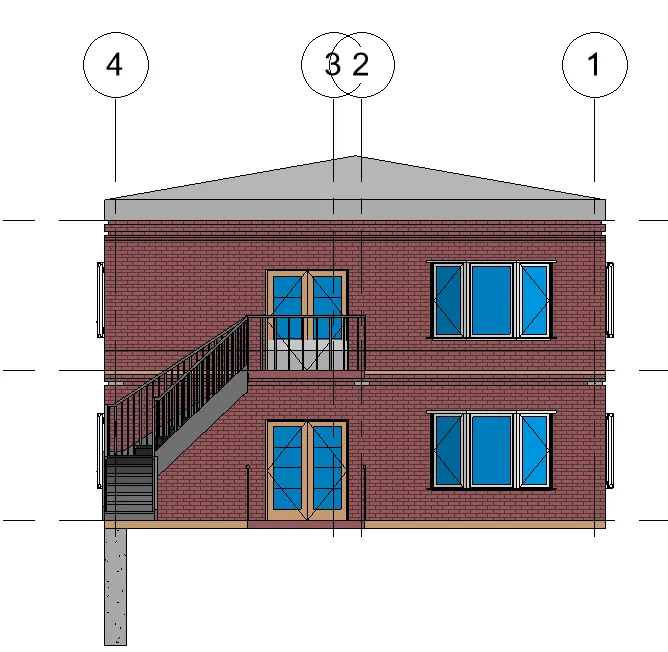
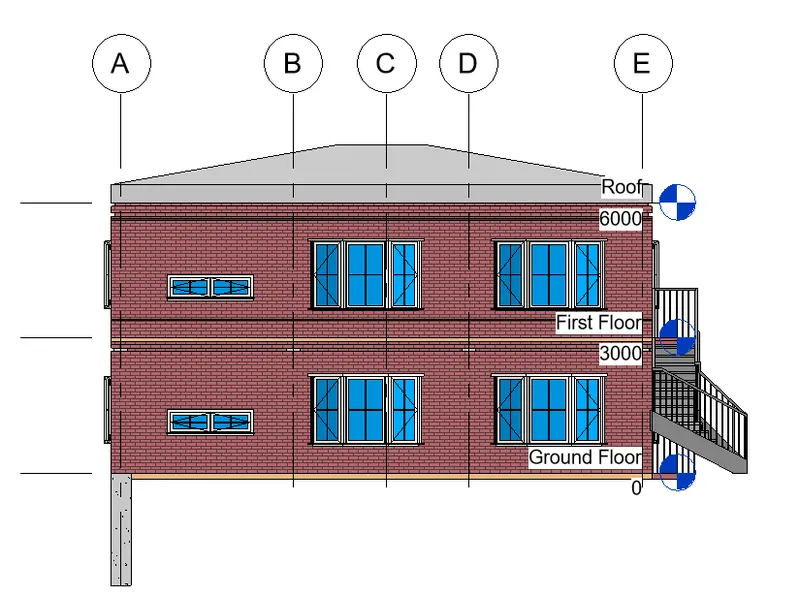
RESULT:
It has been Clearly illustrated how to create the elevation Views (North,South,East,West) of the residential unit using the elevation tab.
------------------------------------------------------------------------------------------------------------------------------------------
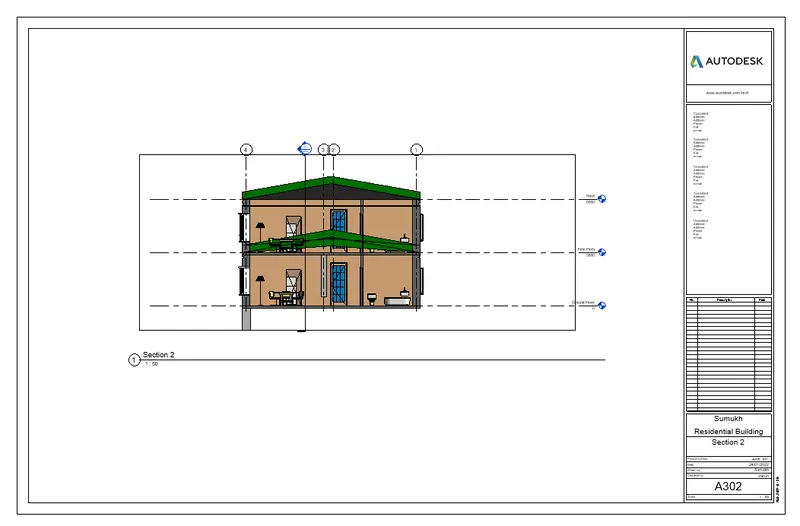
7) Produce section cut through each room either cutting across longitudinally or in a transverse direction.
AIM: To produce Section Cut through each room either by cutting accross longitudnally or in transverse direction.
INTRODUCTION: The procedure to Create the Section views,of different rooms of the residential unit by cutting across longitudnally or in a transverse direction is explained in detail and the final result is given .
Procedure:
- Project browser>Floor Plans>Ground Floor.
- Go to View>Section.
- Draw the Section line across the plan in a longitudnal direction.
- Go to project browser>Sections>Section 1.
- Section 1 is created as shown below.
- Draw the Section line across the plan in the transverse direction.
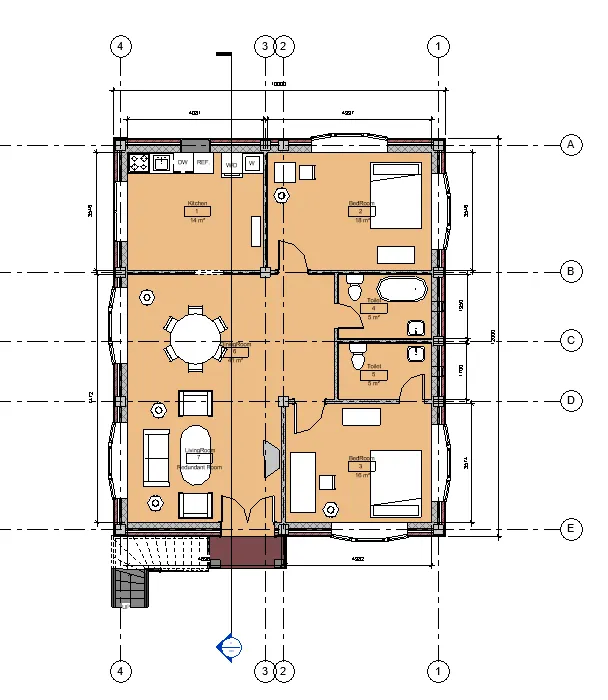
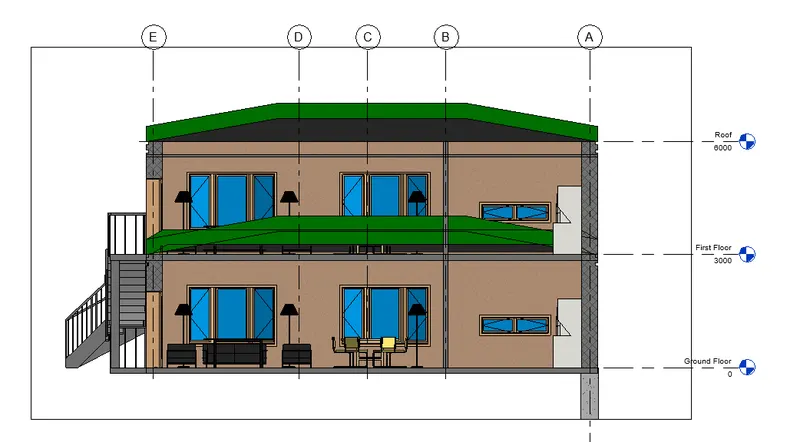
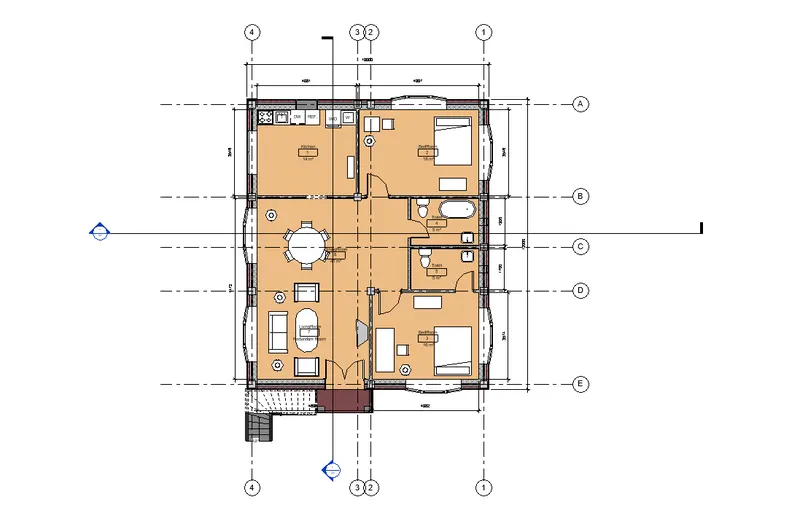
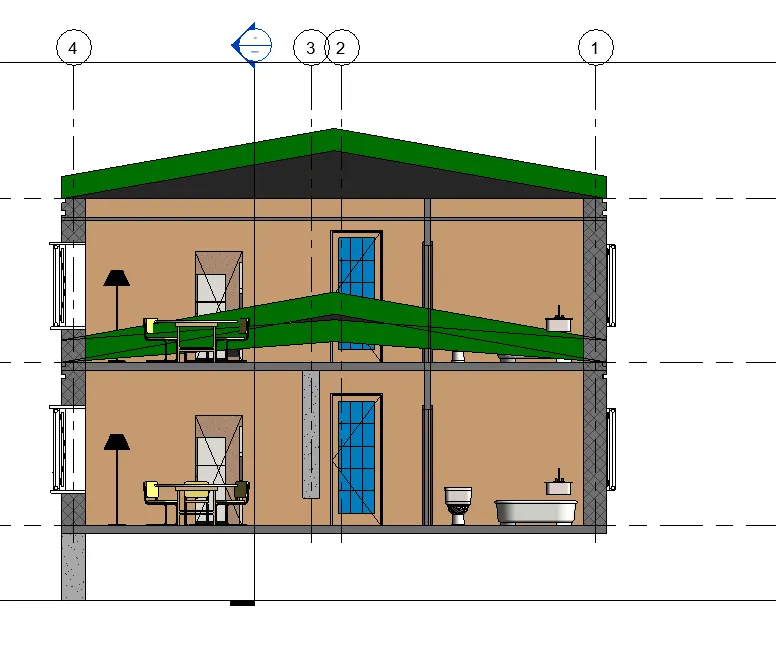
RESULT:
It has been clearly illustrated how to create section views of the residential unit, y cutting across longitudnally and in transverse direction.
------------------------------------------------------------------------------------------------------------------------------------------
8) Classify the views, Plan Views, Section Views, and Elevation views to either Design or Documentation category using Properties browser.
AIM: To Classify the various views, including plan views,Section views, and elevation views to either design or documentation category using properties browser.
INTRODUCTION: The procedure to Clasify the various views, including plan views, section views, and elevation views to either design or documentation category using properties browser is explained in detail and the final result is given.
Procedure:
- Project browser>Views.
- Expand all the created views.
- Double Click on each view individually to get it displayed on the screen.
- The Classification of the views is as follows.
Floor plans:
a) Ground Floor.
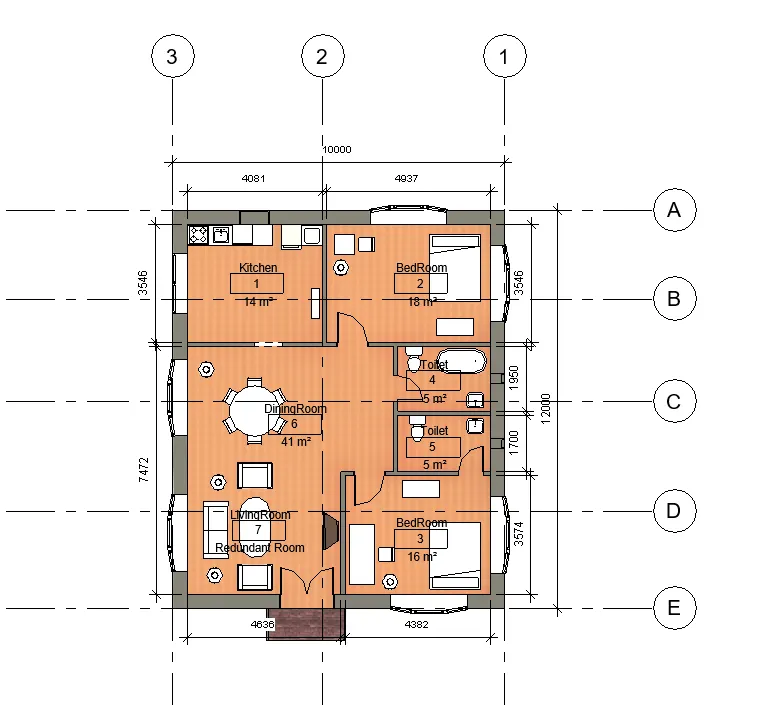
b)First Floor.
c)Roof.
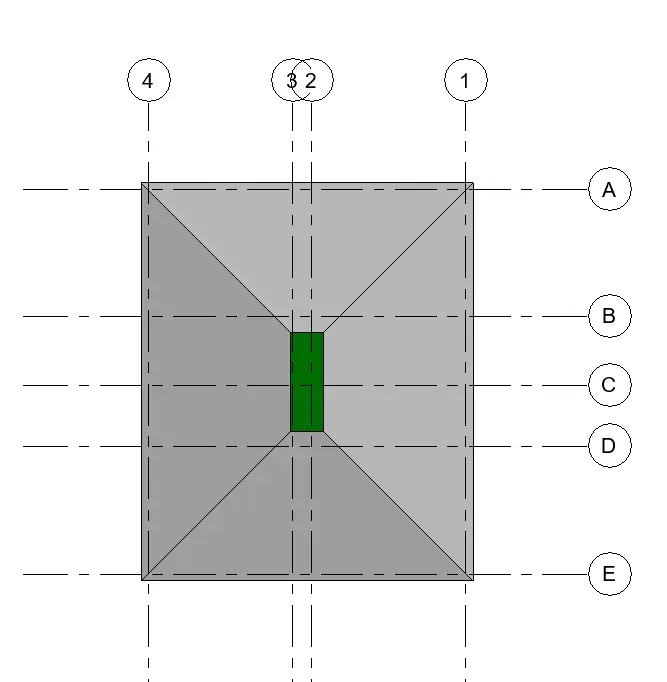
Structural plans:
a)Ground Floor.
b)First Floor.
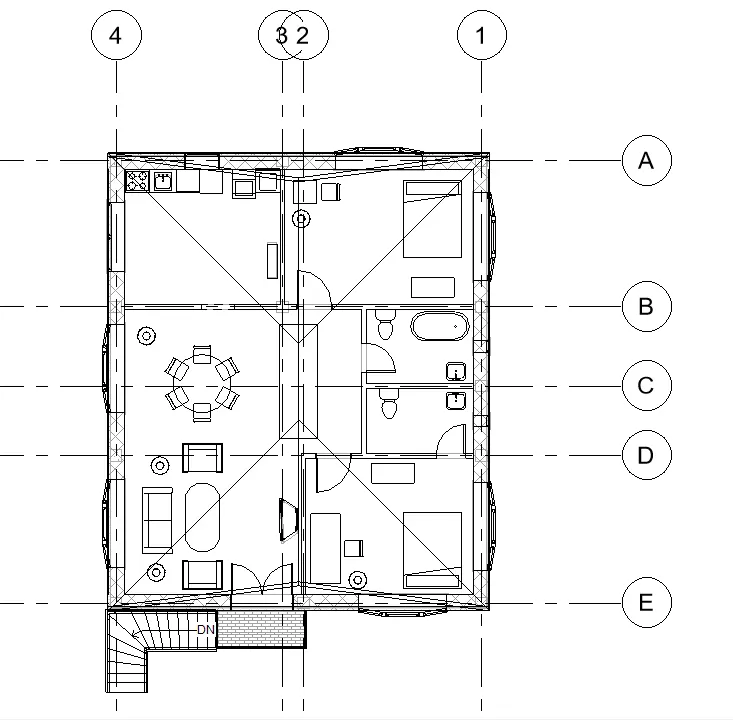
c)Roof.
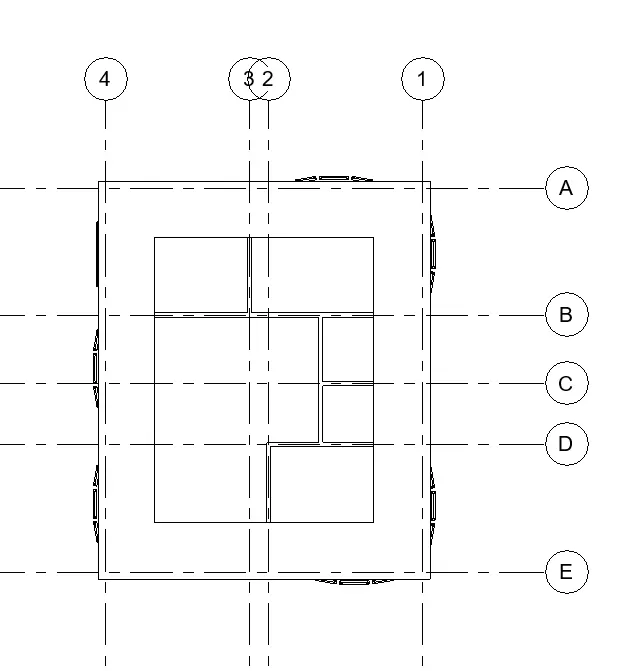
Ceiling Plans:
a)Ground Floor.
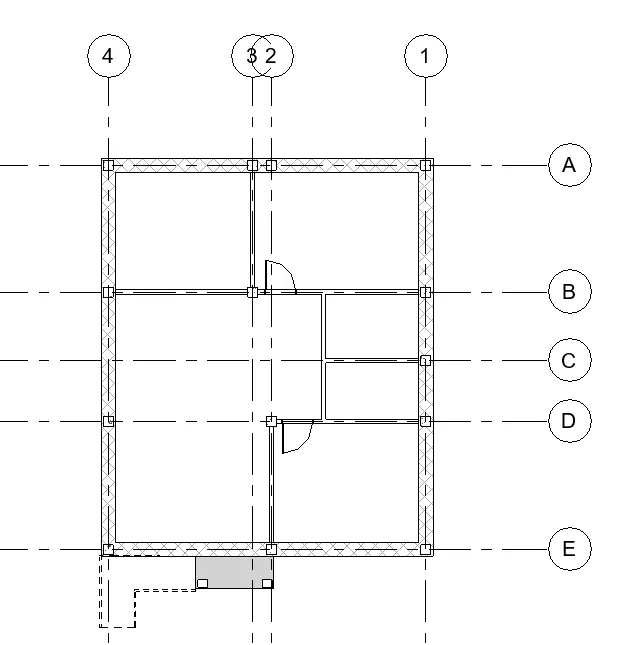
b)First Floor.
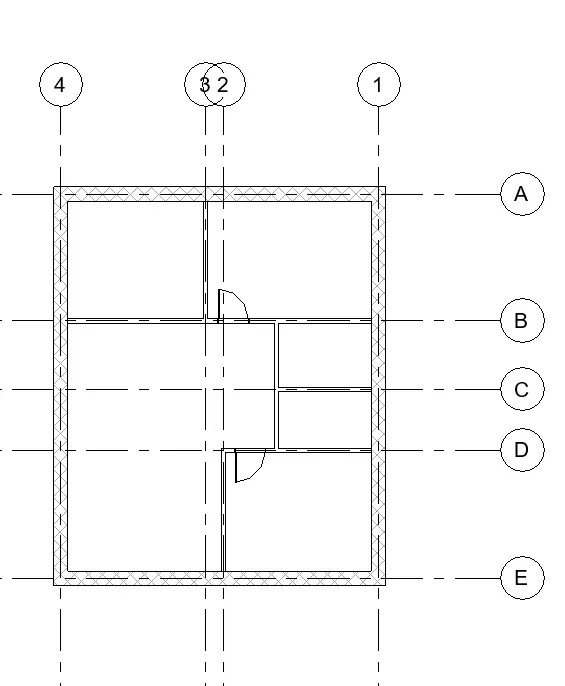
Elevation Views:
a)North.
b)South.
c)East.
d)West.
Section Views:
a)Section 1.
b)Section 2.
RESULT:
All the PlanViews,Elevation Views, and Section views Created in project have been clearly classified here.
-------------------------------------------------------------------------------------------------------------------------------------------
9) Using the sheet template produced create multiple sheets as follows
a. A 101- Ground Floor Architecture Plan
b. A 102- First Floor Architecture Plan
c. A 103- Roof Plan
d. S 101- Ground Floor Structural Plan
e. S 102- First Floor Structural Plan
f. S 103- Roof Framing Plan
g. A-201- North-South Elevations
h. A-202- East-West Elevations
Add additional sheets based on the sections created in your Revit file.
AIM: To Create multiple Sheets for the various plan, Elevation and section Views.
INTRODUCTION: The procedure to Create sheets for various plan,elevation, and Section Views is explained in detail and the final result is given.
Procedure:
- Go to view>Sheet.
- In the New Sheet Dialog box Click load.
- Select the A2 metric Sheet>Open.
- The title block sheet will be displayed on the new sheet dialog box.
- Select the A2 metric sheet>Ok.
- The Sheet will be Displayed on the Screen.
- Edit the Sheet by-Select sheet>Modify>Edit family.
- Make necessary changes to the Sheet.
- Click Load to the project.
- Select OverWrite Existing Versions And parameters option.
- The Sheet will be displayed below.
- To change Parameters Such as Author,Checker etc on the Sheet also go to properties window and enter the required information>Apply.
- Go to View tab>View.
- Select the Floor plan:Ground Floor View.
- Click on add view to sheet.
- Place the View Port on the Sheet.
- Adjust the Scale if Required.
- Ground Floor Architectural plan is Created.
- Repeating, all other Desired Sheets is created.
Ground Floor Architectural Plan.
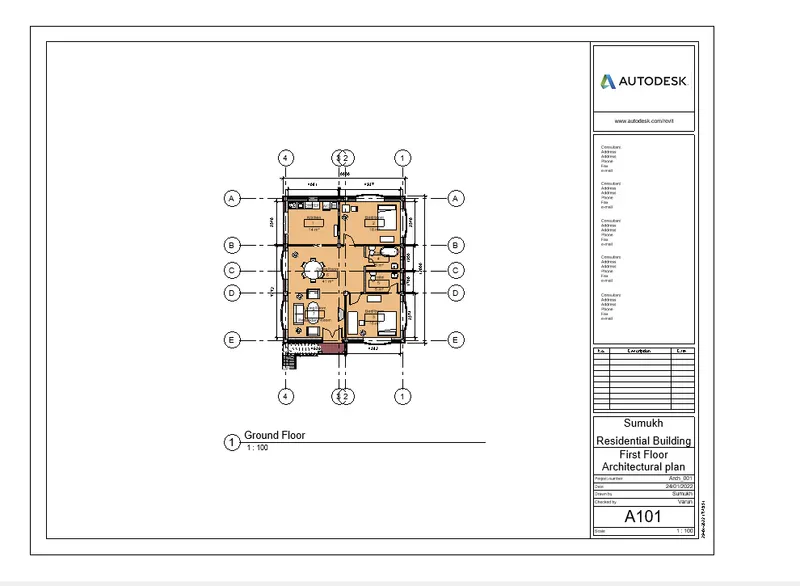
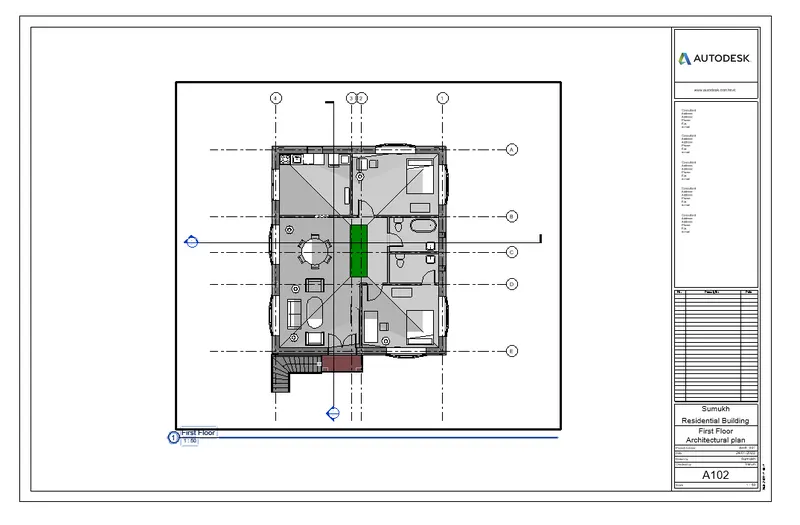
First Floor Architectural plan.
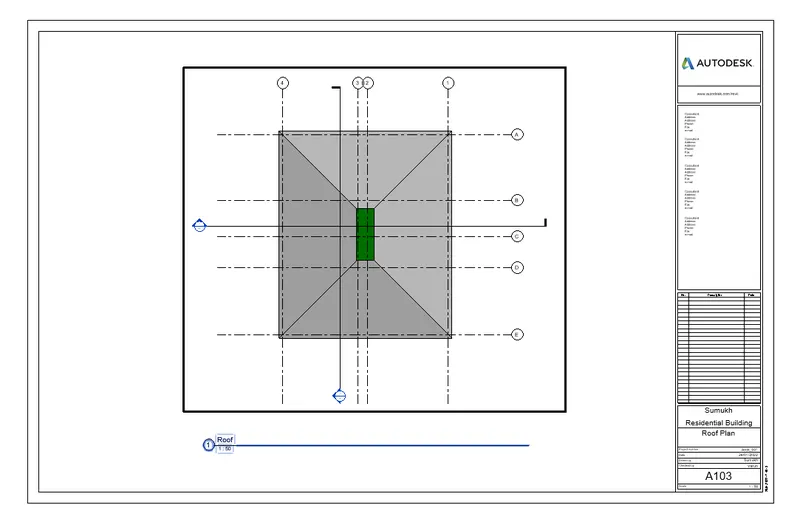
Roof plan.
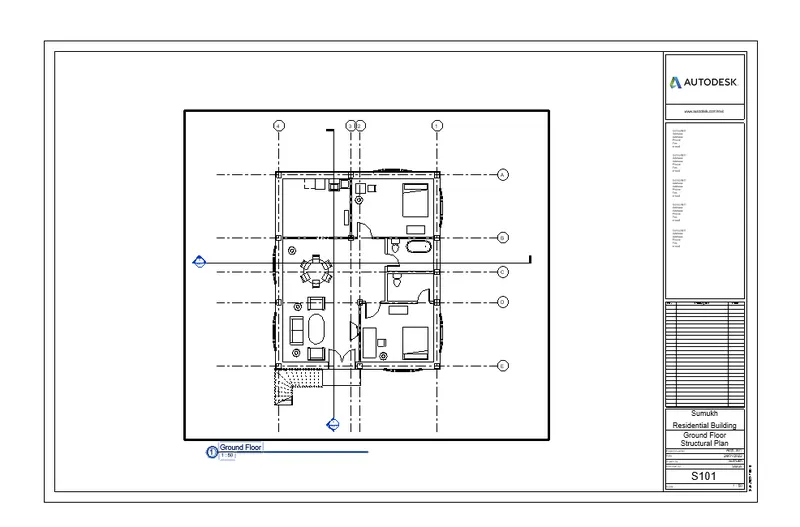
Ground Floor Structural Plan.
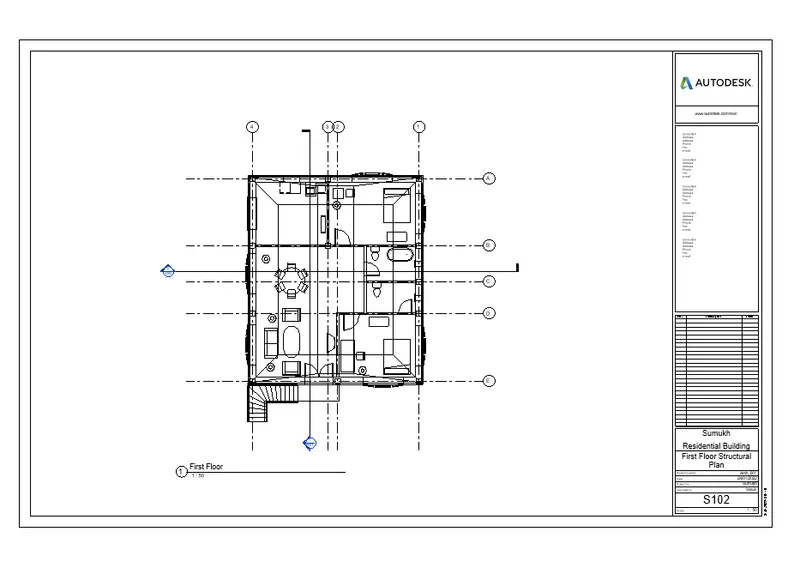
First Floor Structural Plan.
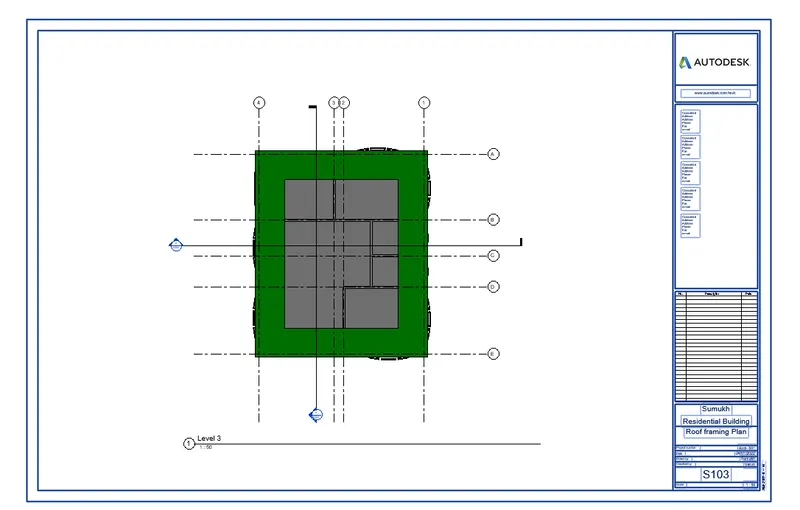
Roof Framing Plan.
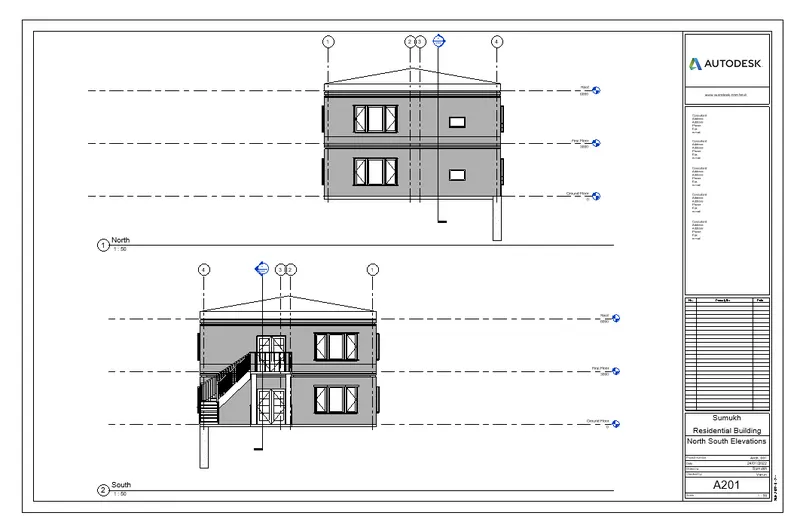
North South Elevations.
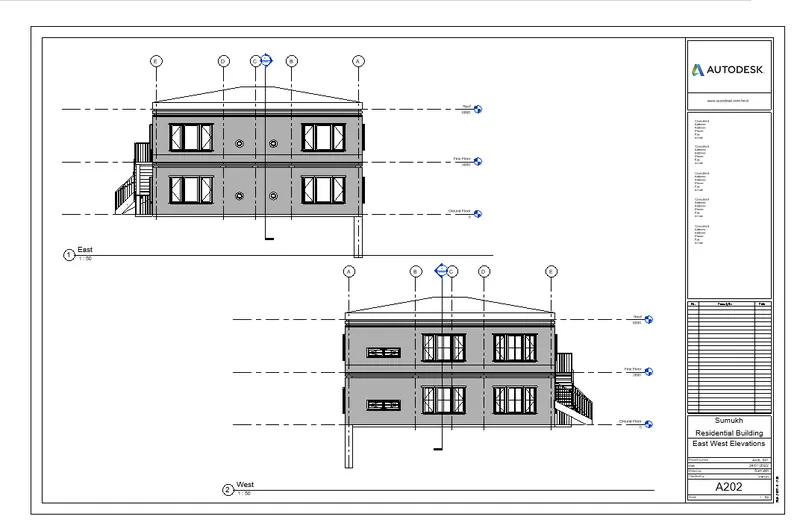
East West Elevations.
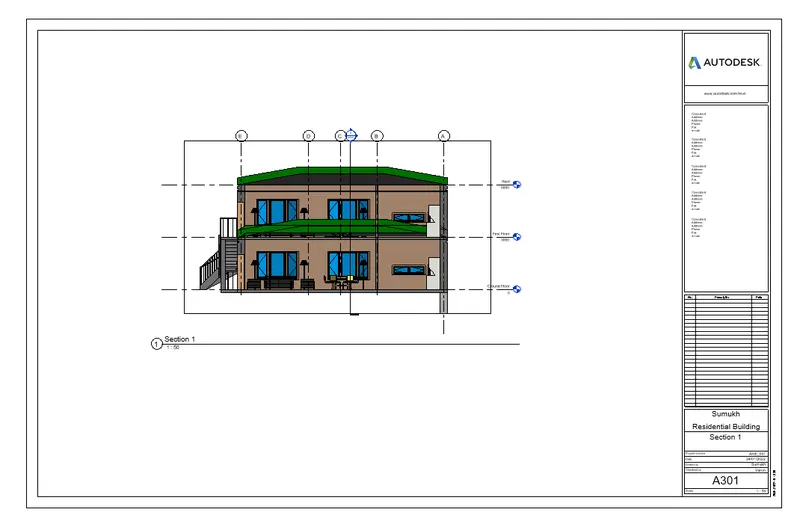
Section 1.
Section 2.
RESULT:
It has been Clearly illustrated how to create multiple sheets for the various plan,Elevation, Section Views.
-------------------------------------------------------------------------------------------------------------------------------------------
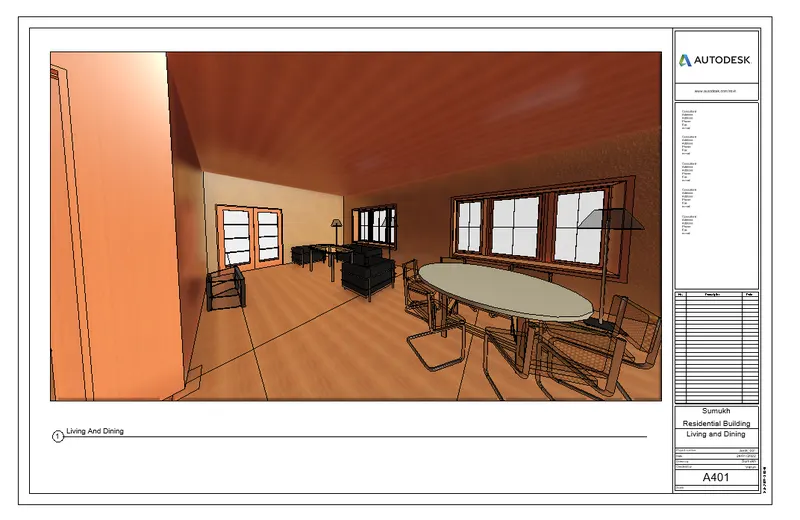
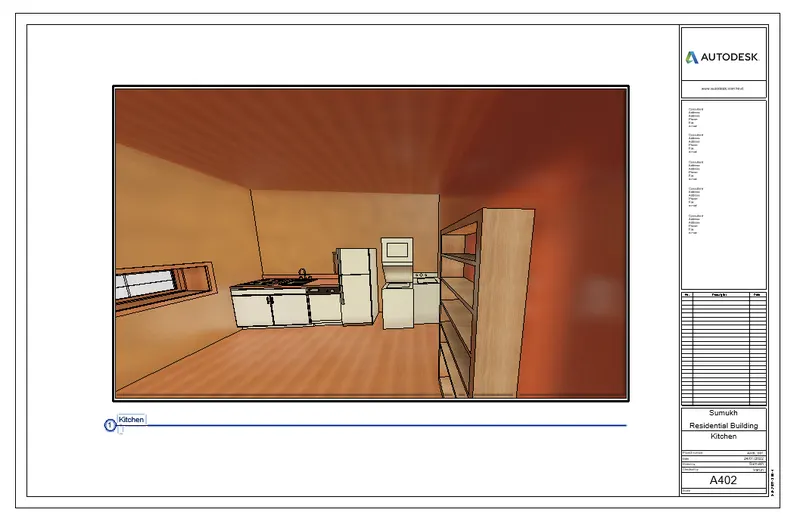
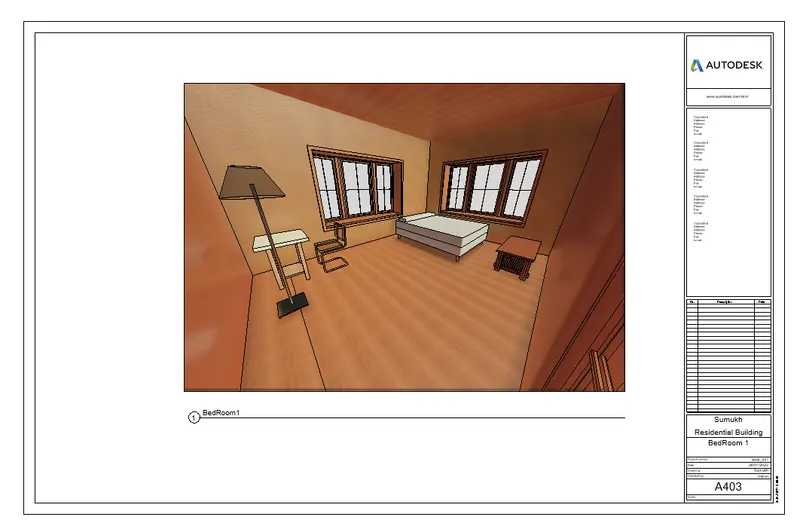
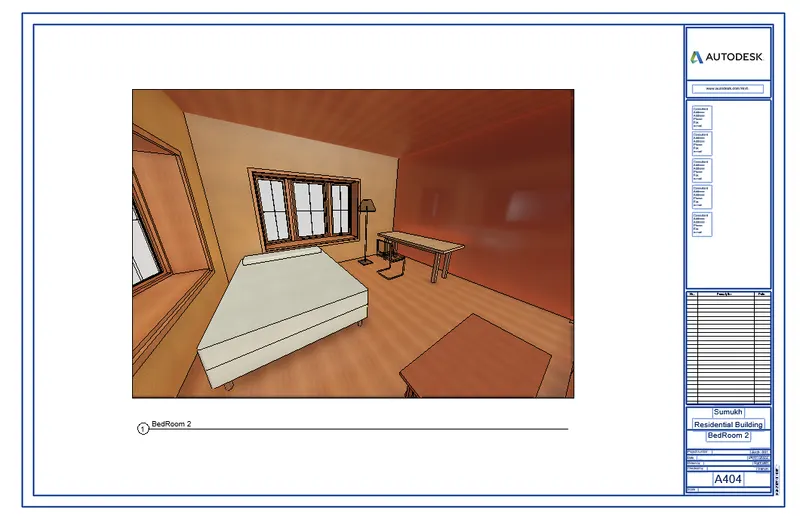
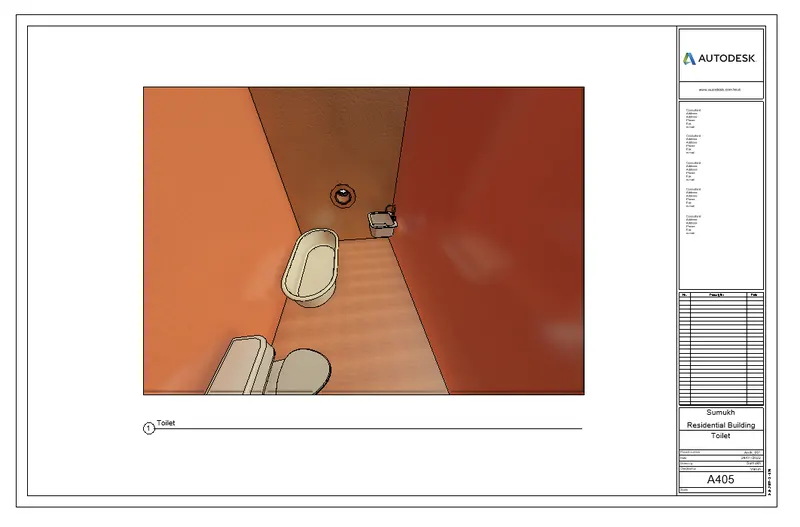
10) Create a camera-specific view or a 3D view in each room ( living, dining, bedroom). Based on the views create a new set of sheets starting A-501 (you can add as many sheets after, 502, 503.. n)to place the 3D view images. Produce the sheets as a part of project drafting.
AIM: To Create a Camera Specific view or a 3D view in each room and to create new Set of sheets based on the 3D Views.
INTRODUCTION: The procedure to Create Camera-Specific view or a 3D view in each room and to craete new set of sheets based on the 3D Views is explained in detail and the final result is given.
Procedure:
- Project Browser>Floor Plans> Ground Floor.
- Go to View >3D View Drop Down list>Camera option.
- Set the Camera in a Suitable position to get the required view.
- Change the visual style to realistic.
- Rename the view window as Living View.
- Similarly Create Camera-Specific Views of all other rooms.
- Go to View>Sheet.
- Select the A2 Metric Sheet>Ok.
- Edit the Sheet by-Select Sheet>Modify>Edit family.
- Make Necessary Changes to the Sheet.
- Click on Load to Project.
- Select Overwrite existing versions and parameters option.
- The Sheet Will be Displayed Below.
- To Change Parameters Such As Author,Checker etc.on the sheet also go to properties window and enter the required information>Apply.
- Go to View tab>View.
- Select the 3D Living Room View.
- Click on Add View to Sheet.
- Place the Viewport on the Sheet.
- Adjust the Scale if Required.
- Living Room View Sheet is Created.
- Similarly Create Sheets for the 3D Camera Views of all other rooms.
Living and Dining Room.
Kitchen.
Bedroom 1.
Bedroom 2.
Toilet.
RESULT:
It has Been Clearly illustrated how to create a Camera-specific view or a 3D View in each Room and to Create new Set of Sheets based on the 3D Views.