3D Creation of Celing, Roof, Architectural plan, Structural plan, Sectional view, Elevation view and Camera specific view for a house plan using REVIT
Q1
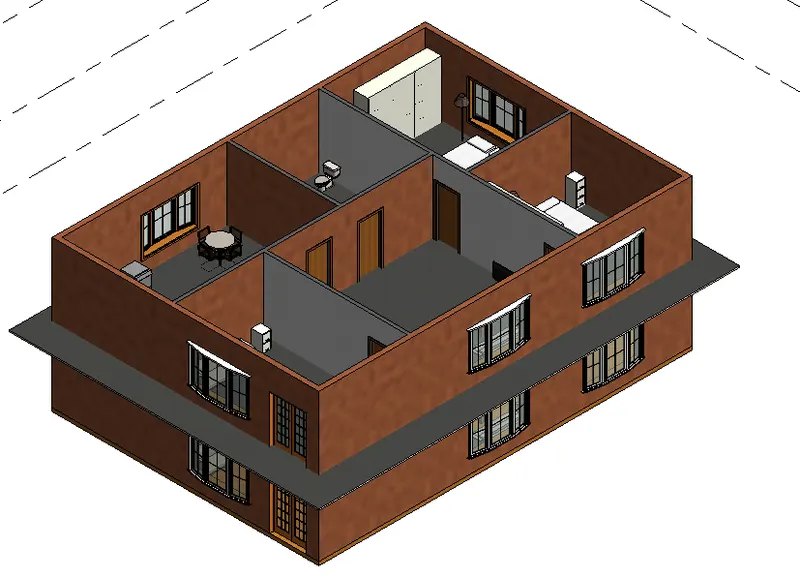
AIM:- To create a ceiling for the first floor
- open the week 3 project
- go to architechteture
- select the ceiling
- Click on the boundary lines
- specify the boundary lines the plan
- then click on the OK
Q2
AIM:- To create a ceiling using footprint at the slope of 10 degrees
- go to architecture
- select roof by footprint
- specify the level of the roof
- select the boundary line
- draw the line to create a boundary
- then click ok
- specify the slope of the roof as 10 degrees from the properties
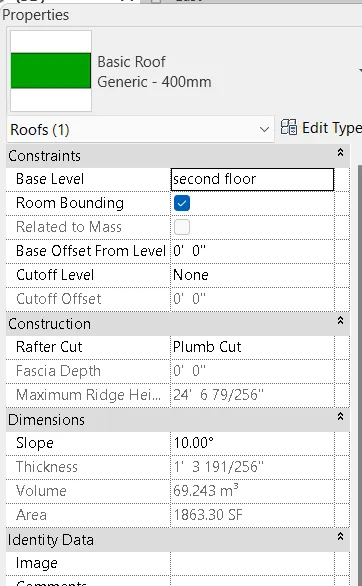
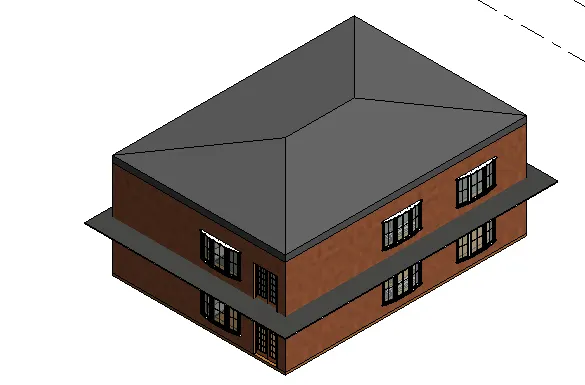
Q3
AIM:- To create architecture and structural plans
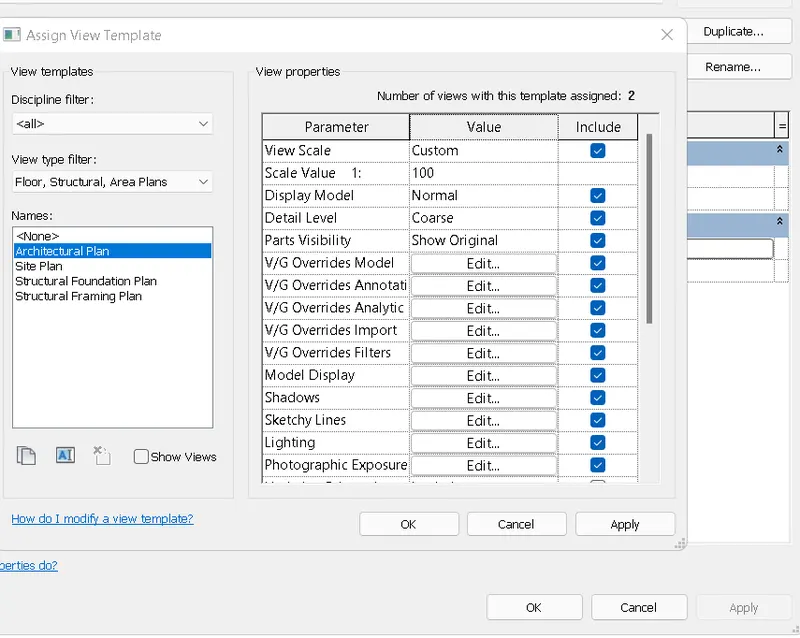
(a) to create an architectural plan of first floor and ground floor
- go to view from the menu bar
- then select plan views
- select floor plan
- then add the level u desire
- then go to edit type
- select the plan as architecture type
- then click on apply and ok
- similarly, follow the same procedure to create a plan view of the first floor
- PLAN VIEW OF GROUND FLOOR
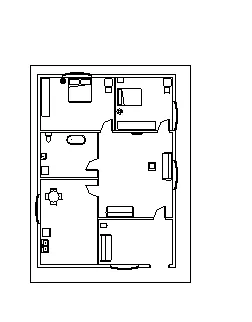
- PLAN VIEW OF FIRST FLOOR
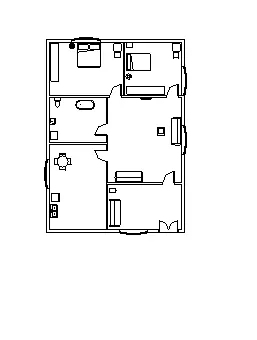
(b) to create a structural plan view
- go to view from the menu bar
- select plan views
- select structural plan
- add the floor levels to desire to create a structural view
- then click on ok
- all the structural components of the plan will be viewed
NOTE:- the plan I have created consists of architectural walls, so walls will not be highlighted in the structural plan view
the below structural plan view has windows, doors, roof and columns.
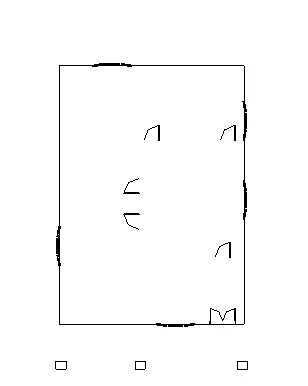
Q4
AIM:- to add dimensions to the plan view and structural view of the model
(a) TO SPECIFY DIMENSIONS TO THE ARCHITECTURAL PLAN VIEW AND POSITION OF COMPONENTS
- go to annotate toolbar
- select linear or angular measure
- specify the points to add dimensions
- click on the space bar to switch between the horizontal and vertical alignment
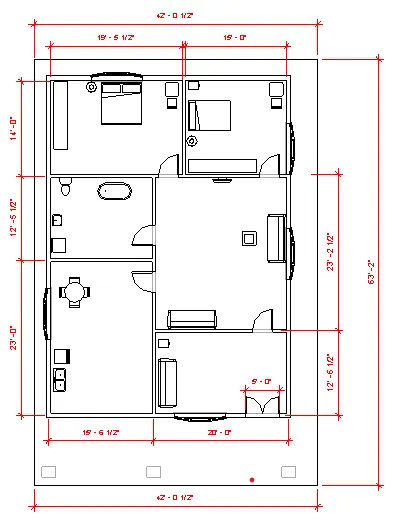
(b)TO SPECIFY DIMENSIONS IN THE STRUCTURAL PLAN
- Open structural plan view which was created previously with all the structural elements
- go o annotate from the menu bar
- select the linear measurement
- specify the points in the plan to add dimensions
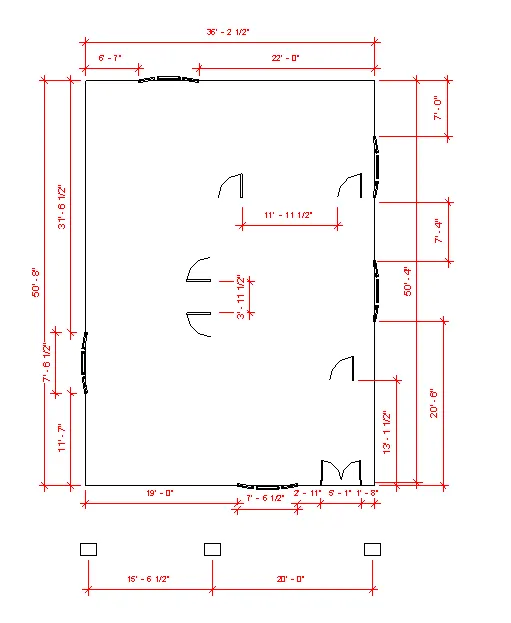
Q5
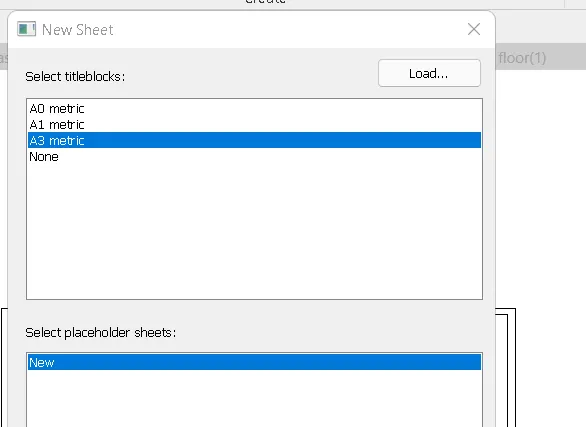
AIM:- To create a sheet template and add plan views
- go to the view menu
- then select the sheet
- then select the title blocks
- drag and add the viewport from the project browser
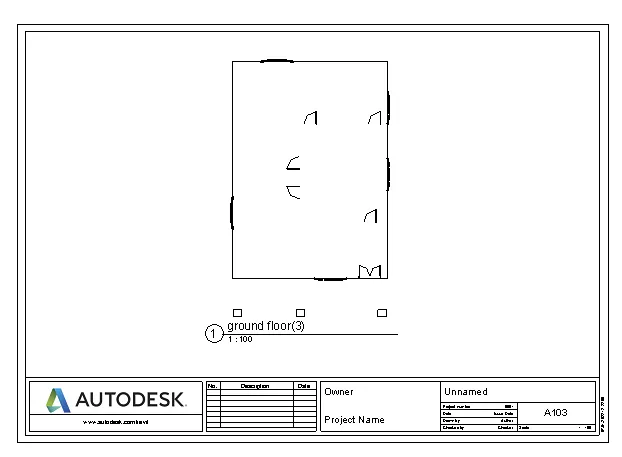
GROUNDFLOOR STRUCTURAL PLAN IS ADDED TO THE SHEET TEMPLATE
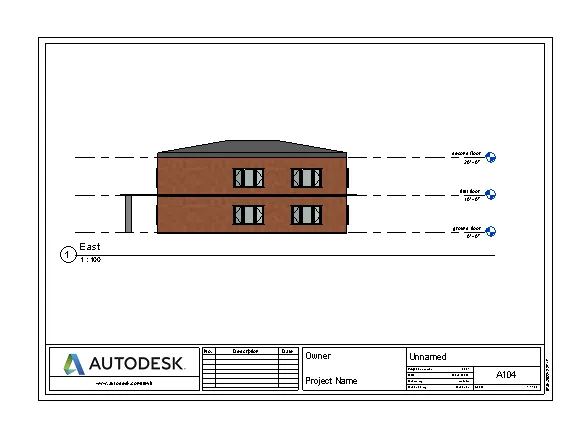
3D ELEVATION VIEW IS ADDED TO THE SHEET TEMPLATE
Q6
AIM:- To show the elevation of the model from all the directions
- from the project browser
- expand elevations
- then click on the direction you desire to view
- then the elevation view will be shown
EAST
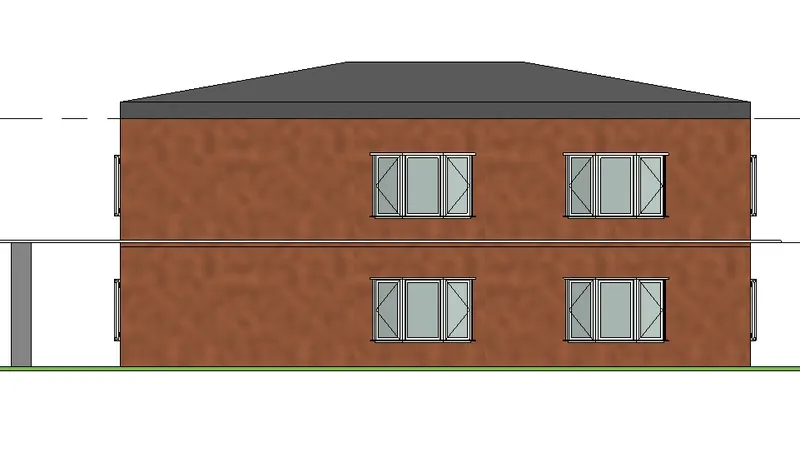
WEST
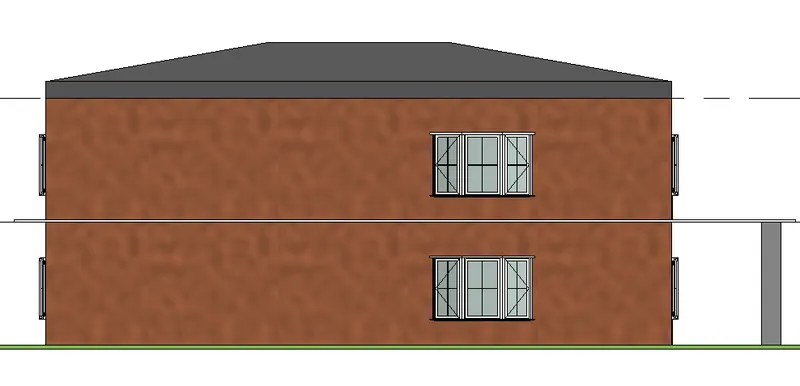
NORTH
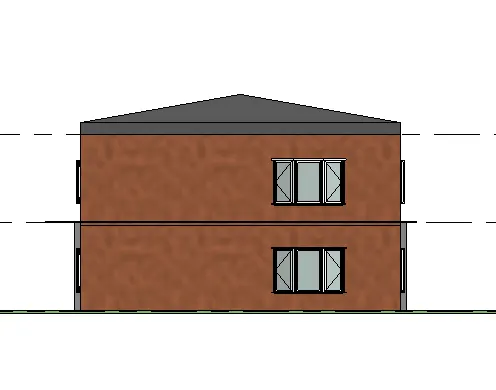
SOUTH
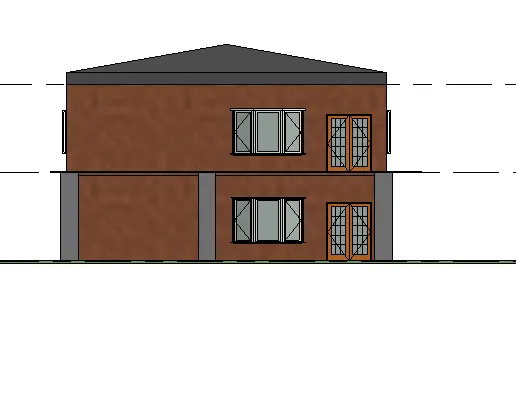
Q7
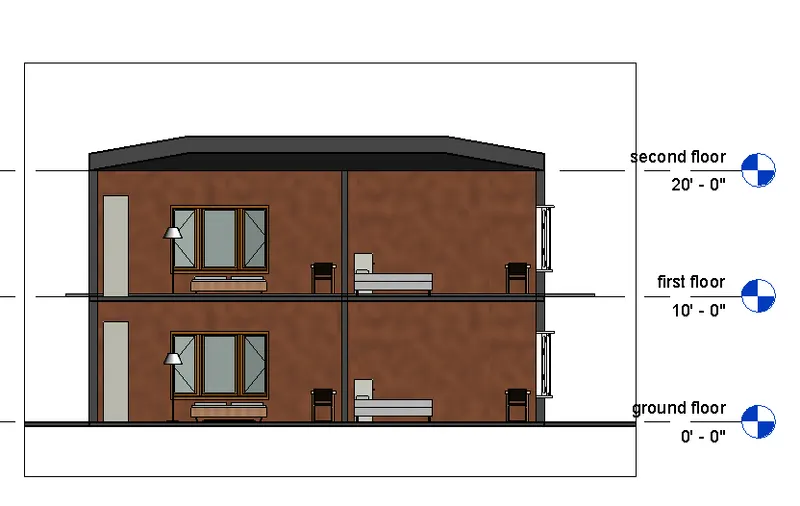
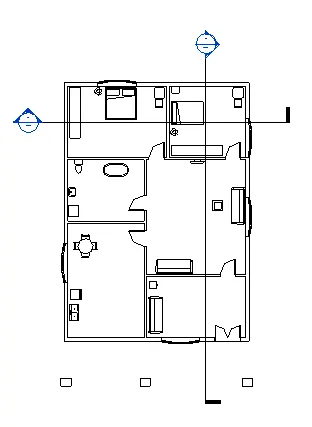
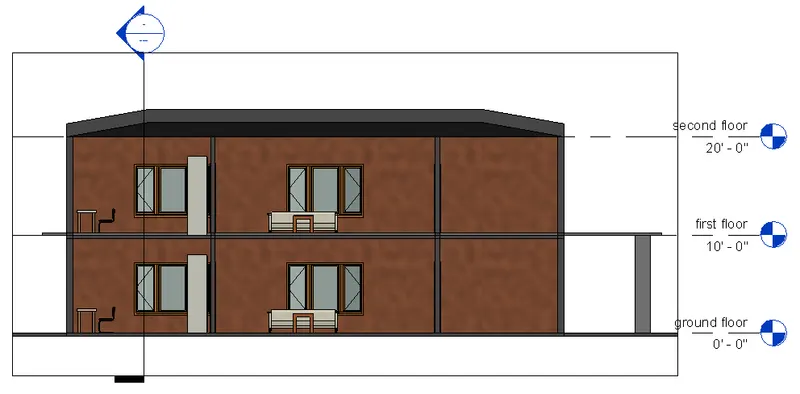
AIM:- To create a section view on each room
- go to section from the view menu
- draw the line through the model to create a section cut
- then to the project browser
- expand section views
- Click on the view created
- then the sectional view will be shown
SECTION VIEW 1
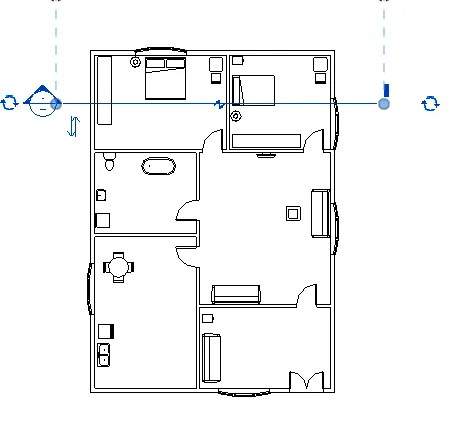
SECTION VIEW 2
Q8
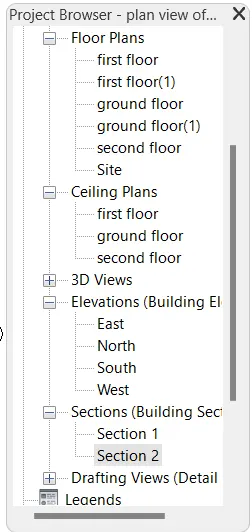
AIM:- TO classify the views from the project browser
- go to project browser
- expand all view
- then the various views you have created will be shown
Q9
AIM:- To create a sheet template with multiple viewports
- go to the view menu
- then select the sheet
- then select the title blocks
- drag and add the viewport from the project browser
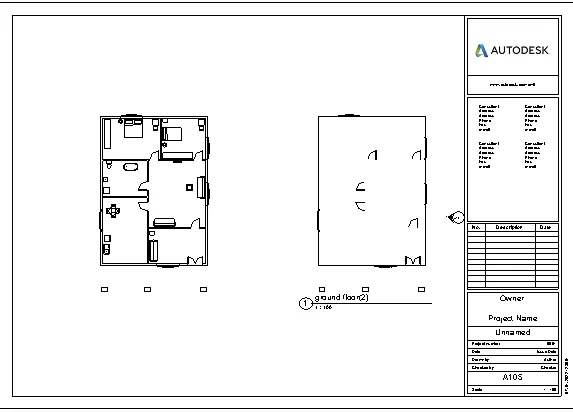
MULTIPLE SHEET TEMPLATE OF GROUND FLOOR
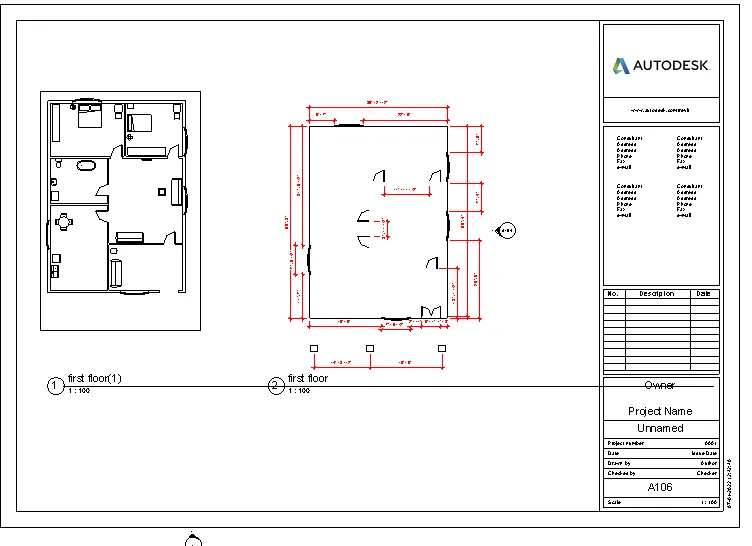
MULTIPLE VIEWPORTS OF FIRST FLOOR ON SHEET TEMPLATE
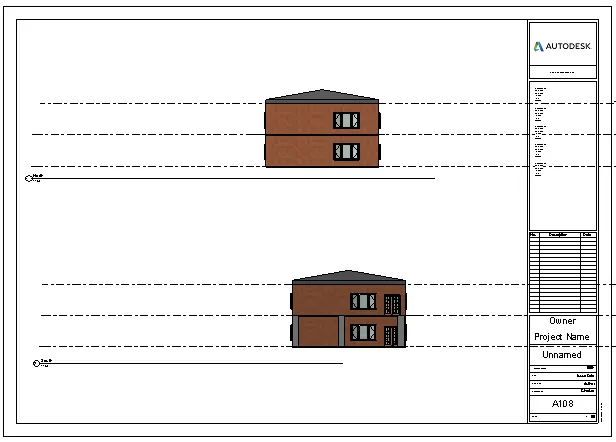
SHEET TEMPLATE OF NORTH-SOUTH ELEVATION VIEWS
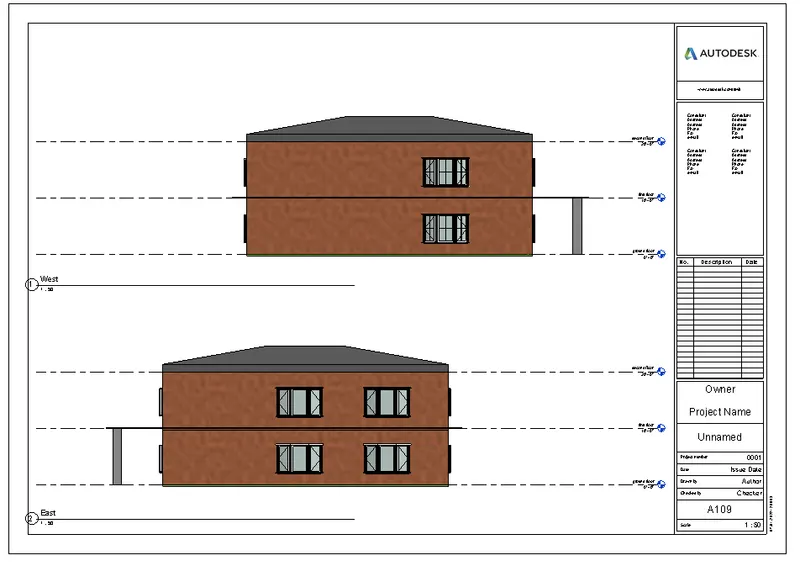
SHEET TEMPLATE OF EAST-WEST ELEVATIONS
Q10
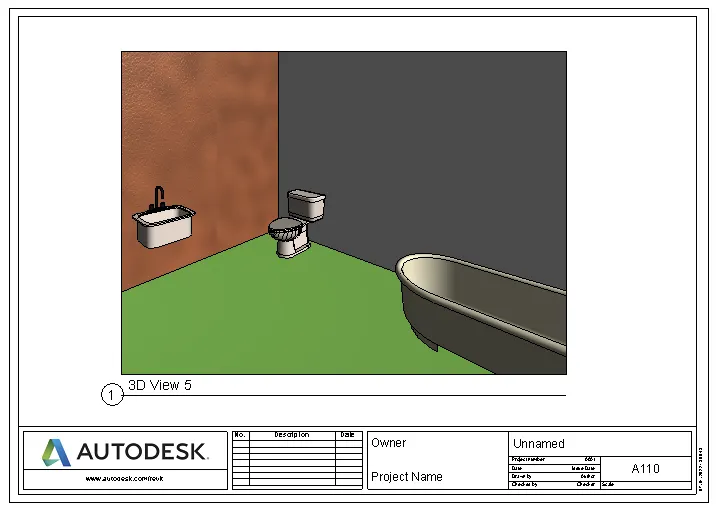
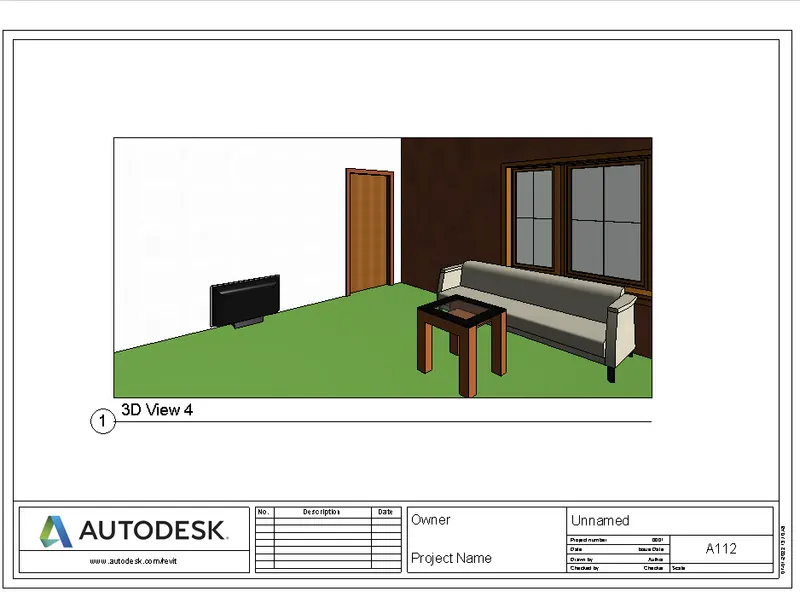
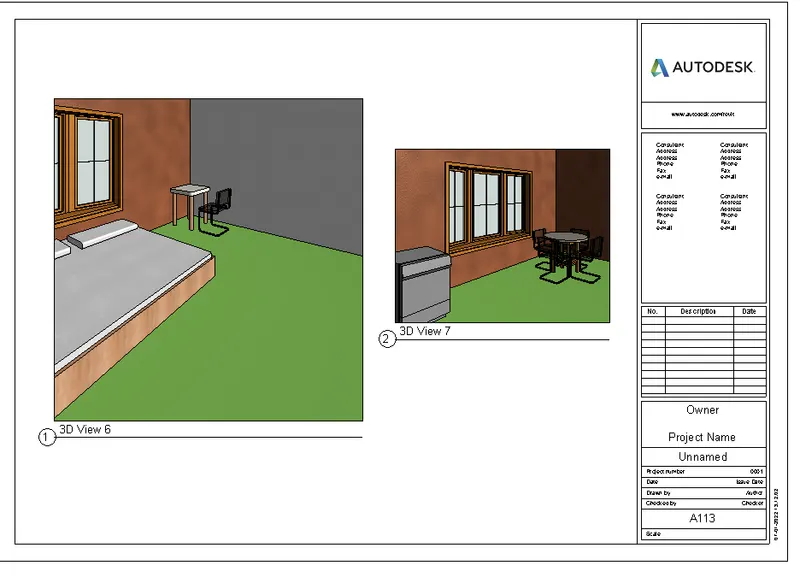
AIM:- To create a sheet template of camera viewports of living, bedroom, kitchen, and dining
- go to view from the menu bar
- click on 3d view and select camera
- place the camera at the required position to create a view
- then the view is created as pe the camera axis