3D Creation of Celing, Roof, Architectural plan, Structural plan, Sectional view, Elevation view and Camera specific view for a house plan using REVIT
1):
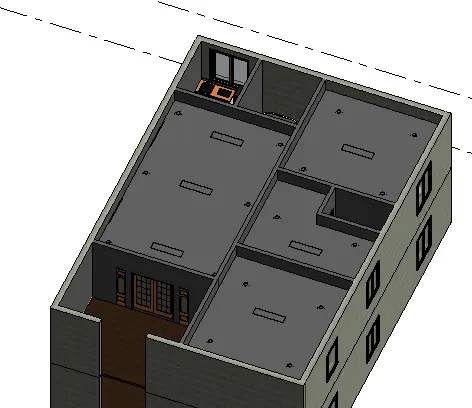
Aim: To model a Ceiling from the architecture tab above the walls at the first-floor level.
Introduction: To model a Ceiling from the architecture tab above the walls at the first-floor level. By using Revit.
Procedure:
Step1:
- From the architecture tab select the celling option.
- Select the type of celling and place at the close boundary of rooms
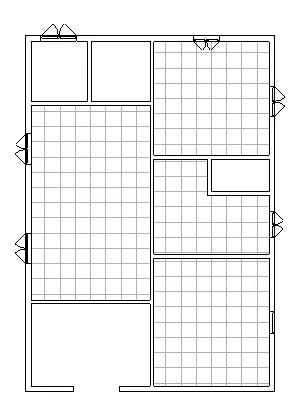
Step2:
- Providing celling lights
- From the architecture tab select the components go to load family
- Select the different type of celling light as per required
- Select the lights and place it at point
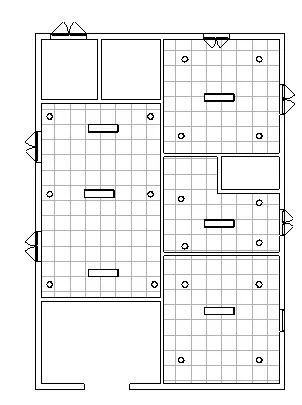
Result:
2):
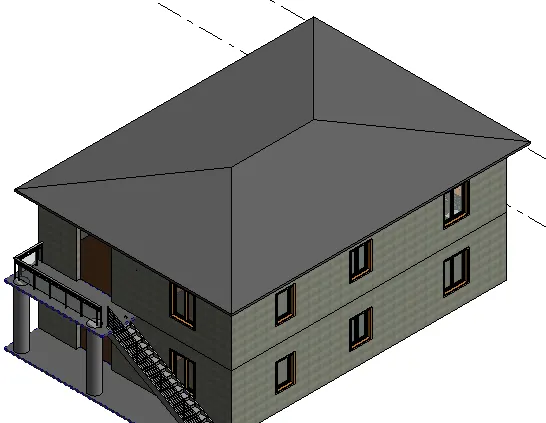
Aim: To model a roof above the ceiling.
Introduction: To model a roof above the ceiling. By using Revit
Procedure:
Step1:
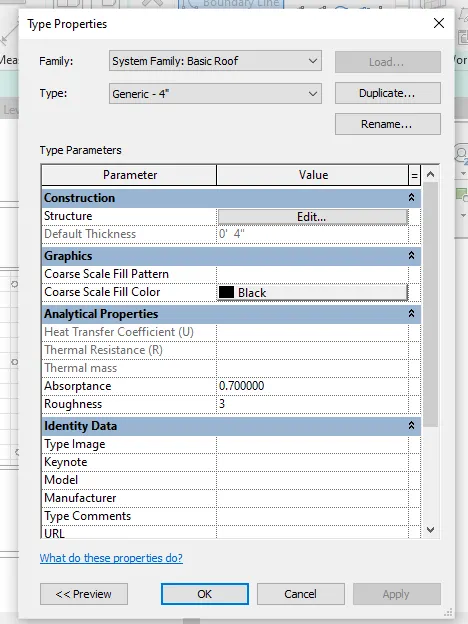
- From the architectural tab select the roof and take roof by footprint
- From the edit type click on the duplicate and create new roof of 4”
Step2:
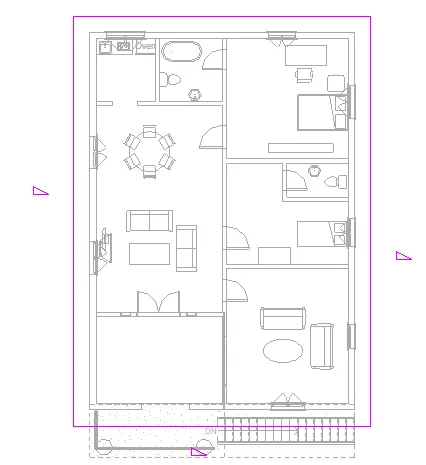
- Select the take rectangle from the draw tap then give the offset as 2’ for the roof
- Click on the first point and end point for creating the roof
- Then from the property browser give slop vale as 10
Result:
3): To separating project to architecture and structural plans
A):
Aim: To crate the architectural plan with components.
Introduction: To crate the architectural plan with components. Using Revit
Procedure:
Step1:
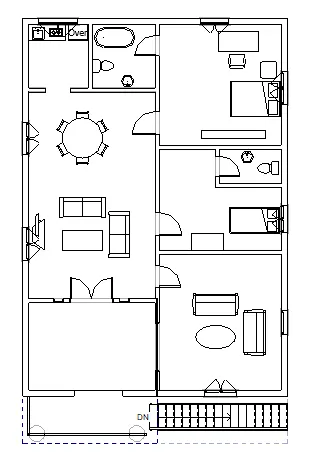
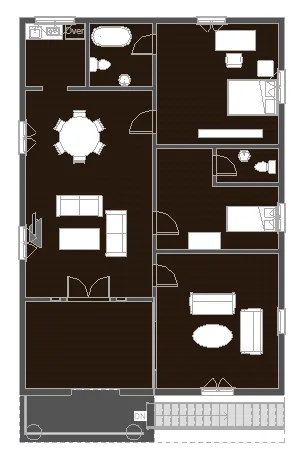
- To crate the architectural plan from the view tab select the floor plan
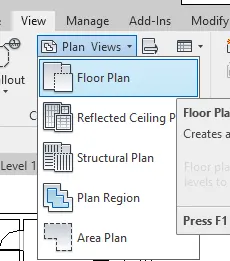
Step2:
- Now select the level to create the architectural plan.
- Now select the level or floor to show the components are place at the floor.
Result:
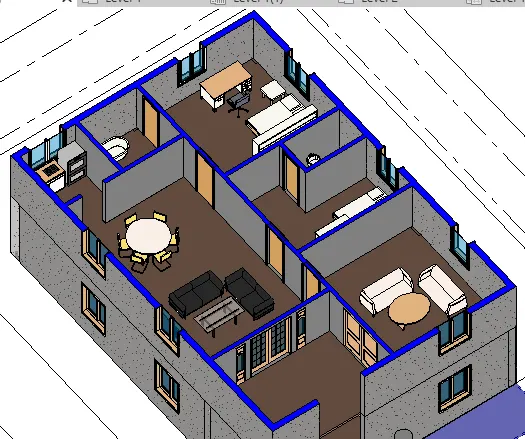
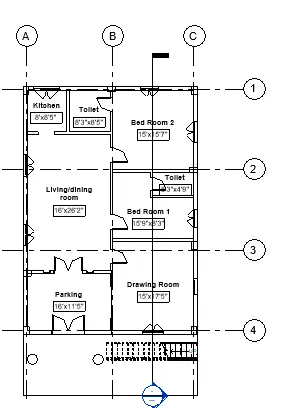
Architectural plan view with the walls, floors, and all the components.
B):
Aim: To crate the structural plan with components.
Introduction: To crate the structural plan with components. Using Revit
Procedure:
Step1:
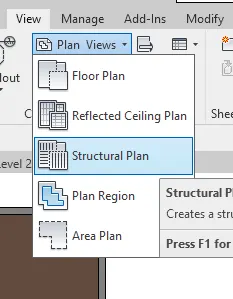
- To crate the structural plan from the view tab select the structural plan.
Step2:
- Now select the level to create the structural plan.
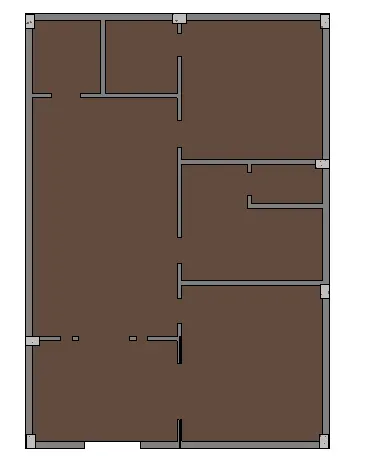
- Now select the level or floor to show the columns are place at the floor.
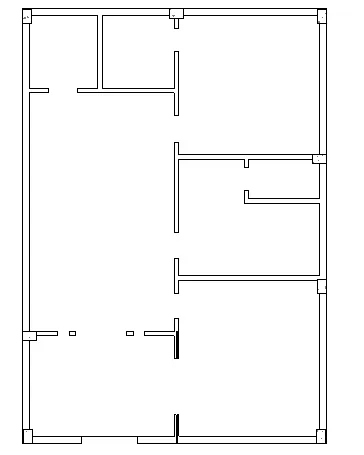
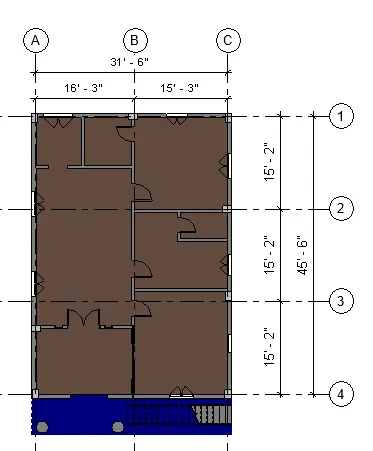
Result:
structural plan view with floor, walls, and columns.
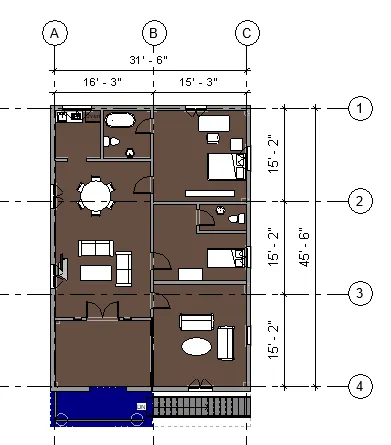
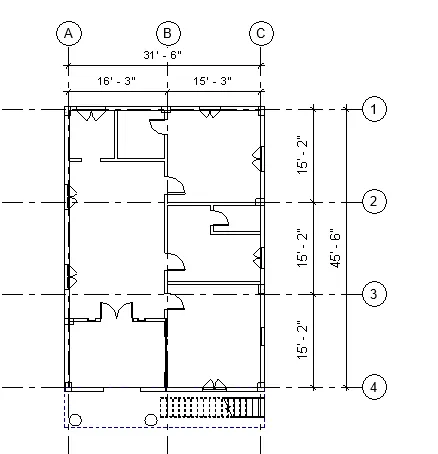
4): Adding dimensions to Architectural and structural plan. with reference to the longitudinal and transverse grids
A):
Aim: To create the architecture plan dimensions with respect to grid.
Introduction: To create the architecture plan dimensions with respect to grid. By using Revit.
Procedure:
Step1:
- From the architectural tab select the grid option.
- Give the first point and end point to place the grid line
- Similarly create the required no.of grid
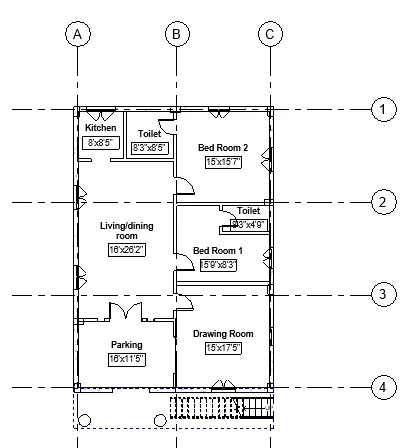
Step2:
- Providing dimensions with respect to grid and components in architectural floor plan
- From the annotation tab select the aligned dimension
- Click on the grid to provided gride to gride dimension
- Click on the first point and end point to provided plan dimension
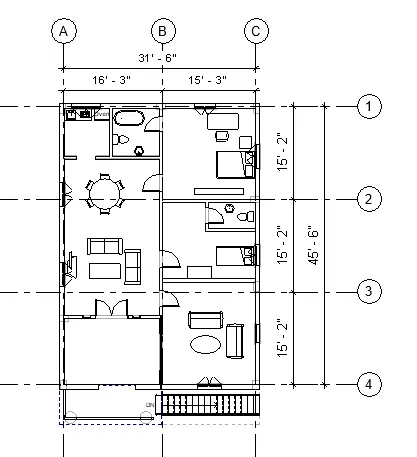
Result:
B):
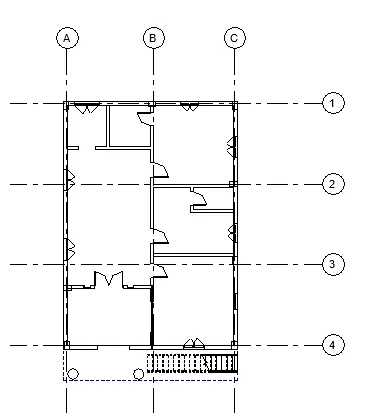
Aim: To create the structural plan dimensions with respect to grid.
Introduction: To create the structural plan dimensions with respect to grid. By using Revit.
Procedure:
Step1:
- To crate the structural plan from the view tab select the structural plan.
- From the architectural tab select the grid option.
- Give the first point and end point to place the grid line
- Similarly create the required no.of grid
Step2:
- Providing dimensions with respect to grid and columns in structural floor plan
- From the annotation tab select the aligned dimension
- Click on the grid to provided gride to gride dimension
- Click on the first point and end point to provided plan dimension
Result:
5):
Aim: To create a sheet template on the sheet to add appropriate views.
Introduction: To create a sheet template on the sheet to add appropriate views. By using Revit.
Procedure:
Step1:
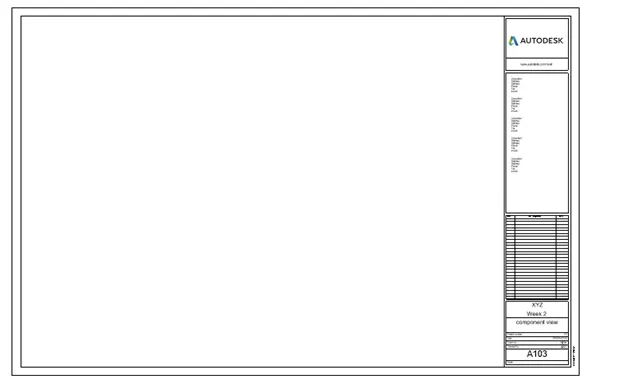
- From the property browser select the sheets option and create the new sheet
- A sheet templet is crated on work spaces.
- Now we can edit the details of the sheet from the property as per required
Step2:
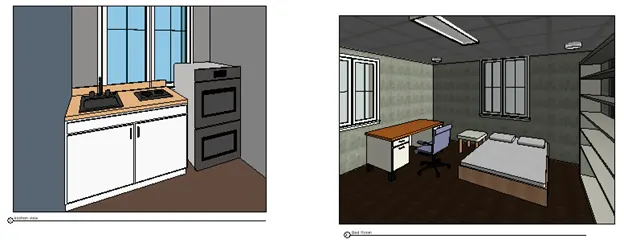
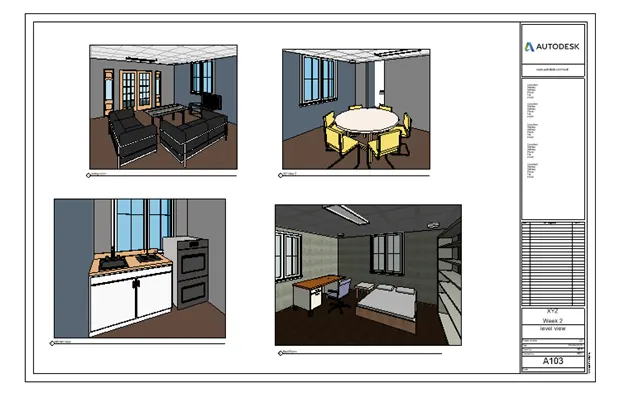
- From the property browser select the views we created
- Drag the views and place it at the sheet
- Now we can adjust the view size as per need
Result:
6):
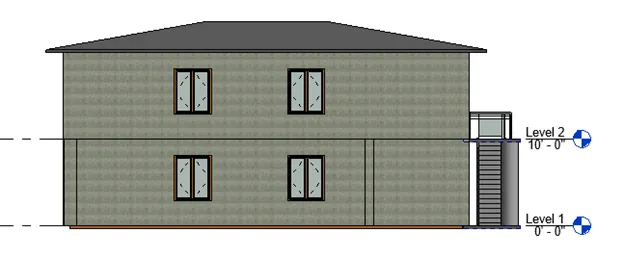
Aim: To create the elevation views
Introduction: To create the elevation views. By using Revit
Procedure:
Step1:
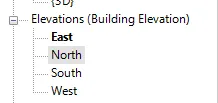
- From the property browser select the elevation tab (building elevation.
- Click on type of elevation tab to view elevation
Result:
- Esat elevation
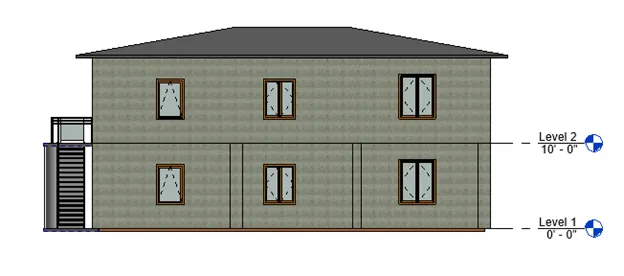
- North elevation
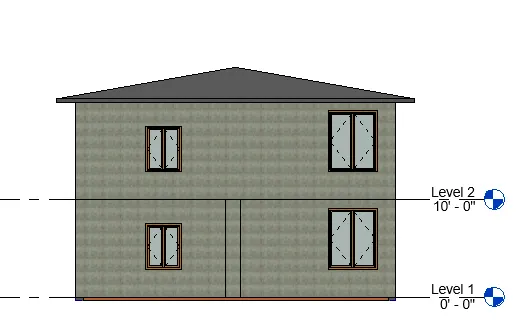
- South elevation
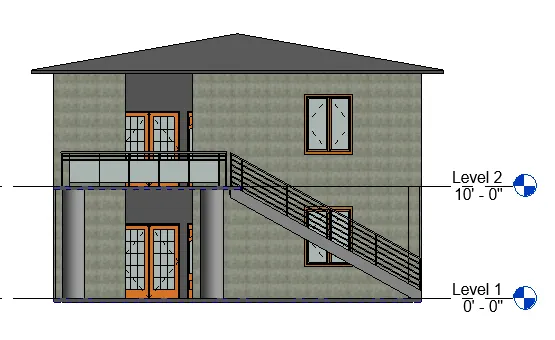
- West elevation
7):
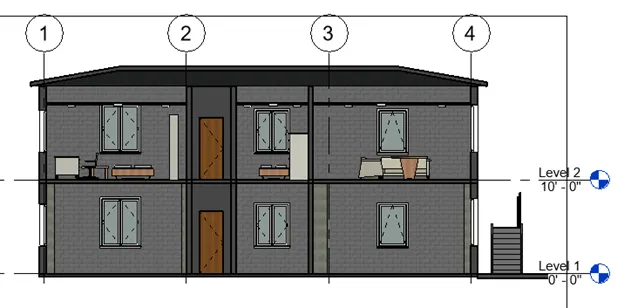
Aim: To create the section view of the plan
Introduction: To create the section view of the plan. By using Revit
Procedure:
Step1:
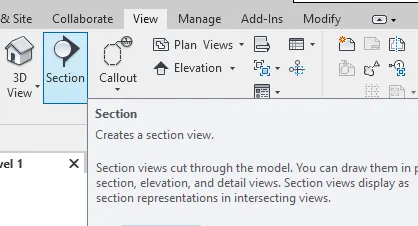
- From the view tab select the section icon.
Step2:
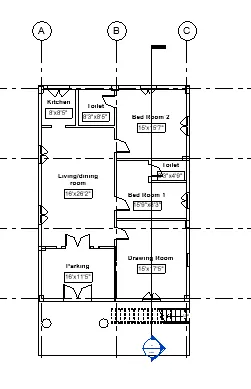
- Select the first point and second point to cut the section throughout plan.
Step3:
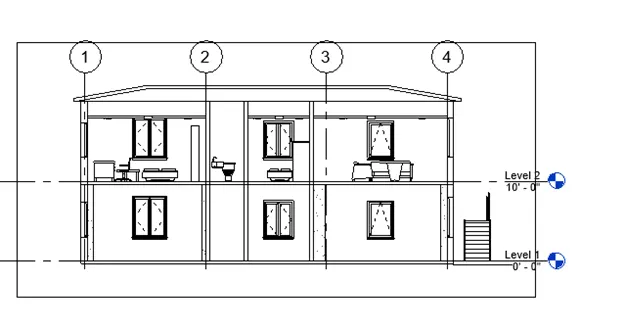
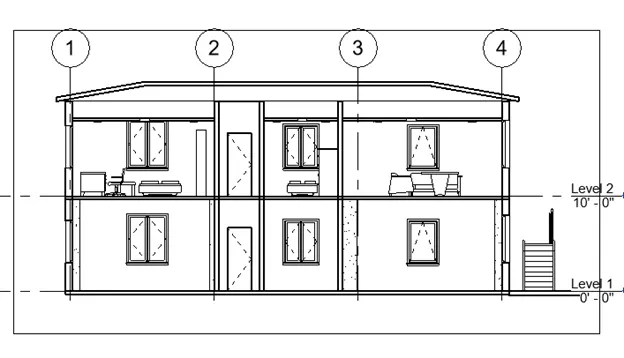
- Sectional view of the plan
Result:
8):
Aim: To classify the views, Plan Views, Section Views, and Elevation views to either Design or Documentation category using Properties browser.
Introduction: To classify the views, Plan Views, Section Views, and Elevation views to either Design or Documentation category using Properties browser. By using Revit.
Procedure:
Step1:
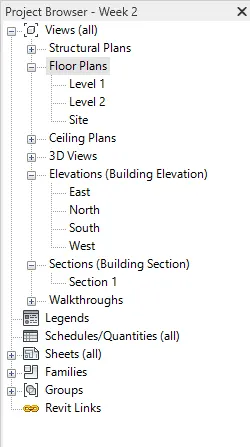
- From the project browser we can manage or control the views and type of views of your project.
- To manage the views click on the views option from the project browser from we can manage all type of views such as plan view, section view, elevation view, etc as shown.
Result:
- Plan view.
- Section view
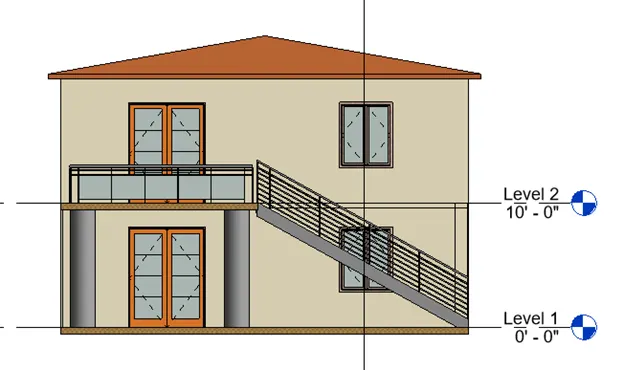
- Elevation view
9):
Aim: To create multiple sheets using the sheet template
Procedure:
Introduction: To create multiple sheets using the sheet template. By using Revit
a): A 101- Ground Floor Architecture Plan
step1:
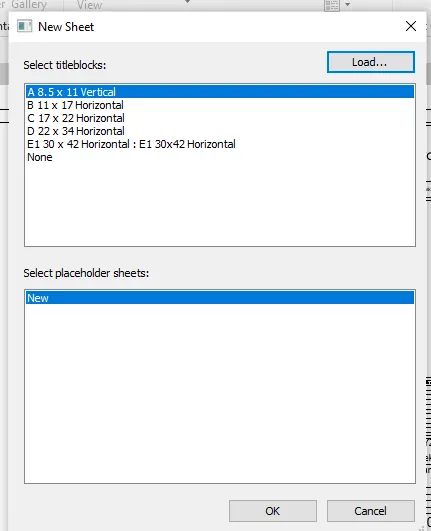
- From the property browser select the sheets option and create the new sheet
- From the load option select the type of sheet required
Step2:
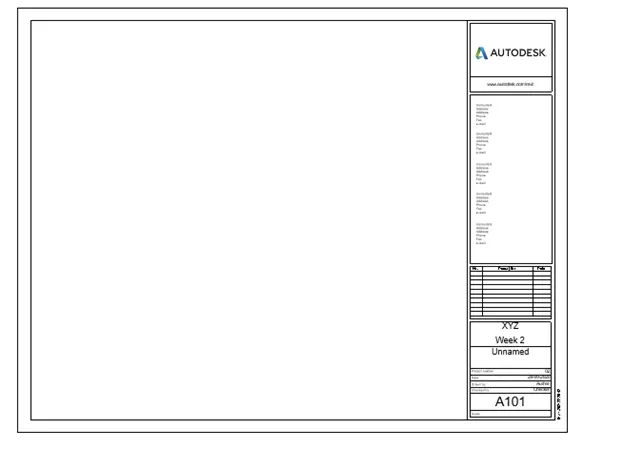
- Rename the sheet as A101
Step4:
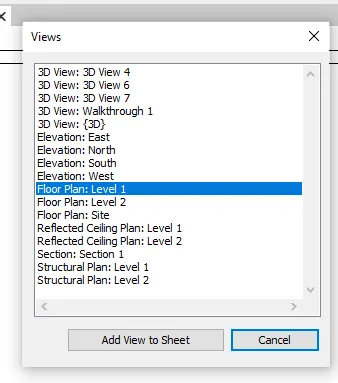
- From the view tab select the place view option
- Place the floor plan view.
- Next set the scale of the view created
Result:
- A 101- Ground Floor Architecture Plan
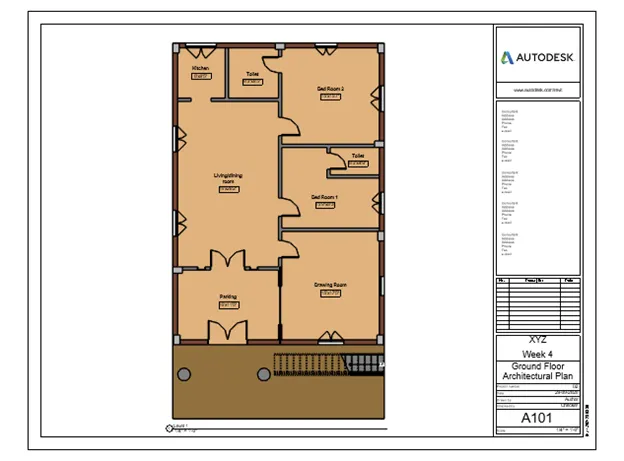
Similarly create all the given views.
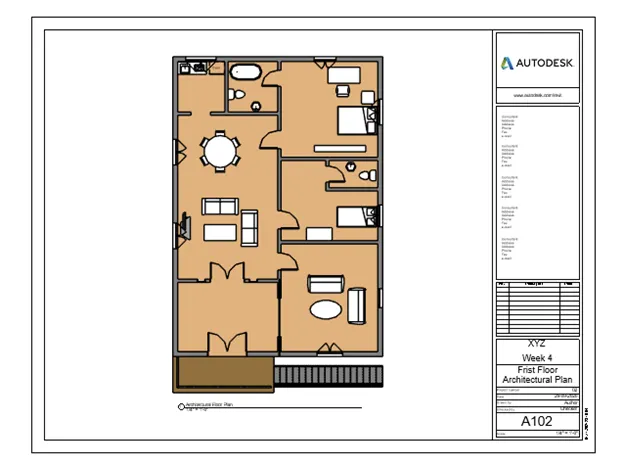
b):
A 102- First Floor Architecture Plan
c):
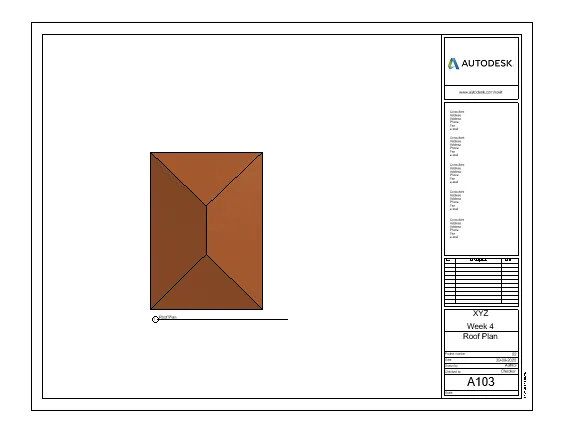
- A 103- Roof Plan:
D):
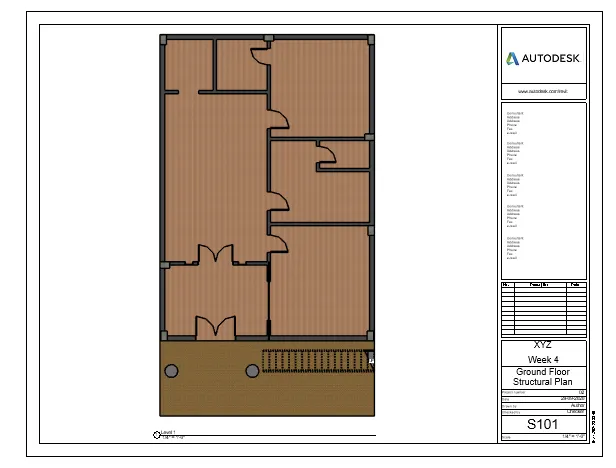
- S 101- Ground Floor Structural Plan
E):
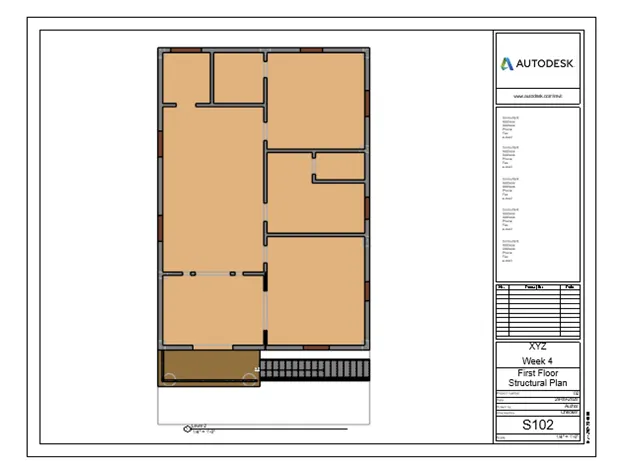
- S 102- First Floor Structural Plan
F):
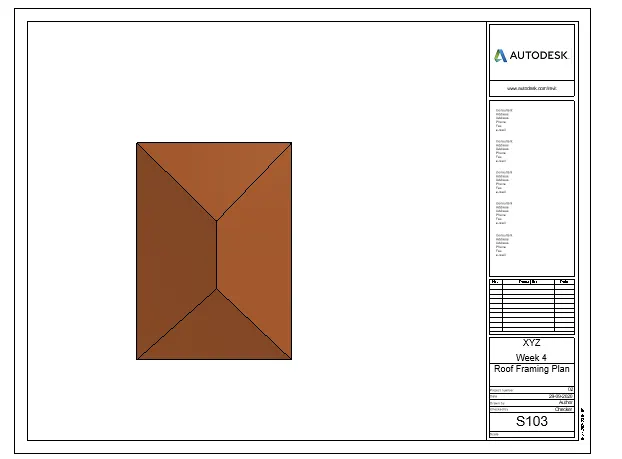
- S 103- Roof Framing Plan
G):
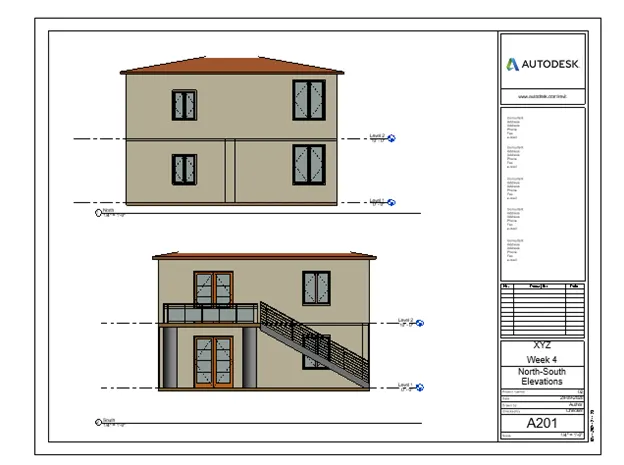
- A-201- North-South Elevations
H):
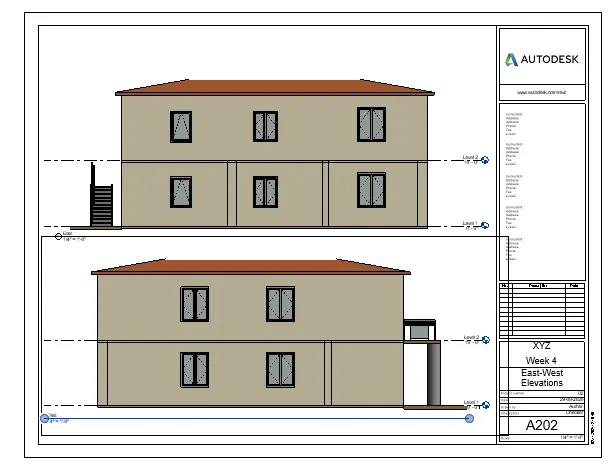
- A-202- East-West Elevations.
10):
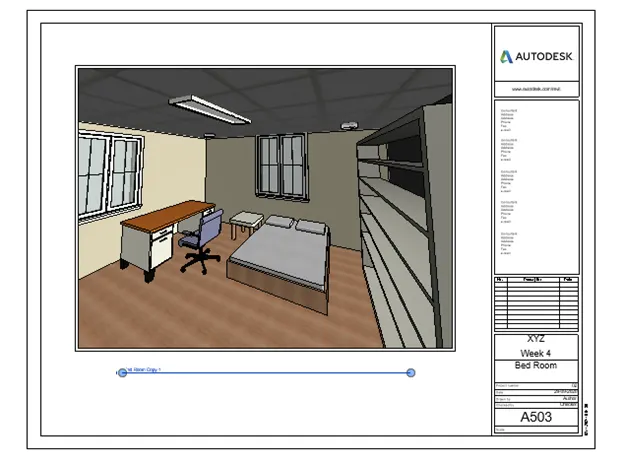
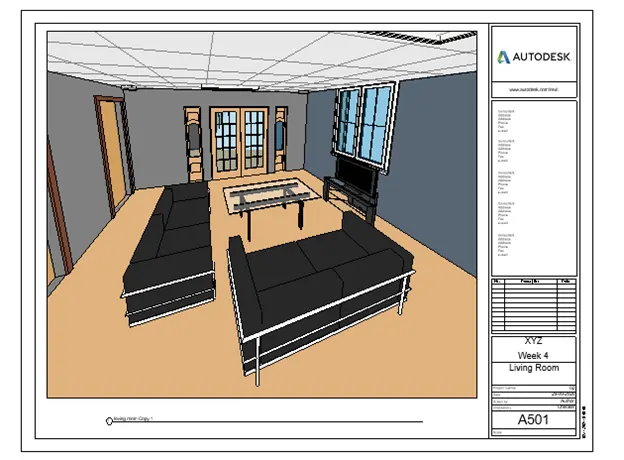
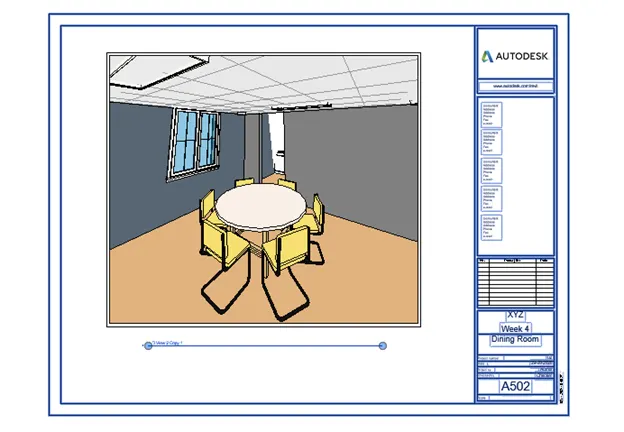
Aim: To create a camera-specific view of each room (living, dining, bedroom). And to create a new set of sheets starting A-501,502, 503.n).
Introduction: To create a camera-specific view of each room (living, dining, bedroom). And to create a new set of sheets starting A-501502, 503.n). By using Revit.
Procedure:
a):
- To create the camera view of living room
- A-501-Living Room
- Similarly we can create required number of sheet
b):
- A-502-Dining Room
c):
- A-503-Bed Room