3D Creation of Celing, Roof, Architectural plan, Structural plan, Sectional view, Elevation view and Camera specific view for a house plan using REVIT
Q.1
AIM: TO CREATE THE CELLING ABOVE THE WALL AT FIRST FLOOR LEVEL
Steps:
- Initially open the week 3 assignment from revit software
- Then first create the veranda in the ground floor as well as first floor level so that roof is created for entire structure
- For this go to plan view
- Then using the floor option created for the verandh portion given below
- Now copy this floor level to the level 2 i.e the first floor level
- Now we add the columns to the veranda at the ground floor
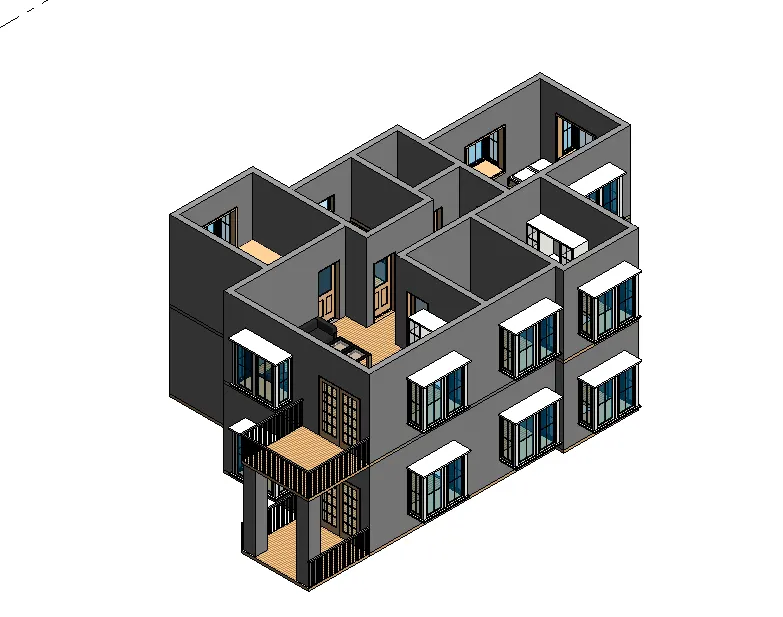
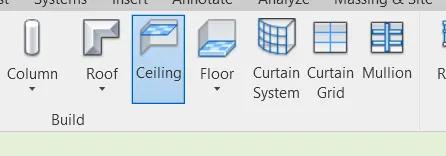
- Now we can place the celling for this go to architectural tab and close celling
- Ceiling is to be provided in the level 2 for the ground floor
- Ceiling is to be provided in the level 2 for the ground floor
- The ceiling is created
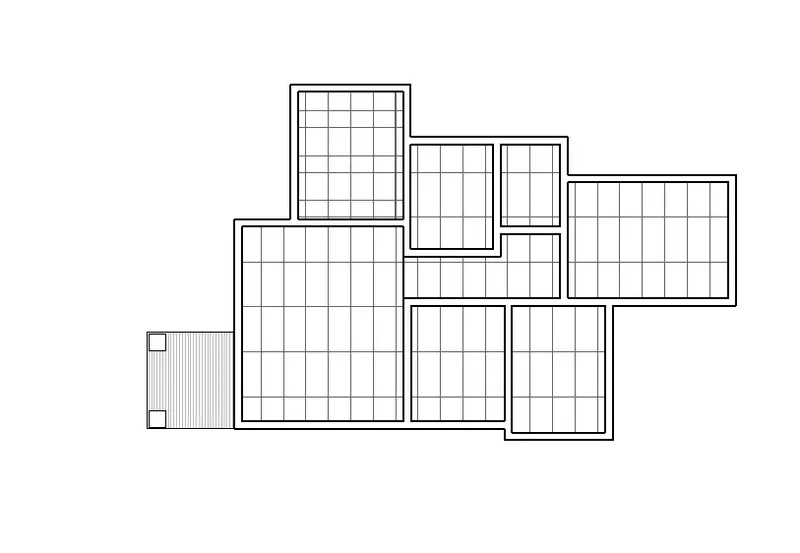
Q.2
AIM: TO MODEL A ROOF ABOVE THE CEILING BY SELECTING THE FOOTPRINT OF THE CEILING AND TO ADJUST THE ROOF SLOPE TO 10 DEGREE USING 10 DEGREE TOOLBAR
Steps:
- In order to create the roof, initially go to architectural tab of the ribbon
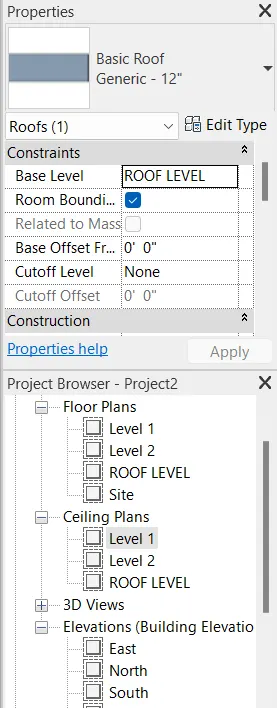
- Then choose the roof option
- From the roof dropdown choose roof by footprint
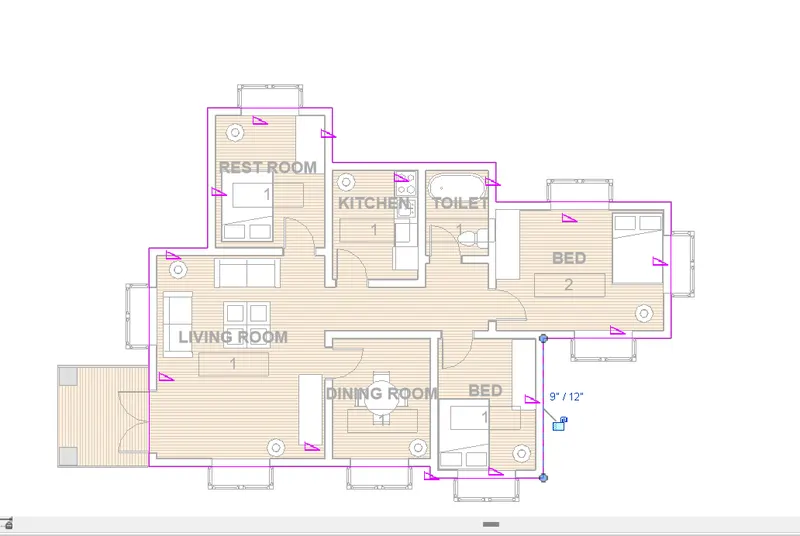
- Then using the pick a line option create the roof boundary
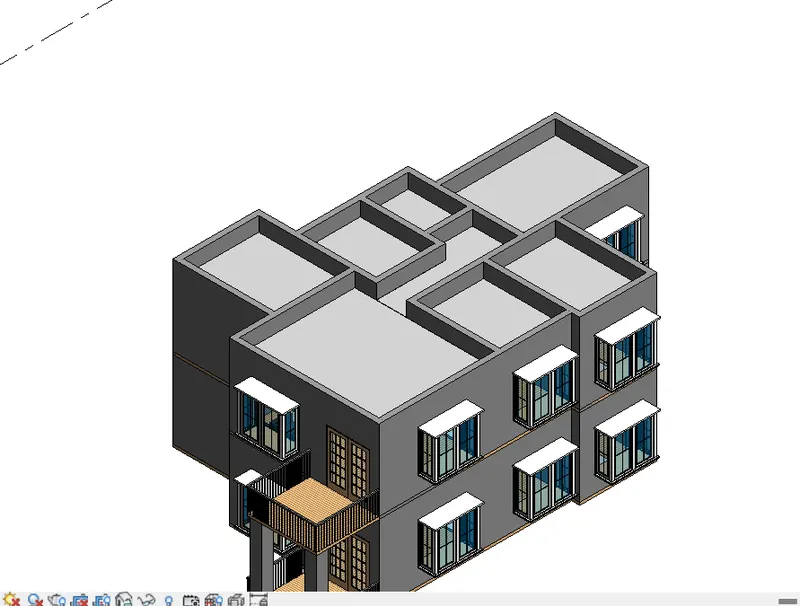
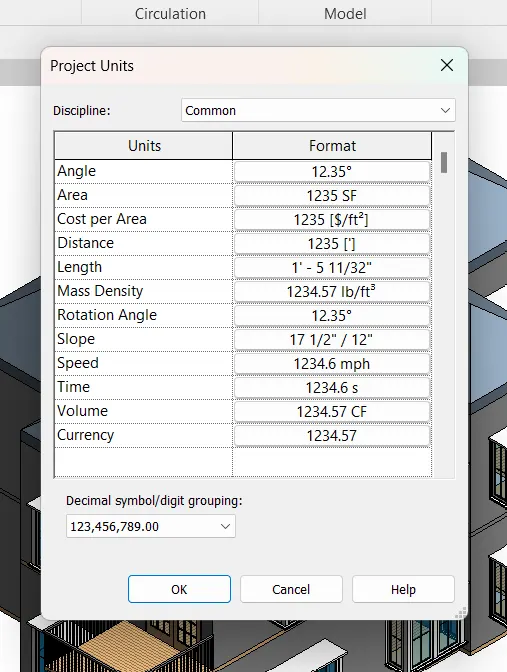
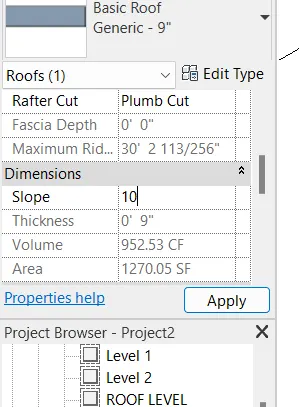
- Now we have to adjust the roof slope to 10 degree
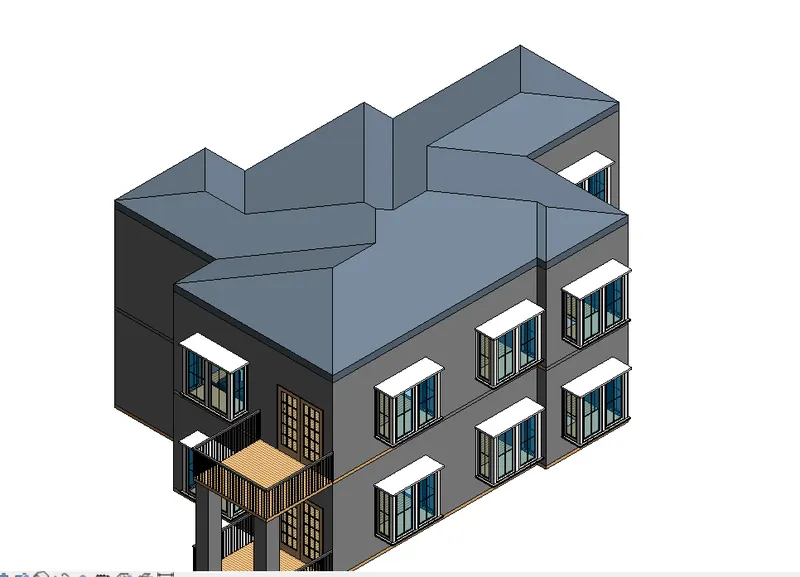
- 10-degree slope roof is created

Q.3
AIM: TO CREATE PLAN VIEW FOR THE GROUND FLOOR LEVEL AND FIRST-FLOOR LEVEL INCLUDING ALL THE WALLS, FLOOR AND COMPONENT AND THE SEPRATE THEM TO
- ARCHITECTURAL PLAN
- STRUCTURAL PLAN
Steps:
- To architectural plan:
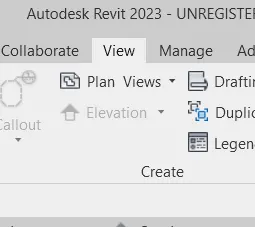
- Go to view tab of the ribbon then select plan view
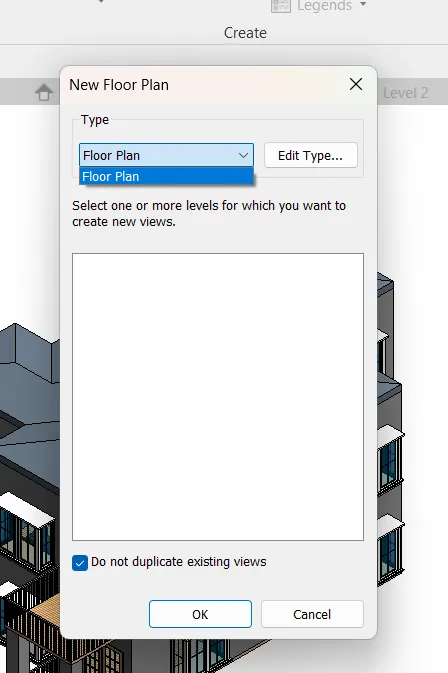
- In the plan view select floor plan
- In the plan view select floor plan
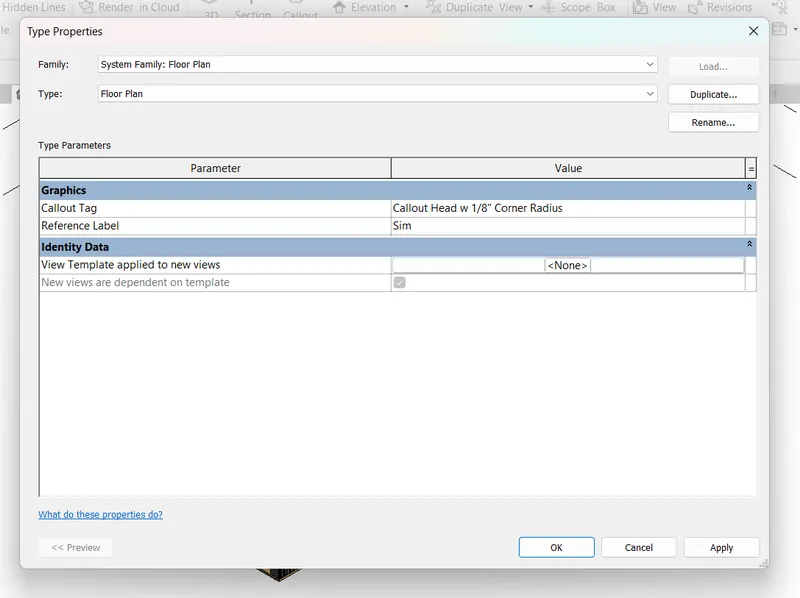
- Click the level 1 and go to edit type
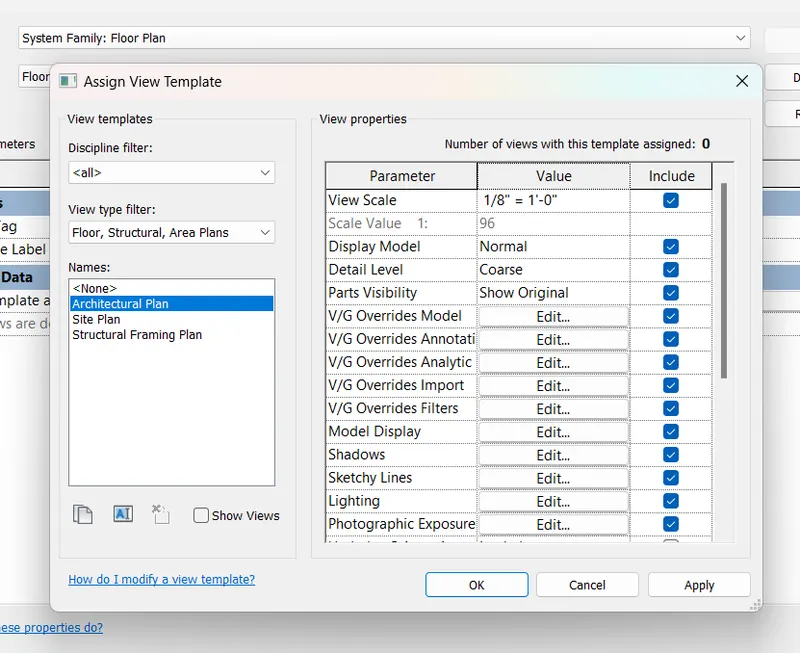
- Choose view template applied to new view
- Choose view template applied to new view
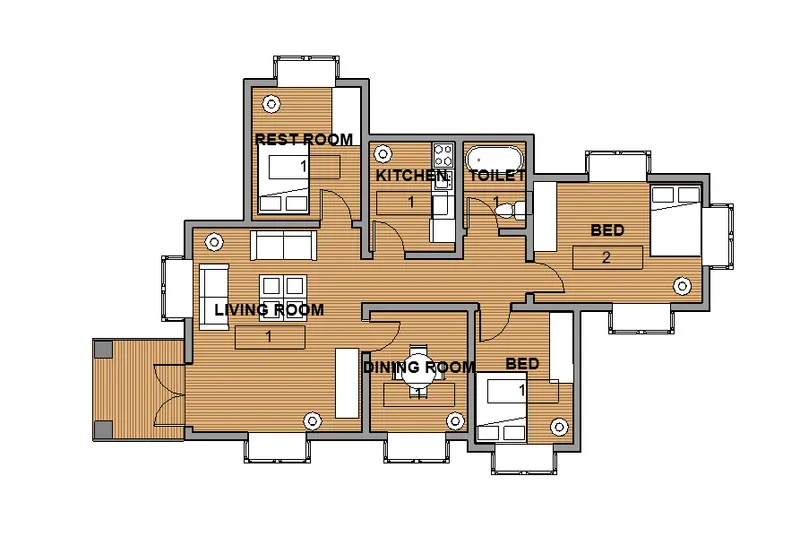
- In the selected architectural plan
- Then the floor plan is obtained as follows
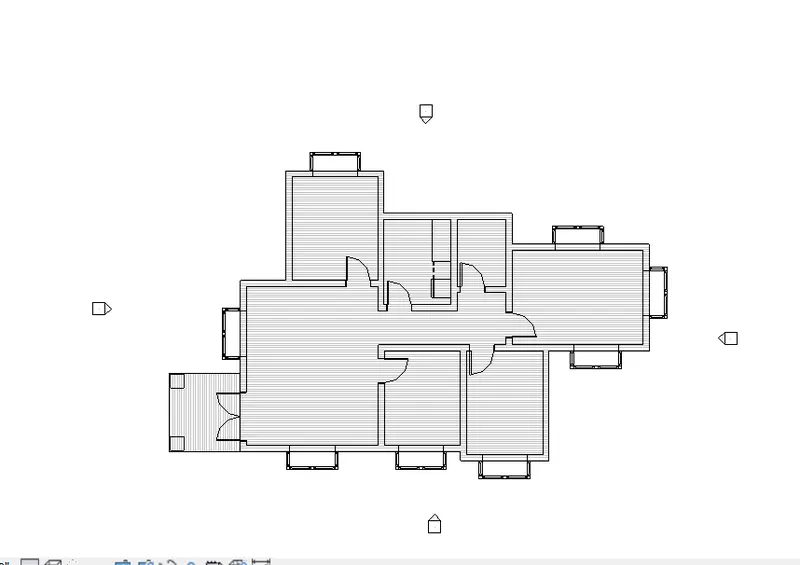
- To structural plan:
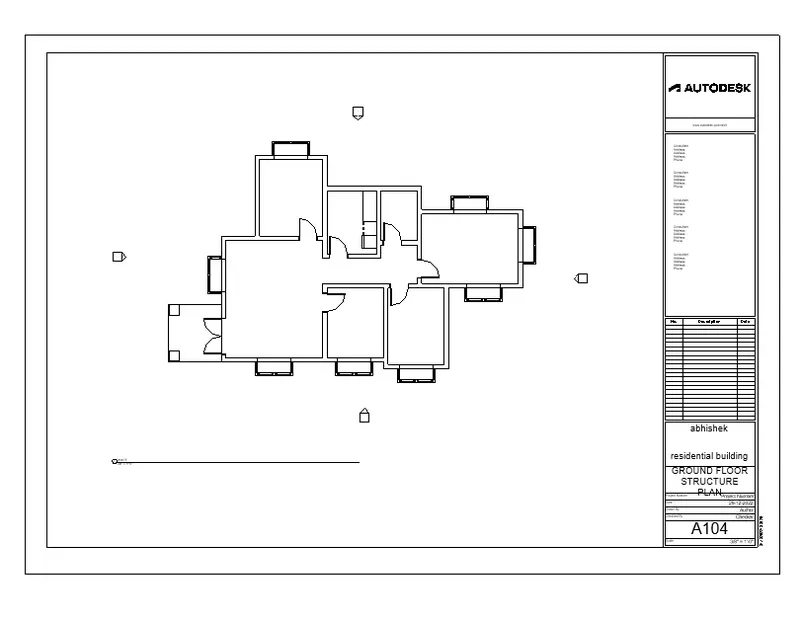
Structural plan of ground floor and first floor is given below
Q.4
AIM: TO ADD DIMENSION TO ALL THE WALL AND FLOOR WITH REFERENCE TO THE LONGITUDINAL AND TRANSVERSE GRID CREATED IN THE PROJECT FILES
- THE ARCHITECTURE PLAN DIMENSION INCLUDE DETAILS ON WHEN THE COMPONENT ARE PLACED WITHIN THE BUILDING WITH RELATION TO GRID
- THE STRUCTURE PLAN DIMENSION MUST INCLUDE DETAILS ON THE POSITON OF ALL THE WALL AND INTERIOR WALL WITH REFERENCE TO GIRDS
Steps:
- First select the floor plan for ground floor
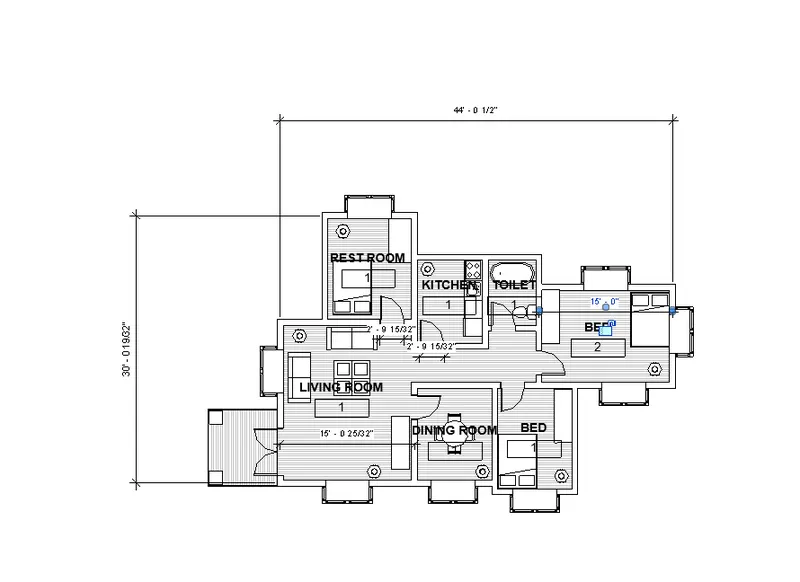
- Go to annotate tab and choose linear dimension and provide linear dimension in the plan
- For ground floor and first floor
- Now go to architectural tab and choose tag room option
- Then tag the individual room as given below
- Ground floor and first floor
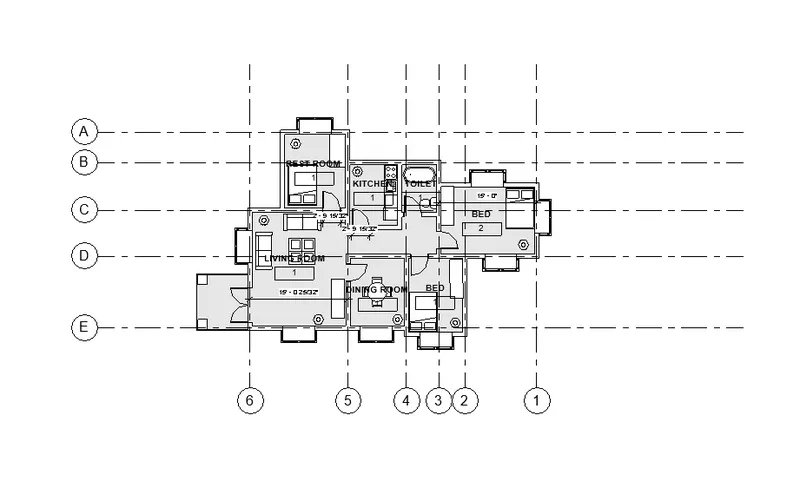
- Now we have to create the structure plan dimension according to grid lines
- For this go to structural plan
- Then go to architectural tab select grids and draw along the walls
- Ground floor
Q.5
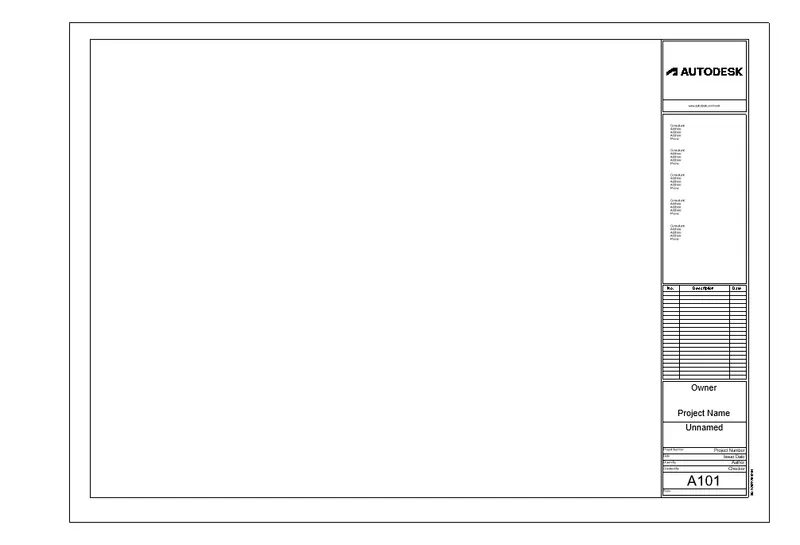
AIM: TO CREATE A SHEET TEMPLATE FROM THE VIEW TAB AND ADJUST THE PARAMETESRS ON THE SHEET TO ADD APPROPRIATE VIEWS
Steps:
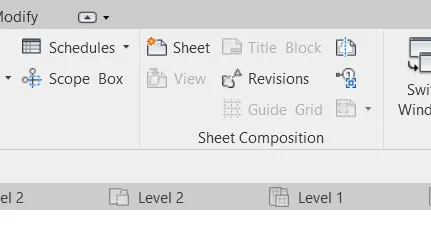
- Go to view tab of the panel
- Choose sheet option in the sheet composition panel of the view tab
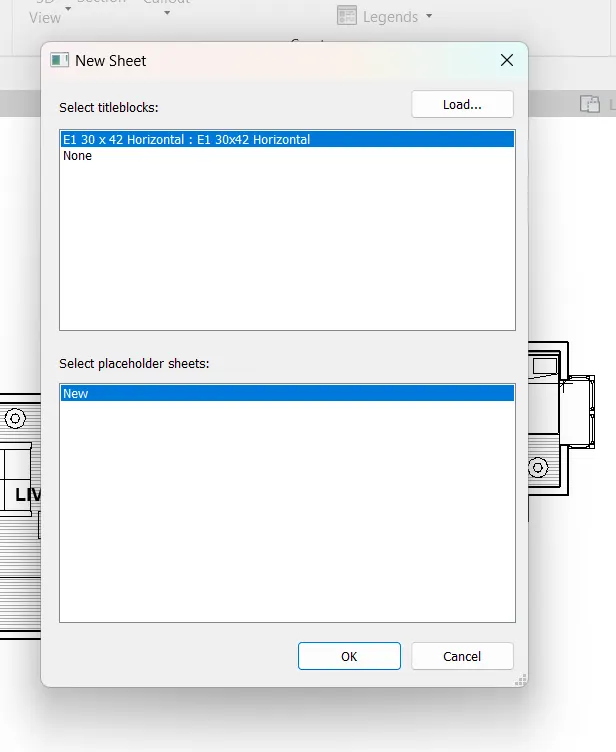
- Click load option and load more templates
- Select the template and click ok
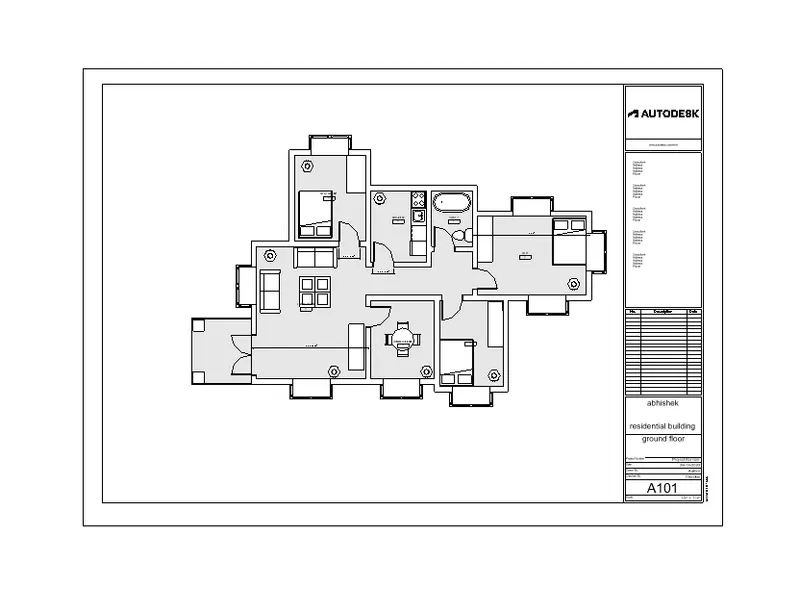
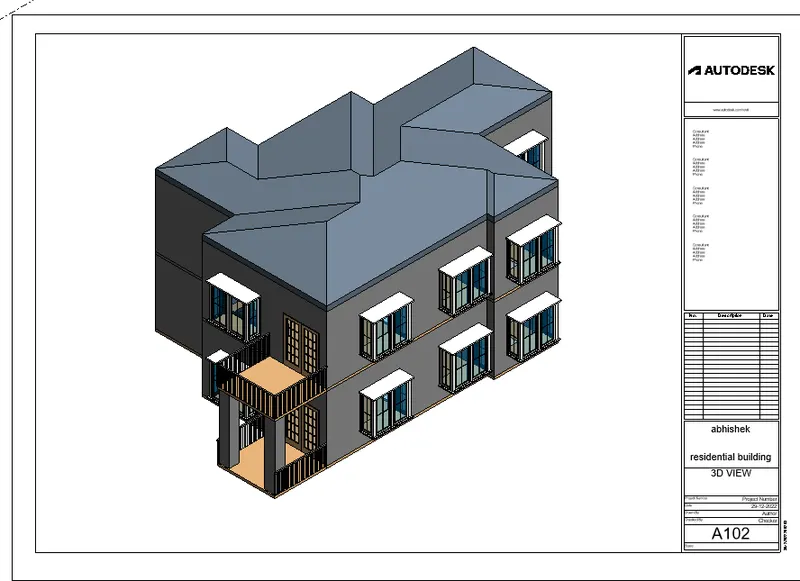
- Now choose the view that is to be added in the template
- Add view to the sheet and then adjust the scale so that it fit to the template
Q.6
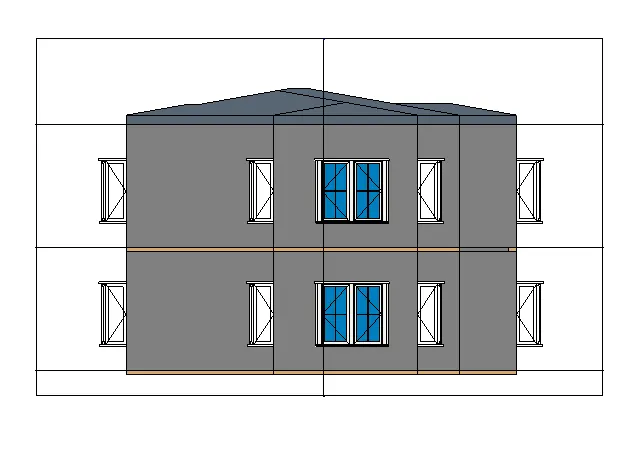
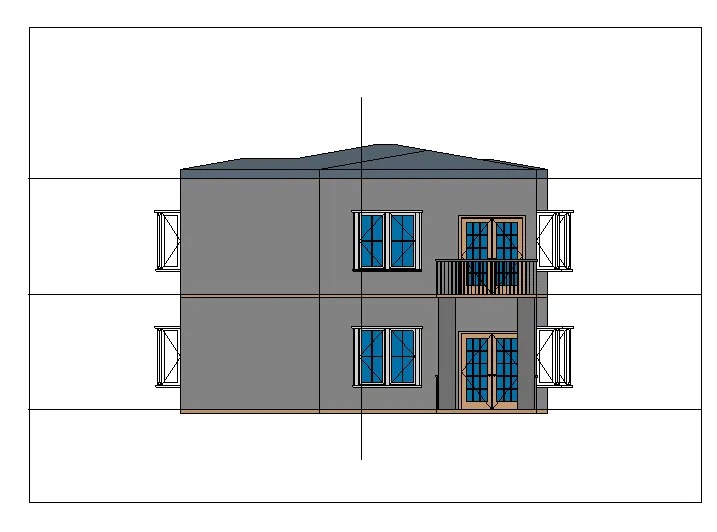
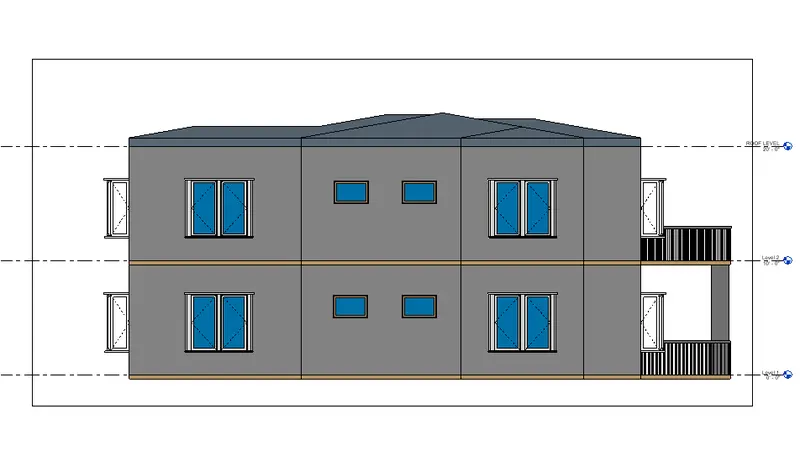
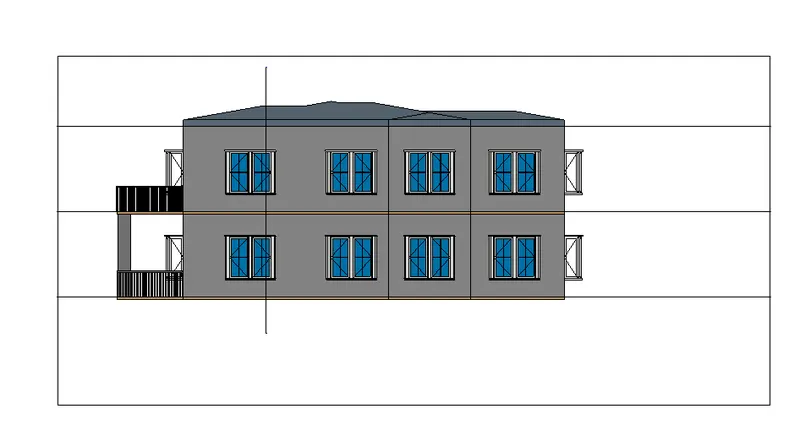
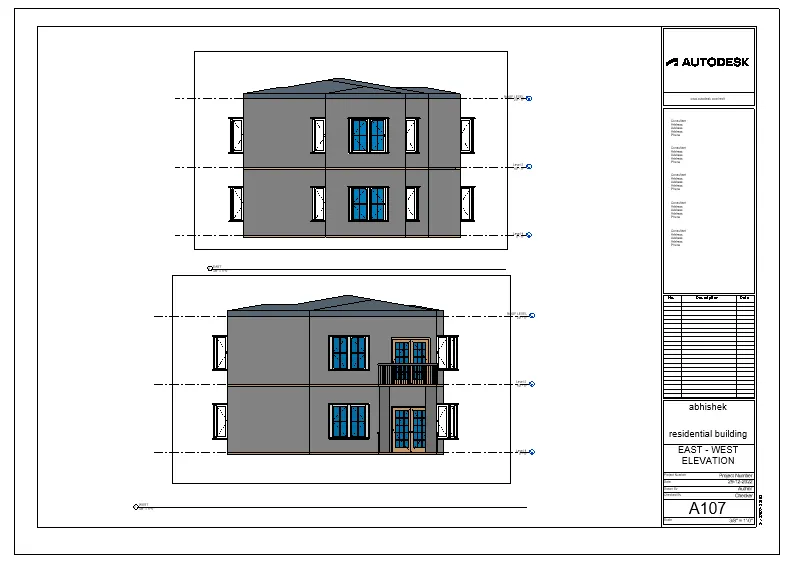
AIM: TO CREATE THE ELEVATION VIEW LOOKING AT YOUR BUILDING FROM EAST, NORTH, SOUTH AND WEST
Steps:
- Go to the view tab of the ribbon
- Choose elevation view
- Then create the elevation view à north, south, east and west
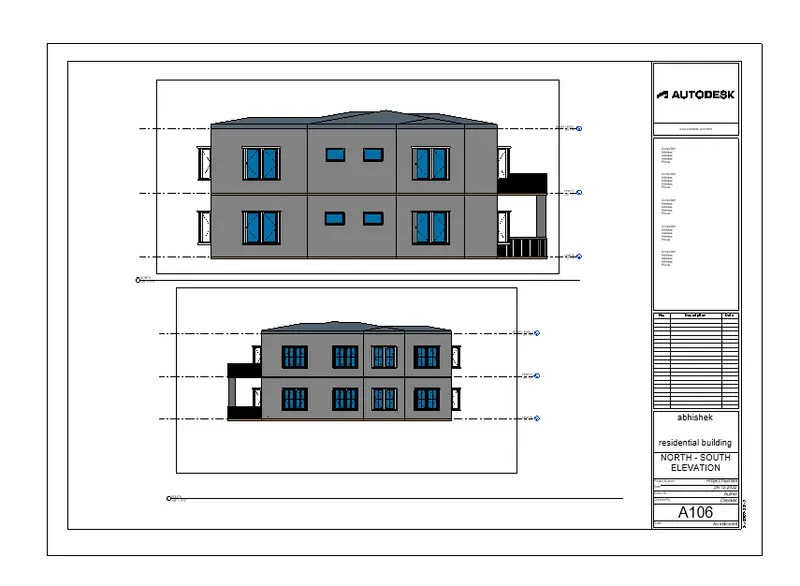
- The elevation view thus obtained are
EAST:
WEST:
NORTH:
SOUTH:
Q.7
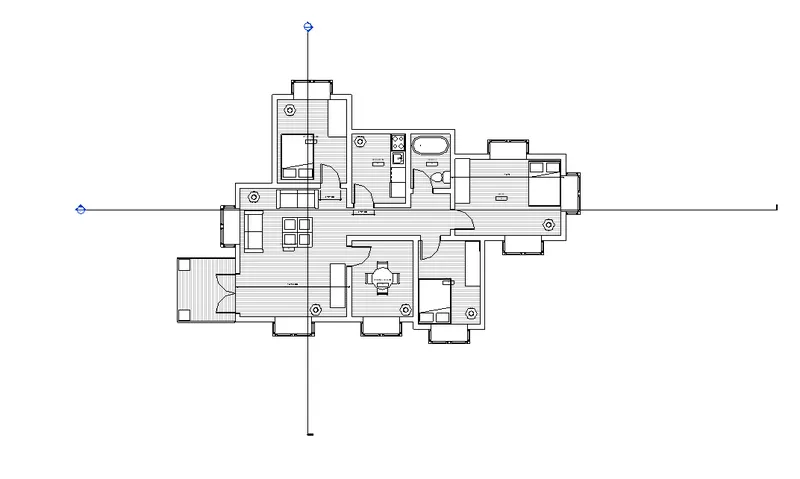
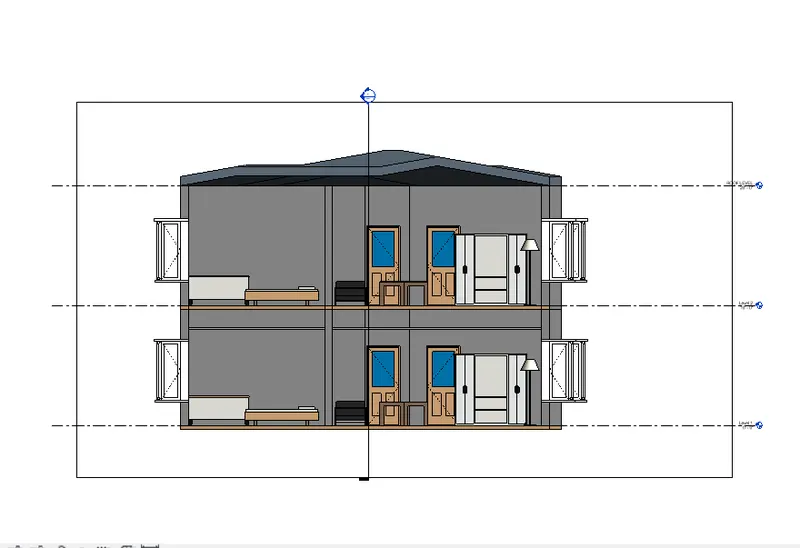
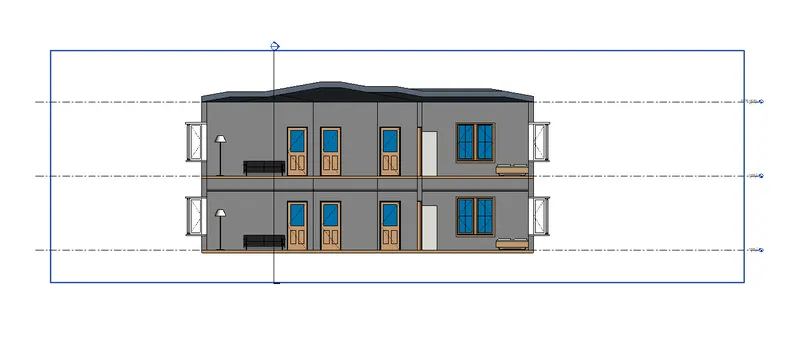
AIM: TO PRODUSED SECTION CUT THROUGH EACH ROOM
Steps:
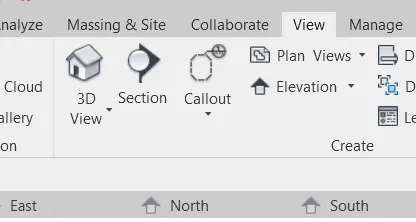
- Go to view tab of the ribbon
- Select the section view and then section the required
Q.8
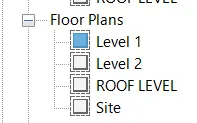
AIM: TO CLASSIFY THE VIEWS PLAN, VIEW SECTION, VIEW AND ELEVATION VIEW TO EITHER DESIGN OR DOCUMENTATION CATEGARY USING PROPERTIES BROWSER
Steps:
- Go to view tab of the ribbon
- Choose property browser
- The following are the different view created
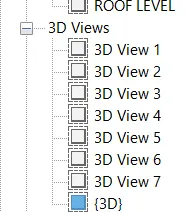
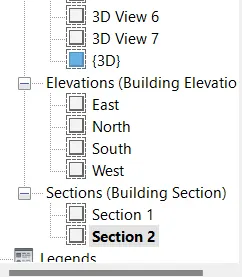
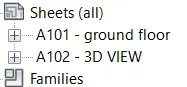
Q.9
AIM: TO CREATE SHEET TEMPLATE AND ADD DIFFERET VIEW IN IT
Steps:
- Go to view tab of the ribbon panel
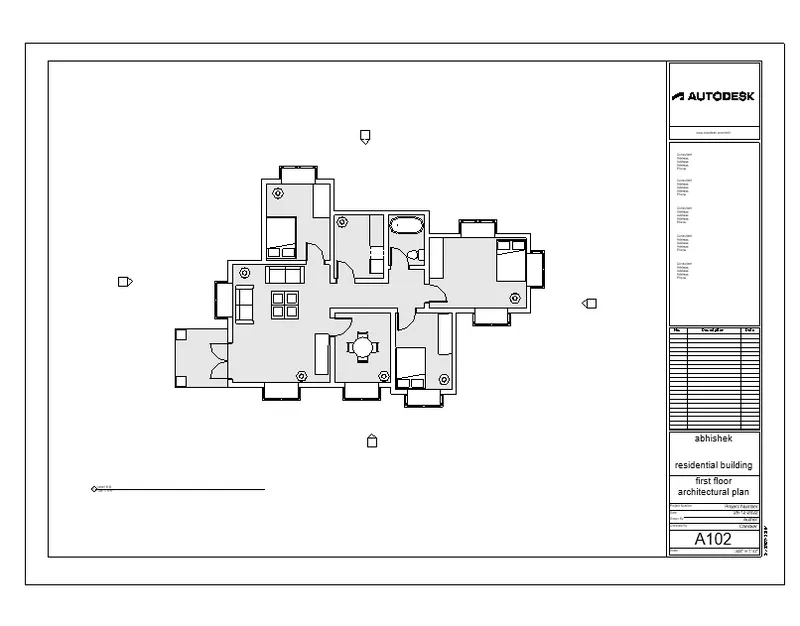
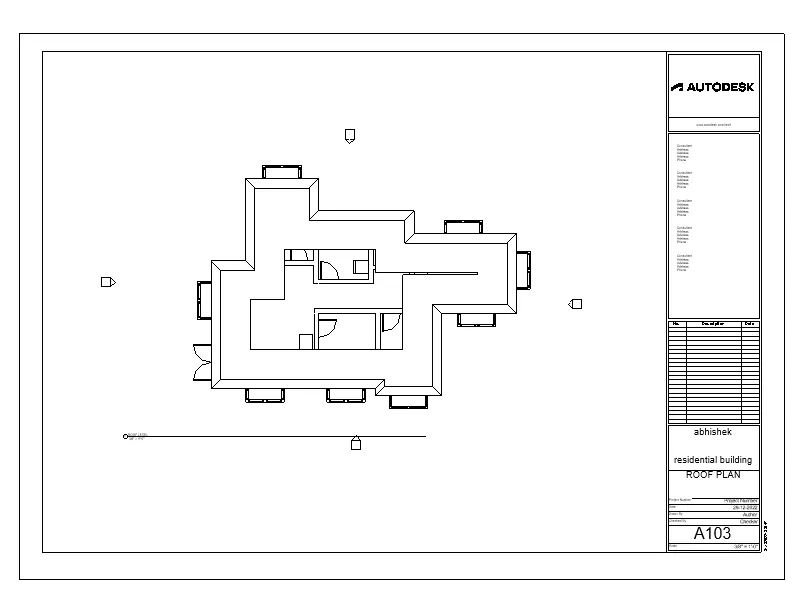
- Choose sheet option and load the template required
- Choose sheet option and load the template required
- Ground floor architectural plan
- First floor architectural plan
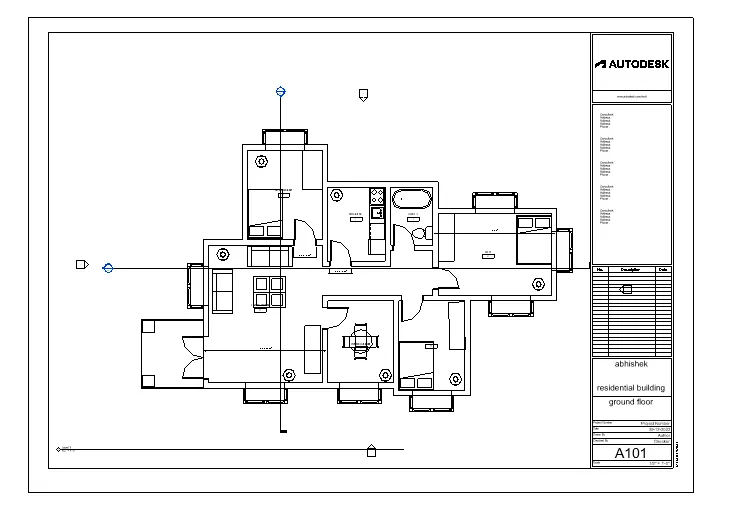
Q.10
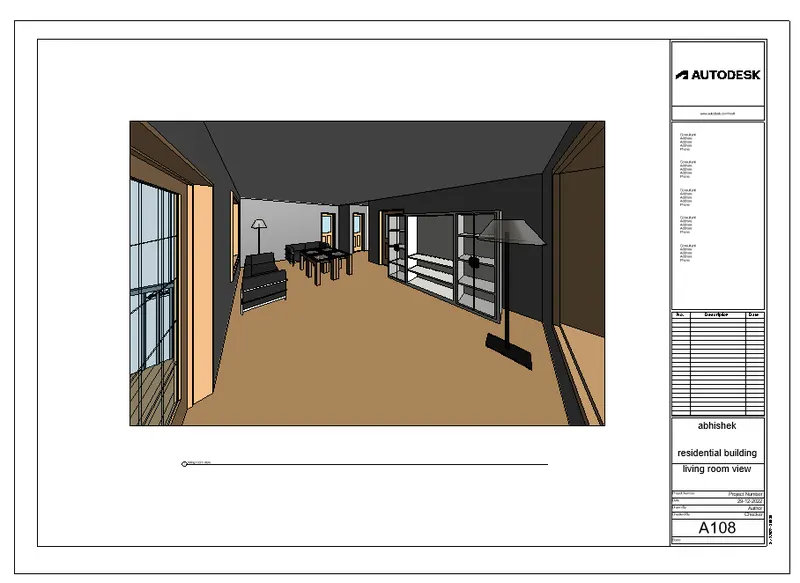
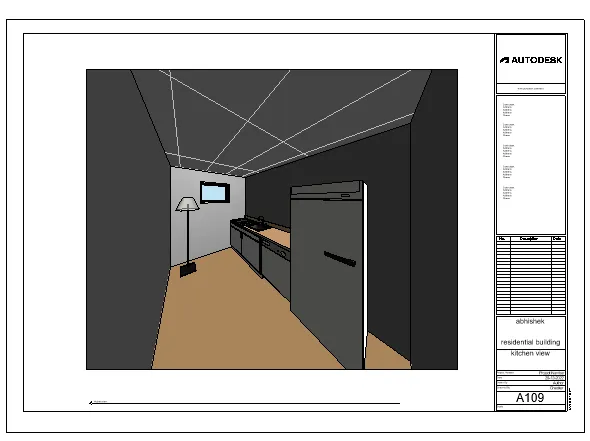
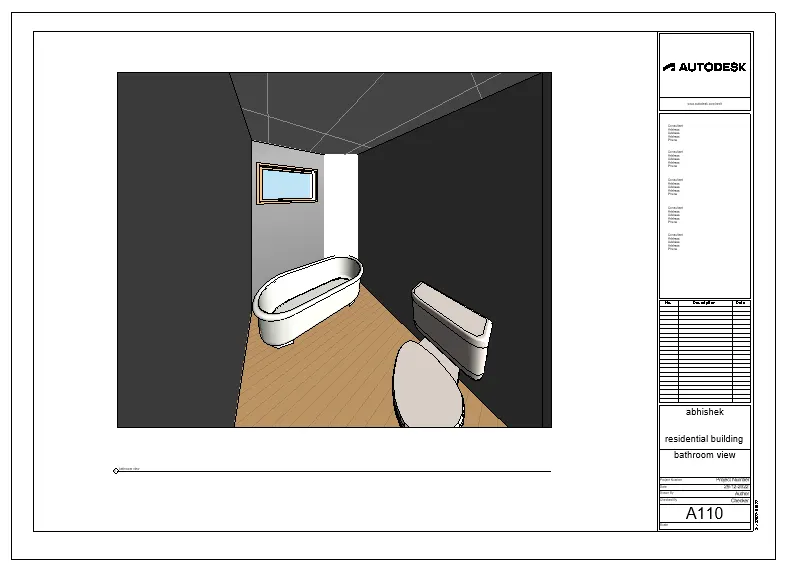
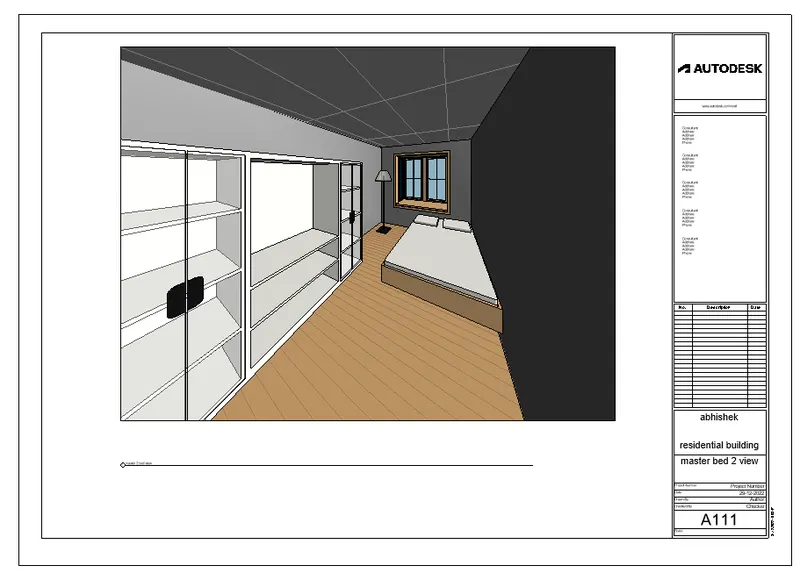
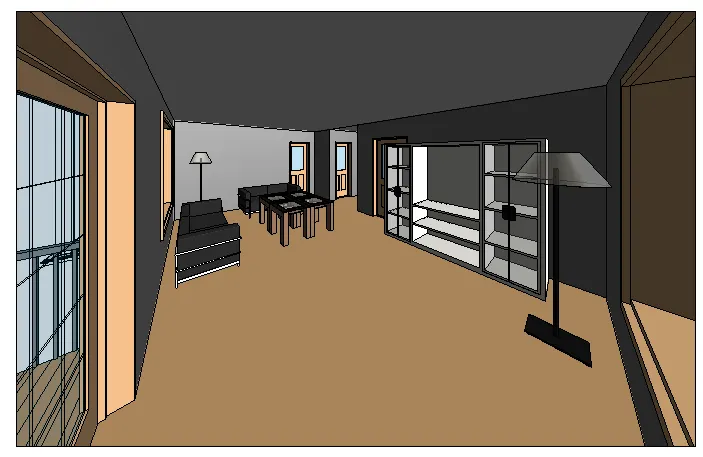
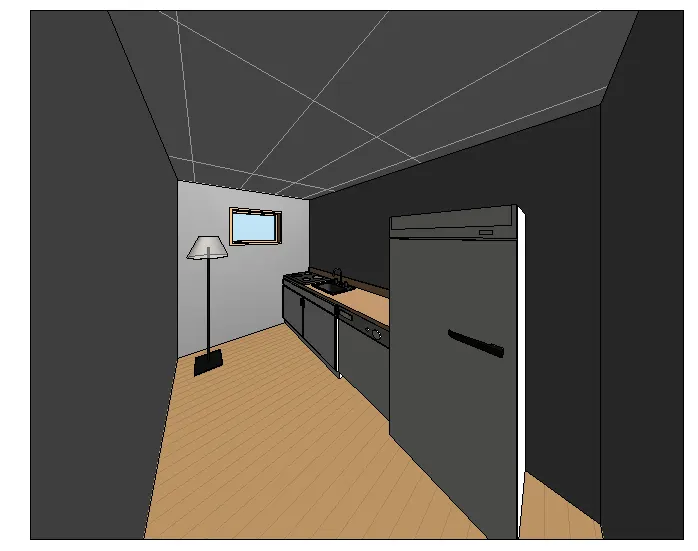
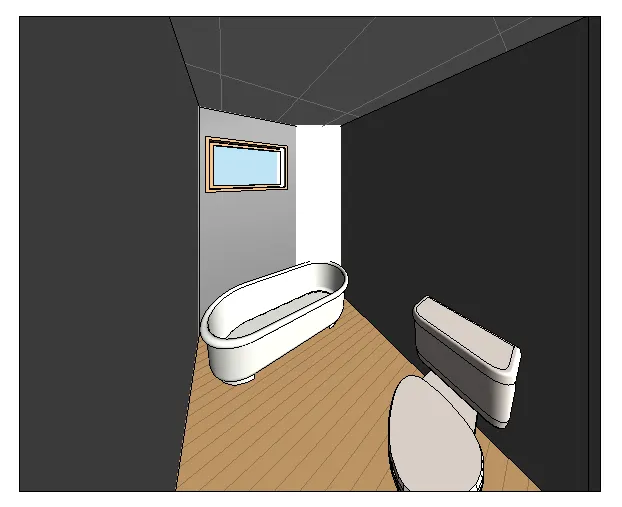
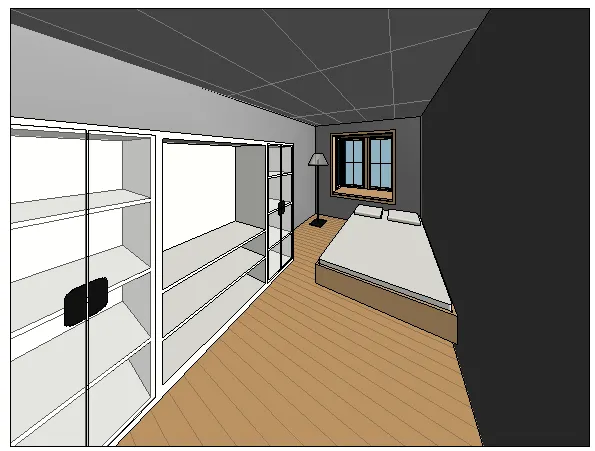
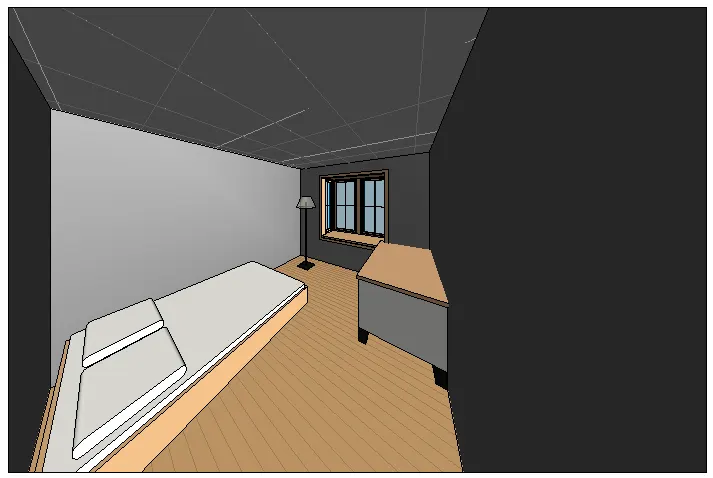
AIM: TO CREATE A CAMERA-SPECIFIC VIEW OR A 3D VIEW IN EACH ROOM
Steps:
- In order to create a camera a specific view, first go to view tab
- Then choose 3D drop down and in that choose camera
- Now place the camera in the plan view at suitable location to obtain the camera view
- Different camera view are then produced in a template
- Ground floor (GF) view are as given below
LIVING ROOM VIEW:
KITCHEN VIEW:
BATHROOM VIEW:
MASTER BED VIEW :
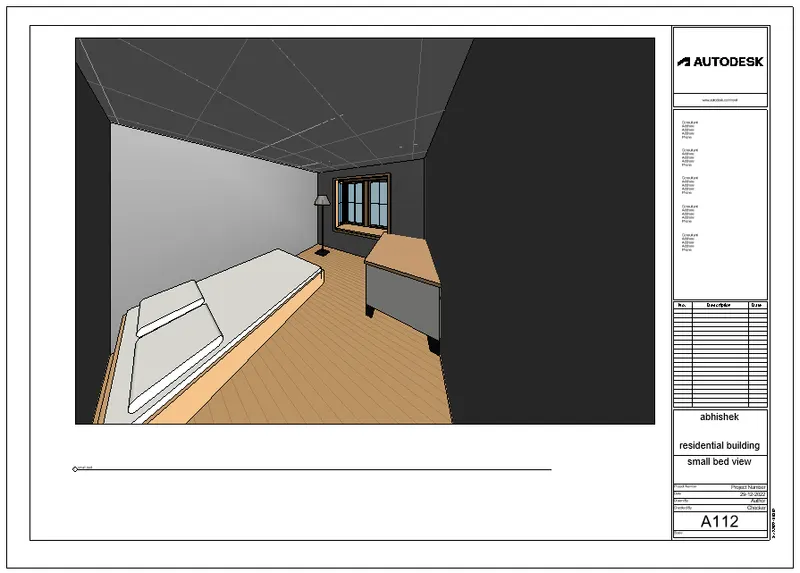
SMALL BED VIEW:
SHEET VIEW OF ALL VIEW: