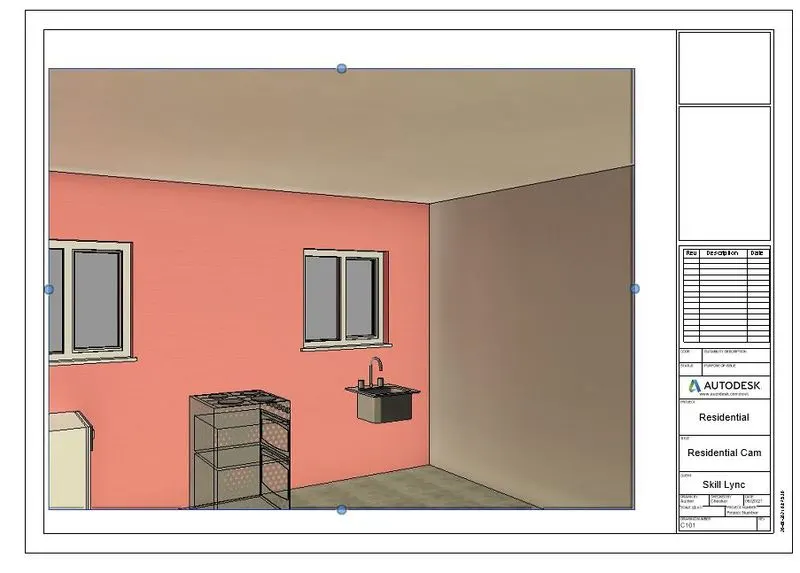
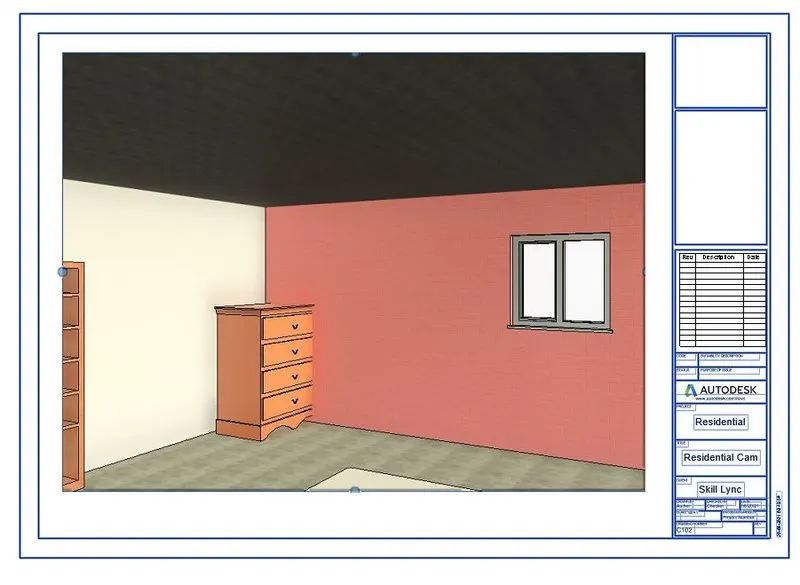
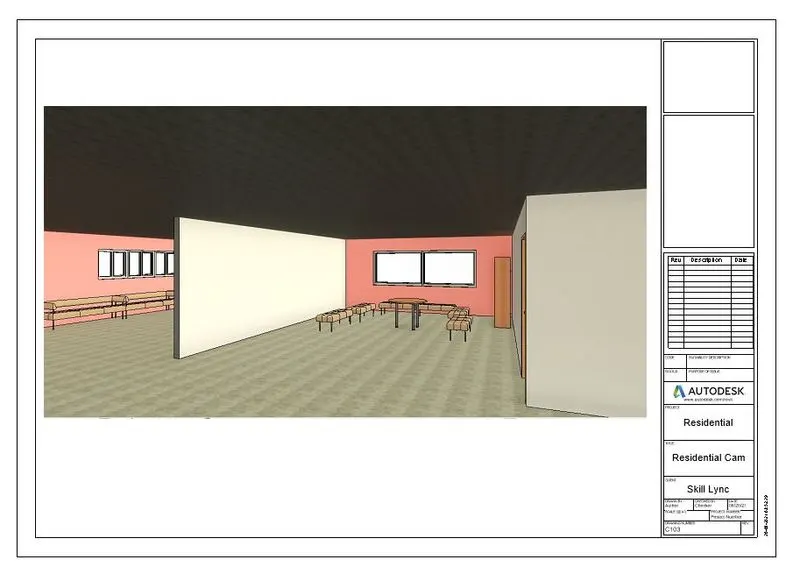
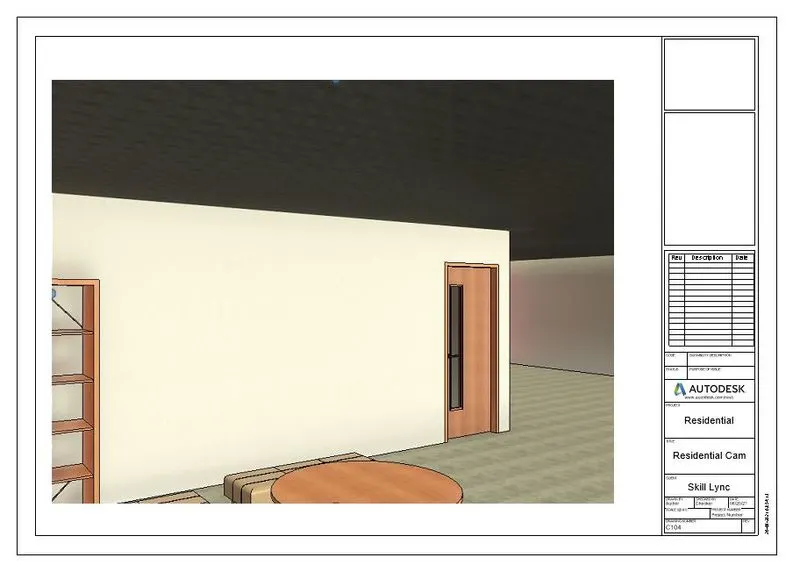
3D Creation of Celing, Roof, Architectural plan, Structural plan, Sectional view, Elevation view and Camera specific view for a house plan using REVIT
Challenge 4
1.
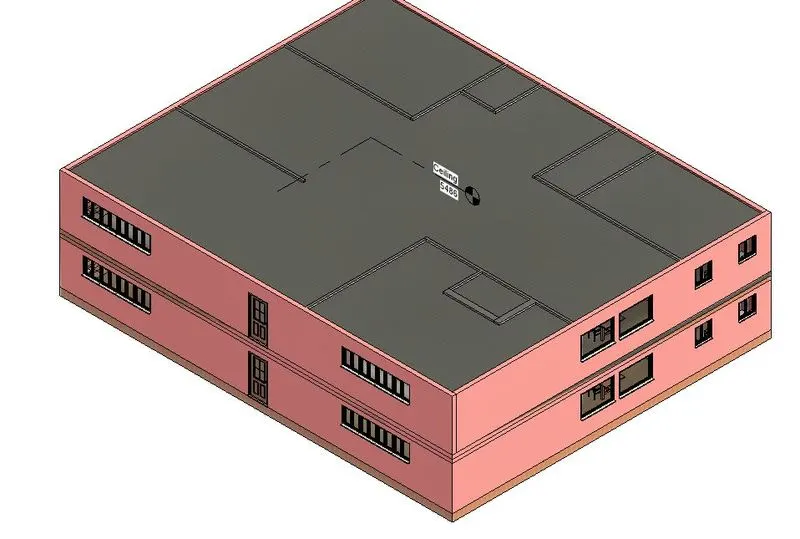
Aim: To model a ceiling from the Architectute tab above the walls at the first floor level
Procedure:
- Open the Revit software, select the project to continue
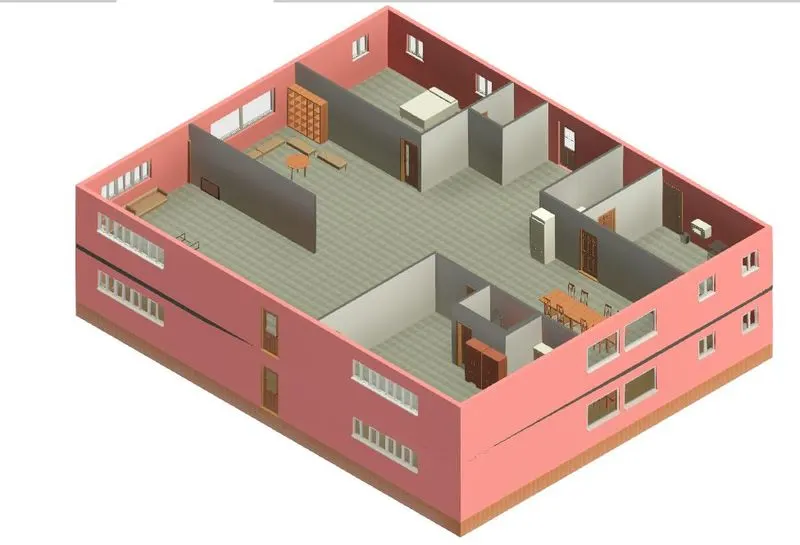
- Select Ceiling option from the architecture toolbar
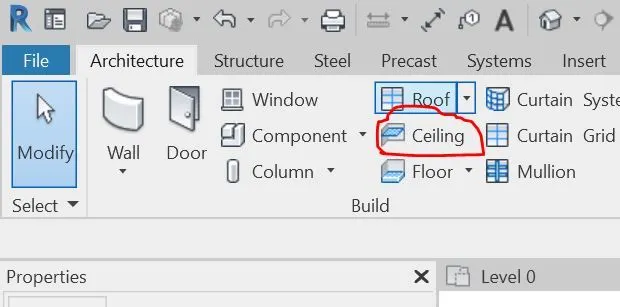
- Now select each room one by one, thus the ceiling will be created
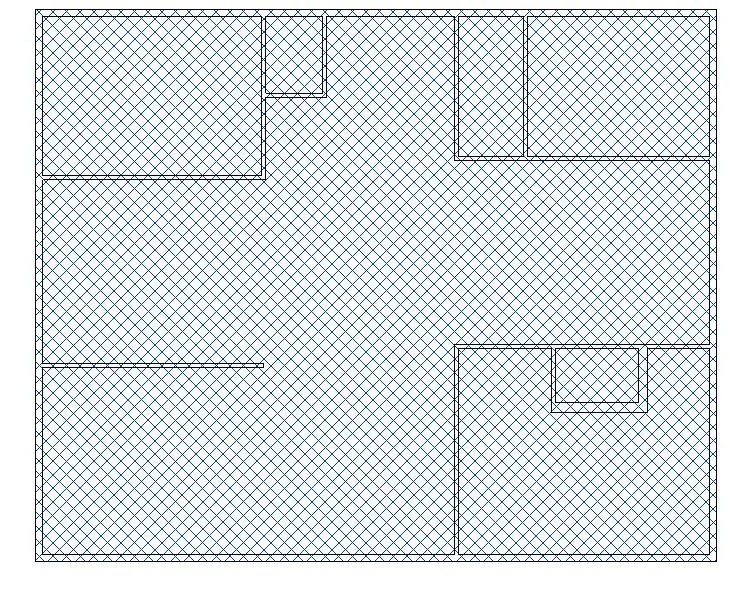
RESULT
2.
Aim: To model a roof above the ceiling by selecting the footprints of the ceiling
Procedure:
- Open the Architectural toolbar, and select Roof by footprint option
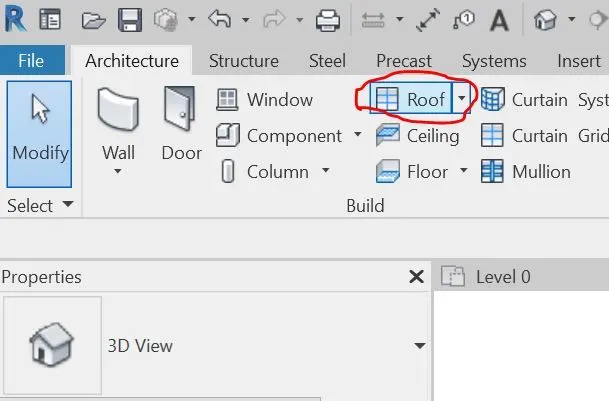
- Select the roof and adjust the roof degree, here the angle is selected as 20 degree
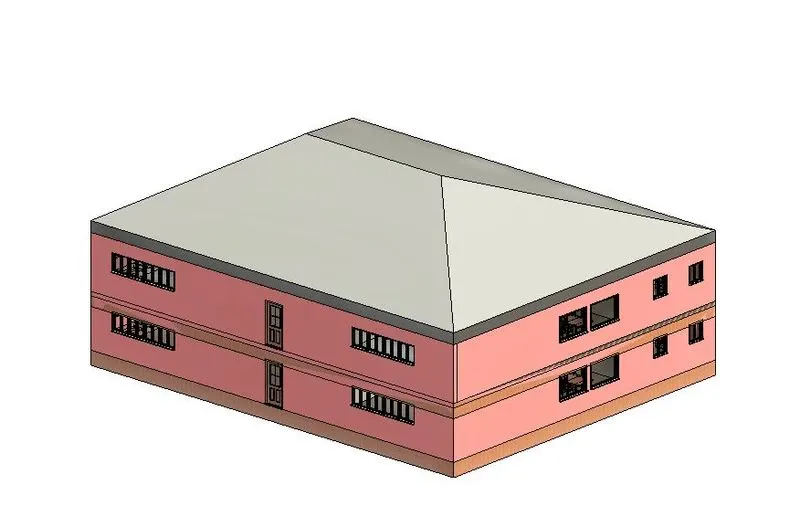
RESULT
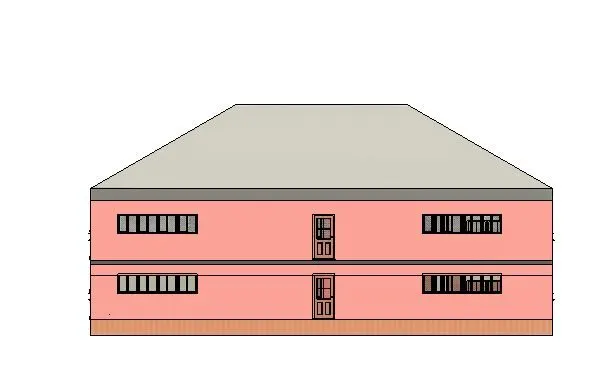
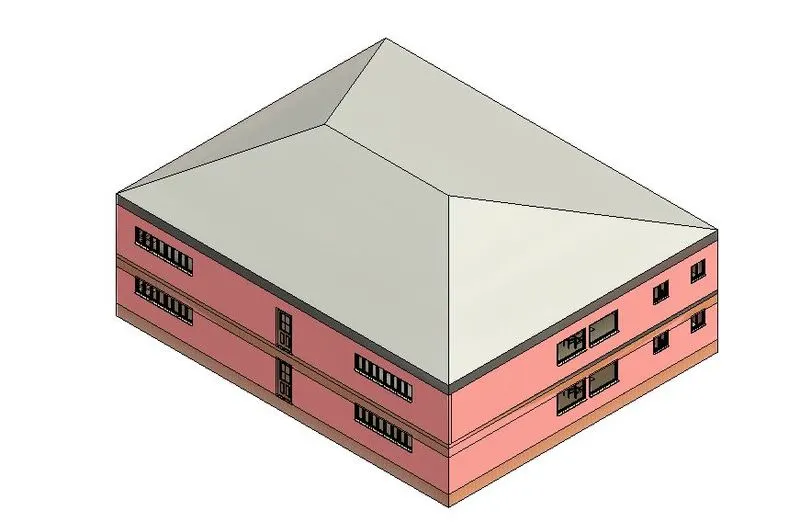
3.
Aim: To create plan views for ground floor level and first floor level including walls, floors and components, and to separate them to architectural and structural plan
Procedure:
- The architectural and structural plans are drawns
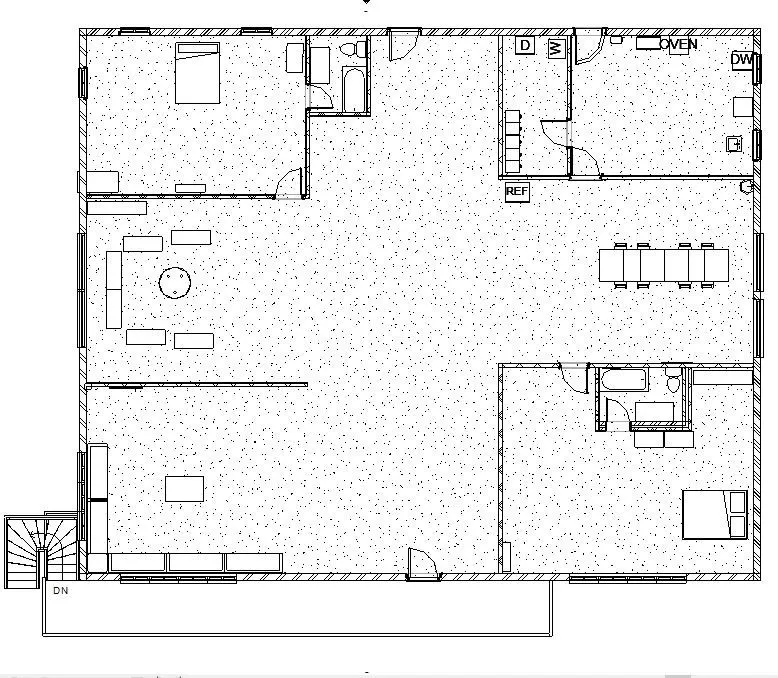
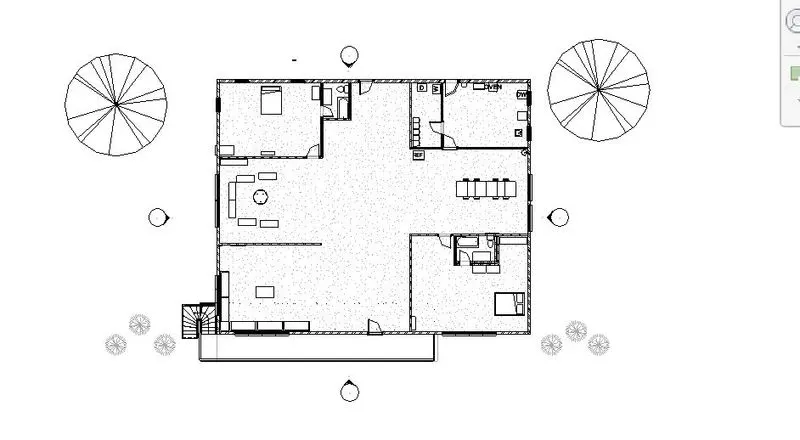
- Now draw the structural plan of the first floor and second floor
RESULT
4.
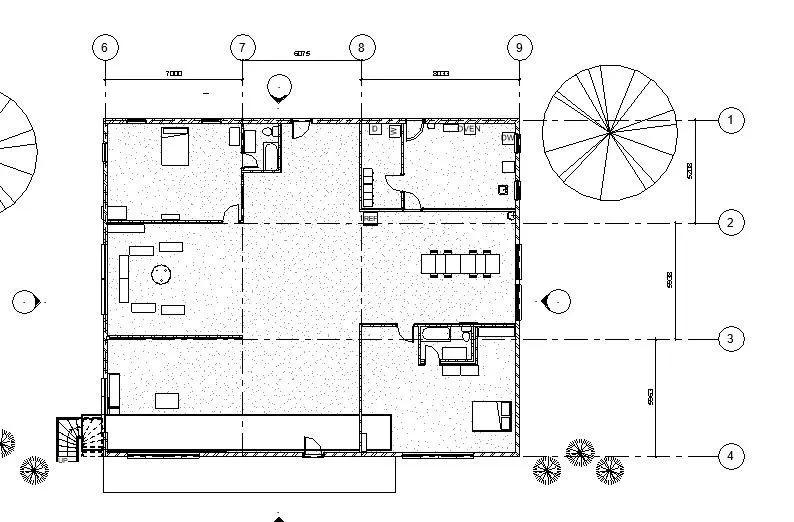
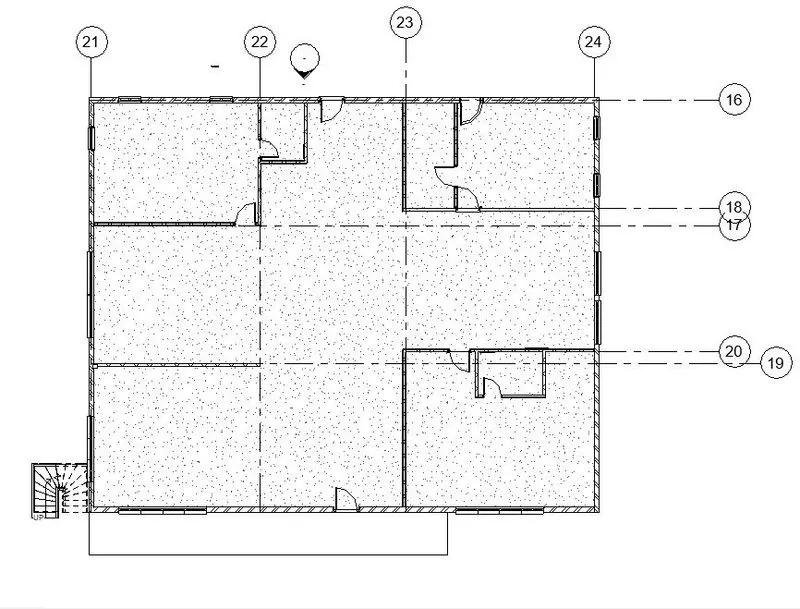
Aim: To add dimensions to all the walls and floors with reference to the longitudinal and transverse grids created in the project file
Procedure:
- Draw the longitudinal and transverse grids to the architectural floor plan
- Now add the dimensions to the architectural plans
- Now draw the longitudinal and transverse grids to the structural floor plan and add dimensions
5.
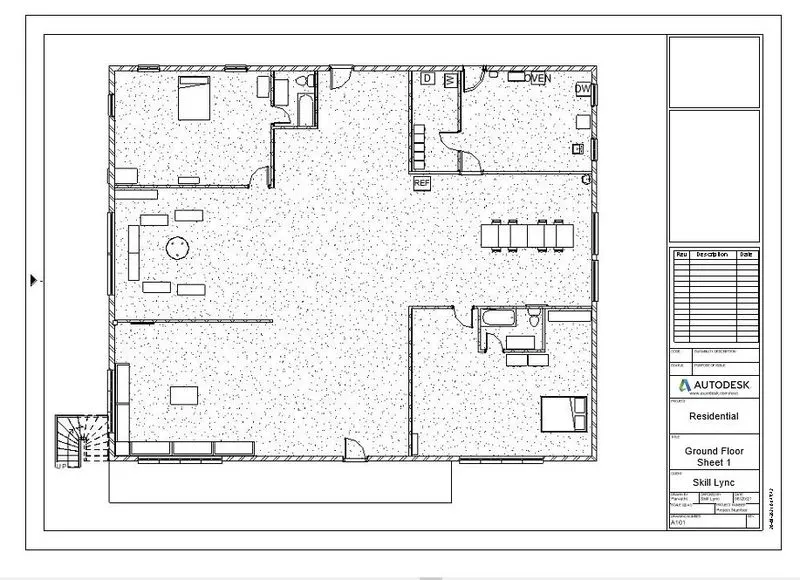
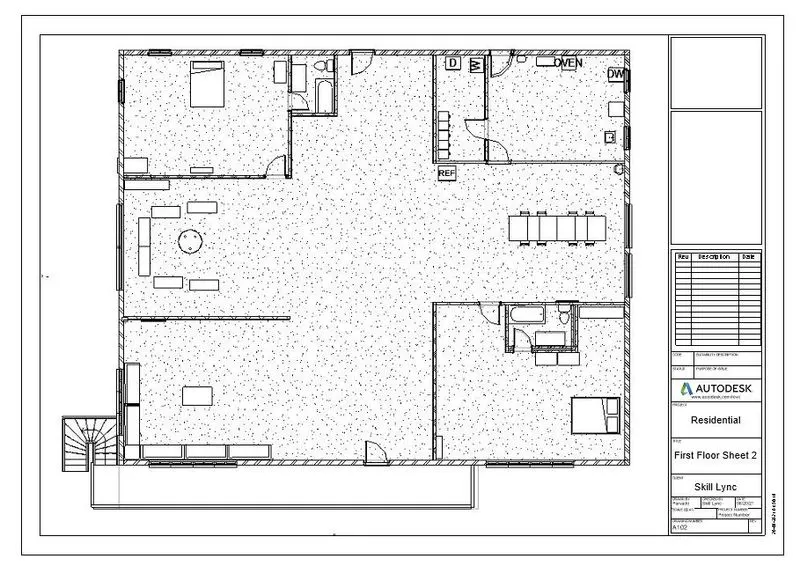
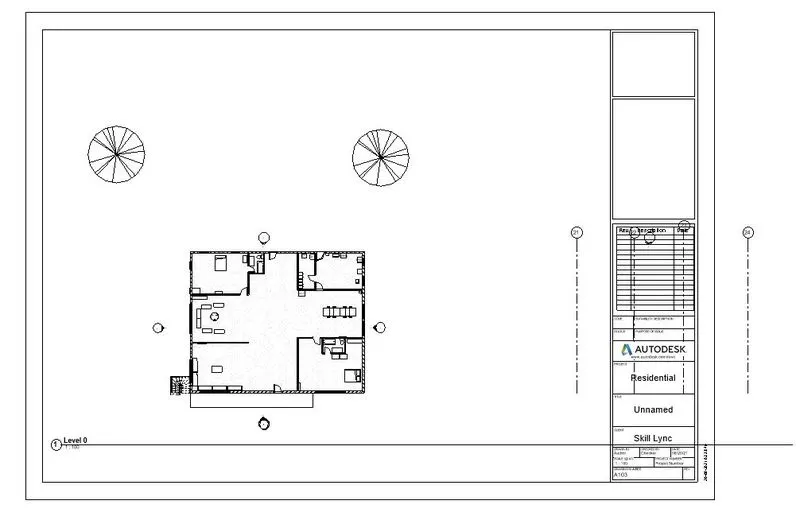
Aim: To create a sheet template from the view tab and adjust the parameters on the sheet to add appropriate views
Procedure:
- Click on the sheet option from the view toolbar
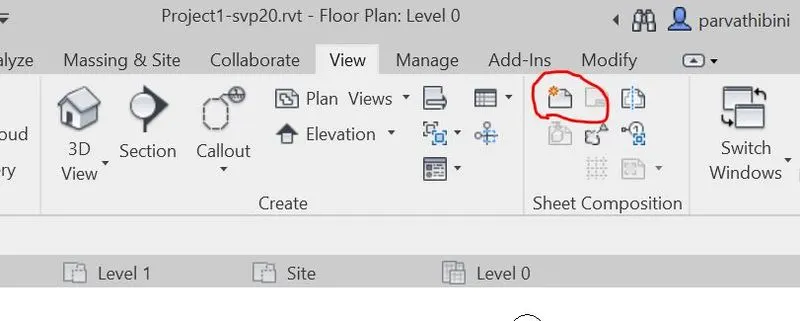
- Now a new tab appears and select A1 metric, then the sheet template will be displayed
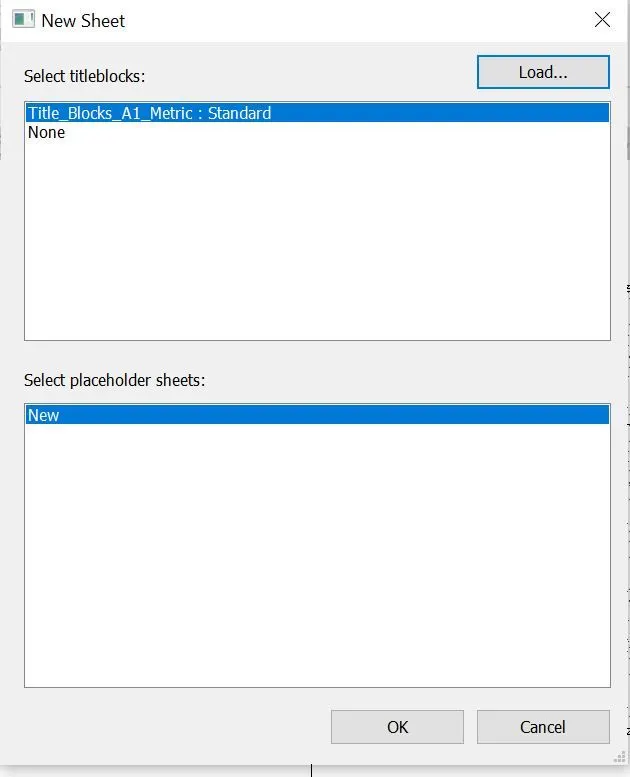
- Now a sheet appears in new tab
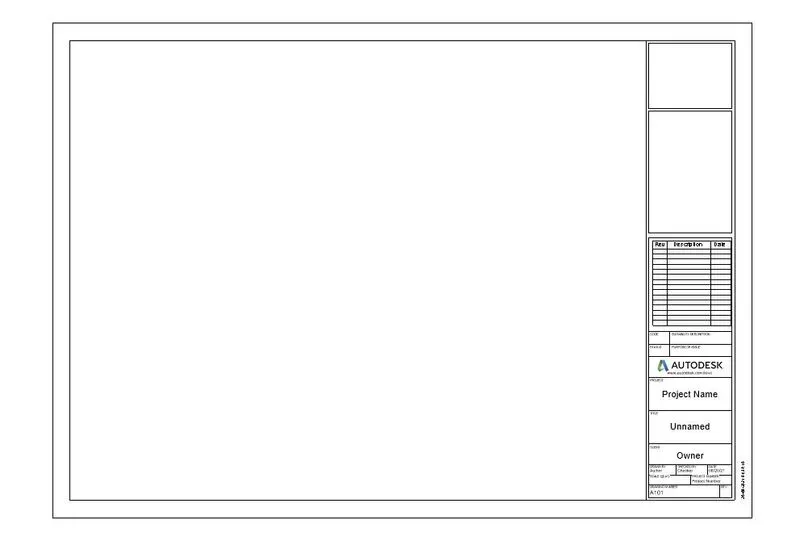
- Now in the sheet template, insert the first floor plan and ground floor plan seperately
- Edit the project name and sheet number
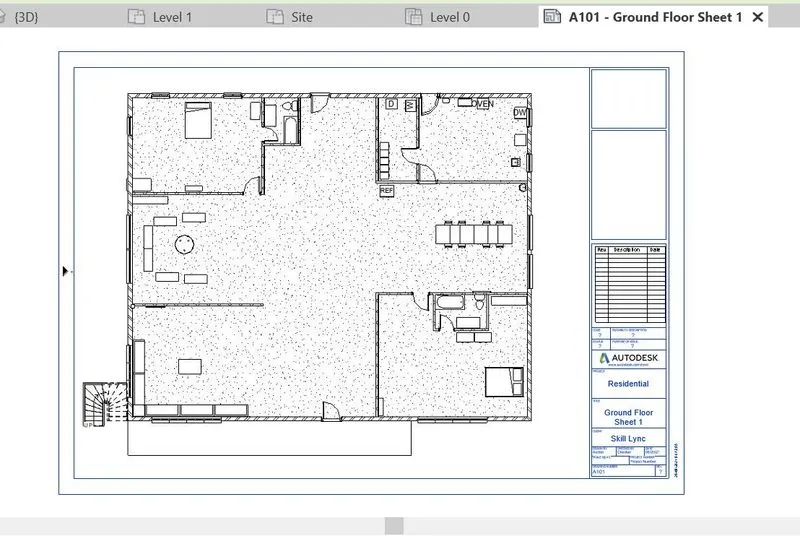
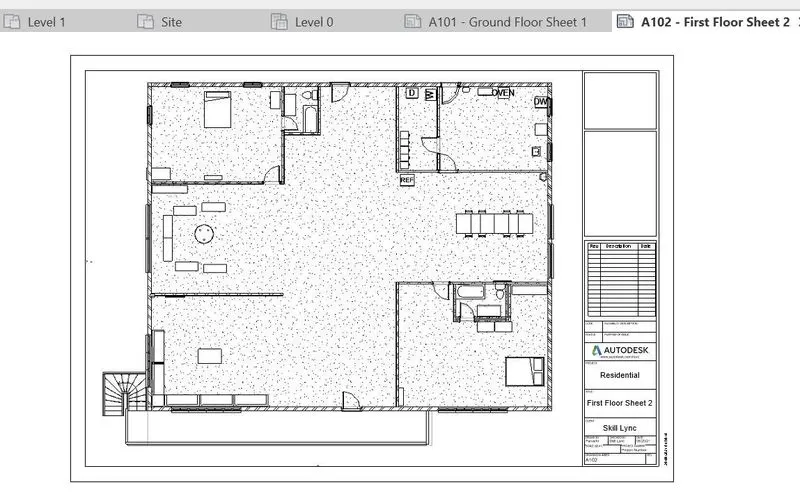
RESULT
6.
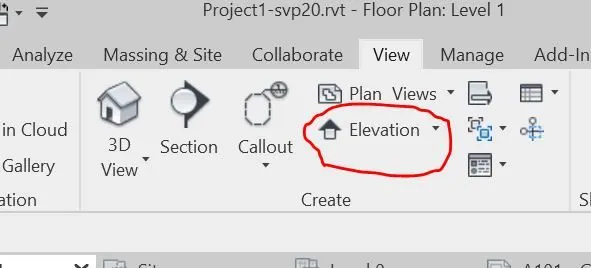
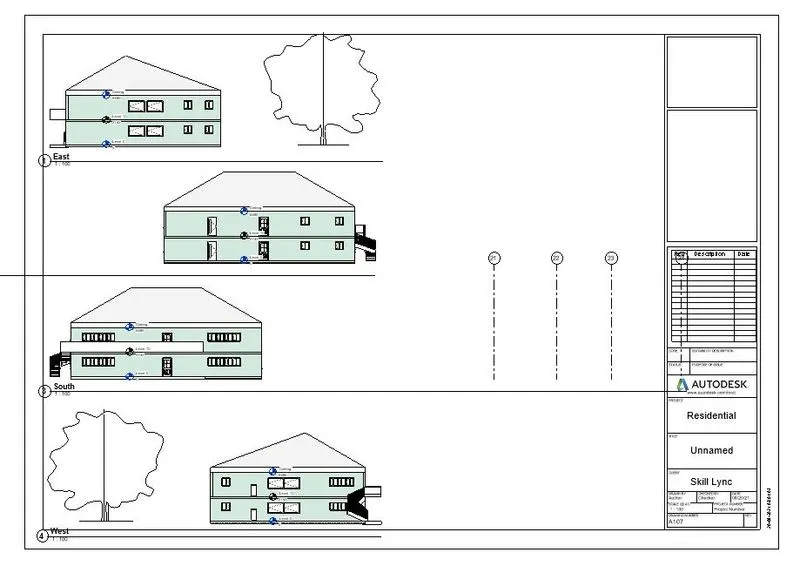
Aim: To create the elevation view, looking at the building from all the four directions using elevation tab
Procedure:
- Click on the Elevation option from the view toolbar
- Now select the elevation from East side
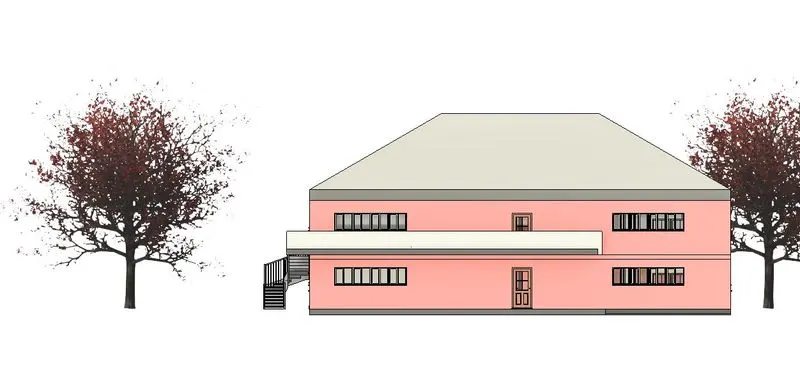
- Now select the elevation from West side
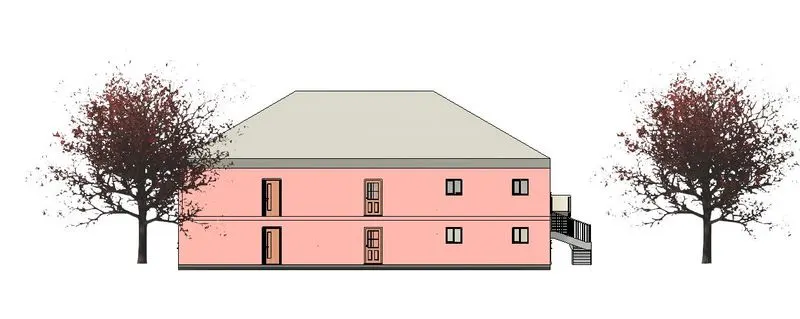
- Now select the elevation from North side
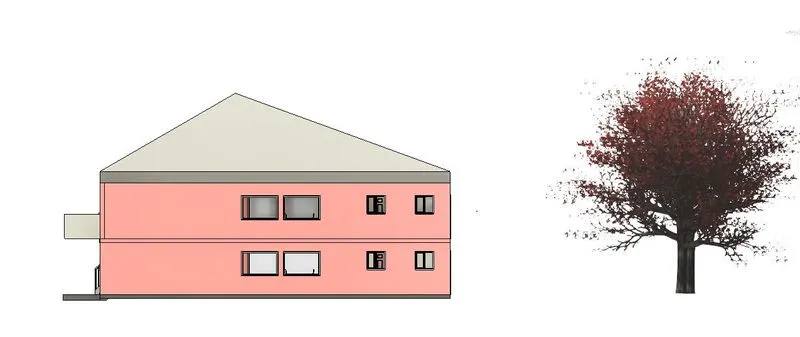
- Now select the elevation from South side
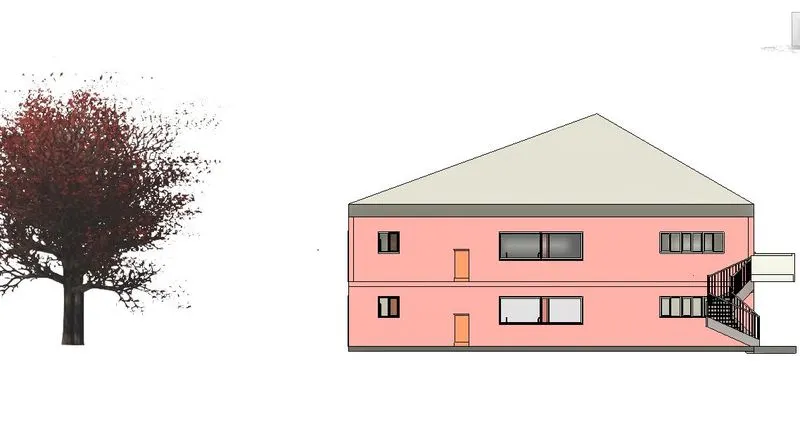
7.
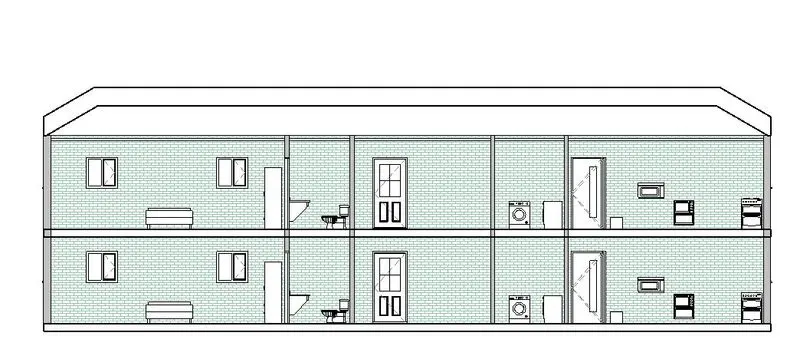
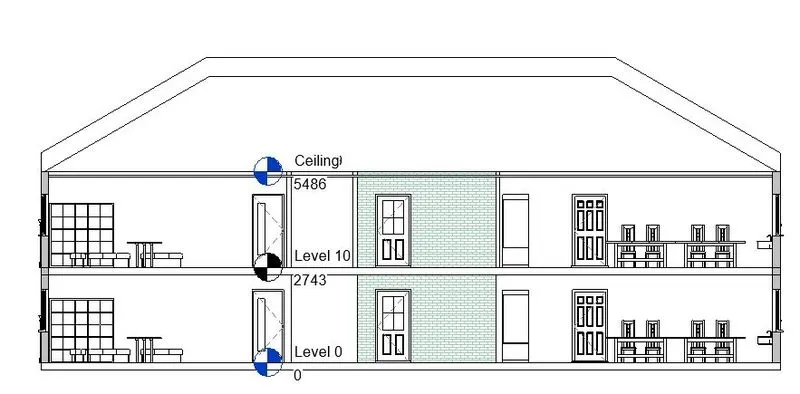
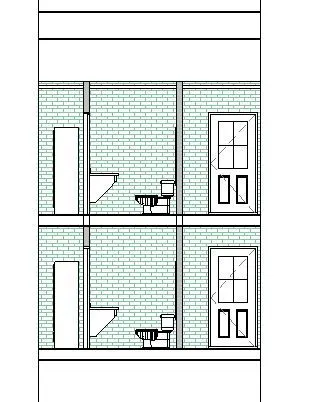
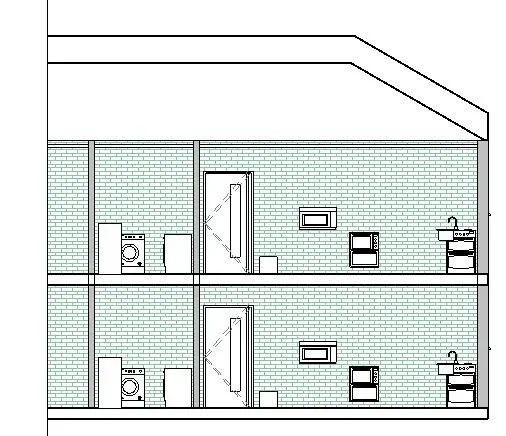
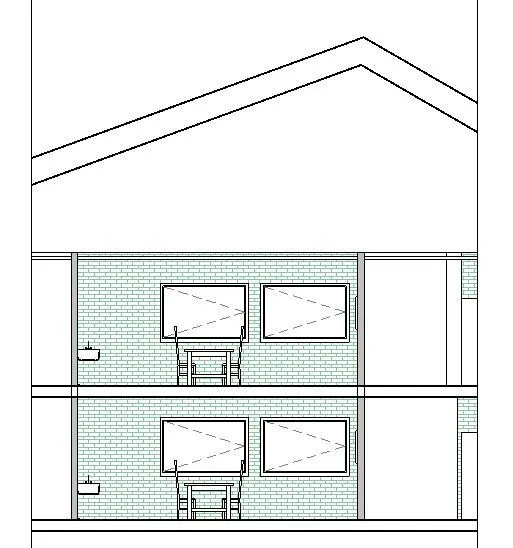
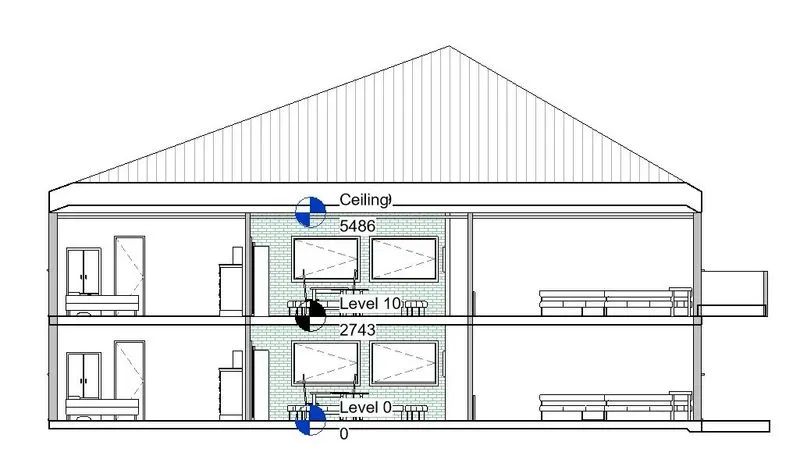
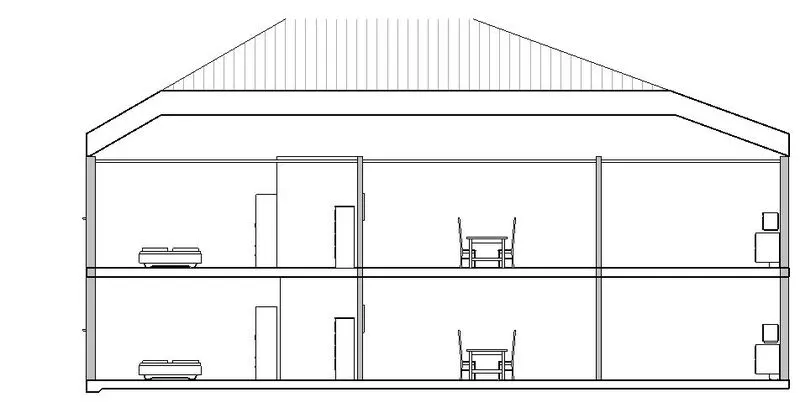
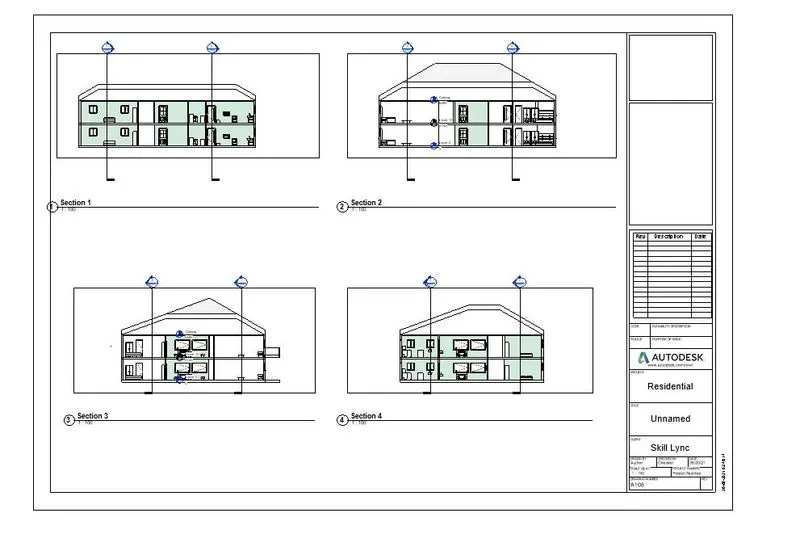
Aim: To produce section cut through each room either cutting across longitudinally or in trnasverse direction
Procedure:
- Click on the section option from the View toolbar
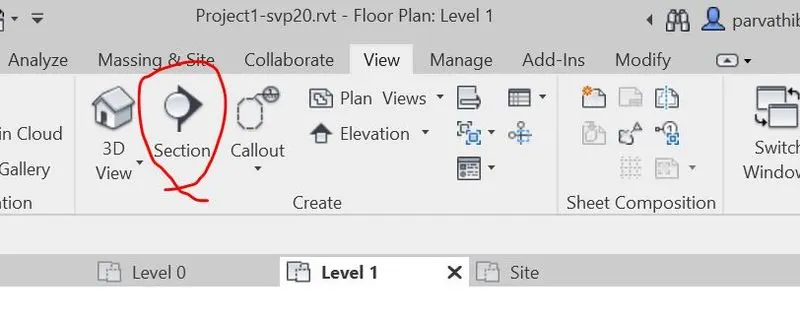
- Now produce the section view of each room
8.
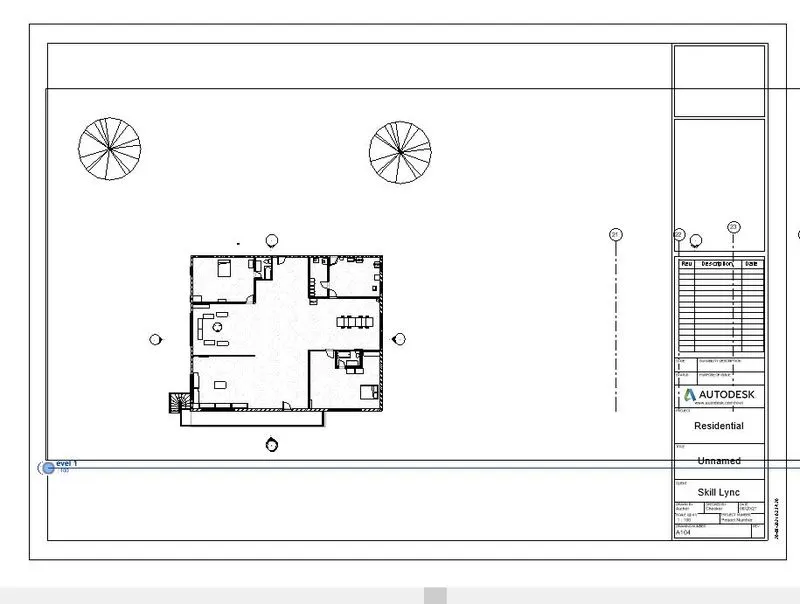
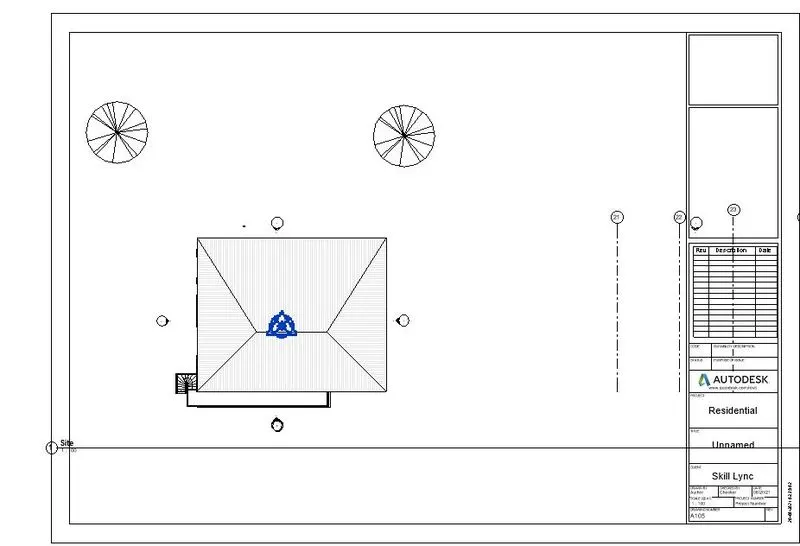
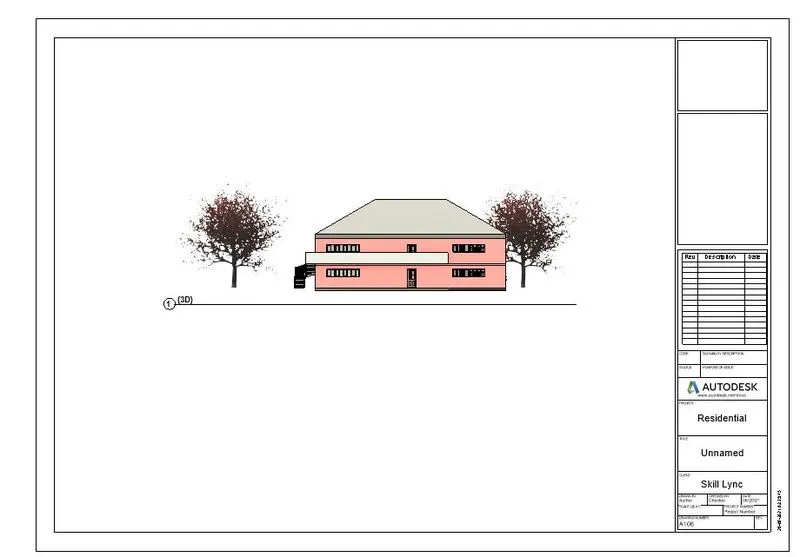
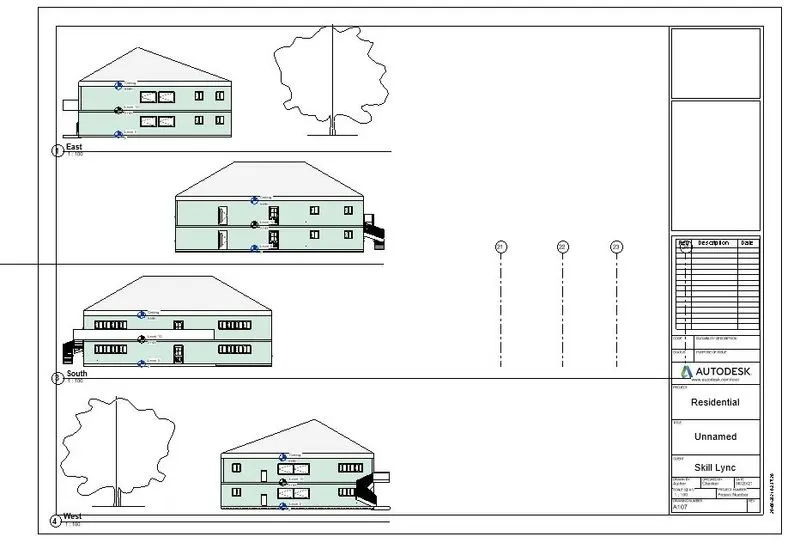
Aim: To classify the views to either design or documentation category using Properties browser
Procedure:
- Open the Project browser, the views, plans, section and elevation
- Now insert these plans one by one in the sheet separately
9.
Aim: To create the multiple sheets and produce the drawings in the sheets, from the given drawing list
Procedure:
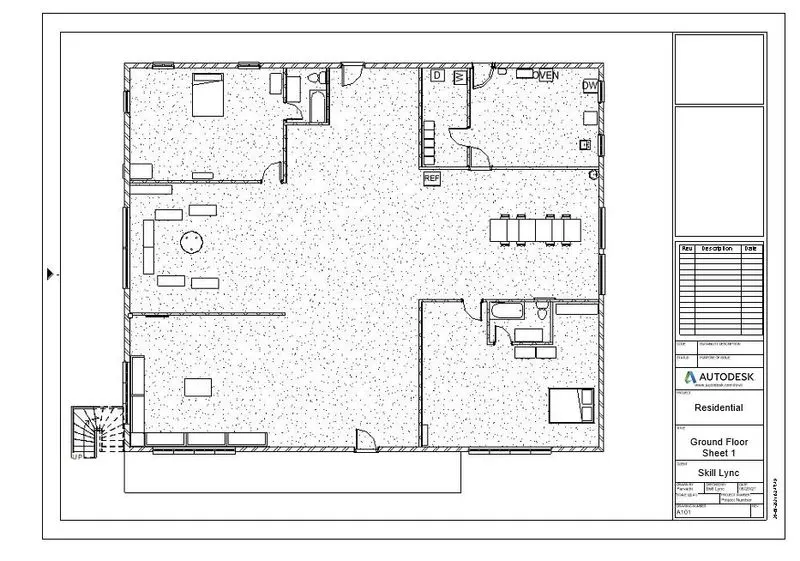
- Produce the Ground floor architectural plan in the sheet template A101
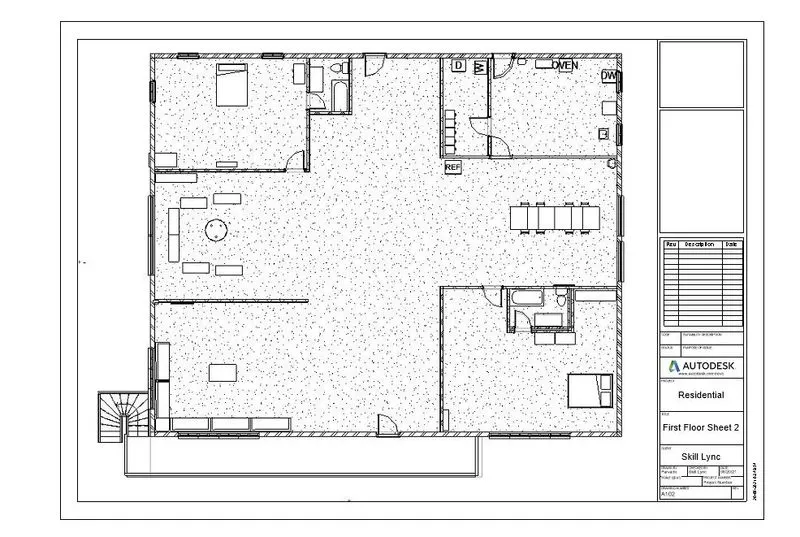
- Produce the First floor architectural plan in the sheet template A102
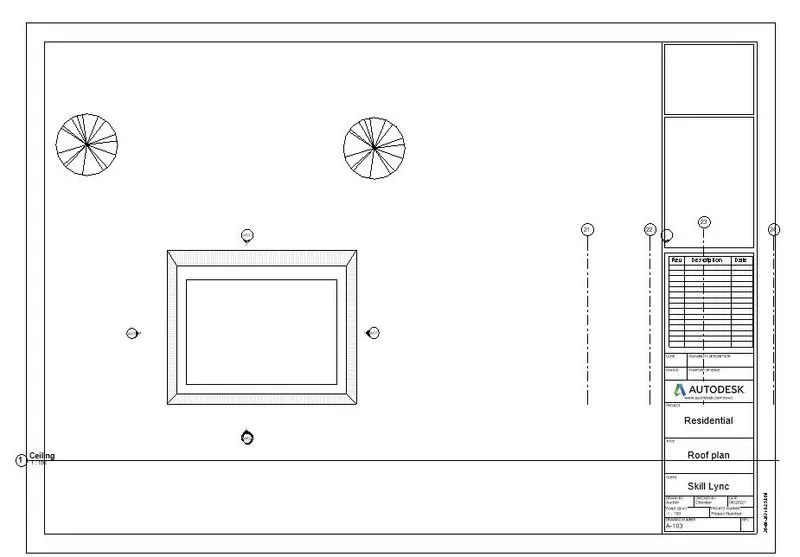
- Produce the Roof plan in the sheet template A103
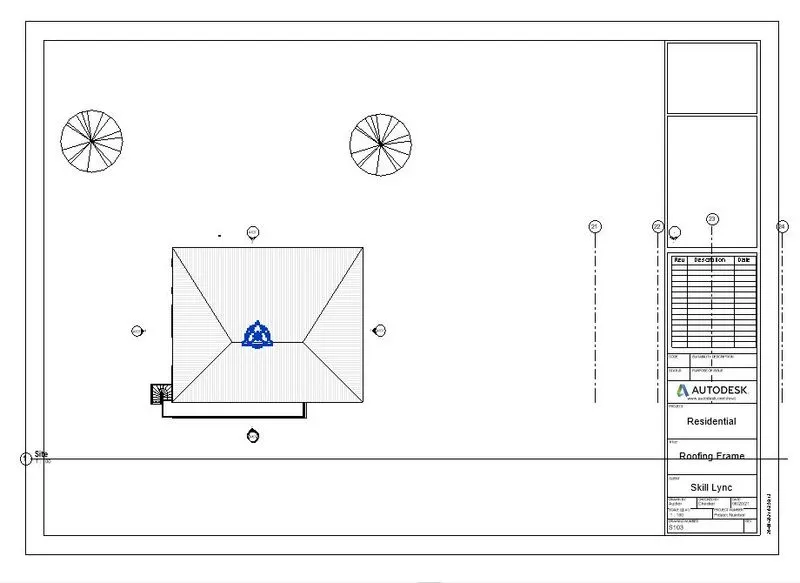
- Produce the Roofing frame plan in the sheet template S103
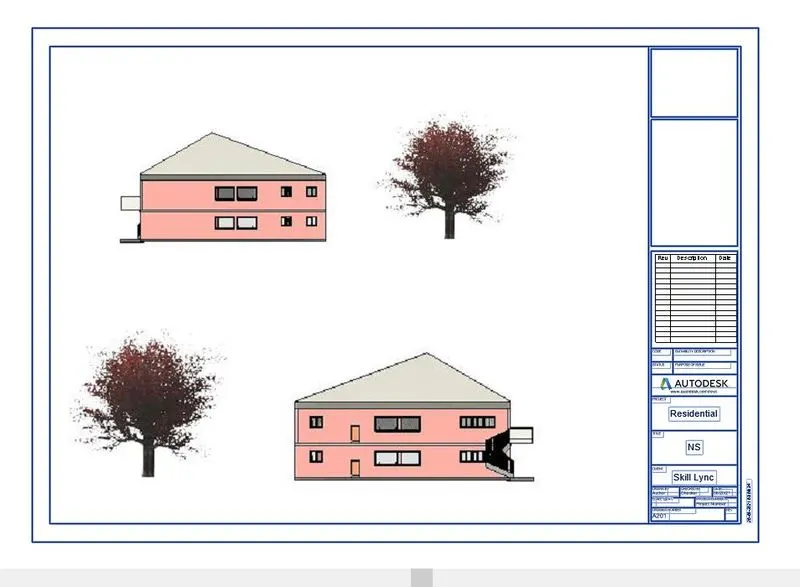
- Produce the North-south elevation in the sheet template A201
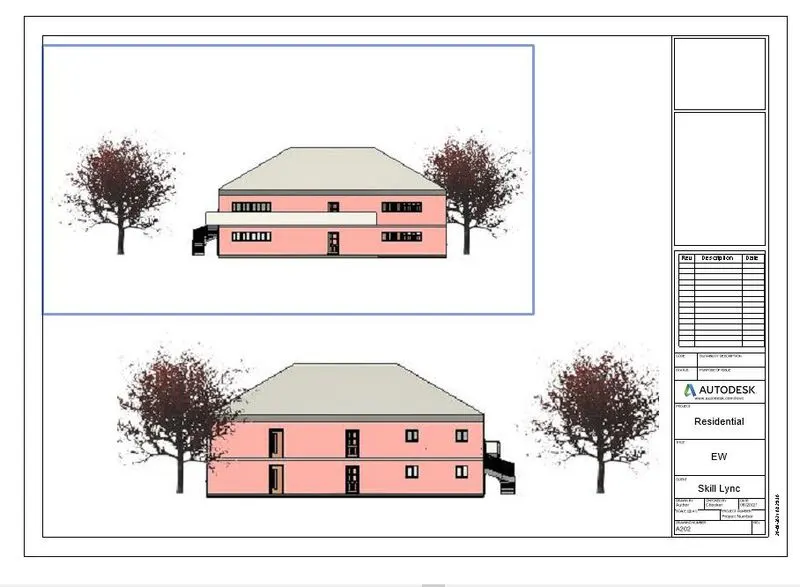
- Produce the East-West elevation in the sheet template A202
10.
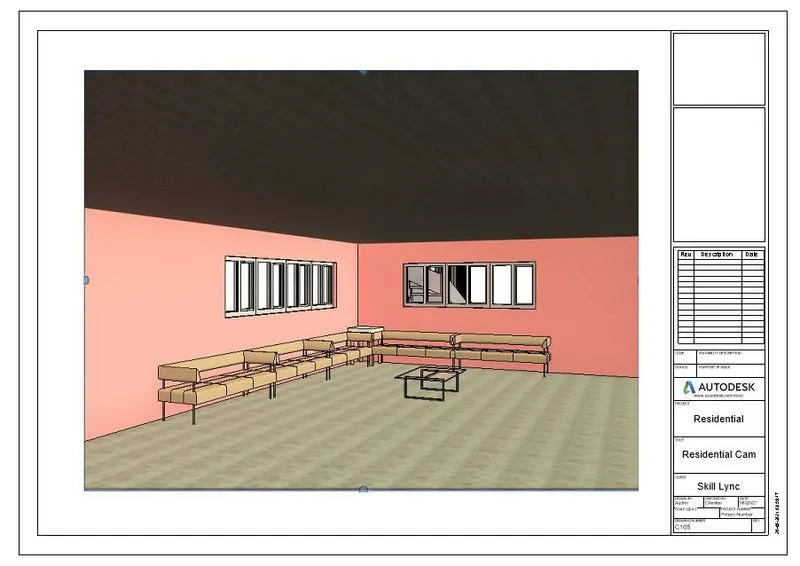
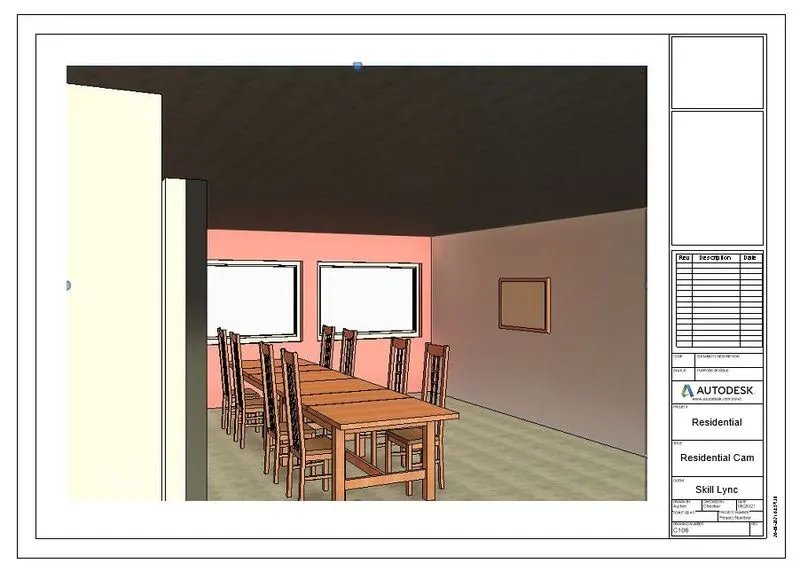
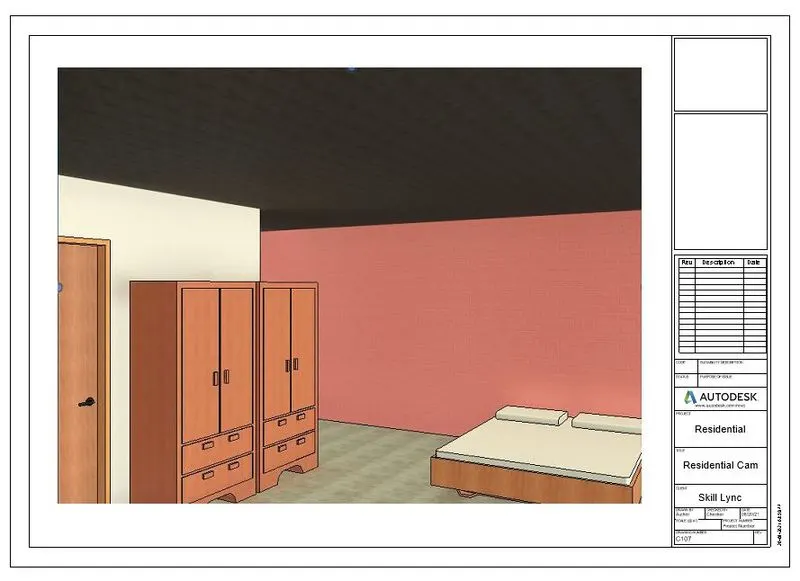
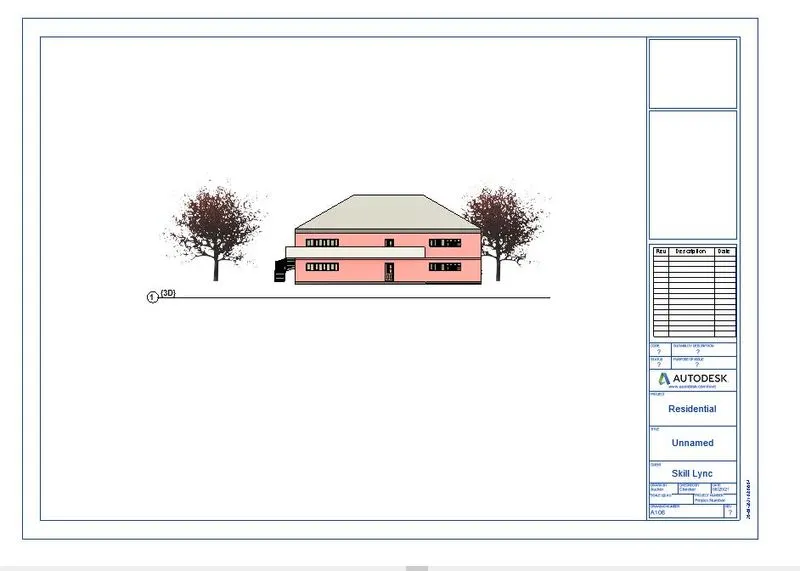
Aim: To create a camera-specific view or a 3D view in each room
Procedure:
- Create a sheet with any name.
- Now take the floor plan and place the camera in each room