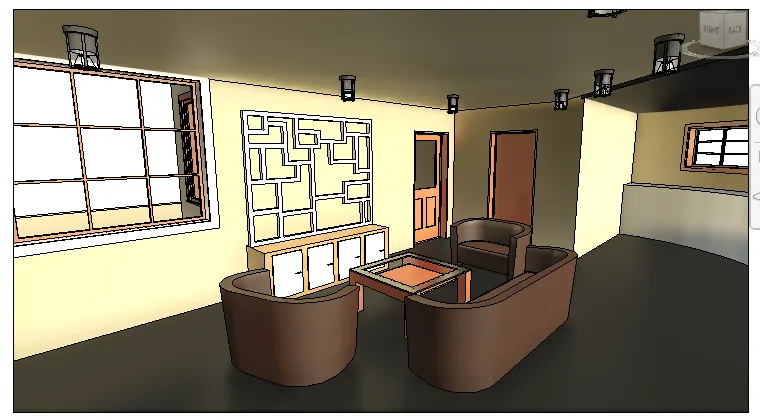
3D Creation of Celing, Roof, Architectural plan, Structural plan, Sectional view, Elevation view and Camera specific view for a house plan using REVIT
AIM: 3D Creation of Celing, Roof, Architectural plan, Structural plan, Sectional view, Elevation view and Camera specific view for a house plan using REVIT
PROCEDURE:
1.
Firstly open the existing file from the previous challenge.
Make sure that the view is in the level one which is groung floor.
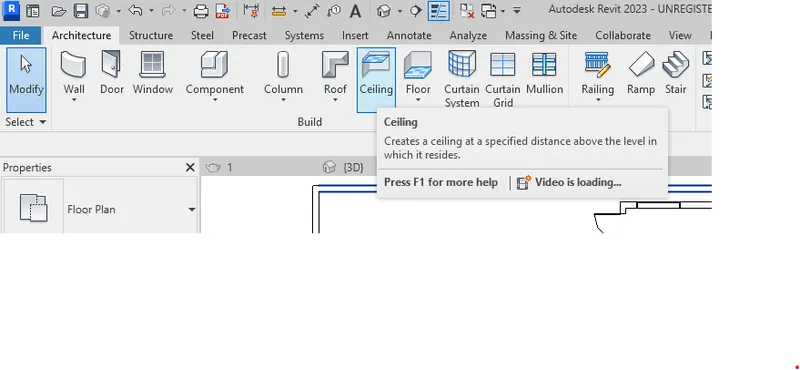
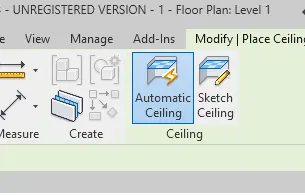
Then select the ceiling option from the architecture ribbon, that gives us the two method to draft the ceiling automatic and method.
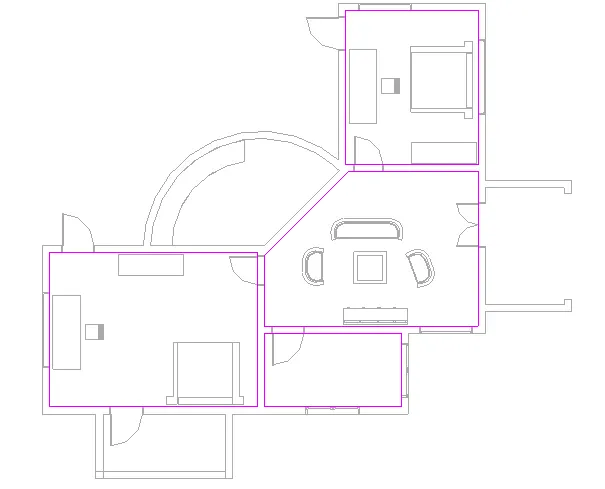
With the sketching method the boundary line of the ceiling as per the size of the room should be created.
Then complete the ceiling model, the ceiling should be created by the time.
2.
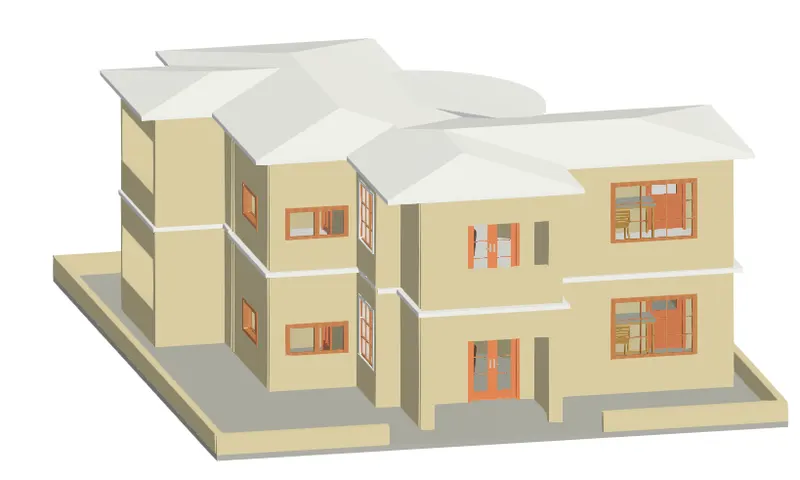
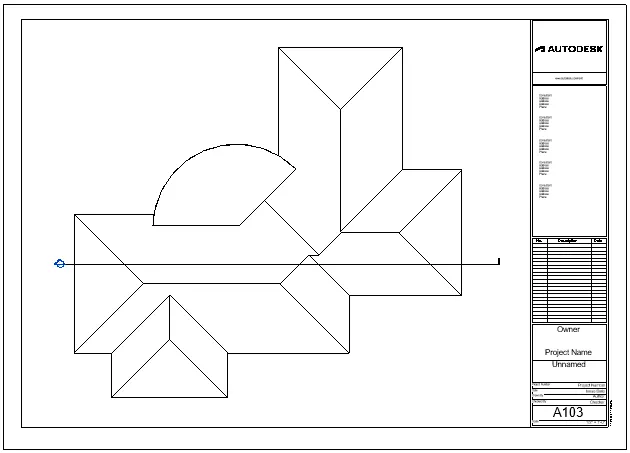
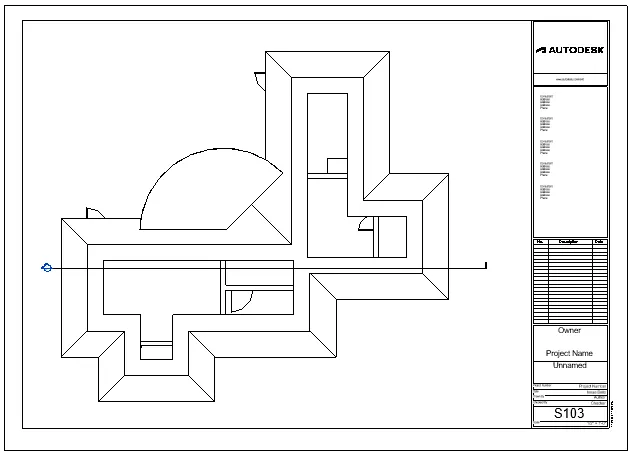
In the same as the ceiling is created roof is also created by sketching the boundary lines of the roof.
Select the roof option from the architecture ribbon > use the floor by level method. Make sure the base of the roof is on the level 2.
If the roof need to be slope, select the boundary lines and check mark the define slope option.
and enter the slope angle in property browser as 10 degree.
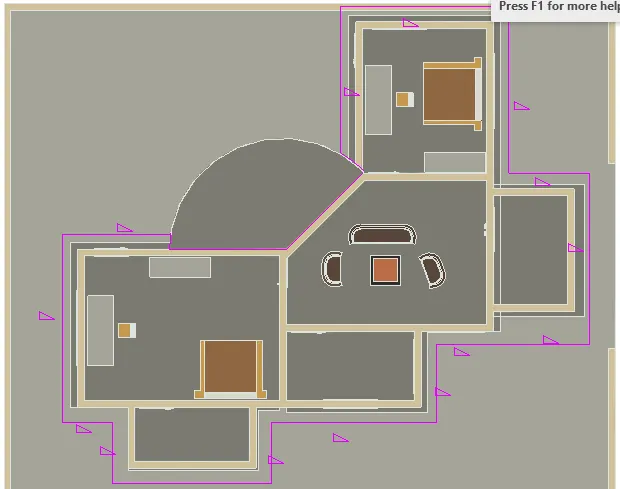
3. Using the place the component option in the architecture ribbon tab, select the option. Now from the modify tab select the load family option.
The revit library open and we do select the appropriate component like beds, couch, table, kitchen cabinet, storage facilities.
When it comes on doors and windows, it has the direct ribbon on the on the architectural tab.If we need to different type of doors and and windows, now we have to use the load family option from the modify tab. And place the component on the wall.
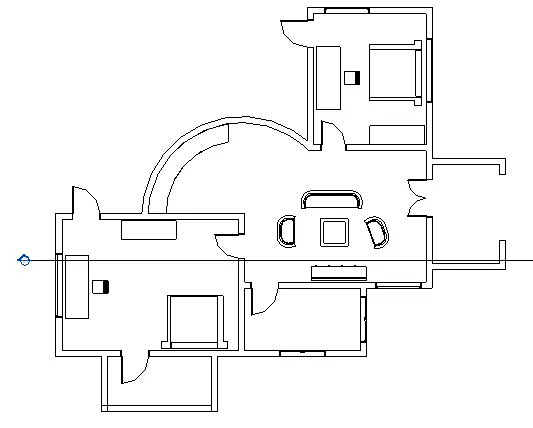
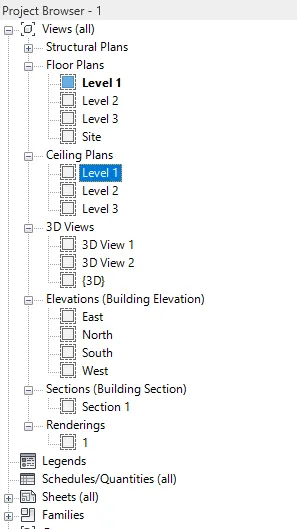
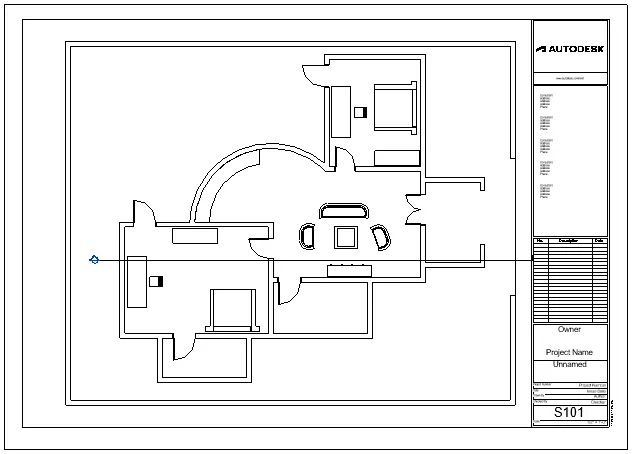
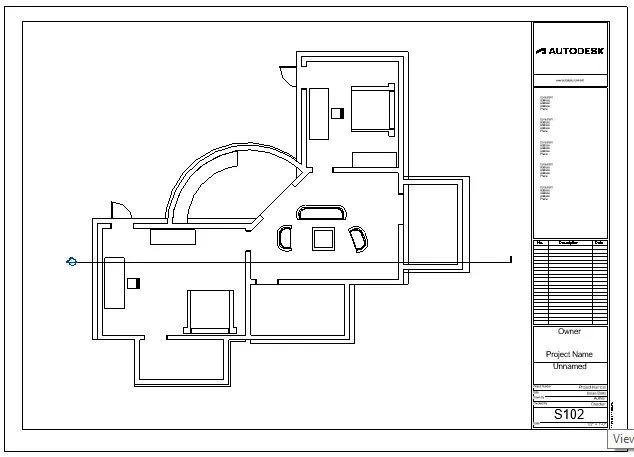
To show the seperate view for the architectual and structural plan, select the view tab > drop selec the plan view > select the architectural plan, for structural view select the plan view and select the structural plan option.
4.
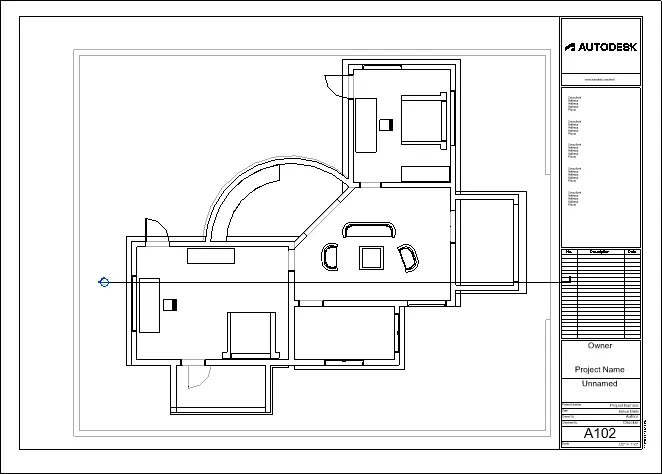
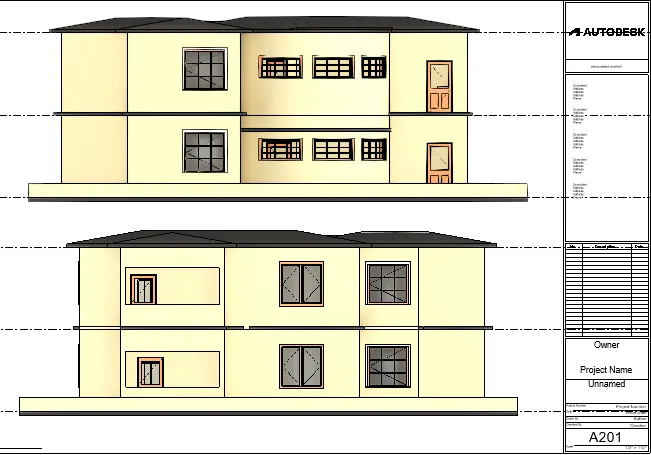
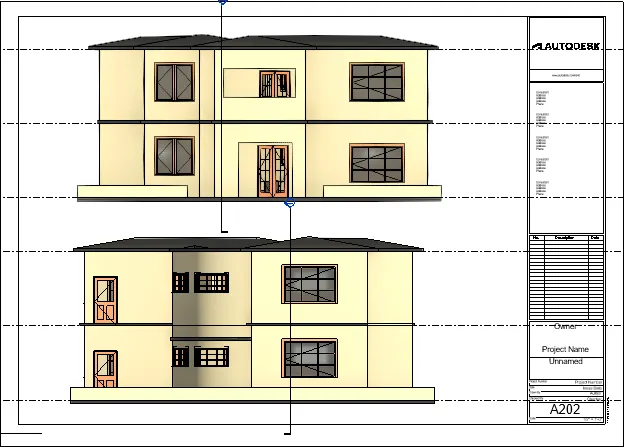
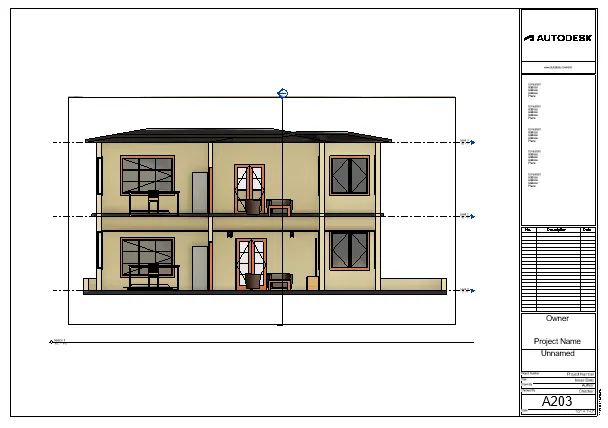
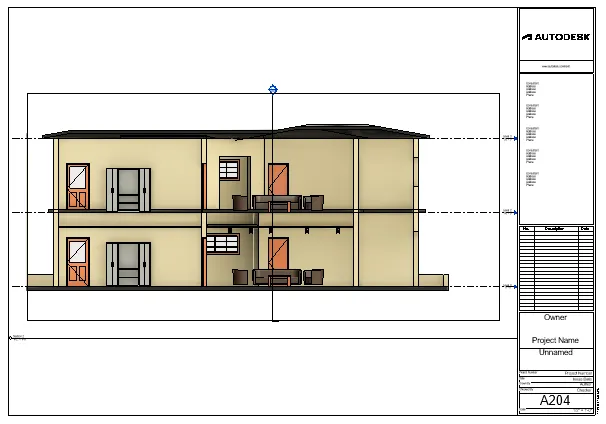
5. To create the template sheet select the view tab > select the sheet icon from the sheet composition ribon > select the size of the sheet > click drag the view to the sheet.
place the view properly on the sheet and adjust the size with sacale option in the property browser toolbar.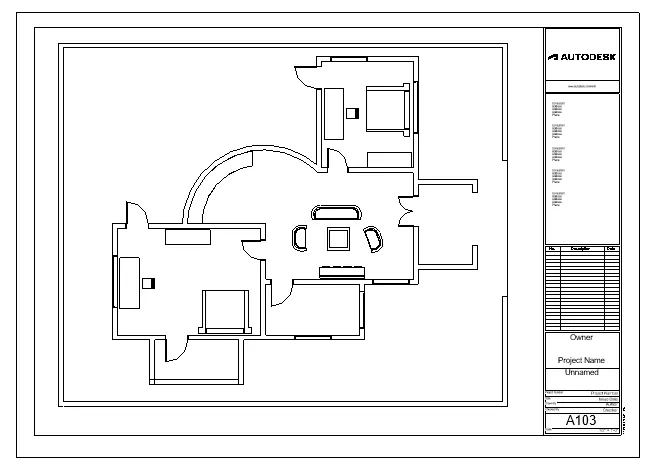
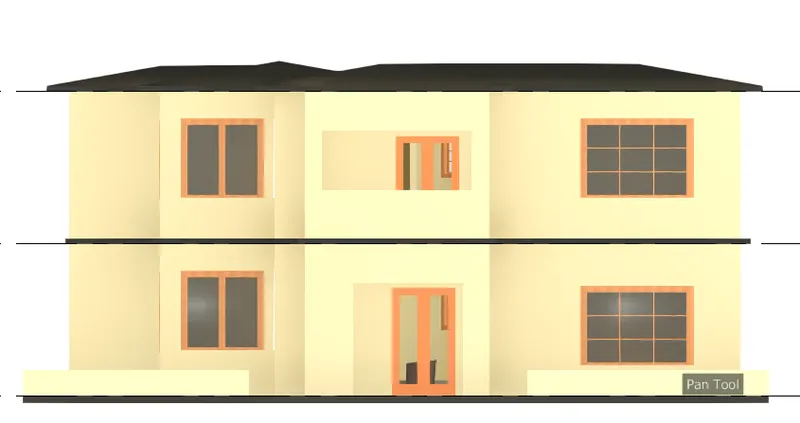
6. from the project browser select the elevation header, in the there select every direction to toggle into the view.
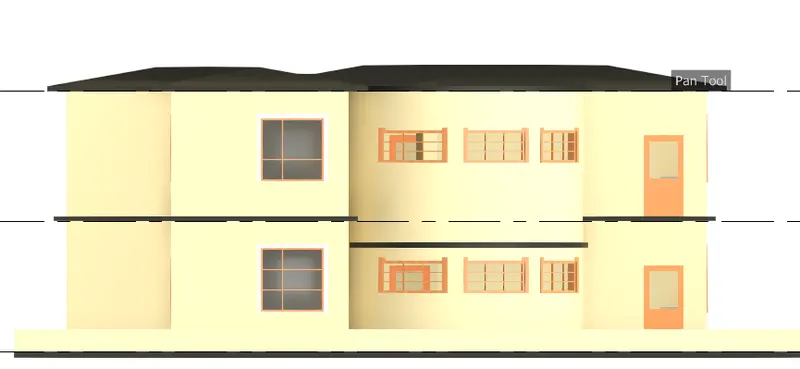
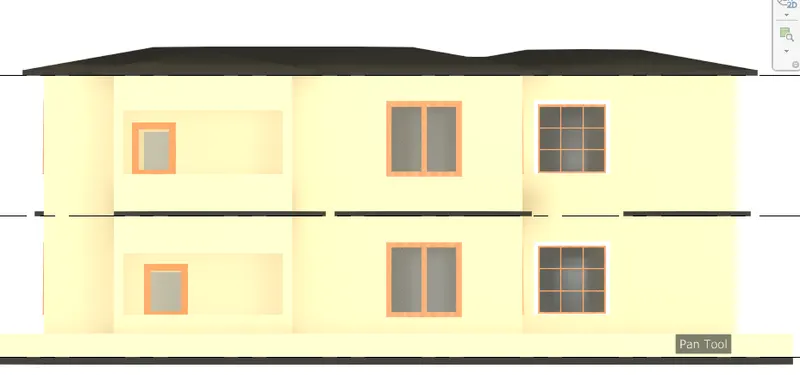
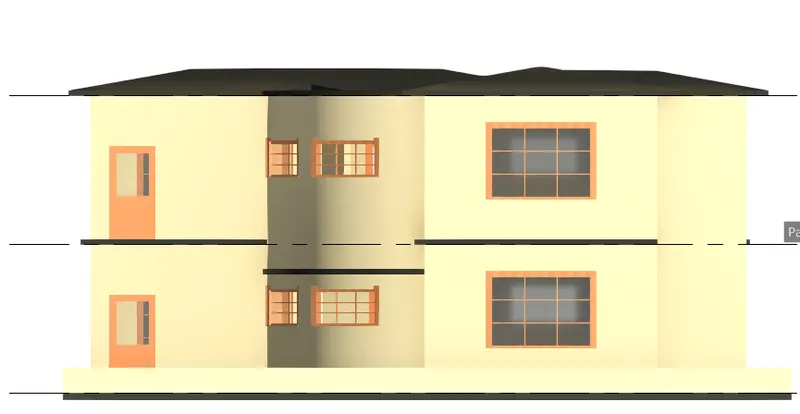
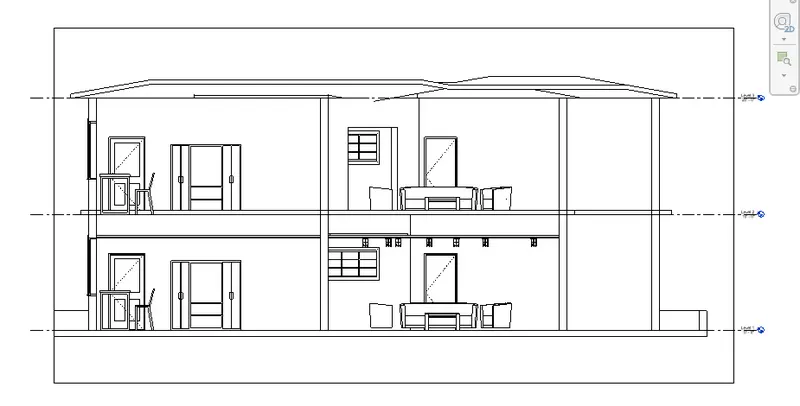
7. go to the view tab > select the section option > select the section area with the section line.
8.
9.
10. On the view tab select the drop button on the 3d icon > select the camera option > click on the layout and drag on the direction we wish the view should be.