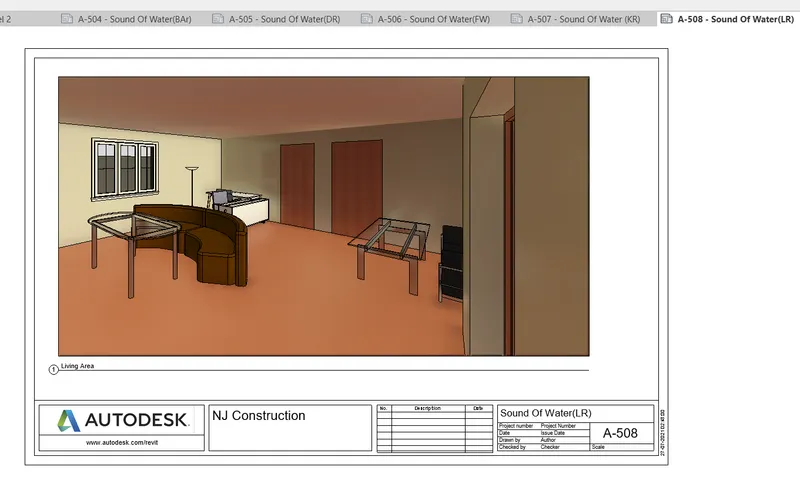
3D Creation of Celing, Roof, Architectural plan, Structural plan, Sectional view, Elevation view and Camera specific view for a house plan using REVIT
26/07/21
ANSWER
1) Based on the project saved from Week 3, proceed from the First Floor Level.
Model a Ceiling from the architecture tab above the walls at the first-floor level.
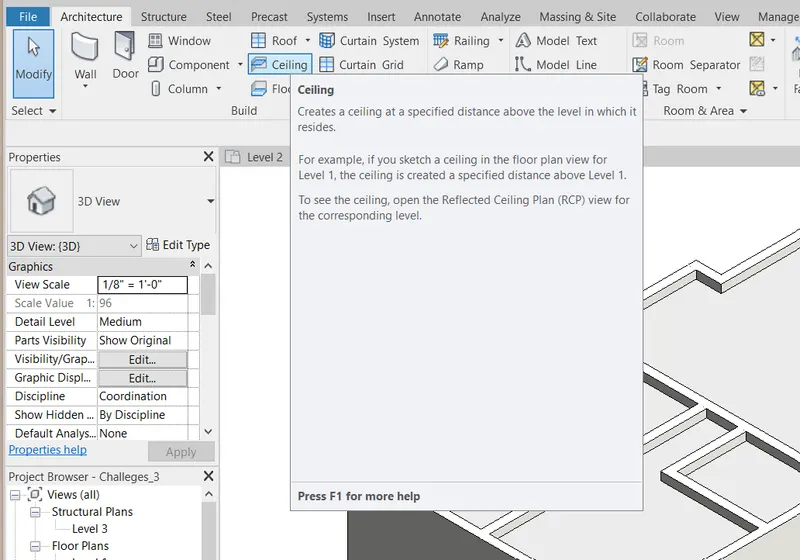
Step-1 uses the Revit software to make the ceiling option from the architecture.
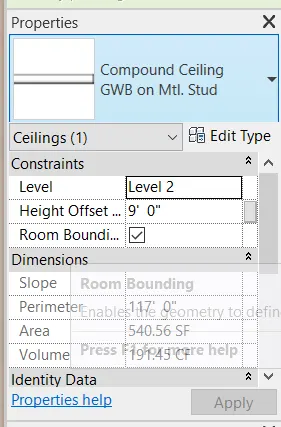
Step-2 After selecting the ceiling option use the arrow to select the boundary to create the ceiling.
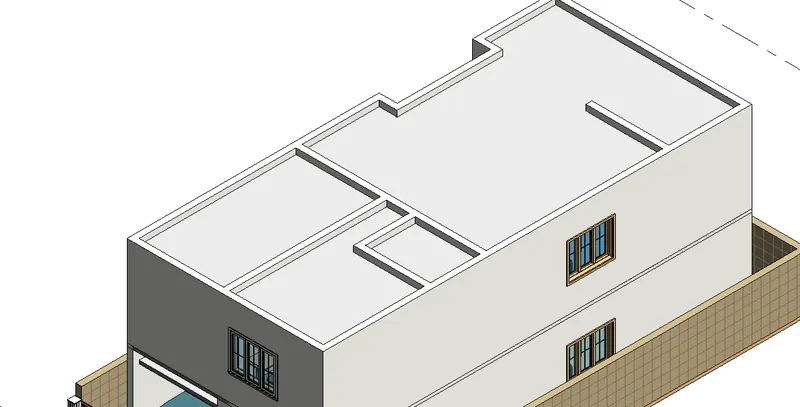
2) Model a roof above the ceiling by selecting the footprints of the ceiling. Using the adjustment toolbars appearing on-screen adjust the roof slope to 10 degrees
Step-1 make the ceiling
- uses the Revit software to make the
- ceiling by selecting the footprints of the ceiling option
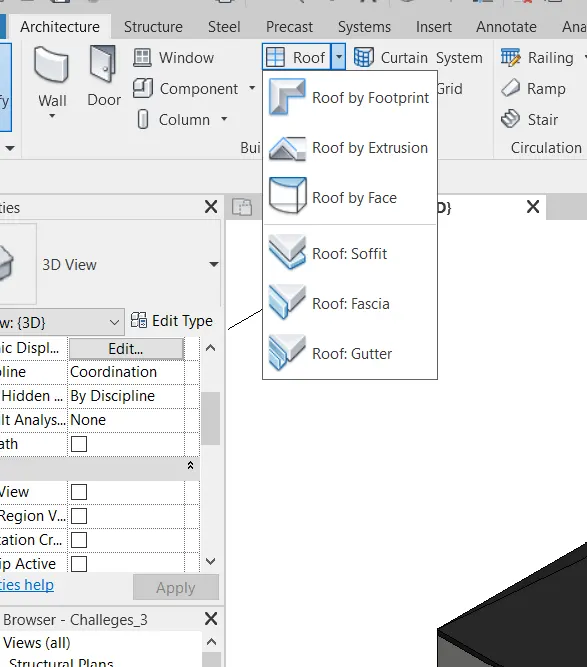
Step-2 appearing on-screen adjust the roof slope to 10 degrees
- use the properties tab to change the slope as a 10
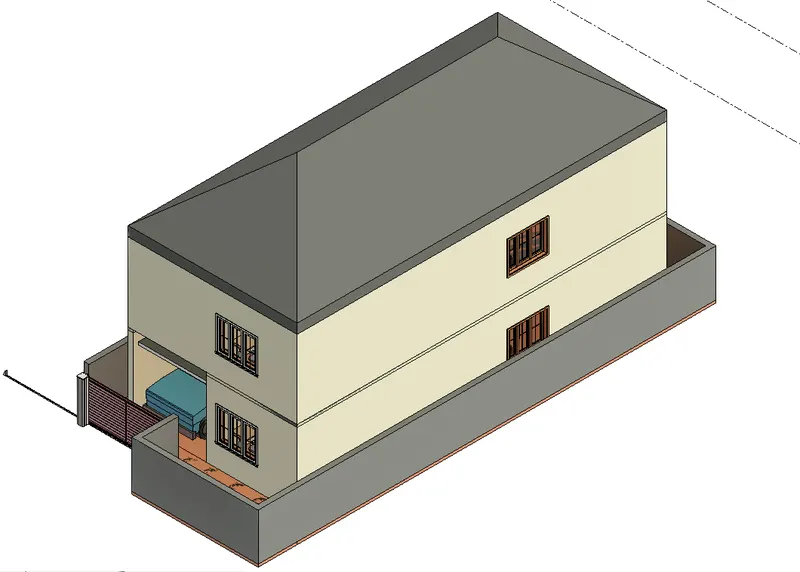
3) Using the file saved from weeks 2 to 4, create plan views for ground floor level and first-floor level including all the walls, floors, and components. Separate them to
architecture and structural plans
As per the required, we made the week 2 file save as a week 4.
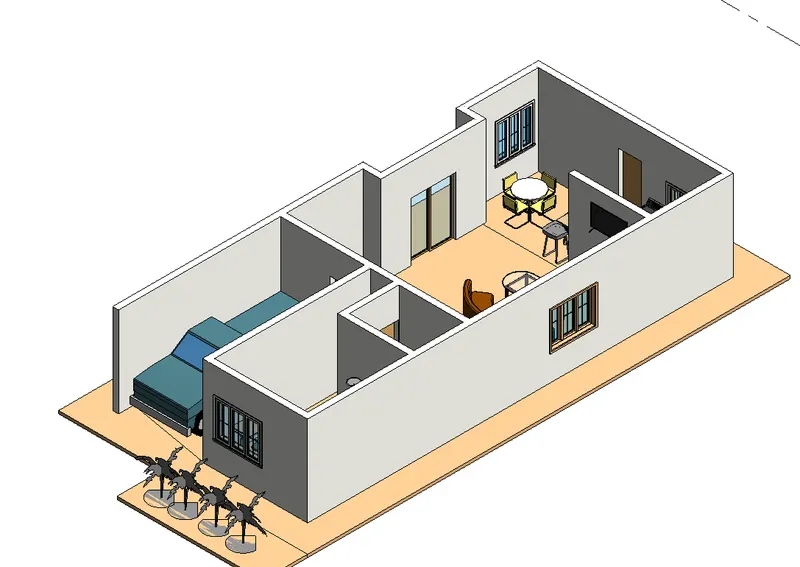
a. Architecture plan must have walls, floors, and all the components placed within the building
Walls
- Architecture tab>wall
- it helps to create the wall around the floor and create the partition.
Floors
- Architecture tab>floor
- it helps to create the floor for the middle surface.
Doors
- Architecture tab>doors
- it helps to create the door for the opening.
Windows
- Architecture tab>window
- it helps to create the window for ventilation purposes.
TV
- Architecture tab>components
- to import the for the library.
Cabinet
- Architecture tab>components
- it helps to create the top, bottom, middle of the wall. so we can create it
Furniture System
- Architecture tab>components
- it helps to create the furniture like table, chair, dining table, couch, etc.
Domestic Components
- Architecture tab>components
- it helps to create the object like fridge, washing machine, gas stove, etc.
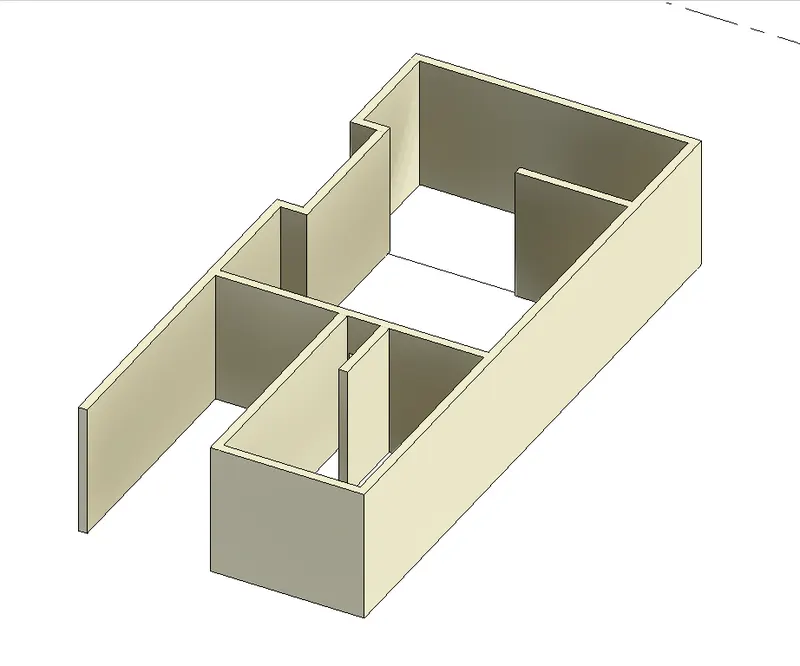
b. Structure plan must have details of only walls, floors, and columns
Walls
- Architecture tab>wall
- it helps to create the wall around the floor and create the partition.
Floors
- Architecture tab>floor
- it helps to create the floor for the middle surface.
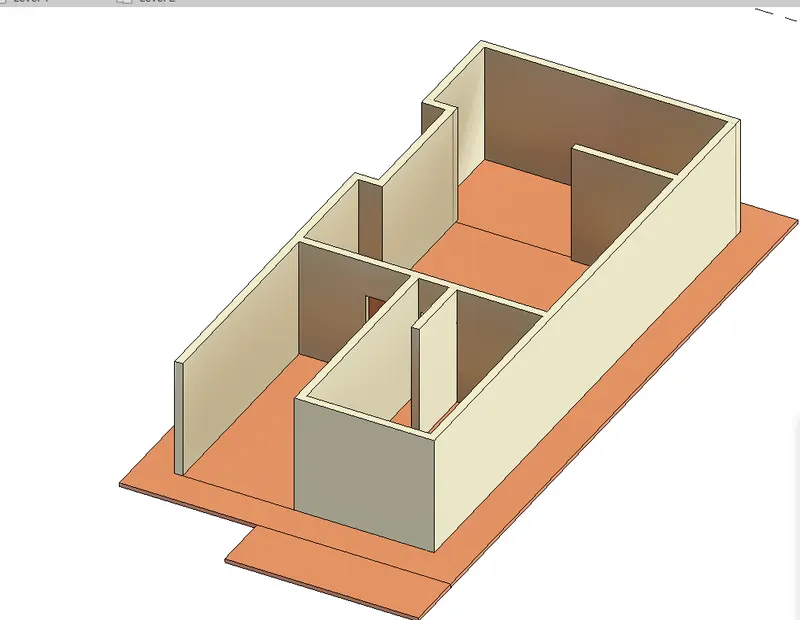
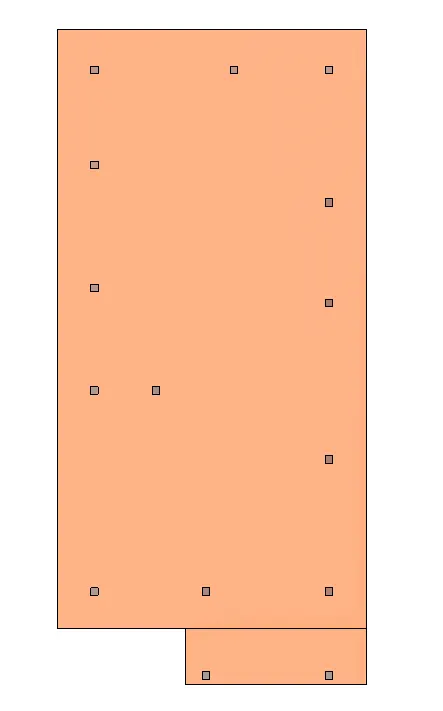
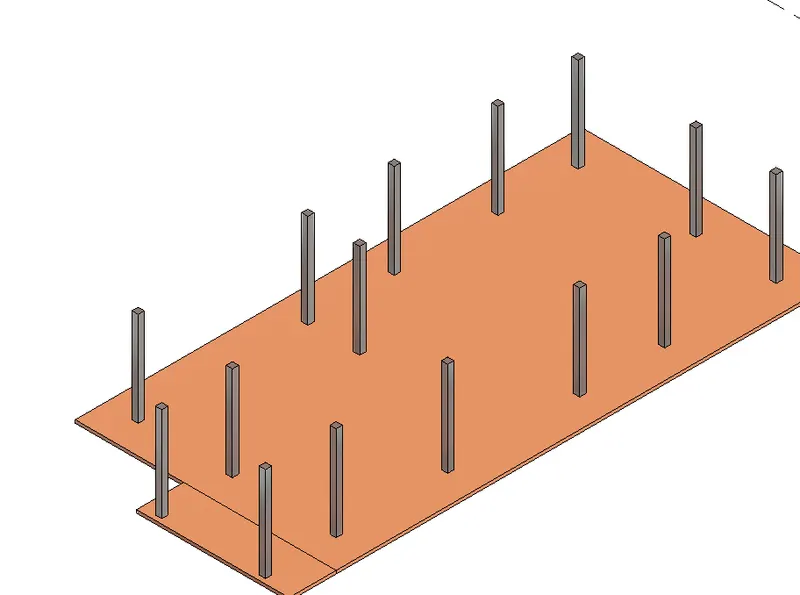
Columns
- Architecture tab>column
- it helps to create a column for the requirement of the structure.
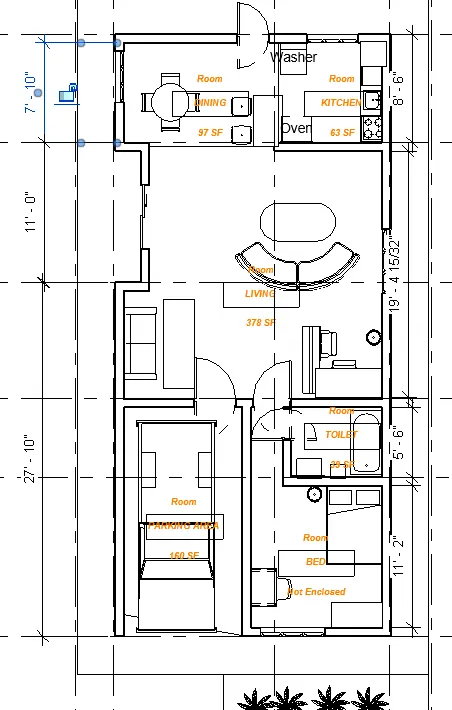
4) Using annotate toolbar add dimensions to all the walls and floors concerning the longitudinal and transverse grids created in the project file
architecture plan
Grids
- Architecture tab>grids
- it helps to create the grids for the measurement and name them according to the reference.
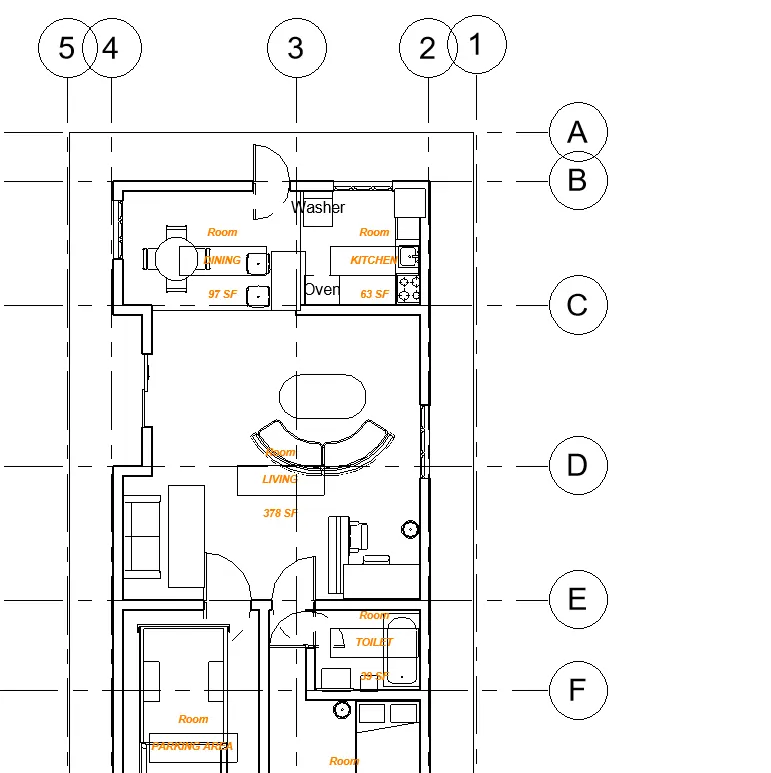
Dimensions
- Dimension tab>linear dimension
- it helps to give the measurement to the given levels.
Structure plan
Walls, Floor, Column
Walls
- Architecture tab>wall
- it helps to create the wall around the floor and create the partition.
Floors
- Architecture tab>floor
- it helps to create the floor for the middle surface.
Columns
- Architecture tab>column
- it helps to create a column for the requirement of the structure.
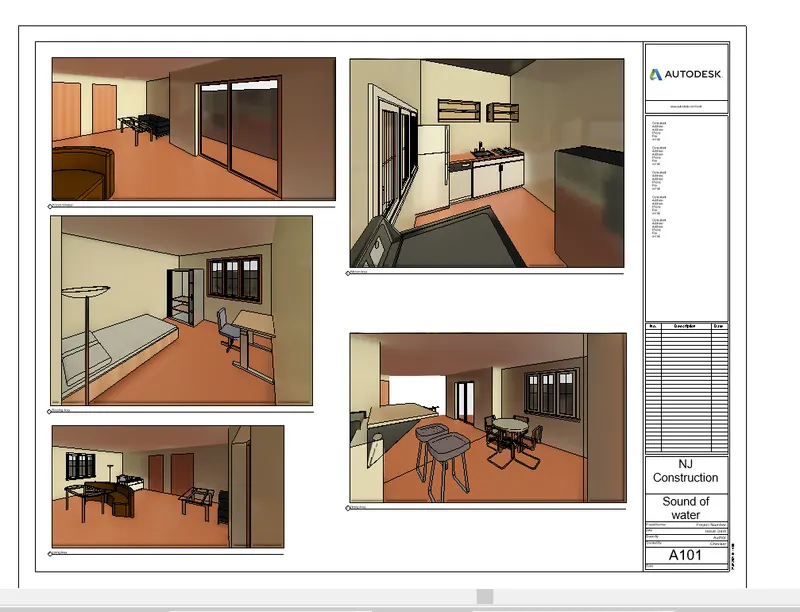
5) Create a sheet template from the view tab and adjust the parameters on the sheet to add appropriate views
sheet template
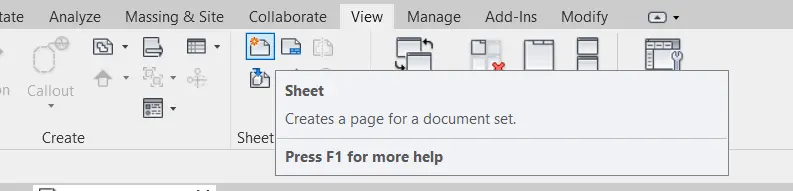
- Create the sheet
view menu>sheet composition tab>create sheet option
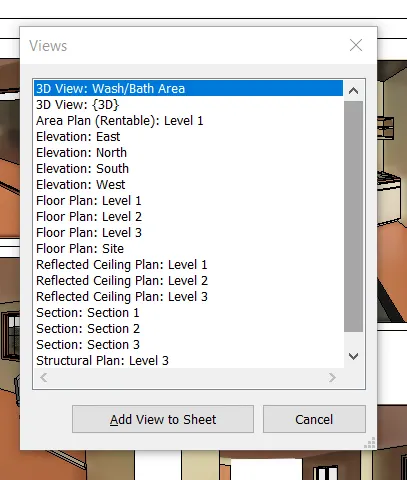
- Add the views Required
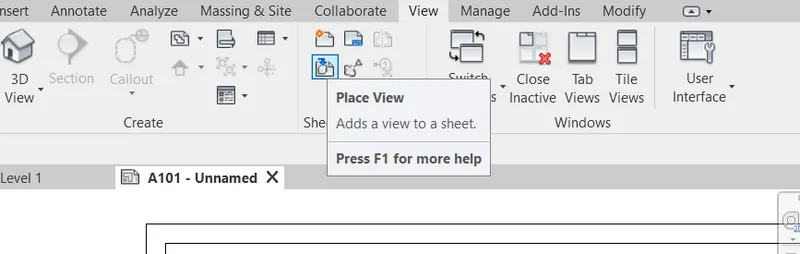
view menu>sheet composition tab> view option
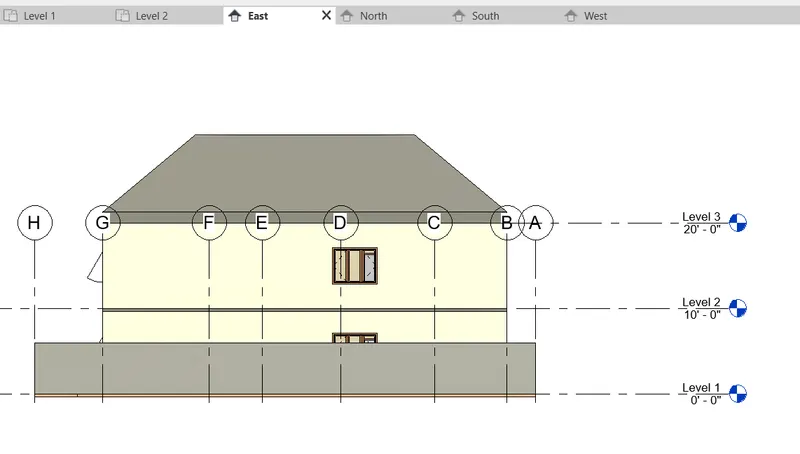
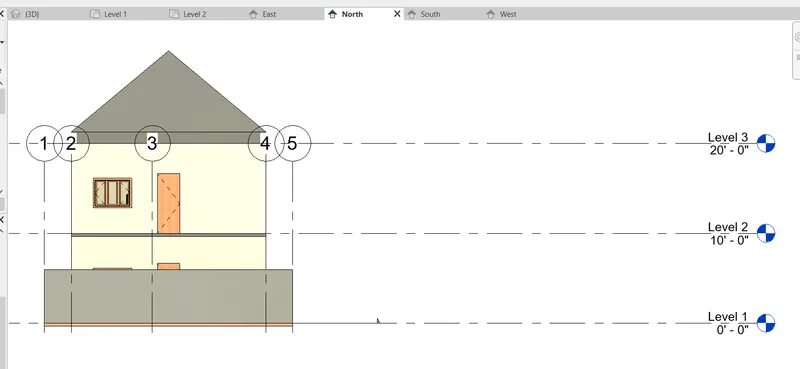
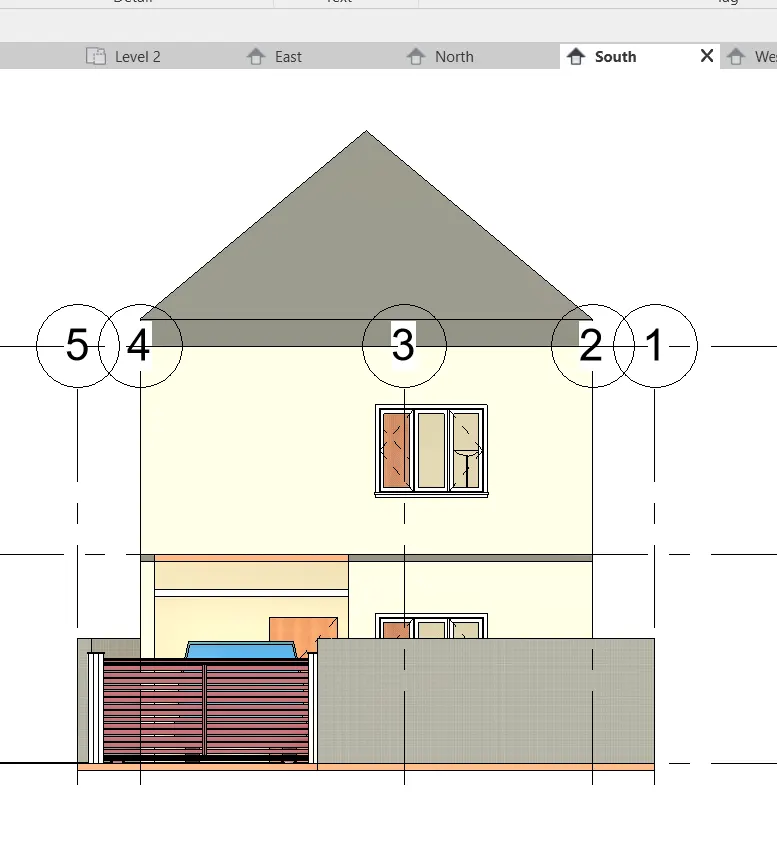
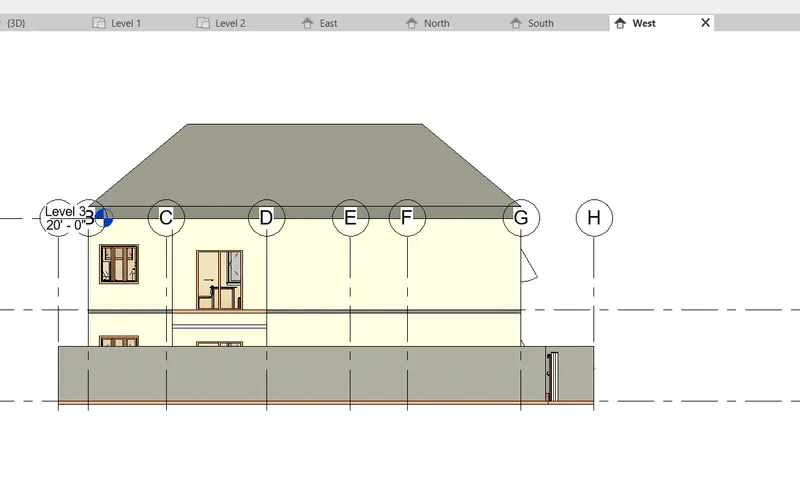
6) Using the elevation tab create the elevation views, looking at your building from East, North, South, and West
- In the properties browser window > elevation option.
- we can create the elevation according to the East, North, South, and West.
click the East tab
click the North tab
Click the South tab
click the West tab
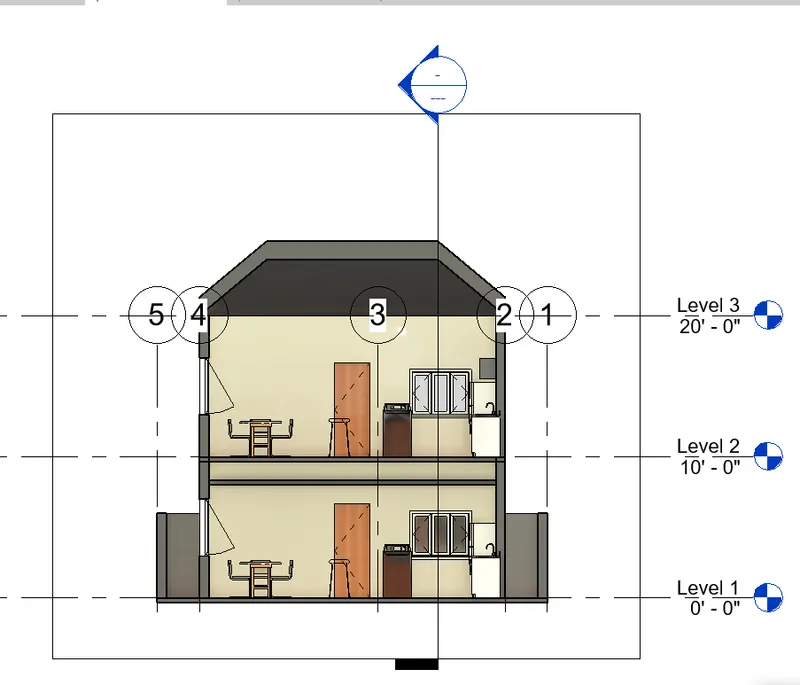
7) Produce section cut through each room either cutting across longitudinally or in a transverse direction
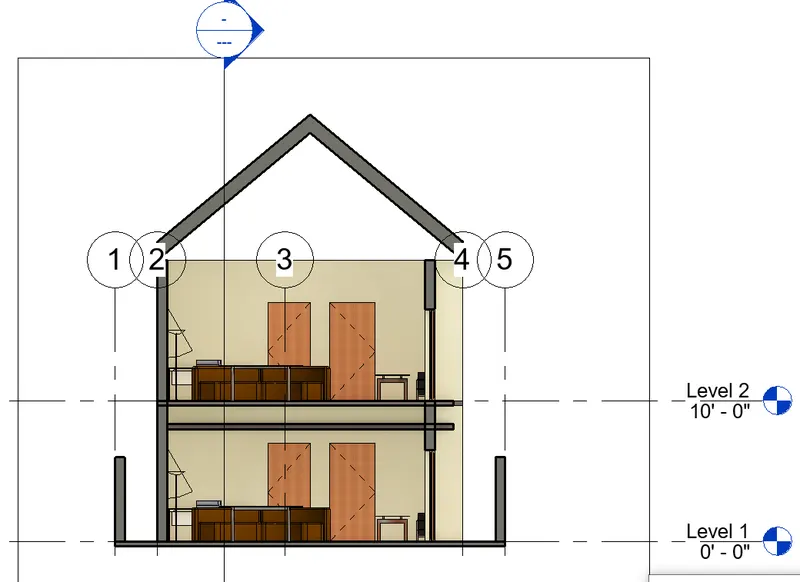
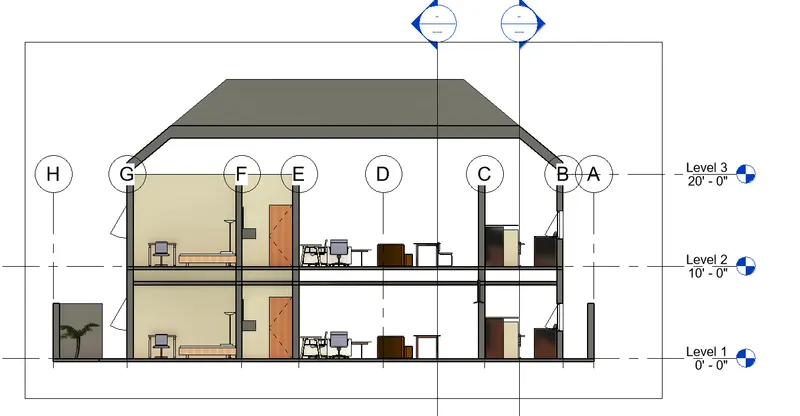
- As per the required, we want to provide the section for Each room that we created.
- we have created the 3-section
Section-1
Section-2
Section-3
8) Classify the views, Plan Views, Section Views, and Elevation views to either Design or Documentation category using Properties browser
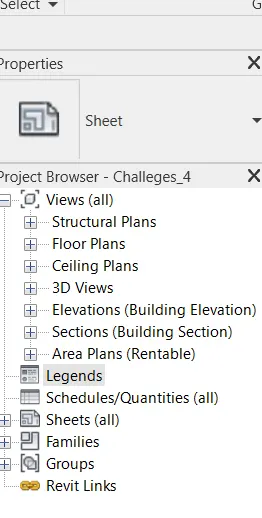
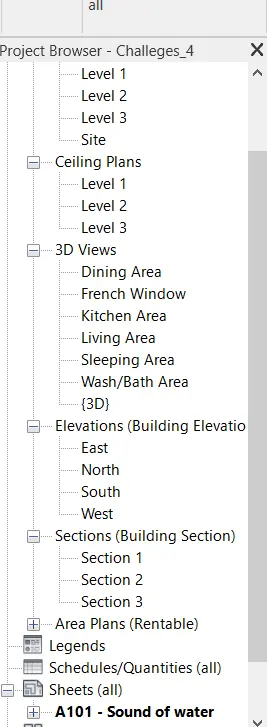
Plan Views
- it likes the 2-D modeling into the paper and to provide the required object into the rooms
- we can insert the door, window, domestic equipment, middle object, lighting, etc.
Section Views
- we can see the levels and we can consider the way of seeing the total building.
- when the section is made we can see all parts of the building.
- in the edge-to-edge format.
Elevation views
- we can see the levels and we can consider the way of seeing the total building.
- when the section is made we can see all parts of the building.
- in the edge-to-edge format.
9) Using the sheet template produced create multiple sheets as follows
a. A 101- Ground Floor Architecture Plan
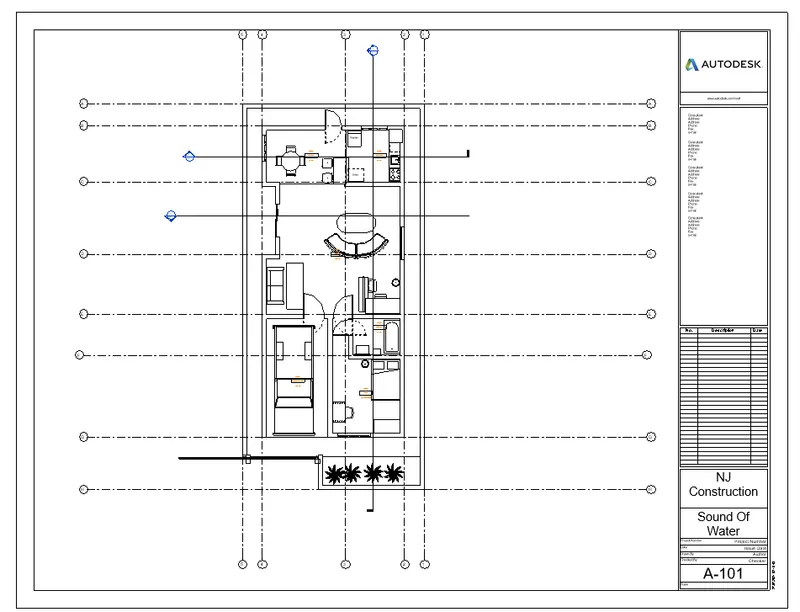
b. A 102- First Floor Architecture Plan
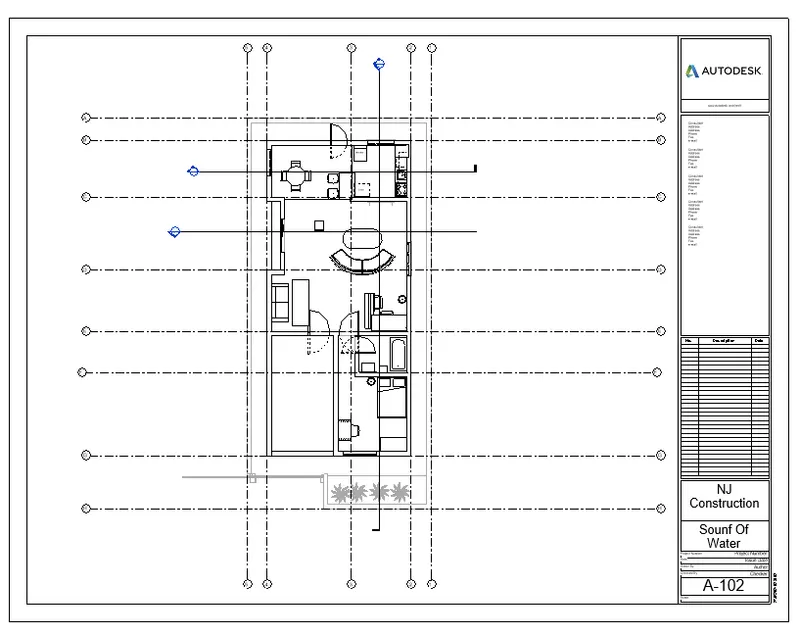
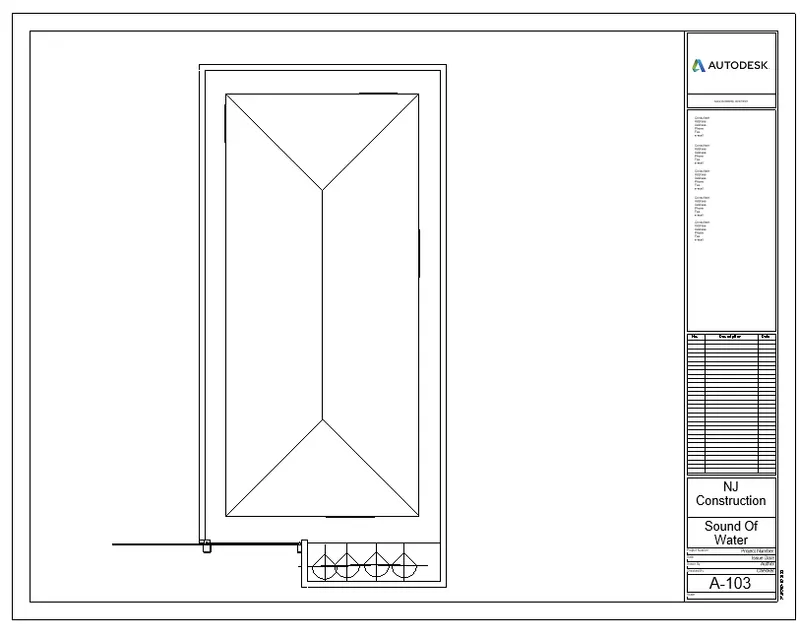
c. A 103- Roof Plan
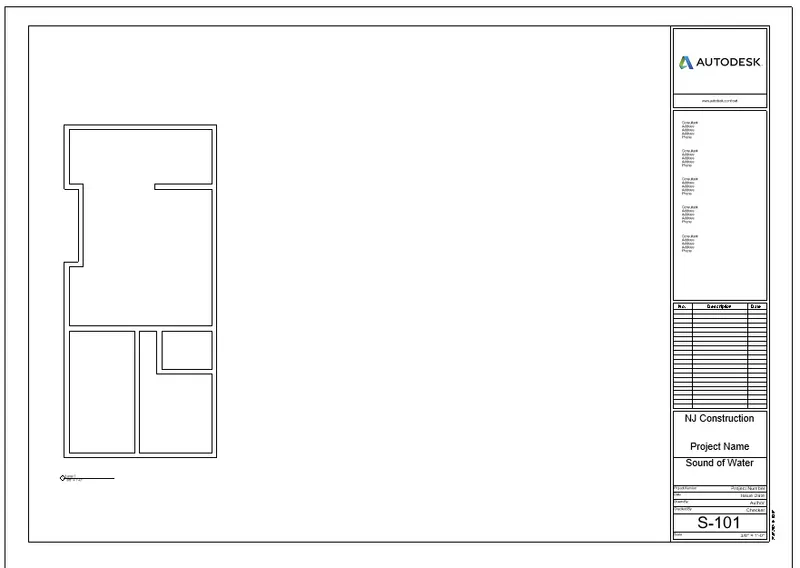
d. S 101- Ground Floor Structural Plan
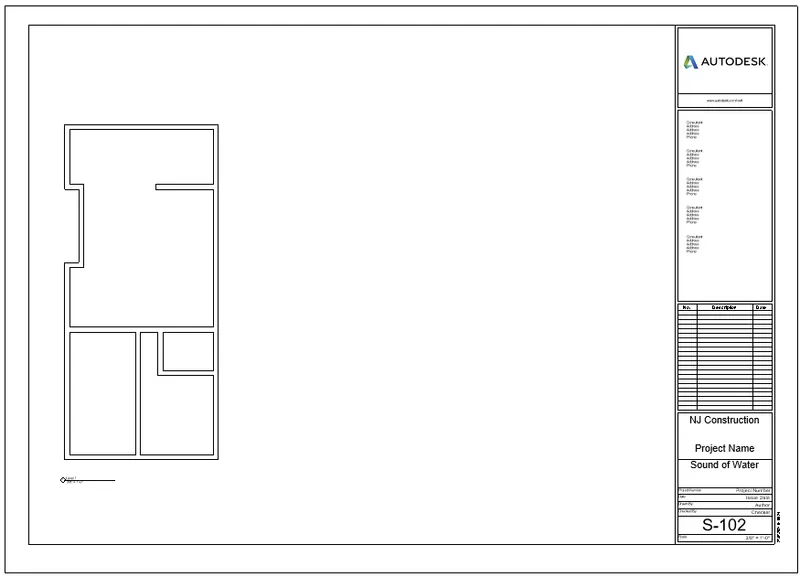
e. S 102- First Floor Structural Plan
f. S 103- Roof Framing Plan
g. A-201- North-South Elevations
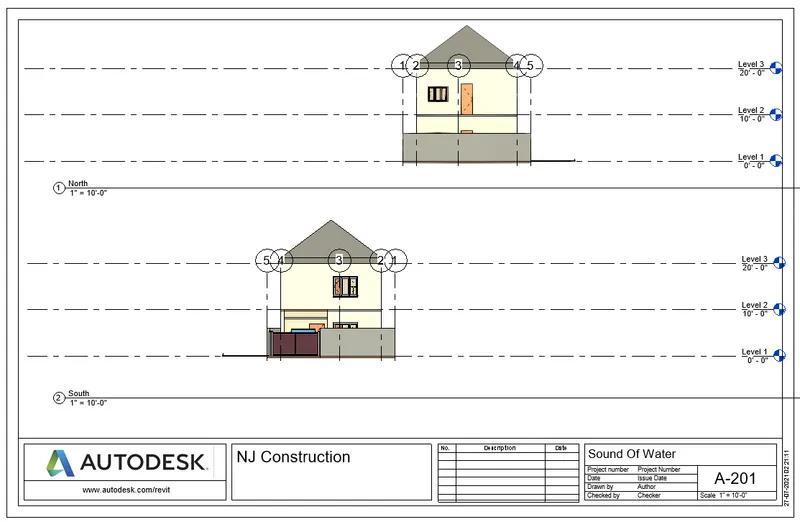
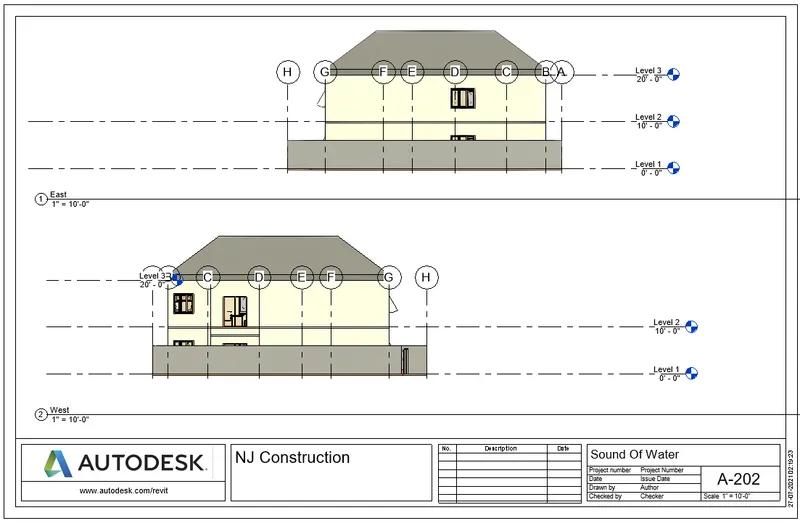
h. A-202- East-West Elevations
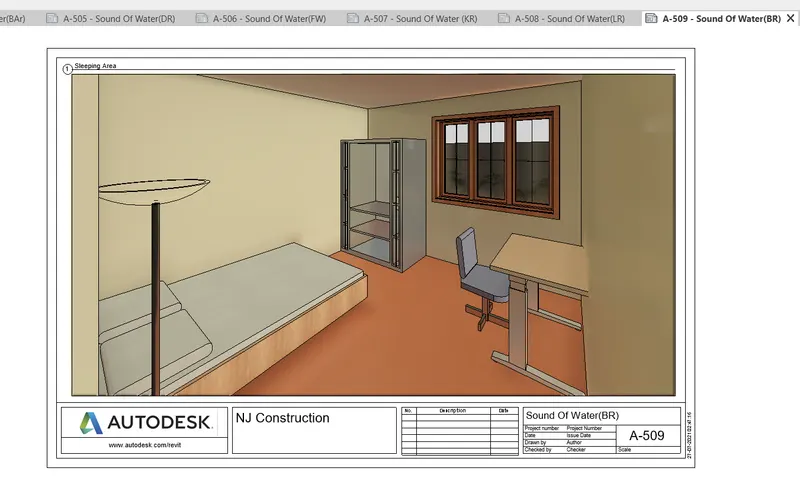
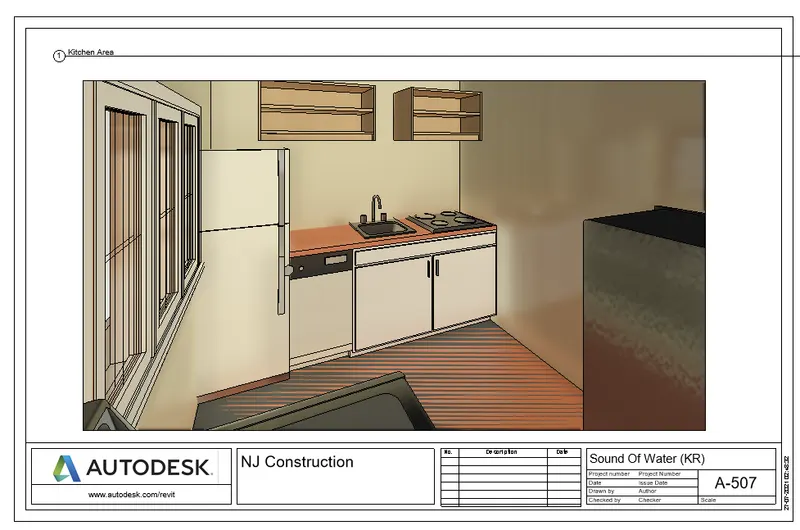
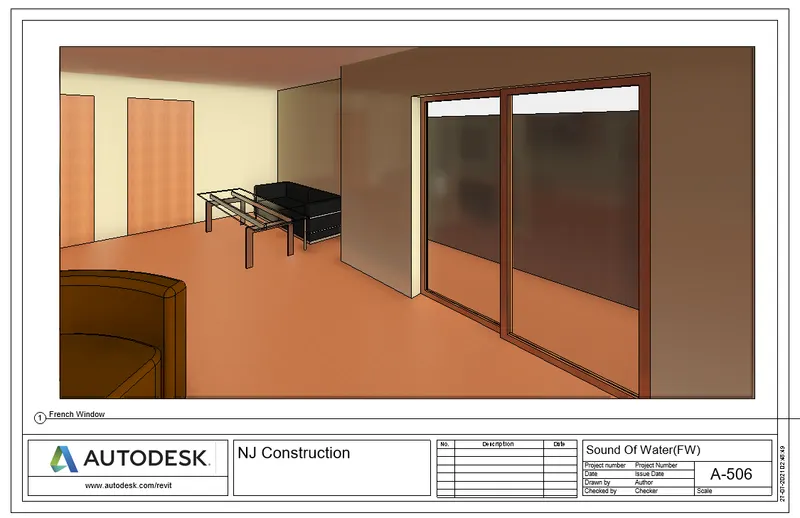
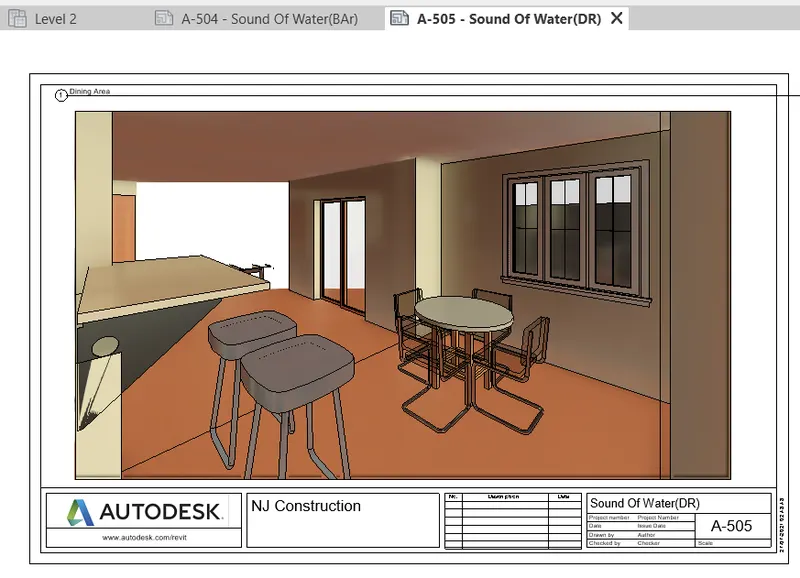
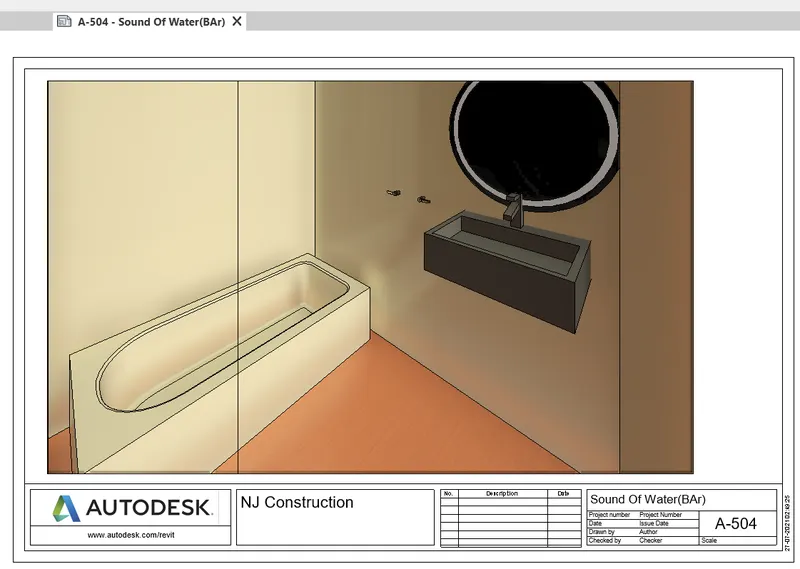
10) Create a camera-specific view or a 3D view in each room ( living, dining, bedroom). Based on the views create a new set of sheets starting A-501 (you can add as many sheets after, 502, 503.. n)to place the 3D view images. Produce the sheets as a part of project drafting.
Bed Room
Kitchen Area
French Window View
Dining Area
Bath Room
Living room