3D Creation of Celing, Roof, Architectural plan, Structural plan, Sectional view, Elevation view and Camera specific view for a house plan using REVIT
Aim: To create 3D view of Celing, Roof, Architectural plan, Structural plan, Sectional view, Elevation view and Camera specific in revit
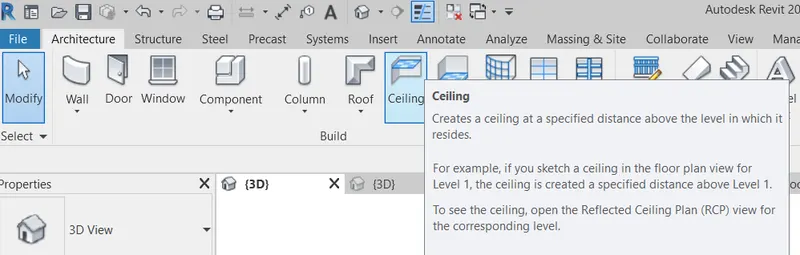
1. Procedure to create celing :
- Open revit software
- select the floor plan which has been created
- Click on celing from the architectural tab
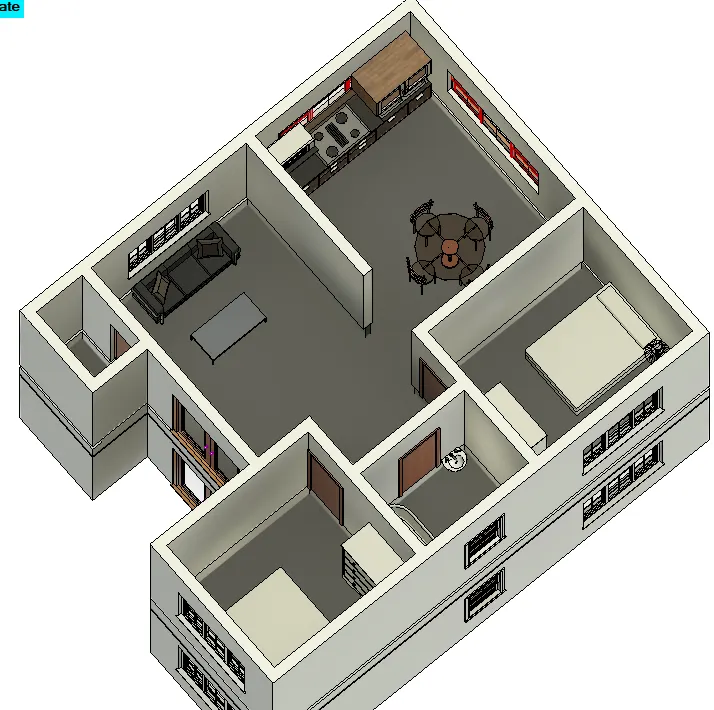
- Select sketch celing, then select pick lines and select the lines from the floor plan.
Result:

2. Procedure to create roof:
- Open the floor plan which has been created
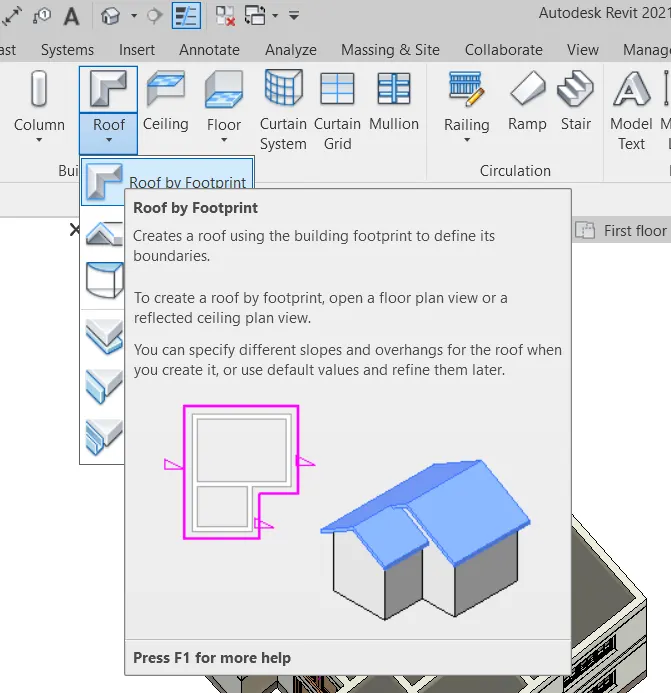
- Select roof from architecturial tab
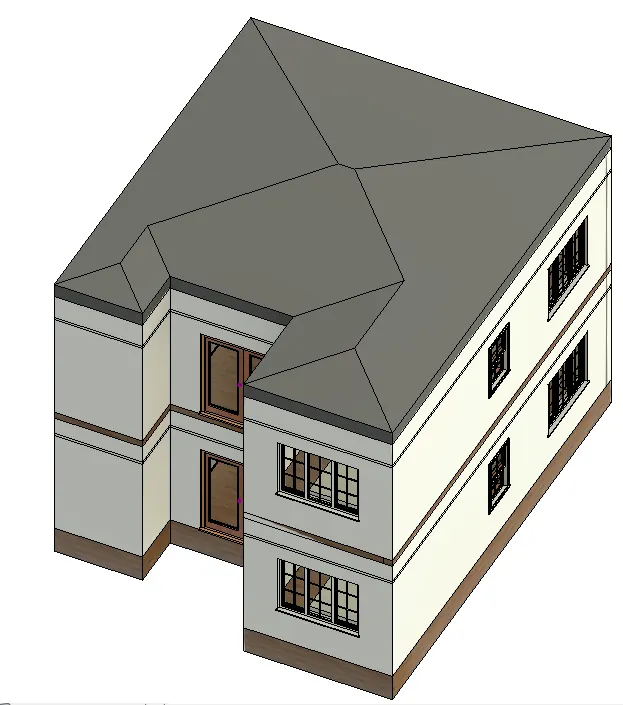
- Select roof by footprint, select pick lines and select the boundary lines of the floor plan then select ok.
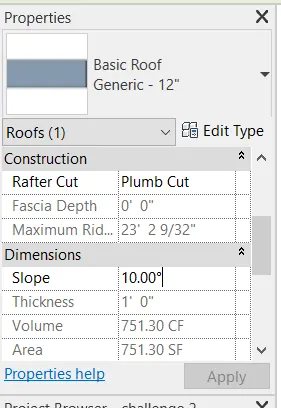
- Select the roof which has been created and go to the property browser and change the dimension of the slope to 10.
Result:
3. Procedure to create the Architecture plan and the Structural plan view:
- Open the floor plan which has been created
- Go to the plan views from the views tab
- Select floor plan from the plan views, click ok and the view is created.
- Select structural view from the plan views from the view tab
- Select the floor which you want to create the structural view and then select ok.
Result:

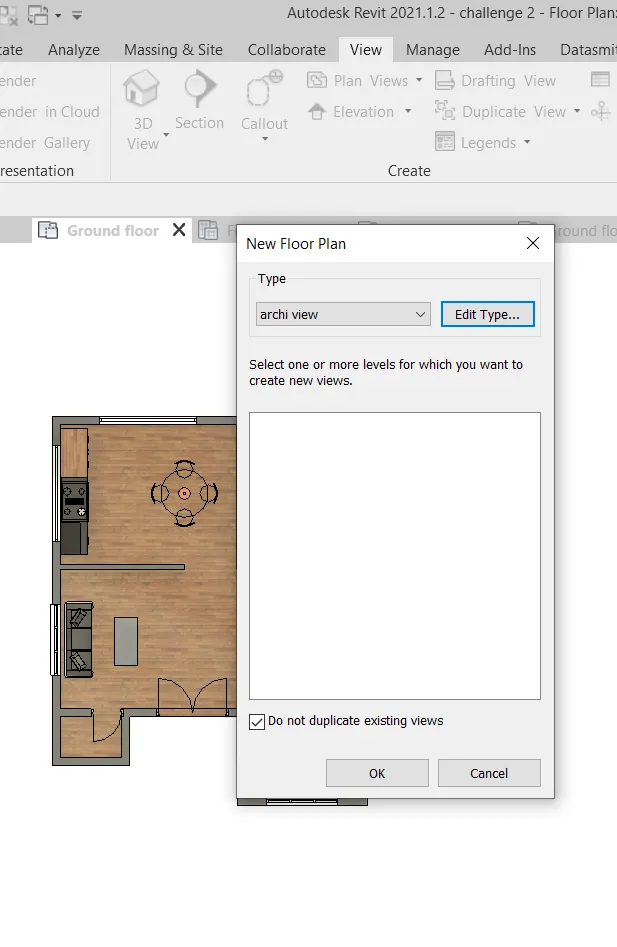
Architecture plan
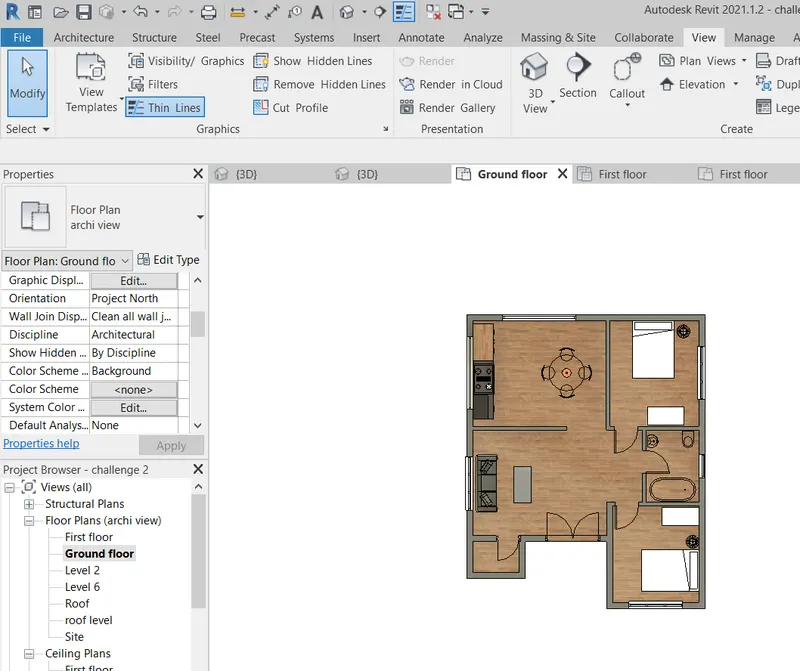
Structure plan
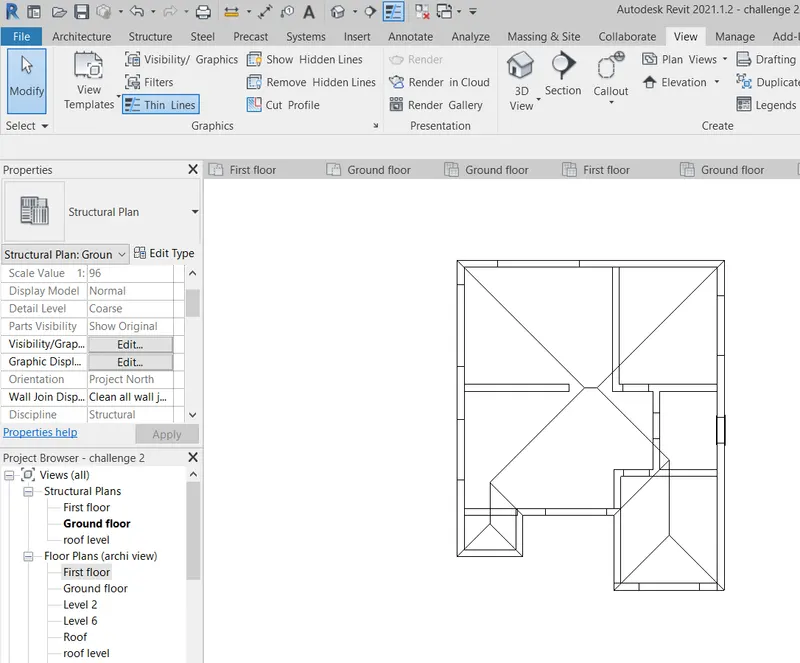
4. Procedure to add the dimension for both structure and architecture plan
- Open the plan view of the architecture plan
- select the annotate command from the ribbon
- Using linear and the angular dimensions measure all the dimensions.
- The above procedure is fallowed for the structure plan.
Result:
Structural plan Architecture plan
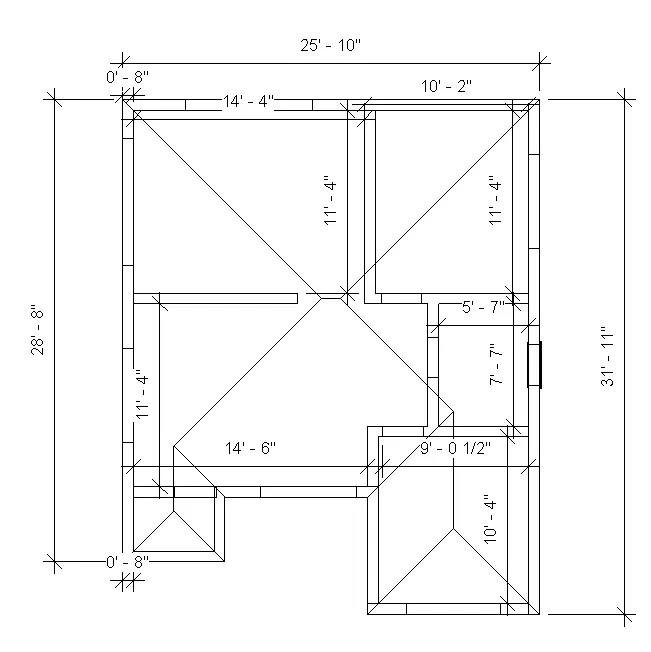
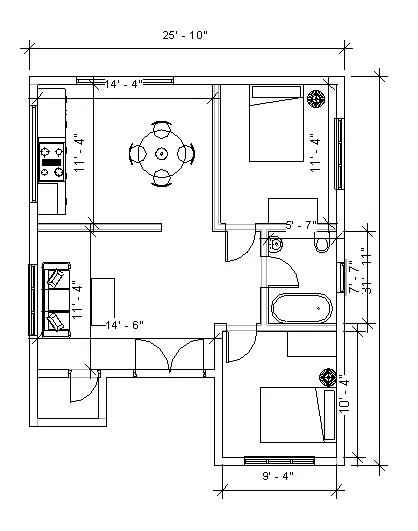
5. Procedure to create the sheet template
- Open the floor plan which has been created
- Select the sheet icon from the view tab
- Select the sheet sixe from the dialouge box click ok
- Then the sheet appeares, drag the view which is to be appied upon the sheet
- Adjust the scale from the property browser
Result:
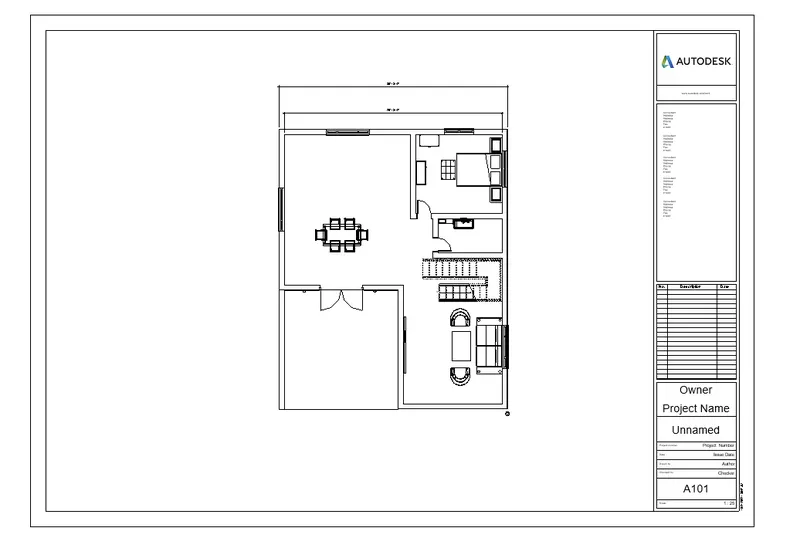
6.Procedure to create elevation view
- Open the floor plan which has been created
- Go to the elevation from the view tab
- A small elevation icon appeares, place it at the direction from which the view has to be created the enter
- The view will be created, check in the property browser.
- Simerarly created all 4 views.
Result:
East view
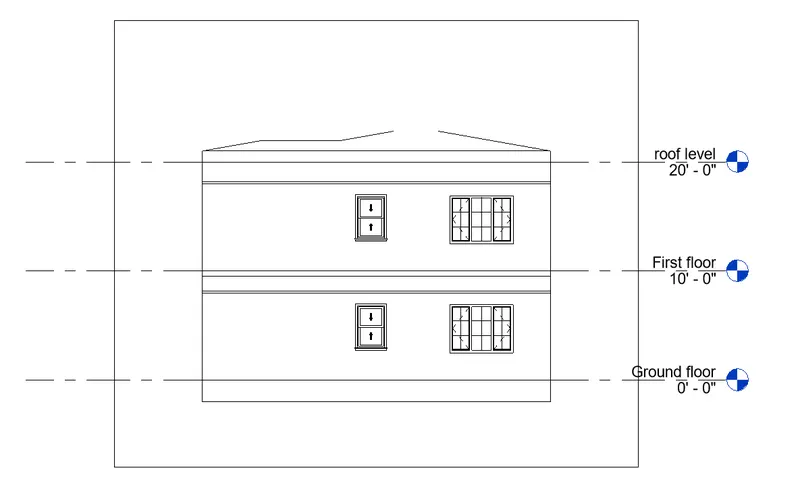
South view
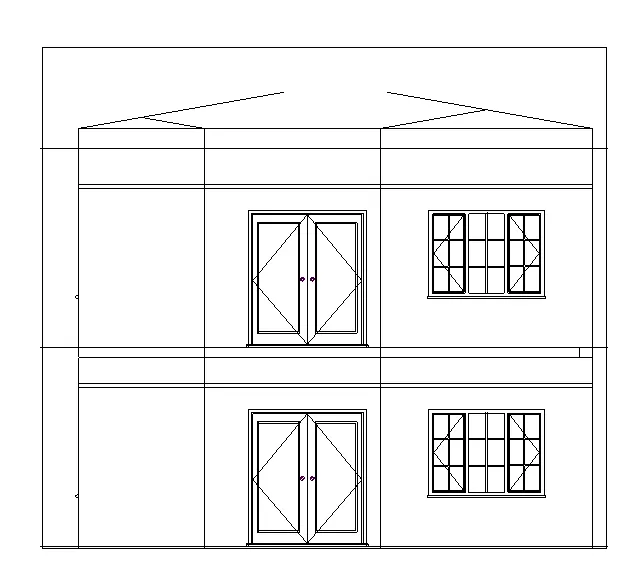
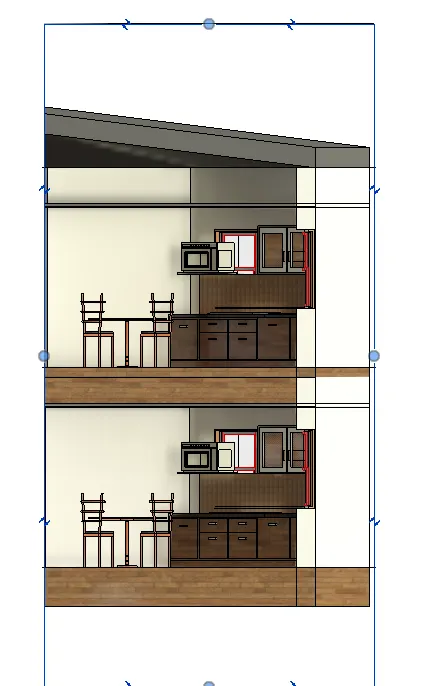
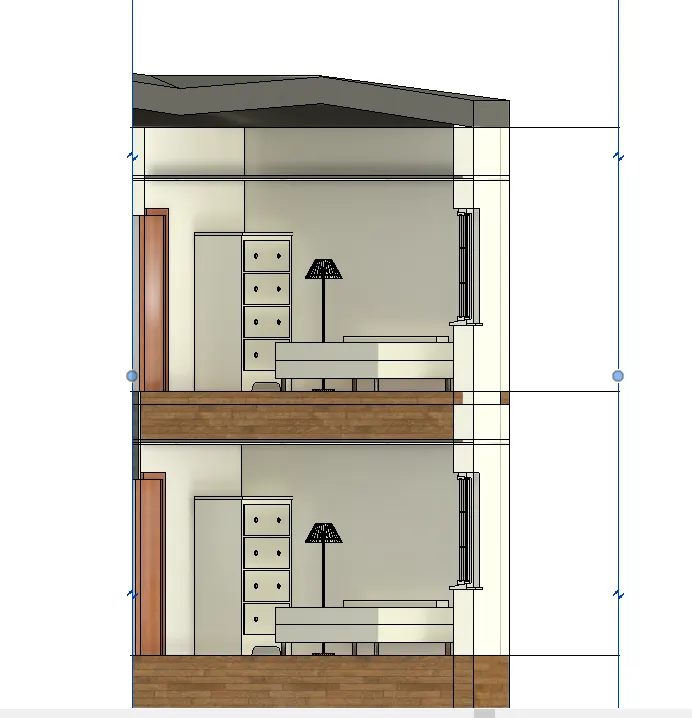
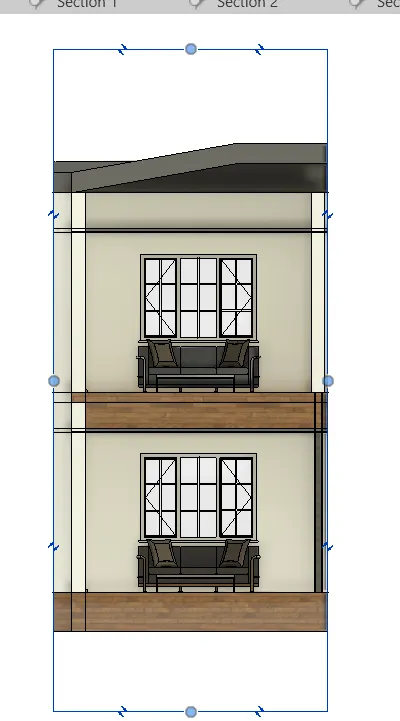
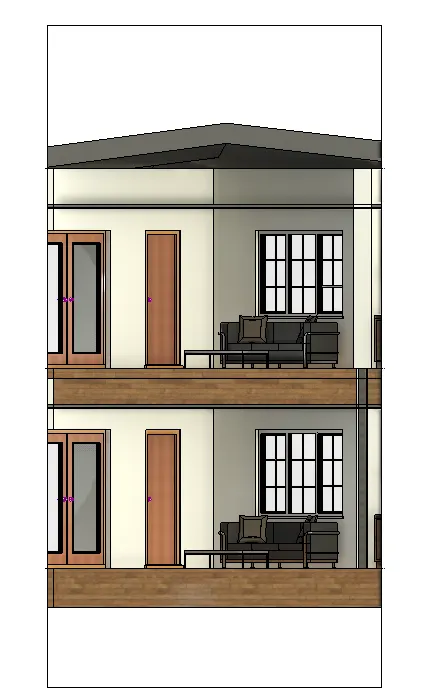
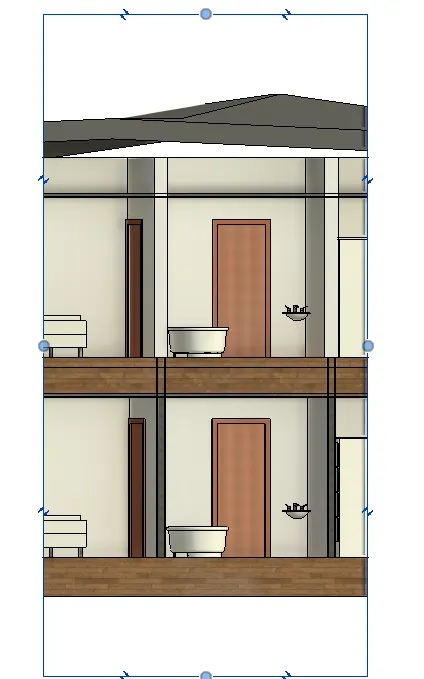
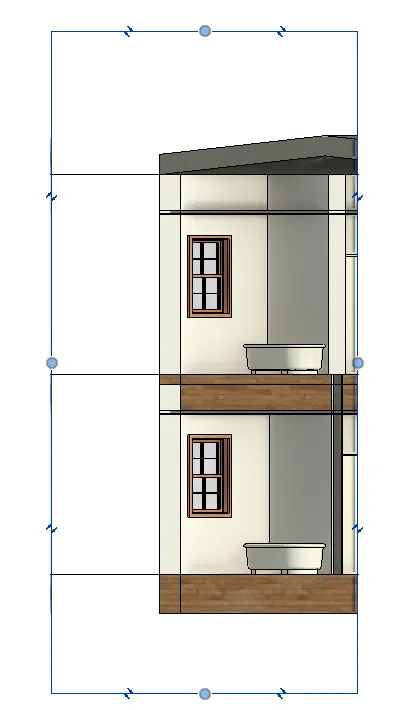
7. Procedure to create the section:
- Open the floor plan
- Select section icon from the view tab
- Place the section either longitudinally or transverse direction
- The section view of the particular room has been created
- Go to the project browser to view the section of each rooms.
Result:
8. Project browser:
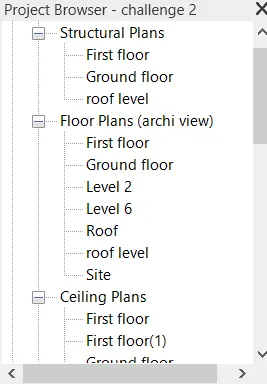
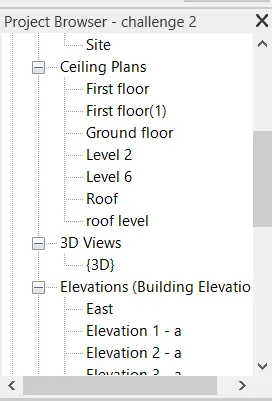
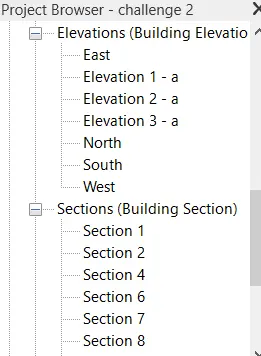
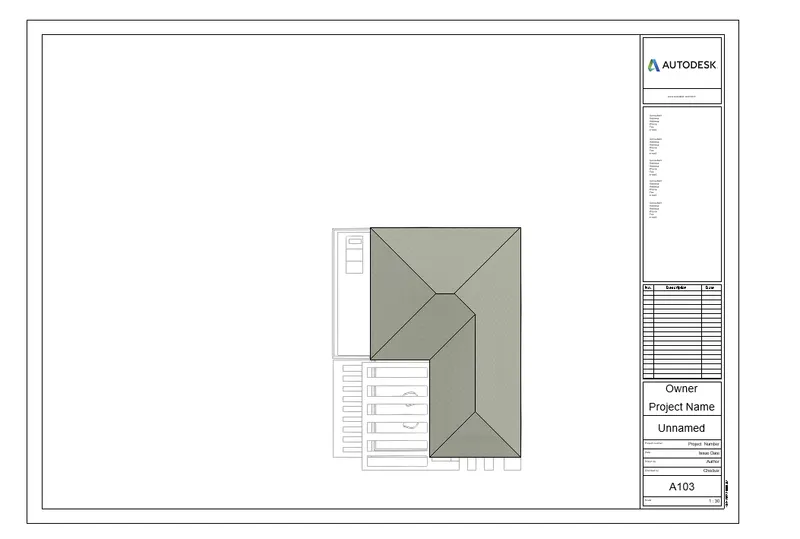
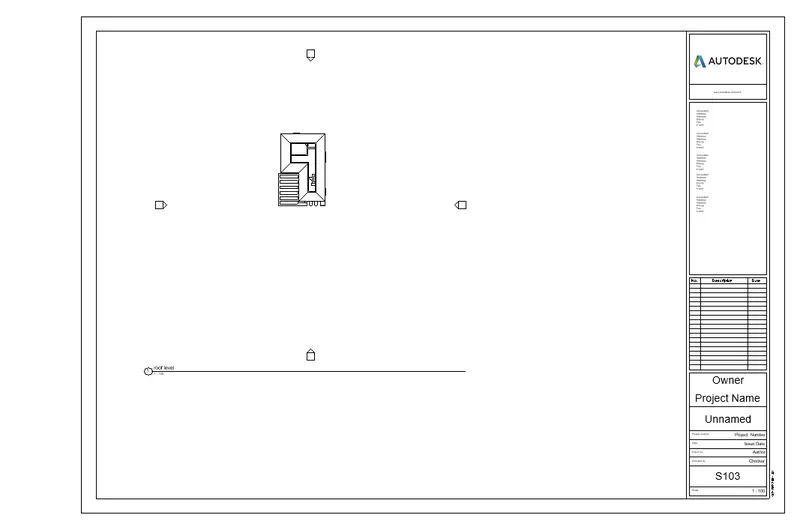
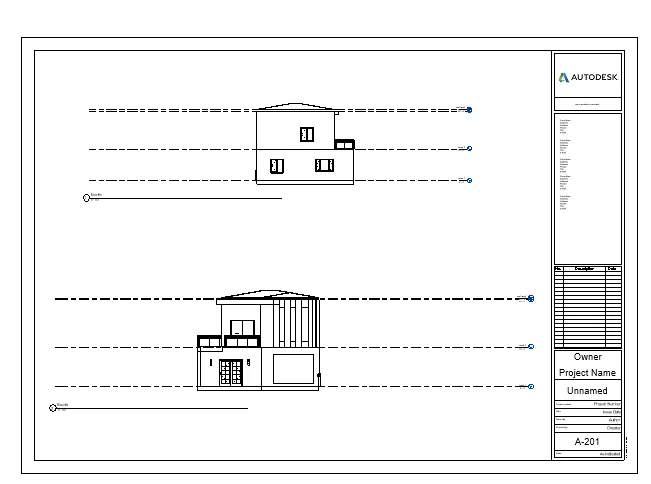
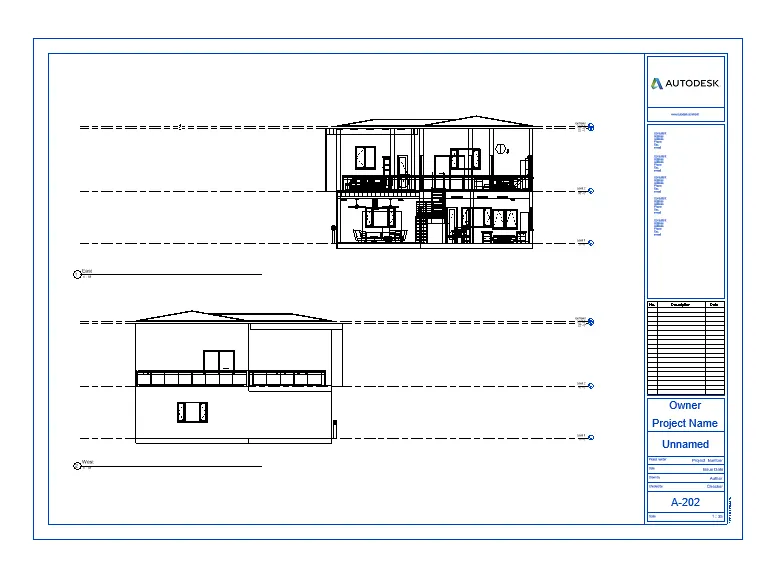
9.Procedure to create multiple sheets
- Open floor view
- Select sheets from the view tab
- select the sheet size
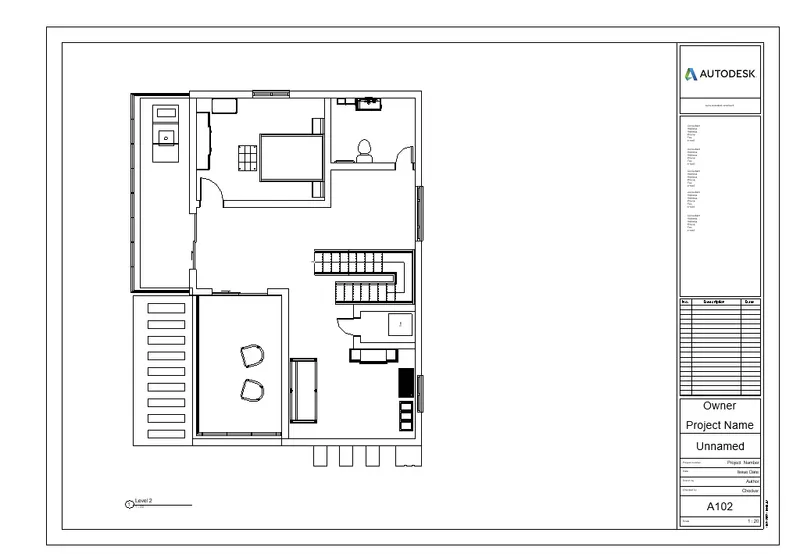
- Drag and drop the ground floor view on the sheet and rename it has A101
- Similarly create all the sheets for all the views mentioned.
Result:
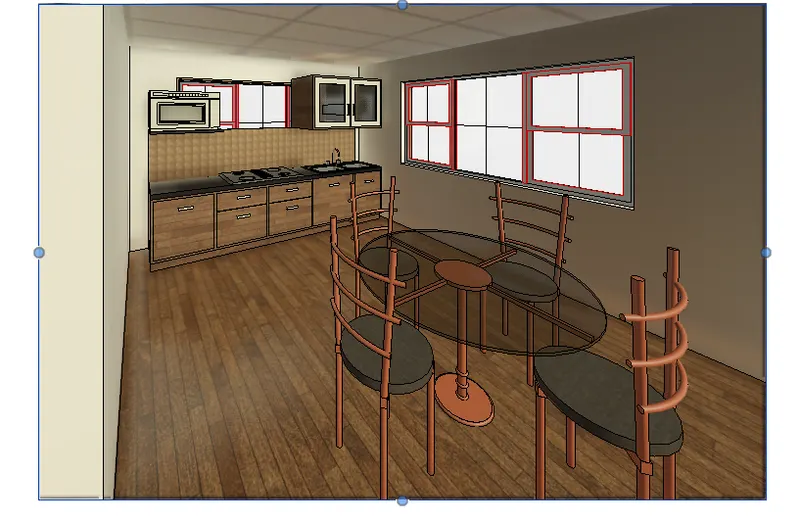
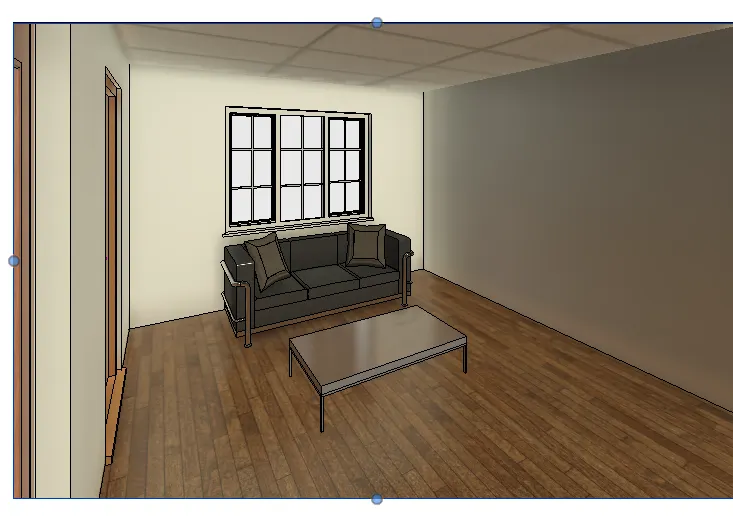
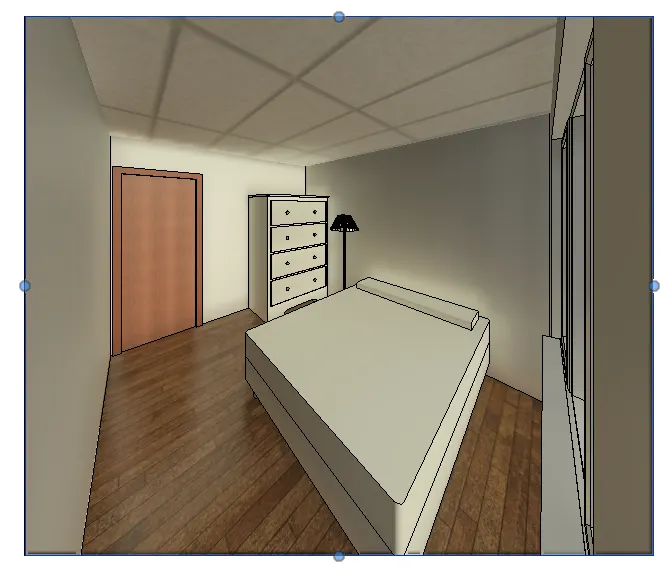
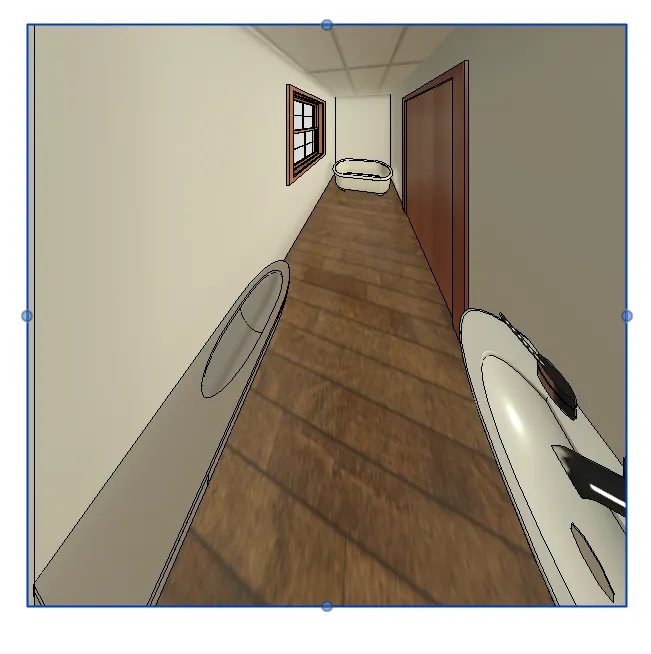
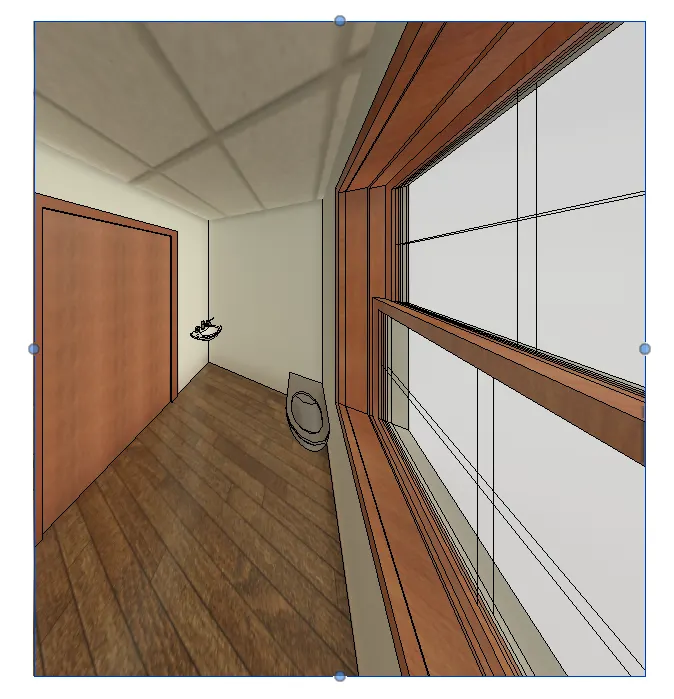
10.Procedure to create 3d view/camera specific view
- Open the floor plan
- Open the view tab
- From the dropdown of the 3d view select camera
- Place the camera in room to get the 3d view
Result: