3D Creation of Celing, Roof, Architectural plan, Structural plan, Sectional view, Elevation view and Camera specific view for a house plan using REVIT
1.
Aim:
To model a ceiling from the architectural tab above the walls at the first floor level.
Introduction:
Ceilings helps create enclosure of and seperation between the spaces. Ceilings are often used to hide floor and roof.
Procedure:
- Open revit software.
- Open week 3 challenge project.
- Open the first floor level.
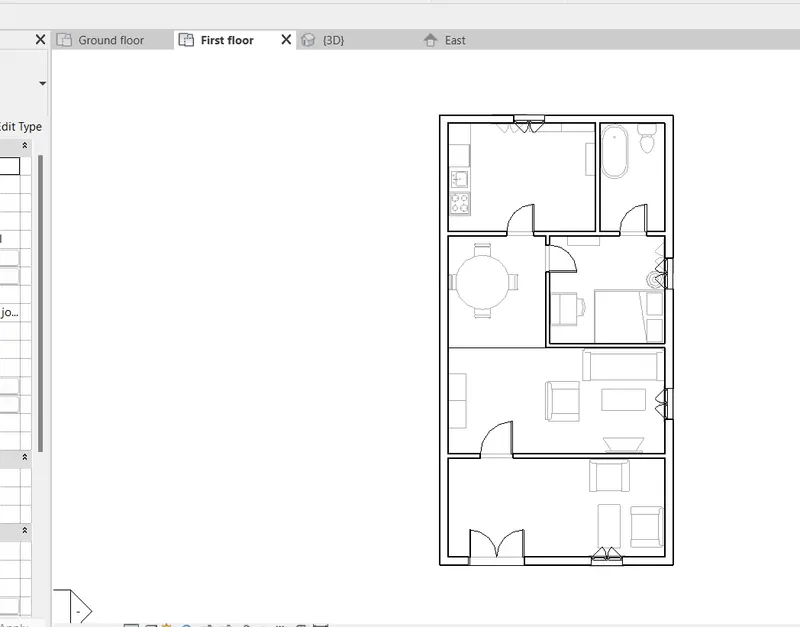
- Select the ceilings under the architecture tab.
- Select Sketch ceiling.

- select pick lines option.
- Pick the outer boundary of the first floor level.
- Click the tick mark.
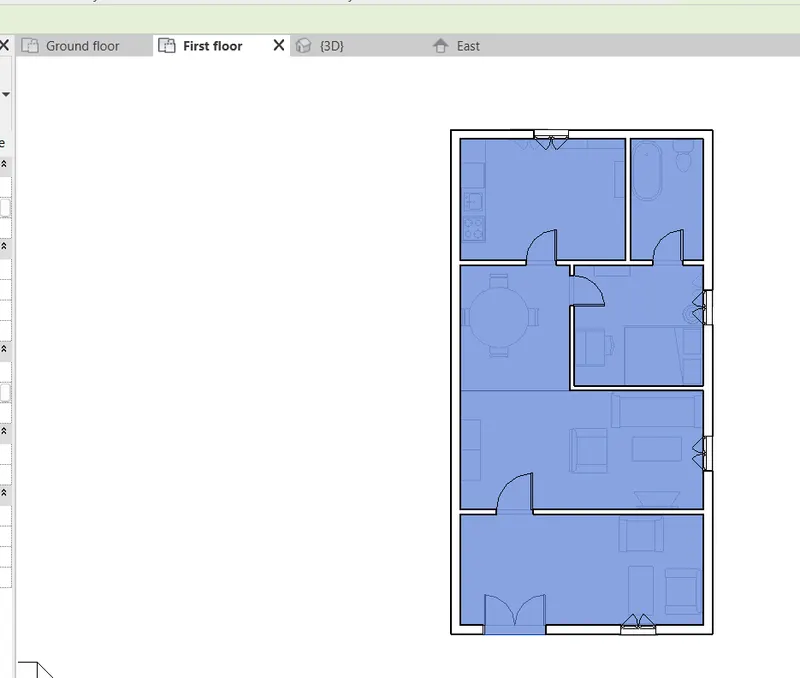
Result:
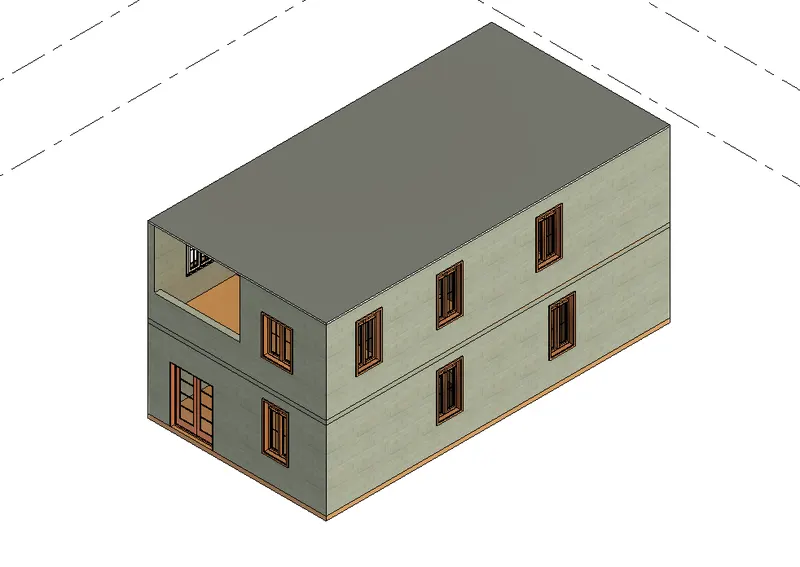
The ceiling is modeled from the architectural tab above the walls at the first floor level.
2.
Aim:
To model a roof above the ceiling by selecting footprints of the ceiling and adjust the roof slope to 10 degrees.
Introduction:
A roof is a top covering of a building and it provides protection against sun, rain, snow, temperature and wind.
Procedure:
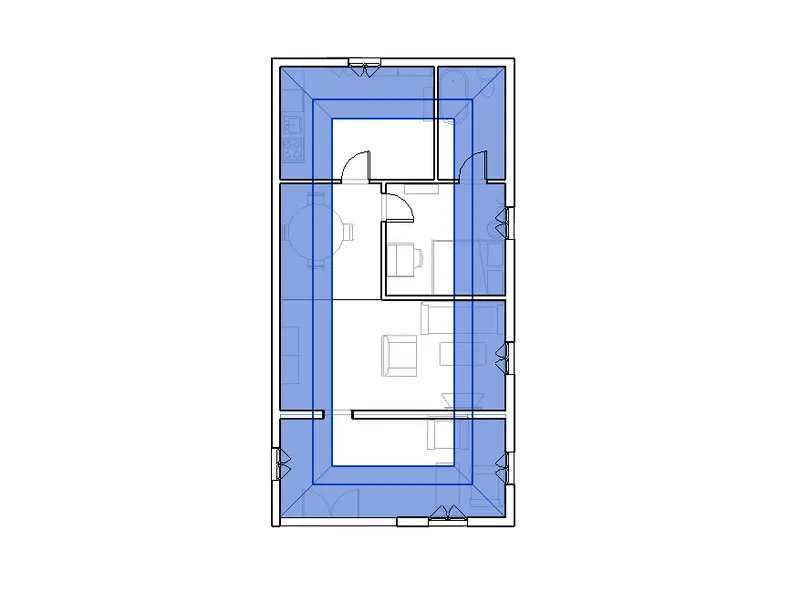
- Select the drop pannel of roof under architecture tab.
- Select roof by footprint.
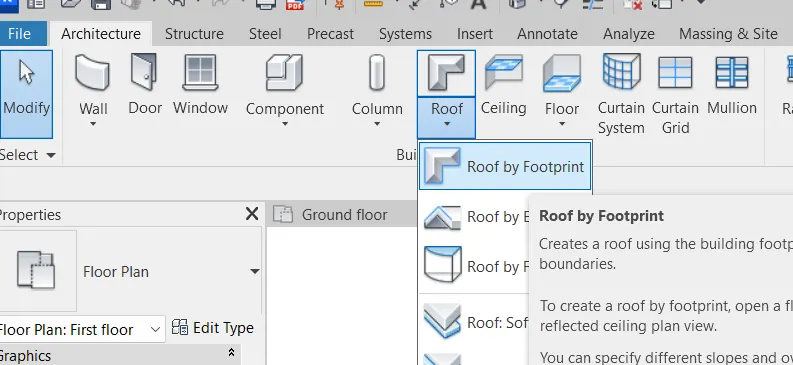
- Select rectangle option.
- Create a rectangle of roof that connects the two opposite corner of the walls.
- Click the tick mark.
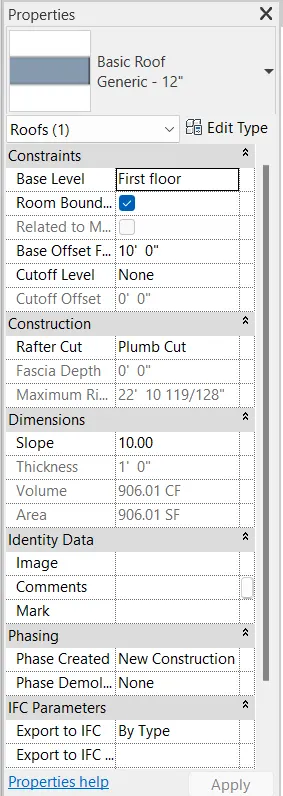
- By using properties browser.
- Change the base offset from level to 10'
- Slope value as 10 degree.
Result:
A roof above the ceiling is modeled by selecting footprints of the ceiling and adjust the roof slope to 10 degrees. 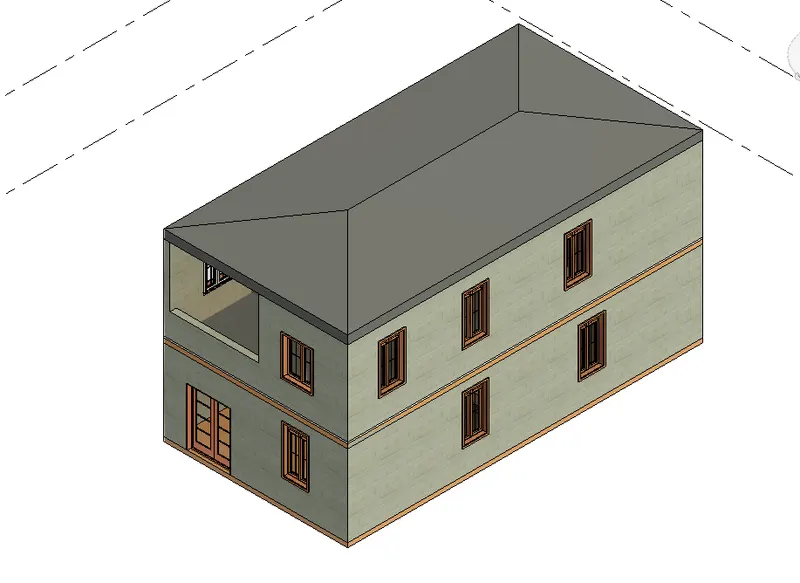
3.
Aim:
To create plan views for ground floor level and first-floor level including all the walls, floors, and components. Separate them to architecture and structural plans.
Introduction:
The architectural plan includes walls, Floors and all the components and the structural plan includes only walls, floor and columns.
Procedure:
- Open view tab.
- Click plan views under create pannel.
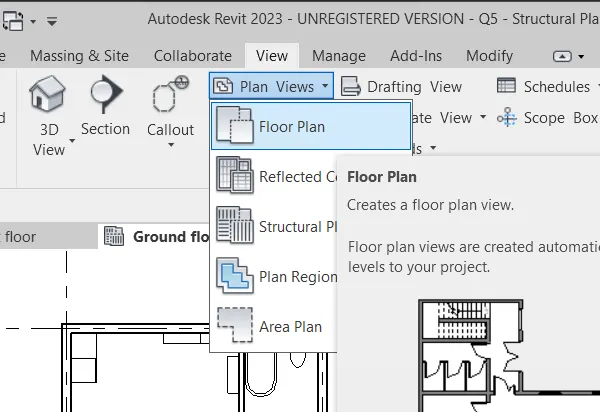
- Select floor plan and select ground floor.
- Click ok.
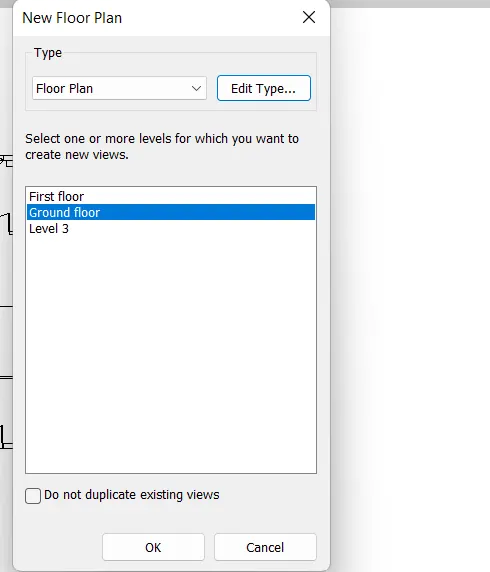
- The new ground floor plan was created.
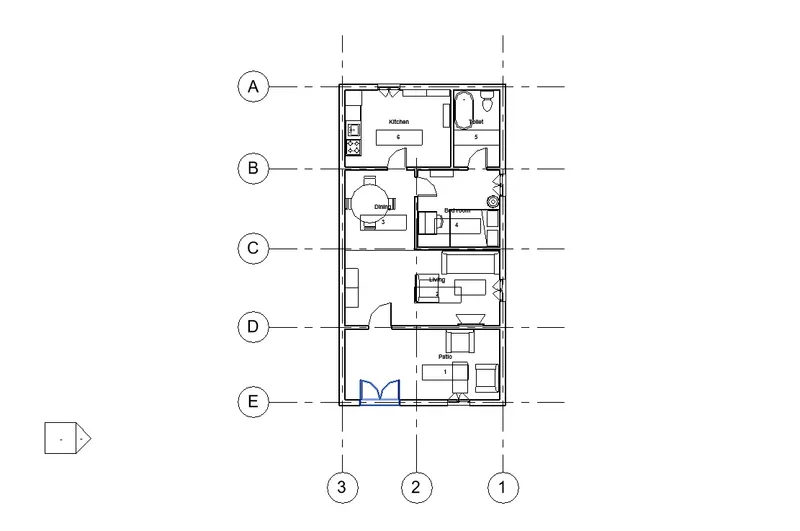
- Similarly create the first floor plan.
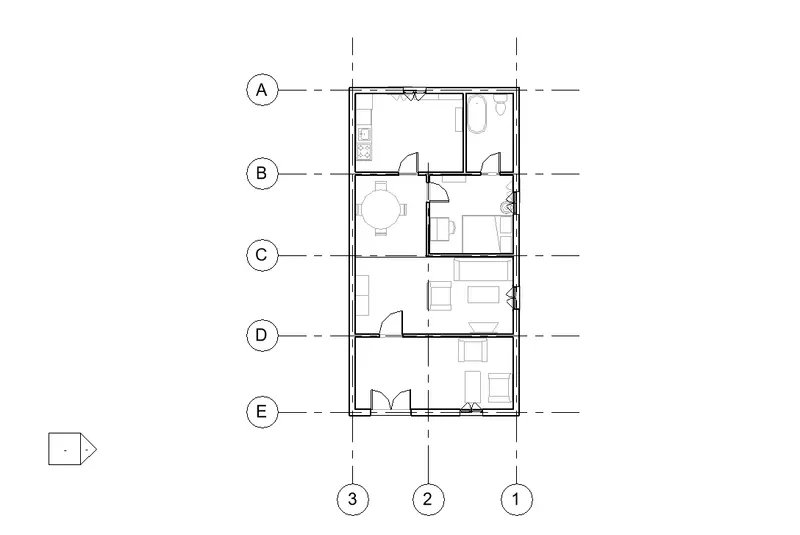
- Repeat the procedure.
- Now select the structural plan.
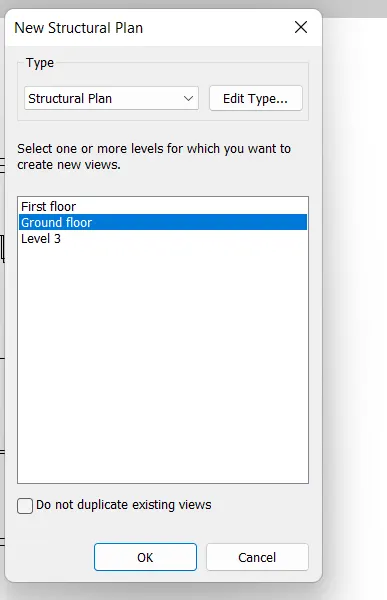
- Click ok.
- The structural plan was created.
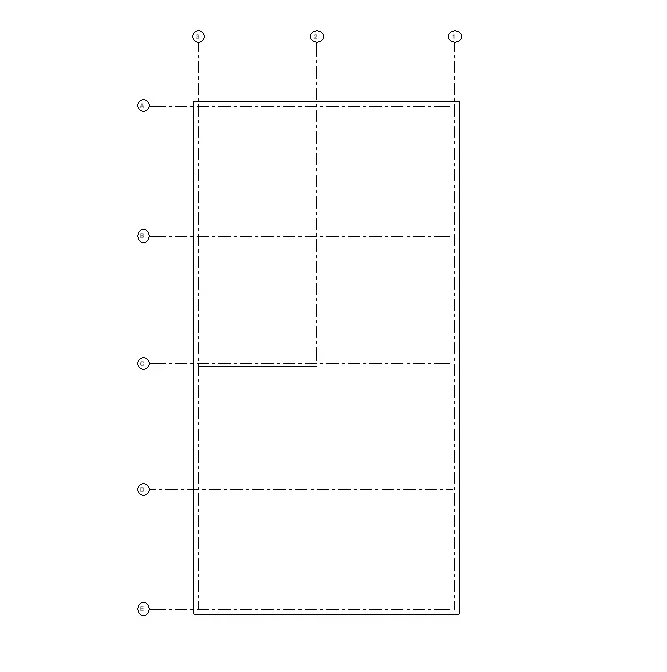
- Similarly create the first floor structural plan.
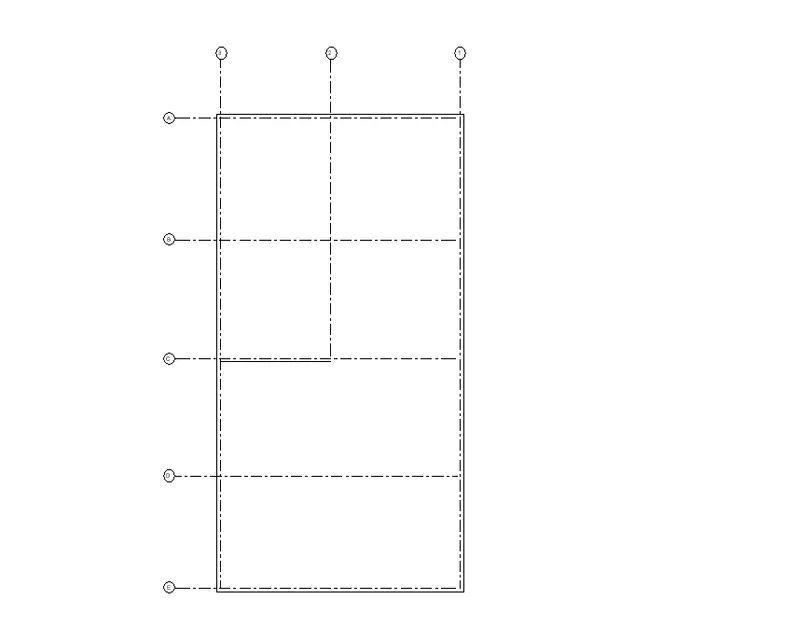
Result:
The plan views ground floor level and first floor level is created and the architectural and structural plan is seperated.
4.
Aim:
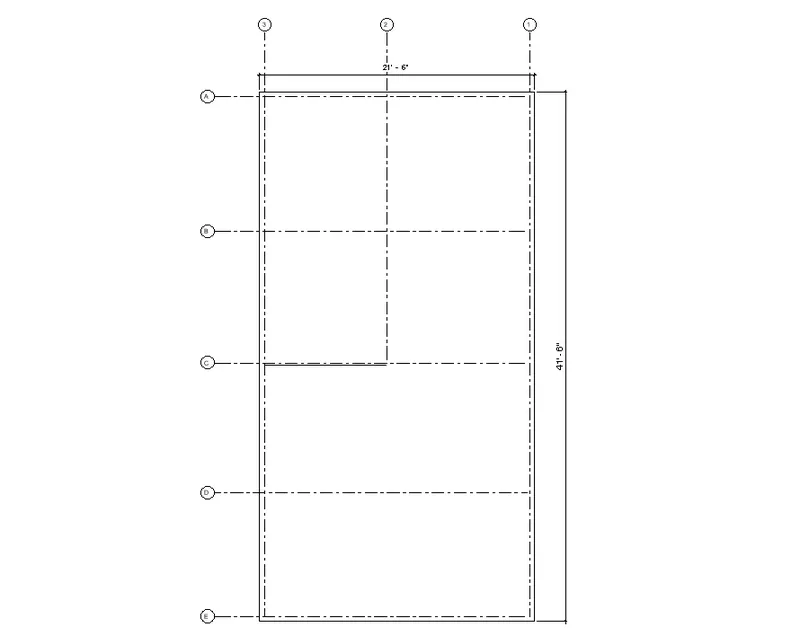
To add dimensions to all the walls and floors with reference to the longitudinal and transverse grids created in the project file using annotate tool bar.
Introduction:
Annotation is the tool used to add details like dimensions, name to the project file. In this projet we add dimensions using annotate tool bar to the walls and floors.
Procedure:
- Click on the annotate toolbar.
- Select linear option.
- To start dimensions to the plans.
Ground floor architectural:
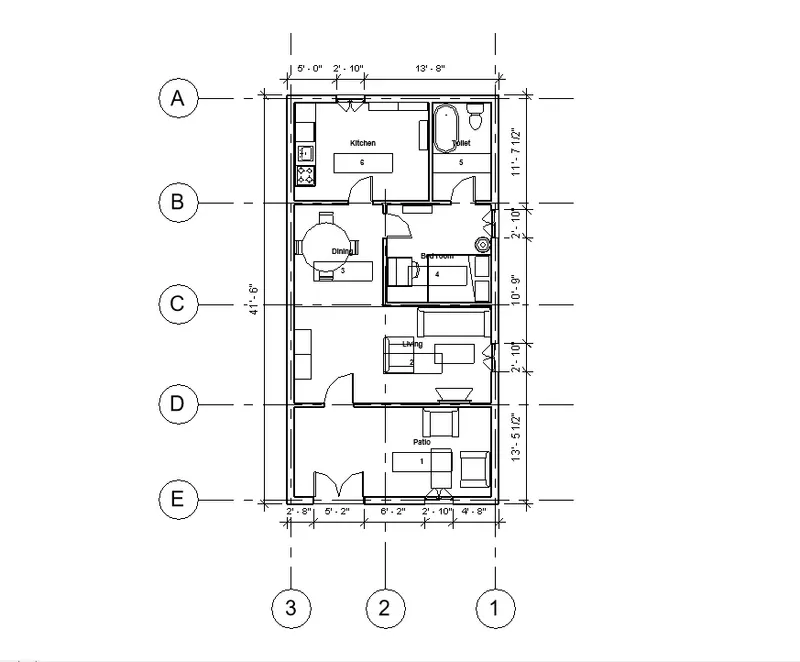
First floor architectural:
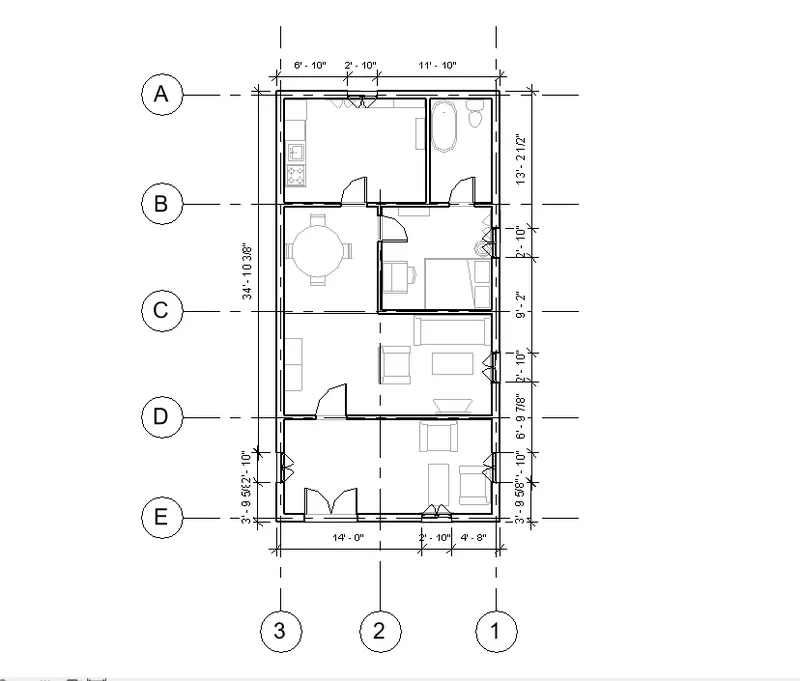
Ground floor structural:
First floor structural:
Result:
Dimensions to all the walls and floors with reference to the longitudinal and transverse grids created in the project file using annotate tool bar is added.
5.
Aim:
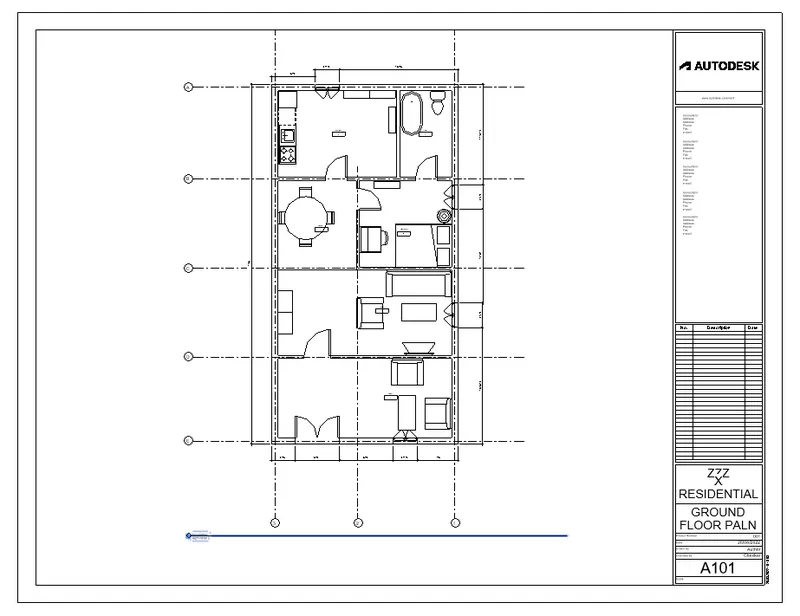
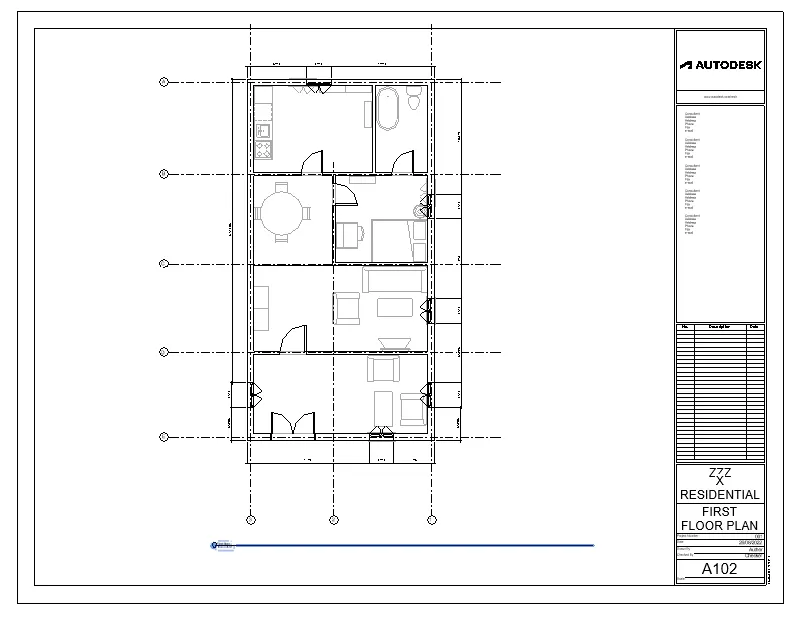
To Create a sheet template from the view tab and adjust the parameters on the sheet to add appropriate views.
Procedure:
- Go to view tab.
- Click sheet.
- Select the sheet size.
- Click ok.
- Click add views option under the view tab.
- Add the view to the sheet.
- Change the scale to set approprite view.
Result:
A sheet template from the view tab is created and the parameters on the sheet to add appropriate views are adjusted.
6.
Aim:
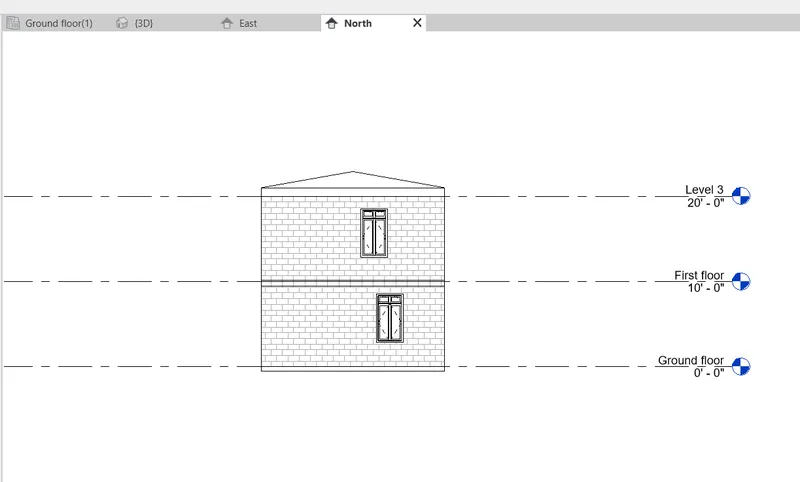
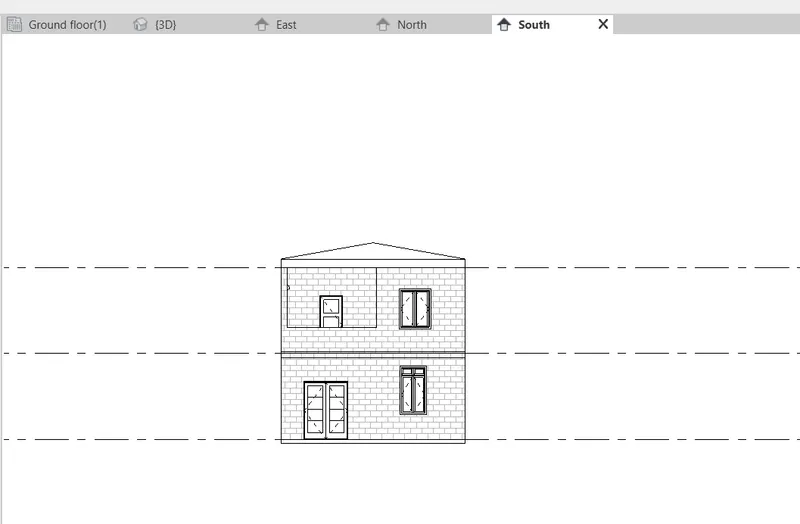
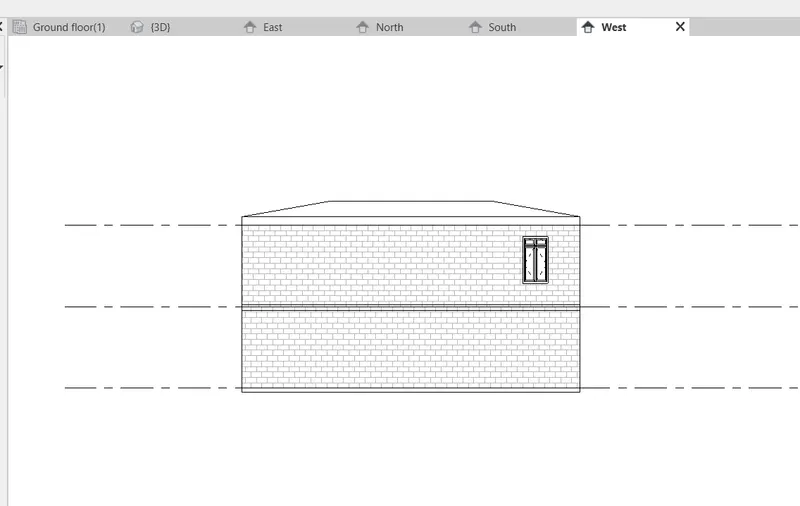
To create the elevation views, looking at the building from East, North, South, and West using elevation tab.
Procedure:
- Select the east elevation view from the project browser.
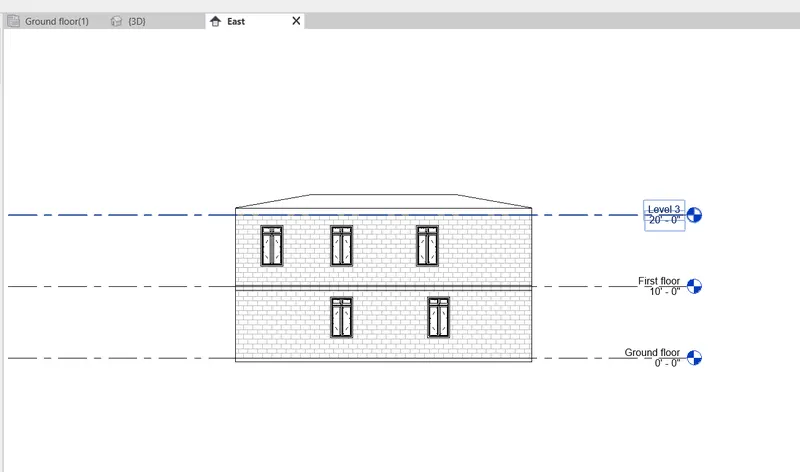
- select the north elevation view from the project browser.
- select the south elevation view from the project browser.
- select the west elevation view from the project browser.
Result:
The elevation views, looking at the building from East, North, South, and West using elevation tab is created.
7.
Aim:
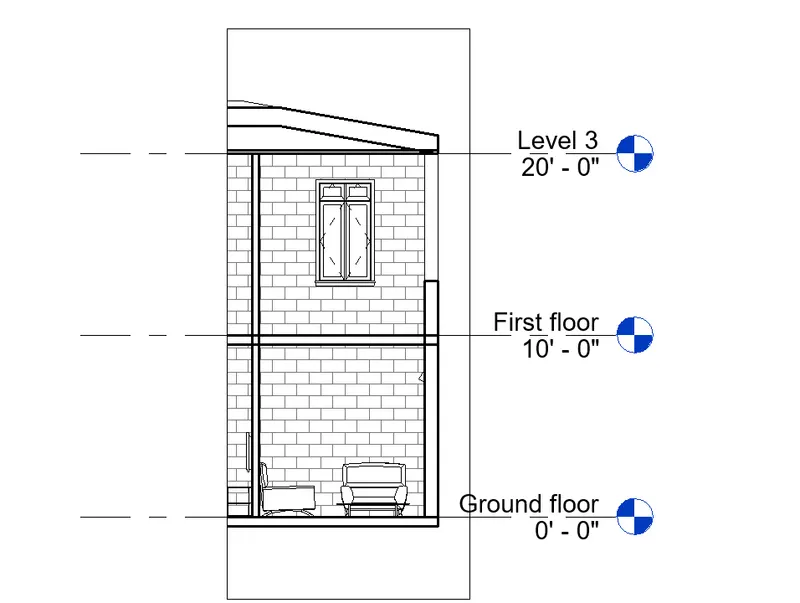
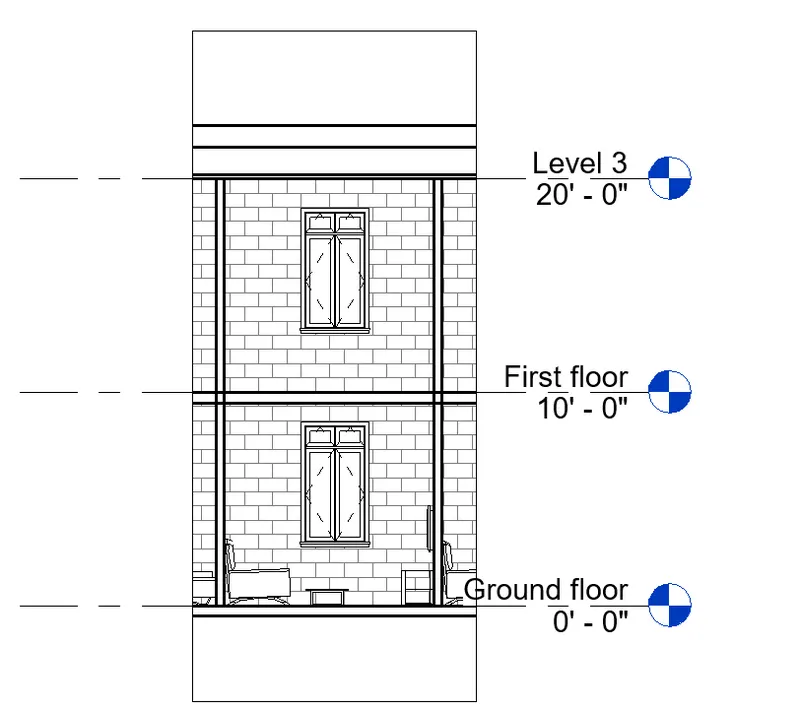
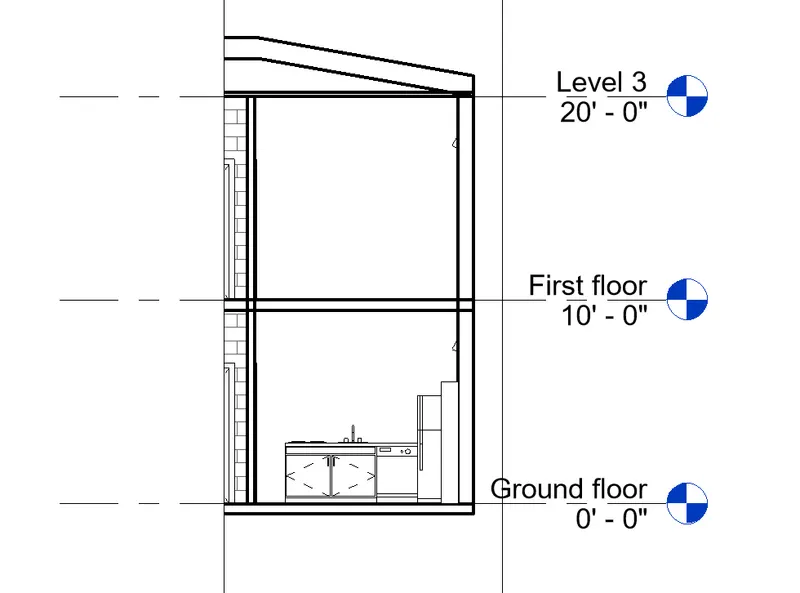
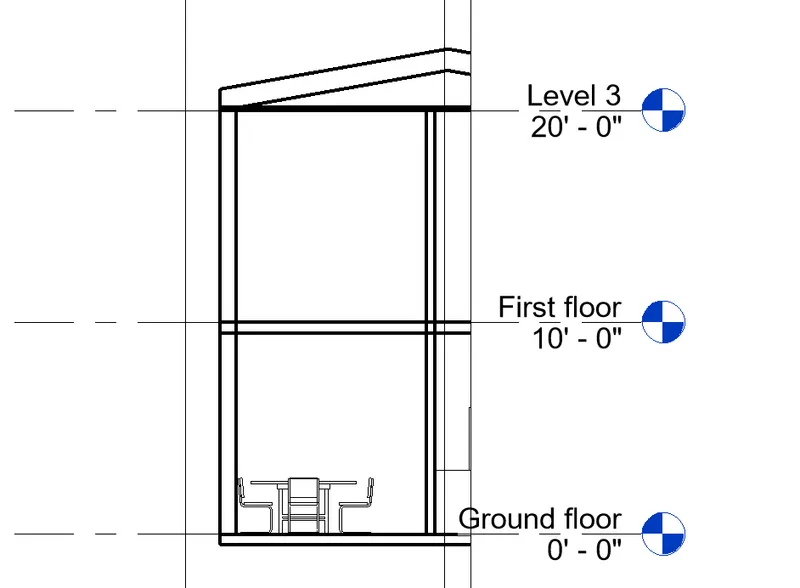
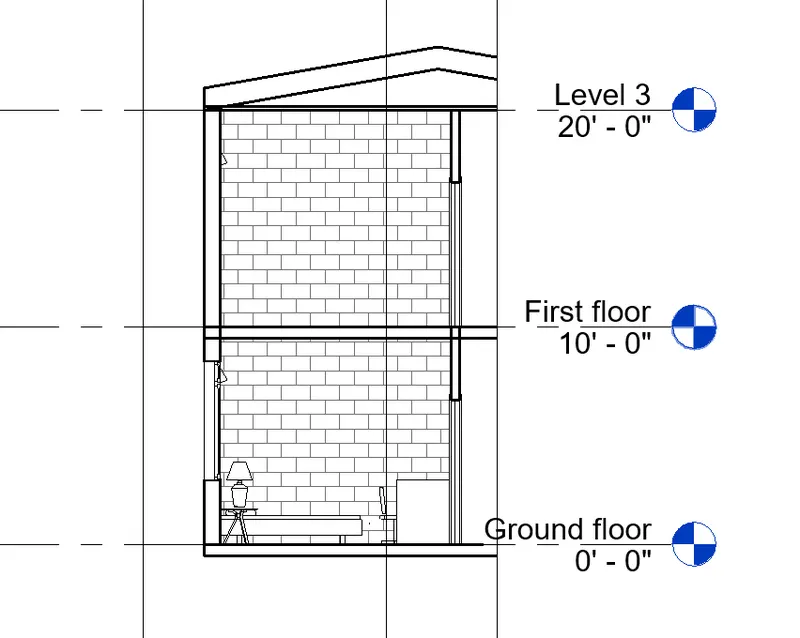
To create section cut through each room either cutting across longitudinally or in a transverse direction.
Procedure:
- Select Section under the view tab.
- Click and place the section of the room.
- The section view is created.

Section view of patio:
Section view of living:
Section view of kitchen:
Section view of dining:
Section view of bedroom:
Result:
The section cut through each room either cutting across longitudinally or in a transverse direction is created.
8.
Aim:
To classify the views, Plan Views, Section Views, and Elevation views to either Design or Documentation category using Properties browser.
Procedure:
- Go to properties browser.
- See the views created.
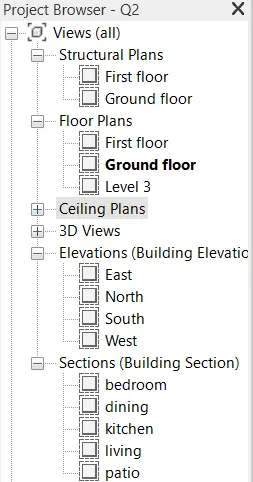
Result:
The views, Plan Views, Section Views, and Elevation views to either Design or Documentation category using Properties browser is classified.
9.
Aim:
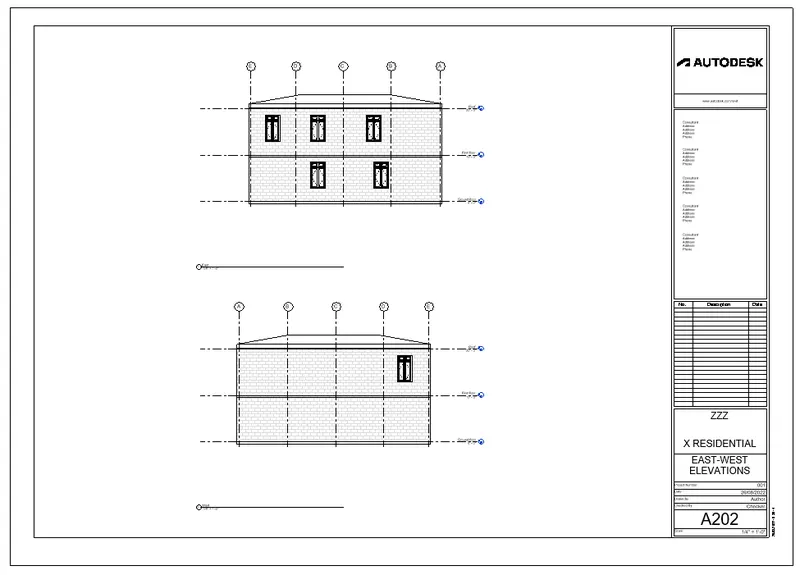
To create sheet templates of the given plans and elevations.
Procedure:
- Click sheet under view tab.
- Select view to add the template.
a) Ground floor architectural plan:
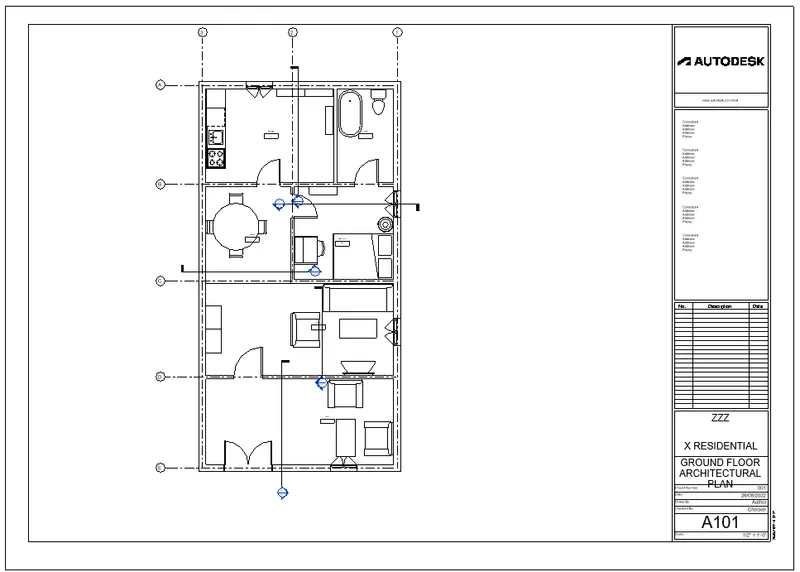
b) First floor architectural plan:
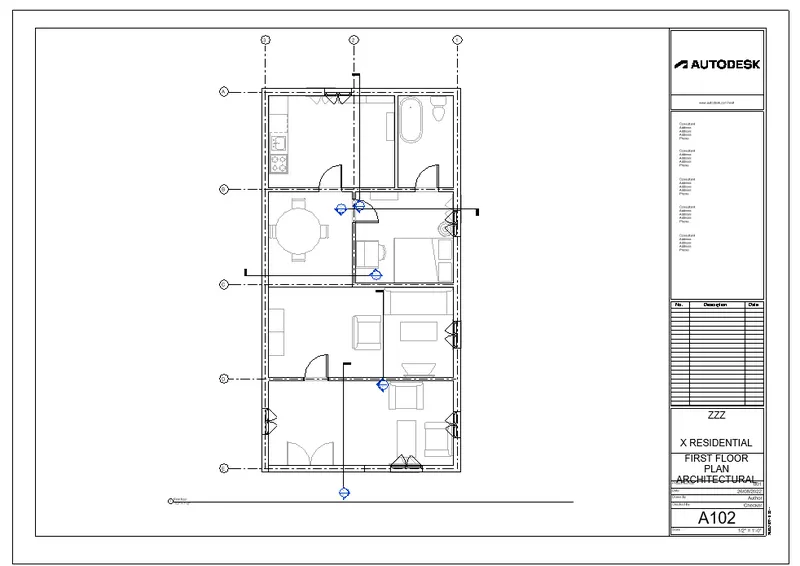
c)Roof architectural plan:
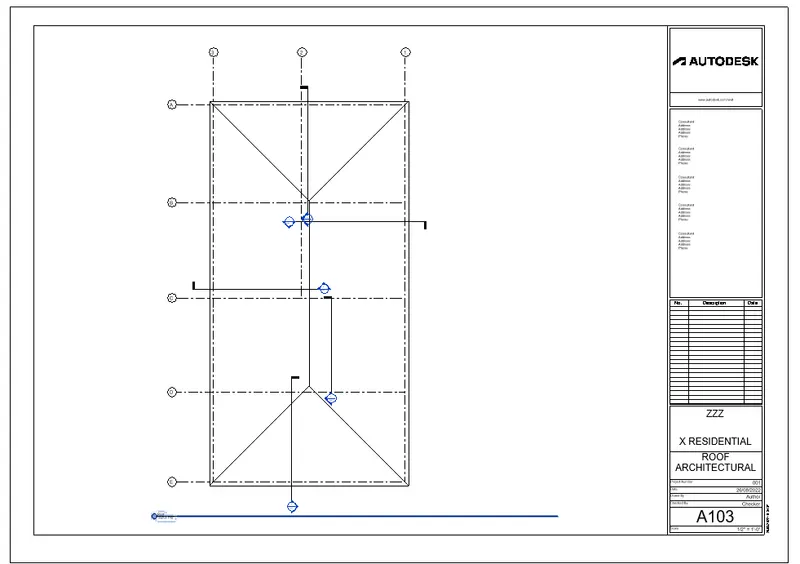
d)Ground floor structural plan:
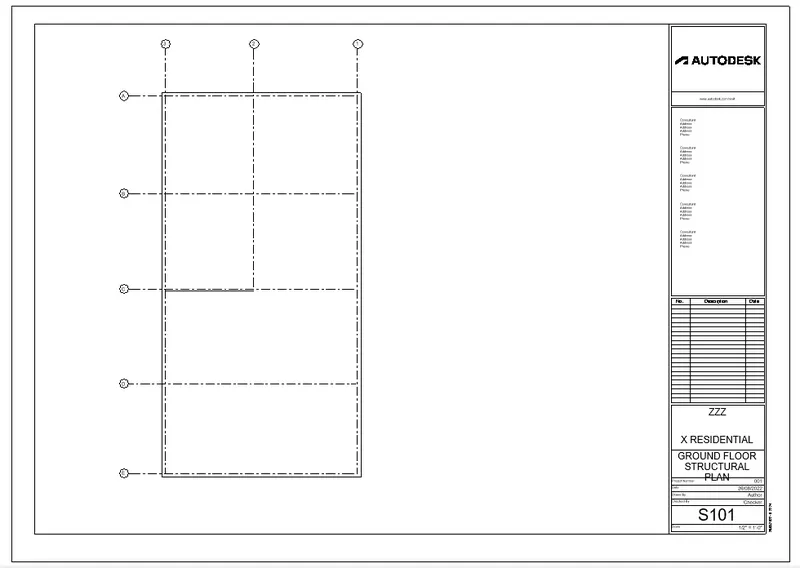
e)First floor structural plan:
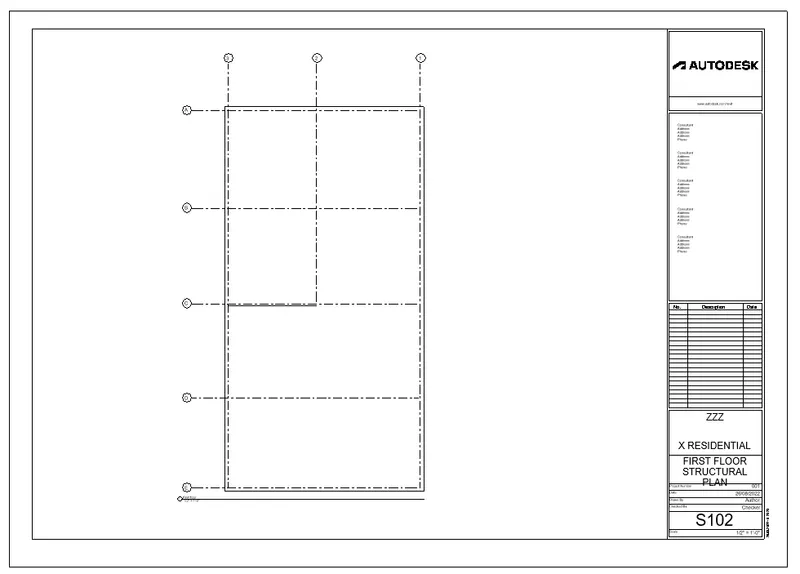
f)Roof structutal plan:
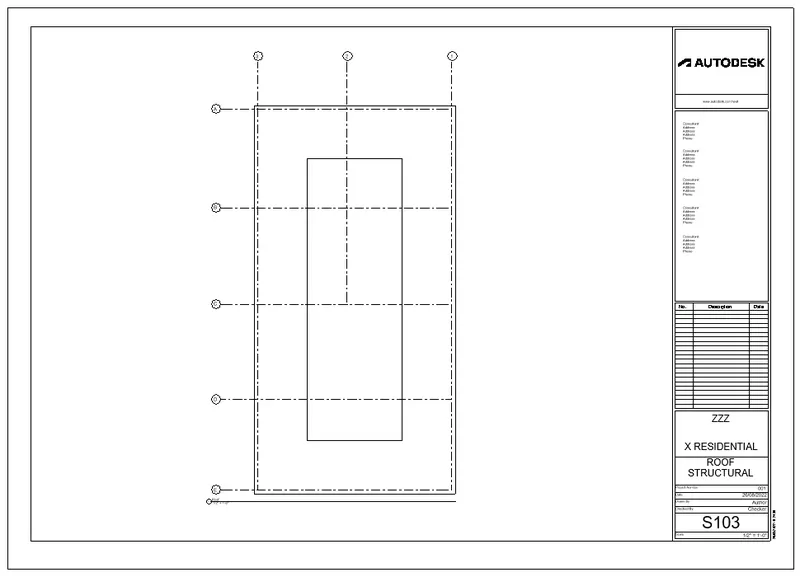
g)North-South elevations:
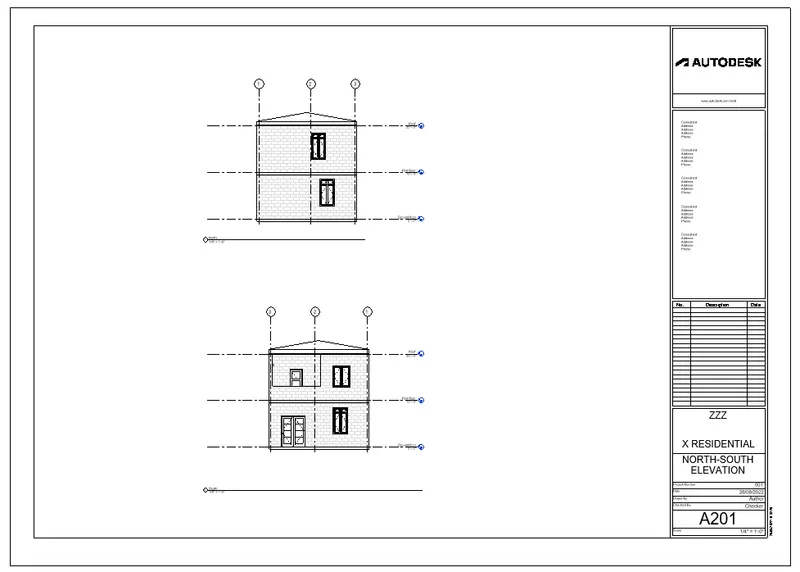
h)East-West elevations:
Result:
Sheet templates are created of the given plans and elevations.
10.
Aim:
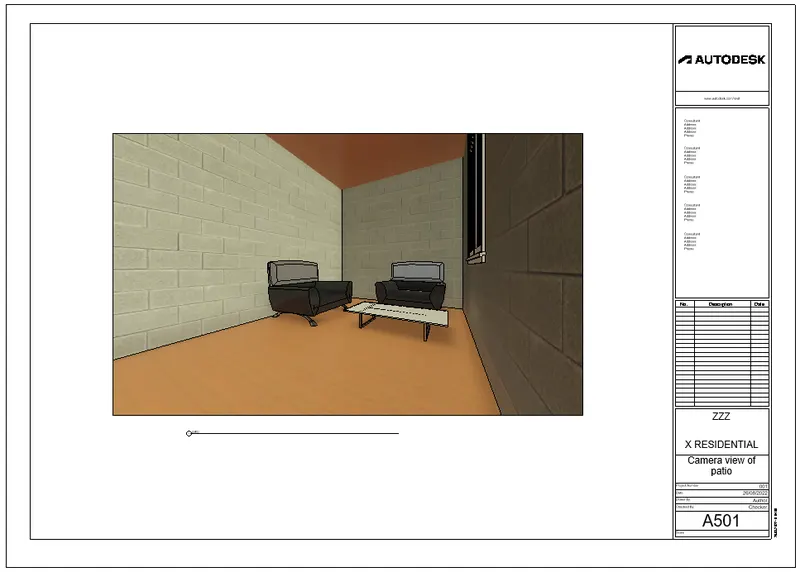
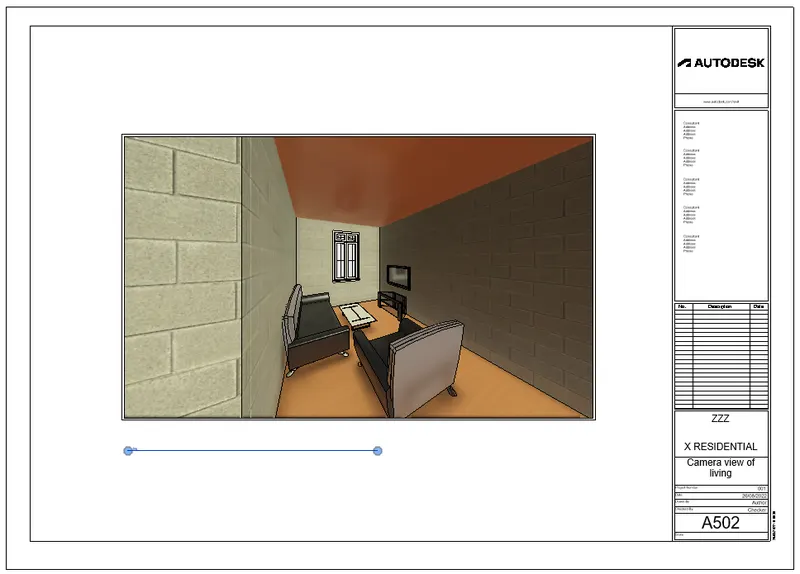
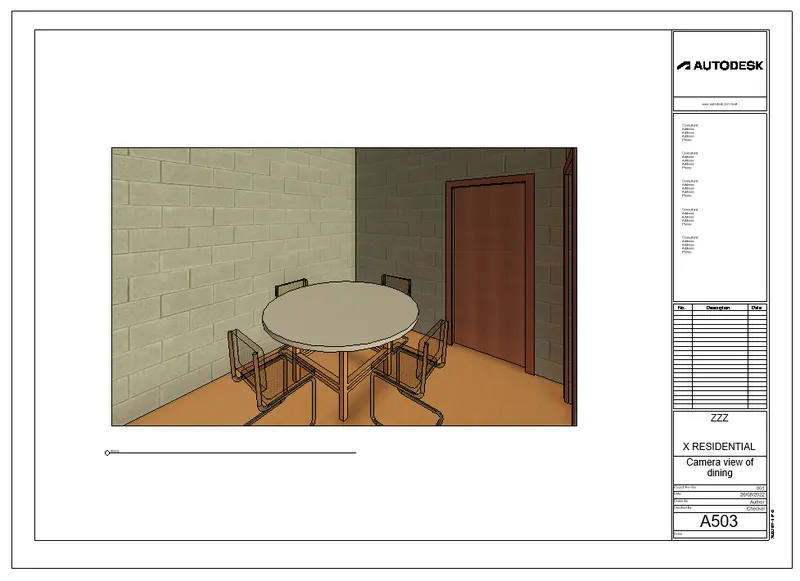
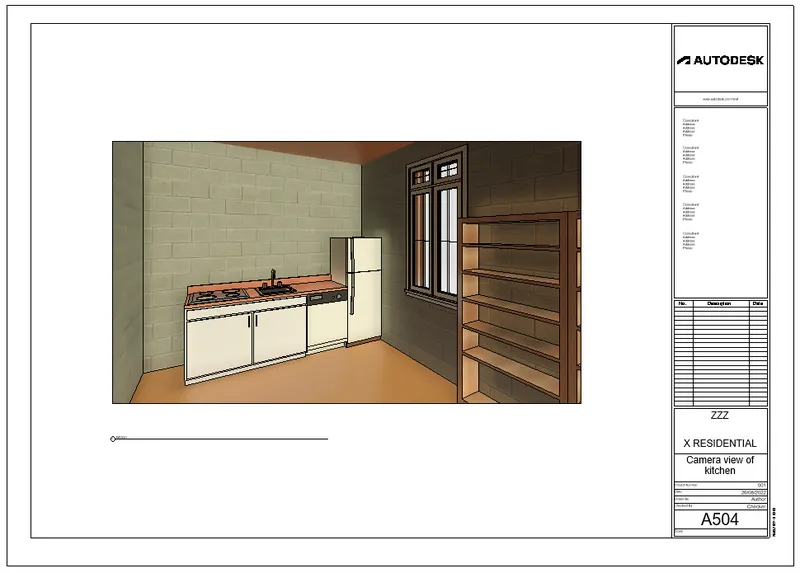
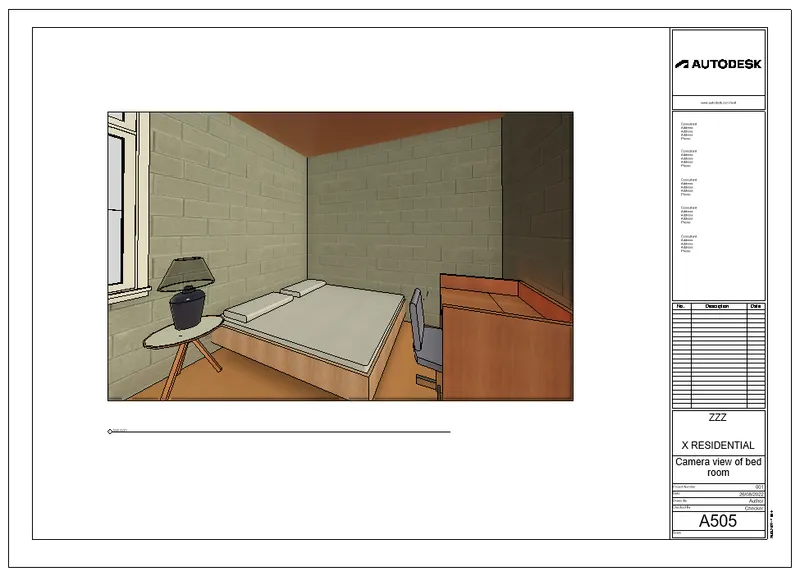
To create camera-specific view of each room and create new set of sheets based on the view created.
Procedure:
- Click view tab.
- Drop down the 3D view.
- Select camera.
- Place the camera inside each room.
- Create a camera view of each room.
- Select the sheet under the view tab.
- Create new sheet.
- Click view in the view tab.
- Select the view and add to the sheet.
1) Camera view of patio:
2) Camera view of living:
3) Camera view of dining:
4) Camera view of kitchen:
5) Camera view of bedroom:
Result:
A camera-specific view of each room is created and based on the views new set of sheets is created.