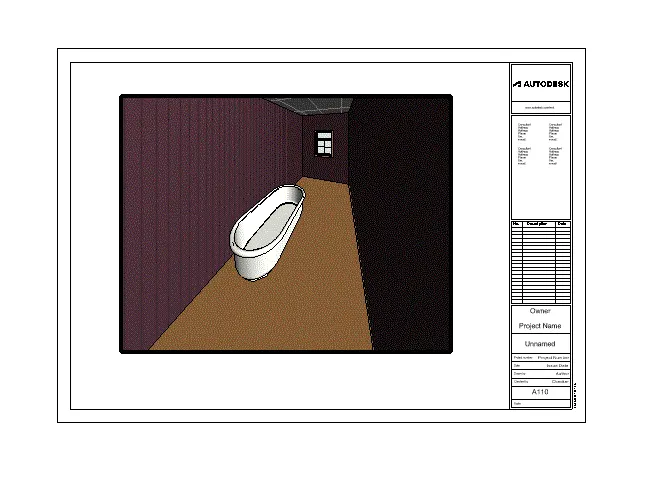
3D Creation of Celing, Roof, Architectural plan, Structural plan, Sectional view, Elevation view and Camera specific view for a house plan using REVIT
- AIM: To create the ceiling above the wall at first floor level
- PROCEDURE:
- Initially open the week 3 assignement from the revit software
- We open the revit software and select the ceiling option from the architecture toolbar
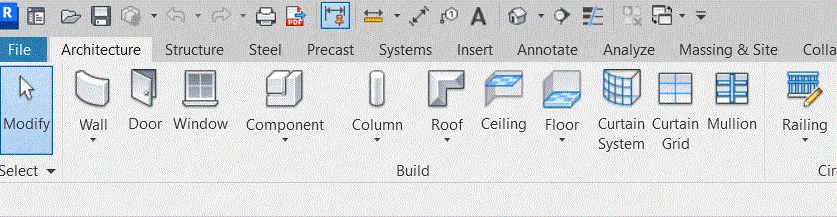
- After selecting the ceiling option select the room each by each
- Then ceiling will be created as shown in the figure
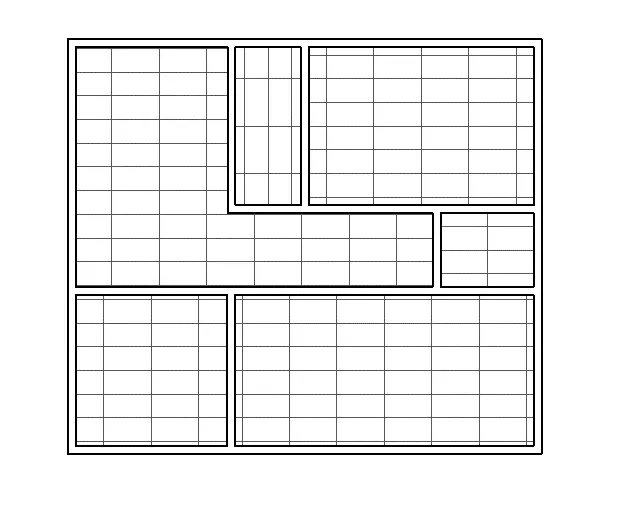
- Here we can show ceiling from the 3D view
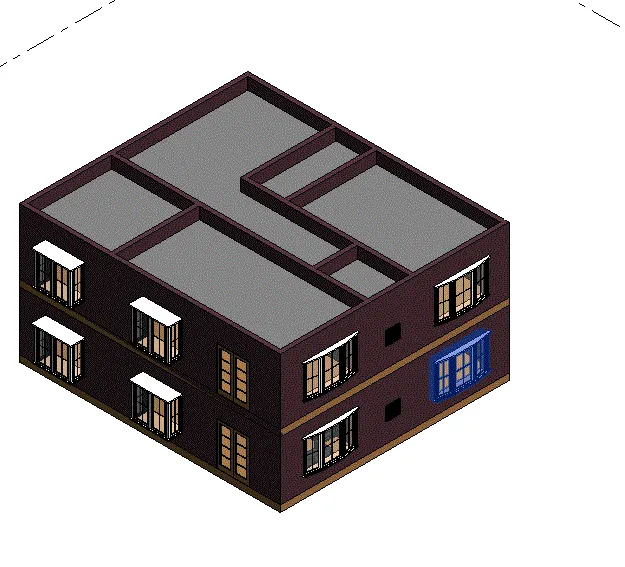
- AIM: To medel a roof above the ceiling by selecting the footprint of the ceilings
- PROCEDURE:
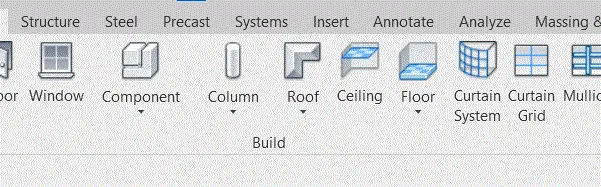
- Open the architecture toolbar and select the roof by footprints option as shown in below figure
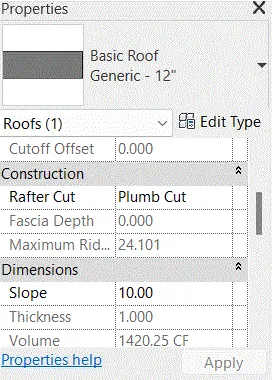
- Now we select the roof to 10 degrees by selecting it as shown in the figure
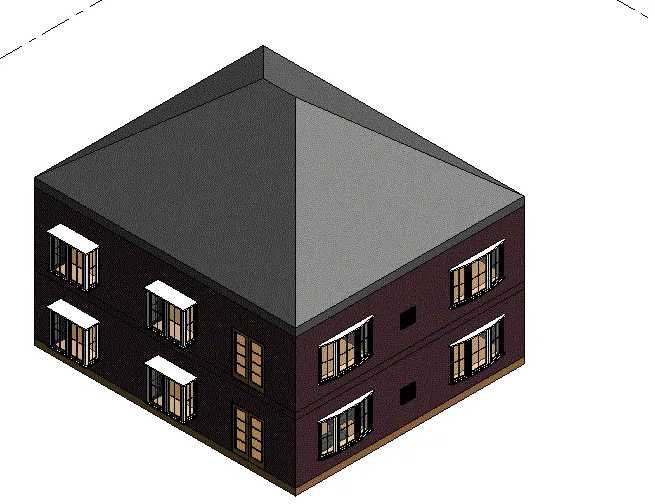
- Roof created will be shown in the result
- RESULT
- Roof created as shown in the result
- AIM: To create plan view for ground floor level and first floor level including off the wall floor and components and to separate them into architecture and structural plan
- PROCEDURE:
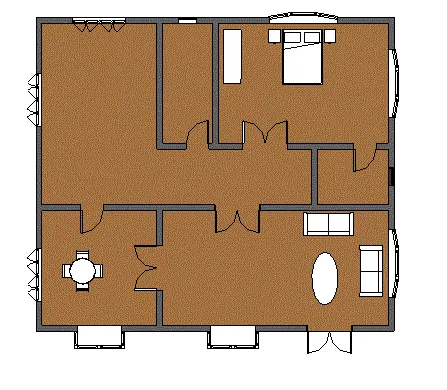
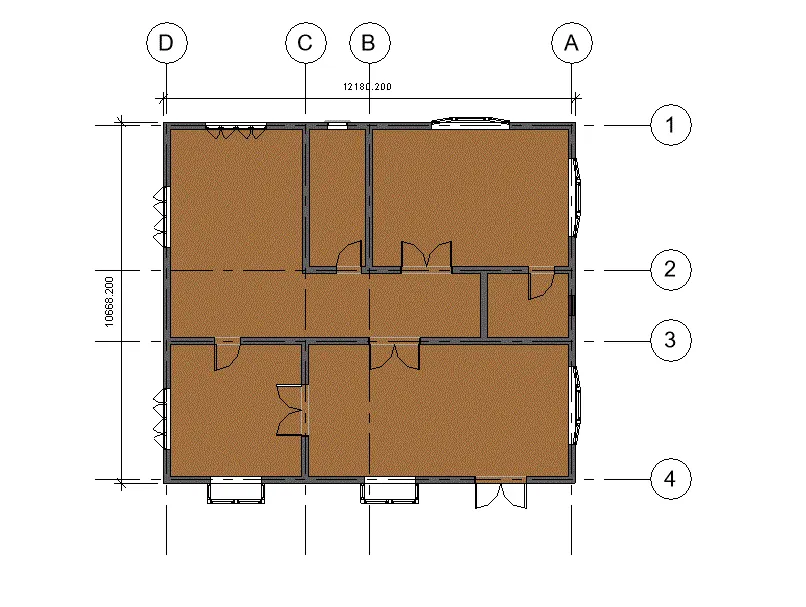
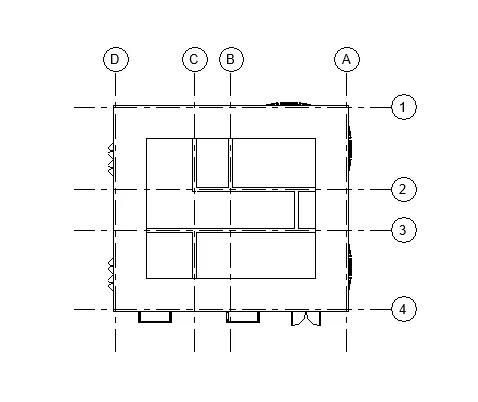
- First we draw the architectural plans of first floor and second floor plan as shown below
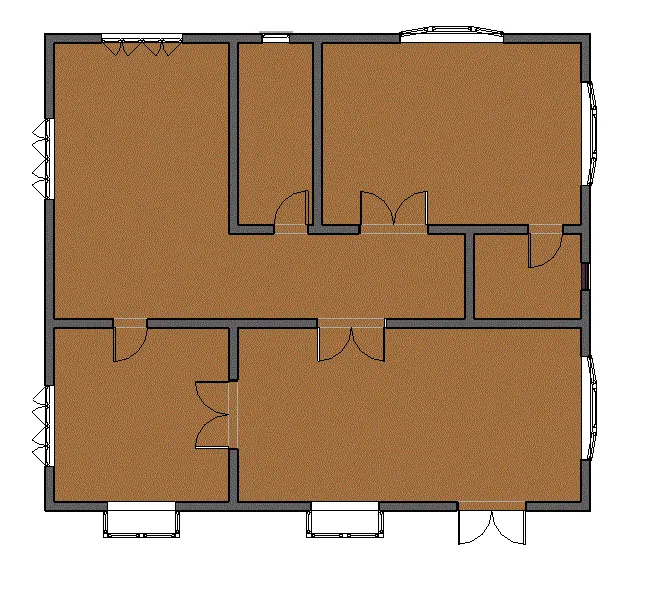
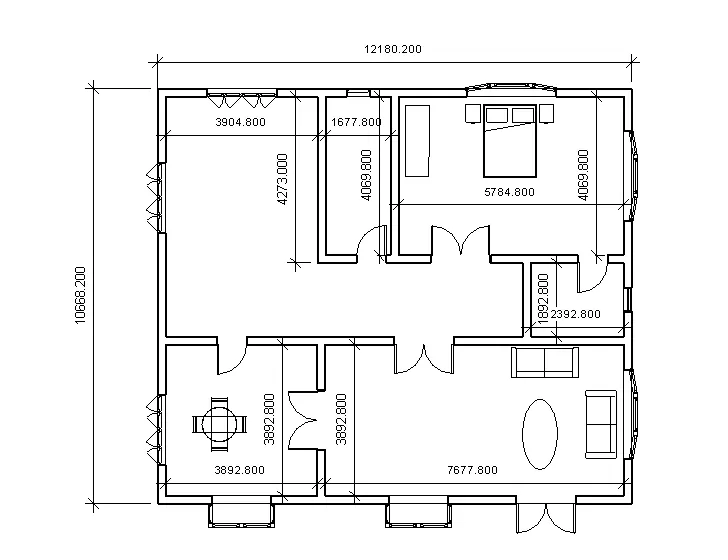
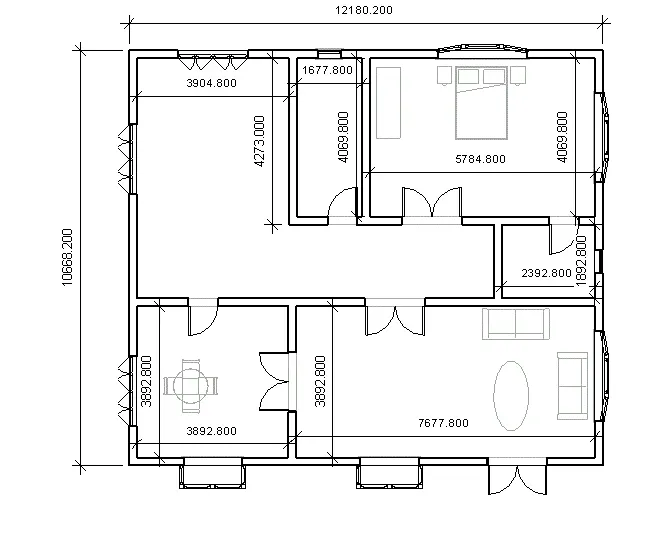
- AIM: To add dimension to all the walls and floors with reference to the longitudnal and traverse grid created in the project line
- PROCEDURE
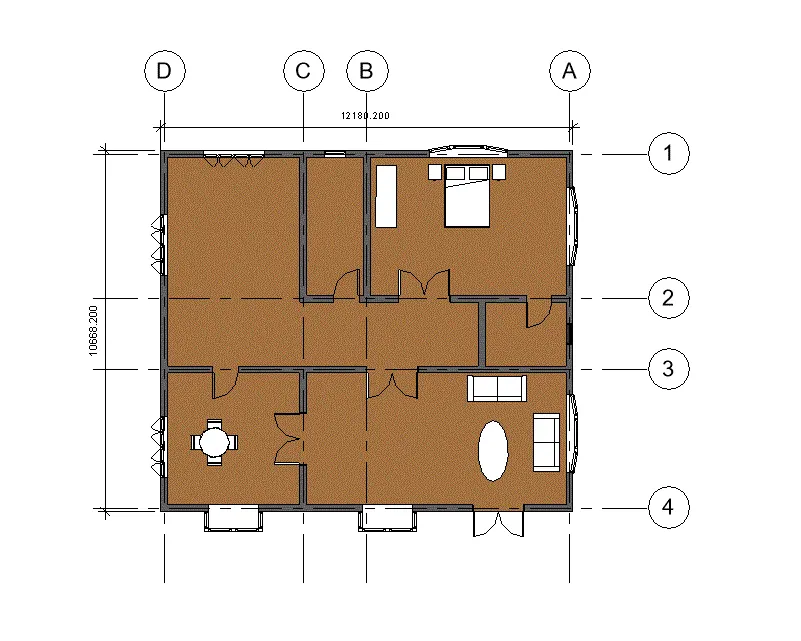
- Here we draw the longitudnal and traverse grid to the architectural floor plan as shown in the figure
- Add the dimension to the dimension to the architectural plans as shown in below
- AIM: To create a sheet template from the view tab and adjust the parameter on the sheet to add appropriate views
- PROCEDURE:
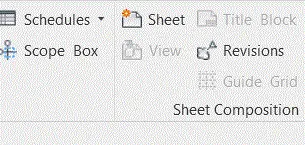
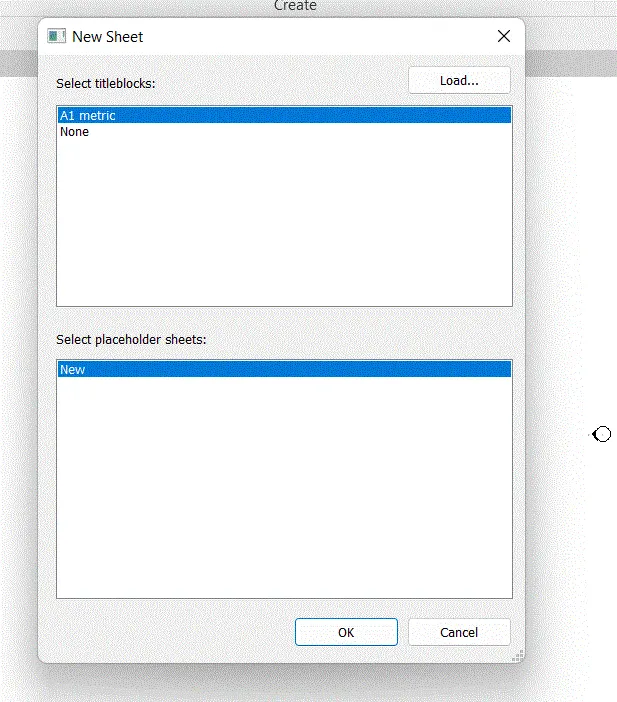
- First we click on the sheet option fron the view toolbar as shown in the figure.After clicking the sheet the new tab will be visible on the screen in that new tab we select the A1 metrics then sheet template will be displayed
- In the sheet template we insert the first floor plan and second floor plan separately as shown below next edit the project name and the sheet number as shown in below figure
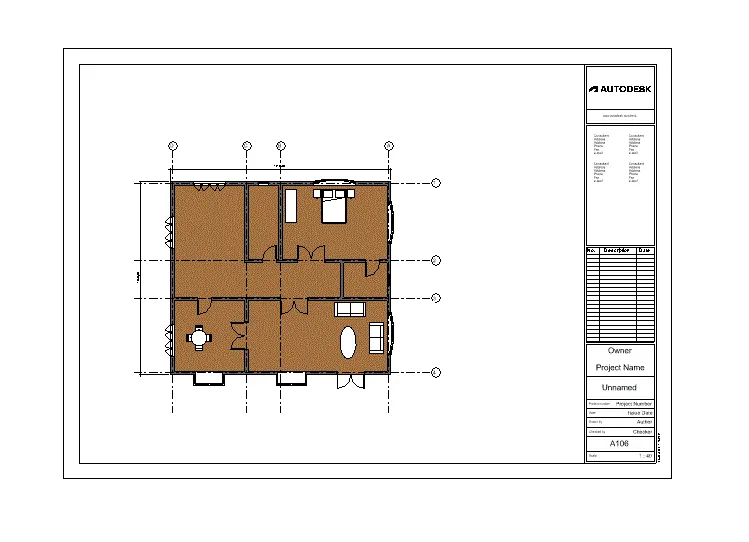
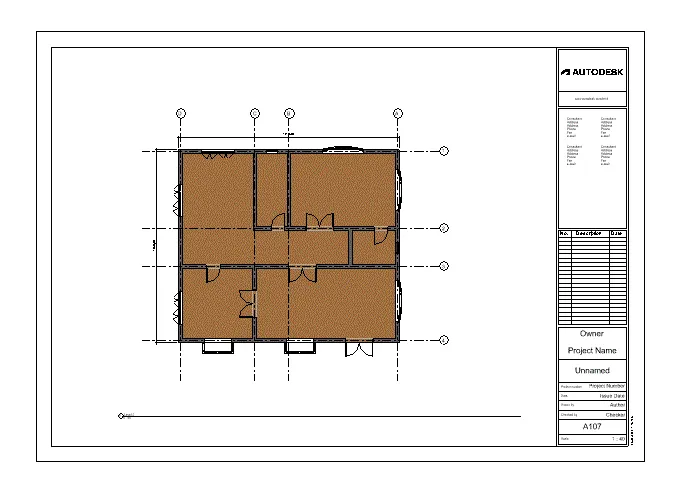
- AIM: To create elevation views look at your building from north,east,south,west using elevation tab
- PROCEDURE:
- First we click on elevation from view toolbar as shown in the figure
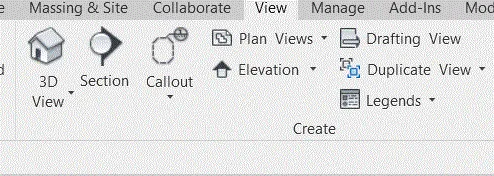
- Next elevation from the east will be shown in the figure
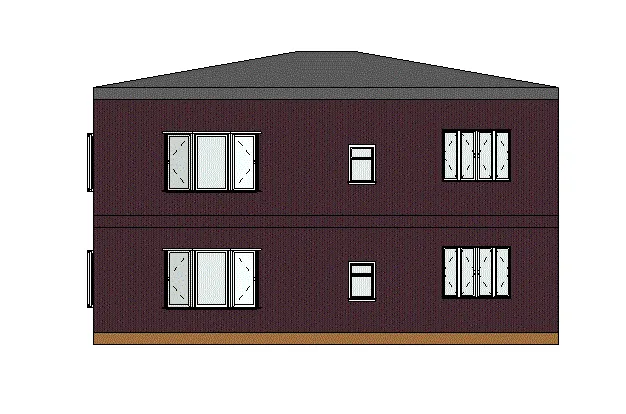
- Next elevation from the south shown in the figure
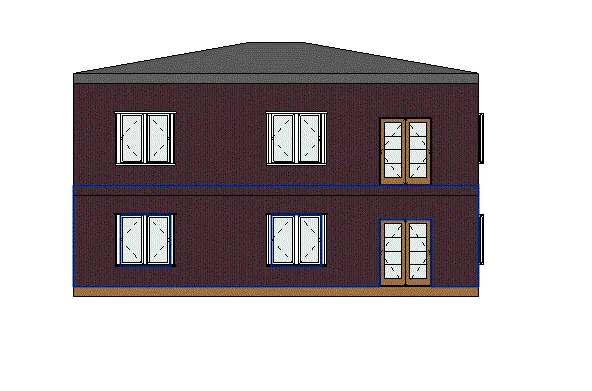
- Next elevation from the north as shown in the figure
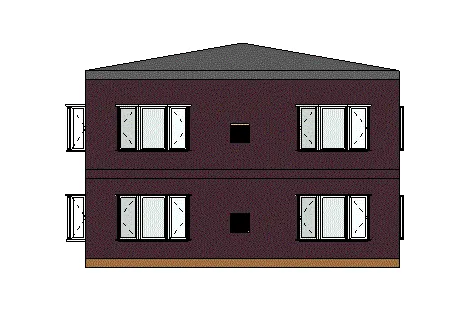
- Next elevation from the west as shown in the figure
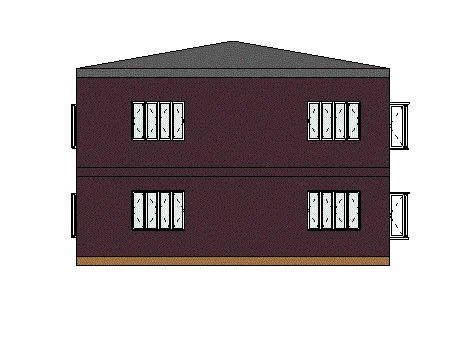
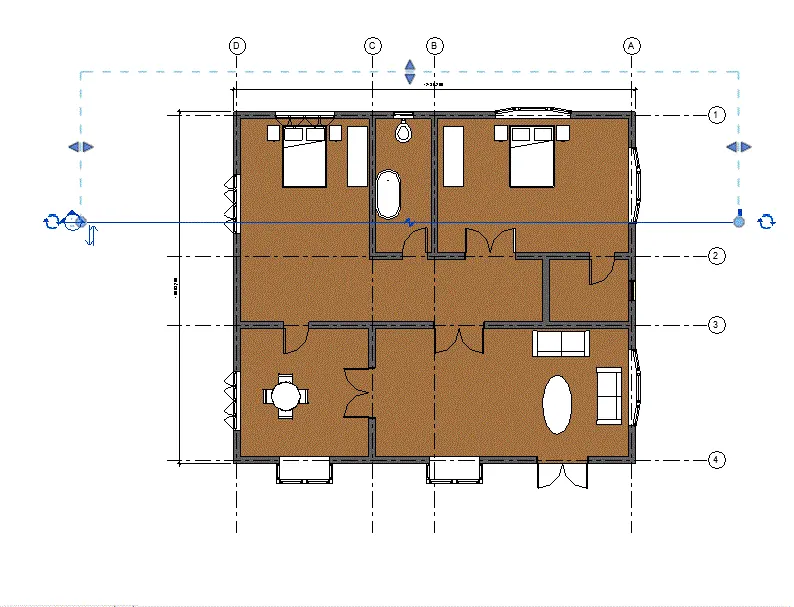
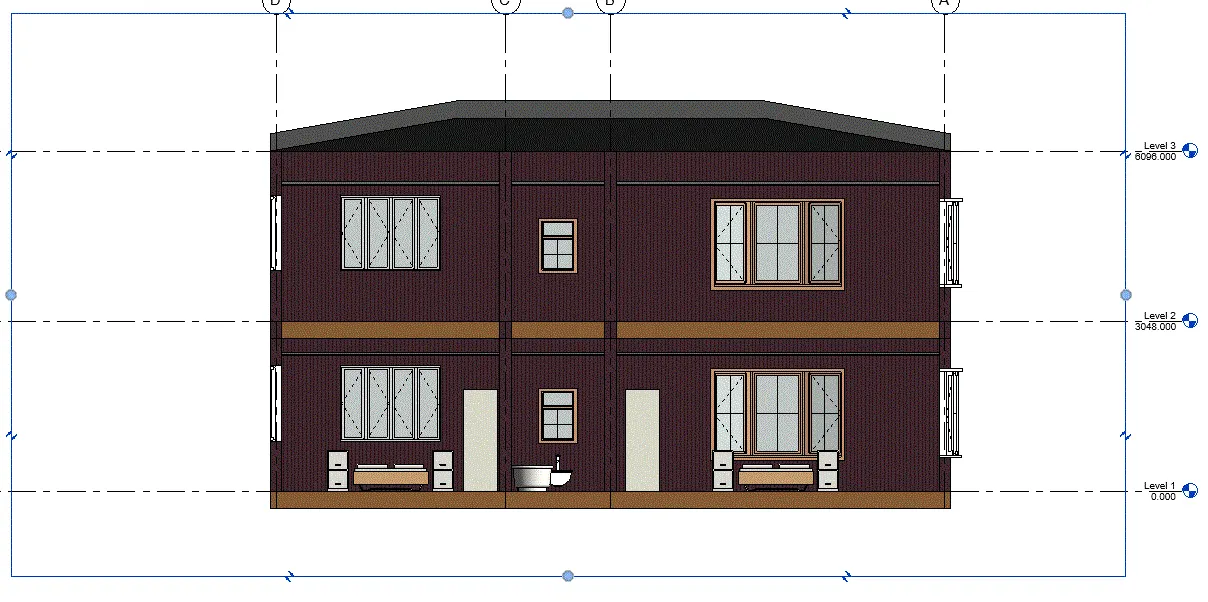
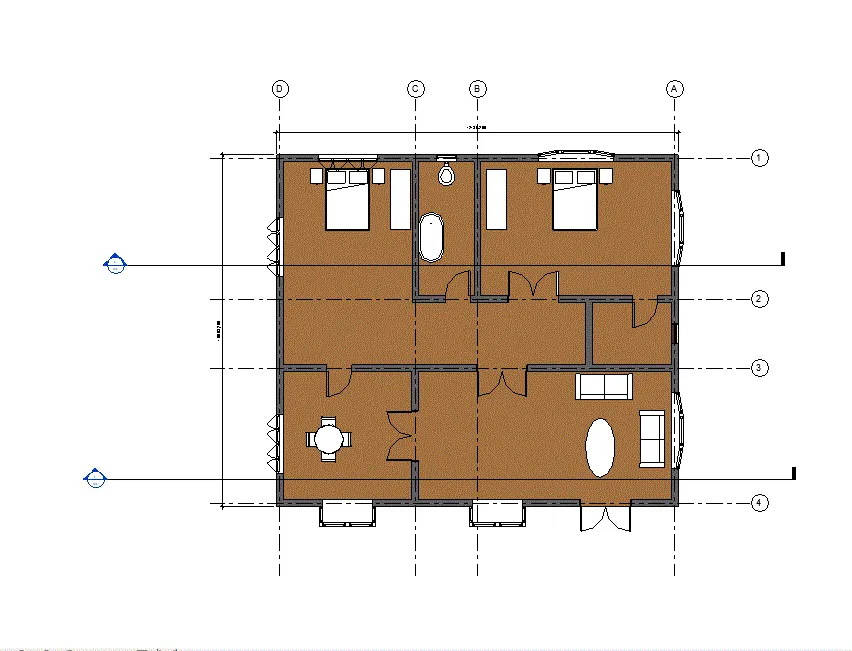
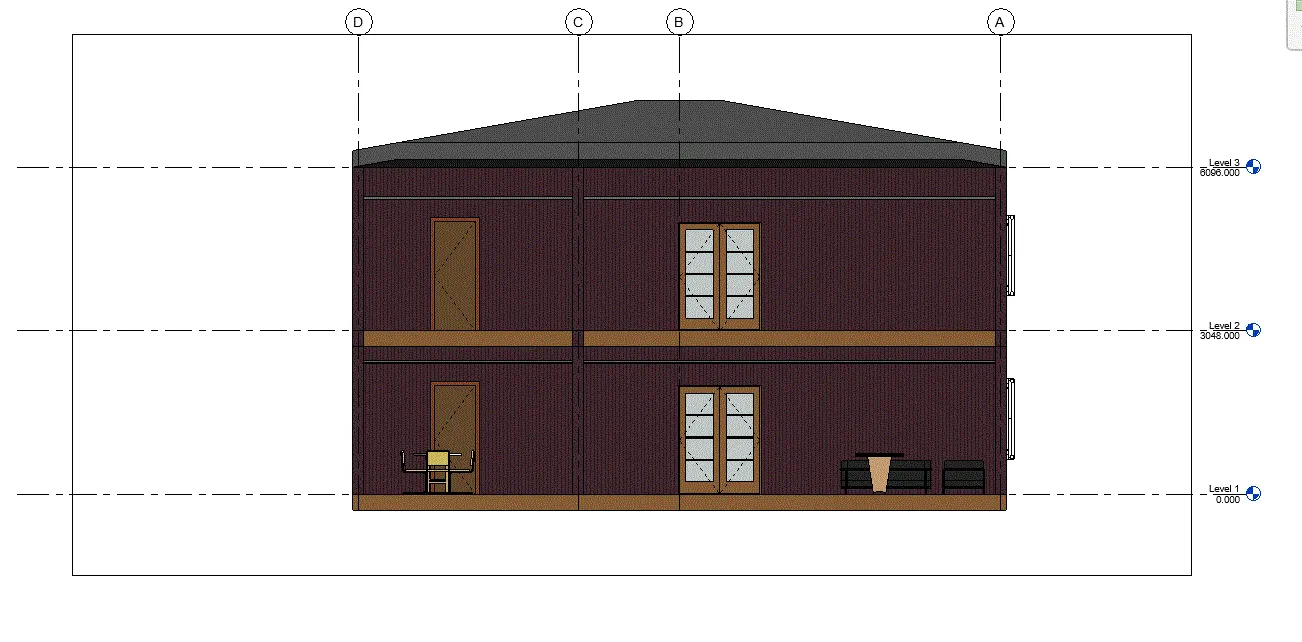
- AIM: Produce section cut through each room either cutting across longitudnally or transversally
- PROCEDURE:
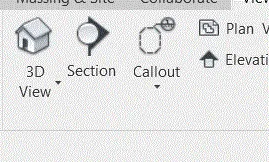
- First we click view tab in ribbon tab
- Select the section view and then section required room
- SECTION 1
- SECTION2
- AIM: Classify the view, plan views , section views and elevation views to either design or documentation category using property brwoser
- PROCEDURE:
- Go to the view tab of the ribbon
- choose property brwoser
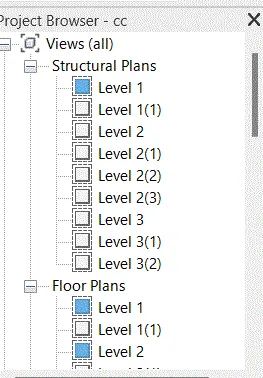
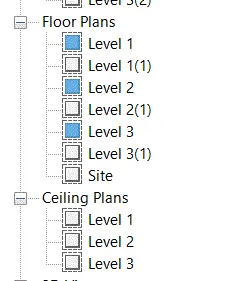
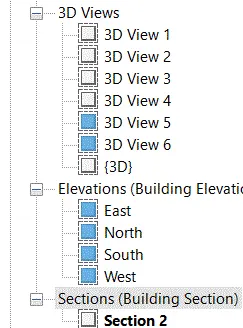
- Following are the diffrent views are created
- RESULT
- AIM: To create the sheet template add diffrent views in it
- PROCEDURE:
- Go to the view tab of the riibon tab
- Choose the sheet option and load the template reqyuired
- GROUND FLOOR ARCHITECTURAL PLANROOF P
- FIRST FLOOR ARCHITECTURAL PPLAN
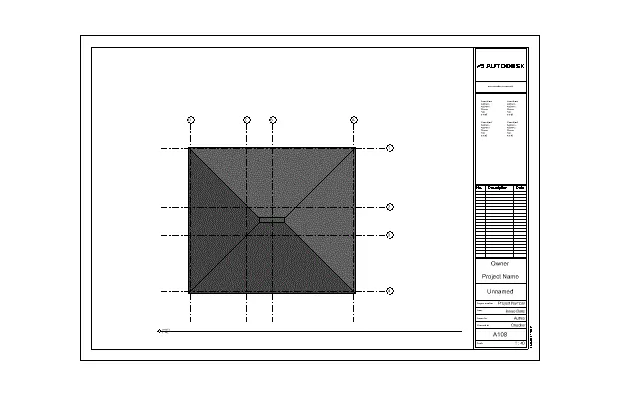
- ROOF PLAN
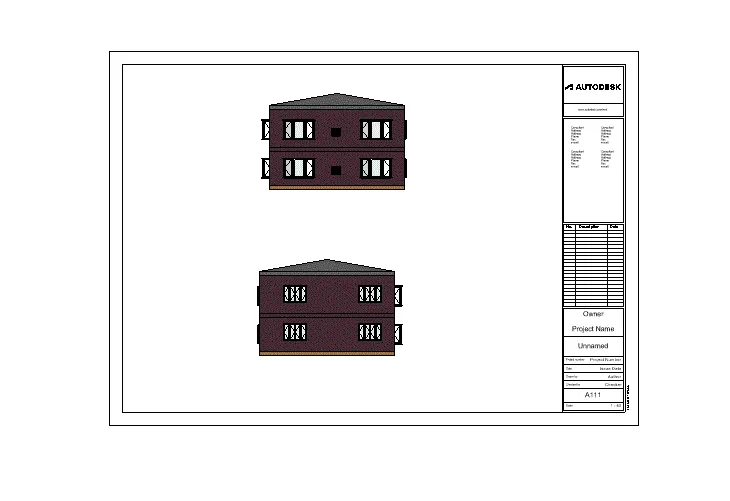
- East west elevation
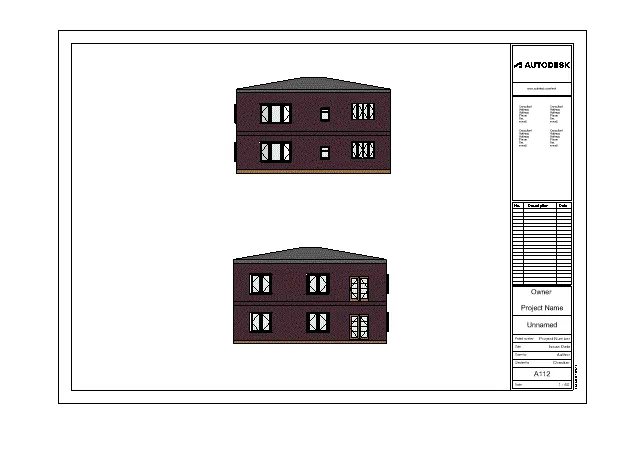
- North south elevation
- AIM: To create camera specific view in each room
- PROCEDURE:
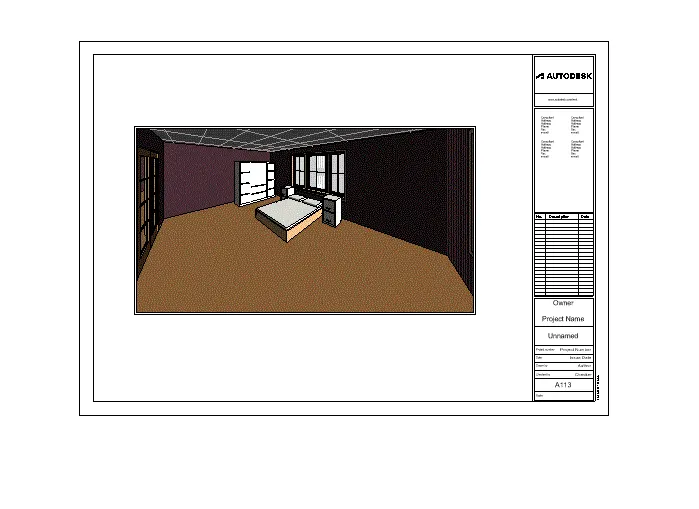
- Go to thew view tab and drop down the 3d view
- Choose the camera view placed it in a respective room
- BEDROOM
- WATER CLOSET