3D Creation of Celing, Roof, Architectural plan, Structural plan, Sectional view, Elevation view and Camera specific view for a house plan using REVIT
1) Based on the project saved from Week 3, proceed from the First Floor Level. Model a Ceiling from the architecture tab above the walls at the first-floor level.
Aim:- To model a ceiling from the first floor level for the project saved from week 3.
Procedure:-
- Start with the revit software and open the file drawn for week 3 from file menu bar.
- Go to the First floor level in ceiling plans from the project browser.
- Choose ceiling from build panel in Architectural tab⮕Choose Sketch ceiling from ceiling panel⮕There are various options available for sketching ceiling,use rectangle to create rectangular chain of lines from draw panel to sketch the ceiling⮕as the layout is rectangular just sketching the rectangle along the layout.
Results:- The Snaps of the procedure followed above are as follows-
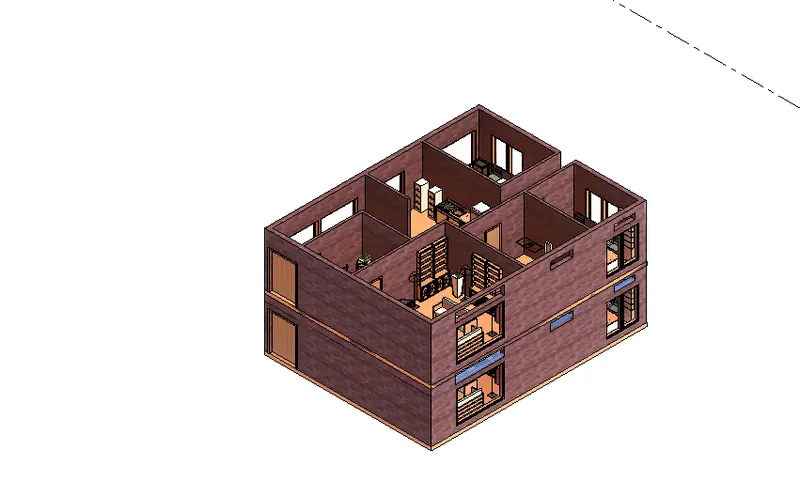
- The selected ceiling can be viewed in the snap below,
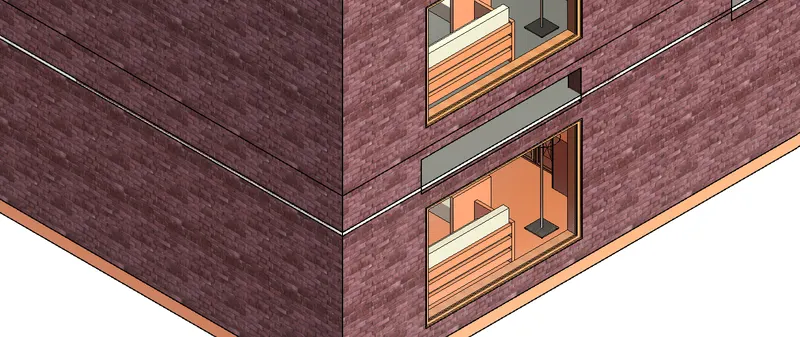
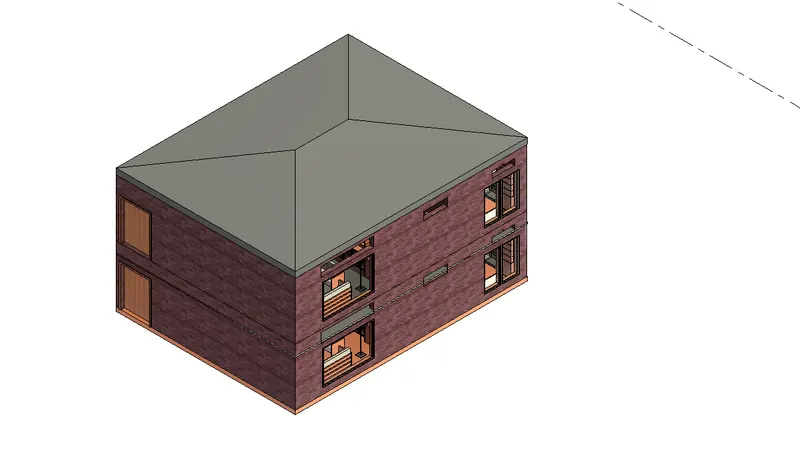
2) Model a roof above the ceiling by selecting the footprints of the ceiling. Using the adjustment toolbars appearing on-screen adjust the roof slope to 10 degrees.
Aim:- To model a roof above the ceiling by selecting the footprints of the ceiling for the project saved from week 3.
Procedure:-
- Start with the revit software and open the file drawn for week 3 from file menu bar.
- Go to the First floor level in ceiling plans from the project browser.
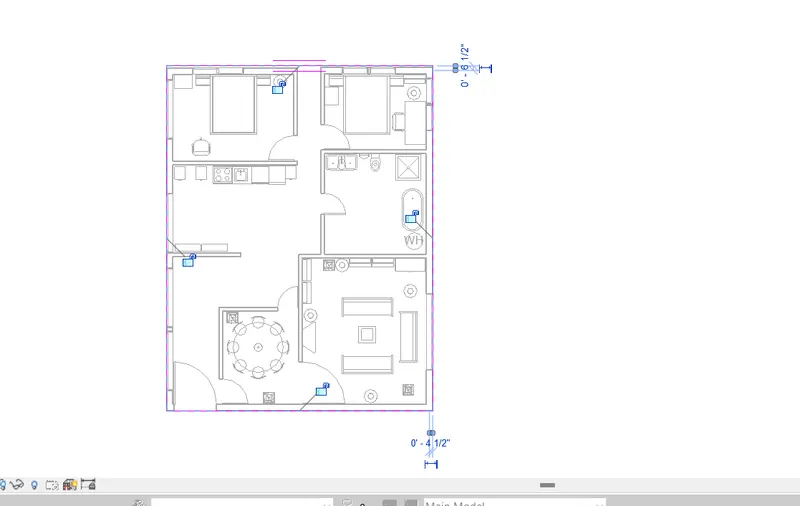
- Choose roof by footprint and use rectangle to draw roof in the layout.
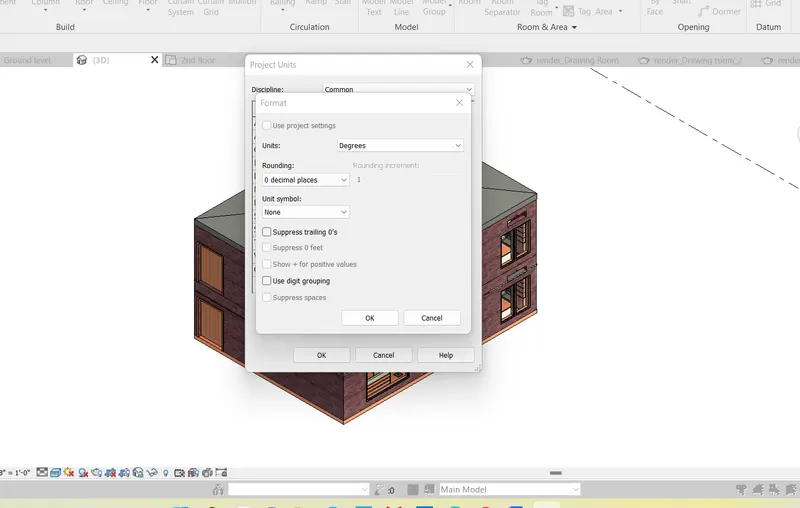
- changing the slope from default to 10 deg as directed in the question to do it type UN a ribbon tab will appear,from there change the slope unit from feet and inches to degrees and change the slope to 10deg from properties.
Results:- The Snaps of the procedure followed above are as follows-
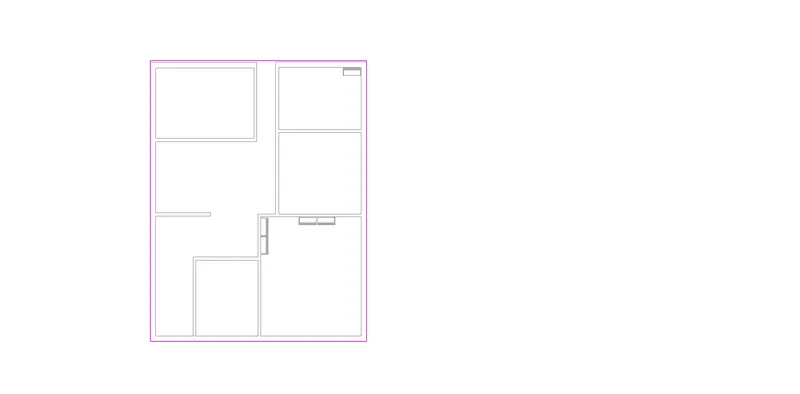
3) Using the file saved from weeks 2 to 4, create plan views for ground floor level and first-floor level including all the walls, floors, and components. Separate them to
architecture and structural plans
a. Architecture plan must have walls, floors, and all the components placed within the building,
Aim:- To create Architectural plan views for the project saved from week 2 and week 3.
Procedure:-
- Start with the revit software and open the file drawn for week 2 from file menu bar.
- Go to floor plans in the project browser⮕Go to view tab and choose plan views and select Architectural for creating Architectural plans.
- select the first floor for the corresponding Architectural plans, similarly for other floors.
- In the project browser we can see that a definite section for the Architectural plans is created, just access the Architectural plans from there and check for the required layout⮕as the Architectural plans should carry all the walls,floors,and other components as directed in the question.
- Control the visibility from the visibility graphics available in the properties browser.
- Check only thopse items which you want to get visible in the plan layout and uncheck all other items⮕apply⮕ok.
Results:- The Snaps of the procedure followed above are as follows-
- Architectural plan from the ground floor of week 2 drawing model,
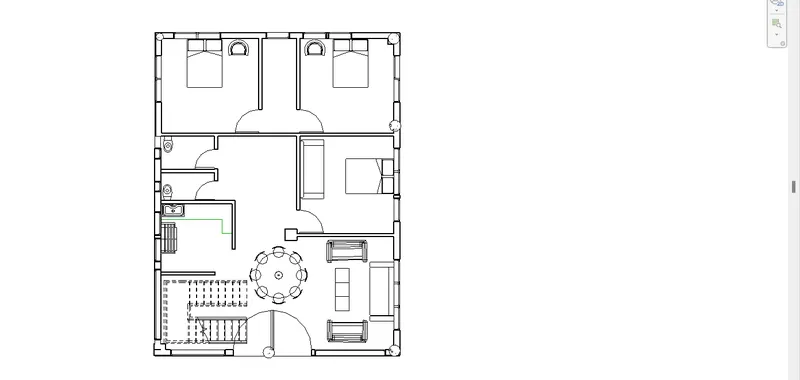
- Architectural plan from the First floor of week 2 drawing model,
- Architectural plan of the ground floor from week 3 drawing model,
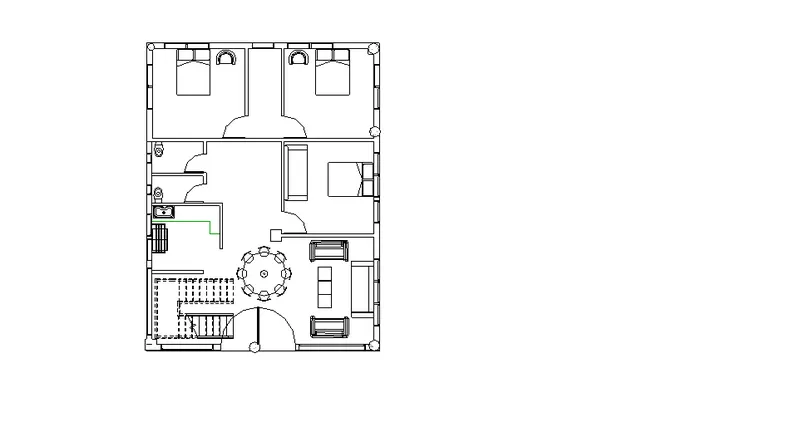
- Architectural plan of the first floor from week 3 drawing model,
b. Structure plan must have details of only walls, floors, and columns
Aim:- To create Structural plan views for the project saved from week 2 and week 3.
Procedure:-
- Start with the revit software and open the file drawn for week 2 from file menu bar.
- Go to floor plans in the project browser⮕Go to view tab and choose plan views and select structural for creating structural plans.
- select the first floor for the corresponding structural plans, similarly for other floors.
- In the project browser we can see that a definite section for the structural plans is created, just access the structural plans from there and check for the required layout⮕as the structural plans should carry only walls,floors and columns as directed in the question.
- Control the visibility from the visibility graphics available in the properties browser.
- Check only those items which you want to get visible in the plan layout and uncheck all other items⮕apply⮕ok.
Results:- The Snaps of the procedure followed above are as follows-
- Structural plan from the ground floor of week 2 drawing model,
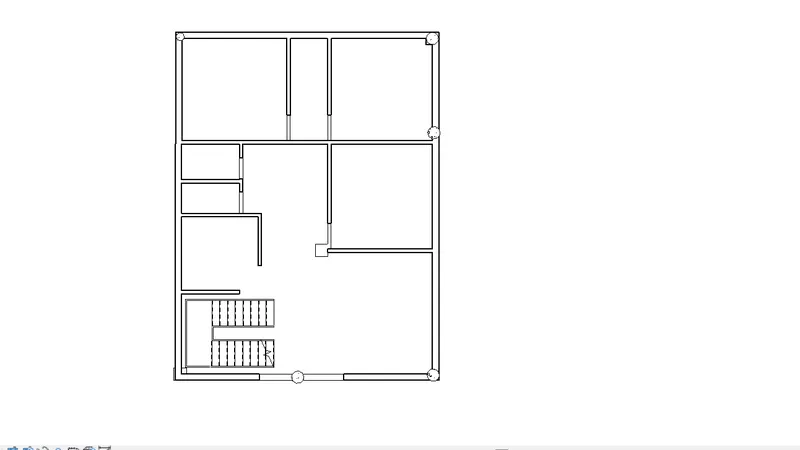
- Structural plan from the first floor of week 2 drawing model,
- Structural plan from the roof level of week 2 drawing model,
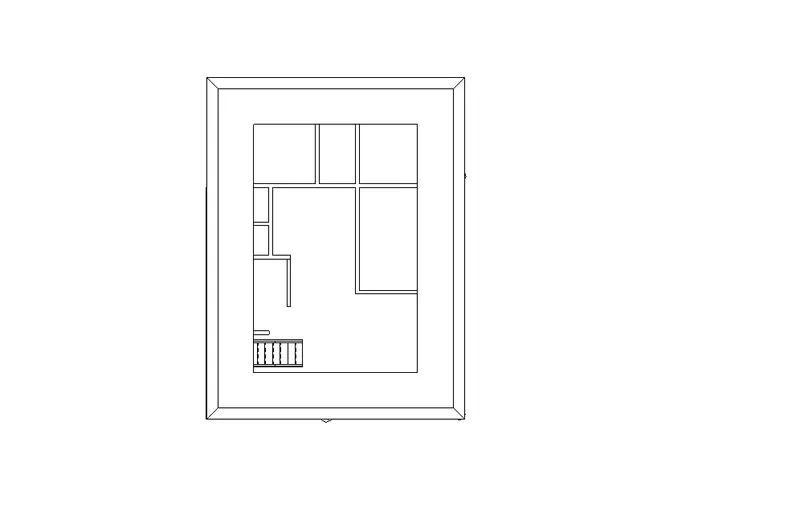
- Structural plan from the ground floor of week 3 drawing model,
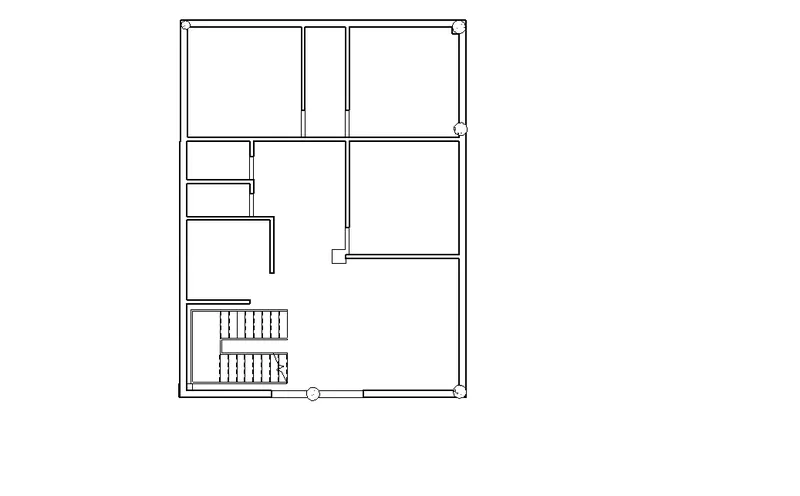
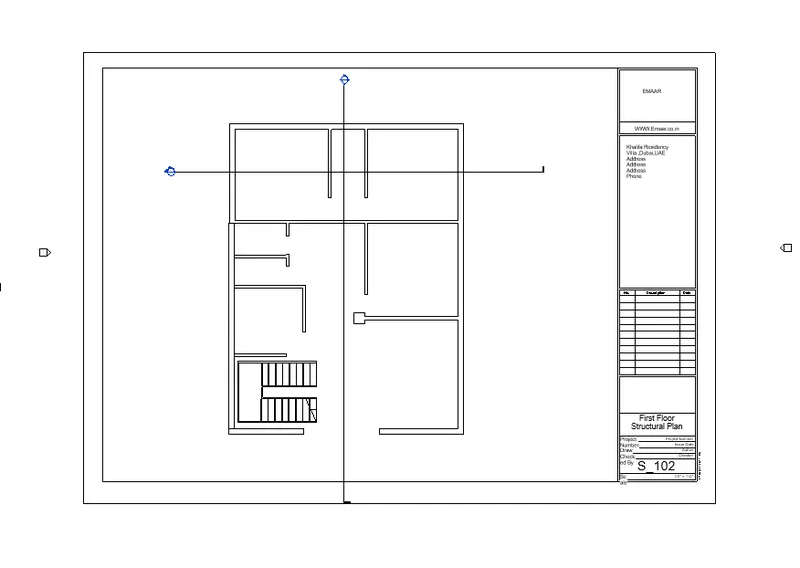
- Structural plan from the first floor of week 3 drawing model,
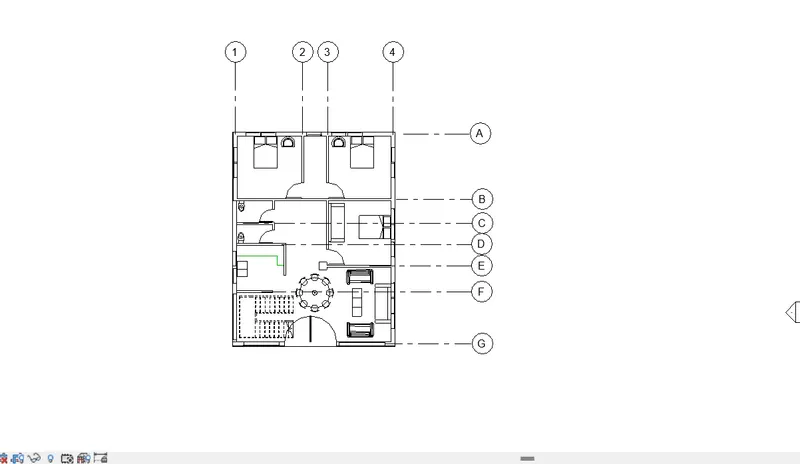
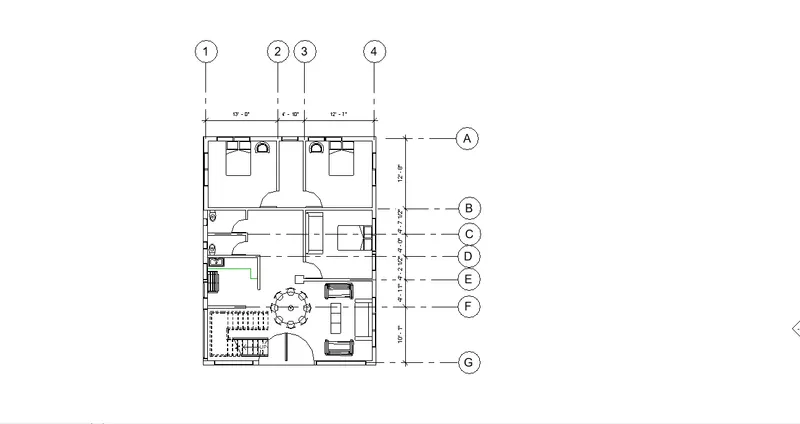
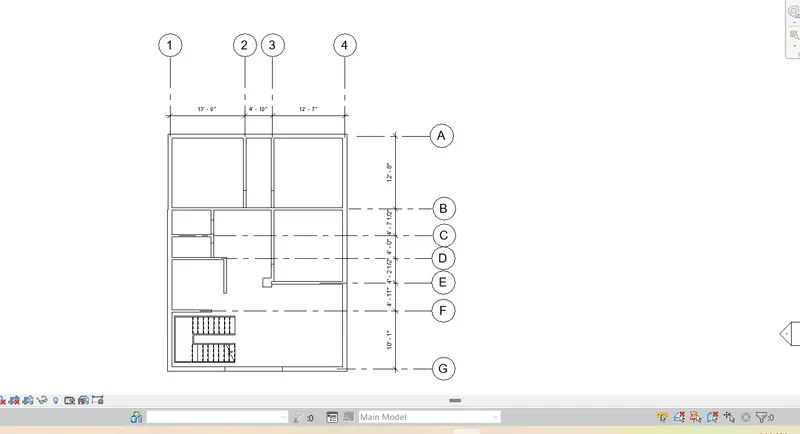
4) Using annotate toolbar add dimensions to all the walls and floors with reference to the longitudinal and transverse grids created in the project file
a. The architecture plan dimensions include details on where the components are placed within the buildings with relation to grids. Overall dimensions are sufficient for architecture plans.
b. The Structure plan dimensions must include details on the position of all the walls and interior walls with reference to grids. Locate all the framing components of the building with reference to a fixed point using Structural plans
Aim:- To mark the grid lines and to add dimensions to all the walls and floors with reference to the longitudinal and transverse grids created in the project file.
Procedure:-
- Start with the revit software and open the file drawn for week 3 from file menu bar.
- From the Architecture tab choose grid from datum panel and draw the grids cenre to centre from one wall to another in tansverse and longitudnal direction.
- Then, Mark dimensions from annotate tab linear and aligned from centre to centre of the grids.
Results:- The Snaps of the procedure followed above are as follows-
5) Create a sheet template from the view tab and adjust the parameters on the sheet to add appropriate views
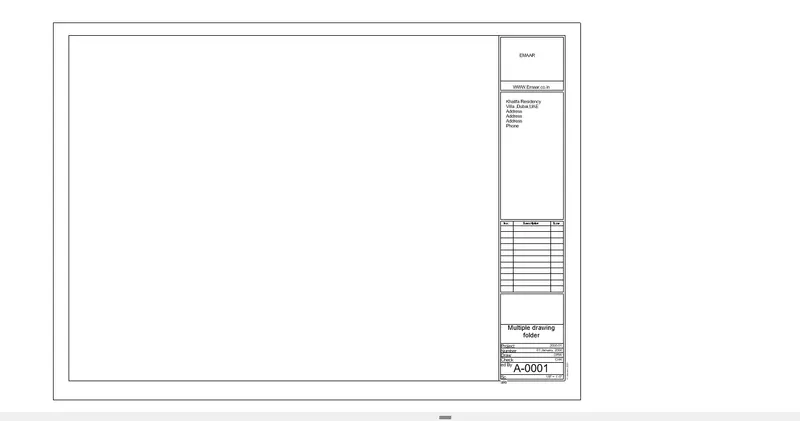
Aim:- To create a sheet template from the view tab and edit the rquired parameters on the sheet to add appropriate views.
Procedure:-
- Go to view tab ⮕there is an option for sheet in Sheet composition panel⮕click over that ⮕select the titleblock shown there or load to get from the library.
- A new sheet will get opened which can be accessed from the sheet option of the project browser.
- Change some of the parameters like name and number of the drawing,Drawn by,company name etc..
- Save the changes.
- now,the sheet can be used to create and put different views inside its boundary area.
Results:- The Snaps of the procedure followed above are as follows-
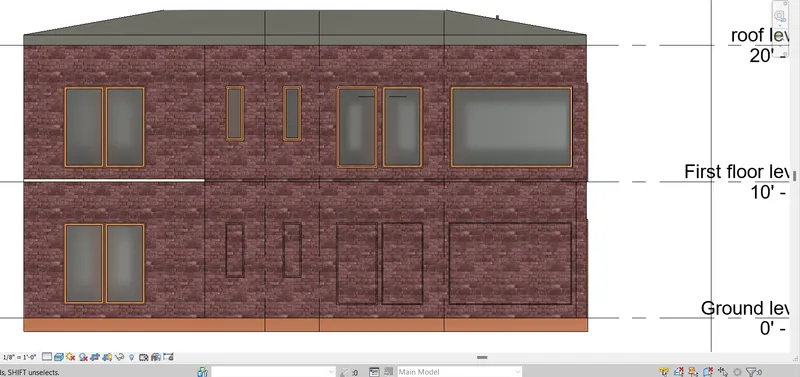
6) Using the elevation tab create the elevation views, looking at your building from East, North, South, and West.
Aim:- To create Elevation views by looking at your building from East, North, South, and West.
Procedure:-
- Start with the revit software and get open with the project drawn for week 3 challenge.
- Go to view tab and choose elevation from the create panel and project the elevation from each direction that is south,north,east,west.
- The elevatiomn views will get created and can be accessed from project browser⮕Rename the elevation views corresponding to there directions.
- Go to the elevation views and change the visual style from wireframe to realistic and get the snaps of all four sides.
Results:- The Snaps of the procedure followed above are as follows-
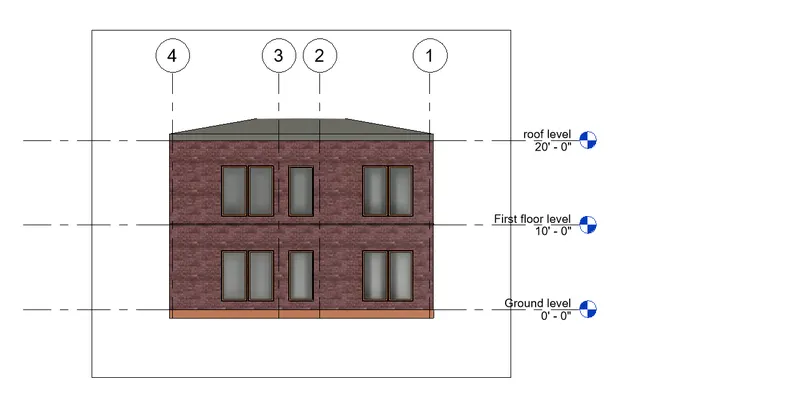
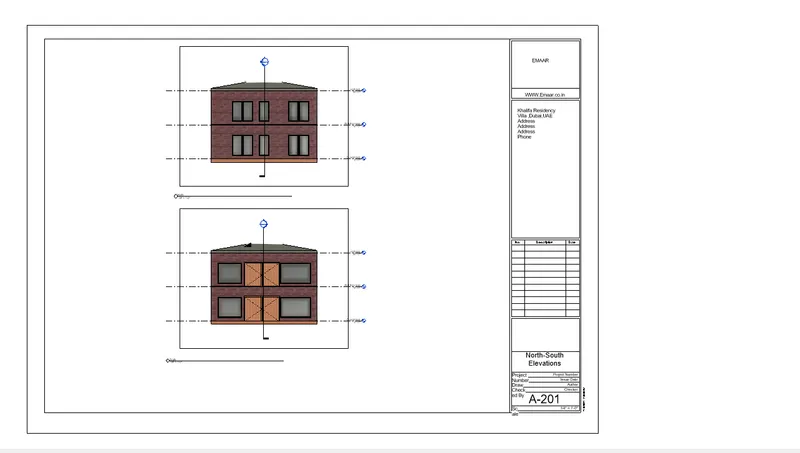
- Elevation view from North-
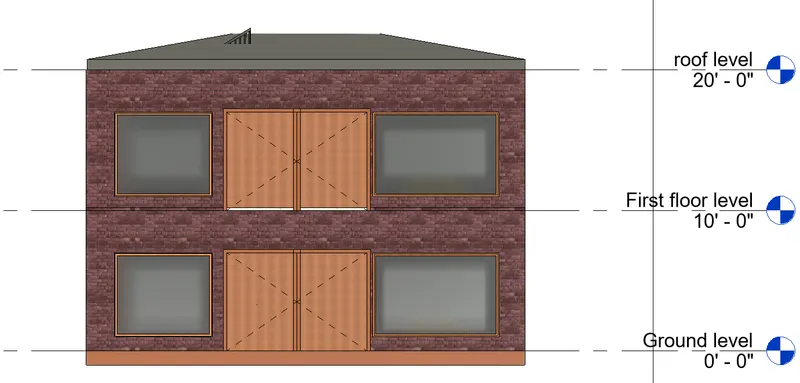
- Elevation view from South-
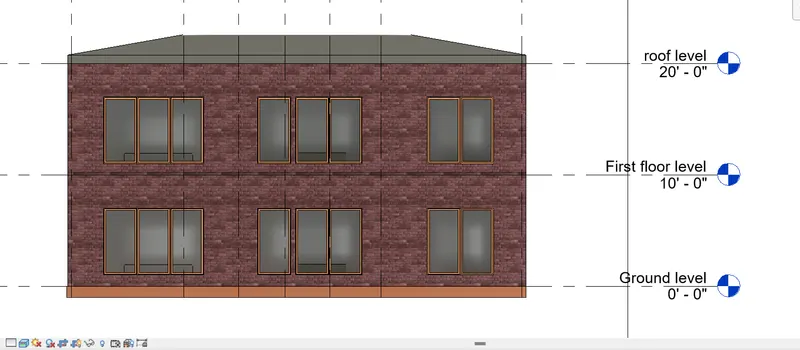
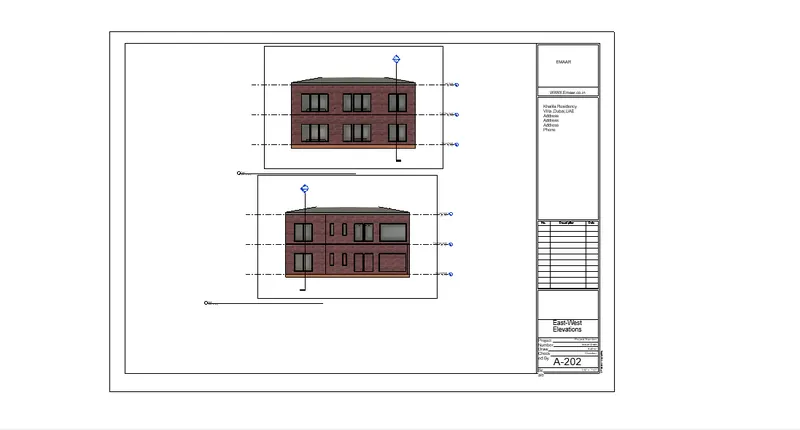
- Elevation view from East-
- Elevation view from West-
7) Produce section cut through each room either cutting across longitudinally or in a transverse direction.
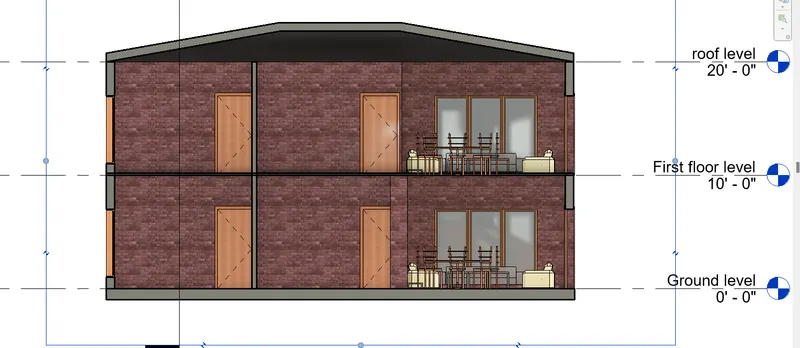
Aim:- To create section views cut through each room either cutting across longitudinally or in a transverse direction.
Procedure:-
- Start with the revit software and get open with the project drawn for week 3 challenge.
- Go to view tab and choose section from the create panel and mark the cut from where to where section is required or to be preferably viewed.
- The section view will get saved and a new panel for sections will be created in the project browser and can be accessed from there.
Results:- The Snaps of the procedure followed above are as follows-
- Section view from longitudnal direction,
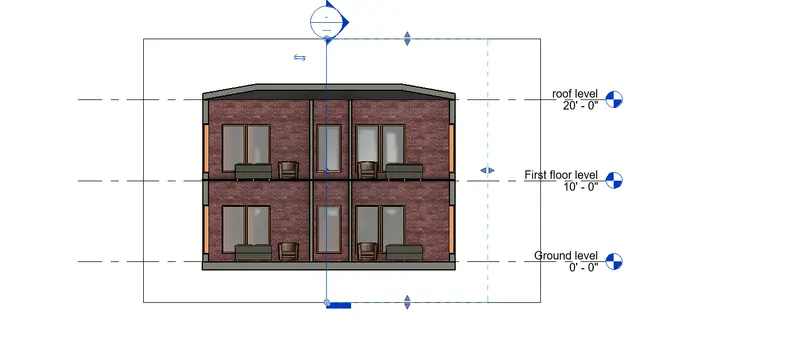
- Section view from Transverse direction,
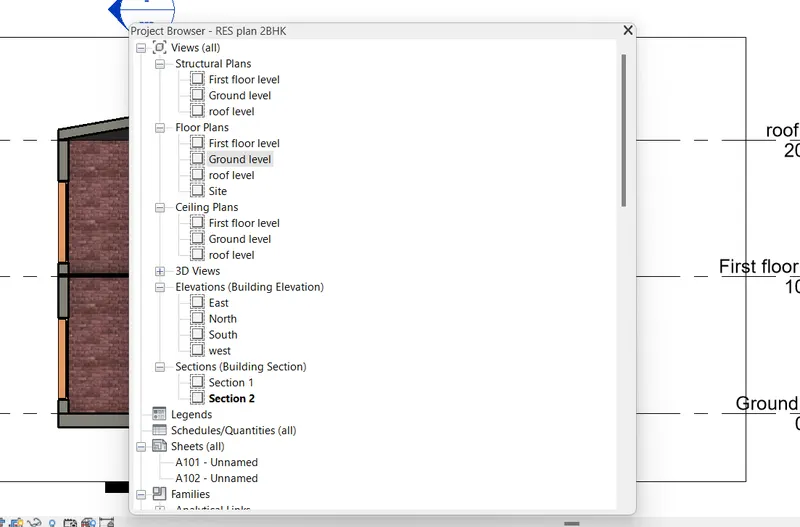
8) Classify the views, Plan Views, Section Views, and Elevation views to either Design or Documentation category using Properties browser
Aim:- To classify the views, Plan Views, Section Views, and Elevation views to either Design or Documentation category using Properties browser.
Procedure:-
- Select the project browser and Expand the Plan Views, Section Views, and Elevation views from main folder.
- Get screenshot for the same project browser.
9) Using the sheet template produced create multiple sheets as follows
a. A 101- Ground Floor Architecture Plan
b. A 102- First Floor Architecture Plan
c. A 103- Roof Plan
d. S 101- Ground Floor Structural Plan
e. S 102- First Floor Structural Plan
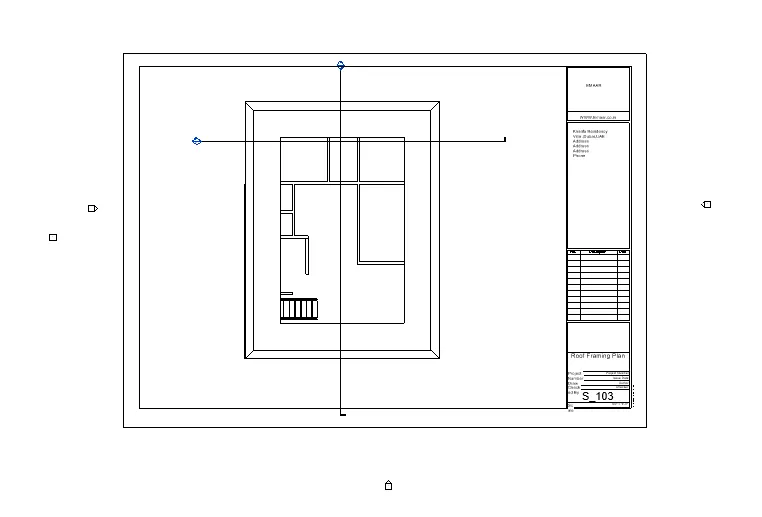
f. S 103- Roof Framing Plan
g. A-201- North-South Elevations
h. A-202- East-West Elevations
Aim:- To create the views given on the sheet created earlier.
Procedure:-
- In the same running project Go to sheets from project browser .
- Now,Drag the floor plan or any view in the sheet to create the view in the sheet,adjust the scale so that the plan should appropriately fits into the sheet.
- Rename the sheet for different plan views as directed in the question.
Results:- The Snaps of the procedure followed above are as follows-
- A 101- Ground Floor Architecture Plan
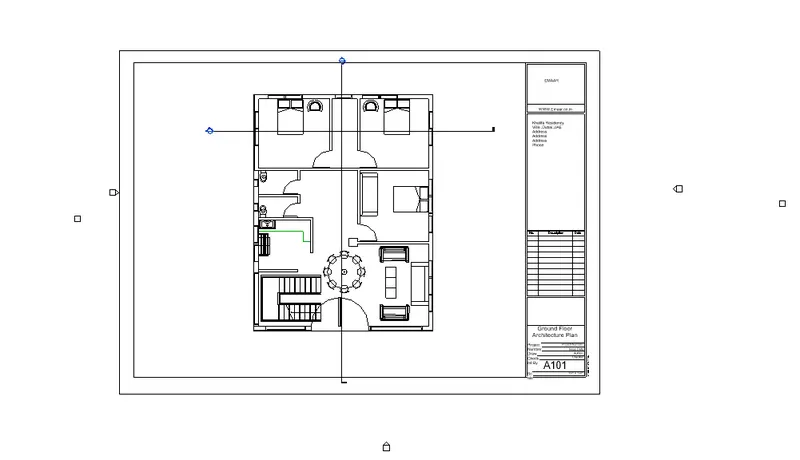
- A 102- First Floor Architecture Plan.
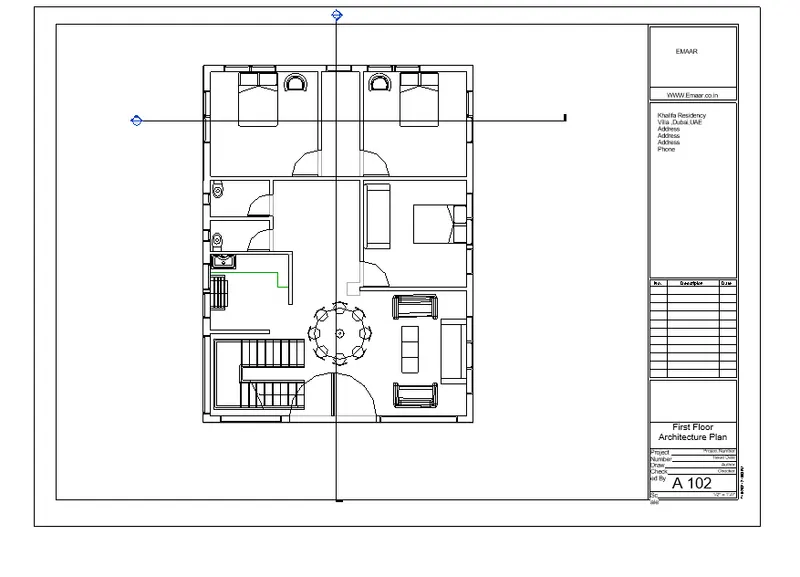
- A 103- Roof Plan
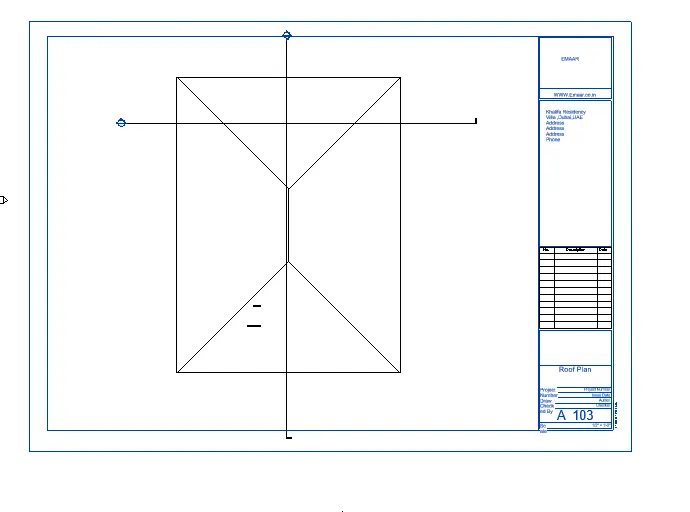
- S 101- Ground Floor Structural Plan
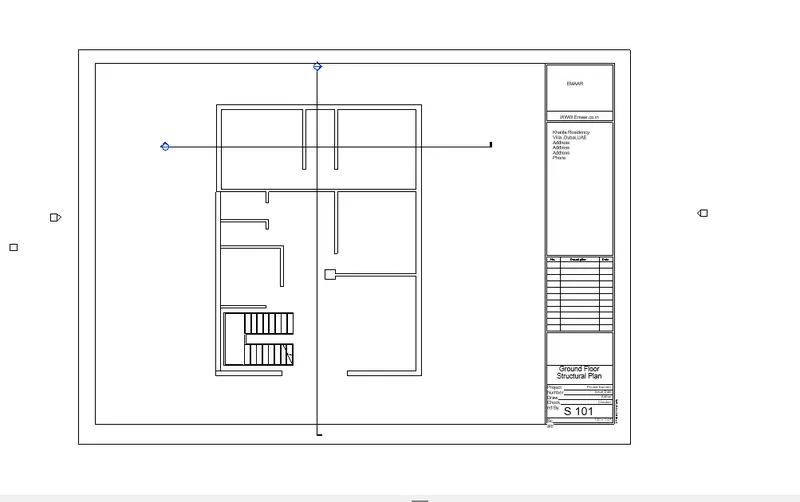
- S 102- First Floor Structural Plan
- S 103- Roof Framing Plan
- A-201- North-South Elevations
- A-202- East-West Elevations
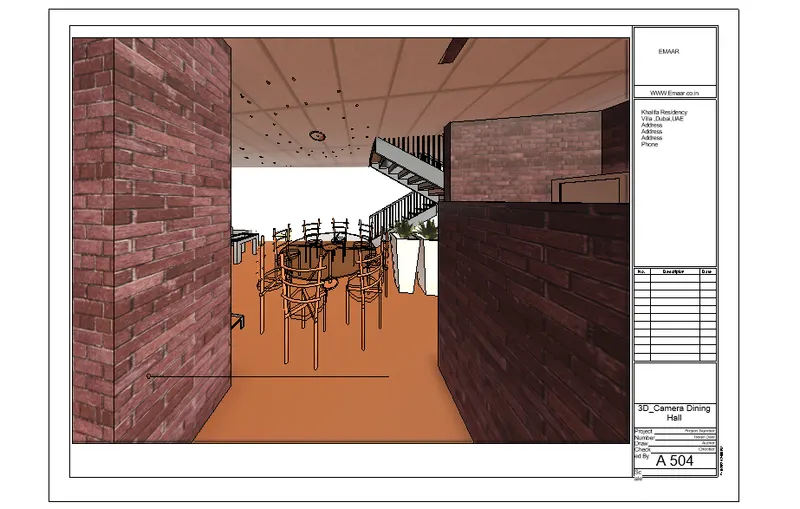
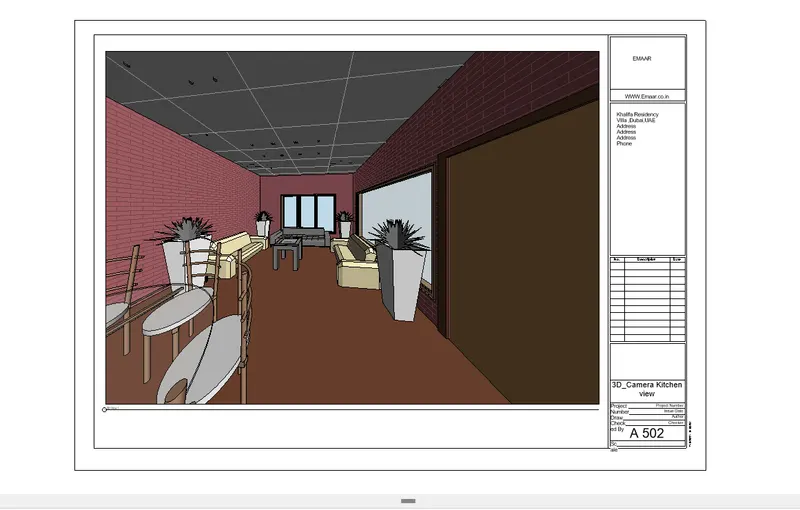
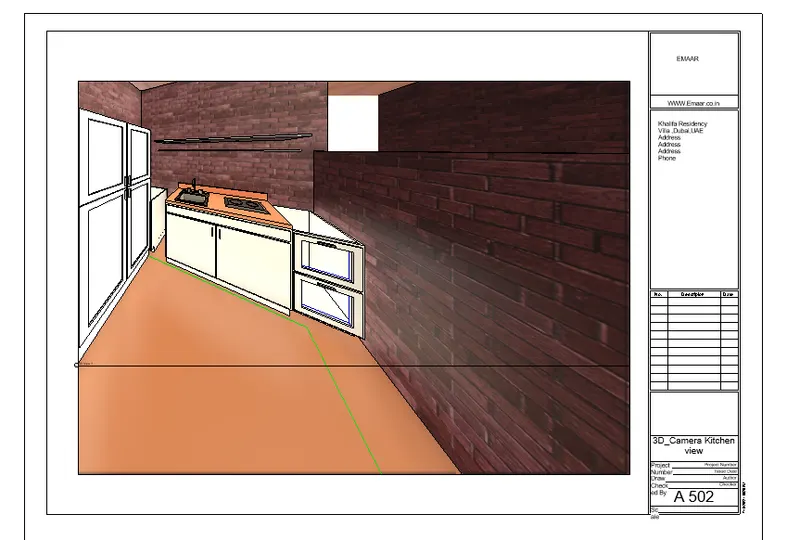
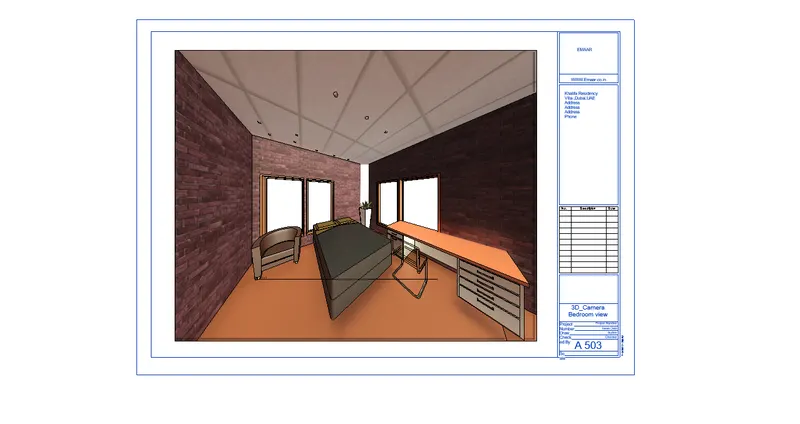
10) Create a camera-specific view or a 3D view in each room ( living, dining, bedroom). Based on the views create a new set of sheets starting A-501 (you can add as many sheets after, 502, 503.. n)to place the 3D view images. Produce the sheets as a part of project drafting.
Aim:- To create the camera-specific view or a 3D view in each room ( living, dining, bedroom).
Procedure:-
- In the same running project Go to Default 3D view icon and choose camera from there and set the camera in the 2D floor plans of the desired rooms and spaces.
- Adjust the Exposure of the camera for getting better view.
- The created camera views gets created and can be accessed from the project browser.
- Open the created sheetr from the sheets in propject browser.
- create or drag the #d camera views into the sheets and give different names to the sheets.
Results:- The Snaps of the procedure followed above are as follows-
- 3D Camera Drawing Hall View-
- 3D camera kitchen view-
- 3D camera Bedroom view
- 3D camera Dining Hall view