3D Creation of Celing, Roof, Architectural plan, Structural plan, Sectional view, Elevation view and Camera specific view for a house plan using REVIT
1.
Aim
To create a celling from the architectural tab at the first-floor level.
Procedure
- Open the week 3 project work of residential building.
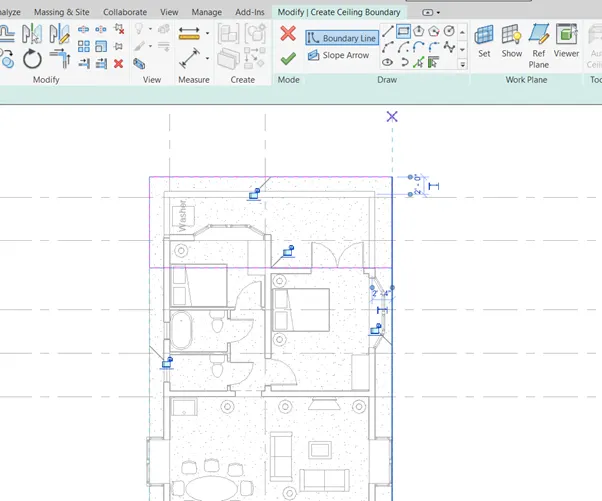
- Go to ground floor plan and click architectural tab and click on celling a modification tab will open, two options will appear automatic celling and sketch celling, click sketch celling.
- Then choose pick line option and select outer lines of the wall carefully and press enter
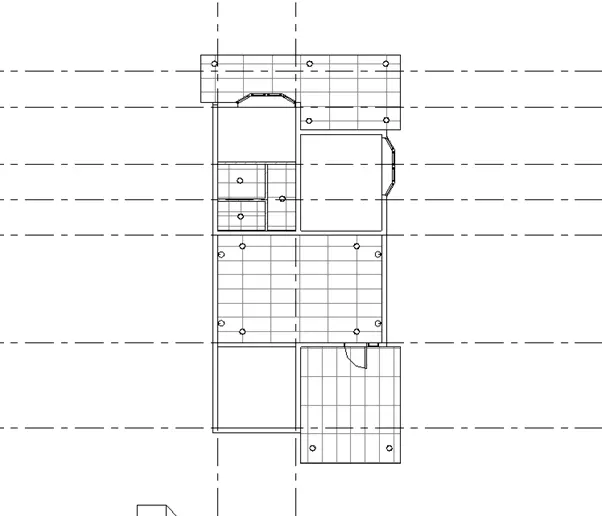
- Thus, the celling for the first-floor level is created.
Result
Thus, the celling for the first floor has been created by using modification tab.
2.
Aim
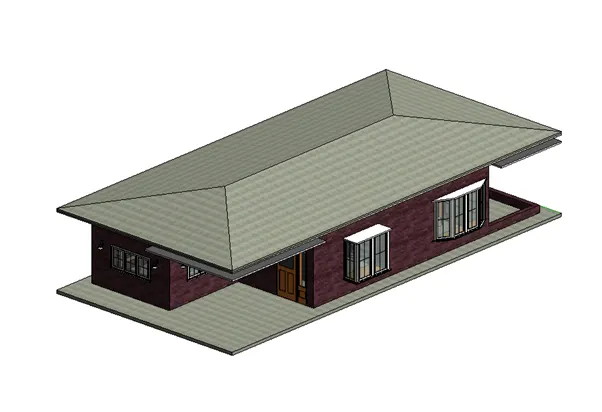
To create a roof above the celling and to adjust the slope of the roof to 10 degrees.
Procedure
- Go to first floor plan and in architecture tab press roof option immediately modify tool bar will appear.
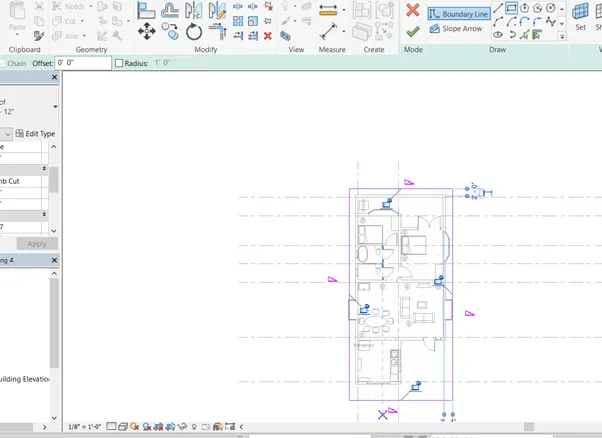
- Click pick line option and select the outer lines of the plan
- Then press enter the roof will be created.
- Select the roof and in property browser we will have the slope.
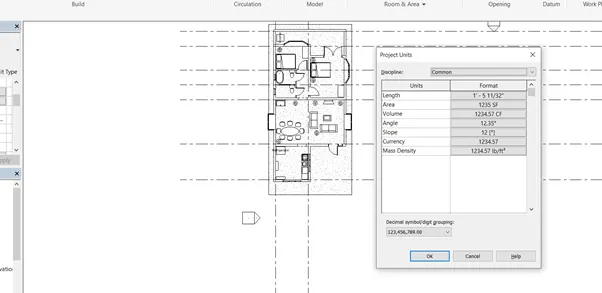
- Change the units of slope from feet and inches to degree.
- Press un project unit dialogue box will appear in slop provide unit as degree.
- Then press ok. The units of slop have been changed.
- Click the roof in property browser and edit slope as 10 degrees. The roof slope has been changed to 10 degrees.
Result
Thus, the sloped roof with 10-degree slope has been created.
3.
Aim
To separate structural and architectural plan views in Revit
Procedure
- Go to existing Revit software in ground floor plan go to view tab.
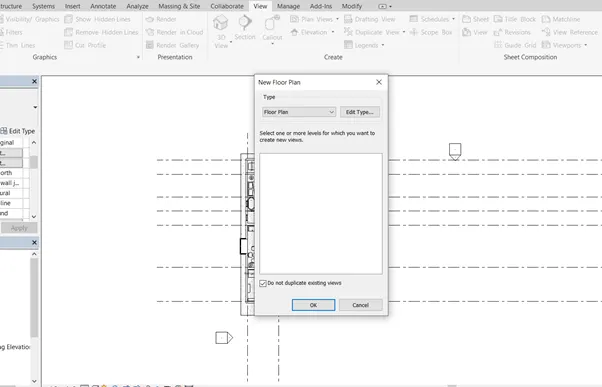
- Go to plan view and click floor plan and click ok
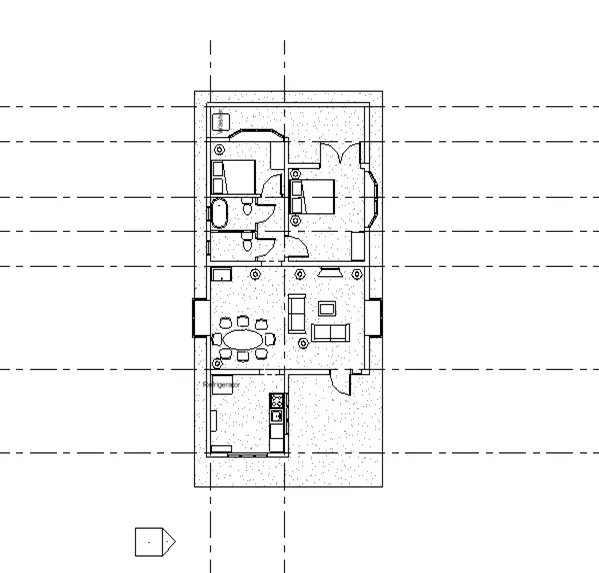
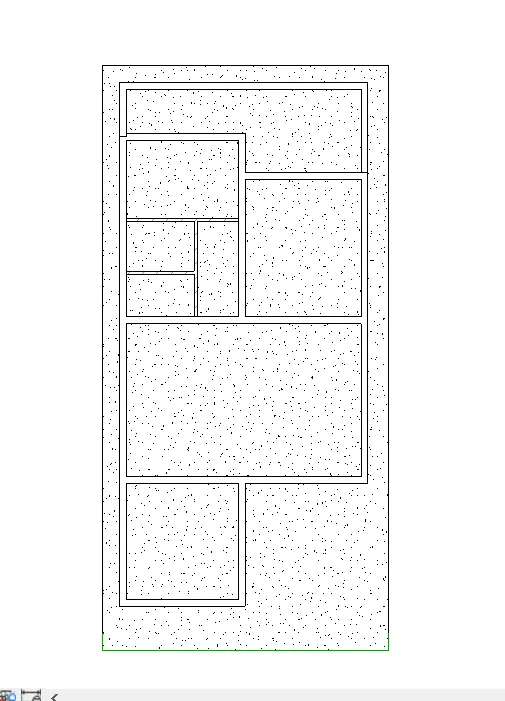
- Thus the Architectural floor plan for ground floor has been created.
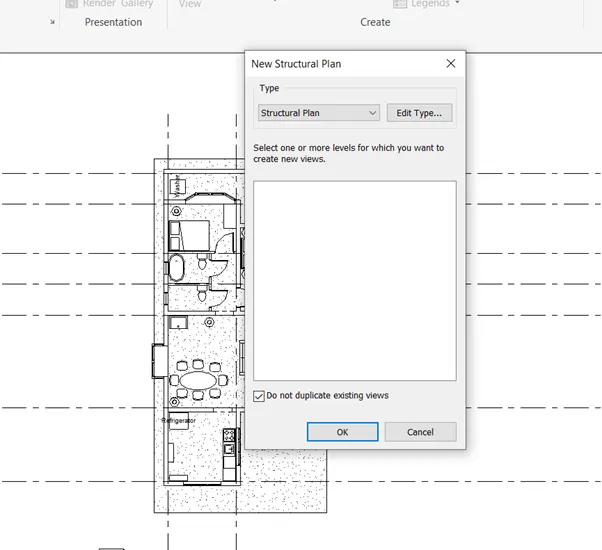
- If we need structural floor plan go to plan view and press structural floor and select ground floor. Then press ok.
- The floor plan with structural components have been created.
Result
Thus, the floor plan in Architectural view and in structural view have been created.
4.
Aim
- To provide dimension for architectural and structural plan by using Revit
Procedure
- Go to previous plan and ground floor view of architectural plan.
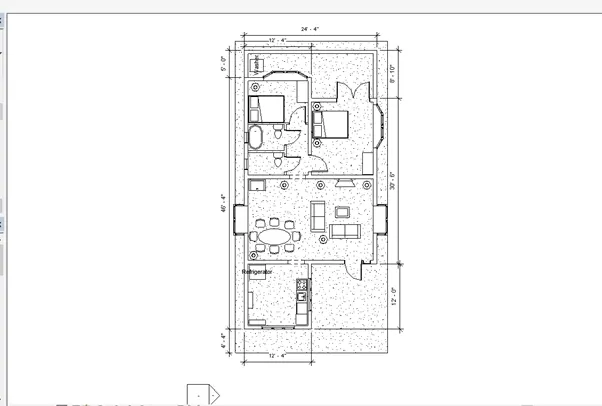
- Go to annotation and click linear or aligned option to provide dimension.
- Click aligned option and go to corner of the wall and click and then opposite corner of the wall and click and drag above and click the dimension of selected wall will appear
- Similarly, which ever walls dimension required click on that wall the dimension of that wall will appear.
- Once architectural plan dimensions are created then go to structural ground floor plan.
- Then go to annotation tab and click aligned dimensions.
- Then click on the line start point and then at the end carefully then drag it and press enter the dimension will be created.
- Repeat same procedure to get dimension for entire project.
Result
Thus, the dimensions for architectural and residential plan has been created.
5.
Aim
To create sheet and place the plan and elevation views in the sheet by using view tool
Procedure
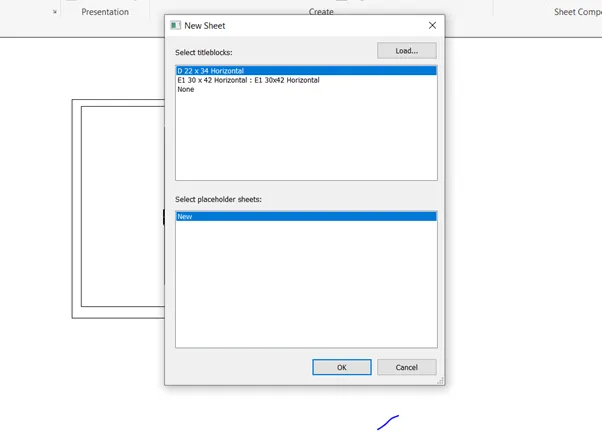
- Go to view tool and there is a sheet option click on it. A dialogue box will appear select the appropriate paper size to which the drawing is going to be placed.
- If we can’t find the size of paper, we can load it from load option.
- Select the sheet and press ok a sheet will appear on the screen.
- We can edit the content in the sheet by clicking on it and rename it as required.
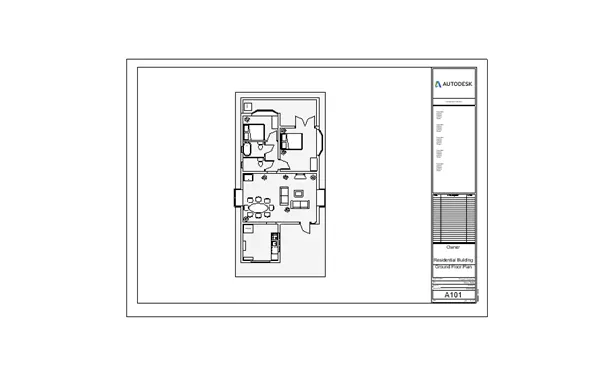
- Once sheet is created in property browser the views will be available. Whatever view required can be dragged and placed in sheet.
- In property browser go to ground floor plan and click on it and drag it and place on the sheet the ground floor plan will appear on the screen.
- Repeat the same procedure for different views and place it on the sheet and give name to the sheet accordingly.
Result
Thus, the sheets are created and different views are placed in it.
6.
Aim
To create the elevation view for the existing plan by using Revit.
Procedure
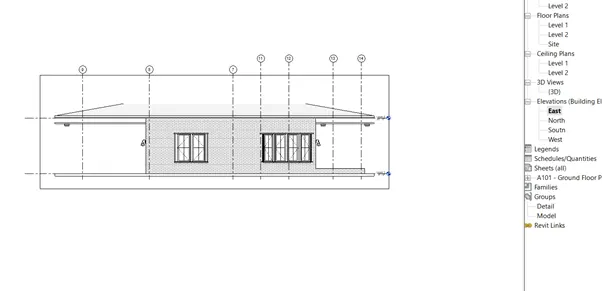
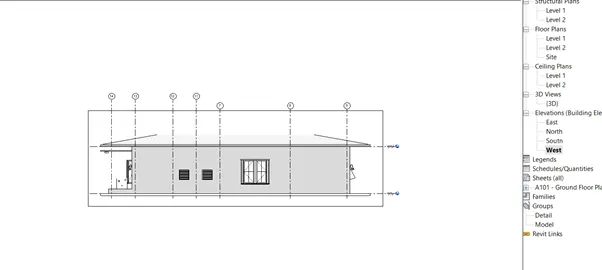
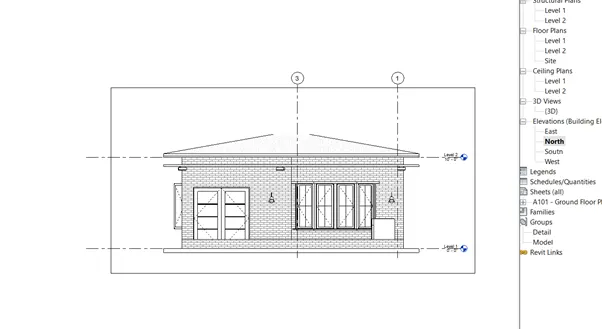
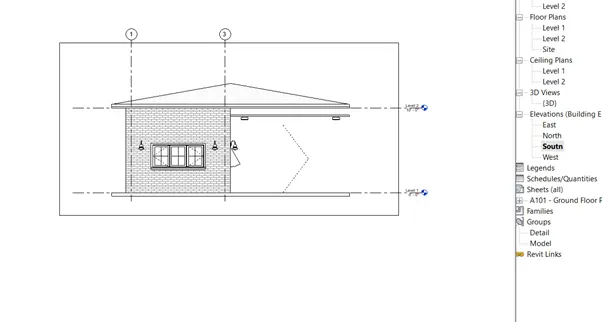
- Go to existing ground floor plan. In view tab there is a option called elevation click on it and place in the four centers of the plan and name it as east , west, North and south.
- Thus the elevation views are created for the plan.
- In property browser expand elevation tab there you can see the elevation views of the building.
- Click on east then elevation view of east side will appear. Then click on west, elevation view of west side will appear.
- Similarly repeat for other views as well you can see the views.
 '
'
Result
Thus the elevation view are created.
7.
Aim
To create a section view of the plan
Procedure
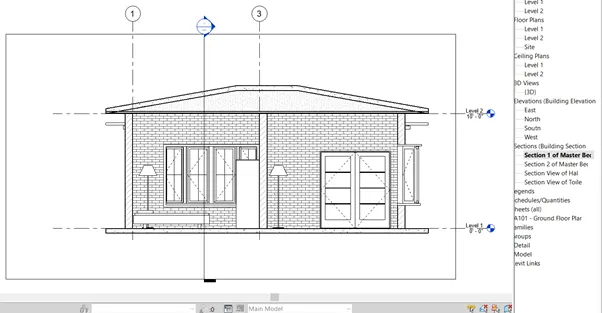
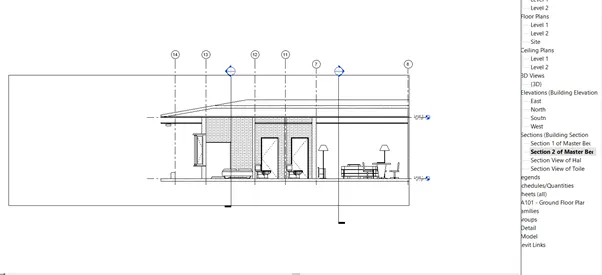
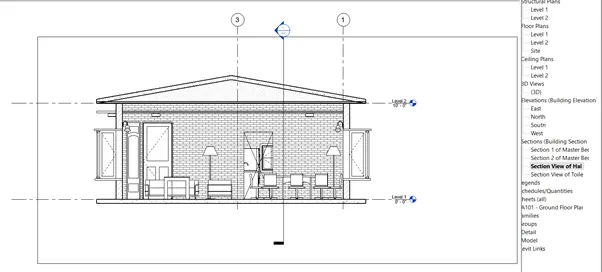
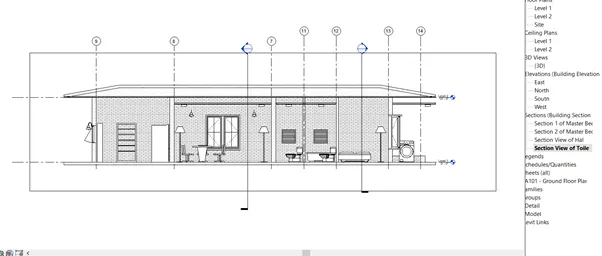
- Open the existing ground floor plan and go to view tab there is a option called section click on it.
- Then cut the bed room transverse and in longitudinal direction.
- Immediately section 1 and section 2 will be created in property browser.
- Rename the section as required. Then double click on it we can see the section view of the particular bed room.
- Similarly cut each room and create the section view of it.
Result
Thus, the section view of the rooms are created.
8.
Aim
To classify all the views by using property browser.
Procedure
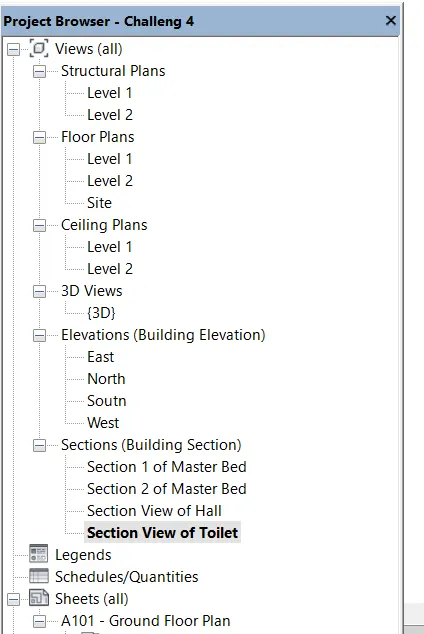
- Go to the previous project work and we have created all the categories in this plan.
- In property browser we can see all the categories which we have created.
- Click on the properties one by one and click expand we can see all the view we have created in that category.
Result
Thus, the views are classified by using property browser.
9.
Aim
To create following views by Using sheet template.
Procedure
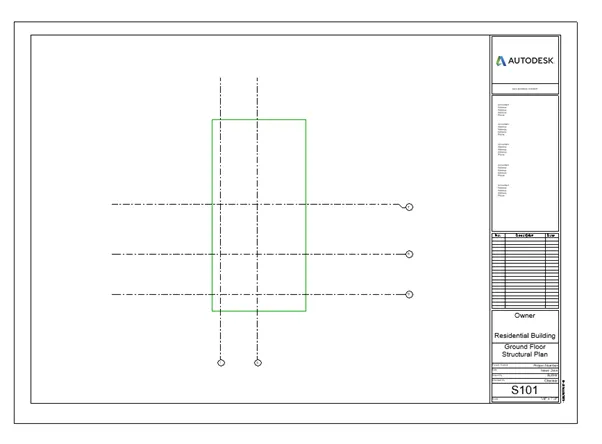
- Go to view tab and click sheet and choose the size of sheet and press ok.
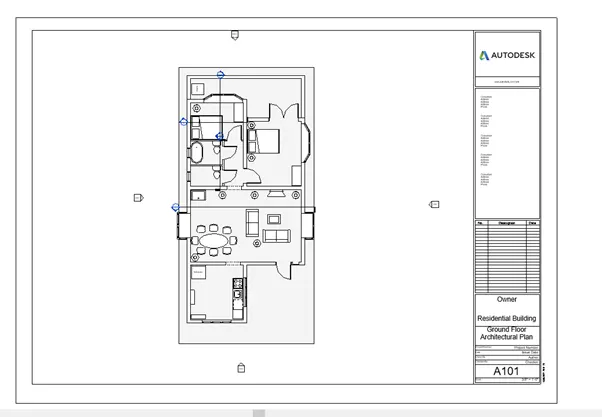
- Then drag the ground floor plan and place on the sheet.
- Name it as A 101-Ground Floor Architectural Plan.
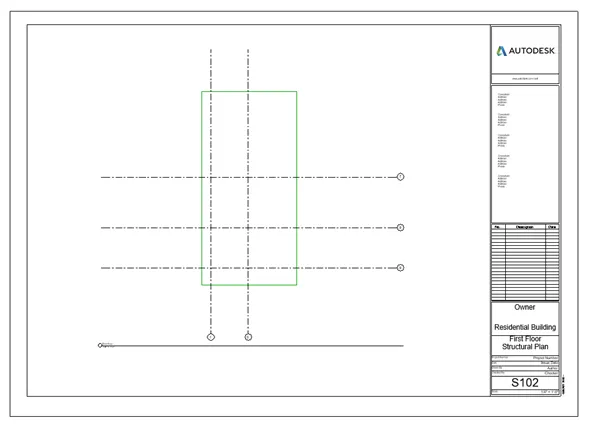
- Then go to view tab and click sheet and click on the required sheet and press ok.
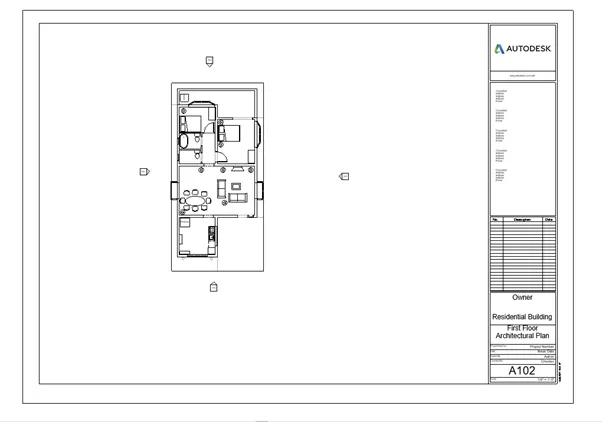
- Then in property browser go to first floor plan and drag it and place it on sheet.
- Then rename the sheet as A 102-First Floor Architectural Plan
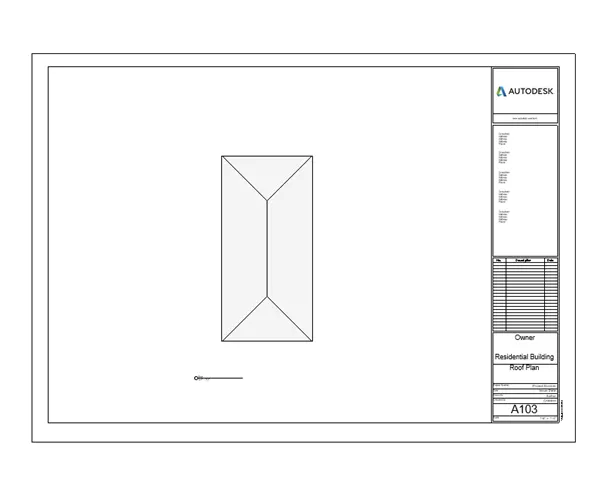
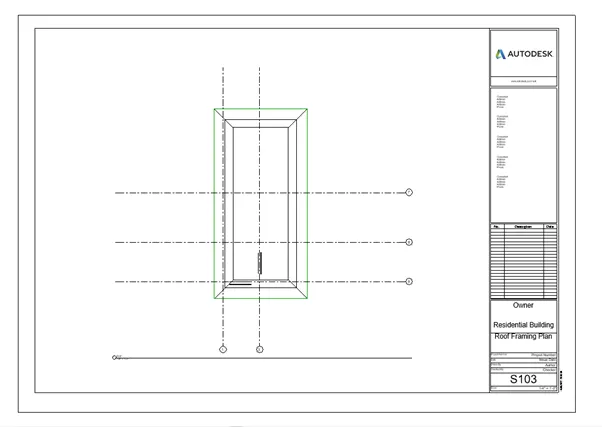
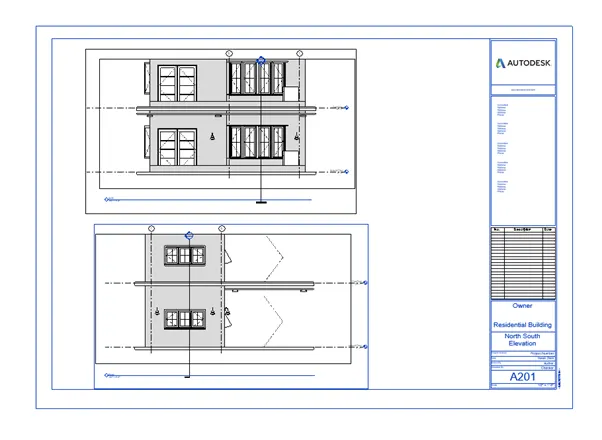
- Then repeat the same procedure for balance roof plan, ground floor structural plan, first floor structural plan, roof framing plan, north south elevation and east west elevation.
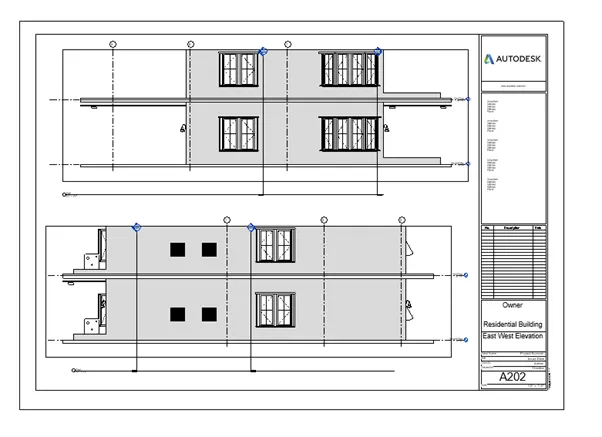
Result
Thus, the sheets are created for the given views.
10.
Aim
To create the camera view for each room and place it in a sheet.
Procedure
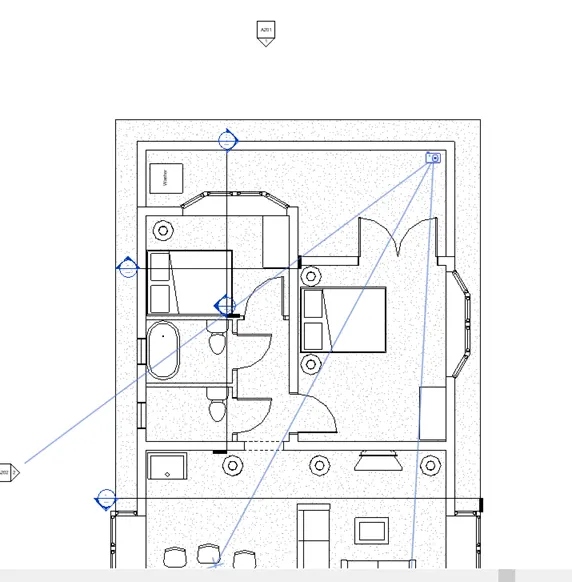
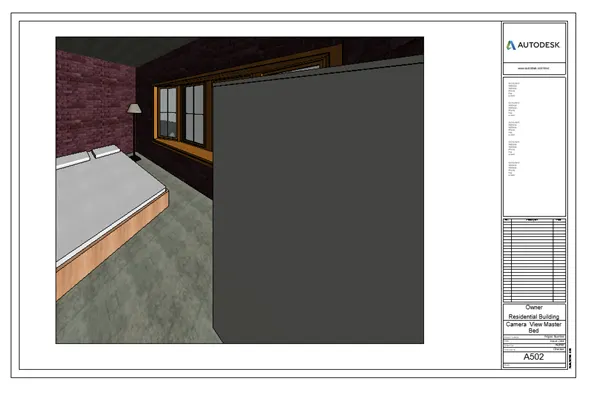
- Go to ground floor plan view then in the top 3D option is there click on it the choose camera view.
- Place the camera in the bed room and drag it towards the room and press enter
- A Camera view will be created for that particular direction in 3D
- Rename the view as bed room
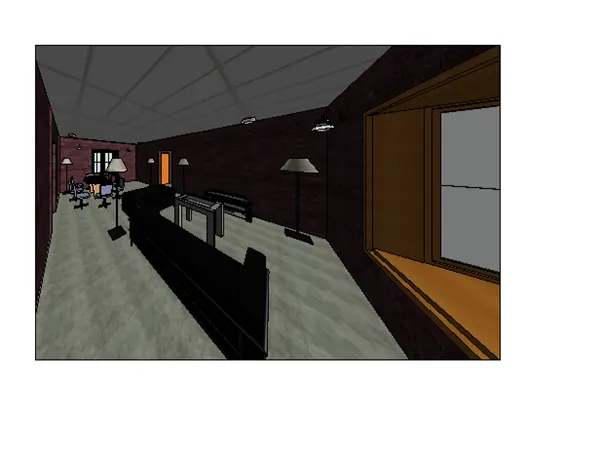
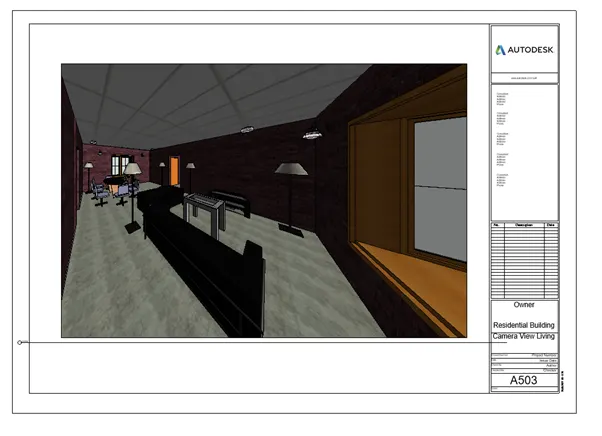
- Then go to ground floor and click camera view and place the camera in living and drag it and press enter.
- A camera view for that particular direction is created in 3D
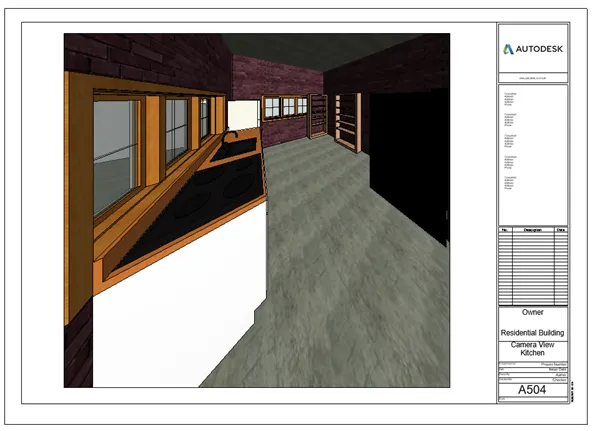
- Similarly repeat the procedure for all the rooms and save it as required.
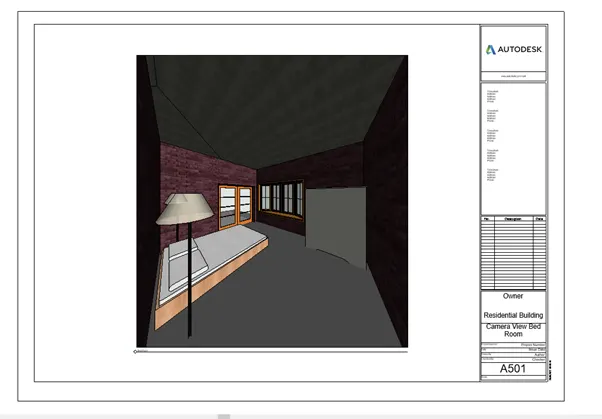
- Then go to view and create the sheet and drag the bed room camera view and place it in the sheet and rename the sheet as 501
- The repeat the procedure for all the views.
Result
Thus the camera view is created and placed in the sheet.