3D Creation of Celing, Roof, Architectural plan, Structural plan, Sectional view, Elevation view and Camera specific view for a house plan using REVIT
AIM:
1) To model the ceiling above first floor level based on the project from week 3.
2) To Model a roof above the ceiling by selecting the footprints of the ceiling. Using the adjustment toolbars appearing on-screen adjust the roof slope to 10 degree.
3) To create plan views and Separate them to
architecture and structural plans
a. Architecture plan must have walls, floors, and all the components placed within the building
b. Structure plan must have details of only walls, floors, and columns.
4) To add dimensions to all the walls and floors with reference to the longitudinal and transverse grids created in the project file
a. The architecture plan dimensions include details on where the components are placed within the buildings with relation to grids. Overall dimensions are sufficient for architecture plans
b. The Structure plan dimensions must include details on the position of all the walls and interior walls with reference to grids. Locate all the framing components of the building with reference to a fixed point using Structural plans.
5) To Create a sheet template from the view tab and adjust the parameters on the sheet to add appropriate views
6) To create the elevation views, looking at your building from East, North, South, and West
7) To Produce section cut through each room either cutting across longitudinally or in a transverse direction
8) To Classify the views, Plan Views, Section Views, and Elevation views to either Design or Documentation category using Properties browser
9) To create multiple sheets as follows
a. A 101- Ground Floor Architecture Plan
b. A 102- First Floor Architecture Plan
c. A 103- Roof Plan
d. S 101- Ground Floor Structural Plan
e. S 102- First Floor Structural Plan
f. S 103- Roof Framing Plan
g. A-201- North-South Elevations
h. A-202- East-West Elevations
Add additional sheets based on the sections created
10) To Create a camera-specific view or a 3D view in each room ( living, dining, bedroom). Based on the views create a new set of sheets starting A-501 to place the 3D view images. Produce the sheets as a part of project drafting.
PROCEDURE:
1) Go to the ceiling comand from the architecture tab

then select sketch ceiling
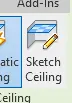
,from property browser select first floor in the ceiling plans
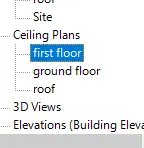
then select option pick lines
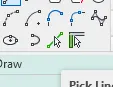
and select all the outer edges of the wall.
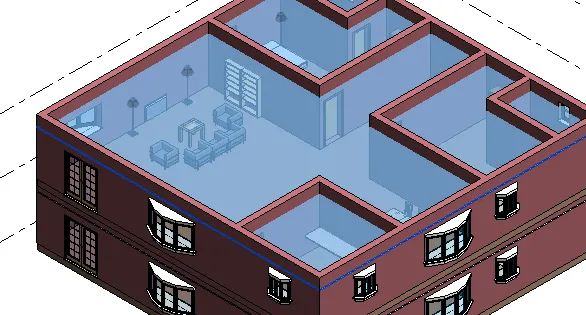
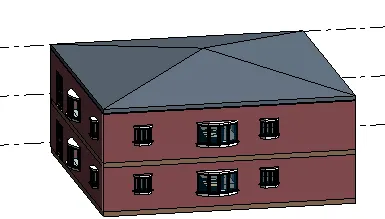
2) From the floor plan select roof option and select roof by footprint
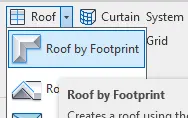 then selectb pick line option and select allthese line and press enter
then close .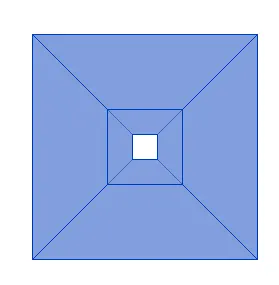
now go to units by UN coomand and select slope and give it degrees
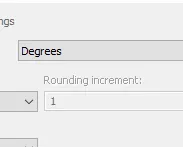
then from the property browser give slope as 10
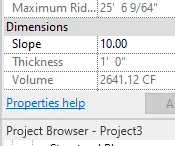 and apply.
3) For architectural view of the project from previous week go to view tab and select plan view option
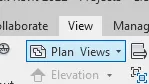 then in the plan view select floor plan
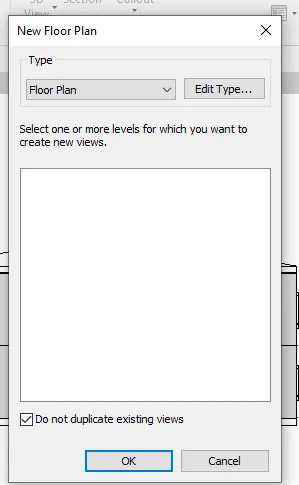 this windows pops up and then press ok.
this the architectural floor plan for first floor and ground floor.
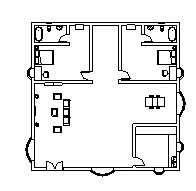
For structural view of the project from previous week go to view tab and select plan view option
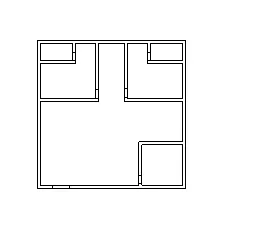
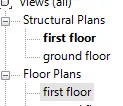
then in the plan view select structural plan 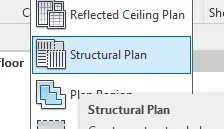 then in the pop up window select first floor then press ok.
then go to the visibility and graphics 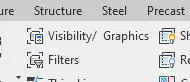 from view tab and unselect furniture doors and windows and plumbing fixtures and click apply because in structural plan only structural components should be present.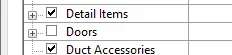
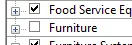
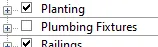
and then apply and press ok. Thus the structural plan is ready.
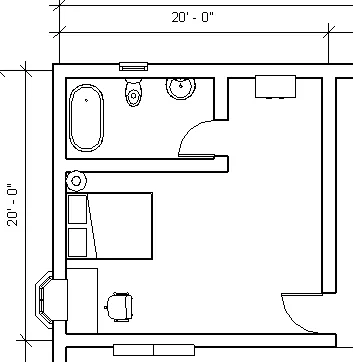
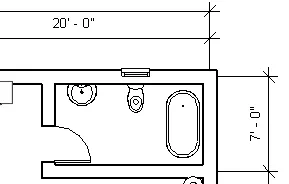
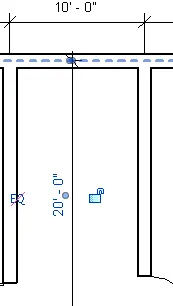
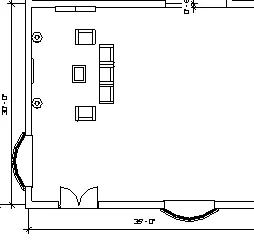
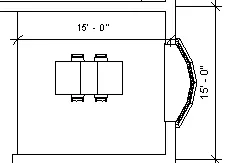
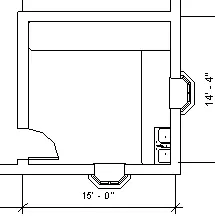
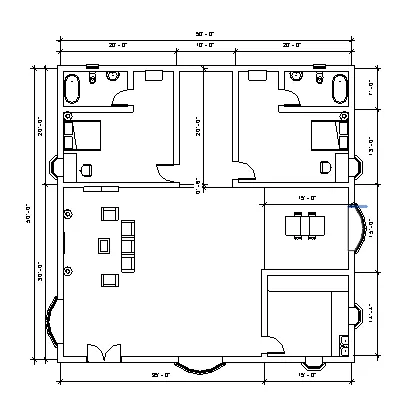
4) Go to the annotate tab and select aligned option and go to the floor plan architectural view in the project browser  and dimension the outer walls first which is 50'*50'
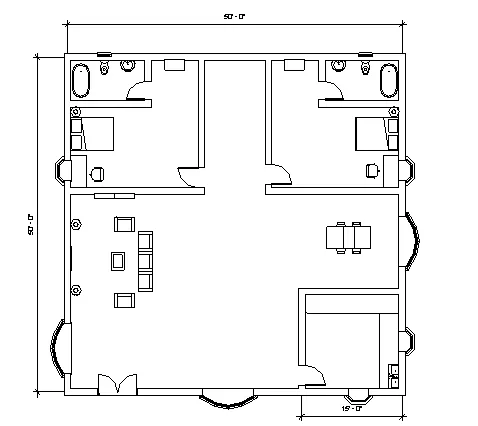
then dimension all the inner rooms one by one bedroom restroom washing area living room ,dining room and kitchen.
Then from the project browser go to structural tab and select first floor.
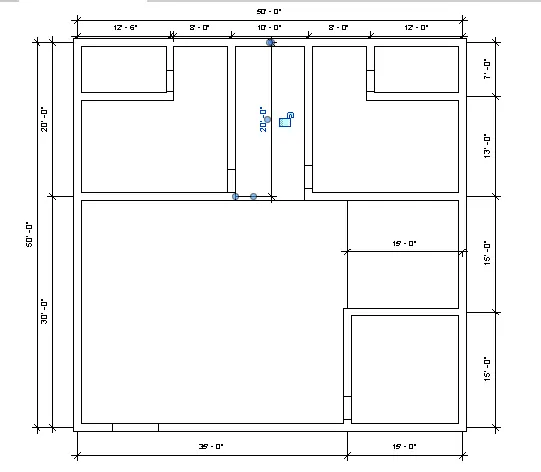
 go to annotate tab and select aligned option and dimension the outer wall which is 50*50 then similarly dimension all the rooms one by one bedroom restroom washing area living room ,dining room and kitchen.
5)
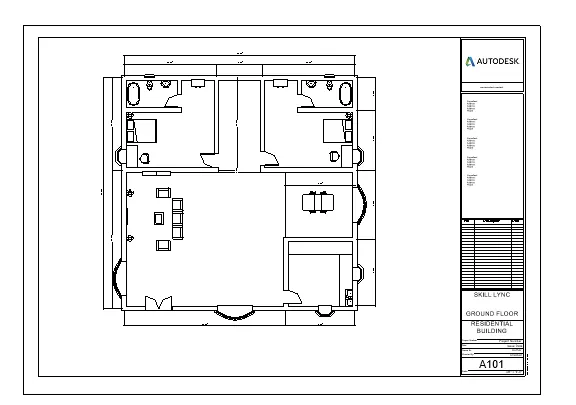
Go to the view tab and select sheet option 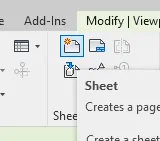 and then select any paper size
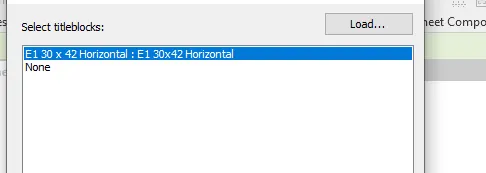 then press ok then from the project browser tab select ground floor plan right click on it and drag it to the sheet.
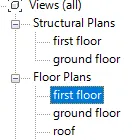 and set the scalw from the property browser for proper fit.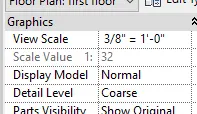
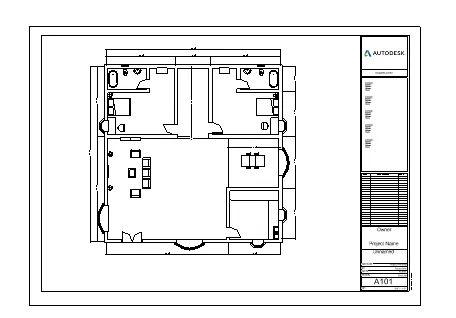 thwn we can rename the texts in thw sheet by double clicking on it.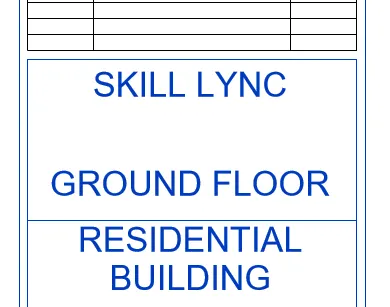
6) Go to the view tab and select elevation 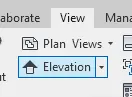 then select this
 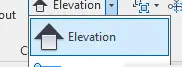 a pointer appears.
 use this to create elevation . for east place it on east direction of the project ,for west place it on west of the project for south place it on south of the project and for north place it on north of the project. and all the elevation view is created from project browser rename all the views as east, west, north and south .
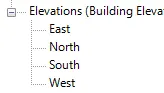 then double click on it and the views appears.
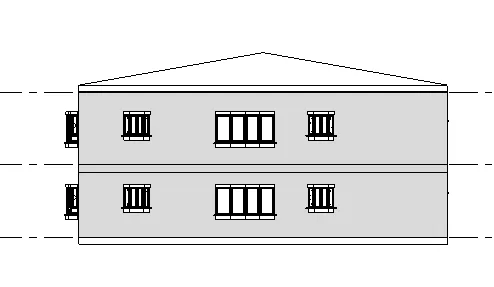 EAST view
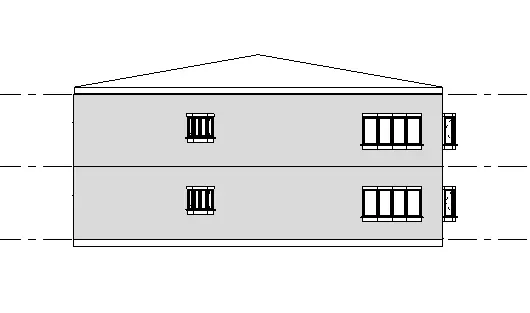 WEST view.
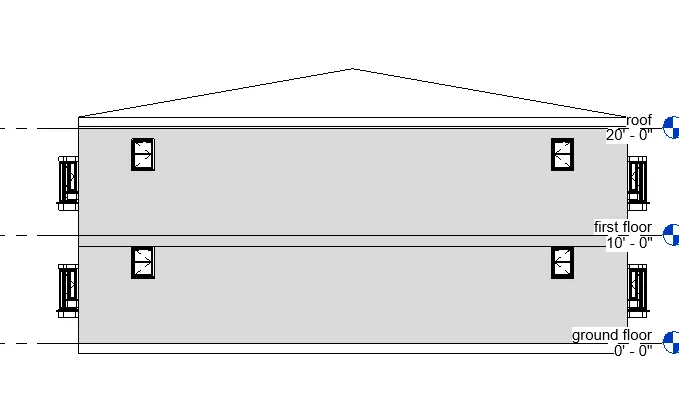 NORTH view
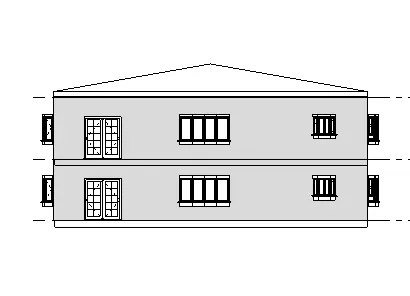 SOUTH view.
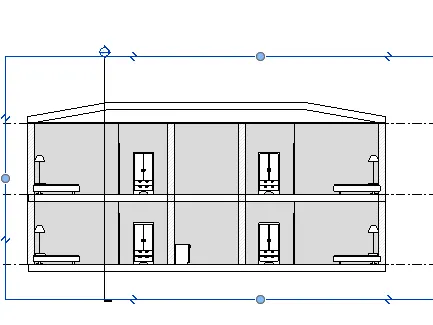
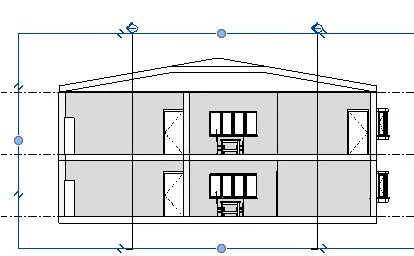
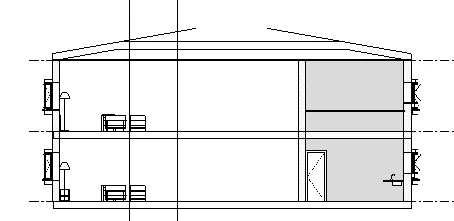
7) Go to the view tab and select section option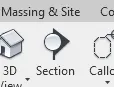 and then draw sections in the room either vertically or horizontally . In my case in first room draw vertically.
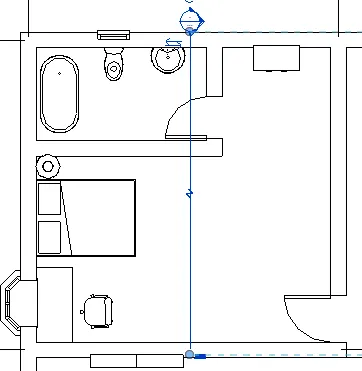 then for the next room draw vertically
 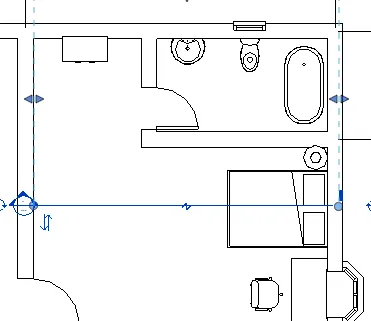 and then for the living room draw vertically and for kitchen horizontally.
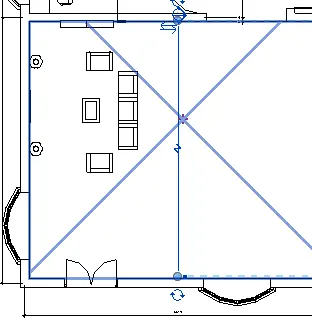
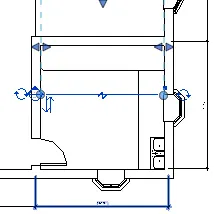 and press ok and then escape.
then from the project browser go to the section option and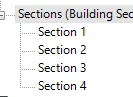 all the four sections created are seen and then click on all the views all the views are created .
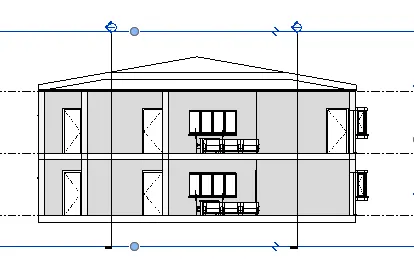 SECTION 1.
 SECTION 2.
 SECTION 3.
 SECTION 4.
8)
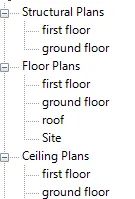
classification of plan views, section views, elevation views to either design or documnetation category using property browser:
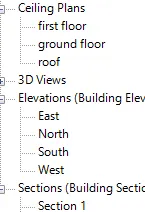
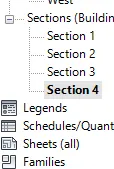
9)
Go to the view tab and select sheet option and then select any paper sizethen press ok then from the project browser tab select first floor plan right click on it and drag it to the sheet.and set the scalw from the property browser for proper fit.
and then rename it to A 102 first floor architectural plan .
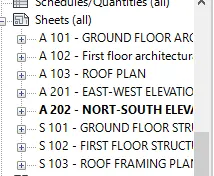
similarly create sheets and then add ground floor and roof view and rename it as A 101 ground floor architectural view and A 103 roof plan
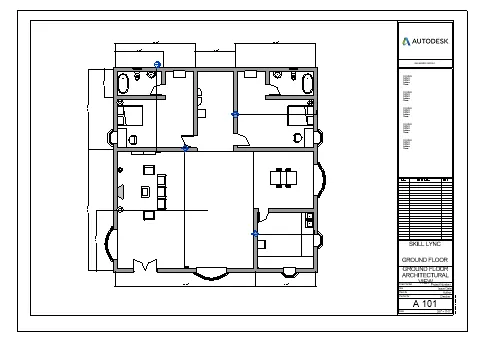
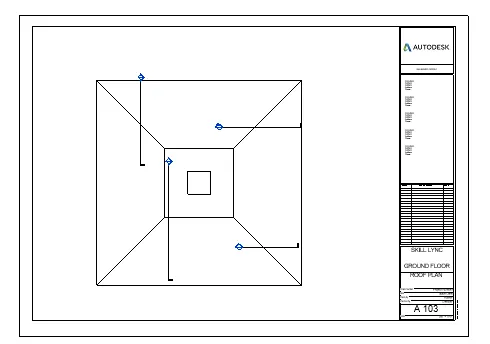
similarly create sheets and then add structural ground floor ,structural first floor and roof view and rename it as S 101 Ground Floor Structural Plan , S 102 Ground Floor Structural Plan and S 103 Roof Framing plan.
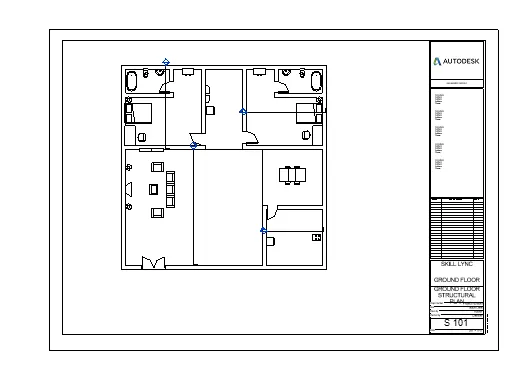
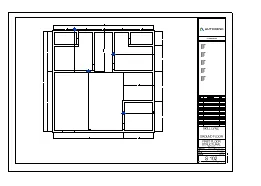
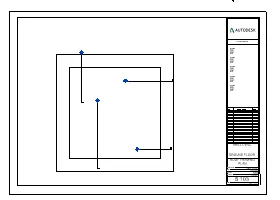
similarly create sheets and then add elevation view east-west to one sheet and north-south to one sheet and rename it as A 201 EAST-WEST Elevations and A 202 NORTH-SOUTH Elevation.
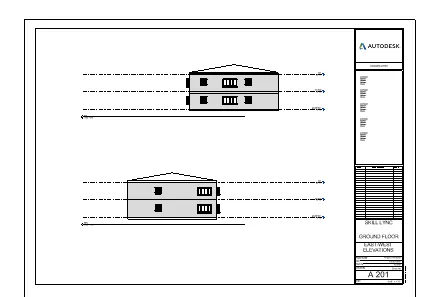
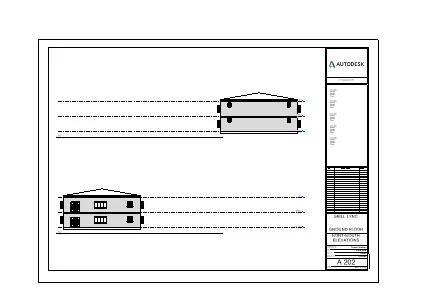
then go to the sheet from project browser and check all the names.
10) Go to ground floor view from floor plan then go to the view tab and from 3Dview tab select camera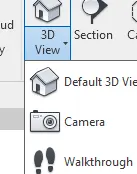 then place the camera in the corner of the bedroom and the set the direction and press enter
 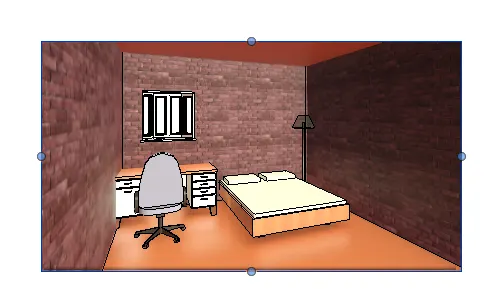 this view appears then go to 3Dview in property browser and rename it as bedroom.
 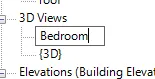 similarly create 3D views of all room.
Go to ground floor view from floor plan then go to the view tab and from 3Dview tab select camerathen place the camera in the corner of the livingroom and the set the direction and press enter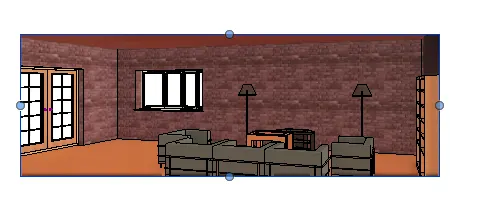 this view appears then go to 3Dview in property browser and rename it as living room.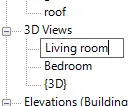
Go to ground floor view from floor plan then go to the view tab and from 3Dview tab select camerathen place the camera in the corner of the dining room and the set the direction and press enter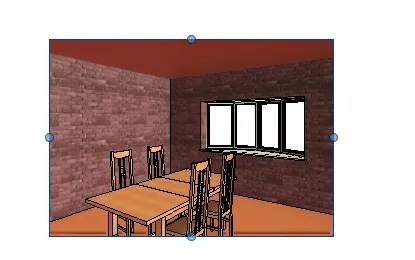 this view appears then go to 3Dview in property browser and rename it as dining room.
Go to ground floor view from floor plan then go to the view tab and from 3Dview tab select camerathen place the camera in the corner of the kitchen and the set the direction and press enter 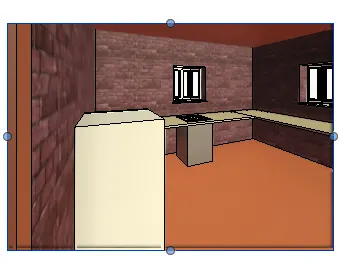 this view appears then go to 3Dview in property browser and rename it as kitchen.
Now Go to the view tab and select sheet option and then select any paper sizethen press ok then from the project browser tab go to 3D view and select bedroom view and drag it to the sheet then to go size crop option  and adjust size according to the view in sheet
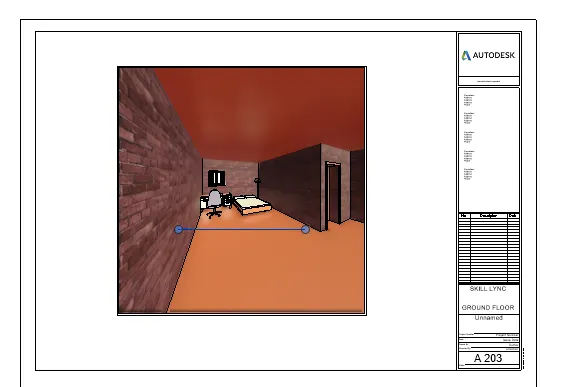 and then rename it from sheet
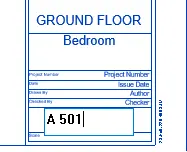 and press enter the sheet is created .
Go to the view tab and select sheet option and then select any paper sizethen press ok then from the project browser tab go to 3D view and select living room view and drag it to the sheet then to go size crop option and adjust size according to the view in sheet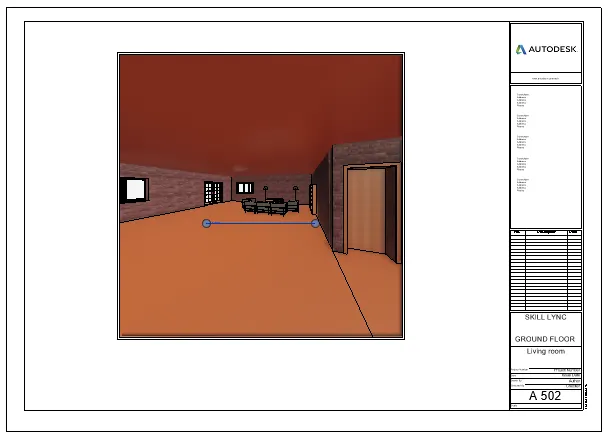
and then rename it from sheet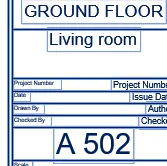 and press enter the sheet is created .
Go to the view tab and select sheet option and then select any paper sizethen press ok then from the project browser tab go to 3D view and select dining room view and drag it to the sheet then to go size crop option and adjust size according to the view in sheet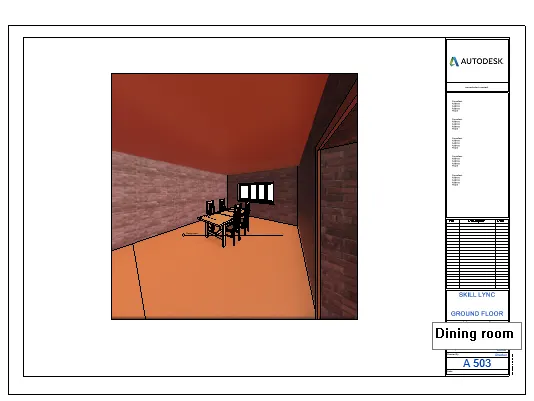
and then rename it from sheet 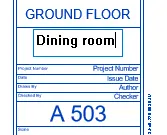 and press enter the sheet is created .
Go to the view tab and select sheet option and then select any paper sizethen press ok then from the project browser tab go to 3D view and select Kitchen view and drag it to the sheet then to go size crop option and adjust size according to the view in sheet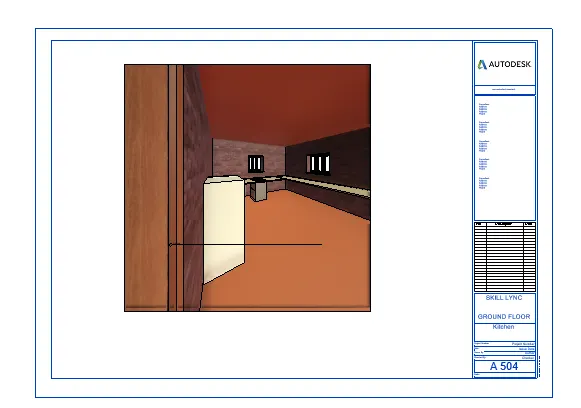
and then rename it from sheet 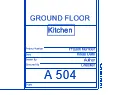 and press enter the sheet is created .
RESULT:
1)
2)
3)
4)
5)
6)
EAST view
WEST view.
NORTH view
SOUTH view.
7)
SECTION 1.
SECTION 2.
SECTION 3.
SECTION 4.
8)
9)
A 101GROUND FLOOR PLANA102 FIRST FLOOR PLAN A 103 ROOF PLAN
S 101 GROUND FLOOR STRUCTURAL PLANS 102 FIRST FLOOR STRUCTURAL PLANROOF FRAMING PLAN
EAST-WEST ELEVATIONS.NORTH-SOUTH ELEVATIONS
10)
A 501 Bedroom
A502 Living room
A 503 Dining room
A 504 kitchen.