Wiring harness routing & packaging Rules Week 3 Challenge
Q1. Download following cad data & define it as Electrical support using Electrical Part design Workbench. Define all the necessary properties.
Ans=
1. DEFINING P CLAMP
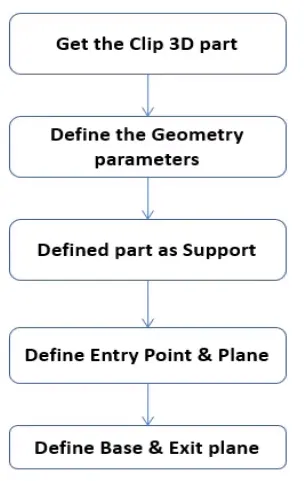
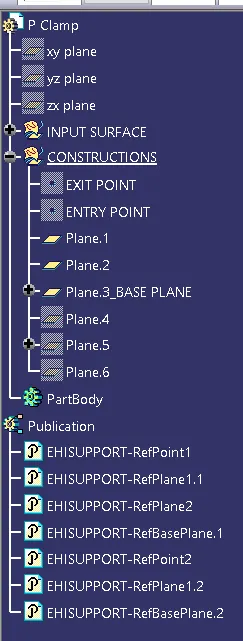
GENERATING ENTRY, EXIT POINTS AND PLAINS
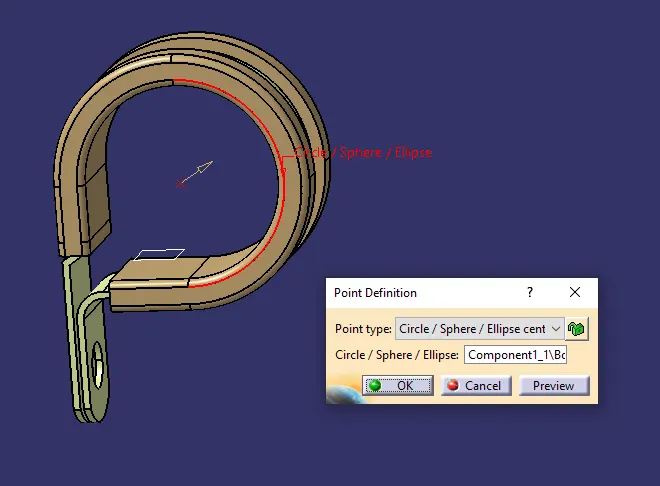
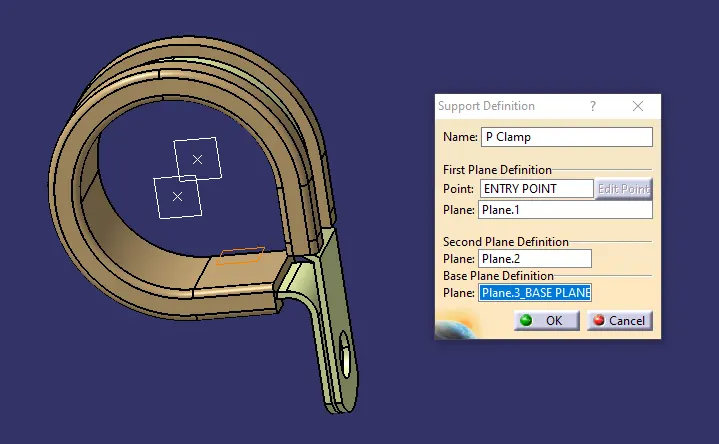
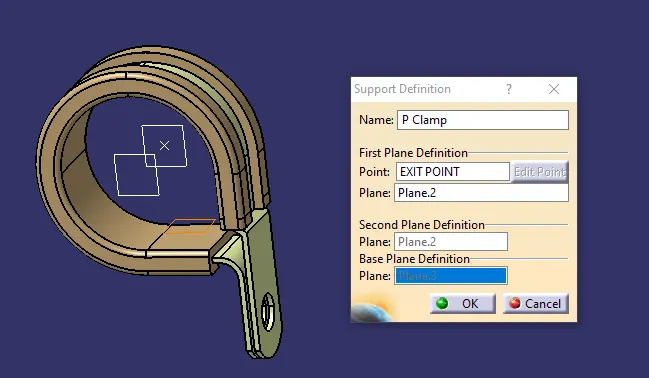
Here the point is generated as shown above for one side [Entry]. Same method is used to generate point on the other side [Exit] and planes are generated on both the points including Base plane as shown below.
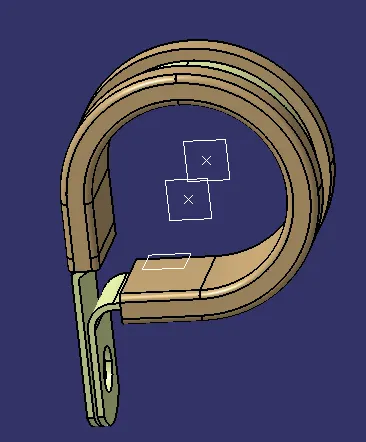
DEFINING P-CLAMP AS SUPPORT
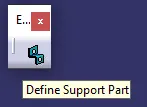
"Define Support Part" Icon is used to define the P-clamp as support. This icon is available in Electrical Part Design Workbench.[EPD]
Q2. Download following Back shell cad data & define it as Electrical back shell using Electrical Part design Workbench. Define all the necessary properties.
Ans=
2.
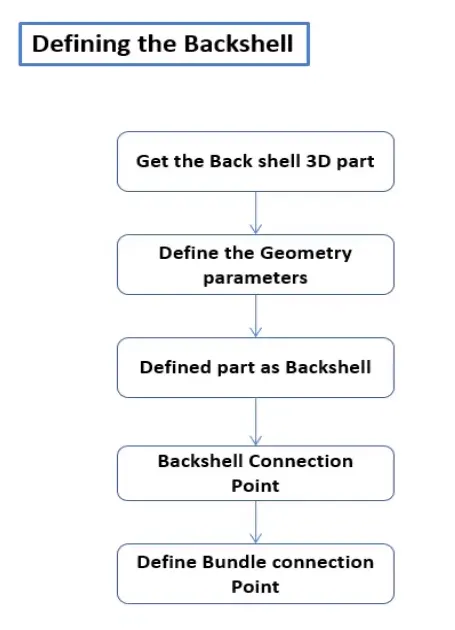
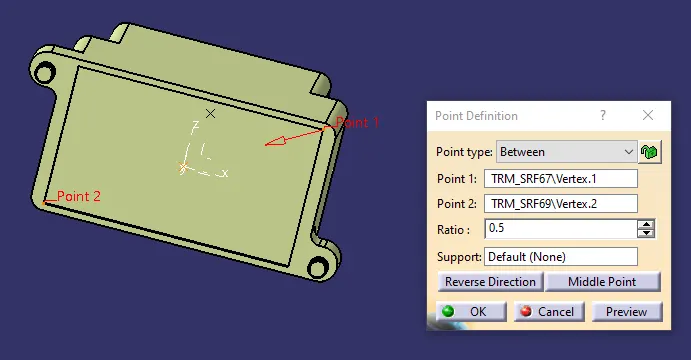
The point generated on both sides using Between option available in Part Workbench.
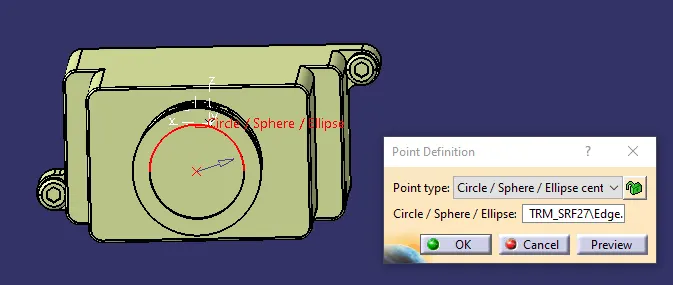
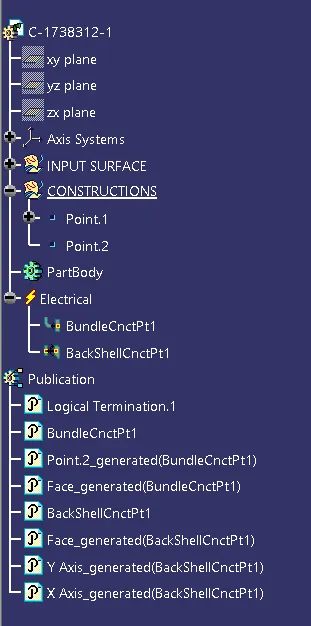
DEFINING BUNDLE AND BACKSHELL CONNECTION POINTS IN EPD WORKBENCH
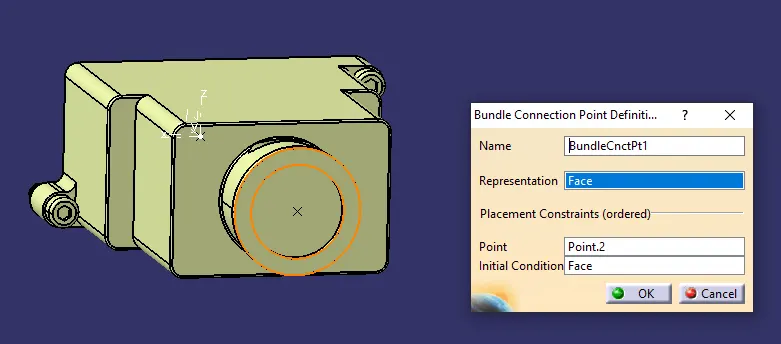
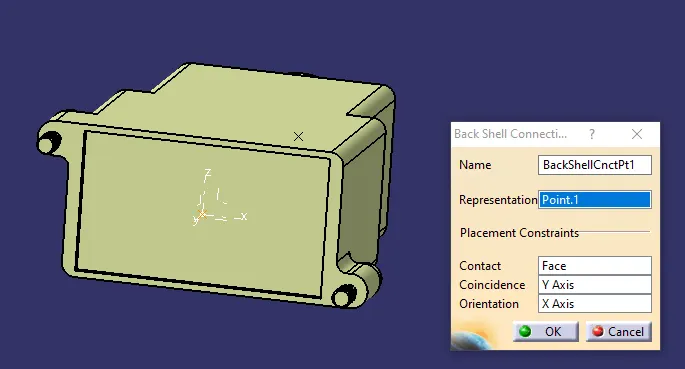
Q3. Create Following Corrugated tubes & Add them in Catalogue under “Slit COT” family.
Ans=
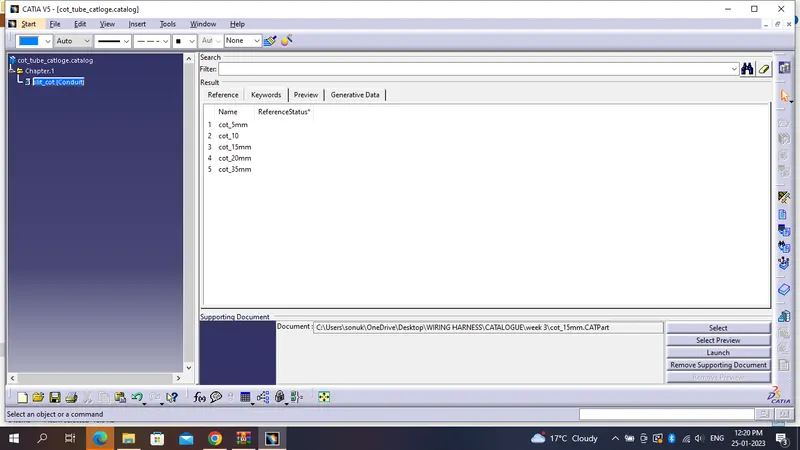
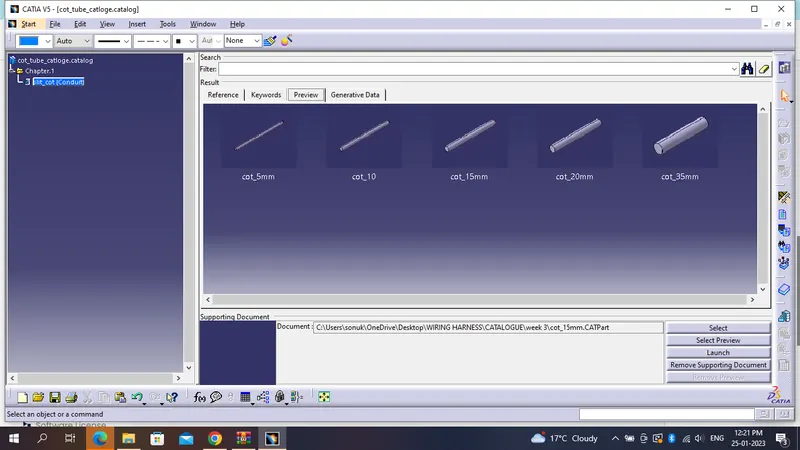
3. Corrugated tubes under “Slit COT” family Catalogue.
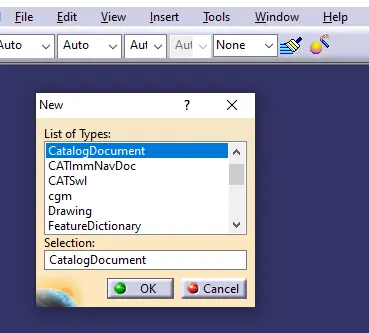
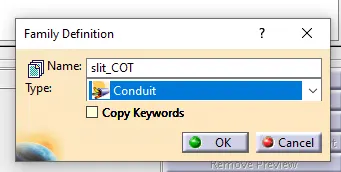 and saved in the respective folder we want.
Creating respective parts in Electrical Part Design Workbench [EPD].
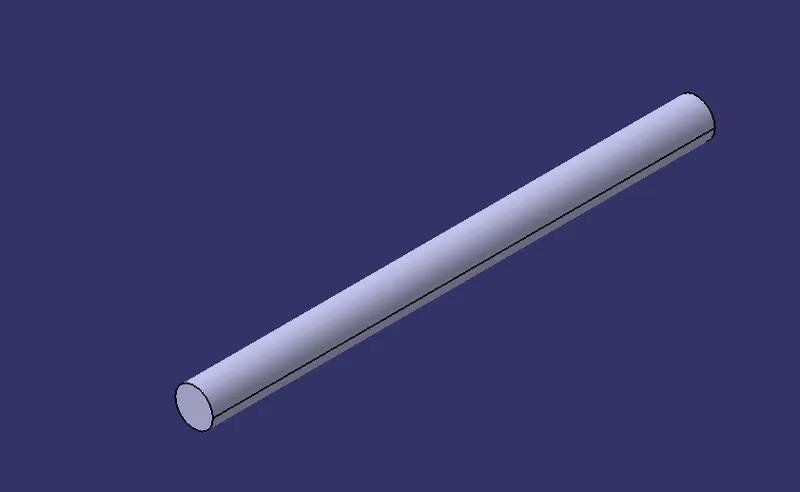
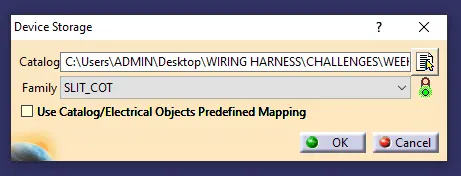
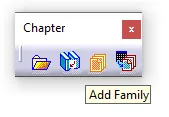
 This Icon is used to store the component we needed in the respective family as shown below
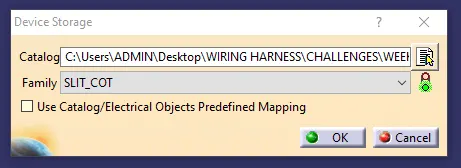
In Electrical Assembly Design [EAD] the catalog browser icon selected as shown below.