Wiring harness routing & packaging Rules Week 3 Challenge
Q1. Definition of Clip:
1. Get the Clip 3D part:
Download the 3D part from the Website
2. Define the geometry Parameters:
The required Geometrical Parameters are defined in "Part Workbench".
- Entry Point
- Entry Plane
- Exit Point
- Exit Plane
- Base Plane
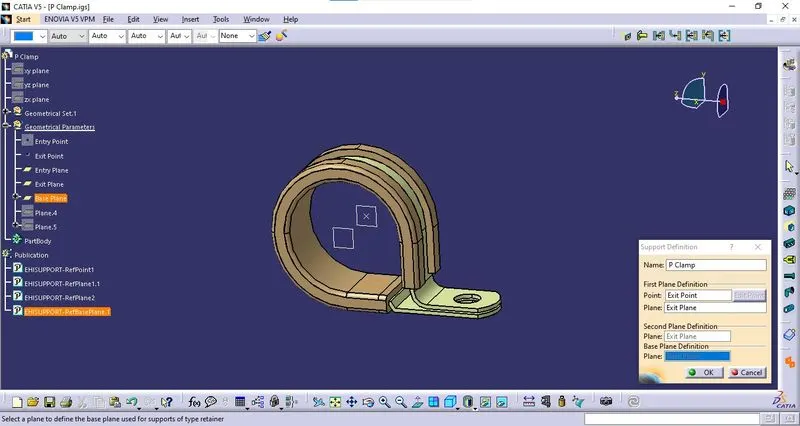
3. Define Part as Support:
The part is defined as support using "Define Support part" tab in "Electrical part Workbench"
4. Define Entry Point & Plane:
The Entry plane & Point are defined.
5. Define Base & Exit Planes
The Base & Exit Planes are defined.
1. 3D Part Creation.
The 3D part is downloaded from the provided link and opened in the Catia environment.
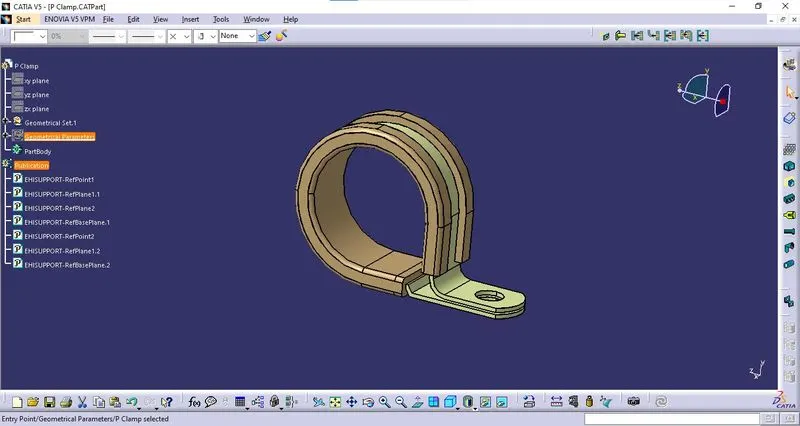
2. Defining Geometrical Parameters:
The geometrical parameters are defined in "Part Workbench"
* Entry Point
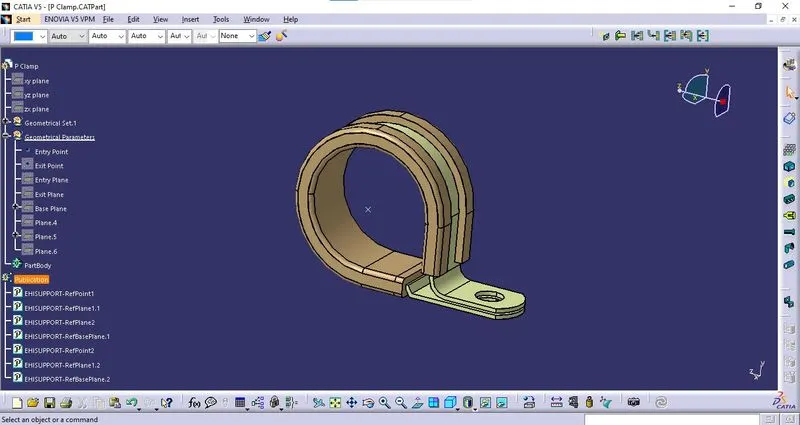
* Entry Plane
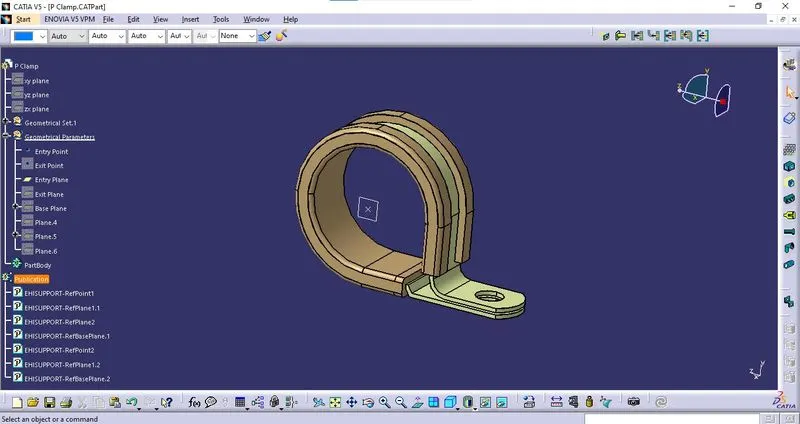
* Exit Point
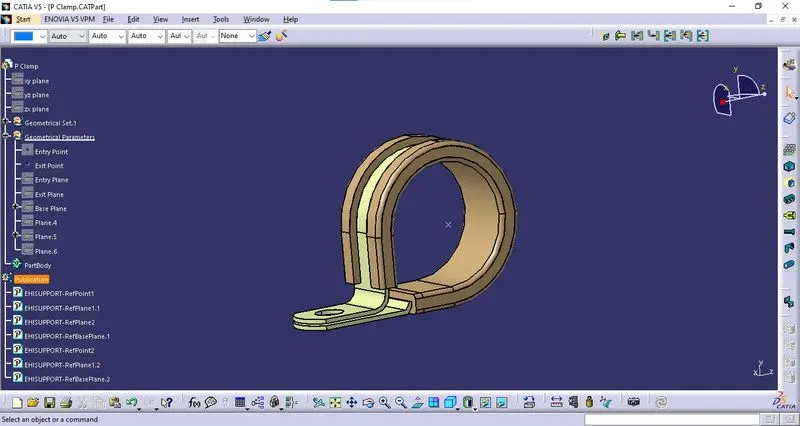
* Exit Plane
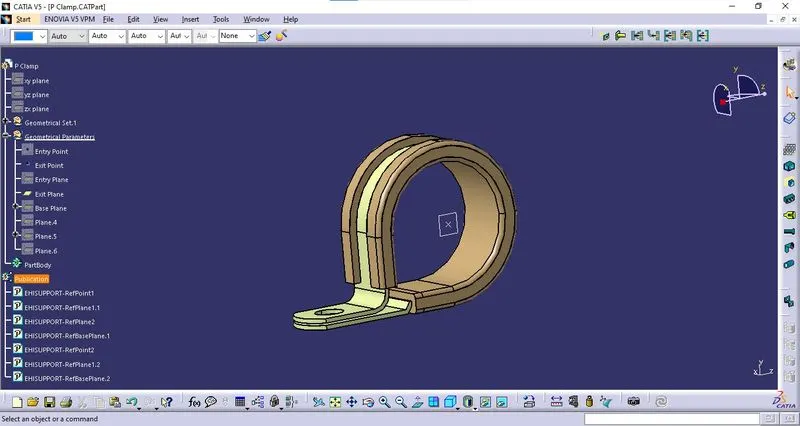
* Base Plane
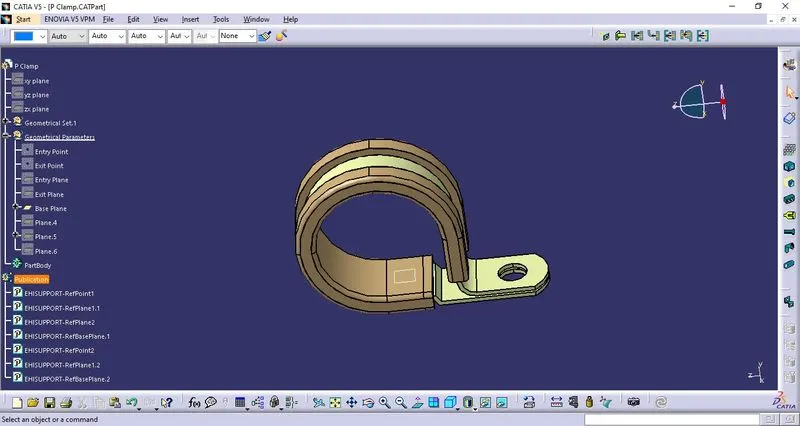
3. Define Part as Support:
The part is defined as support using "Define Support part" tab in "Electrical part Workbench"
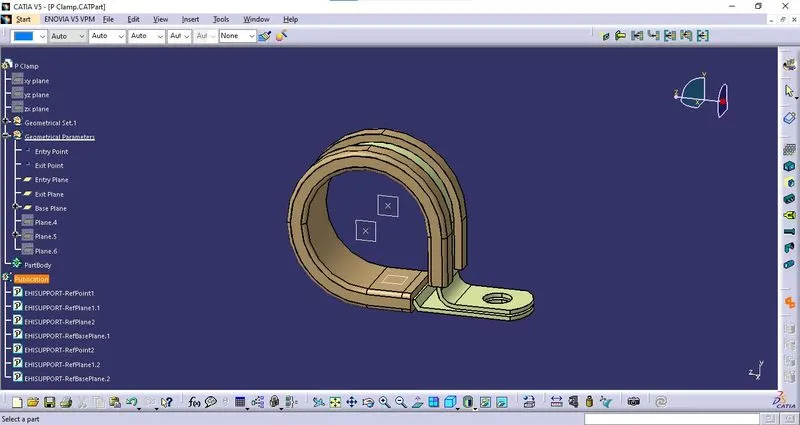
4. Define Entry Point & Plane:
The Entry plane & Point are defined.
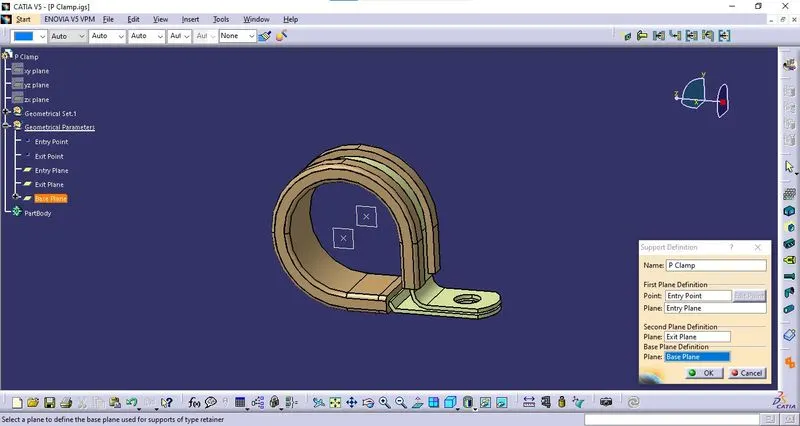
5. Define Base & Exit Planes
The Base & Exit Planes are defined.
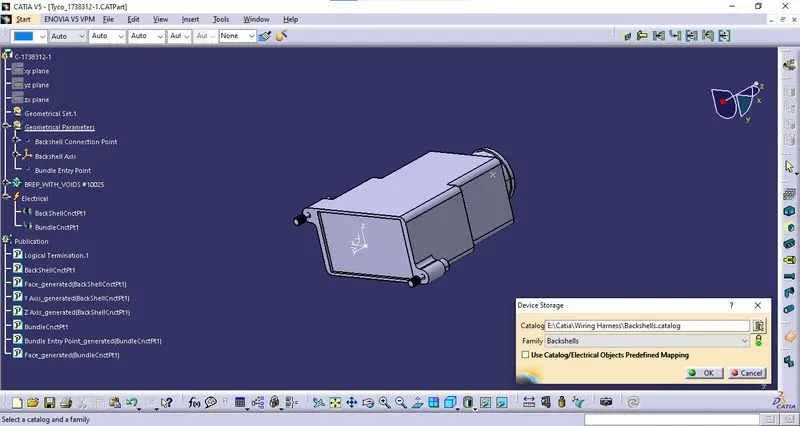
6. Adding to Catalog:
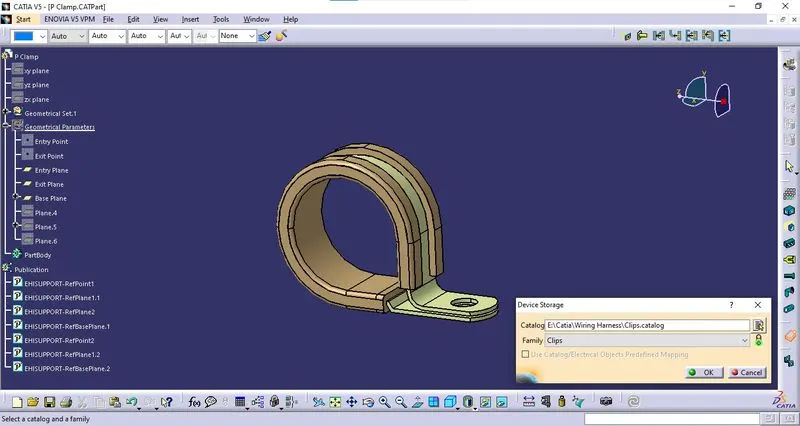
A catalog file with the name "Clips" is created and this part is added to the catalog under the family name "Clips" using "Store Device" tab.
Q2. Definition of Backshell:
1. Get the Backshell 3D Part:
The 3D part of the Backhsell is downloaded.
2. Define Geometrical Parameters:
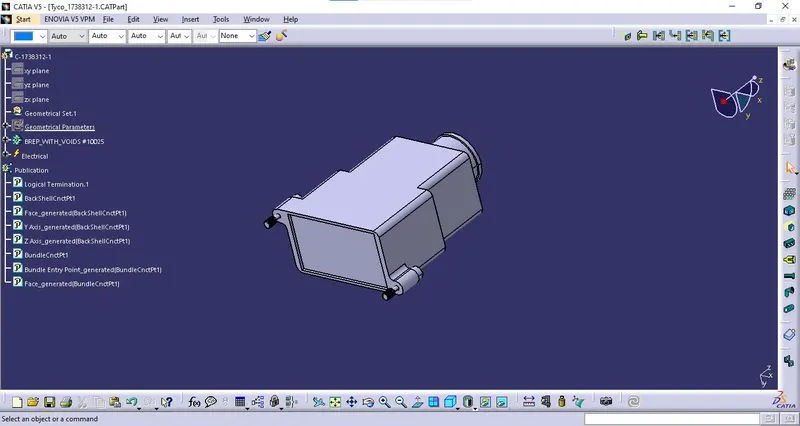
The Geometrical Parameters required are defined in "Part Workbench".
* Backshell Connection Point:
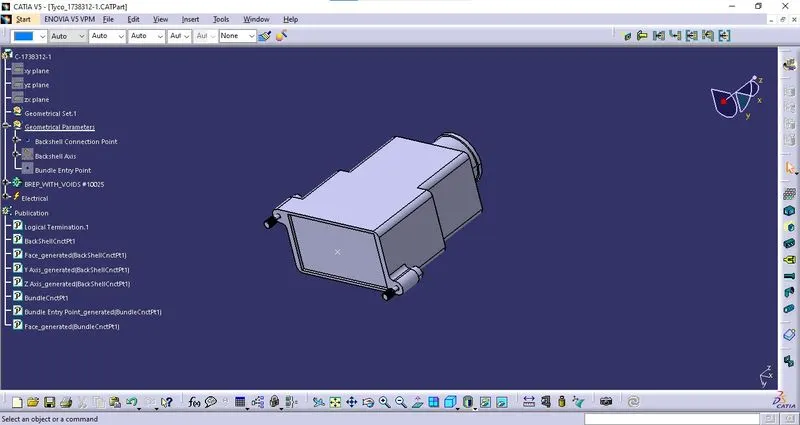
* Backshell Axis:
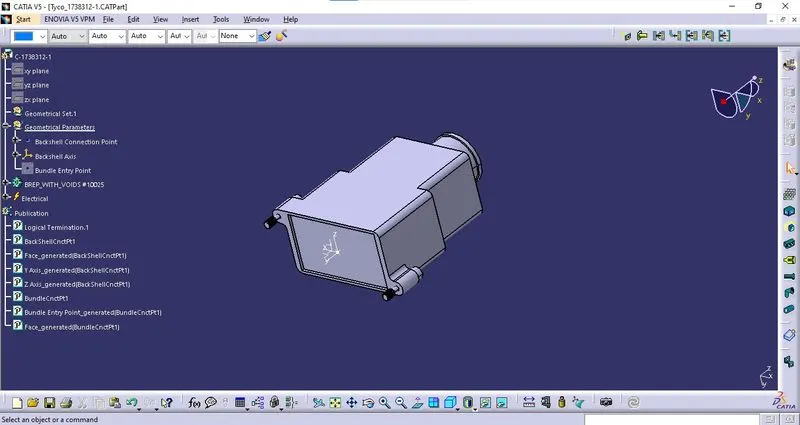
* Bundle Entry Point:
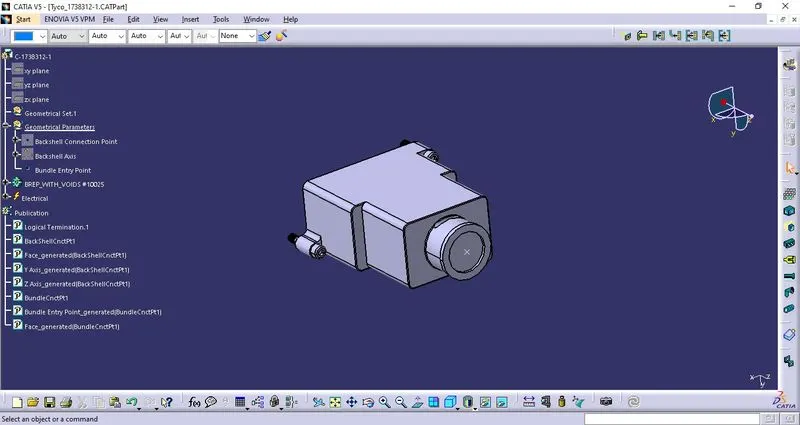
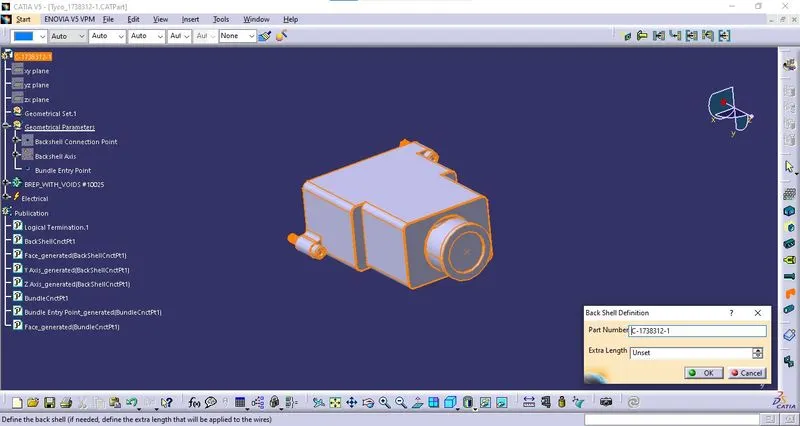
3. Define Part as Backshell:
The part is defined as Backshell using the tab "Define Backshell" in "Electrical Part Workbench".
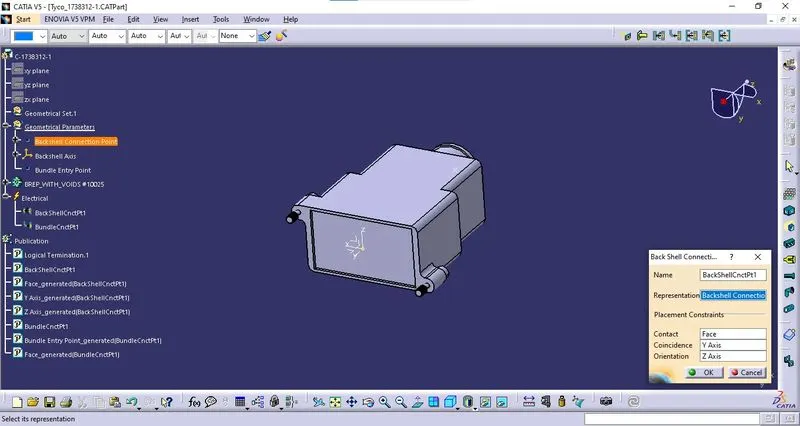
4. Backshell Connection Point:
The backshell Connection point is defined using the "Define Backshell Connection Point " tab in "Electrical part workbench" with respect to Backshell Axis.
5. Define Bundle Connection Point:
The bundle connection point is defined using the "Define Bundle Connection Point" tab in "Electrical Part Workbench" with respect to Bundle Entry Point.
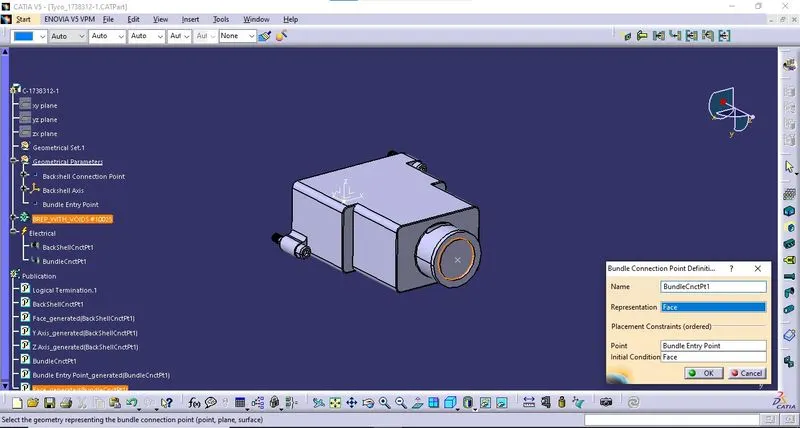
6. Adding to Catalog:
A catalog file with the name "Backshell" is created and this part is added to the catalog under the family name "Backshell" using the "Store Device" tab.
Q3. Definition of Protective Covering:
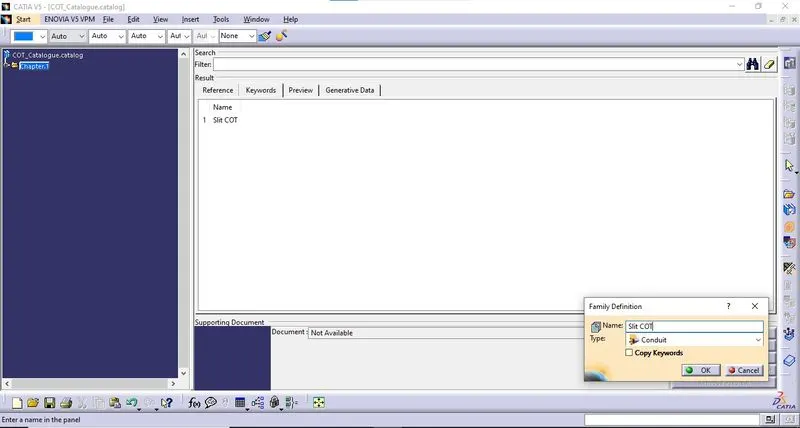
A. Creating Catalogue:
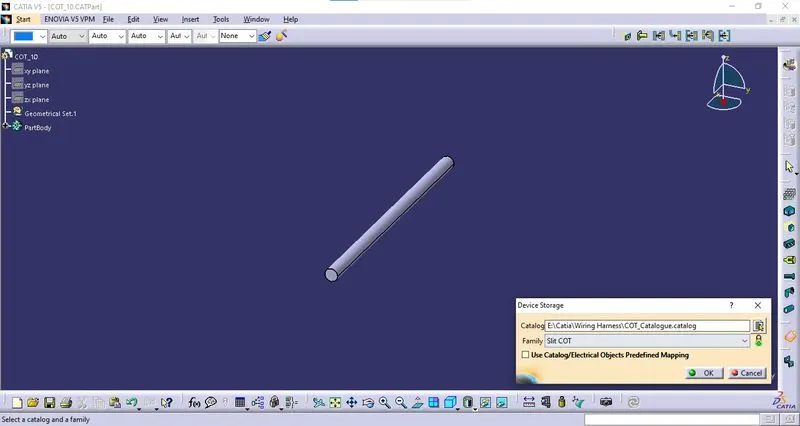
A new catalog file is created using File > New > Catalog Document. Using "Add Family" tab, A new family named "Slit COT" is created under the type "Conduit". The catalog file is saved with the name "COT_Catalog"
B. COT Design:
1. COT 15mm:
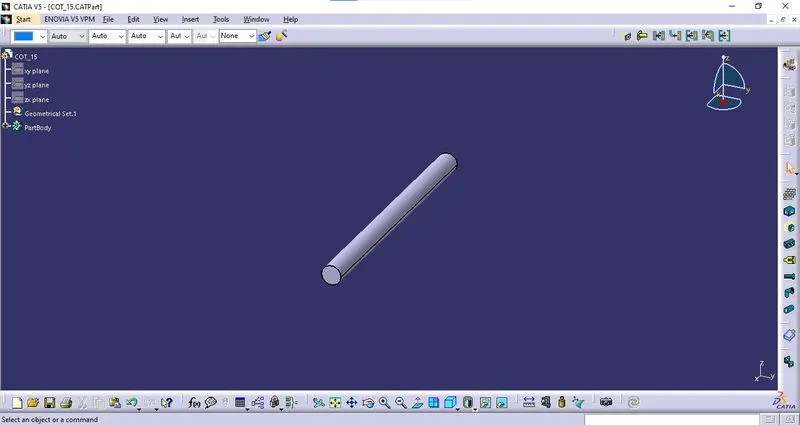
* A new part file is created. In the "Electrical Part Workbench", "Define Protection Point" is used and the given values are entered in the window.
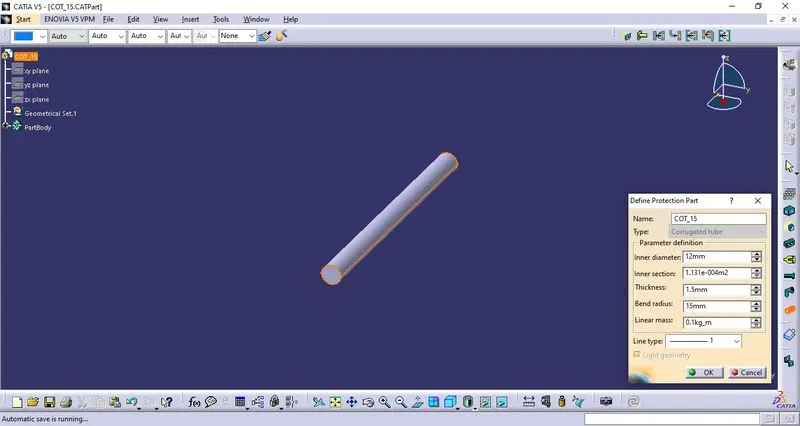
* The defined part is saved as "COT_15".
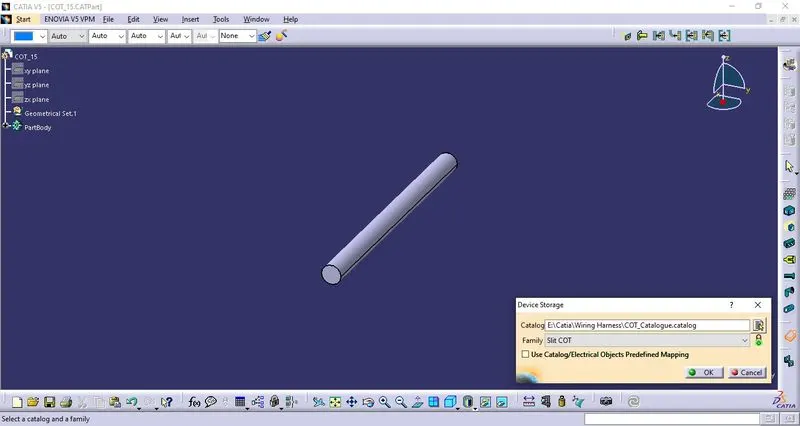
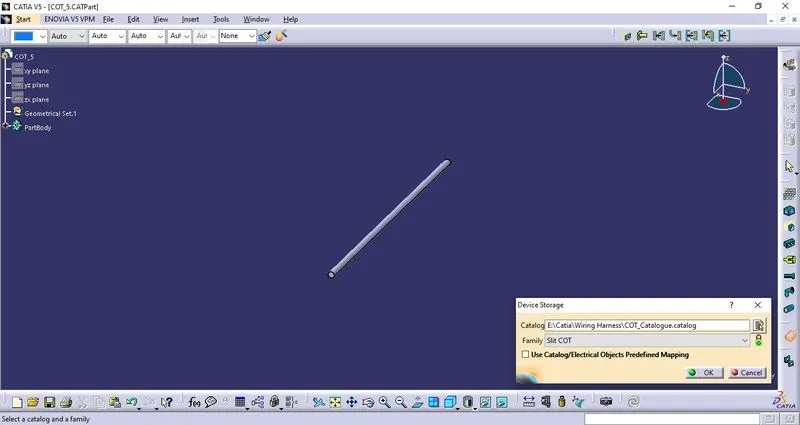
* This part is added to the "COT_Catalog" file under "Slit COT" family using "Store Device" tab.
2. COT 20mm:
* A new part file is created. In the "Electrical Part Workbench", "Define Protection Point" is used and the given values are entered in the window.
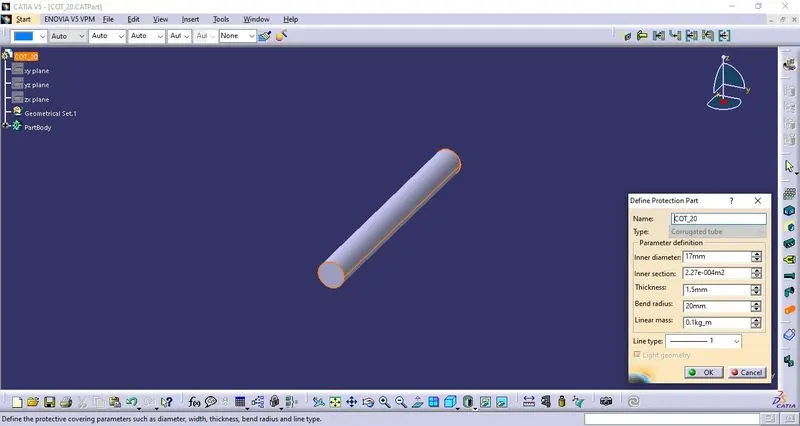
* The defined part is saved as "COT_20".
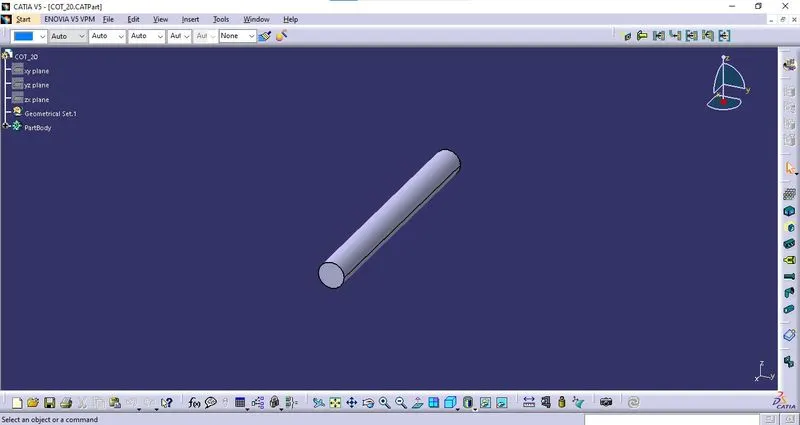
* This part is added to the "COT_Catalog" file under "Slit COT" family using "Store Device" tab.
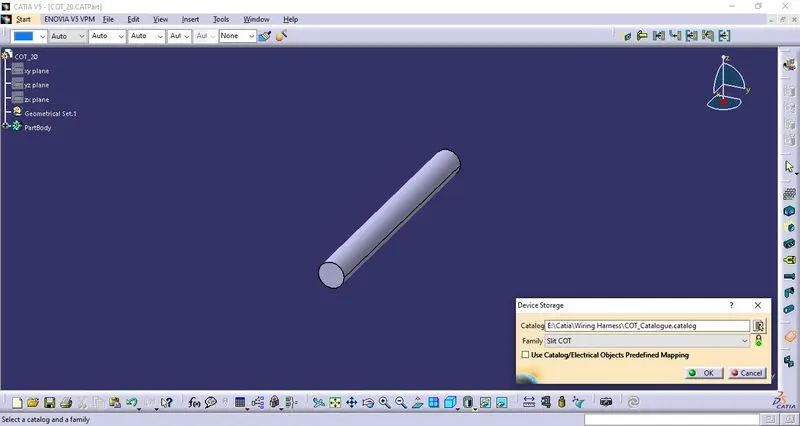
3. COT 35mm:
* A new part file is created. In the "Electrical Part Workbench", "Define Protection Point" is used and the given values are entered in the window.
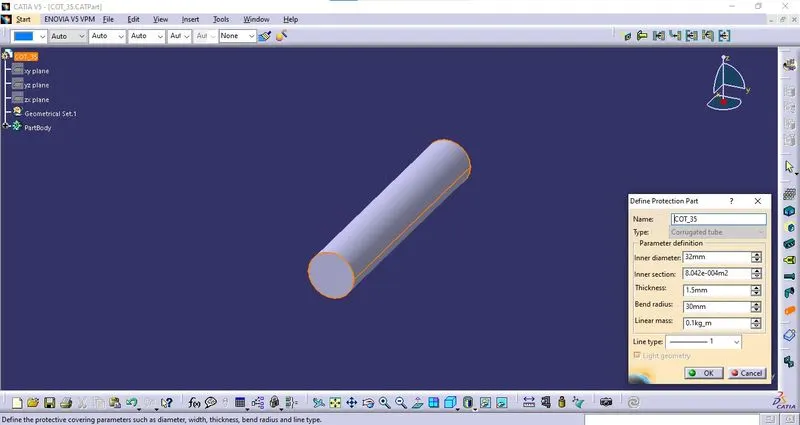
* The defined part is saved as "COT_35".
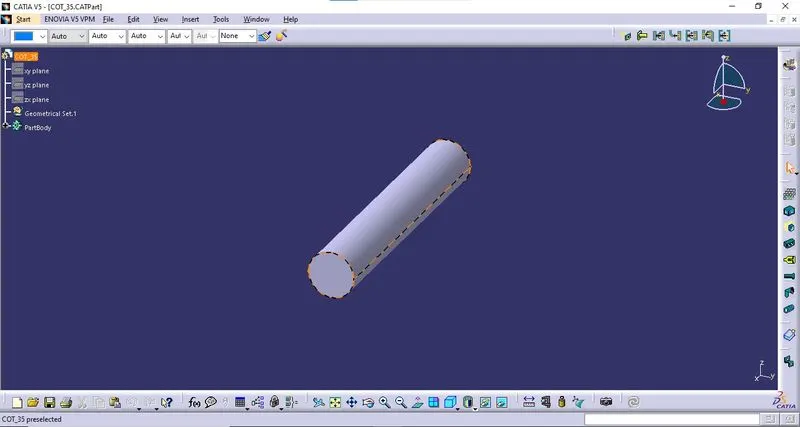
* This part is added to the "COT_Catalog" file under "Slit COT" family using "Store Device" tab.
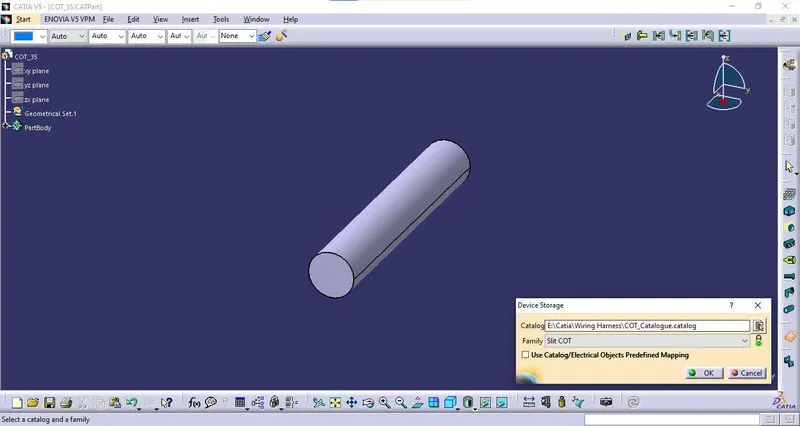
4. COT 10mm:
* A new part file is created. In the "Electrical Part Workbench", "Define Protection Point" is used and the given values are entered in the window.
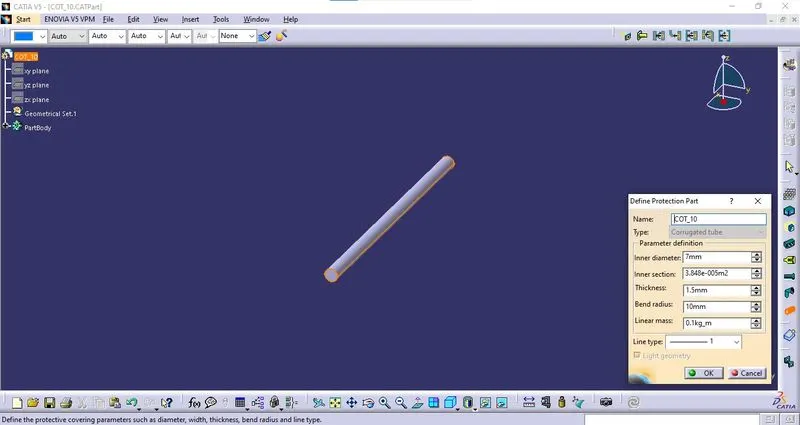
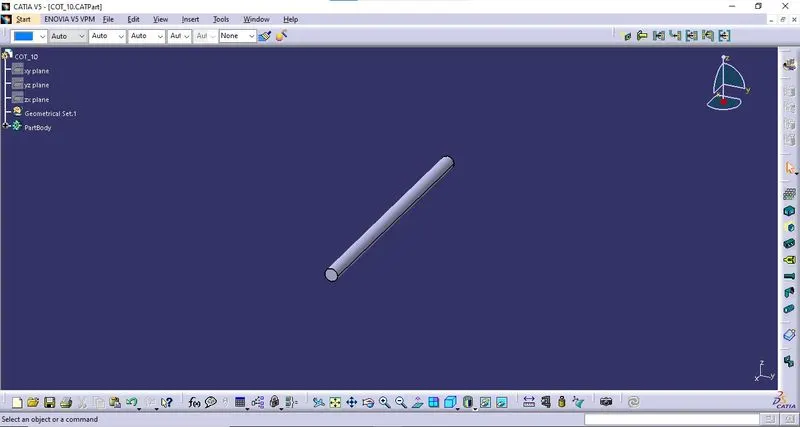
* The defined part is saved as "COT_10".
* This part is added to the "COT_Catalog" file under "Slit COT" family using "Store Device" tab.
5. COT 5mm:
* A new part file is created. In the "Electrical Part Workbench", "Define Protection Point" is used and the given values are entered in the window.
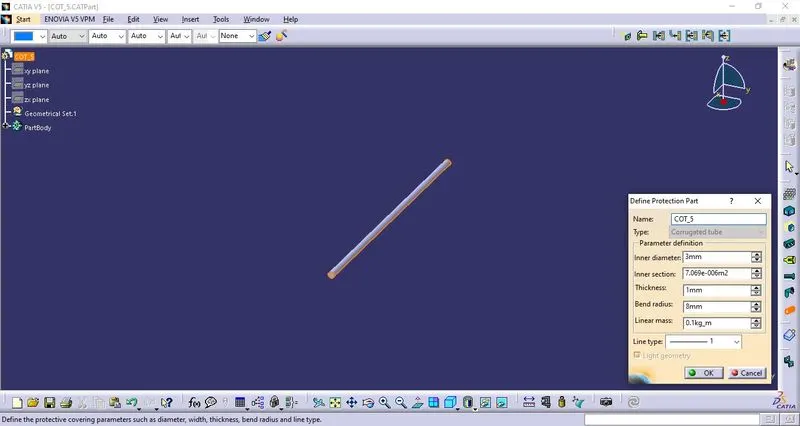
* The defined part is saved as "COT_5".
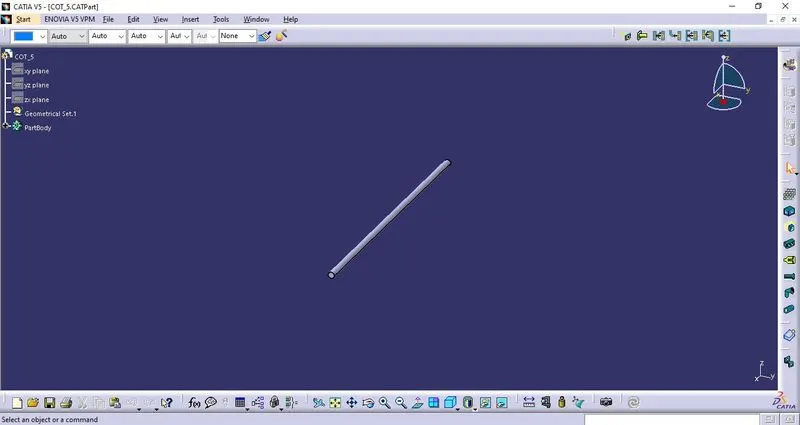
* This part is added to the "COT_Catalog" file under "Slit COT" family using "Store Device" tab.
Attachments:
The following files are attached as a zip file.
- P Clamp. CATPart
- Tyco 1738312-1. CATPart
- COT_15.CATPart
- COT_20.CATPart
- COT_35.CATPart
- COT_10.CATPart
- COT_5.CATPart
- Clips.catalog
- Backshell.catalog
- Cot_Catalog.catalog