Wiring harness routing & packaging Rules Week 3 Challenge
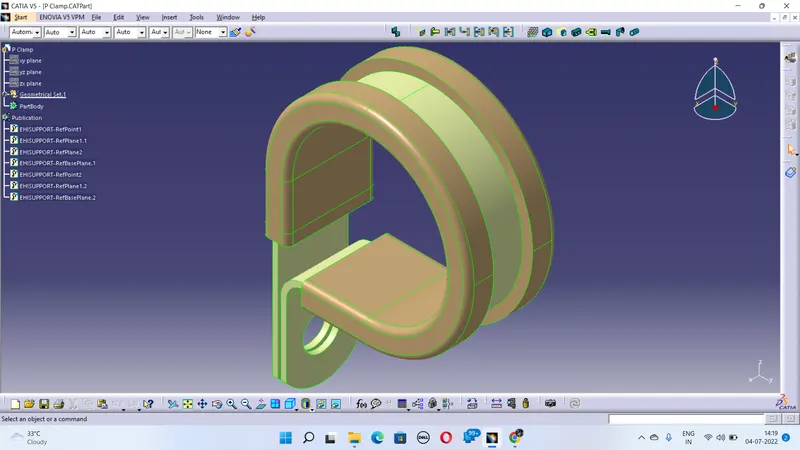
P Clamp:
Step 01: Download the CAD file.
Step 02: Open the file in CATIA V5.
Step 03: For giving the geometrical specification we need to go to the part design workbench.
Step 04: Now with the help of the reference toolbar, select the point tool.
Step 05: After selecting the point tools you need to create a point in between the both sides of the component and at the bottom with 2mm offset towards upward direction.
Step 06: Convert the mechanical part workbench into electrical part.
Step 07: Now we will define it as Electrical support using Electrical Part design Workbench.
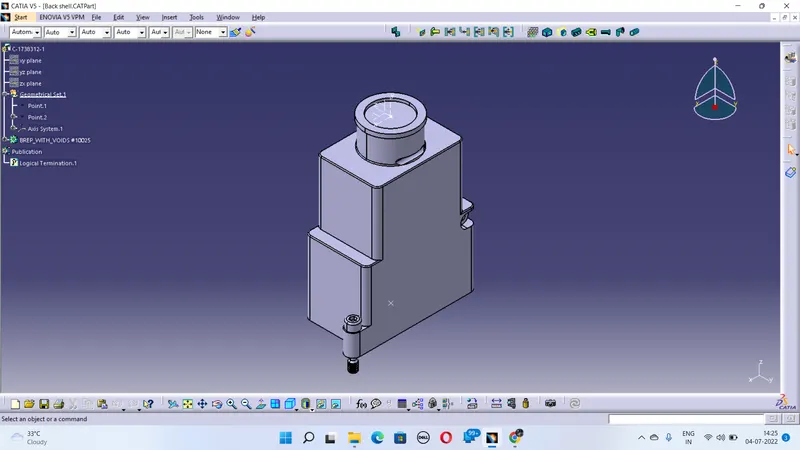
Step 01: Download the CAD file.
Step 02: Open the file in CATIA V5.
Step 03: For giving the geometrical specification we need to go to the part design workbench.
Step 04: Now with the help of the reference toolbar, select the point tool.
Step 05: After selecting the point tools you need to create a point in between the both sides of the component.
Step 06: Creat a axis on the top of the part.
Step 07: Convert the mechanical part workbench into electrical part.
Step 08: Now we will define it as back shell.
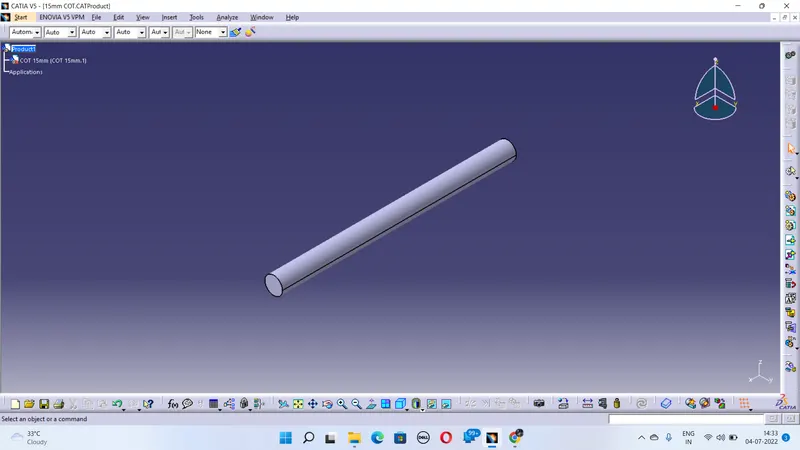
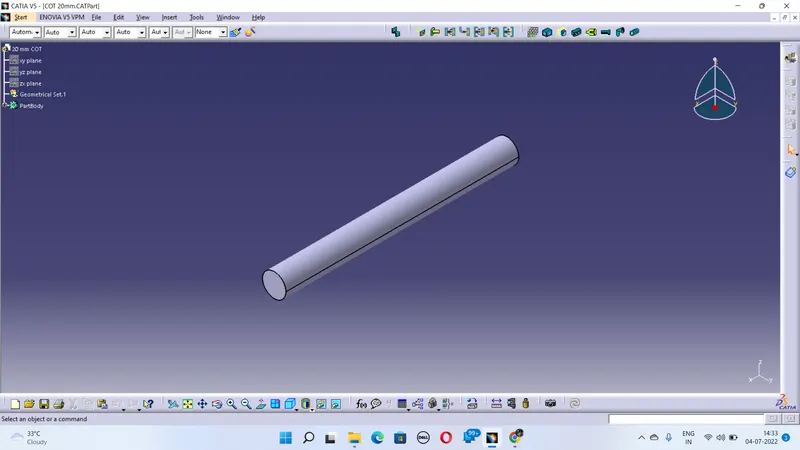
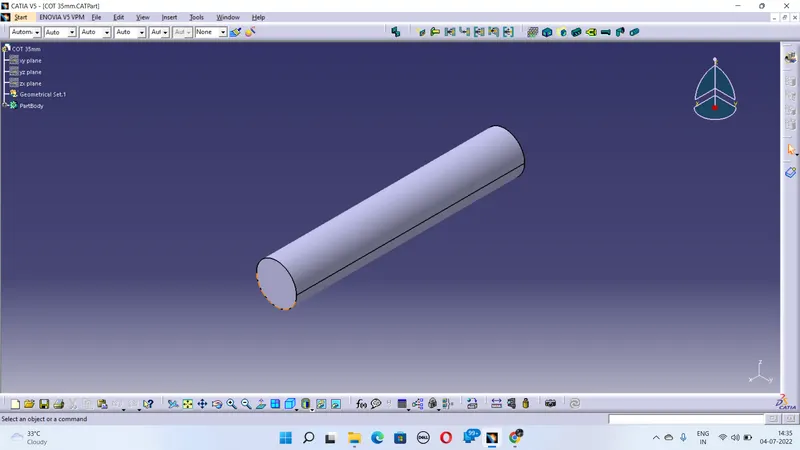
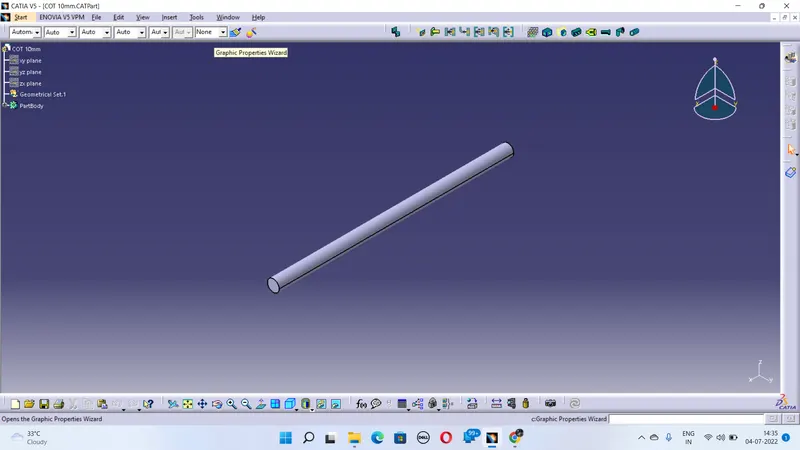
Corrugated tubes:
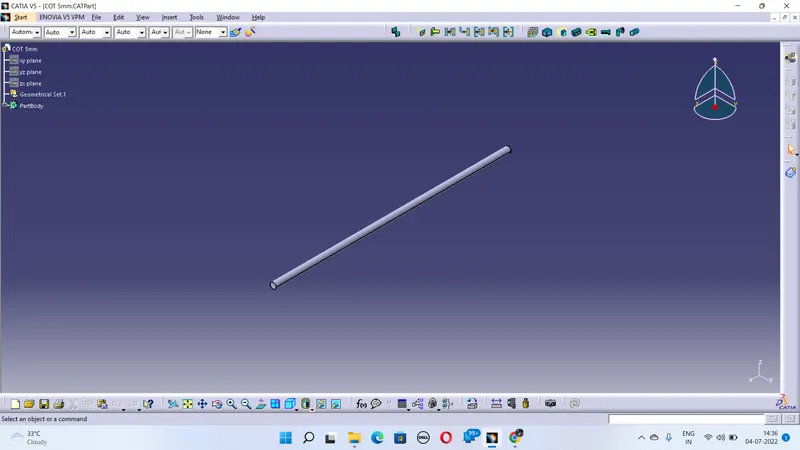
Step 01: Open Catia V5
Step 02: Go to Electrical part design.
Step 03: Define protection part.
Step 04: Select the part.
Step 05: Fill the properties of the tube.
Step 06: Save the file.
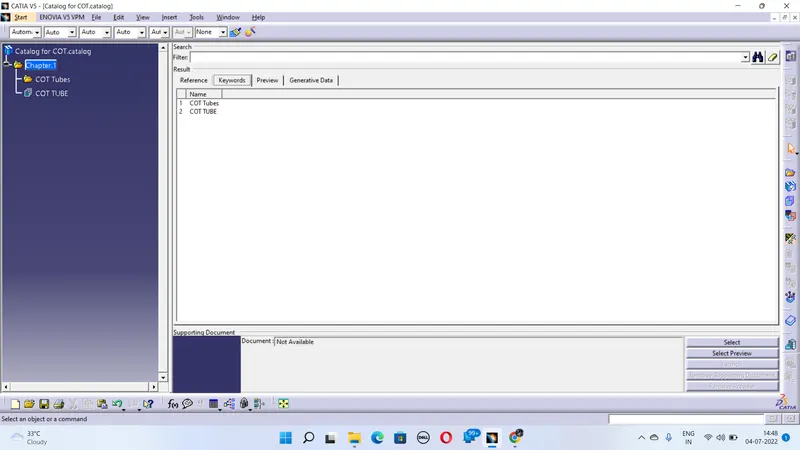
Step 07: Now add to the catlogue which you have created.