Week 8 - Challenge 1 - Base Bracket Design
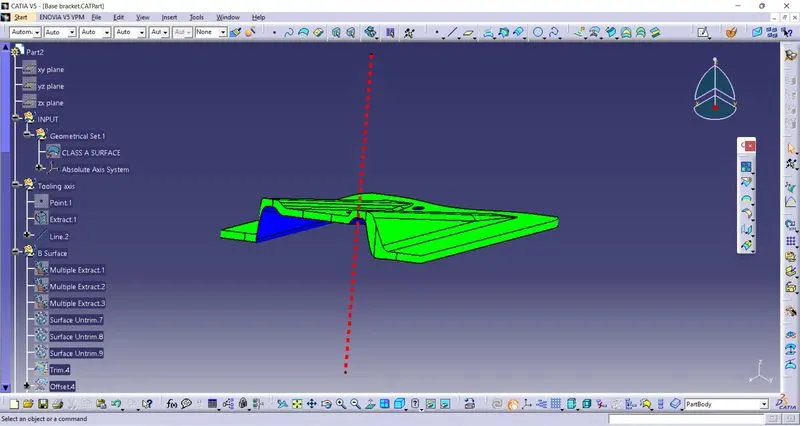
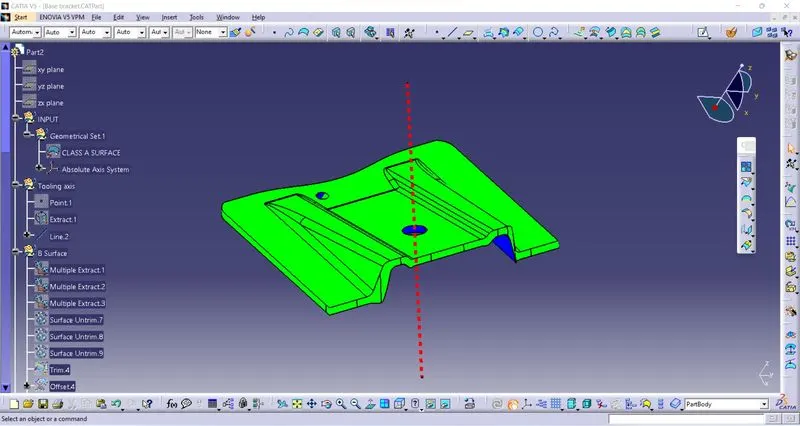
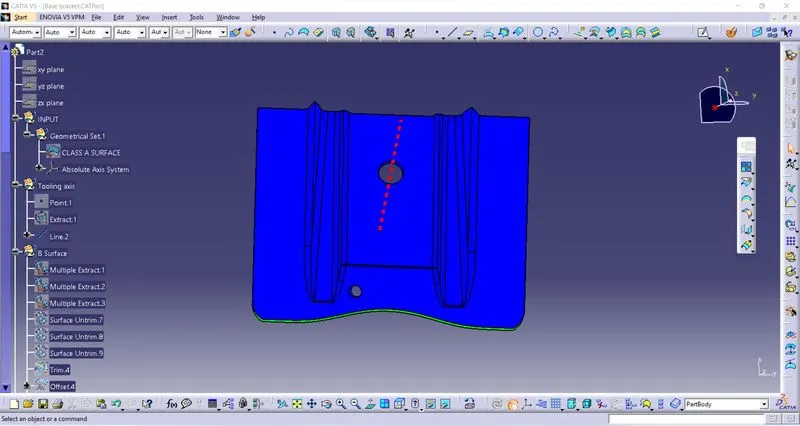
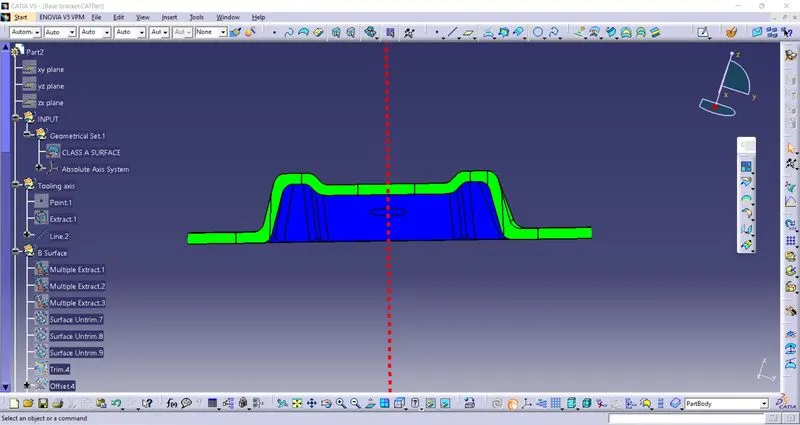
AIM: Create the Base Bracket Plastic component with the given Class A surface.
STEPS:
Step 1: Check the connectivity of the Class A Surface.
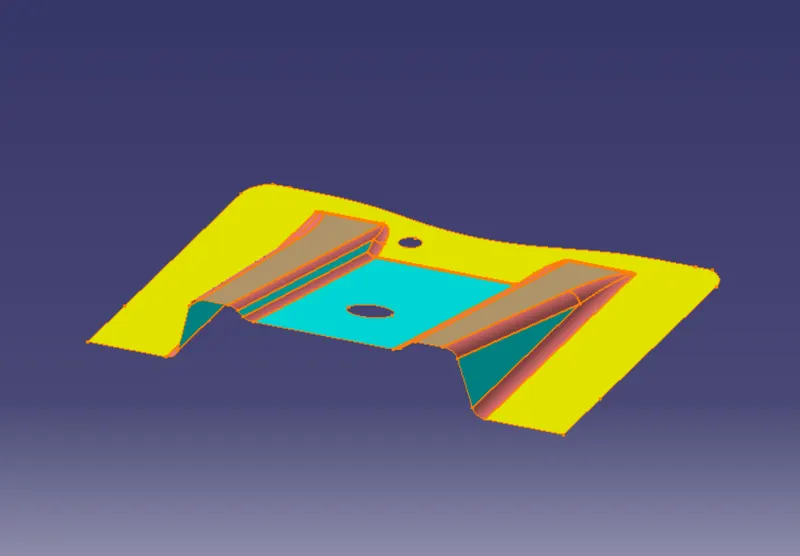
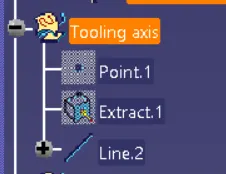
Step 2: Begin with the tooling axis for the given Class-A Surface.
Step 3: Perform the Draft analysis using the Featured Draft Analysis tool in the tools.
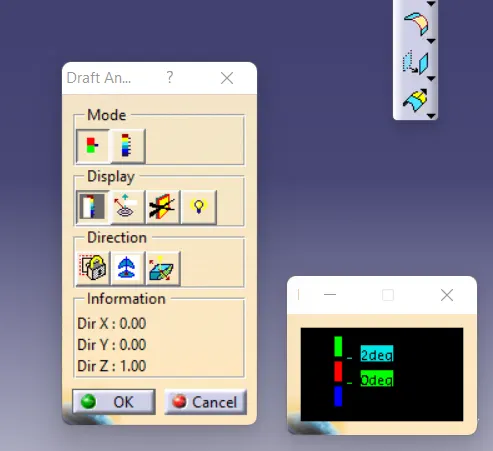
Step 4: Place the compass aligned to the tooling axis and click on the lock symbol after aligning.
Step 5: Now create a Class B surface with the help of an extract tool.
Step 6: After extracting go for surface untrim option.
Step 7: Extrapolate in order to increase its length.
Step 8: Now trem the surfaces.
Step 9: Offset the surface with required thickness.
Step 10: Create the same rib on the other side also.
Step 11 : Now Similarly get the slanted as well as the flat surface and offset it to the required value.
Step 12: Trim to get the required surface.
Step 13: Creating Class C Surface.
Step 14: Select the boundary option and click on the boundary of the class A surface to create a sketch of the boundary.
Step 15: Using sweep command select with draft direction option and set a 3-degree draft to create a sweep of the boundary.
Step 16: Similarly, create the boundaries for the two holes and sweep it with 3 degrees to the draft angle.
Step 17: After all the class surfaces are created, trim all the elements.
Step 18: Using the Closed Surface option, create a solid part of the bracket using Part Workbench.