Wiring harness design in CATIA V5 - 3D modeling Week 7 Challenge
AIM:
To flatten the given routed harness assembly and place the flattened view on drawing sheet. And ensure bundles with protective coverings has different visuals on drawing view.
FLATTENING PROCESS:
- Define all connectors as electrical component.
- Create wiring harness context assembly and positioning all connectors for desired places.
- Create the bundle segment for all connectors with protective coverings.
- Create flattening product file and flattening the created bundle segment assembly.
- Create drawing sheet for flattened harness assembly.
DEFINE CONNECTORS ELECTRICALLY:
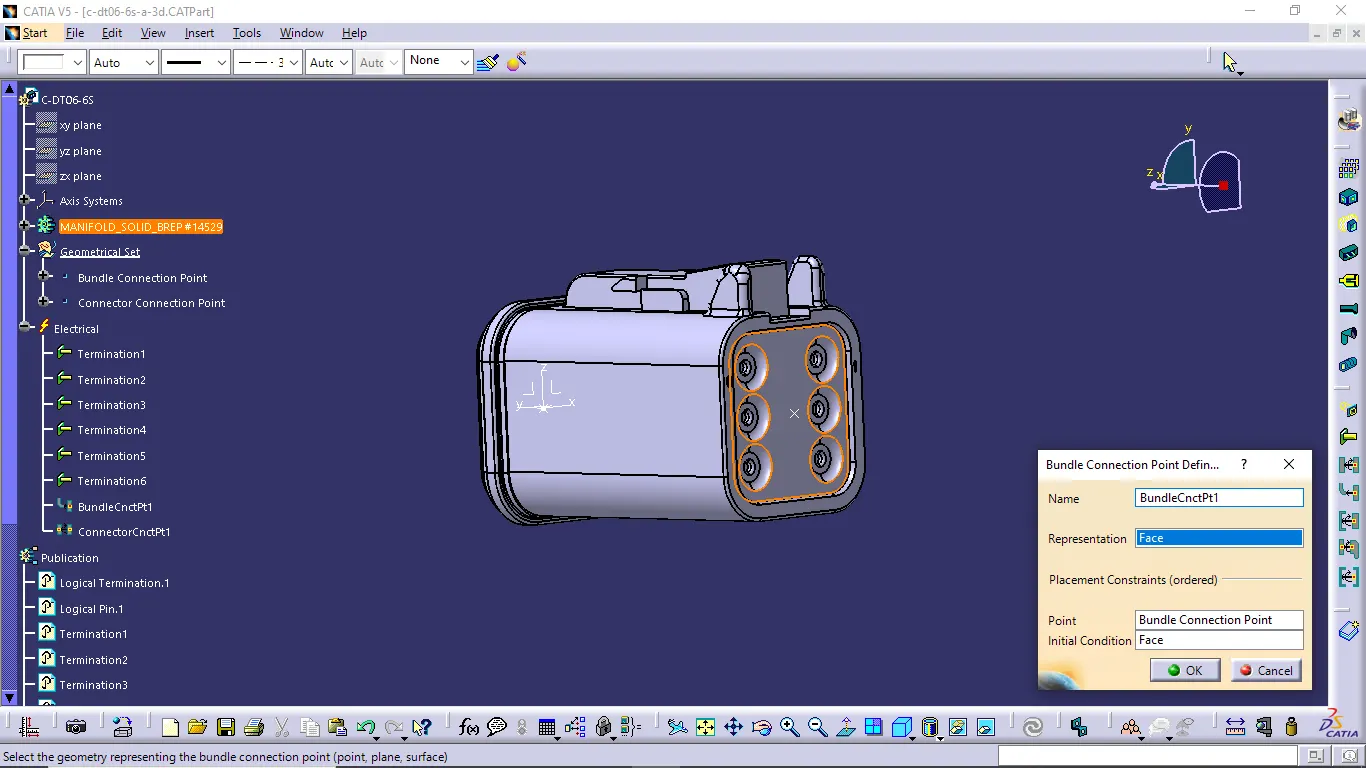
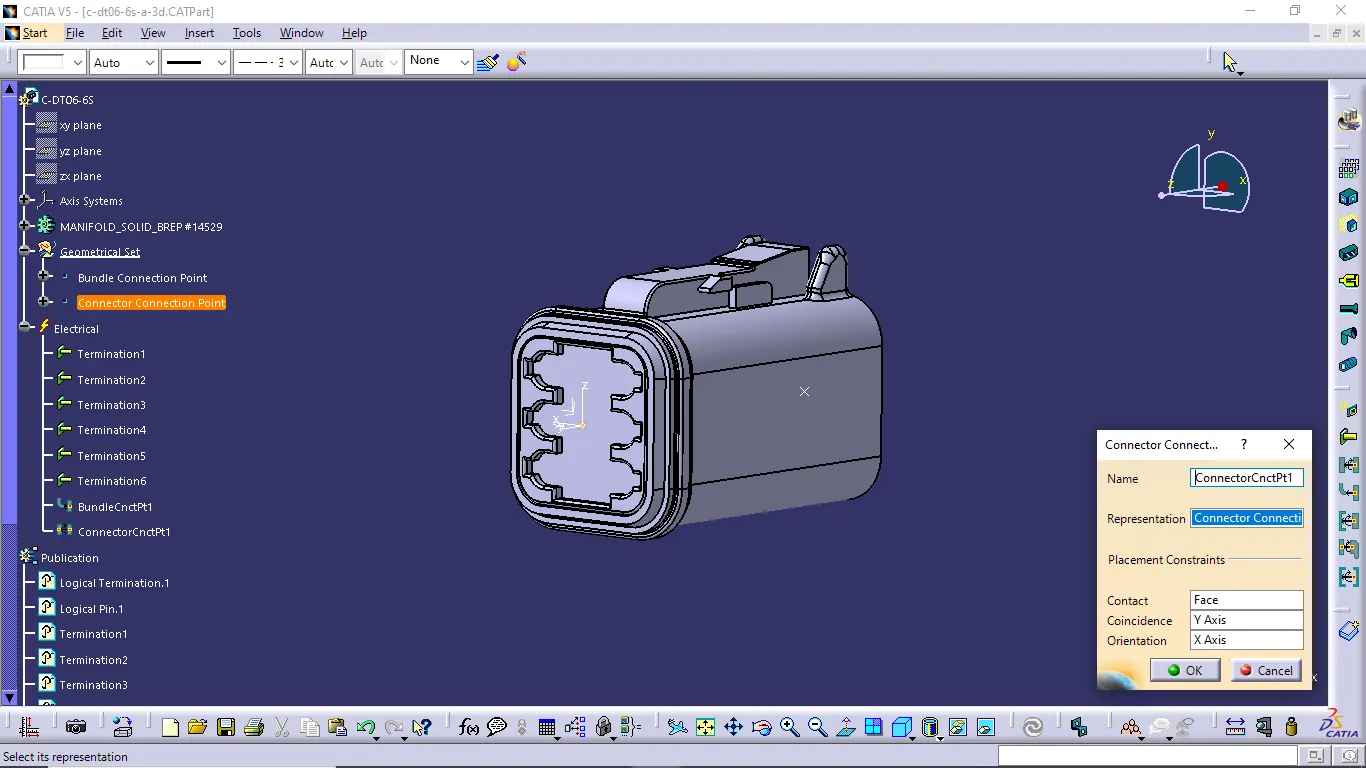
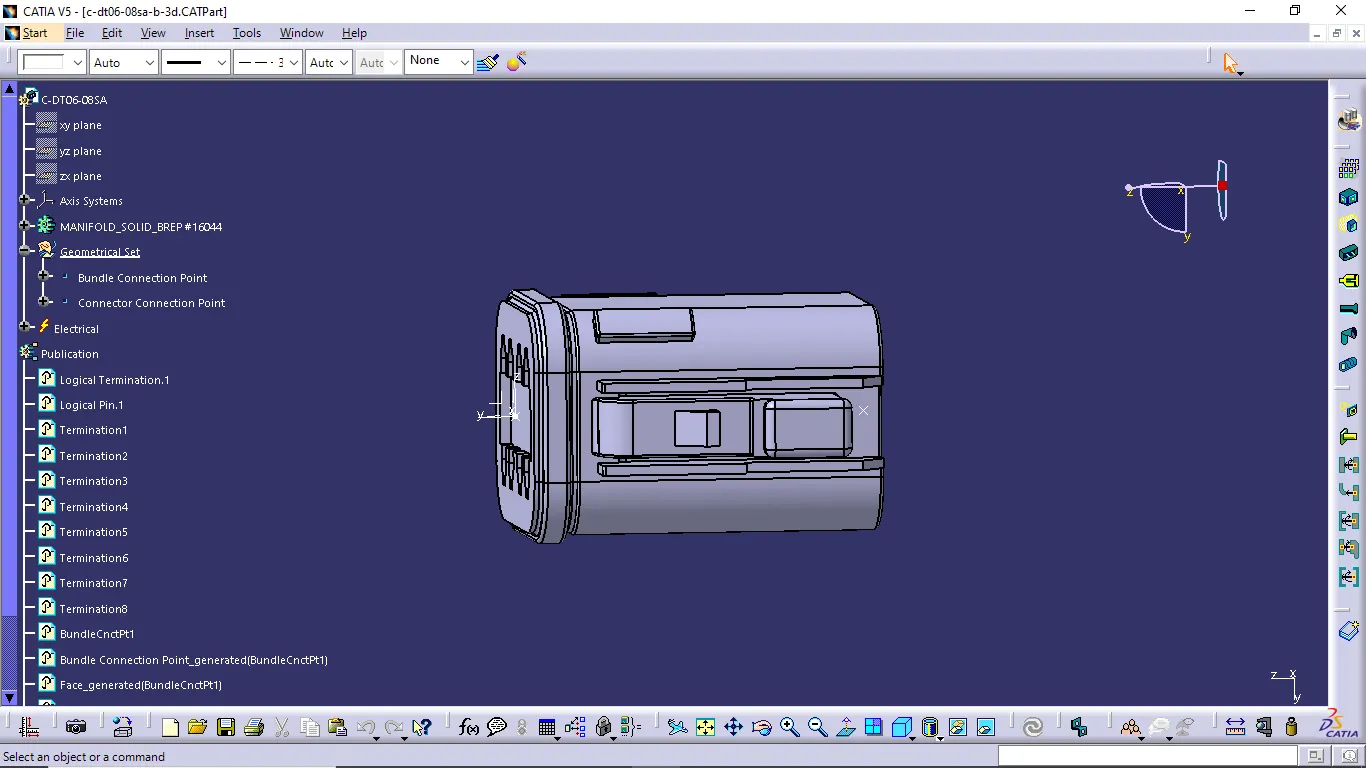
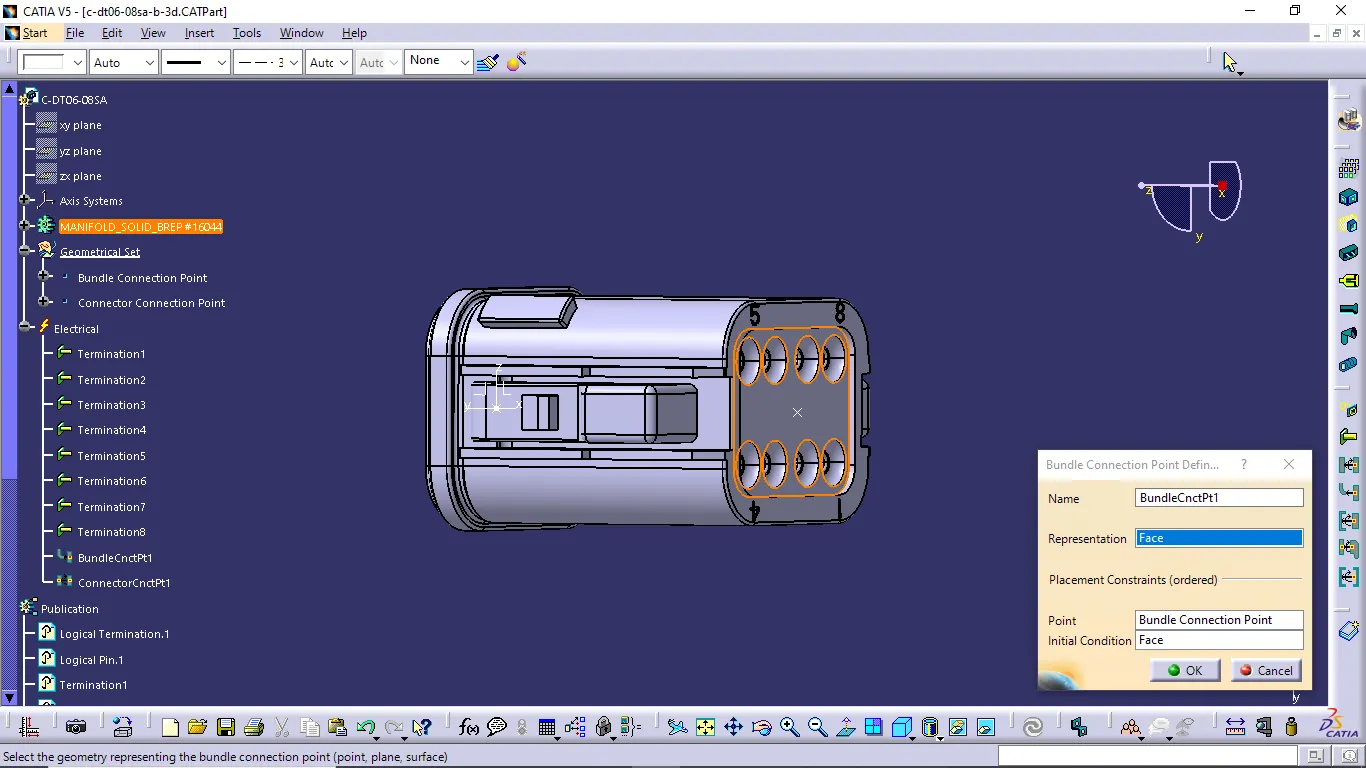
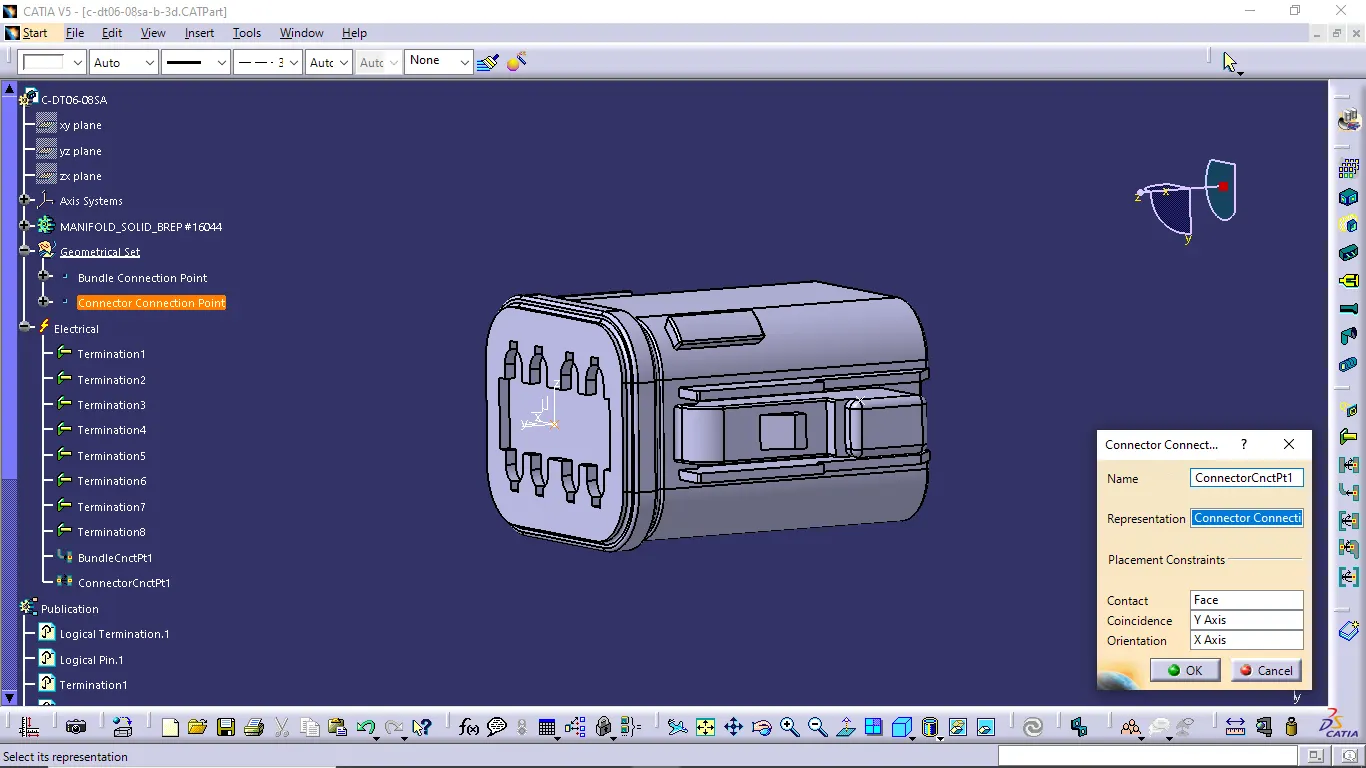
- In first we want to create bundle connection point, connector connection point then we define all connectors electrically.
- Next add the all connectors to the catalogue.
DT06-2S:
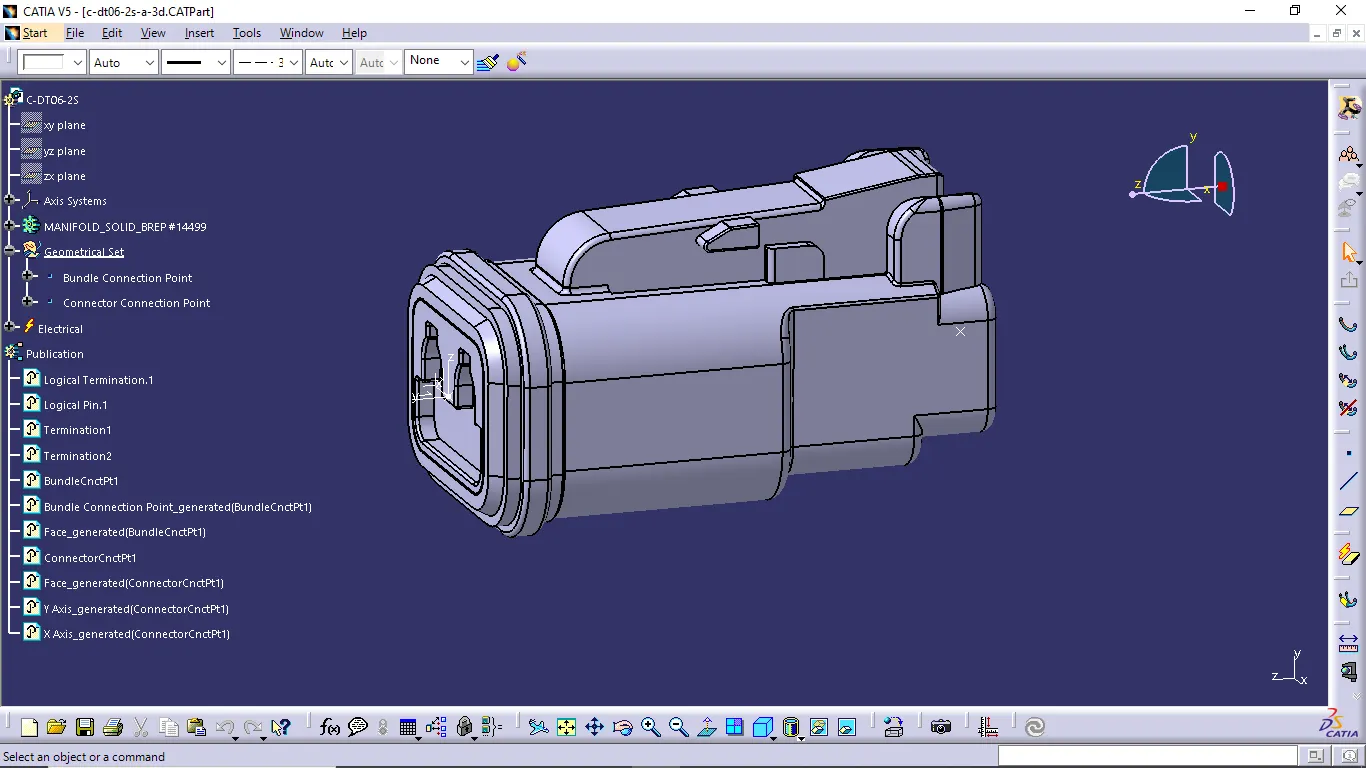
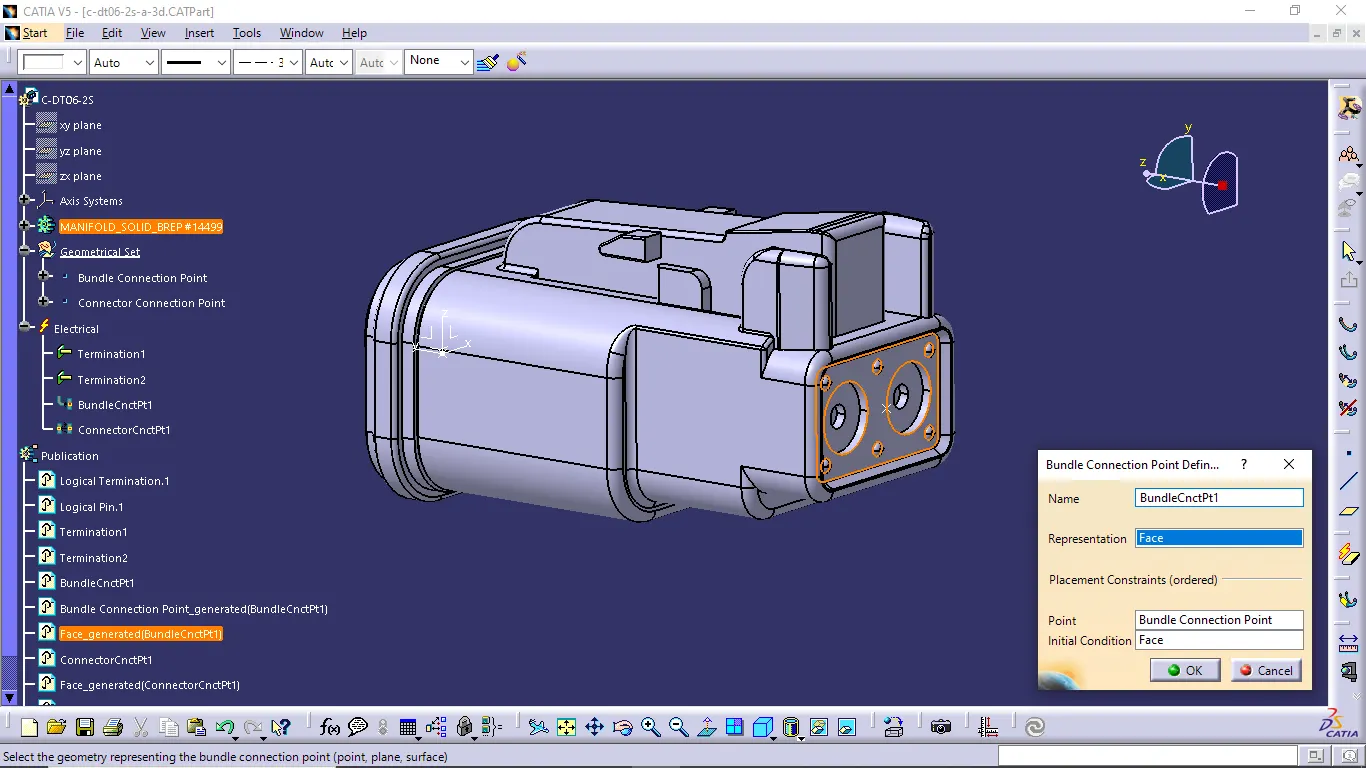
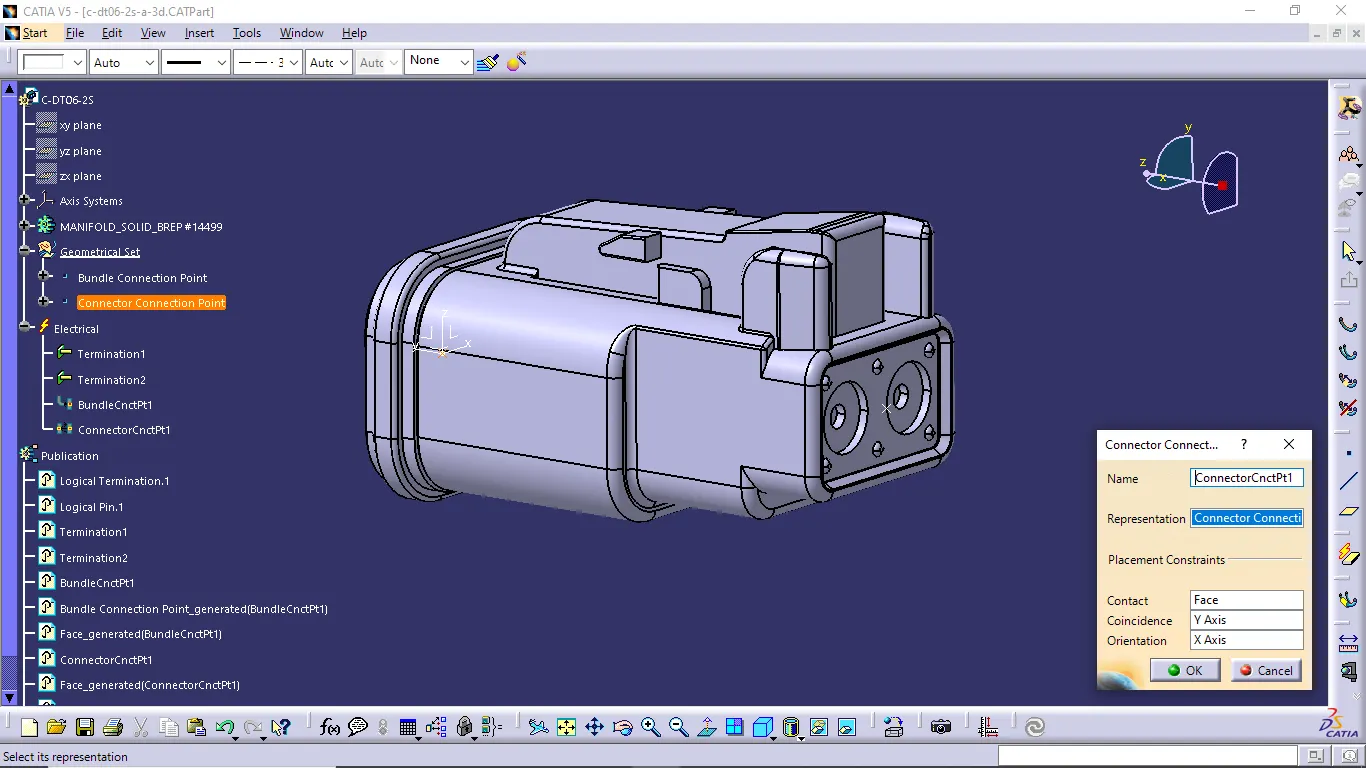
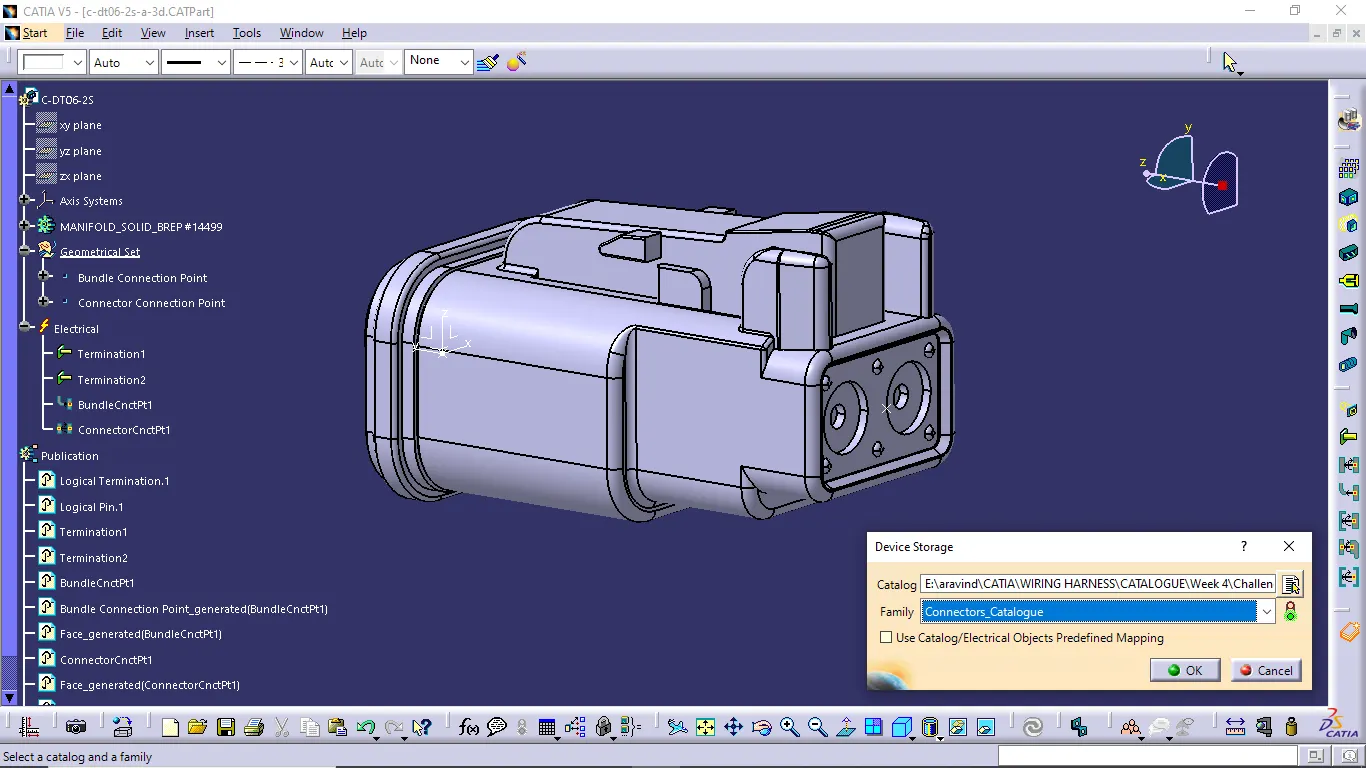
DT06-4S:
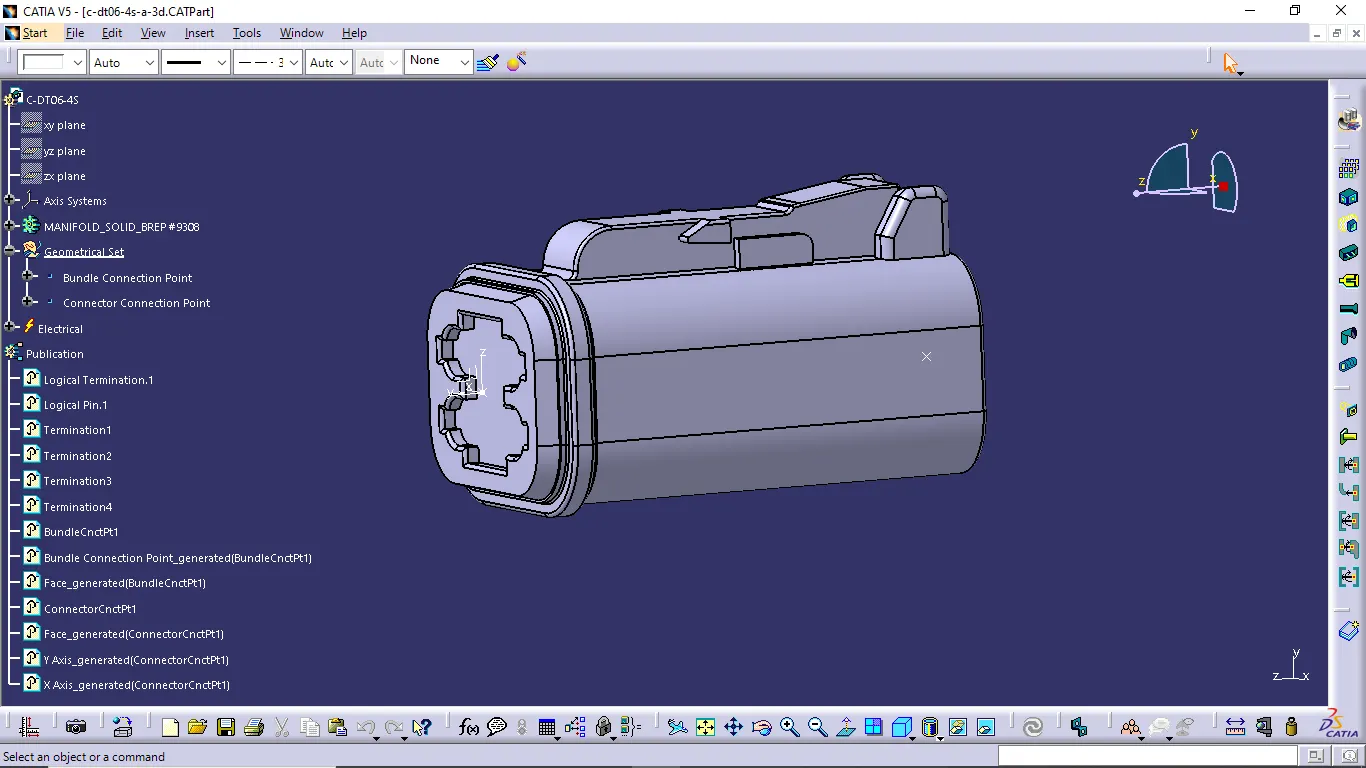
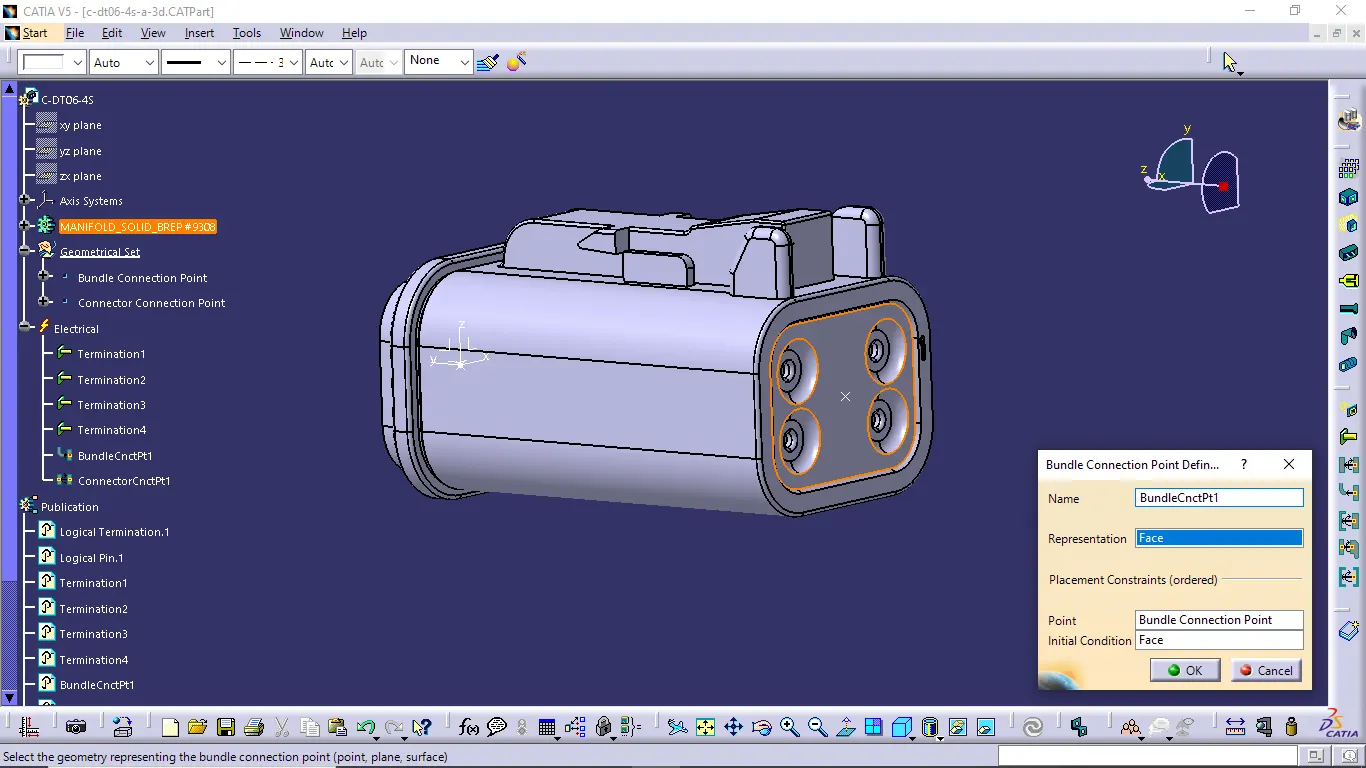
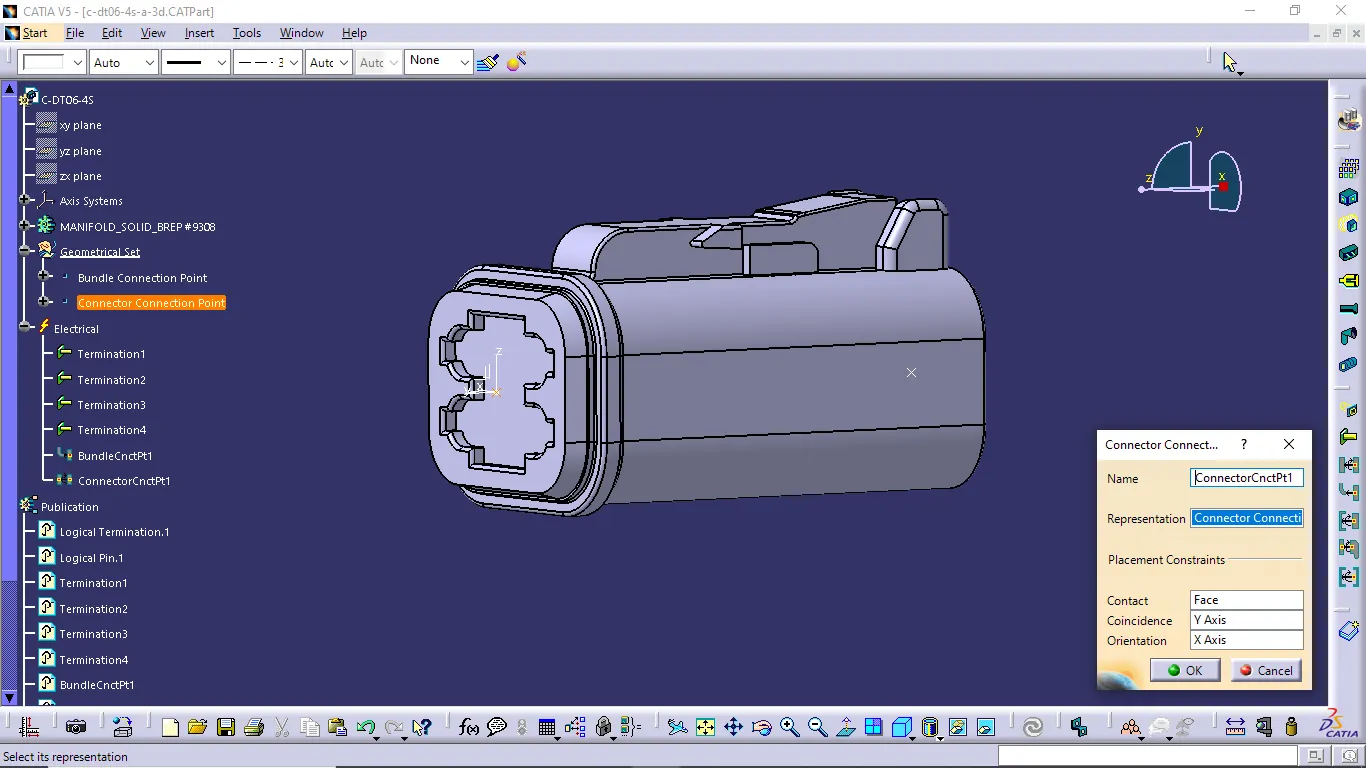
DT06-6S:
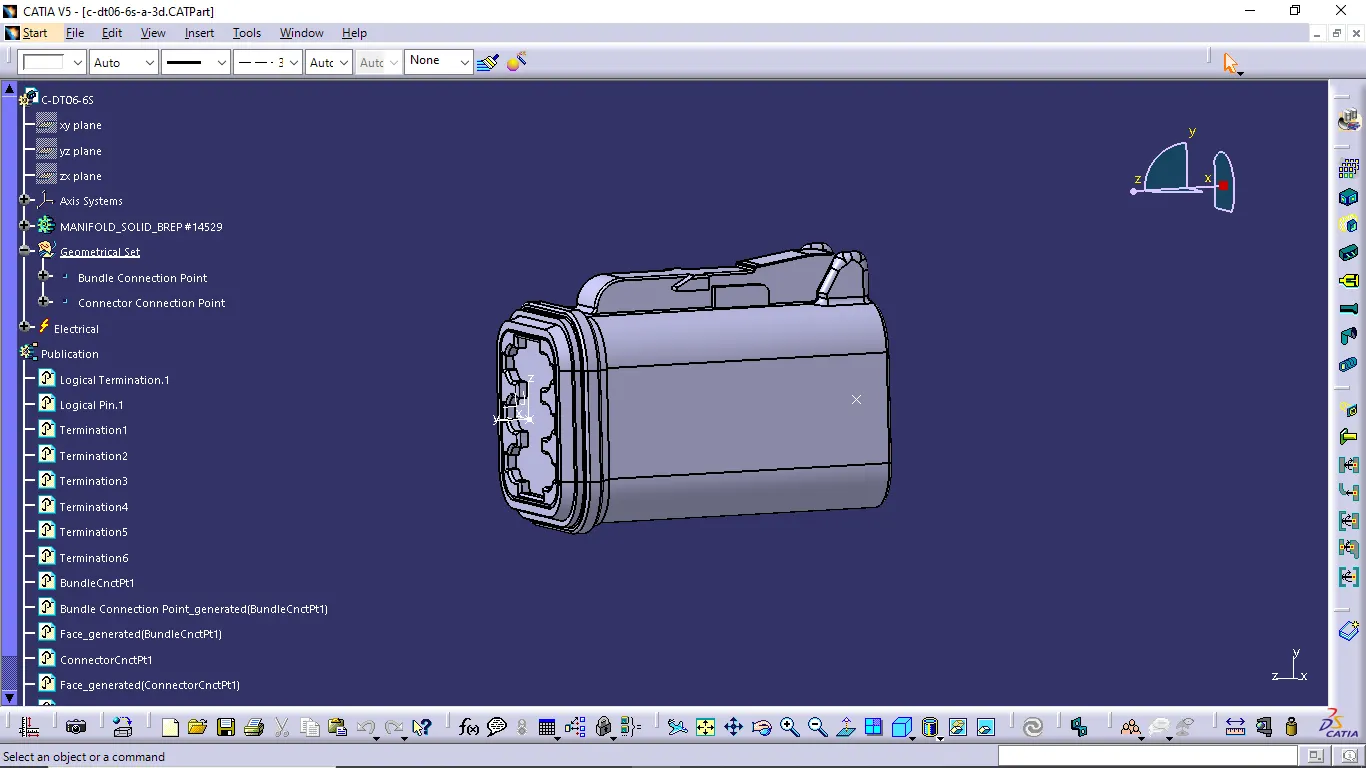
DT06-08SA:
WIRING HARNESS ROUTING:
- Create wiring harness assembly and add geometrical bundle assembly product file into it.
- Positioning the all connectors on the required places using mechanical assembly workbench and use commands like translation and rotation, compass manipulation method.
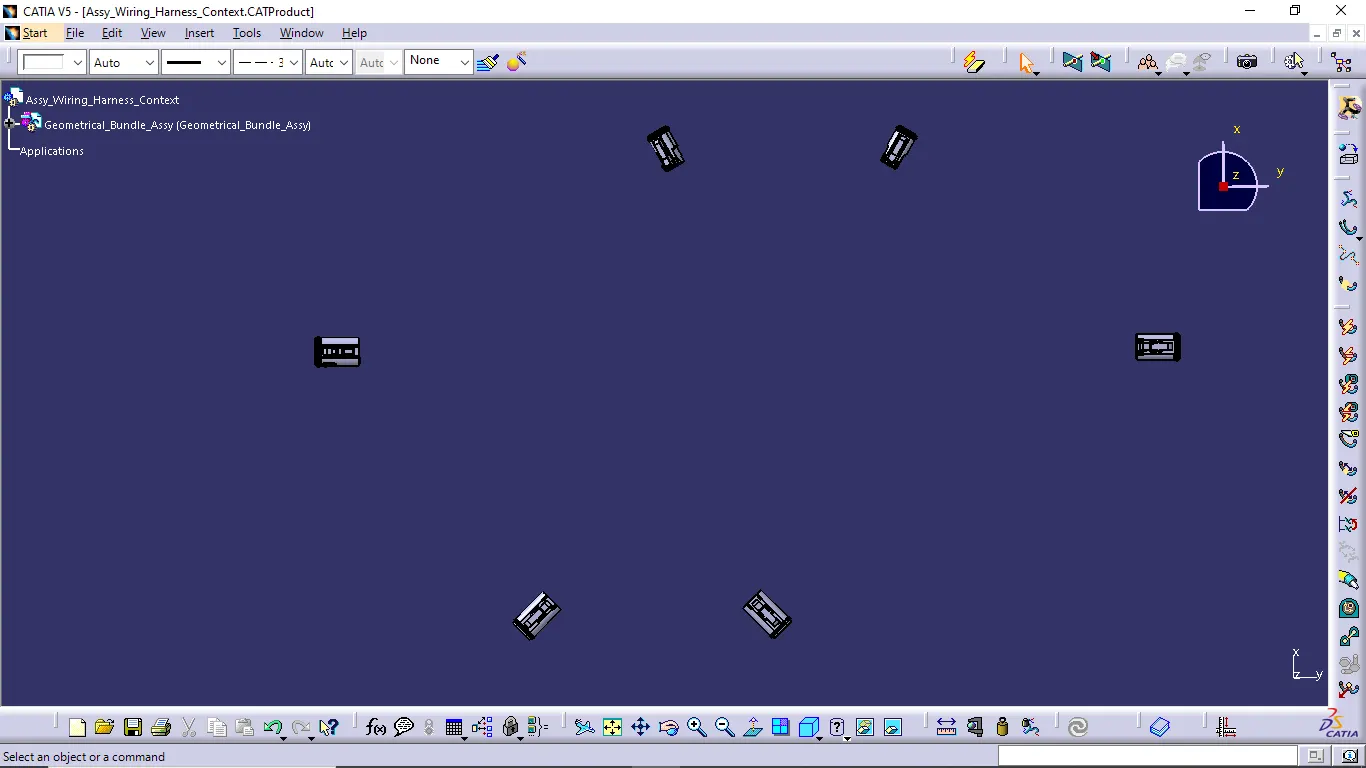
- After positioning the connectors we create the wiring harness with help of electrical harness assembly commands.
- Create the bundle segment to connect all connectors using harnesses.
- First change the normal product file into geometrical bundle assembly using geometrical bundle command.
- Then we use multi branch document command to create the harnesses. Put the required values of diameter and bend radius of the harness and then select branch definition option and select two connector to create the harness.
- Do the same procedure for connecting all connectors using harnesses.
- After finishing harness creation next we give the protective covering for all wiring harnesses. Go to the protective covering command and select the required diameter tubes and fix starting and end extremity point. The protective covering is created for all wiring harness.
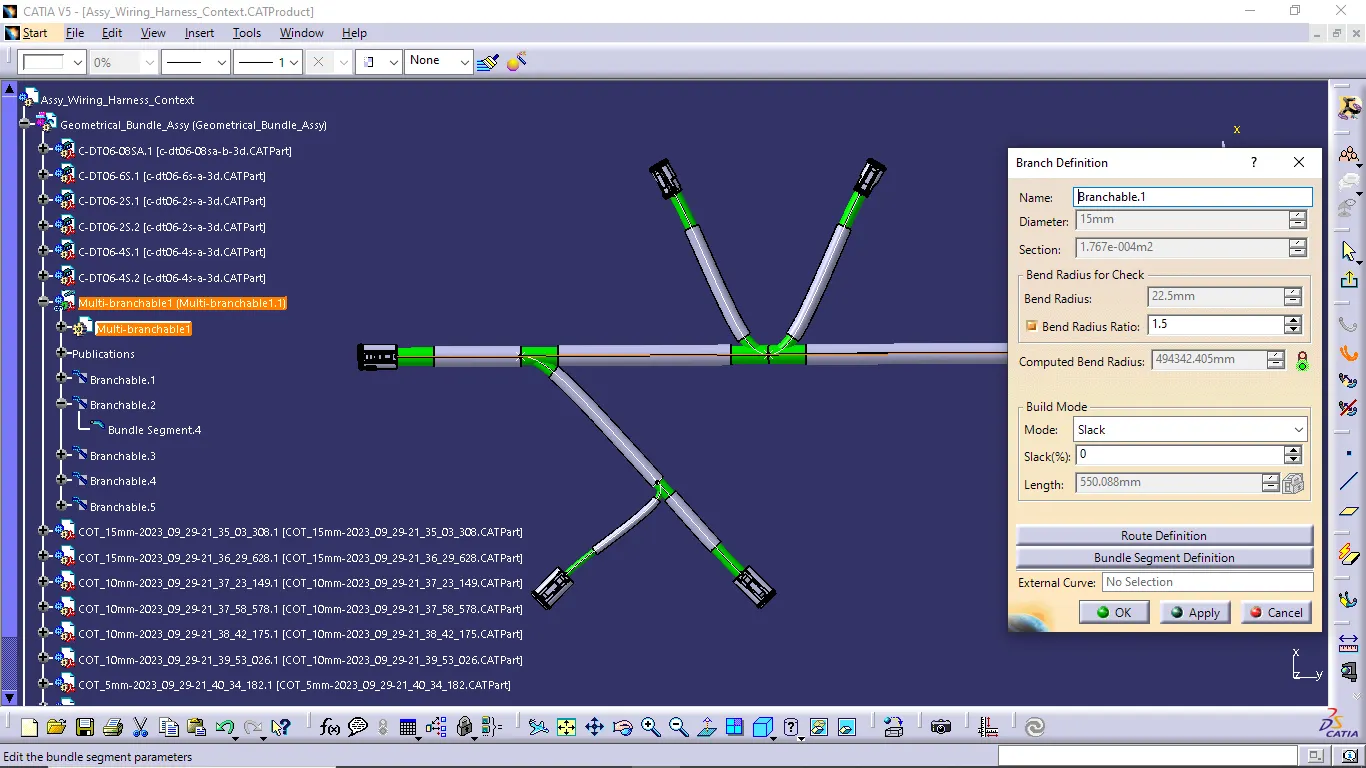
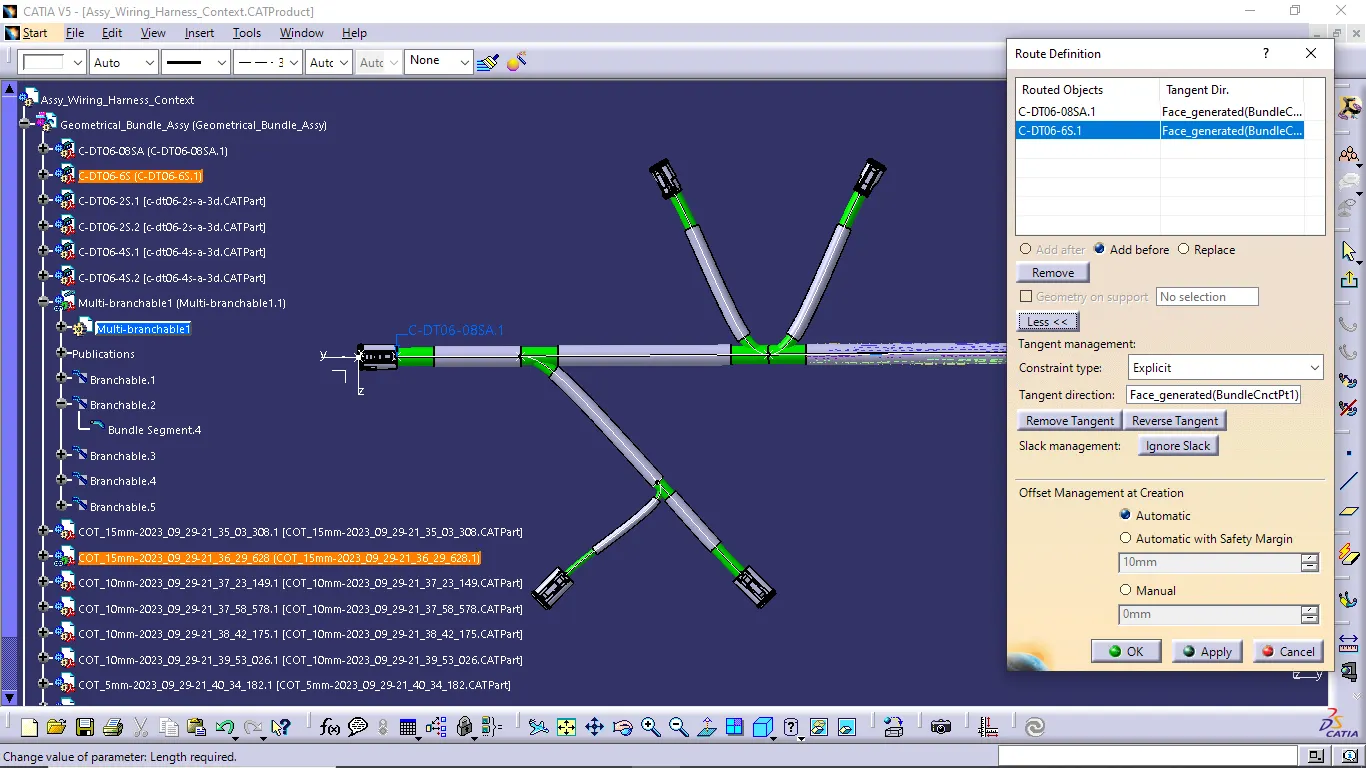
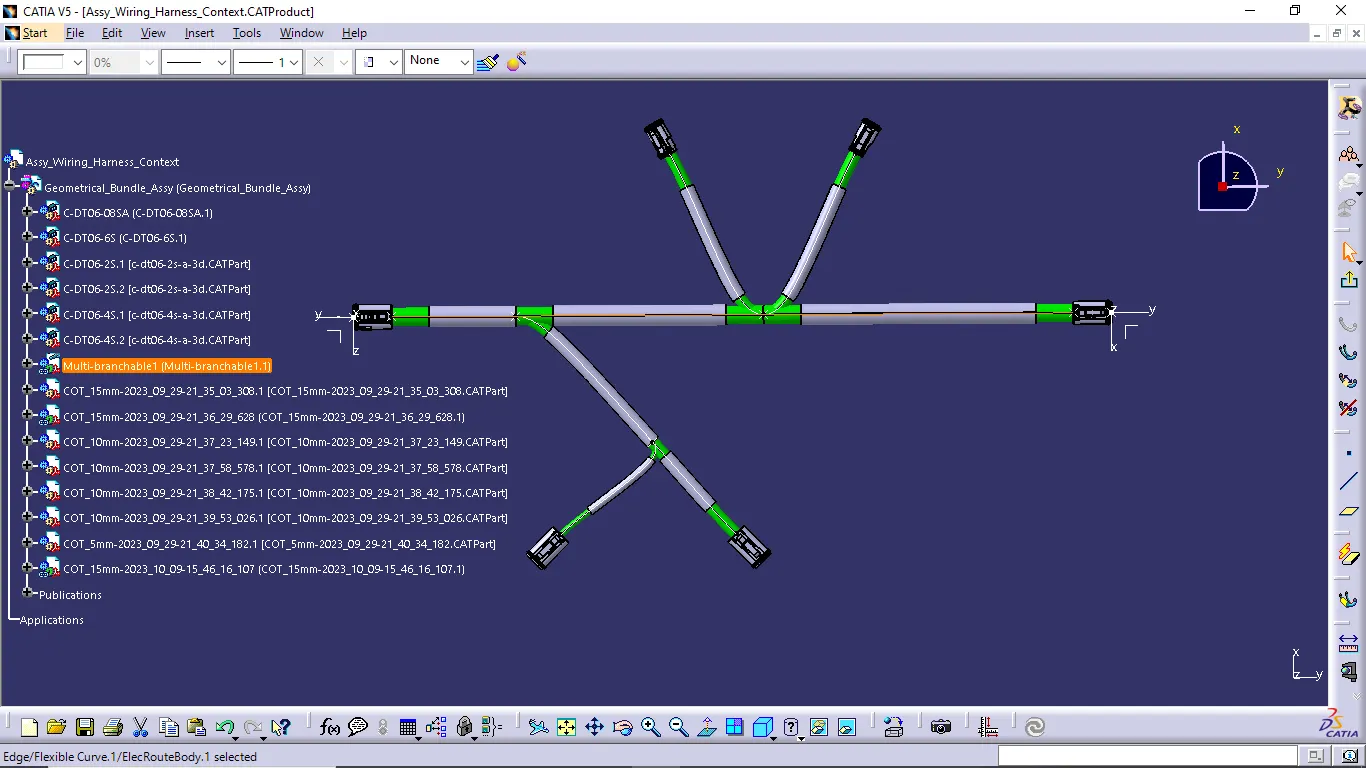
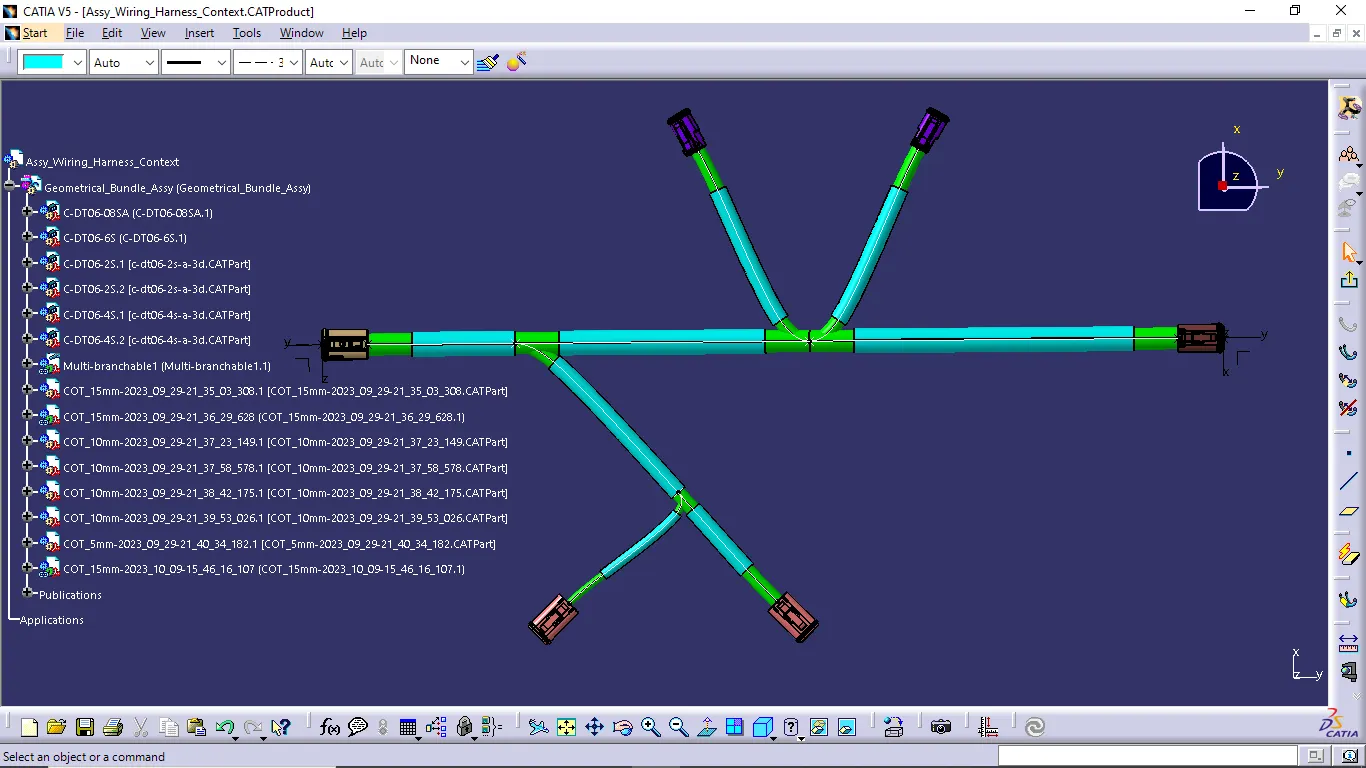
- Finally we completed to creating the wiring harness of given routing. Next we want to do the flattening process.
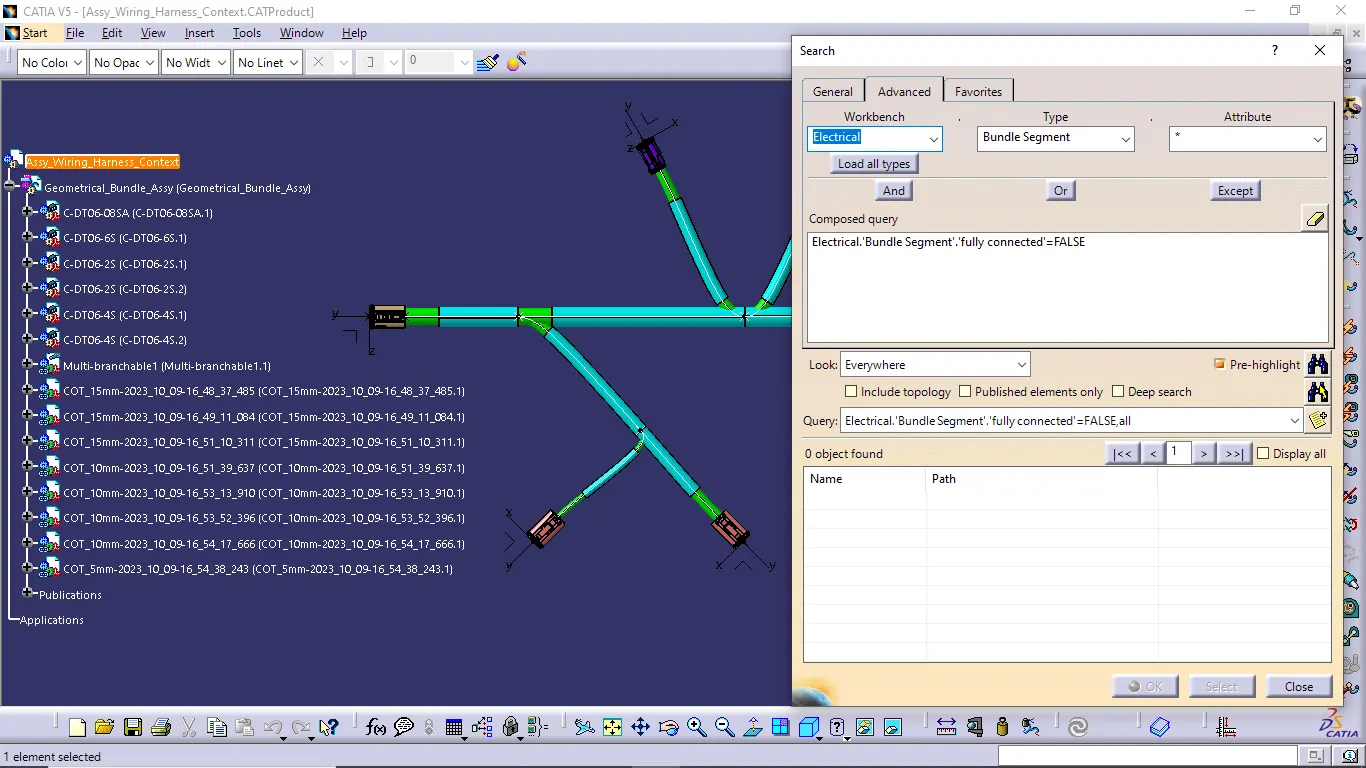
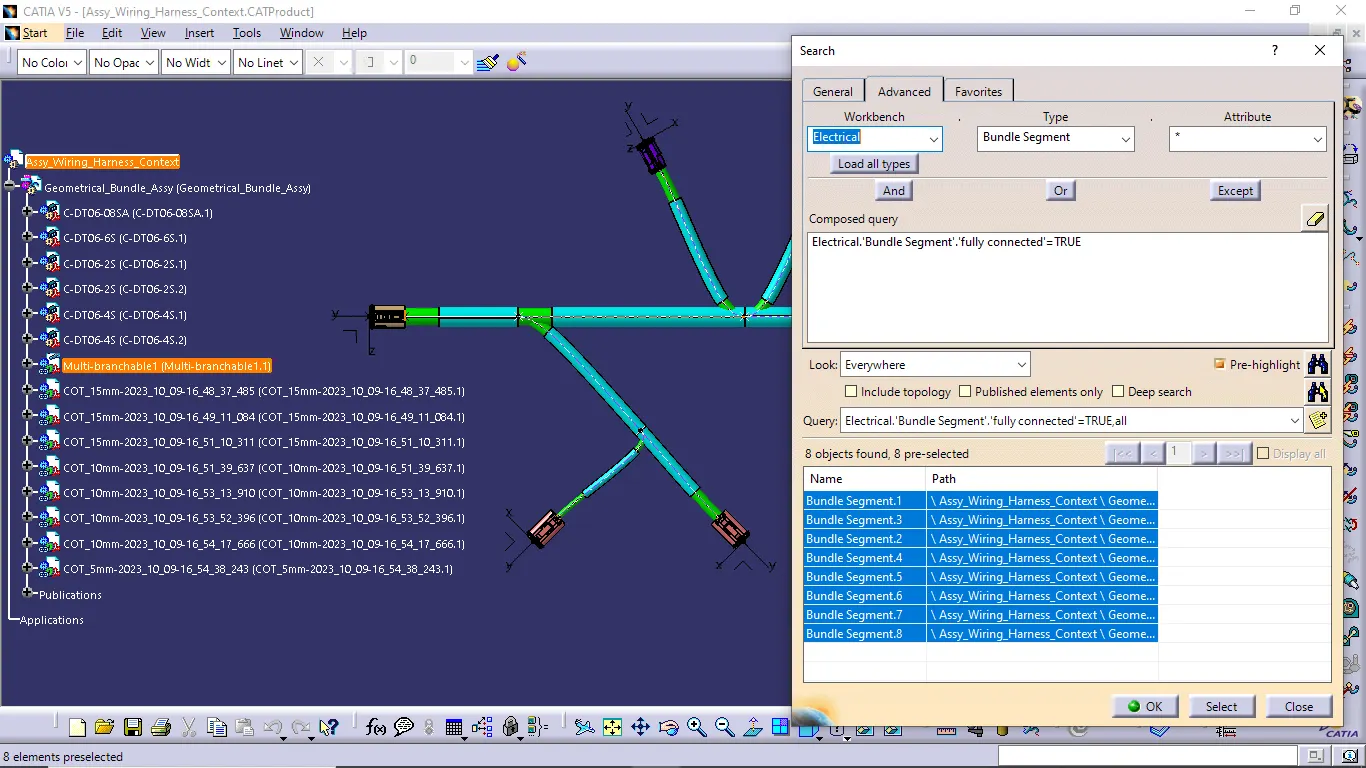
- Before going to the flattening process first we want to check the bundle continuity.
- We go the edit option and select search command then go to advanced option
- Now select workbench as electrical, type as bundle segment and attribute as fully connected. Then select the condition as false first and click search icon to give the result. If any branches is not connected properly then solve the problem then again to the continuity checking process. When all branches are connected properly then go to flattening work bench and do flatten process.
FLATTENING PROCESS:
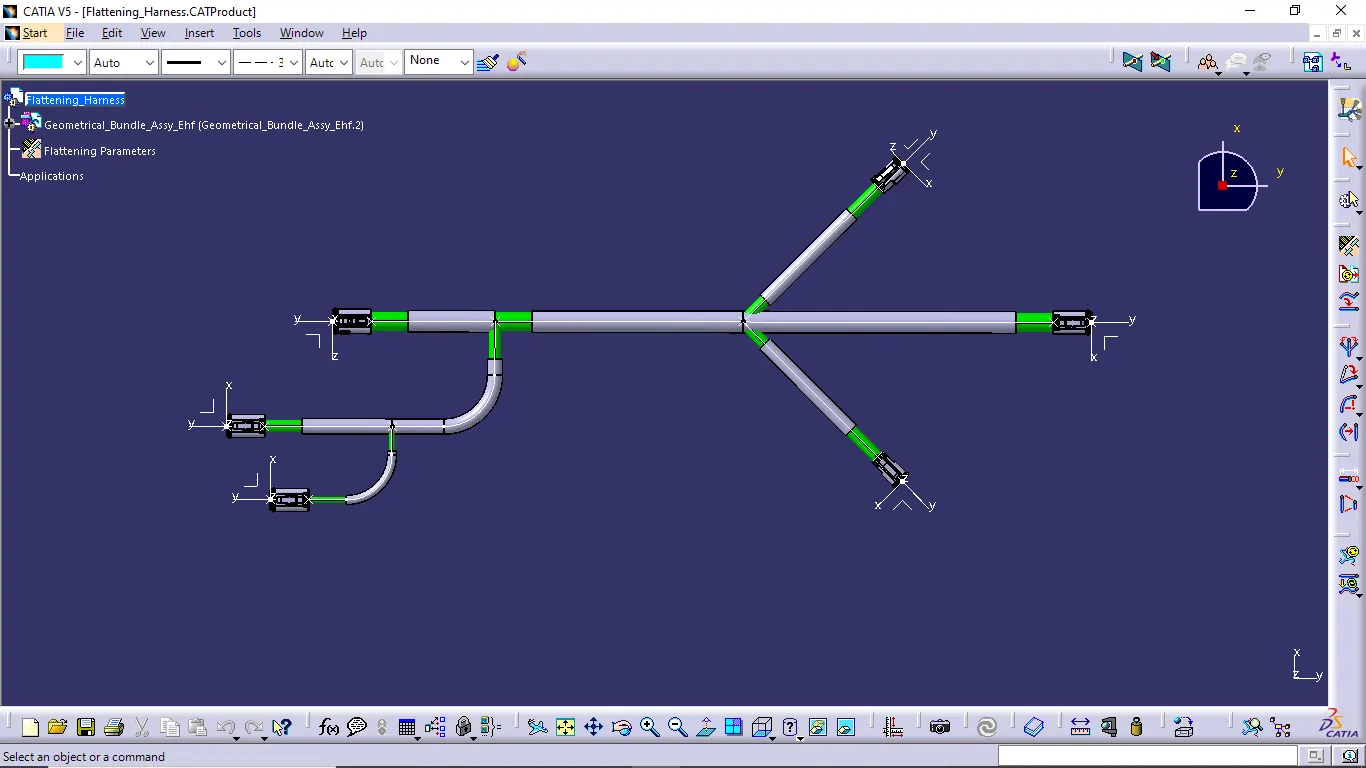
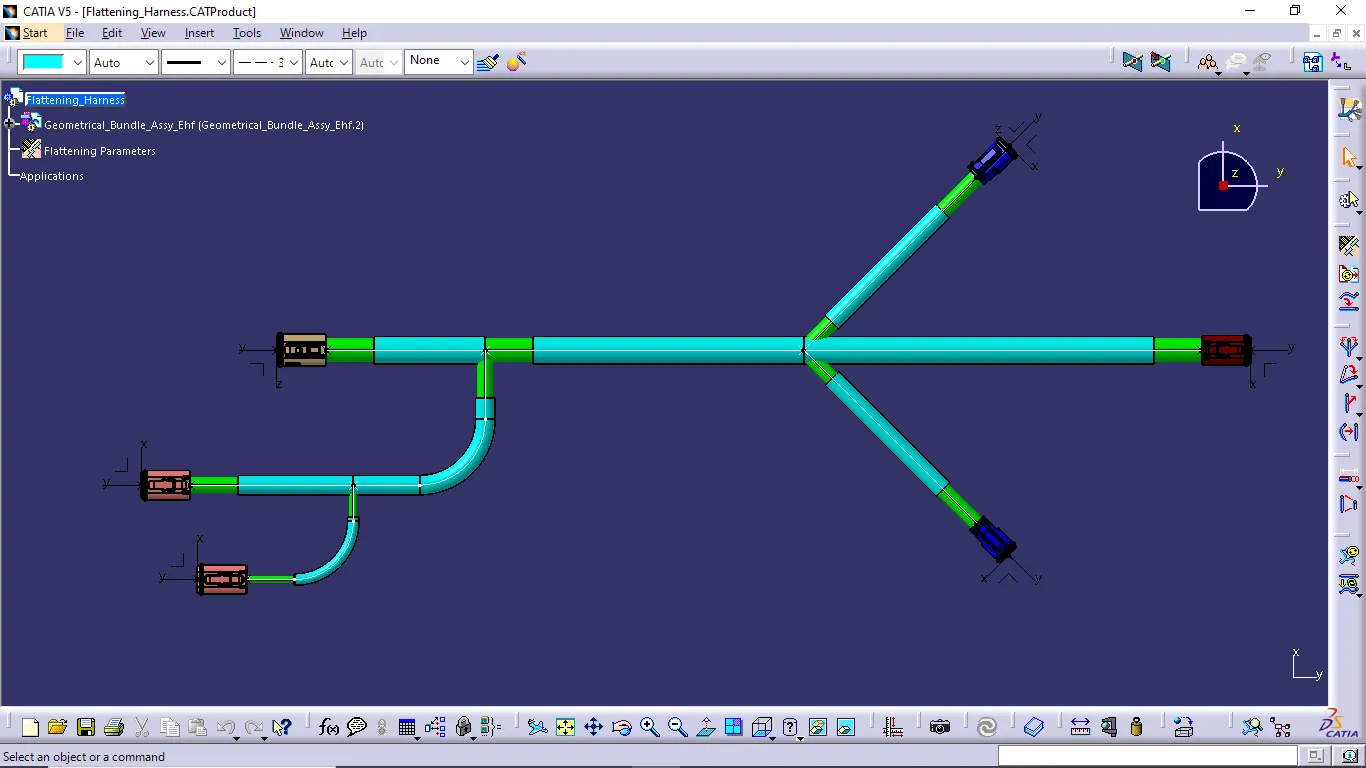
- In flattening process, first we want to create new product file then select the harness flattening parameters command and change the parameters with our convinent data.
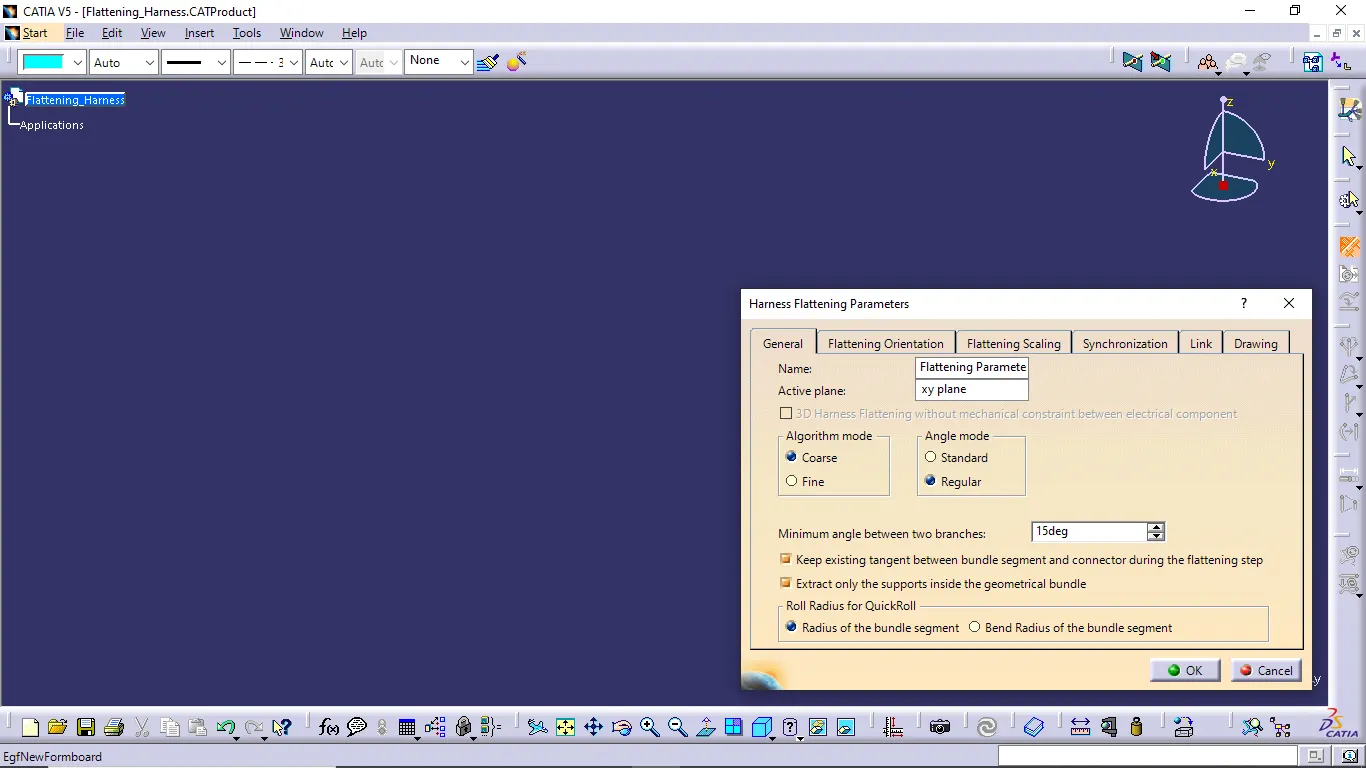
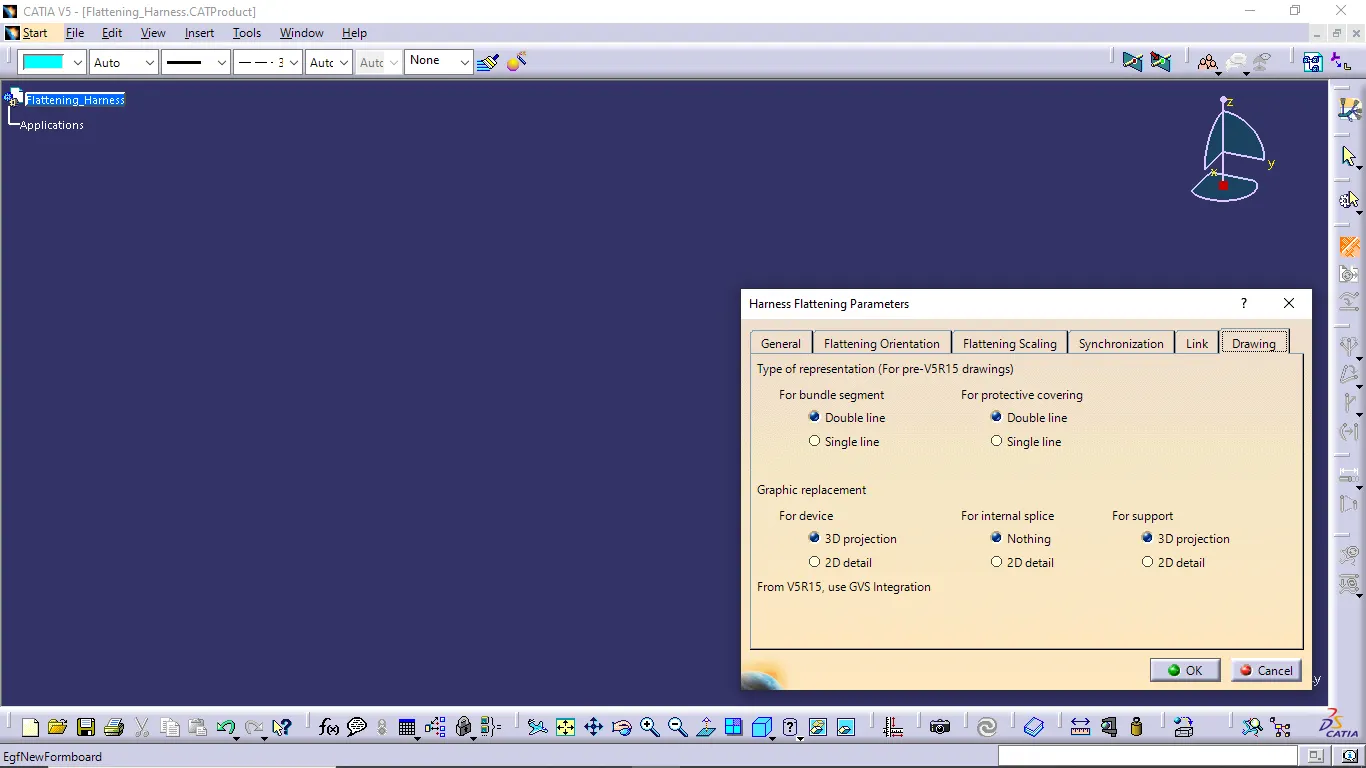
- Now use the extract command then go to the another created wiring harness assembly window and select the plane or component face to adding the assembly to the flattening assembly
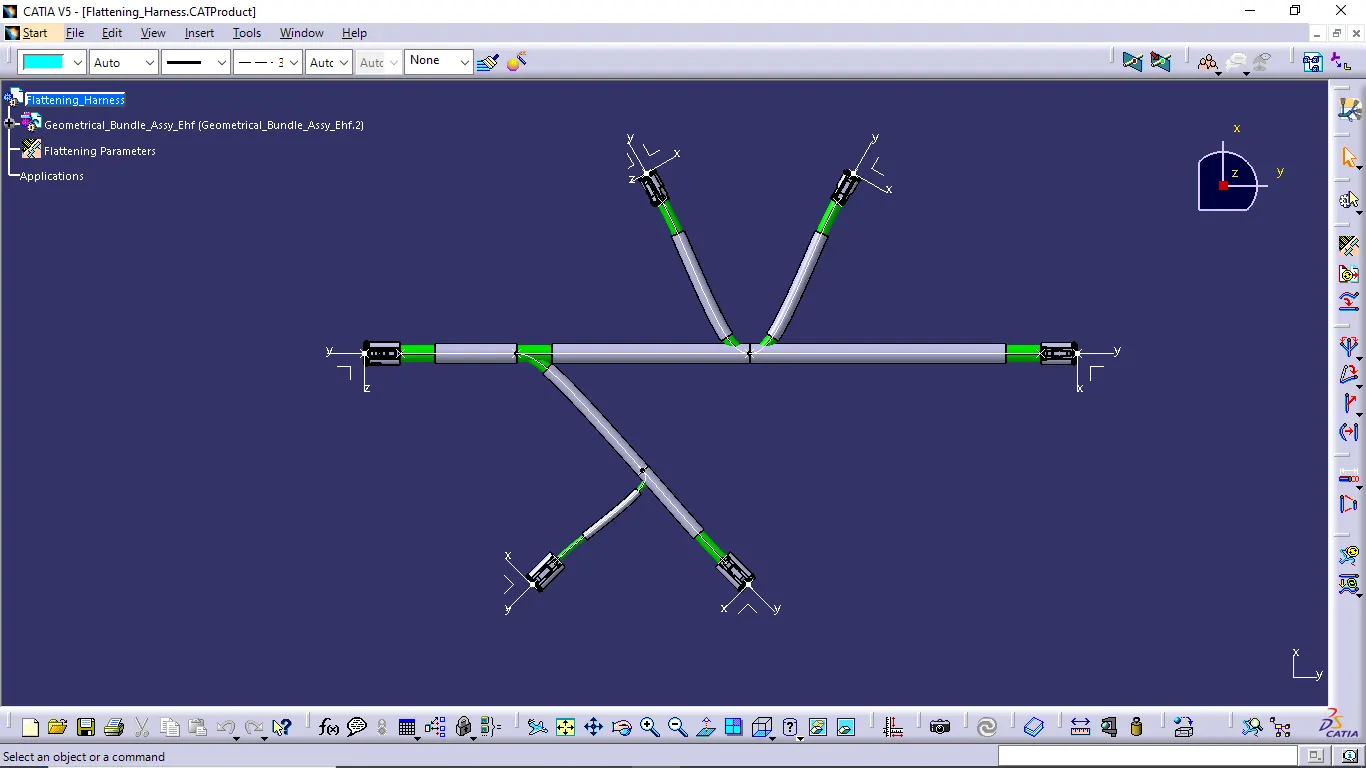
- After extract the required assembly file, use flatten comand to flattening all bundle segment components of the assembly file.
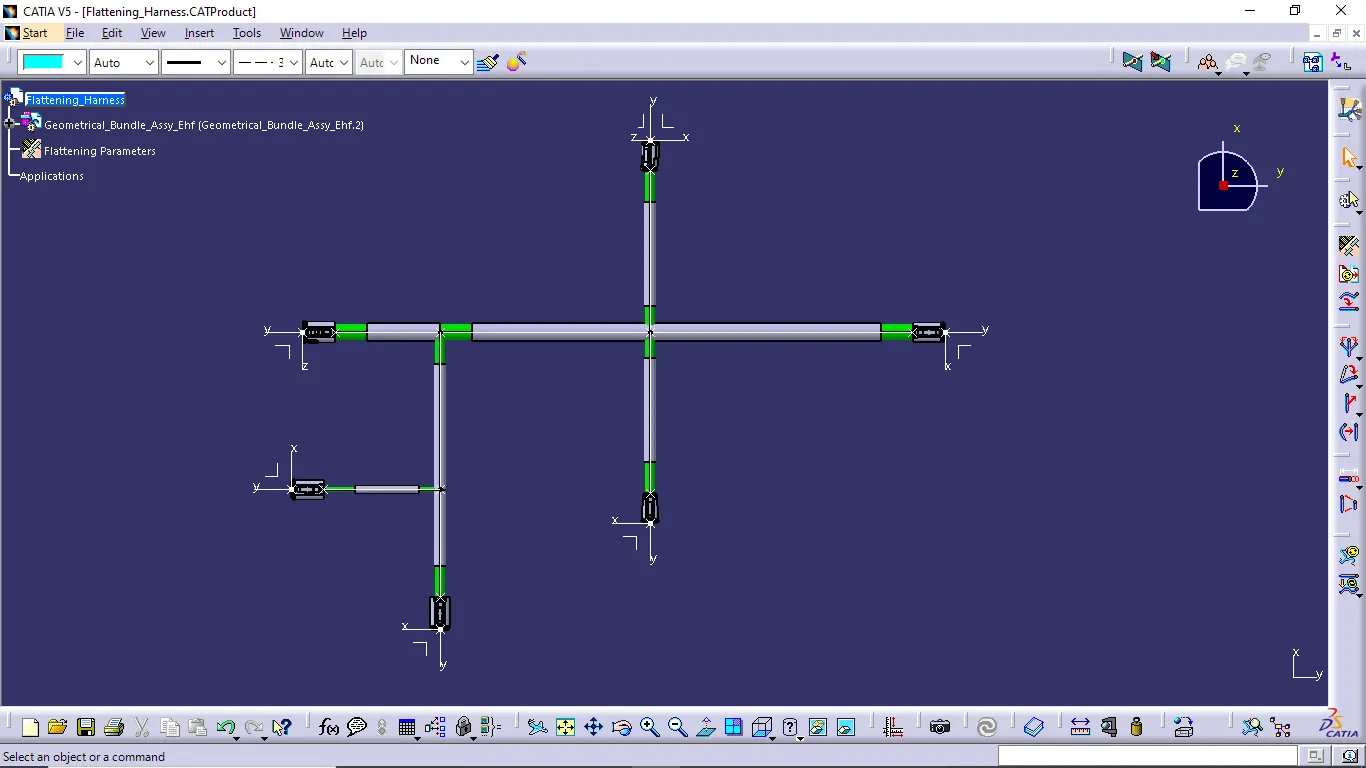
- Use arrange junction, rotate, roll and scale if required to simplify the flattened harness components.
Flatten View on Drawing Sheet:
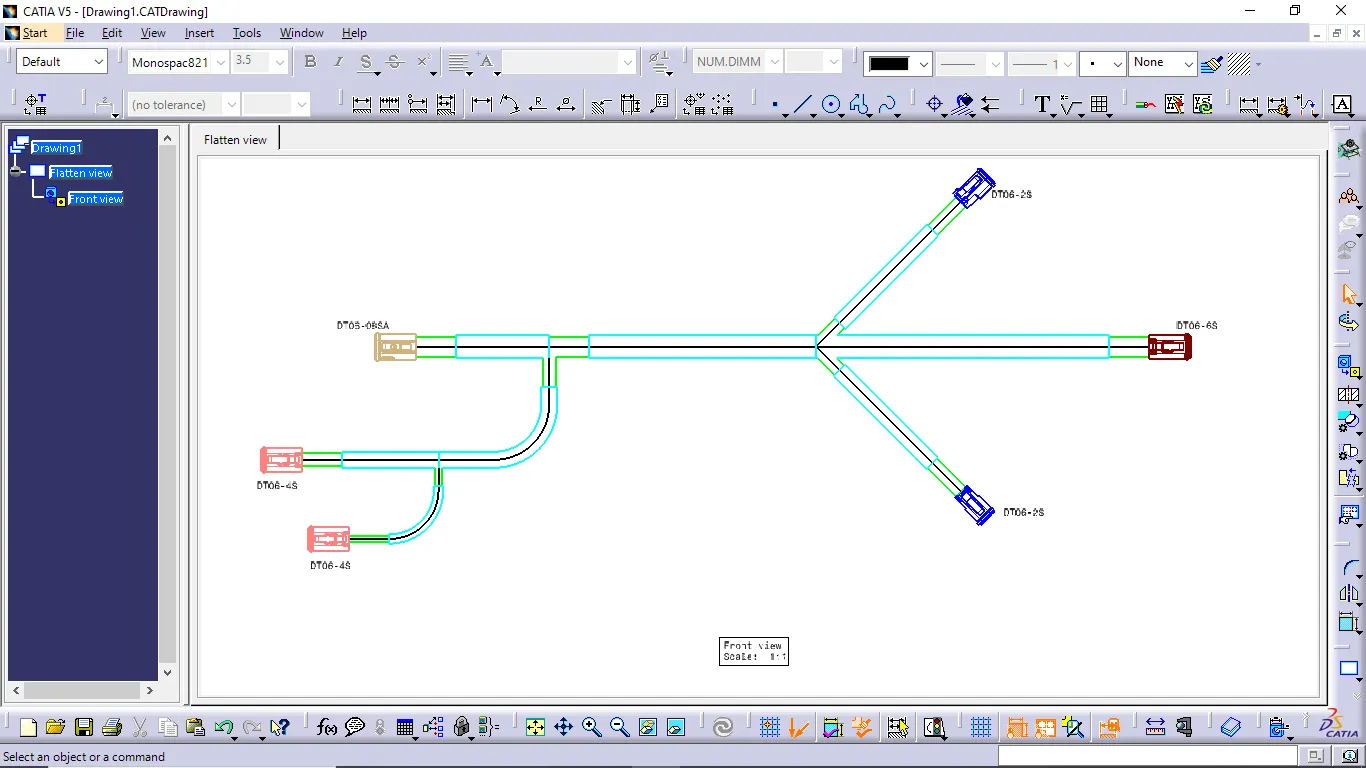
- In first open new drawing file and use front view command then select required flatten harness component view of flatten harness assembly file.
- When flatten view of the harness assembly file is appeared go to the properties and edit the required view option and modify it for the better representation purpose.
- Finally note the connectors name.
CONCLUSION:
I completed to routing the wiring harness and did the flatten process and create drawing on flattening view of the wiring harness.