Wiring harness design in CATIA V5 - 3D modeling Week 7 Challenge
REPORT :
To route the the given electrical harness has given in the above diagram by taking considerations of the above given connectors
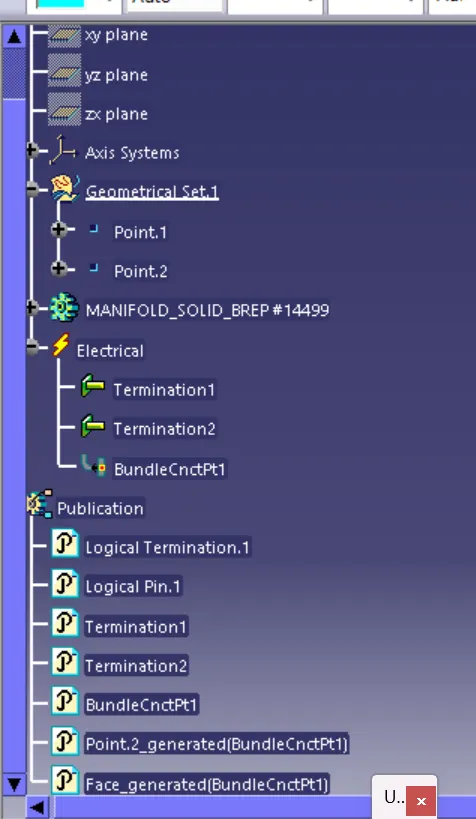
1.Initially take the DTO6-2s connector and define it electrically in the inidividual electrical part design file,To define it electrically give
1.Define the point
2.Define the axis system
3.Define the connector and give terminals
4.Define the point of bundle entry
5.Define the bundle connection point
Then the above connector is ready to move into the product file,has per the given below figure.
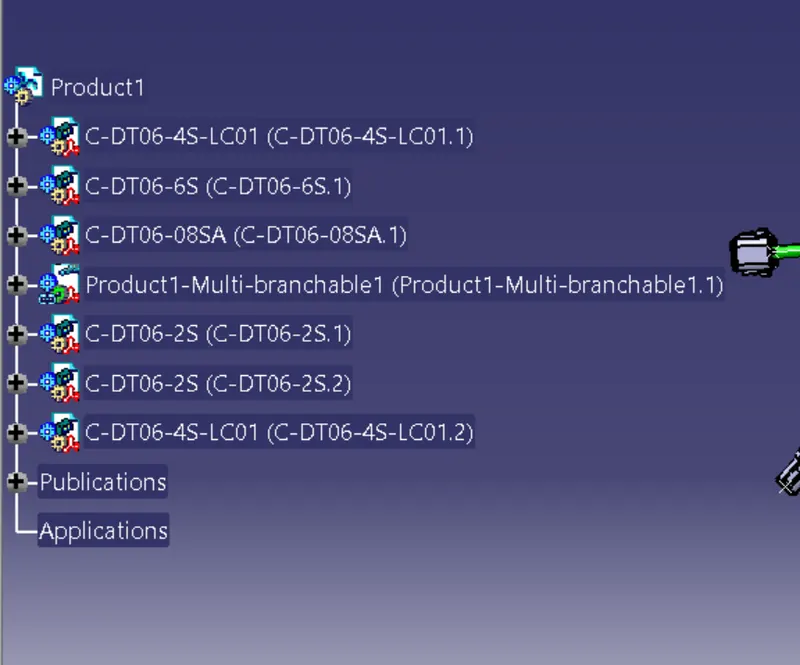
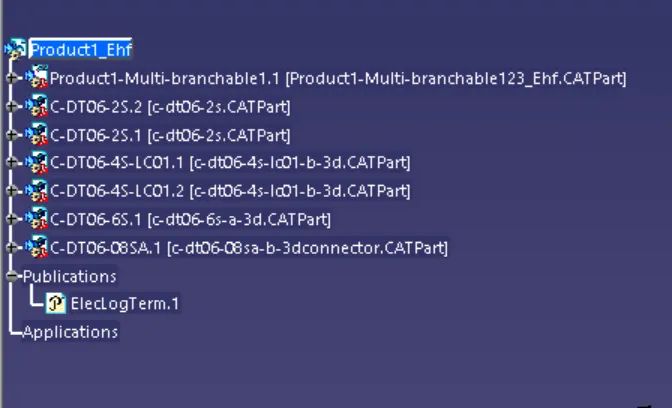
2.In the same way define the DT06-4S,DT06-6S and DT06-8S define them electrically and save the files as catia parts.The below figure depits the product file of the wiring harness.
Note : import DT06-2S and DT06-4S files two times has per the harness diagram.
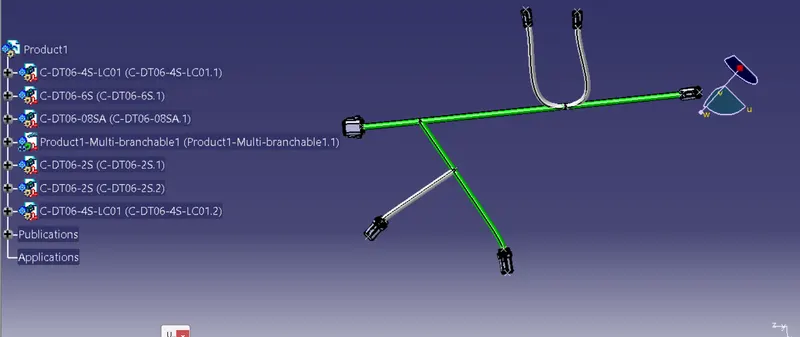
3.Add the bundle points where ever necessary has per the given wiring harness diagram
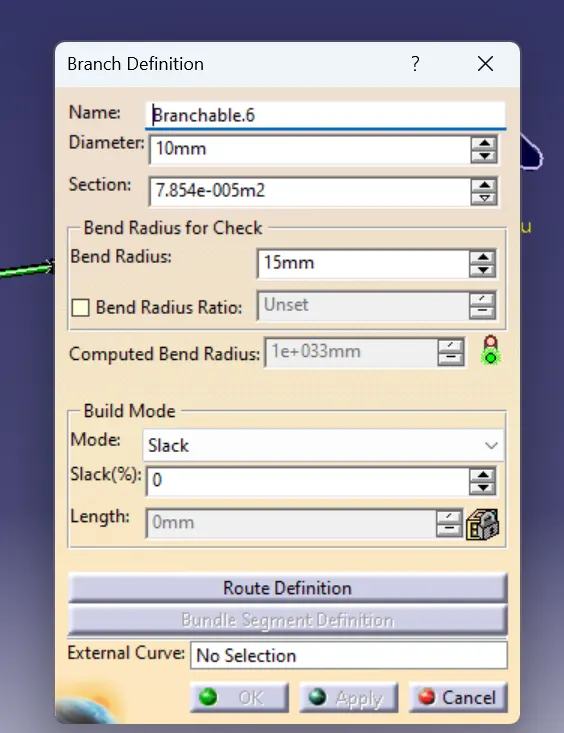
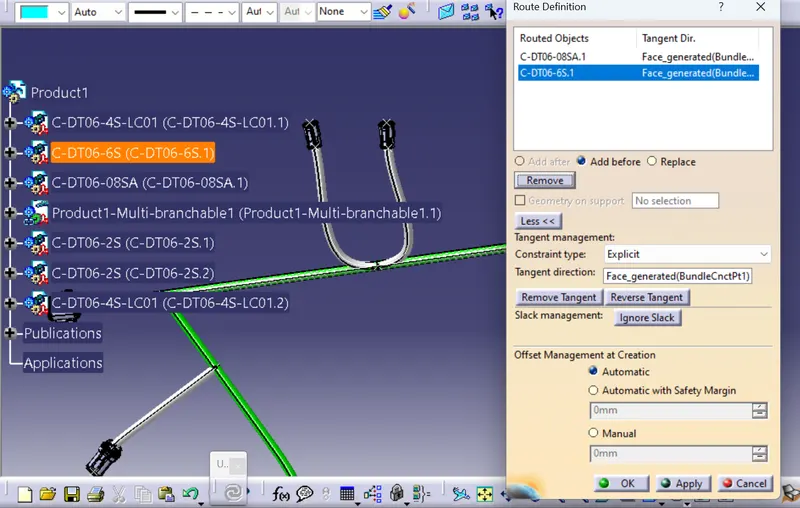
This is the branch defination box
This is the Routing of DT06-8S and DT06-6S with the diameter of 10 mm
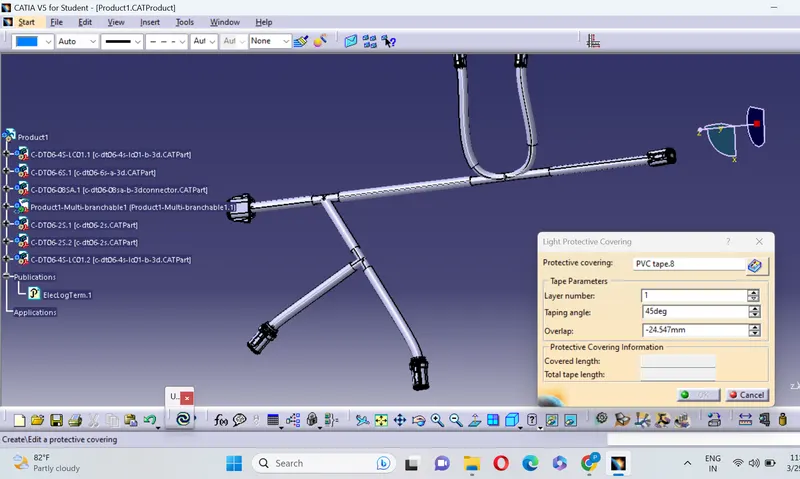
4.In the final stage add the protective coverings by using the light protective covering option.
To add the protective covering the stages are
1.Create the 3d part
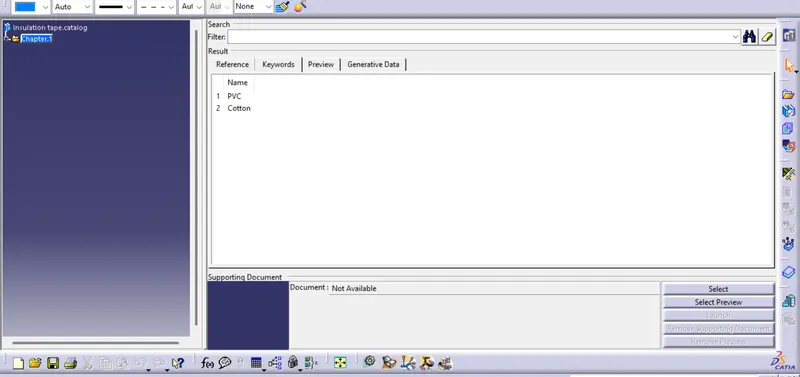
2.Create catalogue for covering
3.Add new part in the catalouge
4.Then apply coverings on harness bundle from catalouge.
Cataloge for the tapings
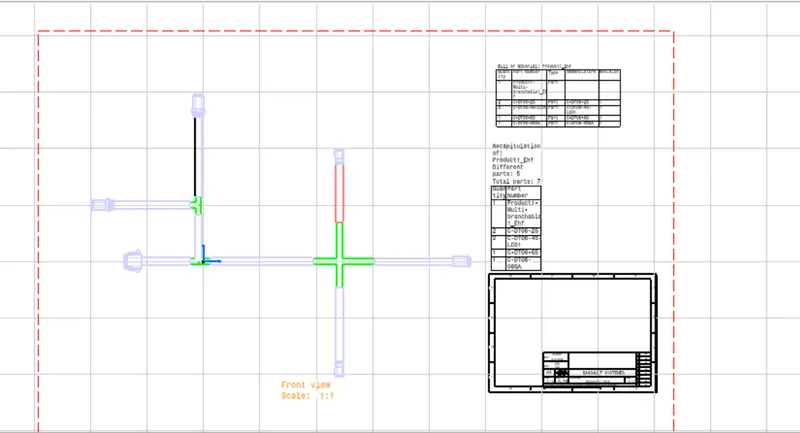
From the week 4 the flattening is done in the flattening workbench,First the flattening parameters are needed to be defined.
First option the new product file to import the week 4 into the new prodict file,now open the flattening workbench,select the file of the week 4 and in the flattening use option extract and finally paste the week 4 product in the new file product this how to import the part to the flatenning workbench.
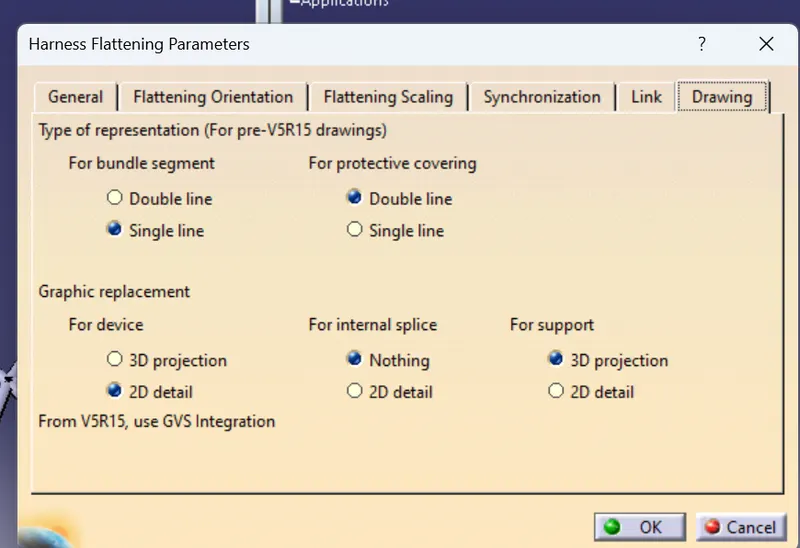
For defining any flattening component the flattening parameters are mandatory.
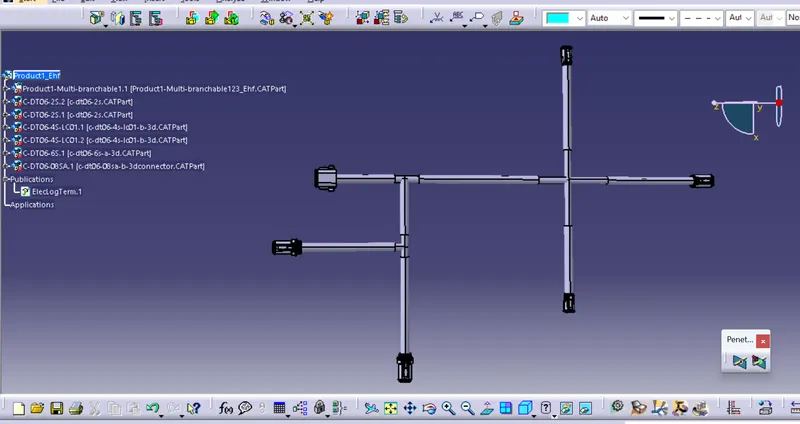
The harness flattening parameters are need to described like this
CONCLUSION :There fore all the given above statements are hence satisfied