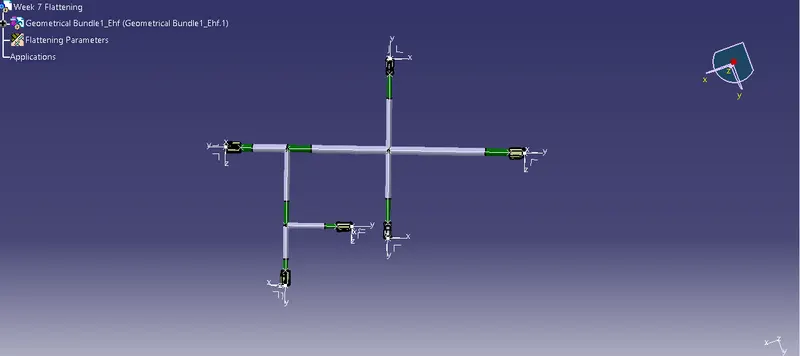
Wiring harness design in CATIA V5 - 3D modeling Week 7 Challenge
Q1. Flatten the harness assembly completed in “ week 4 challenge”. Place the flattened view on drawing sheet. Ensure bundles with protective coverings has different visuals on drawing view.
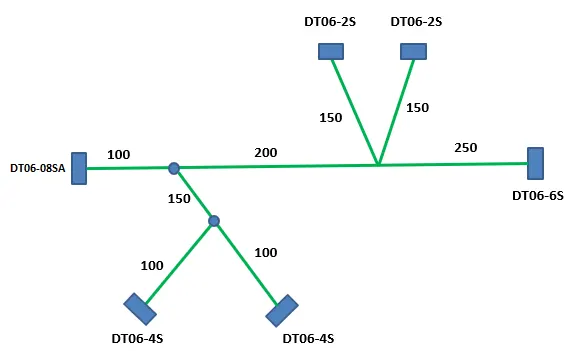
A) From the above given diagram, we need to do the routing process. For that we need to gather all connectors type which we have to use and place them according to our given position.The connectors we used for this; i) DT06-08SA ii)DT06-6S iii) DT06-4S iv) DT06-2S.
i) DT06-08SA: 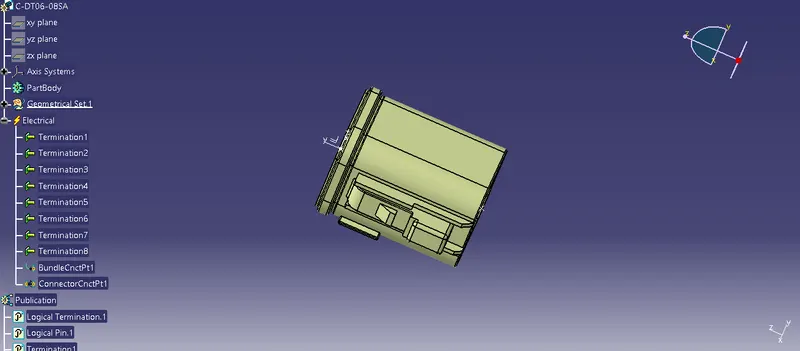
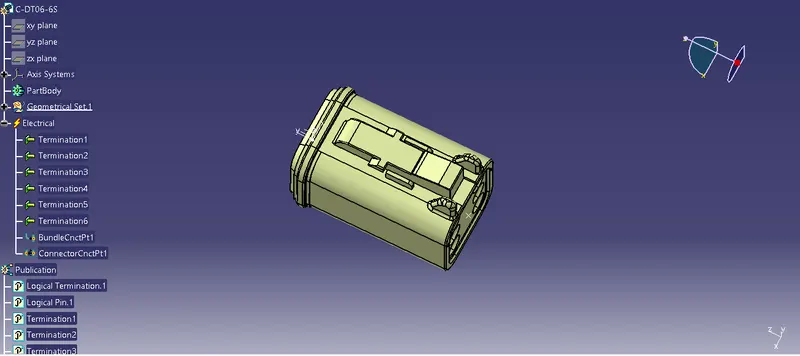
ii) Dt06-6S:
iii) DT06-4s:
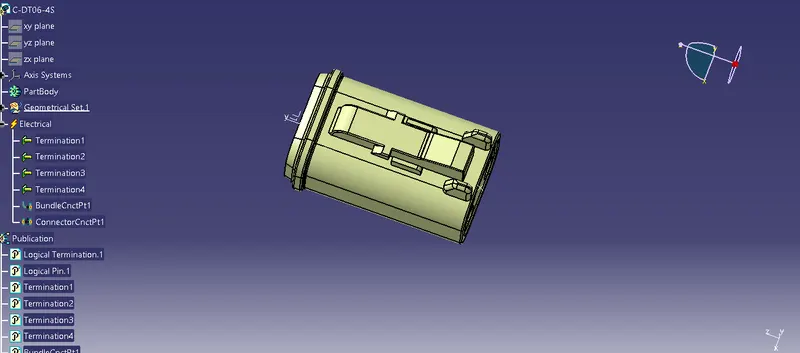
iv) DT06-2S:
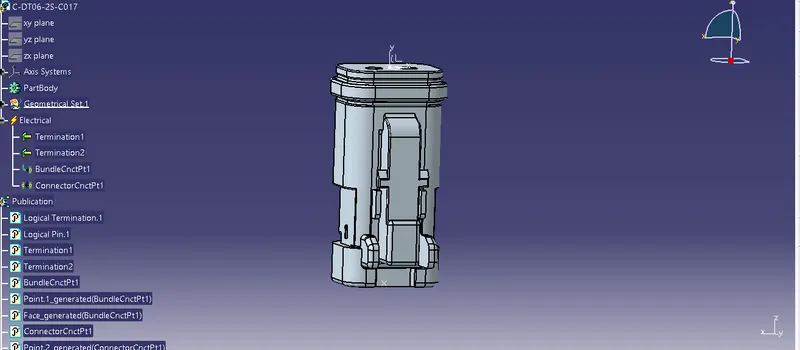
These are the connectors which we had used for this. Before we are assembling this connectors make sure that all connectors are electrically defined. Now we need to make assembly part as per given diagram in the 'Electrical Harness Assembly' workbench as shown in below figure;
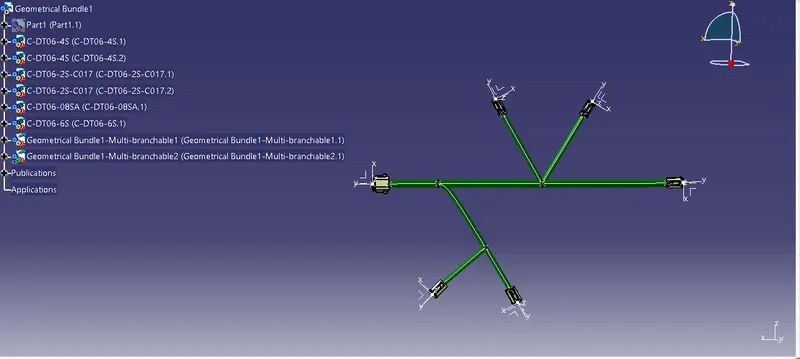
These are arranged according to given distances. After doing this we need to do this a flattening. Flattening means conversion from 3d view to 2d view for observing the wires connection. Flattening will be done in the 'Electrical Flattening workbench' and the above is flattened and shown below;
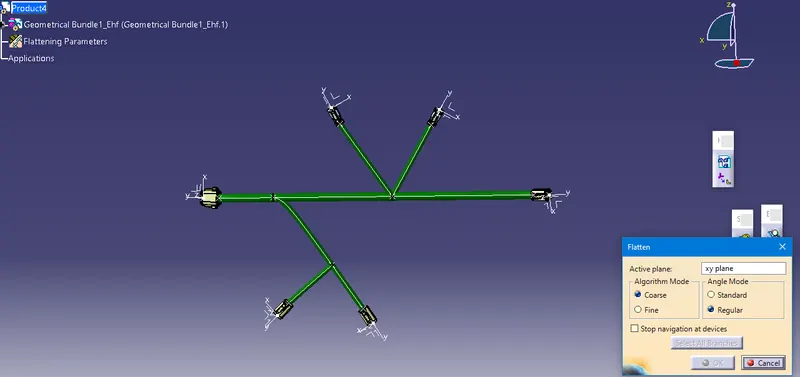
First we need to creat a product file and named it as a flattening and extract the 3d assembly product into the flattening workbench by using extract block. And after there is a option called 'Flatten' as shown above. When we click on that we get a folder like that and select all planes and click OK. Then this will convert into flattend one like shown below;
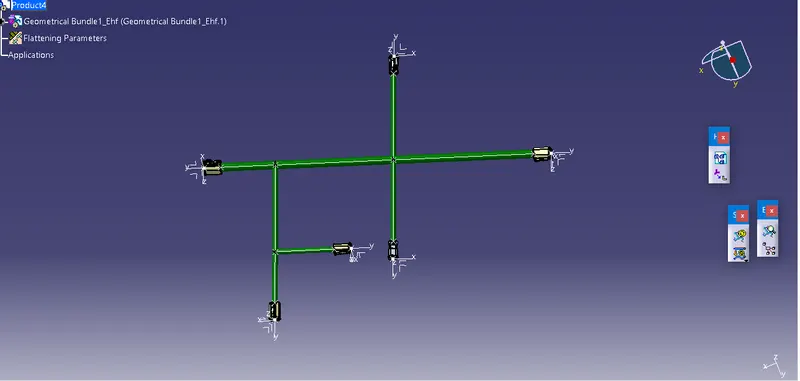
The above show figure shows the flattend surface. After Doing this we need to give protection covering by using 'Add protection' block and each section we need to add protection covering and shown below;