Wiring harness design in CATIA V5 - 3D modeling Week 7 Challenge
AIM:
To create a flattened view of the prepared Electrical harness assembly in catia v5.
OBJECTIVE:
1.Flatten the harness assembly prepared previously in the week 4 challenge.
2.Place the flattened view on the drawing sheet.
3.To add the protection covering and ensure that it is different colour in the drawing.
PROCEDURE:
1.Assemble the model that we already created in the previous challenge.
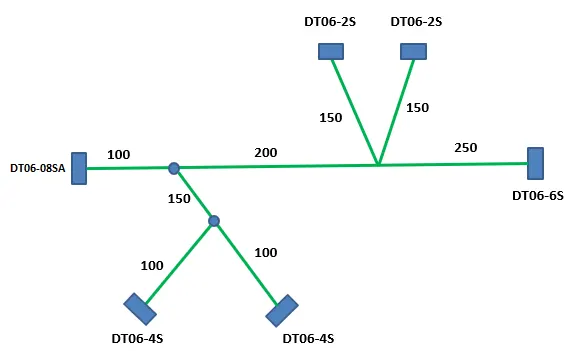
2.Now open to the new product file and select Electrical Harness Flattening workbench.
3.Rename the product file name as your wish as shown below.
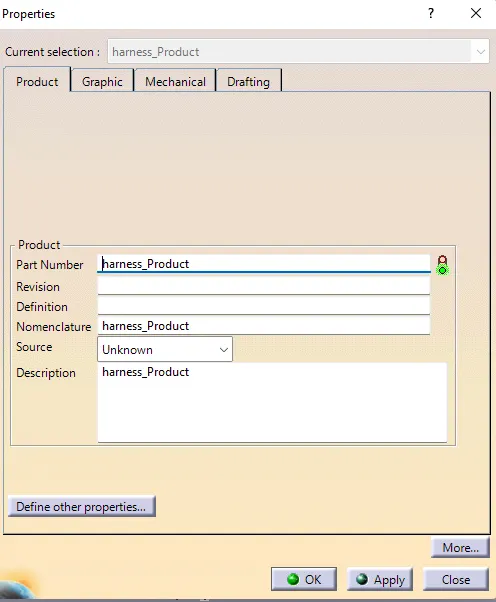
4.Then give it a flatten parameters.
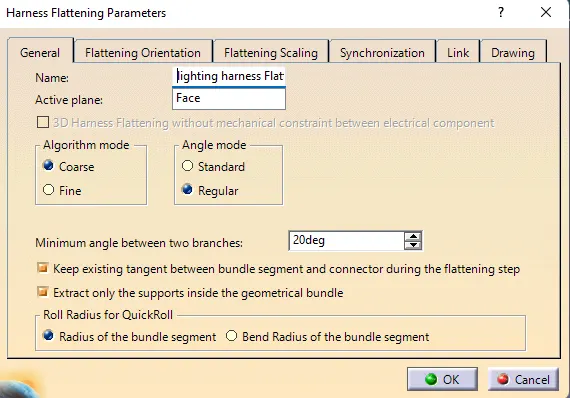
5.Bring the harness to the assembly in the flattening product file using the extract command option.
6.After assembly is extracted the file type is changed to the EHF which stands for ELECTRICAL HARNESS FLATTENING.
7.Now we have to flatten the assembly select the flatten option.
8.Then select all the electrical bundles which have to flattened and one can also select one main bundle branch.Then, click the select all branches in the flatten window.
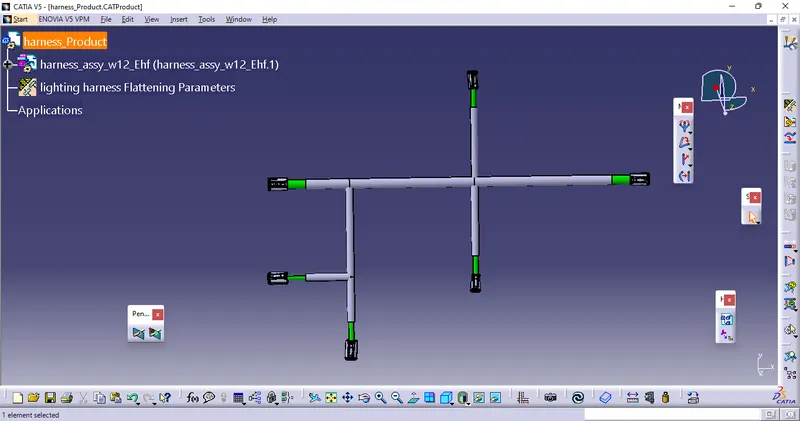
9.Open a drawing file and set the following parameters for the sheet.
10.Save the file as the HARNESS ASSEMBLY FLATTENING.
11.Click on the front view for the better and move on to the connectors to select the FACE that will appear on the drawing sheet.
12.Adjust the drawing view on the sheet, using the compass on the top right end of the screen.
13.And enable the 3D WIRE FRAME option for the better viewing experience.
14.Once again, go back to the harness flattening assembly page to enable the protection covering are in the in the double line.
15.Then, bundle segment are in the single line for the understanding view point.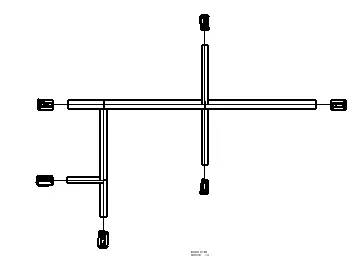
16.And go to the view option, then select the drawing view option for drawing sheet will appear as per the A3 sheet model.
17.For adding the frame and tittle block option to create the frame and title for the drawing.
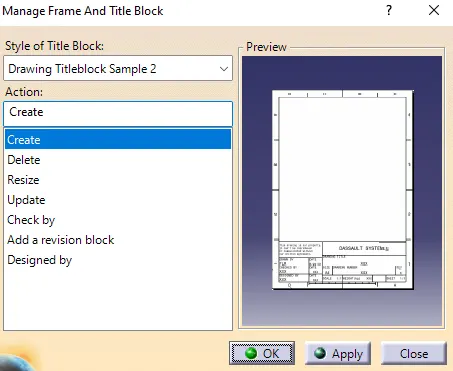
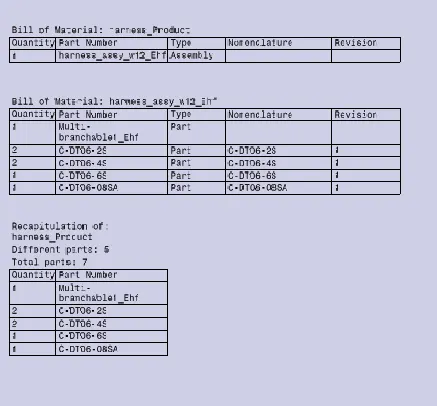
18.We must create a bill of materials for the assembly flattening ddrawing.so, click the INSERT option and go the drawings and then to the Bill Of Materials(BOM).
19.As every design as their own products that are full detailed on to the bill of materials sections that always should be visiable in the right side of the design bottom.
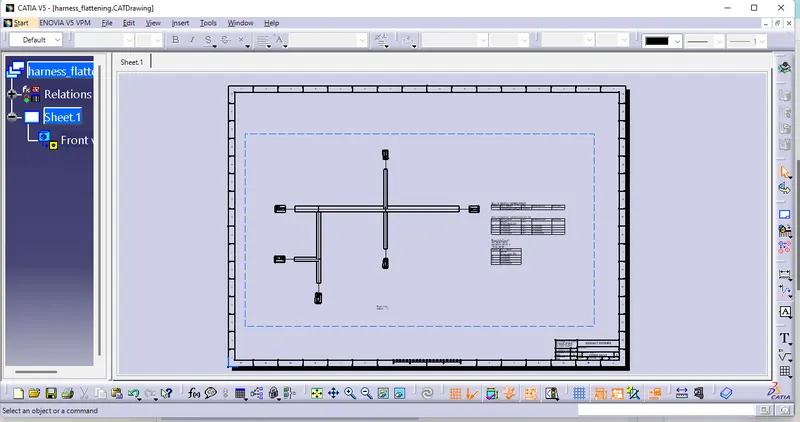
20.finally we finished our Assembly harness completely regarding to above all the commands and the design as be established below:
CONCLUSION:
The flattened view and the the flattened drawing of the Electrical Harness Assembly are created. The bundle segment and the protective coverings are figured in different visuals.