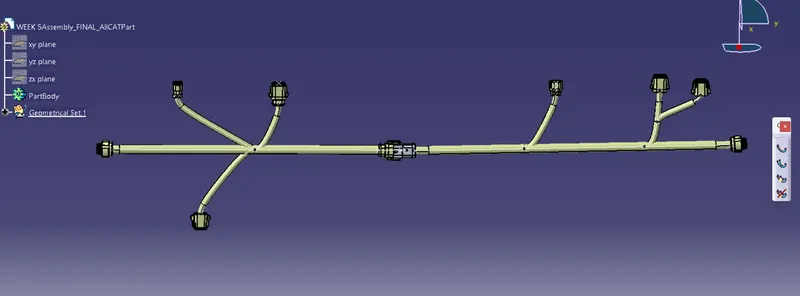
Wiring harness design in CATIA V5 - 3D modeling Week 5 & 6 Challenge
Q1. Route the following harness layout in Electrical workbench. Make assumption for harness bundle diameters. Use the connectors provided. After completion of routing,
- Check the bundle Continuity. Add snap of result in submission
- Add annotation to all connectors. Make an assumptions for annotations like connect 1 , 2 etc
- Check for the bundle warning. Add snap.
- Generate CAT.part of harness assembly and convert is in. igs format.
ANS
STEPS INVOLVED IN WIRING HARNESS ROUTING
- Download the IGS file of the given connectors and open it in Catia V5
- Define the connector as an electrical part and define the bundle point, and connector connection point of all the connector
- Add the connectors in to the connector catalogue
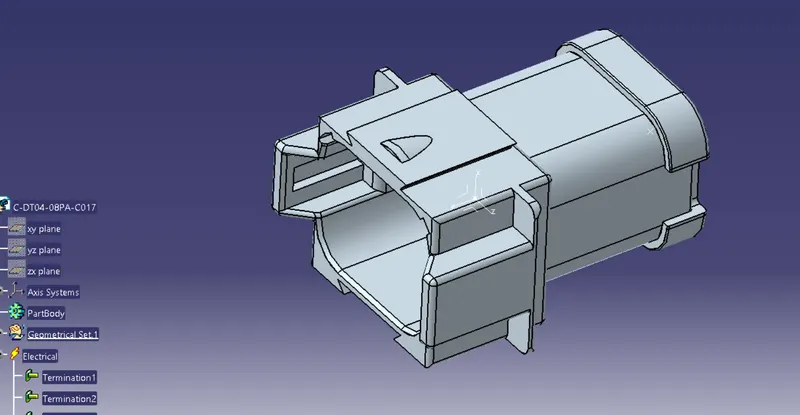
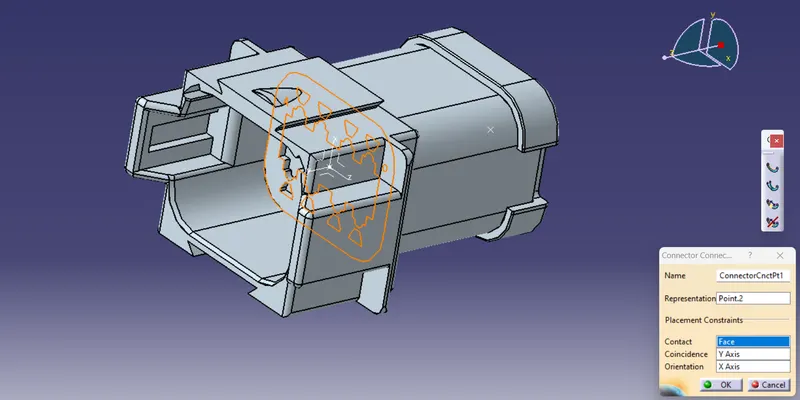
- After defining all 9 connectors electrically , create 2 product file name it as harness A and Harness B
- Import the required connectors to the respected product file according to the harness layout provided
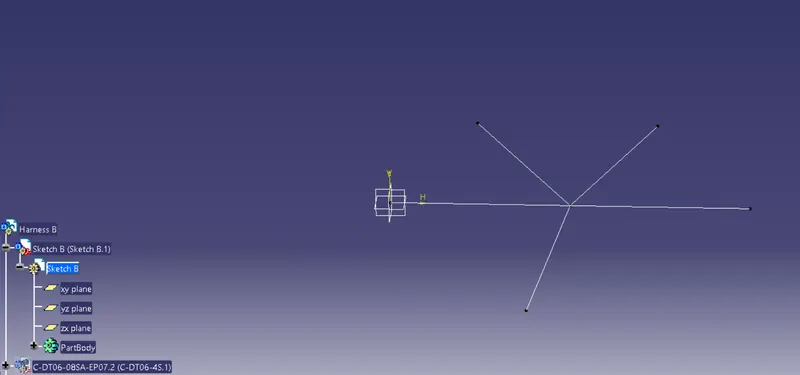
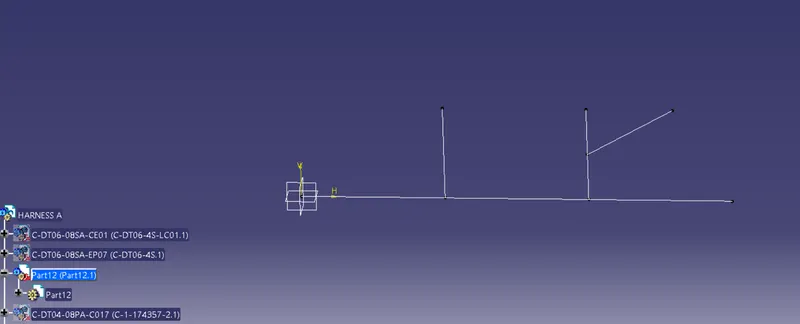
- Draw a sketch according to the layout and position the connnectors lik below figure
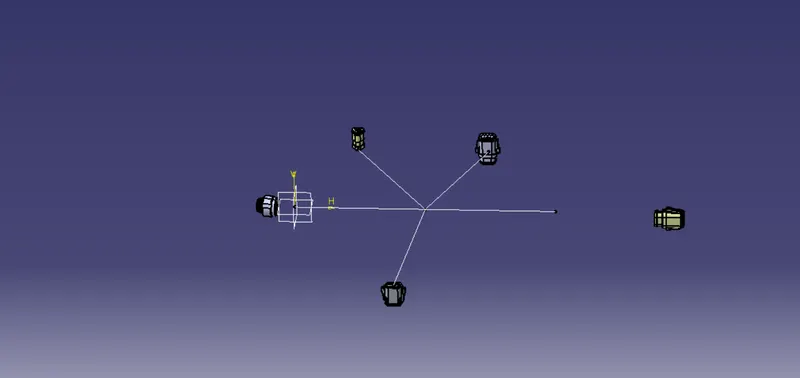
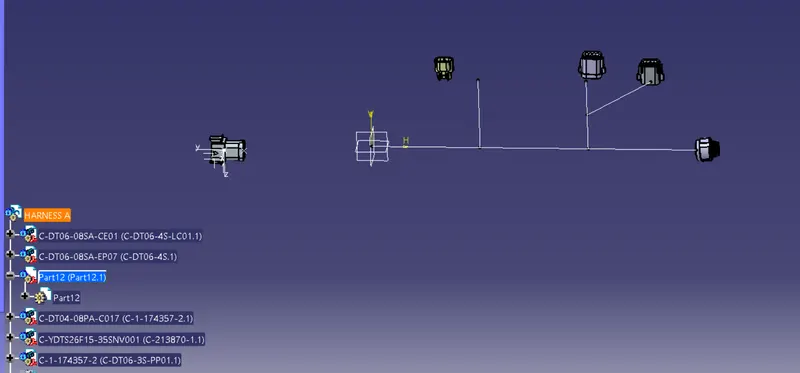
Now lets route this
- switch to electrical harness assembly
- Click on multi branchable document input the diameter, bend radius ratio, and click on route definition
- select the routing objects ( the 2 extreme connectors) .
- Click on add branch point tool to add branch choose length parameter and input the length
- repeat the process for making new new branch
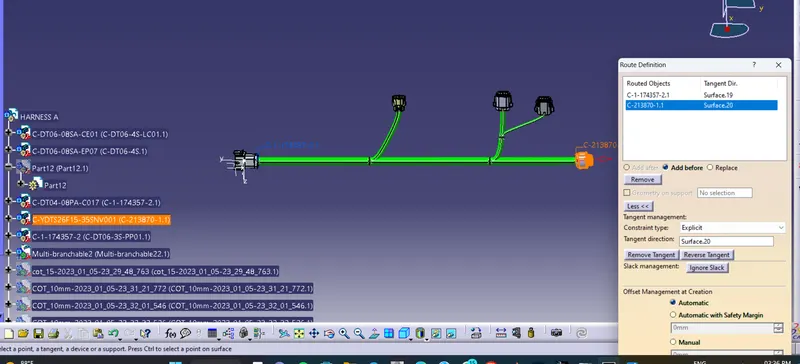
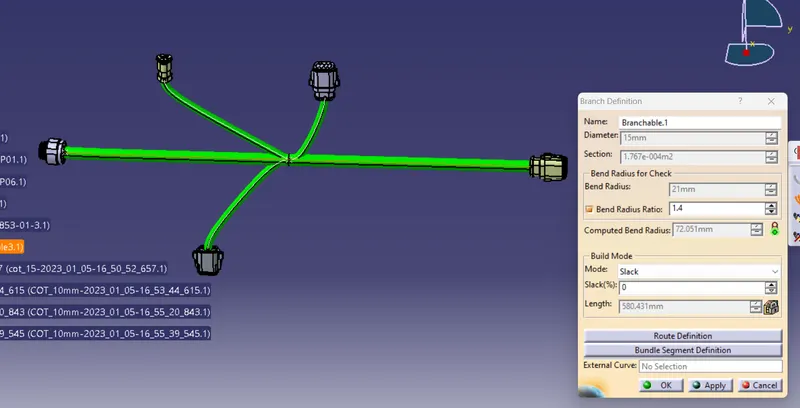
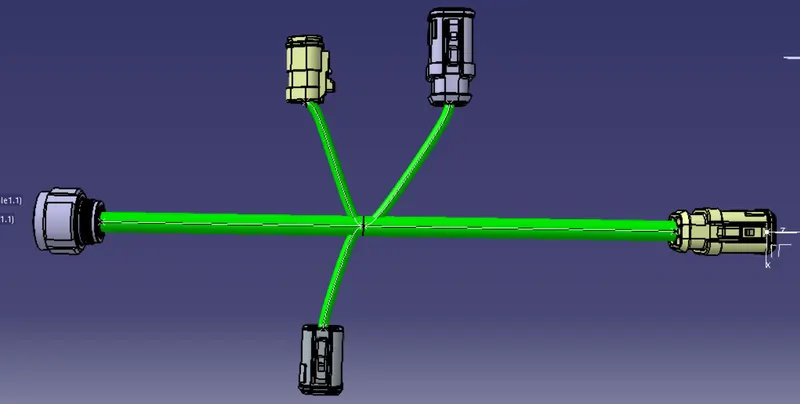
It is the time to check the bundle continuity
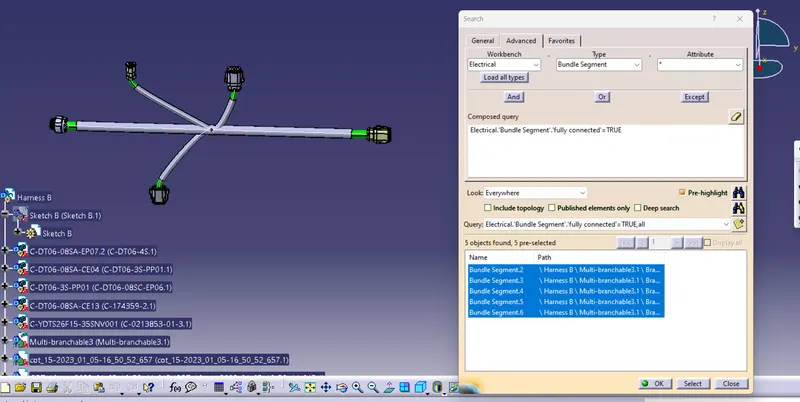
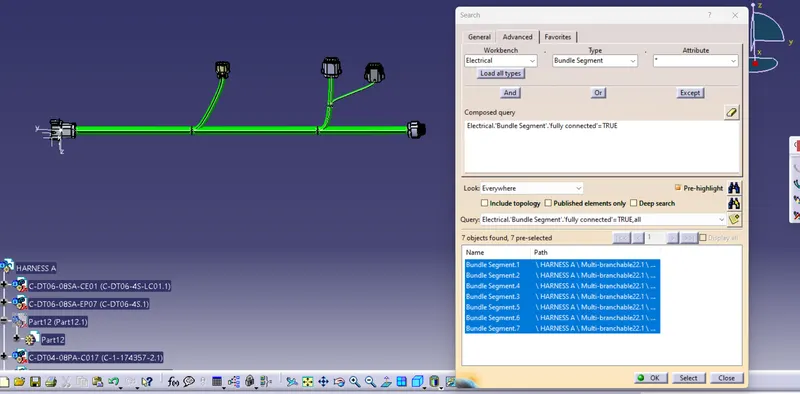
So it is confirmed that the bundle is fully connected ,no issues
It is the time to assemble HARNESS A & HARNESS B
- Create a context file and name it
- Insert harness A & B
- Position it like the layout using SNAP command (same line ,matingconnectors facing opposite to each other)
- Switch to ELECTRIC ASSEMBLY DESIGN
- Use 'Connect electric device' command and click on the mating points of the 2 connectors
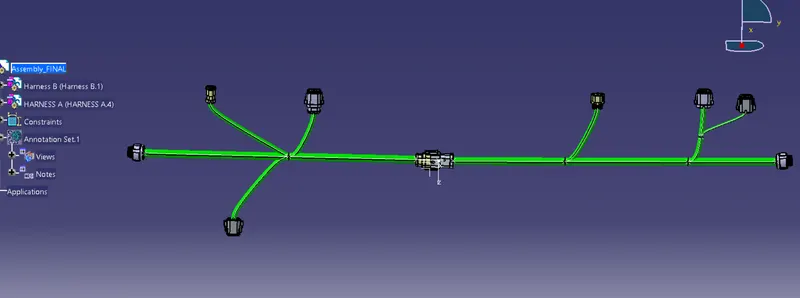
Lets add Corrugated tube around it (15mm and 10mm)
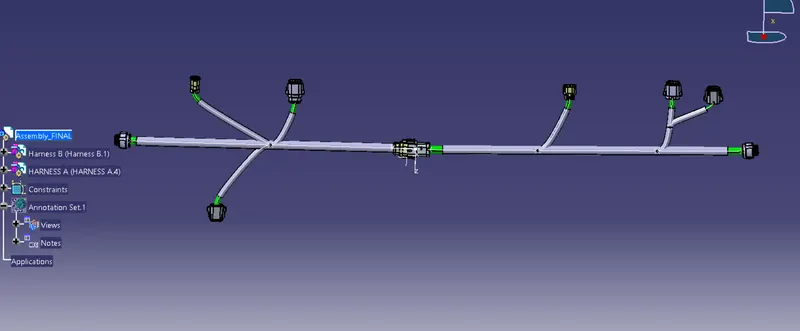
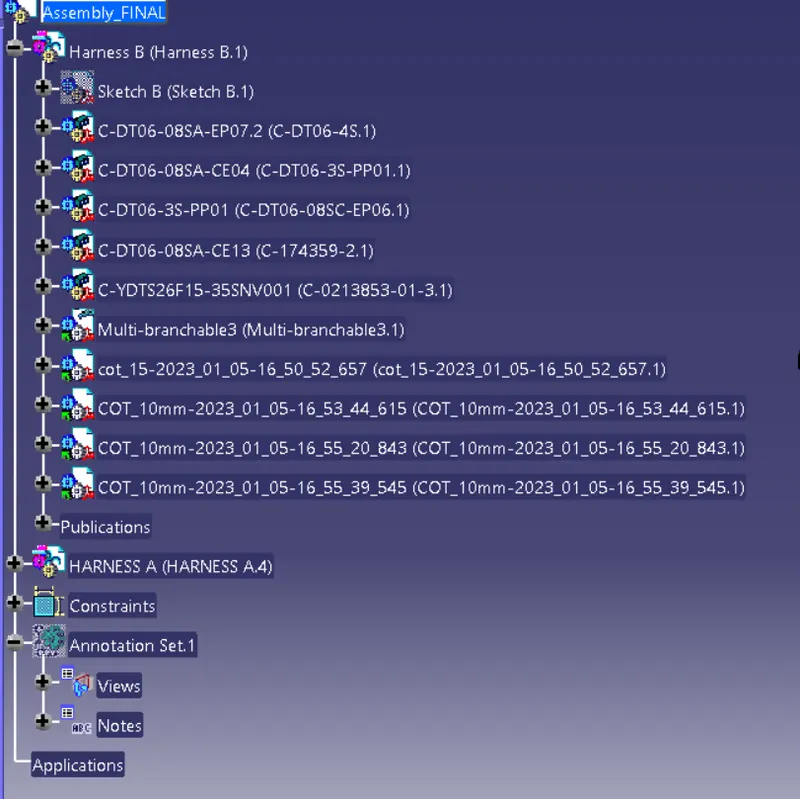
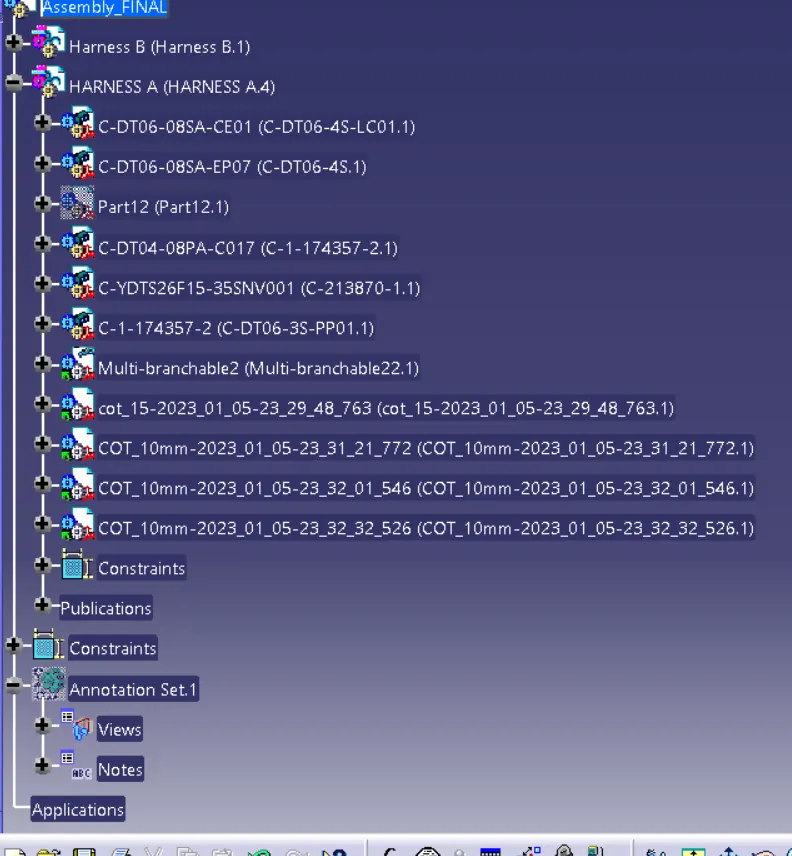
NOW lets add ANNOTATIONS
- Switch to assembly design
- Click on 'view creation ' command in the annotation toolbar and select the plene
- Now click on 'flag note with leader' and give the annotation
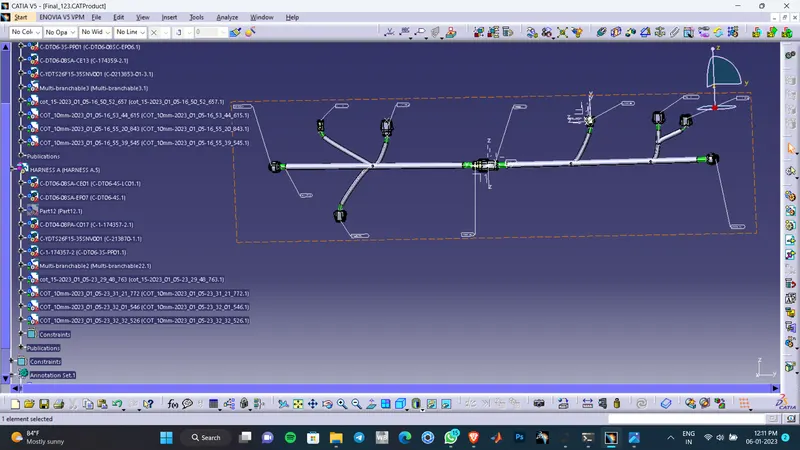
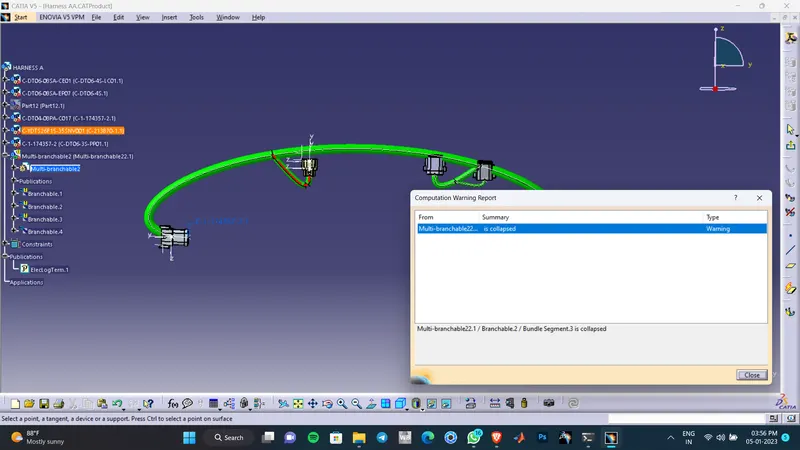
WARNINGS
NOW LETS CONVER THIS PRODUCT FILE IN TO PART FILE
- Go to tool and select generate catpart files
- Give a name
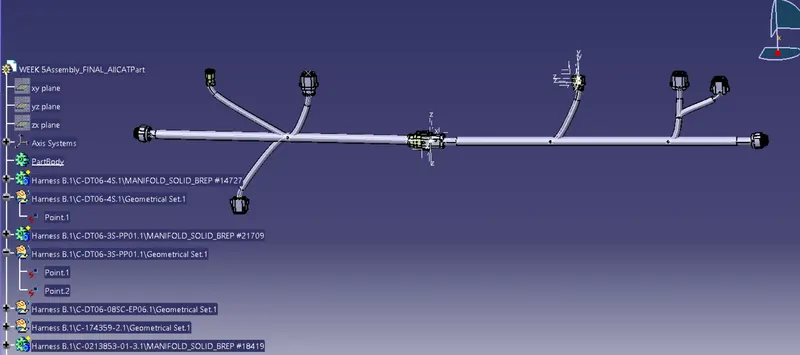
Lets save as this file in to IGS format
IGS FILE