Wiring harness design in CATIA V5 - 3D modeling Week 5 & 6 Challenge
A report on week 5 & 6 challenge.
1) defining all the connectors electrically and storing them in the catalogue.
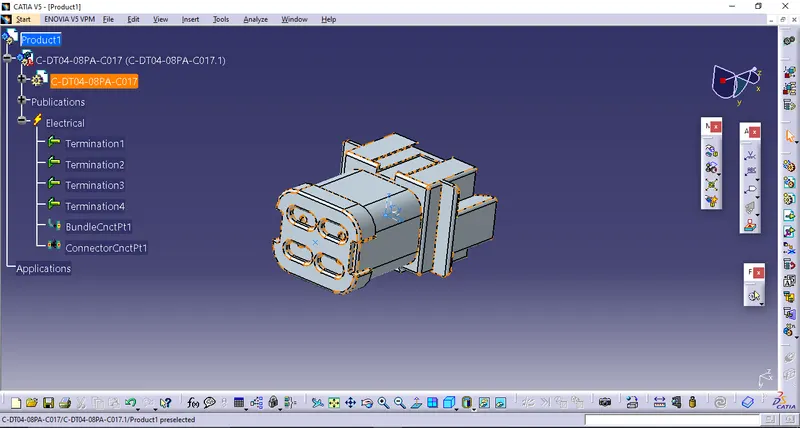
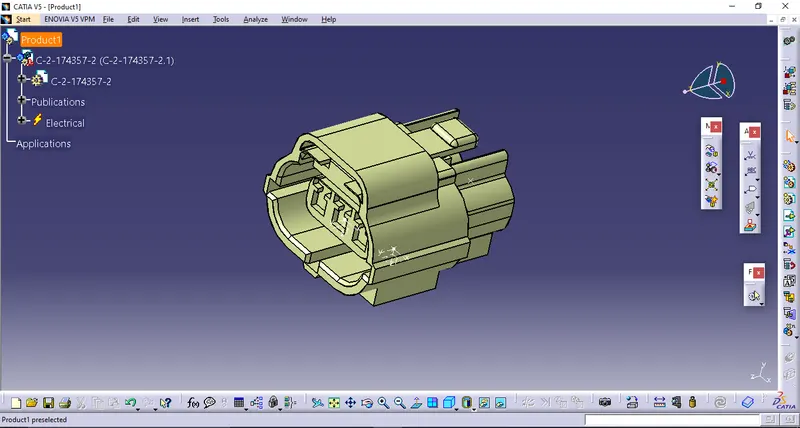
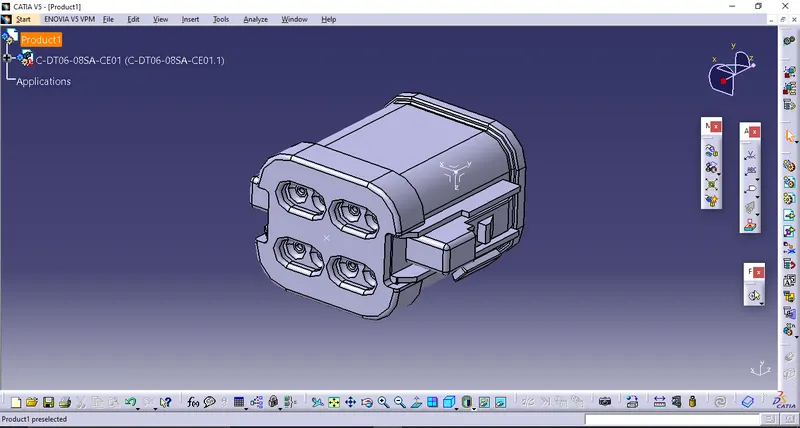
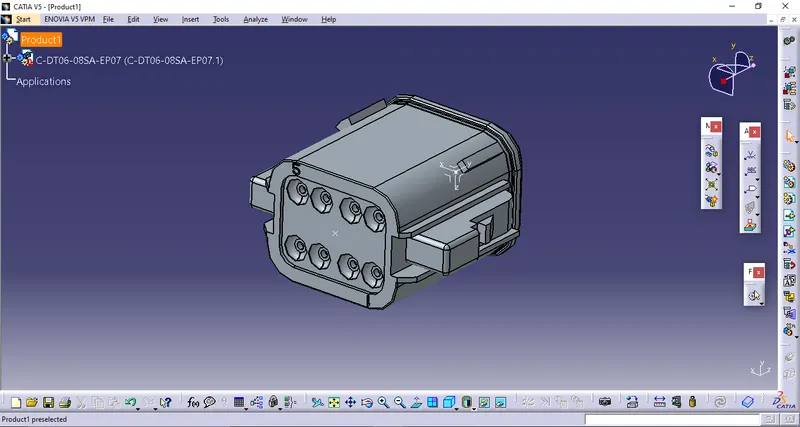
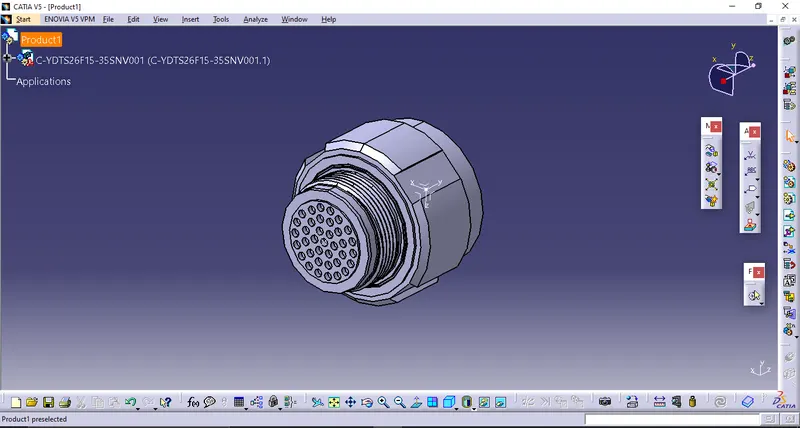
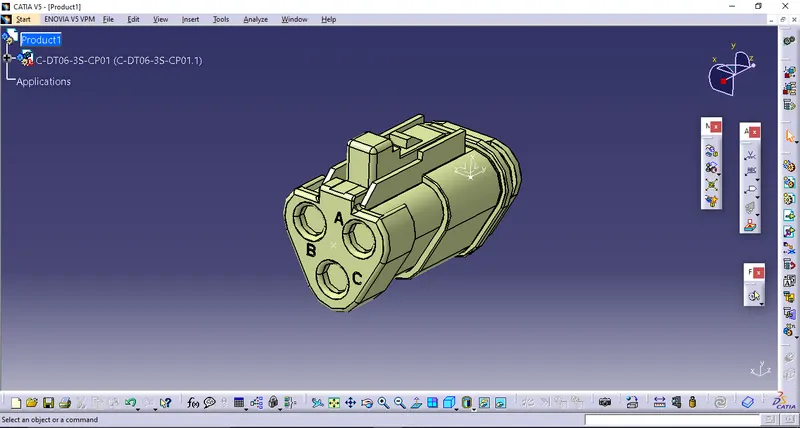
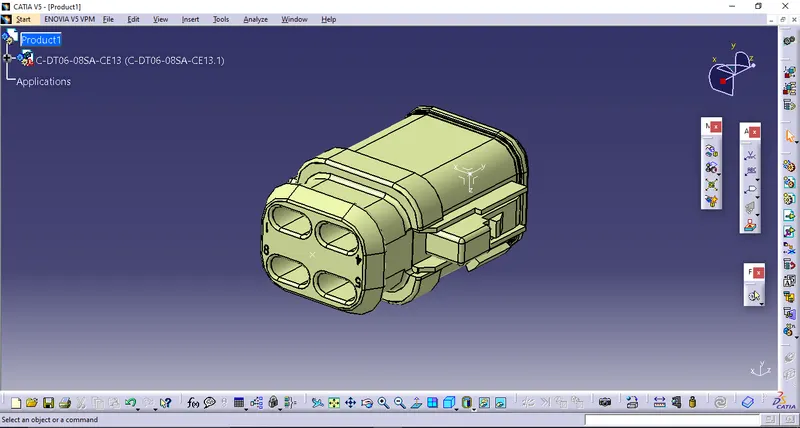
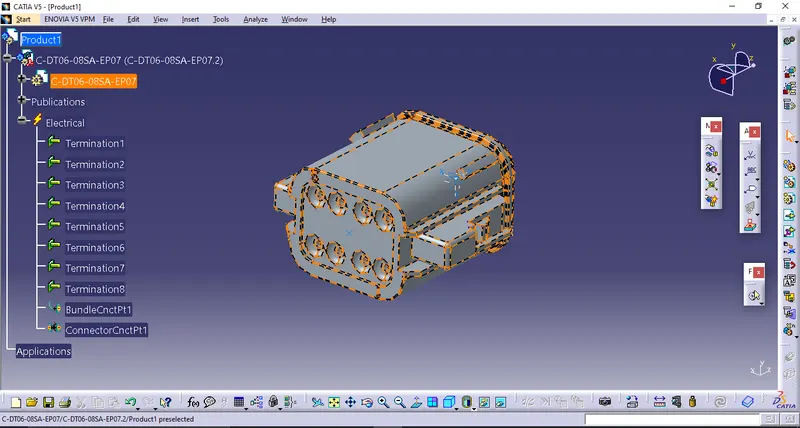
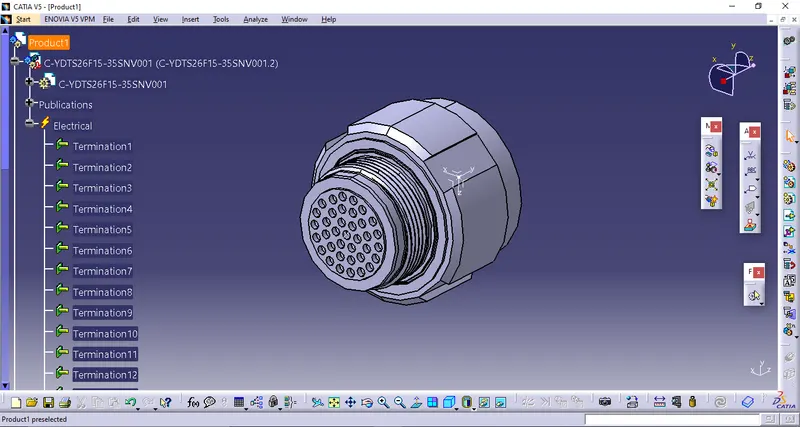
- after downloading all the connectors and extracting it, open one of the connector in catia's part design workbench.
- give the necessary geometrical parameters (points,axis) on its connector connection side and bundle connection side.(a point on bundle connection side & a point with axis on connector conn. side)
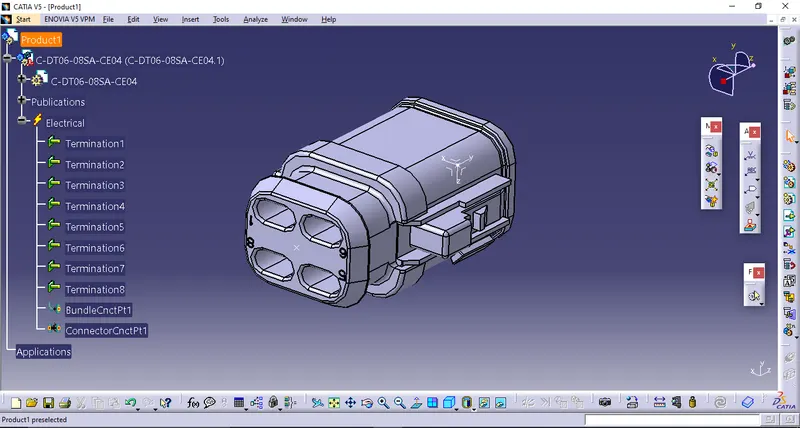
- switch the workbench to the electrical part design>select 'define connector' option>click on the connector>a window will pop up>give the no. of terminals>ok.
- select 'define connector connection point'>click on the connector>a window will appear> select point for representation>select surface for contact>select y axis for coincidence>select x axis for orientation>ok.
- select 'define bundle connection point'>click on the connector>a window will pop up>select surface for representation>select point>select the same surface for initial condition.
- save the connector. this process can be used to define the remaining connectors.
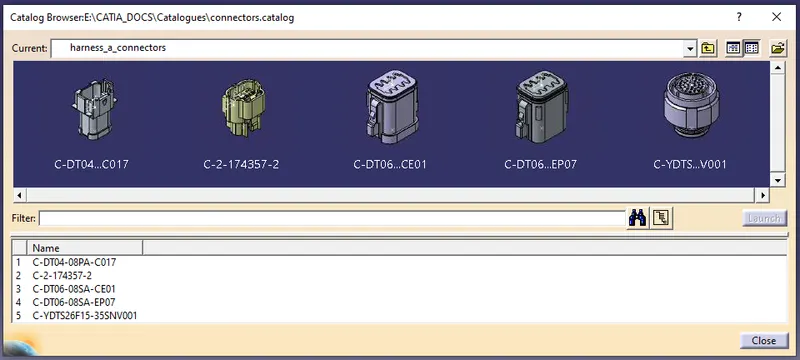
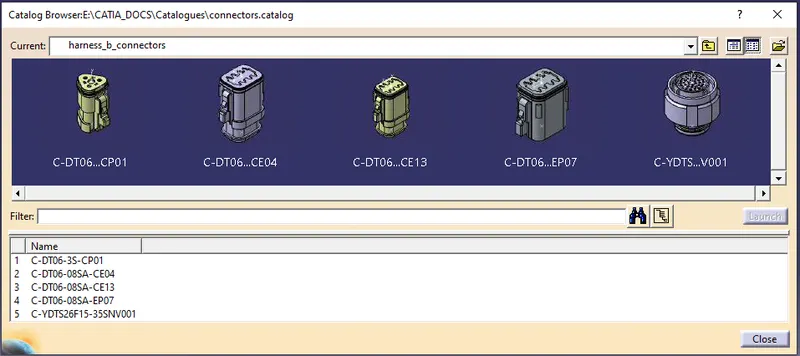
- to create the catalogue go to file>new>catalogue document>ok.
- a window will appear>select 'add family'>a window will be there asking for family name & type, fill it accordingly>ok>file>save>give name to the catalogue>save.
- to store the connector in the catalogue, open it in electrical part design workbench>click on 'store device'>a window will appear>click on brouse>select the respective catalogue>select family>ok
- in this way the connector has been stored in the catalogue.
- the same process can be used to store the other connectors in the catalogue.
2) Harness bundle creation
- open catia's part design workbench>prepare a rough 2d layout sketch for the harness assuming suitable dimensions.>switch the workbench to the assembly design with that sketch>click on catalogue brouser>brouse the catalogue in which the required connectors are stored>open one of the connector in the workbench>in order to bring it to its position on the layout click on manipulate option>select required axis for linear movement and drag the connector along>ok.
- once the connector is close to its position, place the compass on it by drag and drop method>click on the connector>the compass will turn in to green>now click and hold on the upper green dot of the compass and move the mouse to adjust its orientation to bring the bundle connection point opposite to its position on the layout.
- now click on snap option>select one of the longitudinal edge of the connector>select the line of sketch on which the position point is present>the connector will get parallel to that line.
- click on snap option again>select the bundle connection point>select the position point.the connector will get snap with its desire position.
- in this way the remaining connectors could be placed on their positions.
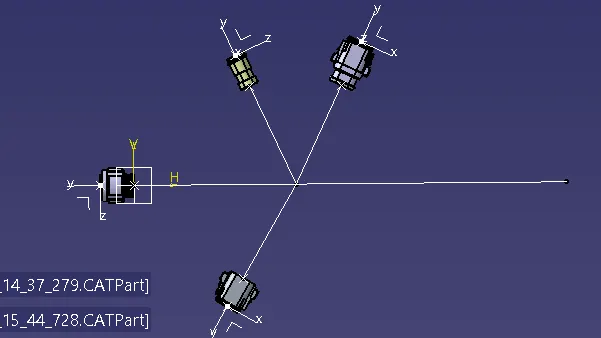
- now switch the workbench to the 'electrical harness assembly'>select 'geometrical bundle' option>double click on the product1 in feature tree.>now select 'multi-branchable document'>a window will appear>now hide the sketch (part1) by selecting it from feature tree>select line option>select line type as 'point-point'>draw a line between respective bundle connection points of the connectors(for main horizontal wire)>ok>now select the 'external curve' option in branch defination window>click on the line which has drawn earlier>a multi-branchable will form between the connectors.
- now add a branch point on this wire by selecting 'add branch point' option>select the wire>a defination window will appear>place the branch point at required length>ok
- again select multi-branchable document(branch defination)>branch defination window will appear>draw a path line between branch point and bundle connection point of one of the connector include in the assembly>ok>now select the 'external curve' option in branch defination window>click on the line which has drawn earlier>apply>ok.a wire will be formed between branch point and the connector.
- in this way by drawing the lines and adding the branch points, different wires could get routed towards different connectors.
- now select the 'protective covering' option>a window will appear>click on brouse catalogue>select the catalogue of protective coverings>select the suitable one>click on the wire>the covering will form on the wire>double click on connector side extrimity>a window will be there>give the clearence value from the connector>ok.
- in this way the protective coverings could be added to the remaining open wires.
- also the other harness assembly could be completed in the same way.
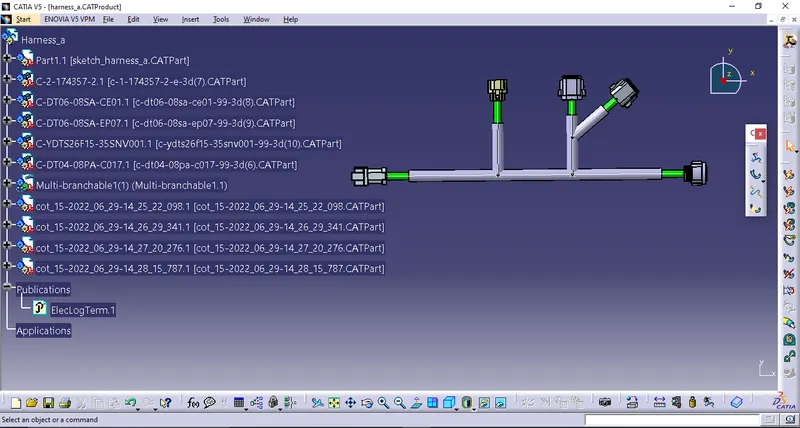
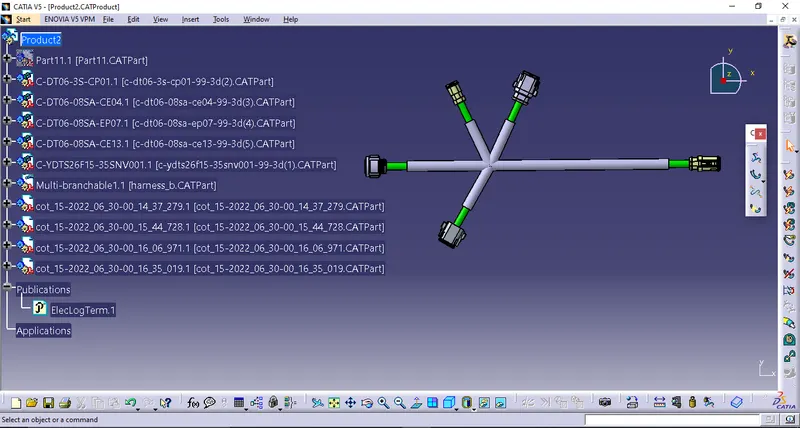
- now it is important to check whether the connections are fully connected or not
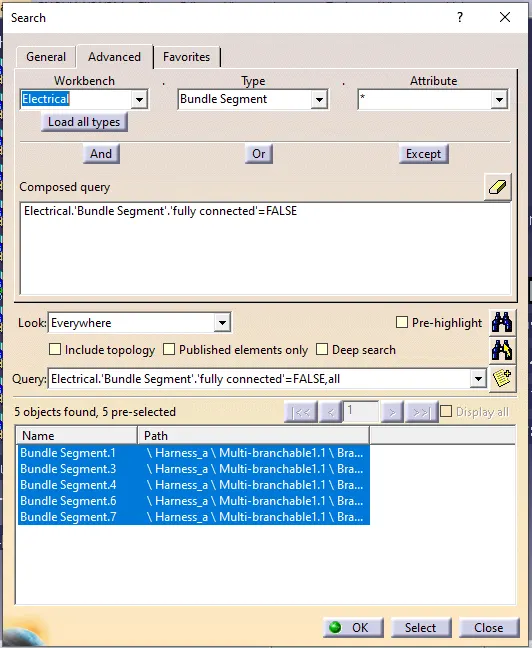
- for that go to edit>search>advance>in first column select 'electrical'>in second, select 'bundle segement'>in third, select 'fully connected'>click on search>a window will pop up>select true to see the correct connections or false could be selected to check the incorrect connections>ok.the results will be appear right at the bottom of the window. The changes could be make accordingly in the assembly until having proper connections.
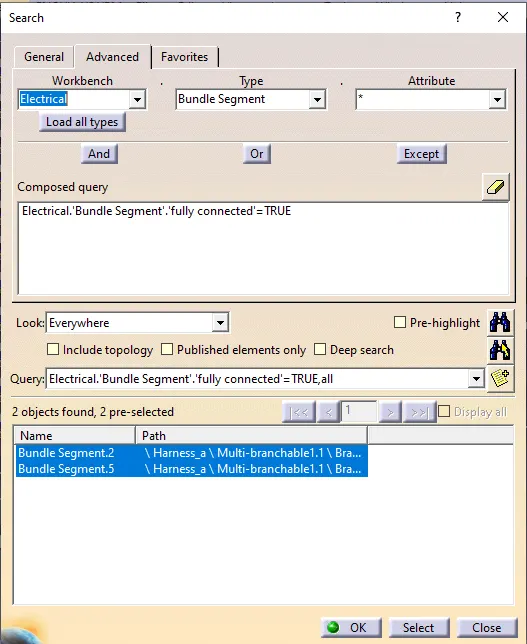
- now to connect both the assemblys together, copy them both into 'electrical assembly design' workbench.
- adjust their poitions such as male and female connector's face will opposite to each other by using manipulate command.
- once it get done>click on 'connect electrical devices' option>select male connector>click on female connector or can be done vice versa>they will get connected.
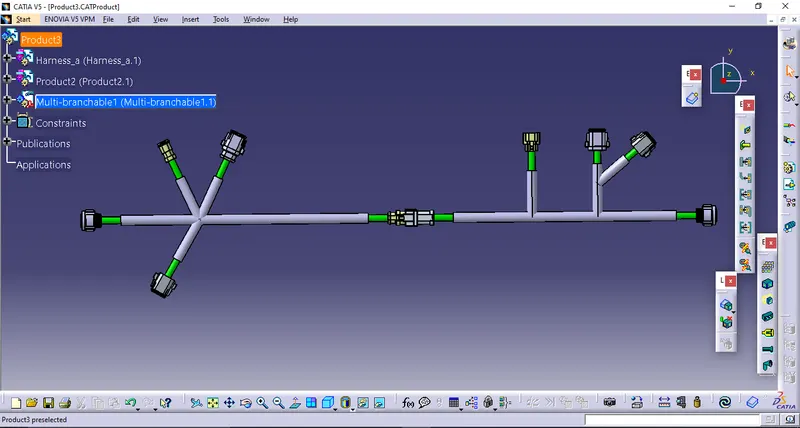
- to save above assembly as CATPART file, open it in 'assembly design workbench'>tools>generate CATPart from product>ok.
- further the catpart file could be saved as .igs file to use it in other cad softwares.