Wiring harness design in CATIA V5 - 3D modeling Week 4 Challenge
AIM:
To route the given harness layout using given connectors and make assumption for harness bundle diameters in electrical workbench. And add protective covering on all branches connected to the connectors.
ROUTING PROCESS:
- Define all connectors as an electrical component.
- Creating wiring harness assembly.
- Positioning all connectors basis of given harness layout.
- Creating the wiring harness geometrical bundle.
Define connectors electrically:
- In wiring harness routing process, first we want to define all the connectors as electrical component.
- So, we define the connectors like DT06-08SA, DT06-6s, DT06-4s and DT06-2s are electrical component.
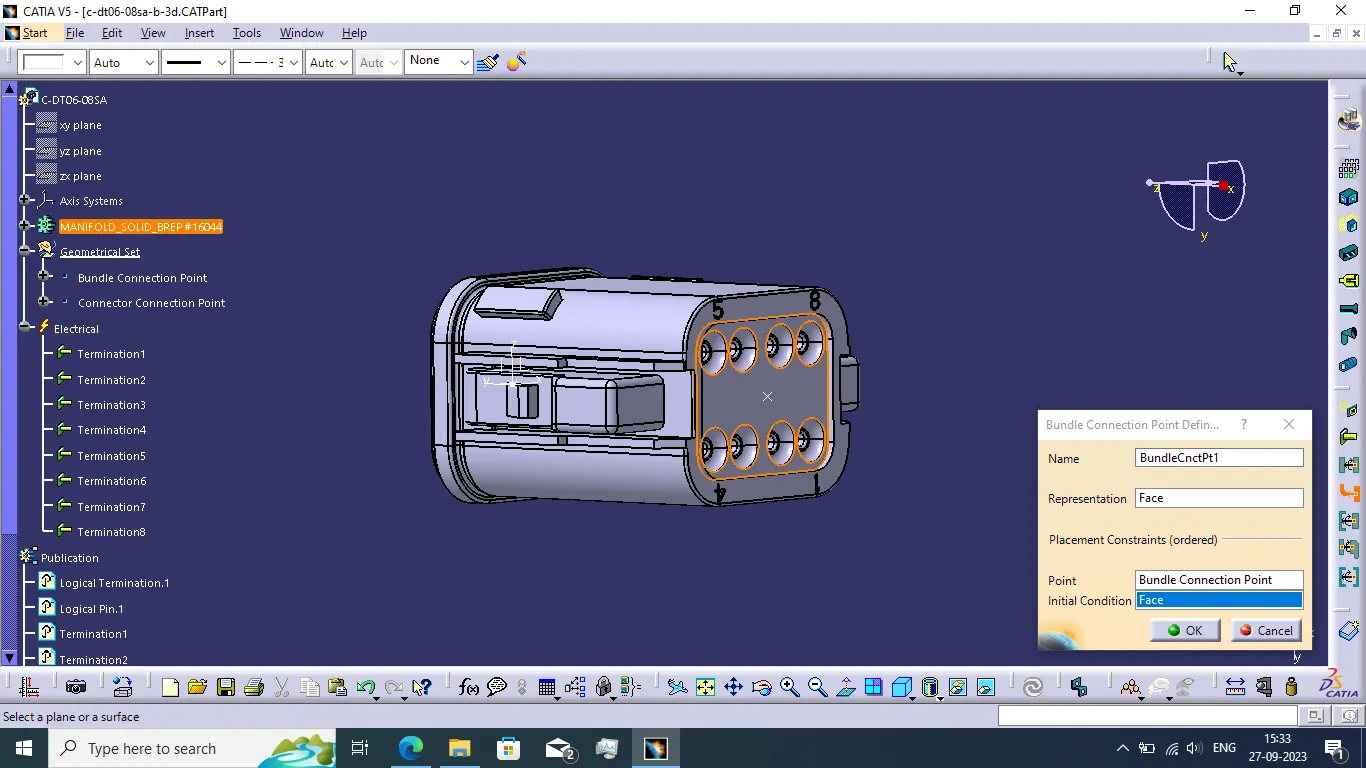
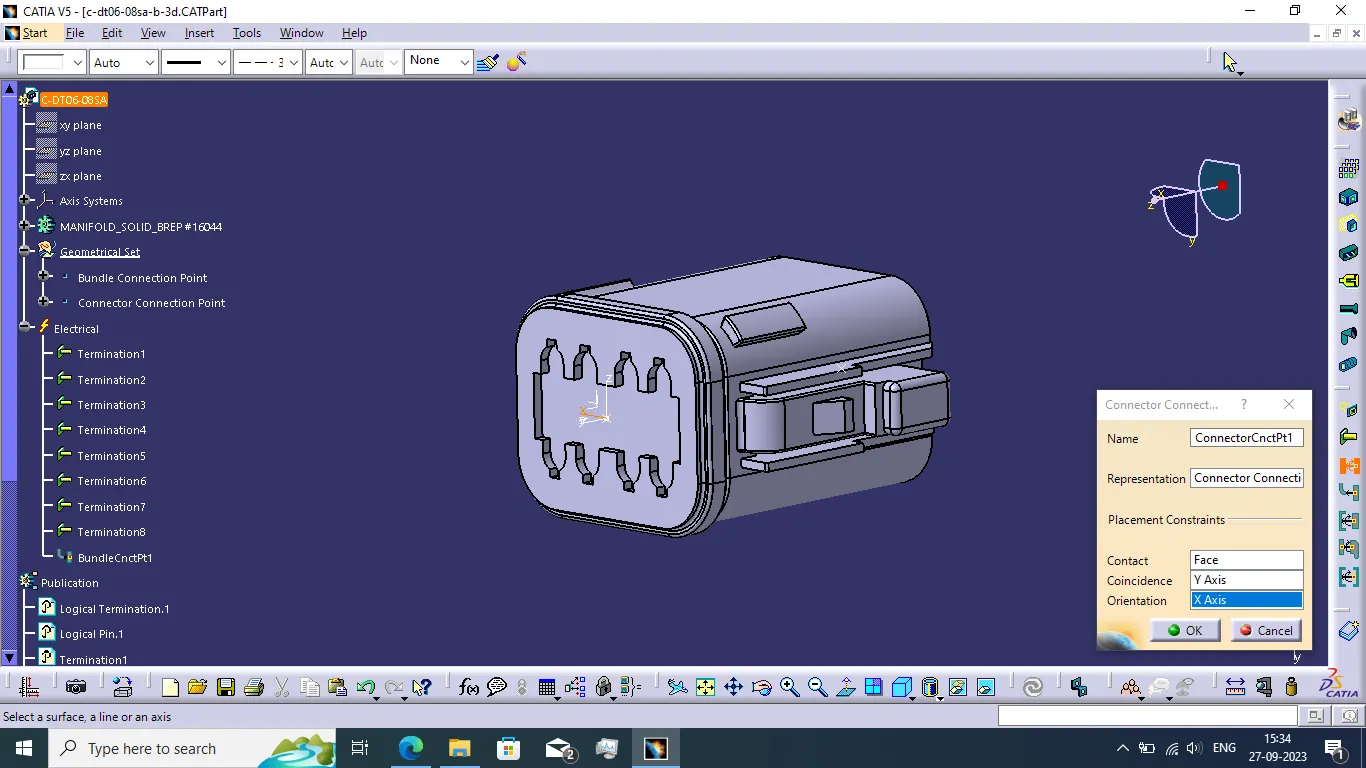
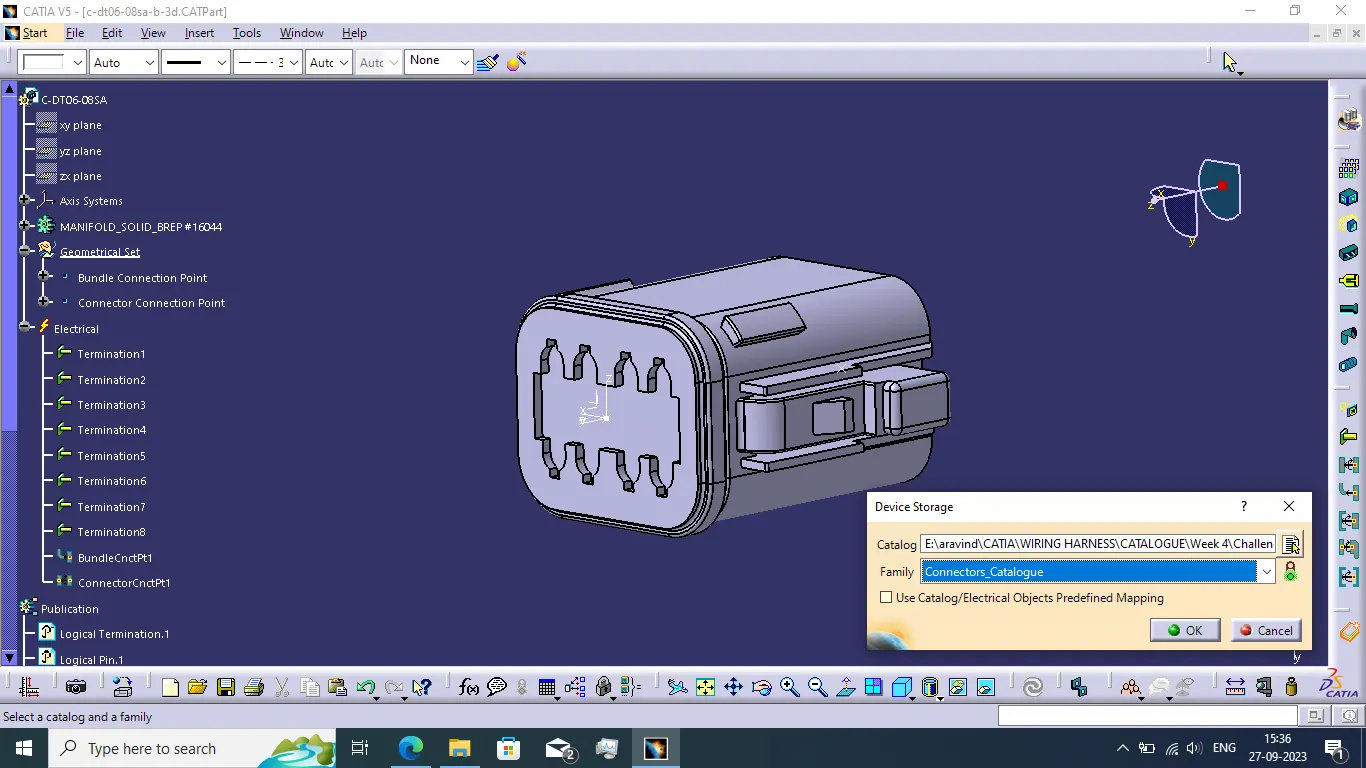
DT06-08SA:
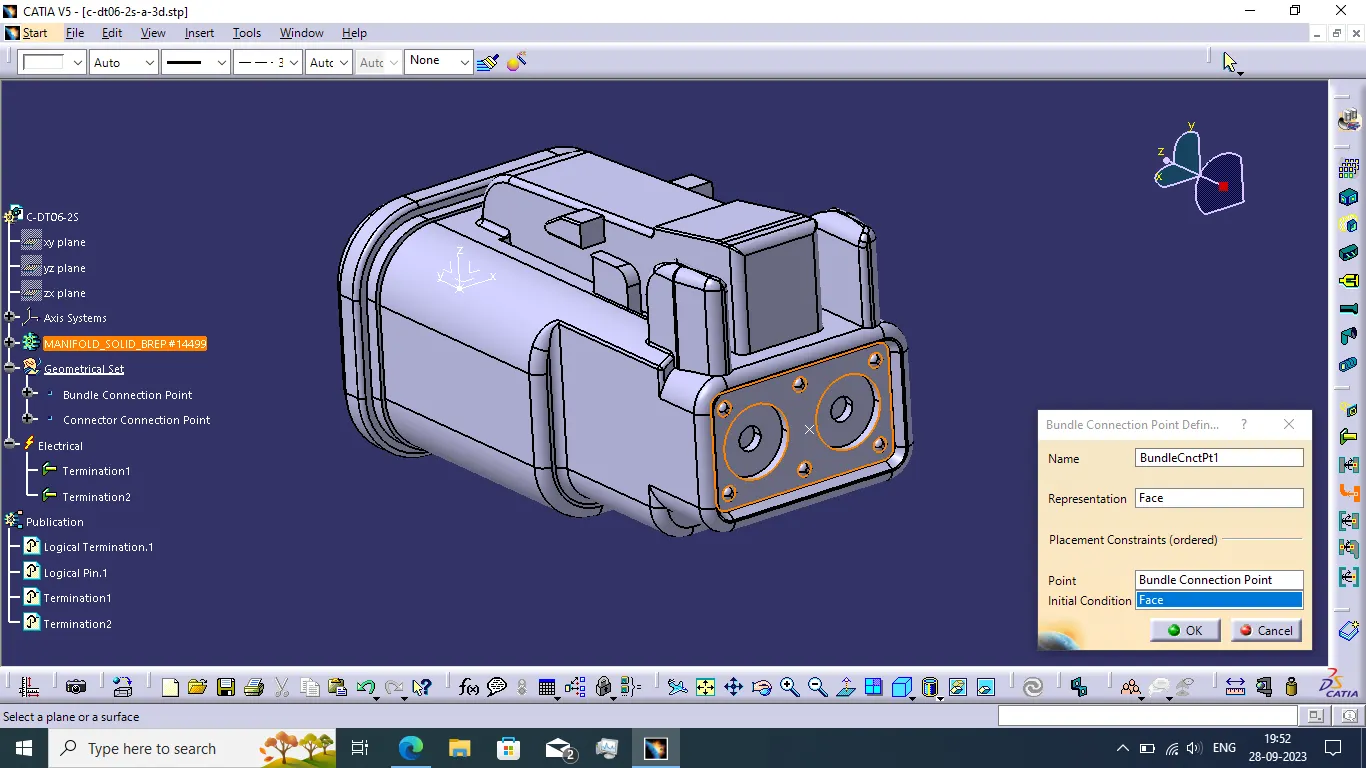
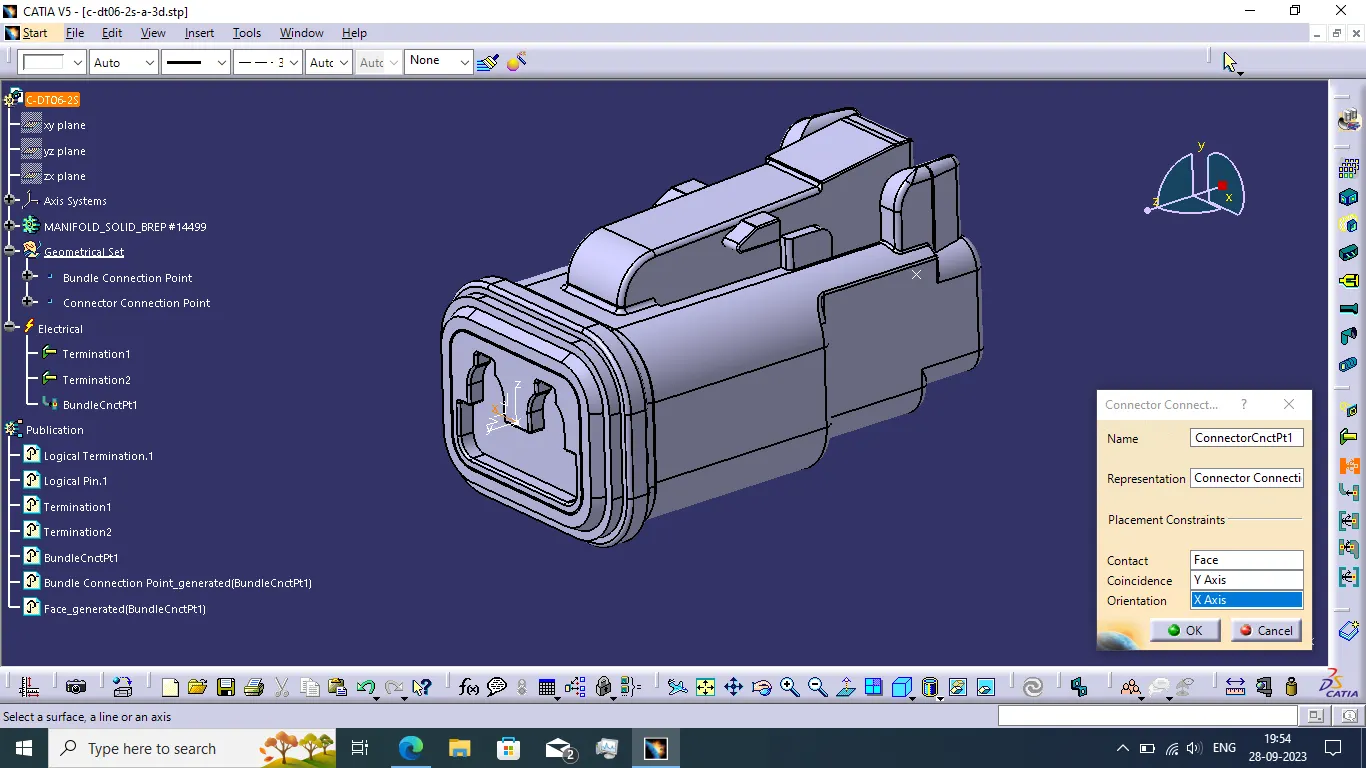
- First, we want to create the bundle connection point, connector connection point and axis system using point command on part design workbench.
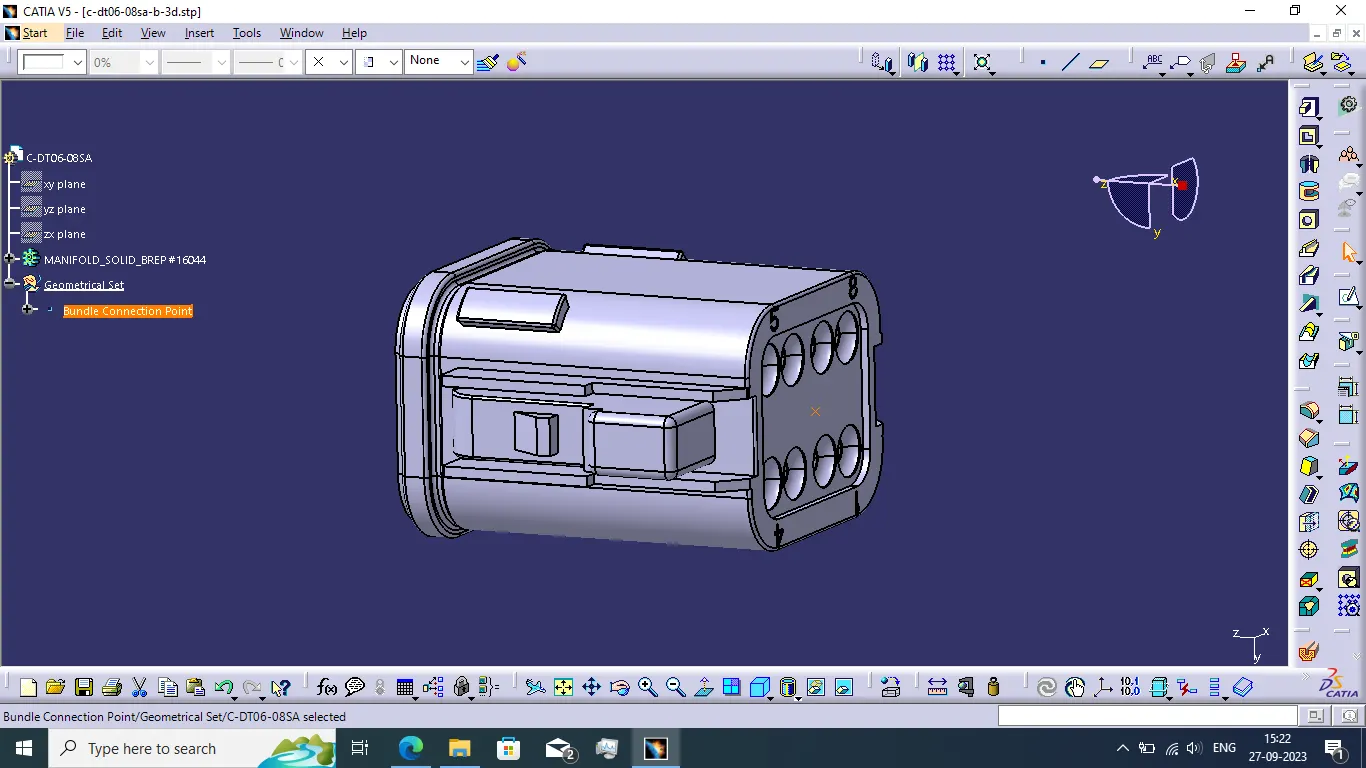
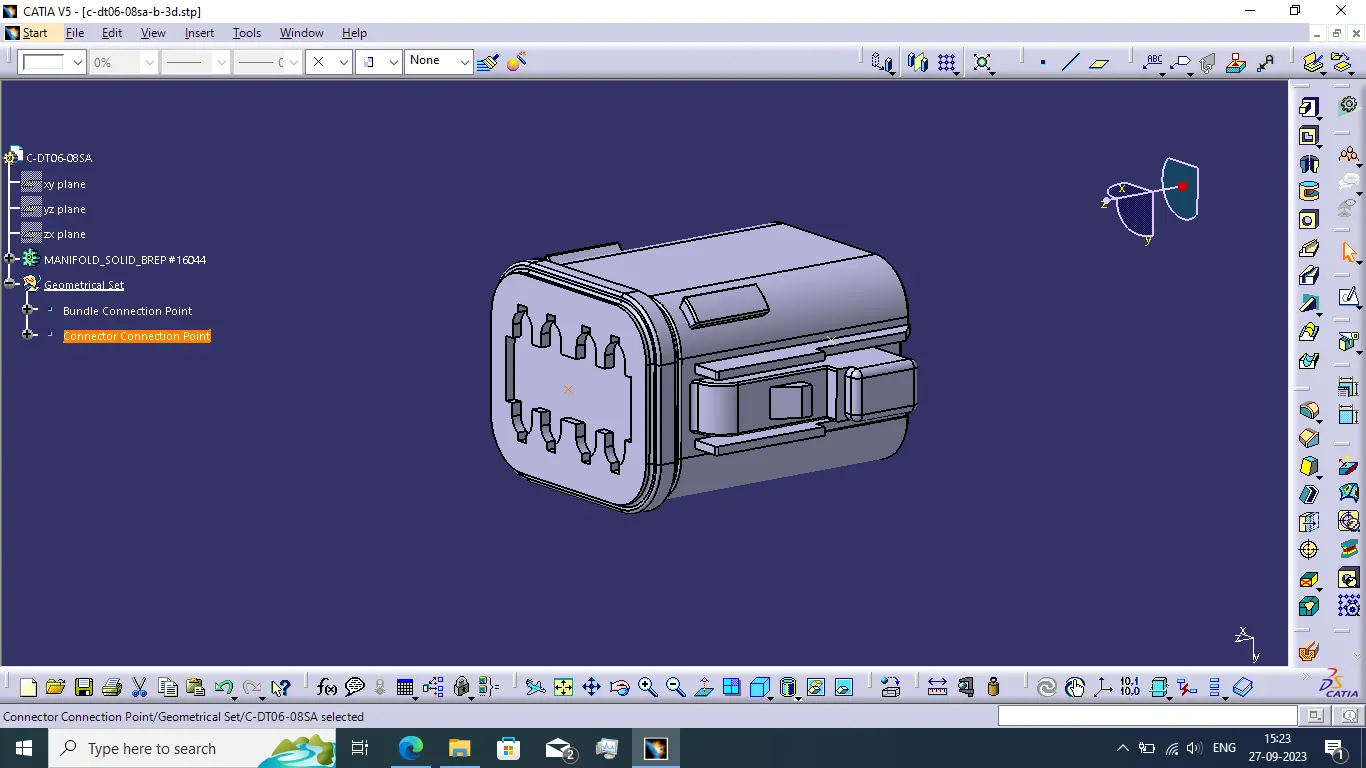
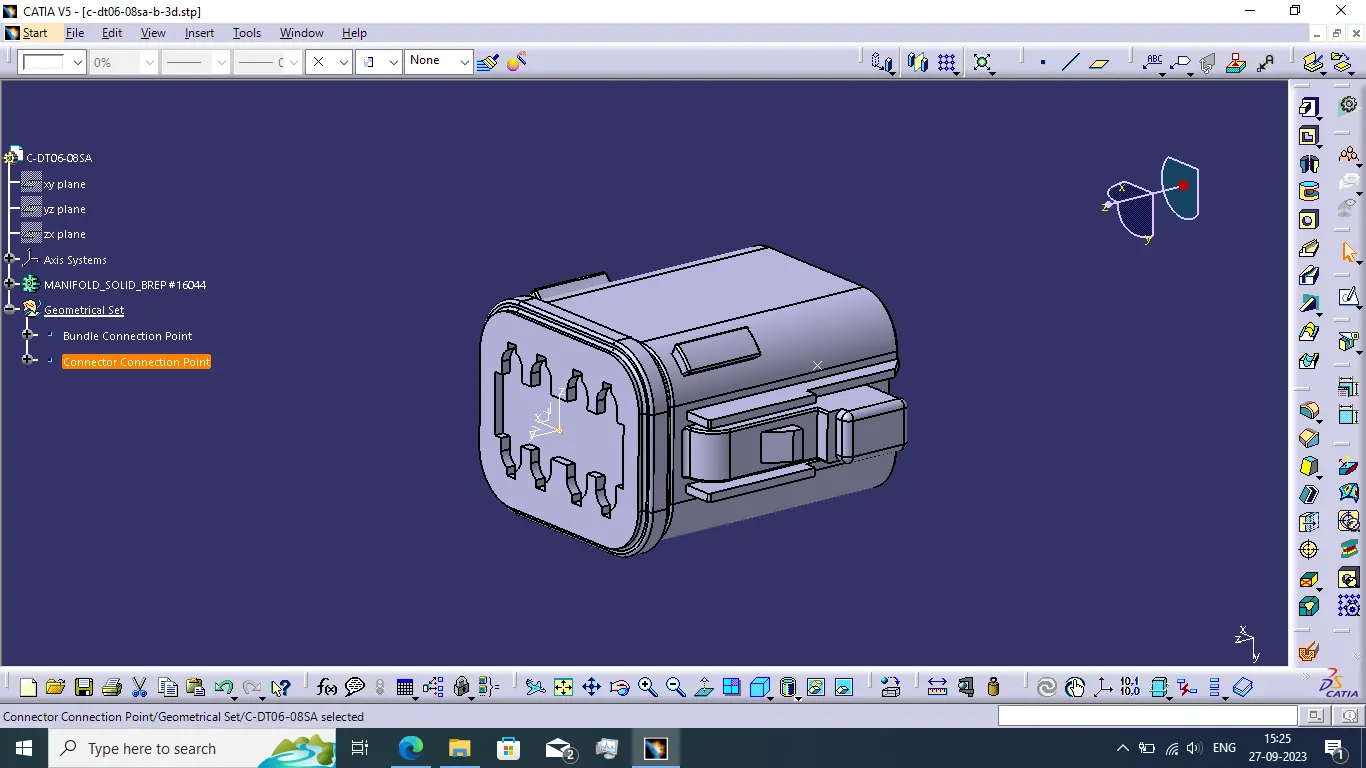
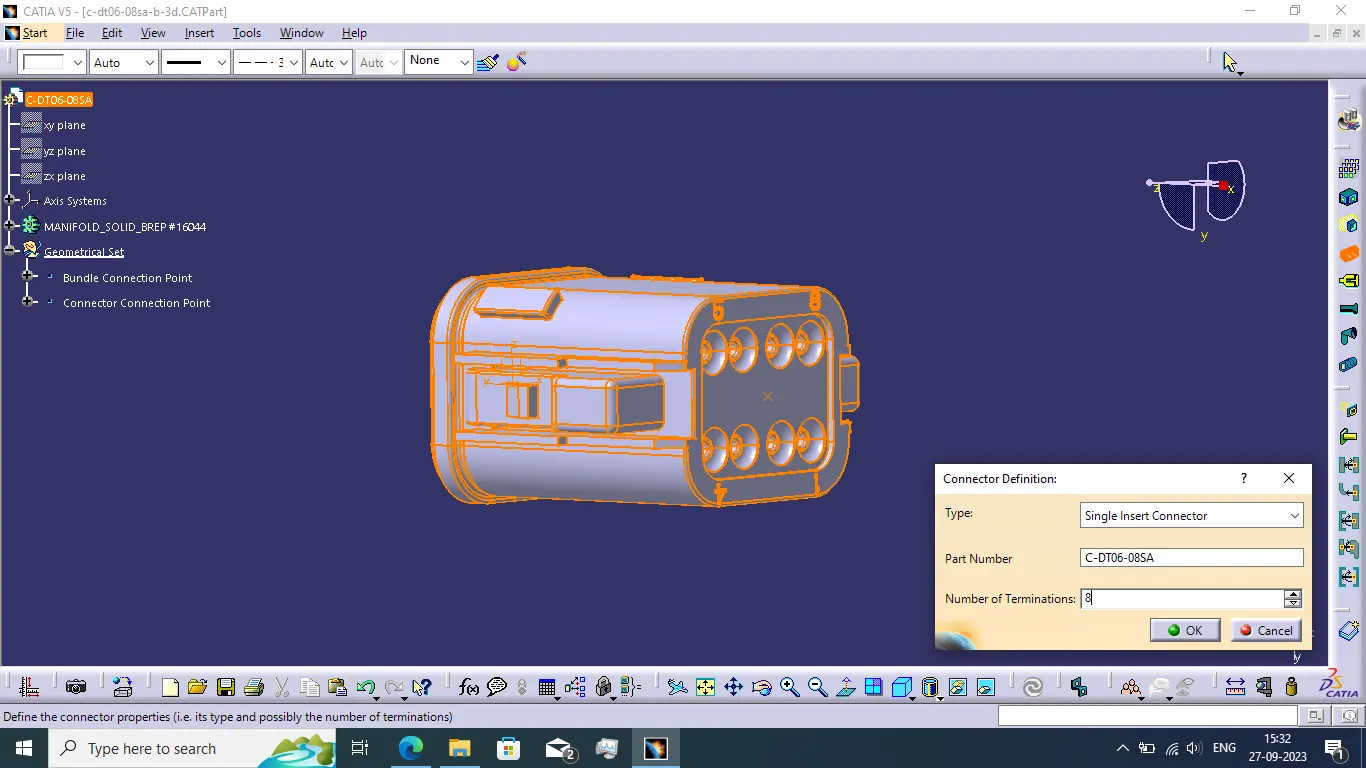
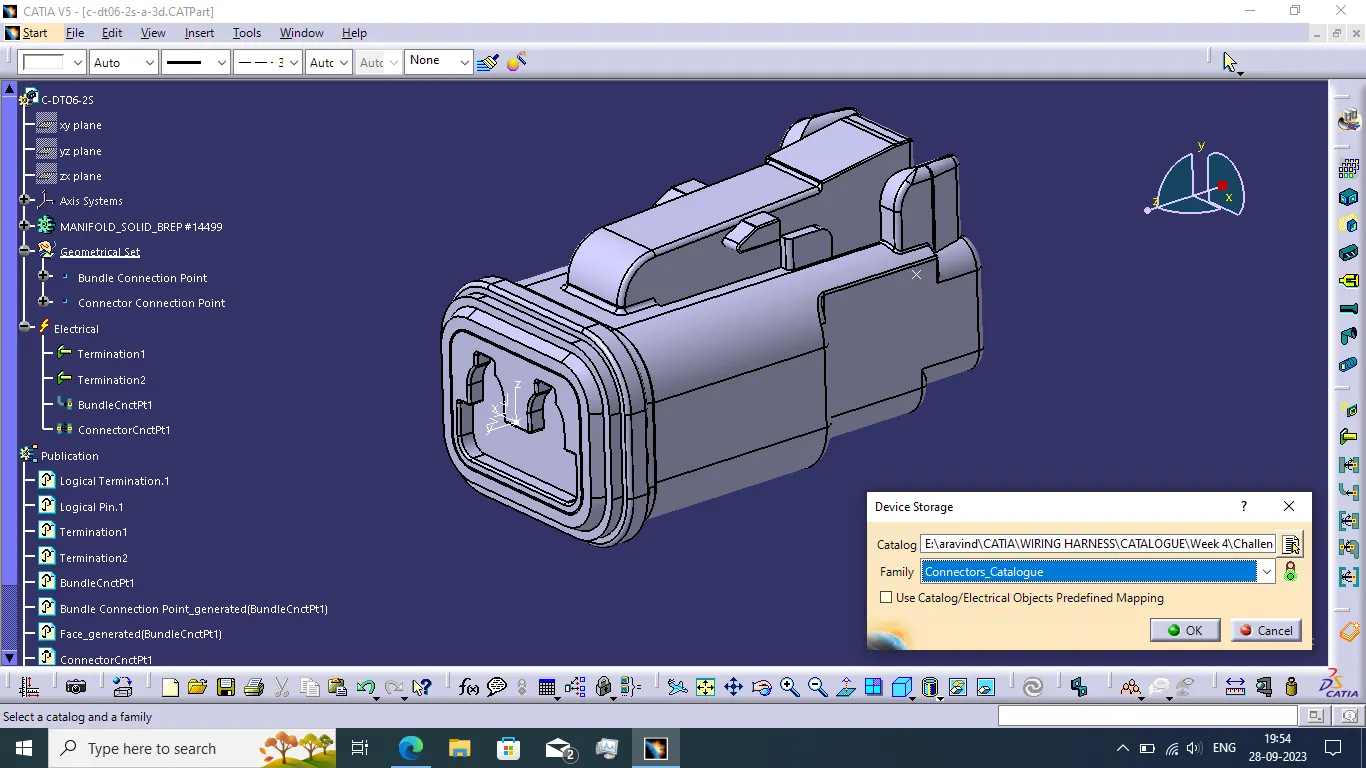
- Now go to the electrical part workbench and define electrical properties and add to connectors catalogue.
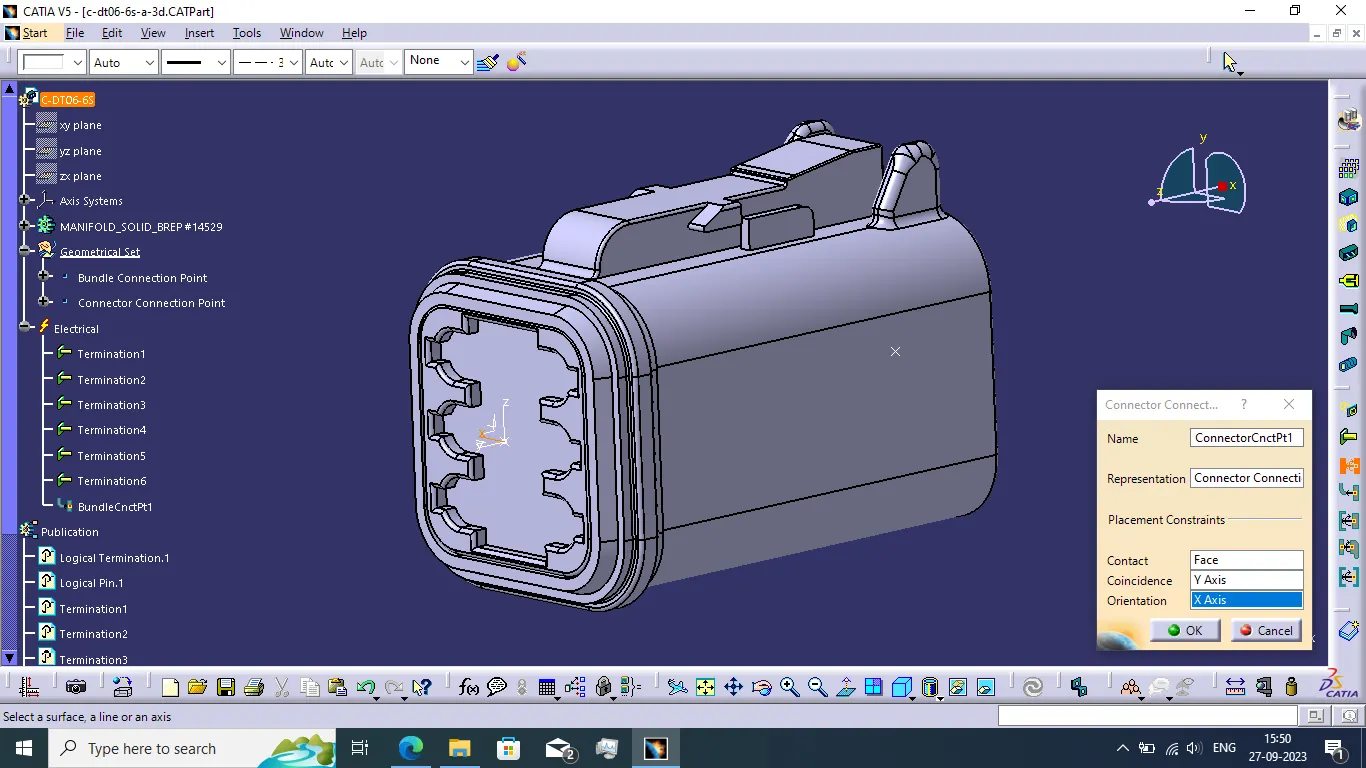
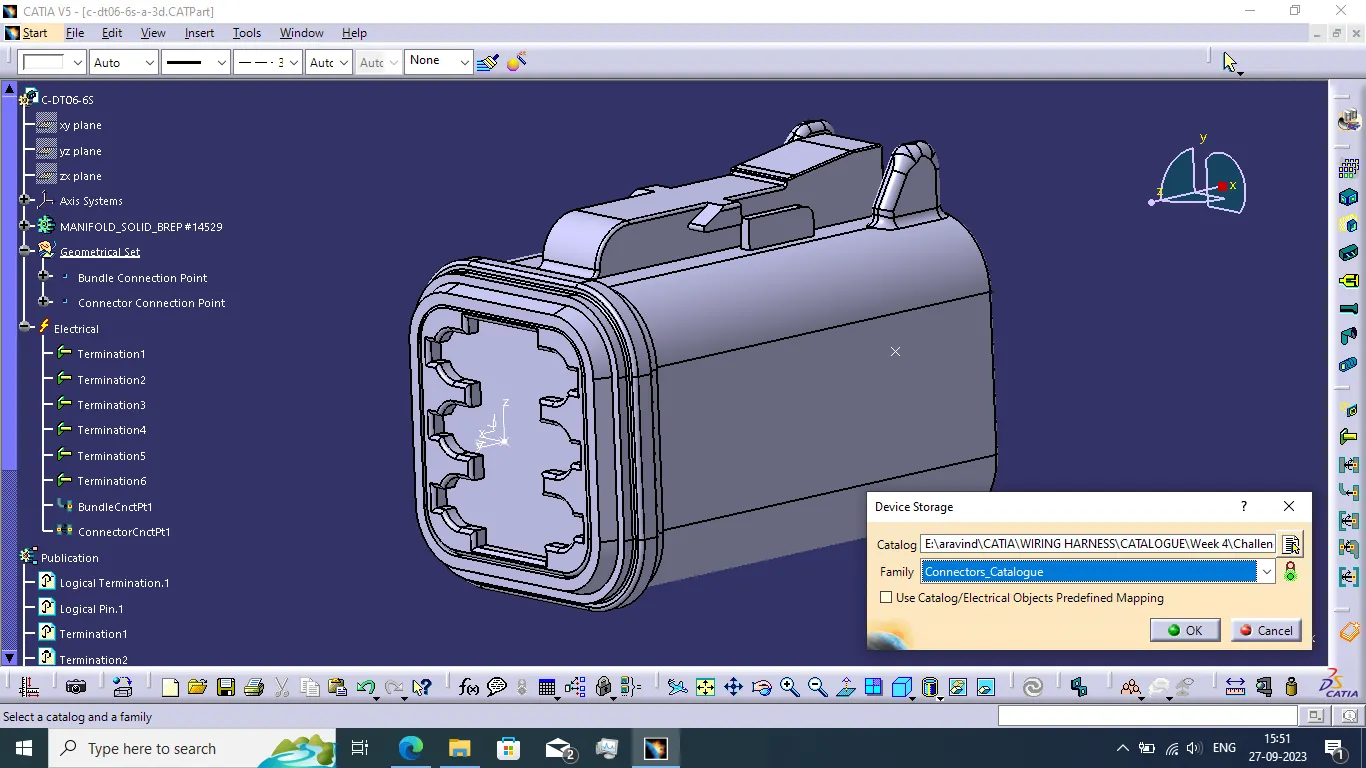
DT06-6s:
- We do the same process for defining the connector as an electrical component for above process.
- First we need to create the bundle connection point, Connector connection point and axis system.
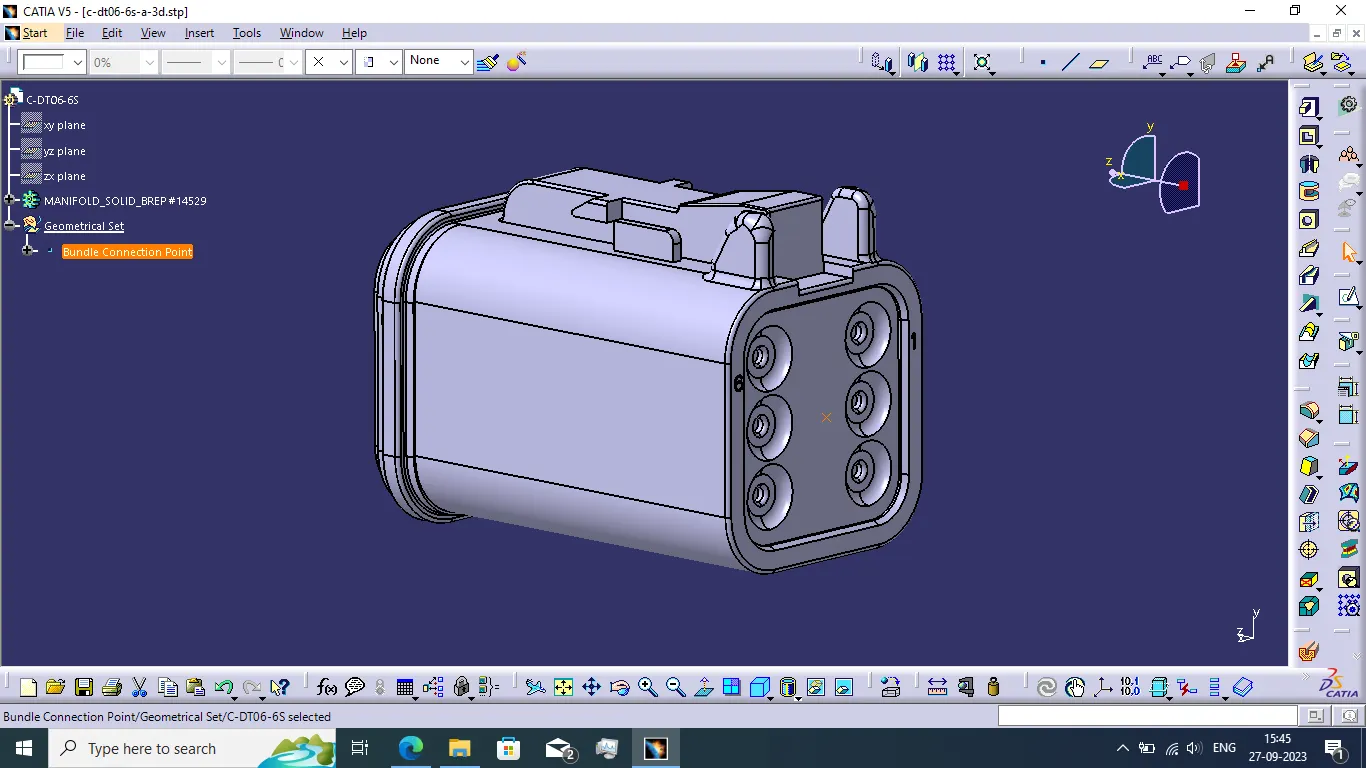
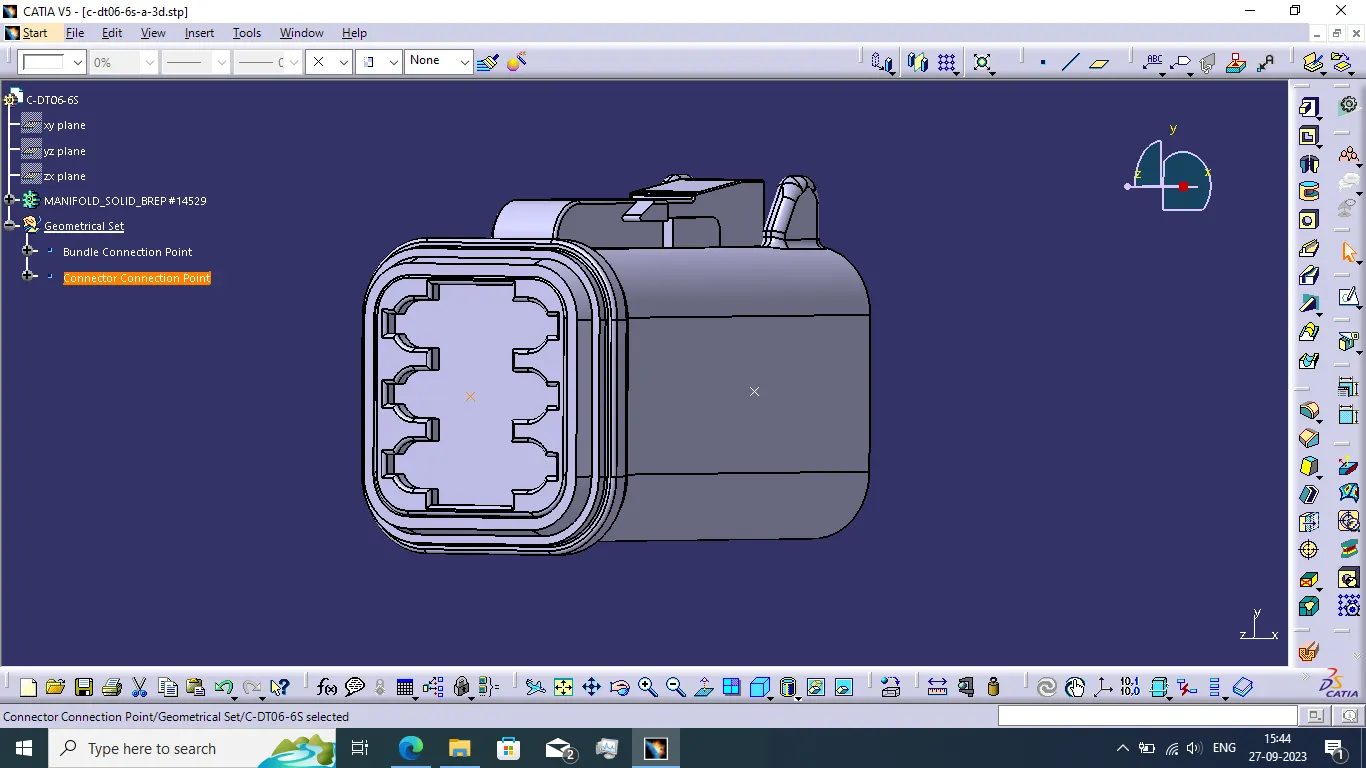
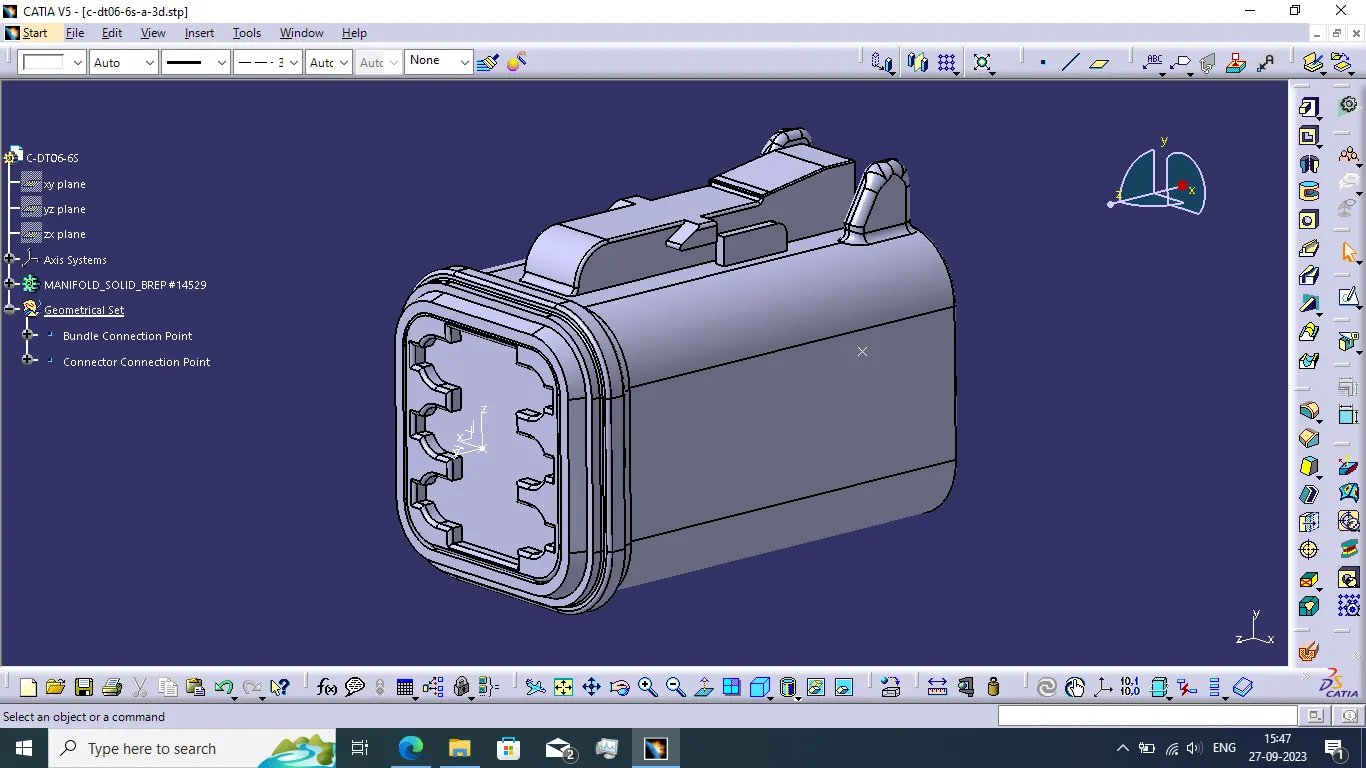
- Now go to Electrical part workbench and define all electrical properties and add to the connectors catalogue.
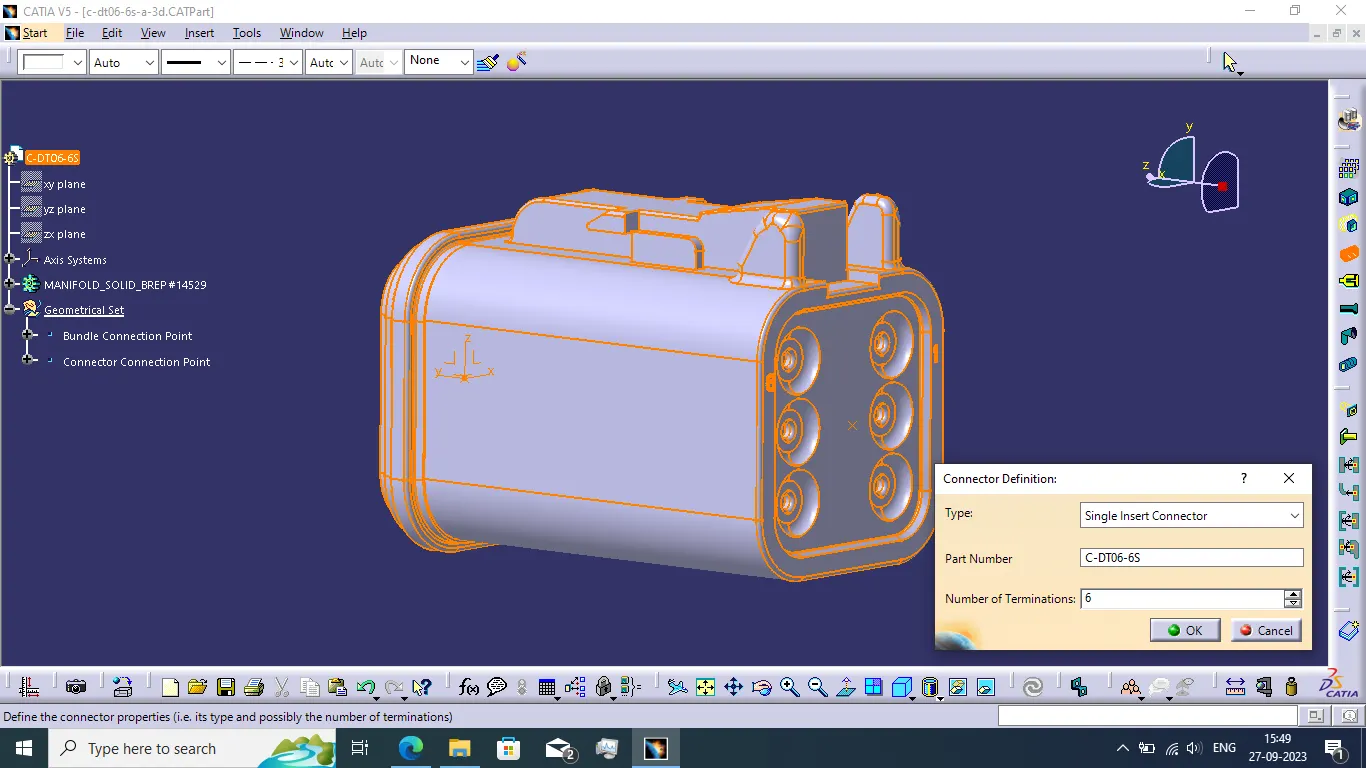
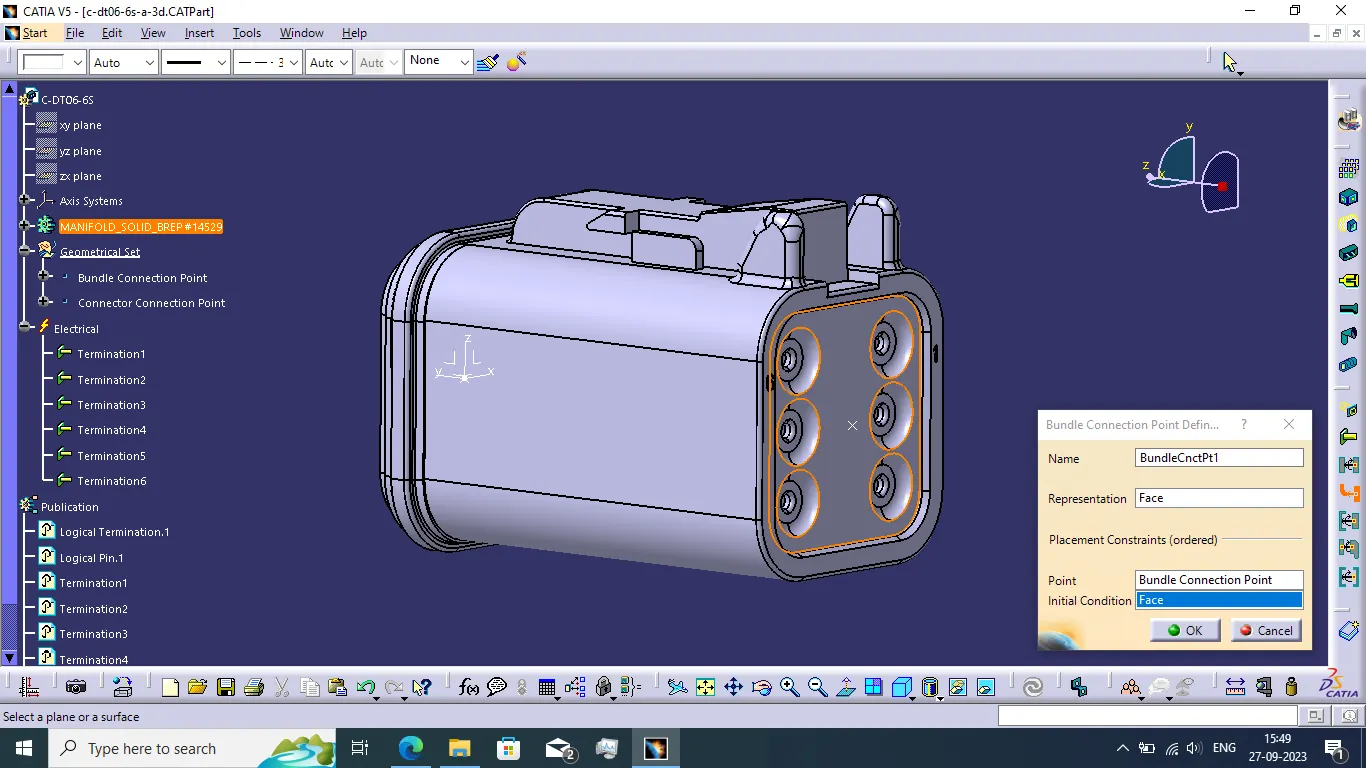
DT06-4S:
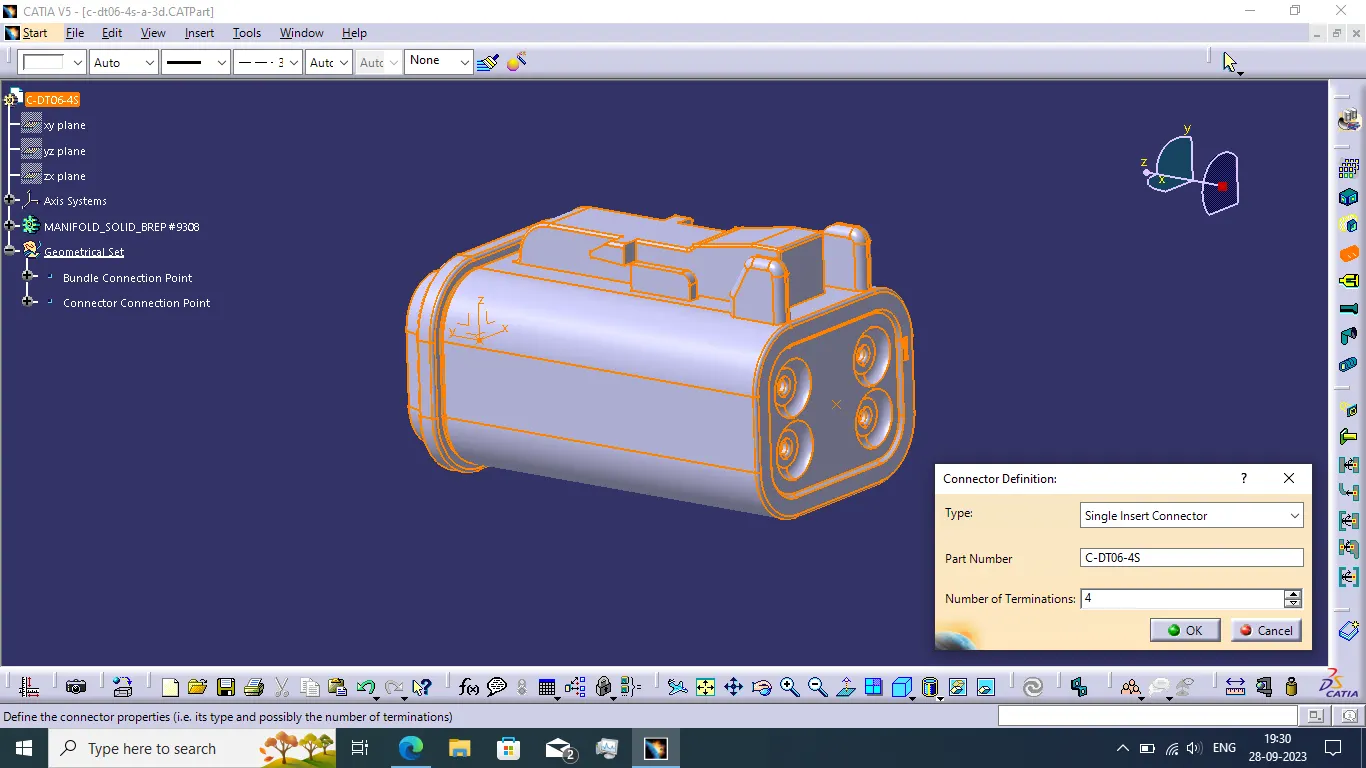
- We Follow the previous connector defining step as same as this connector also.
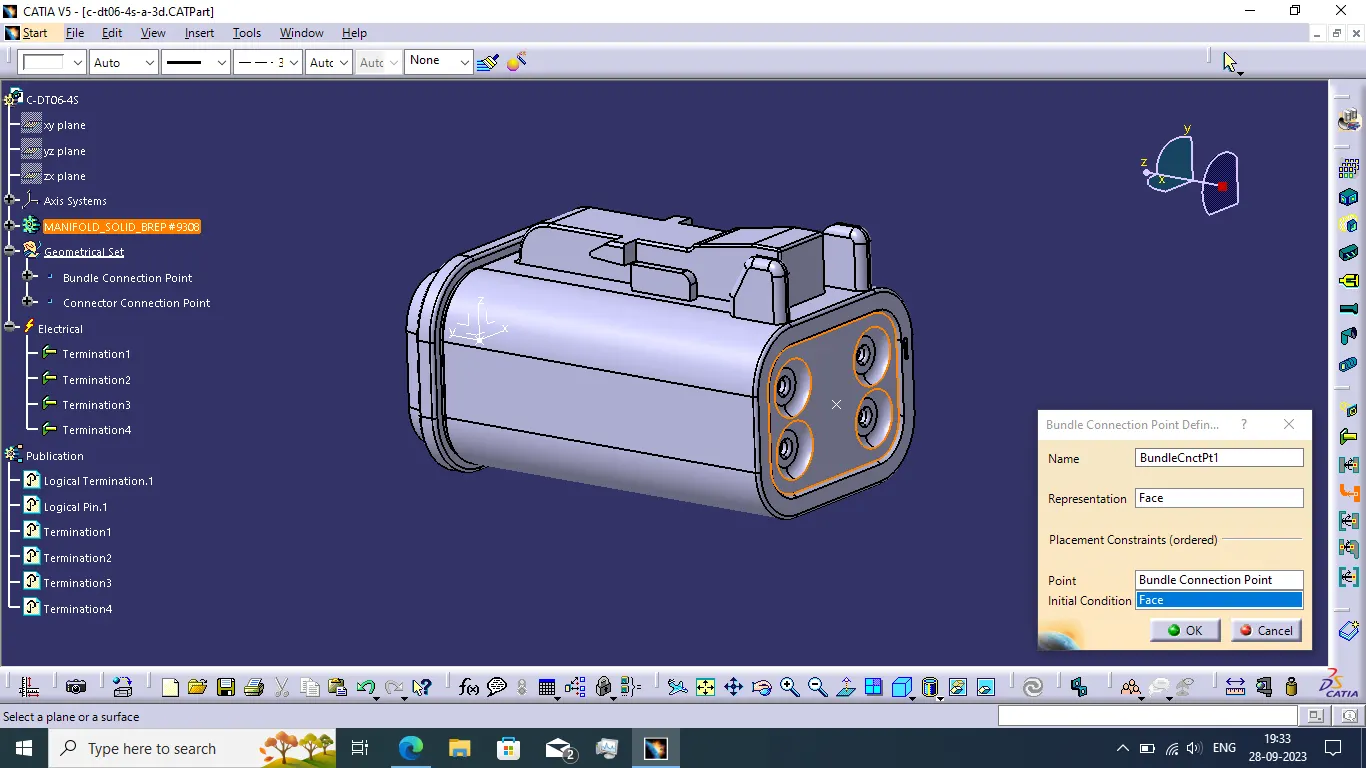
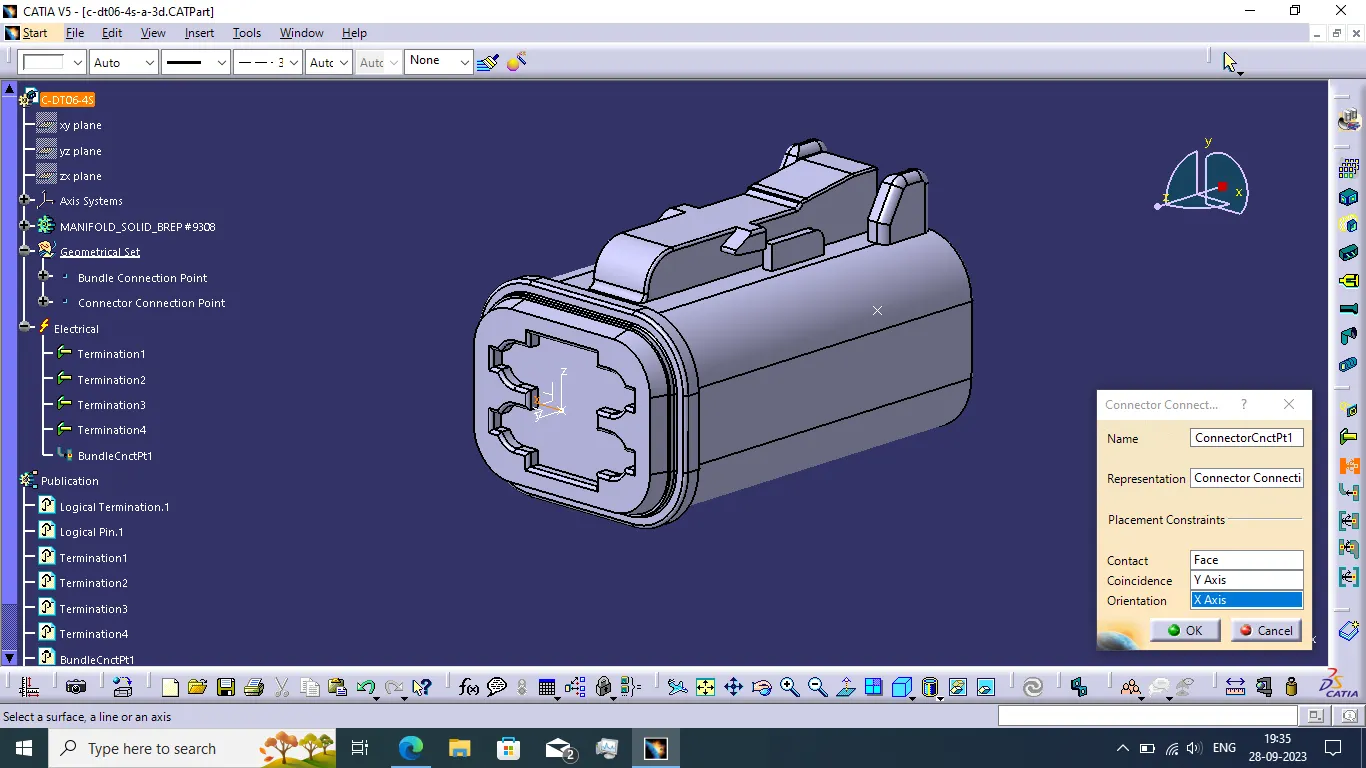
- First we create the bundle connection point, connector connection point and axis system.
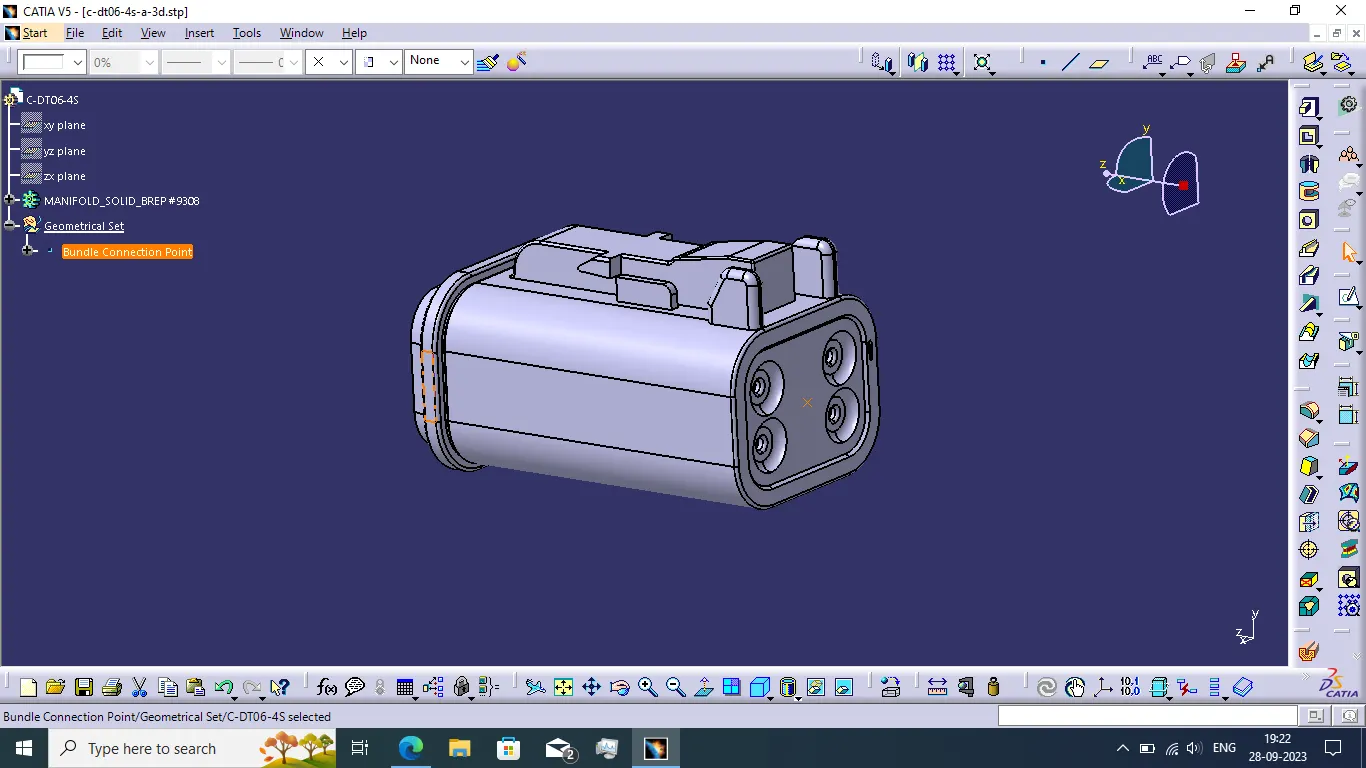
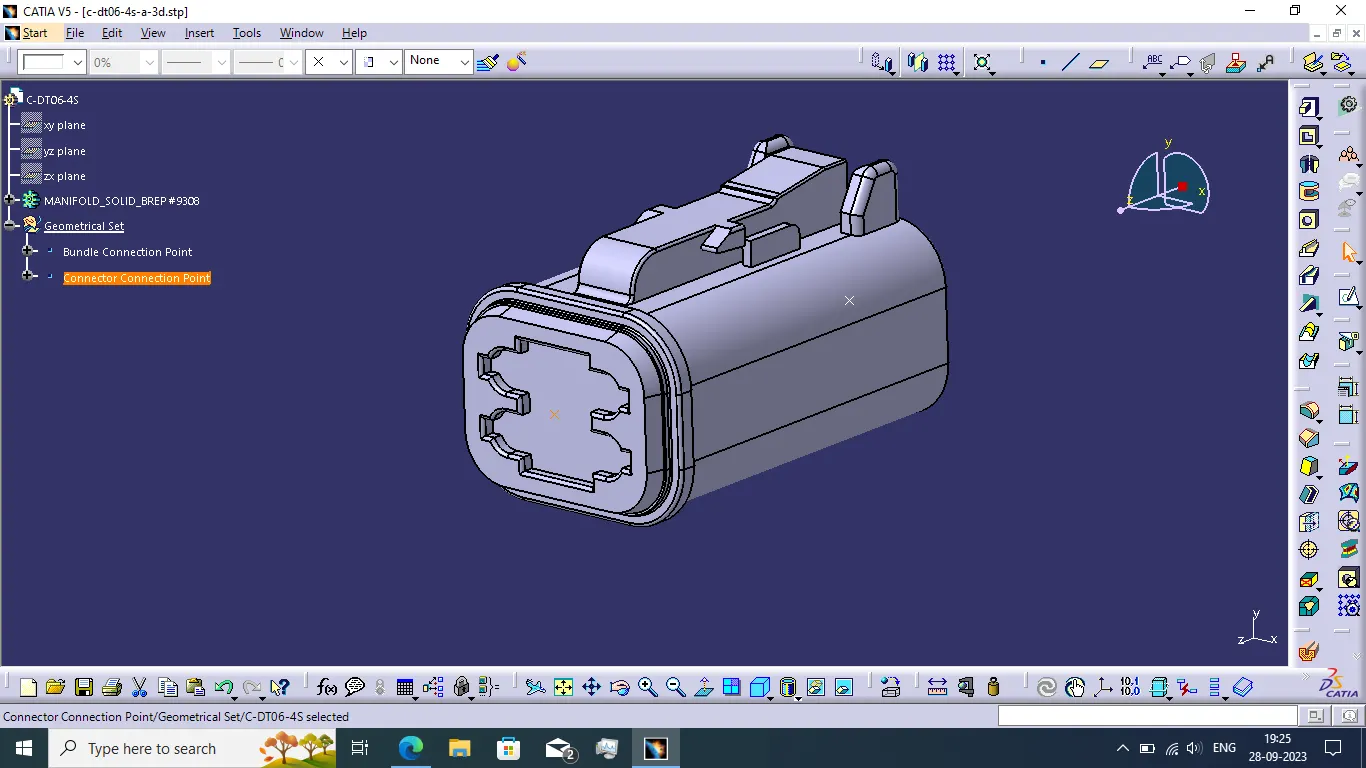
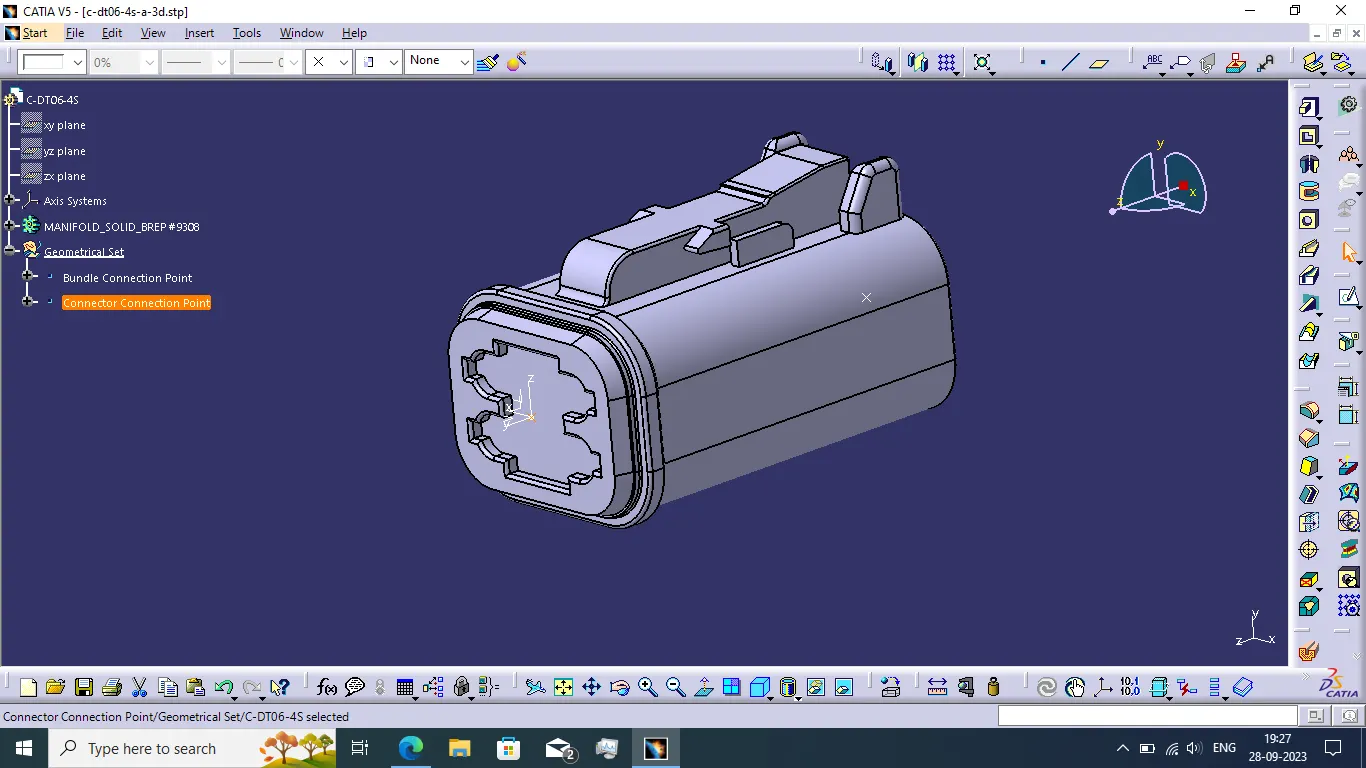
- Now we define the connector electrically and add the connector into connectors catalogue.
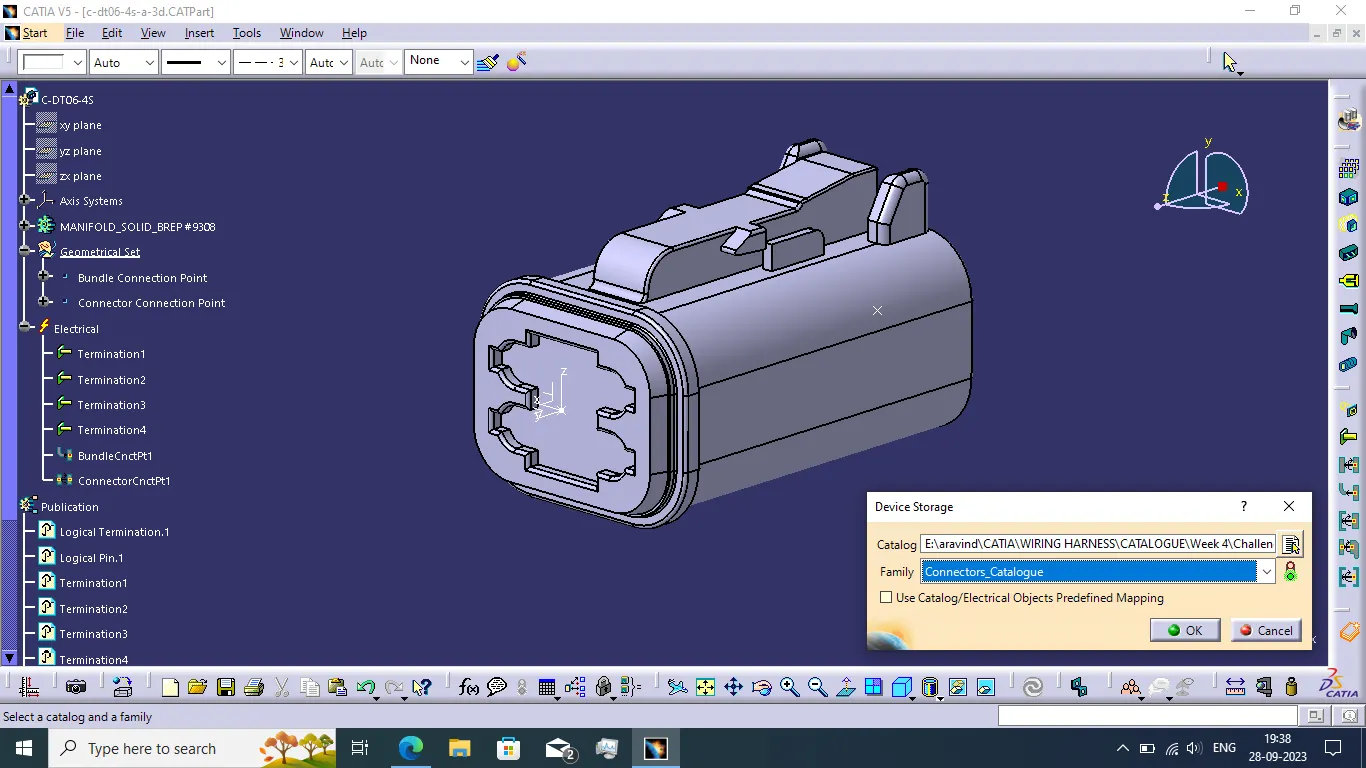
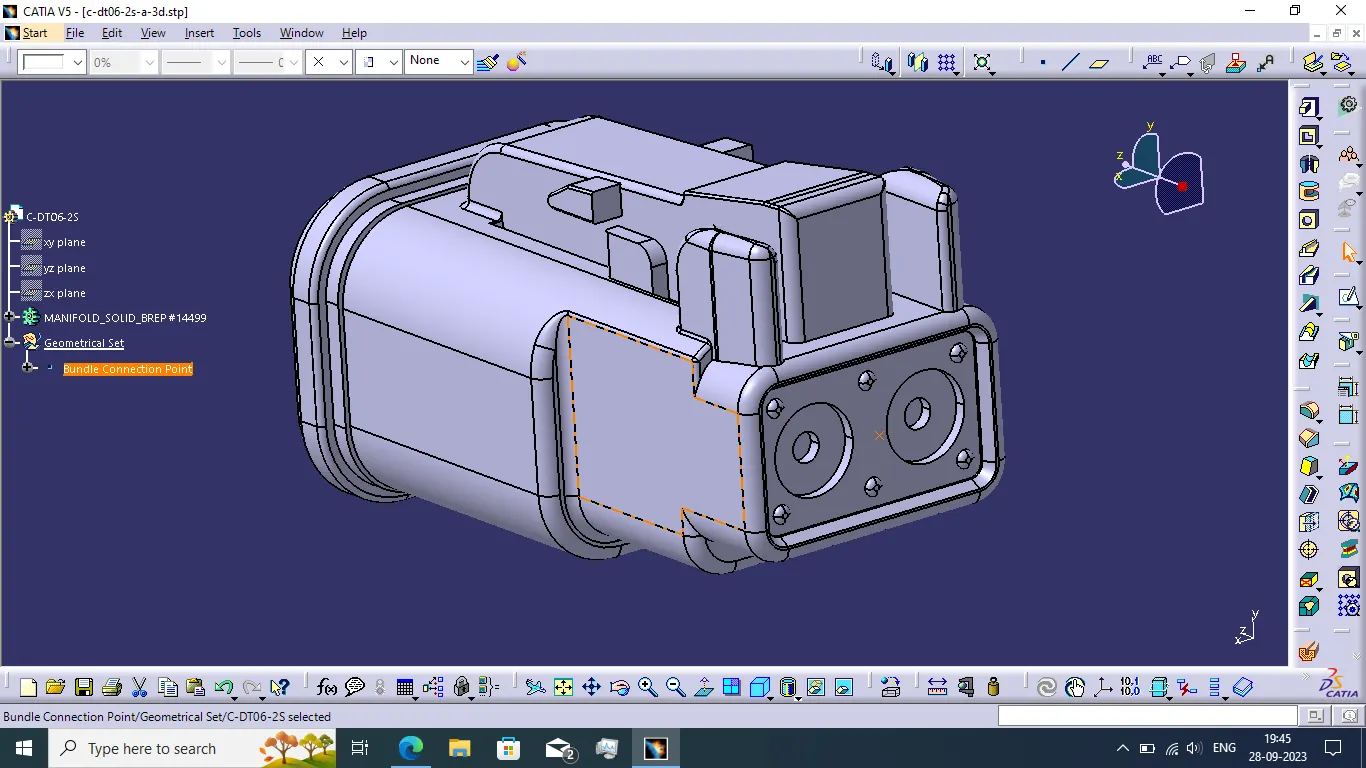
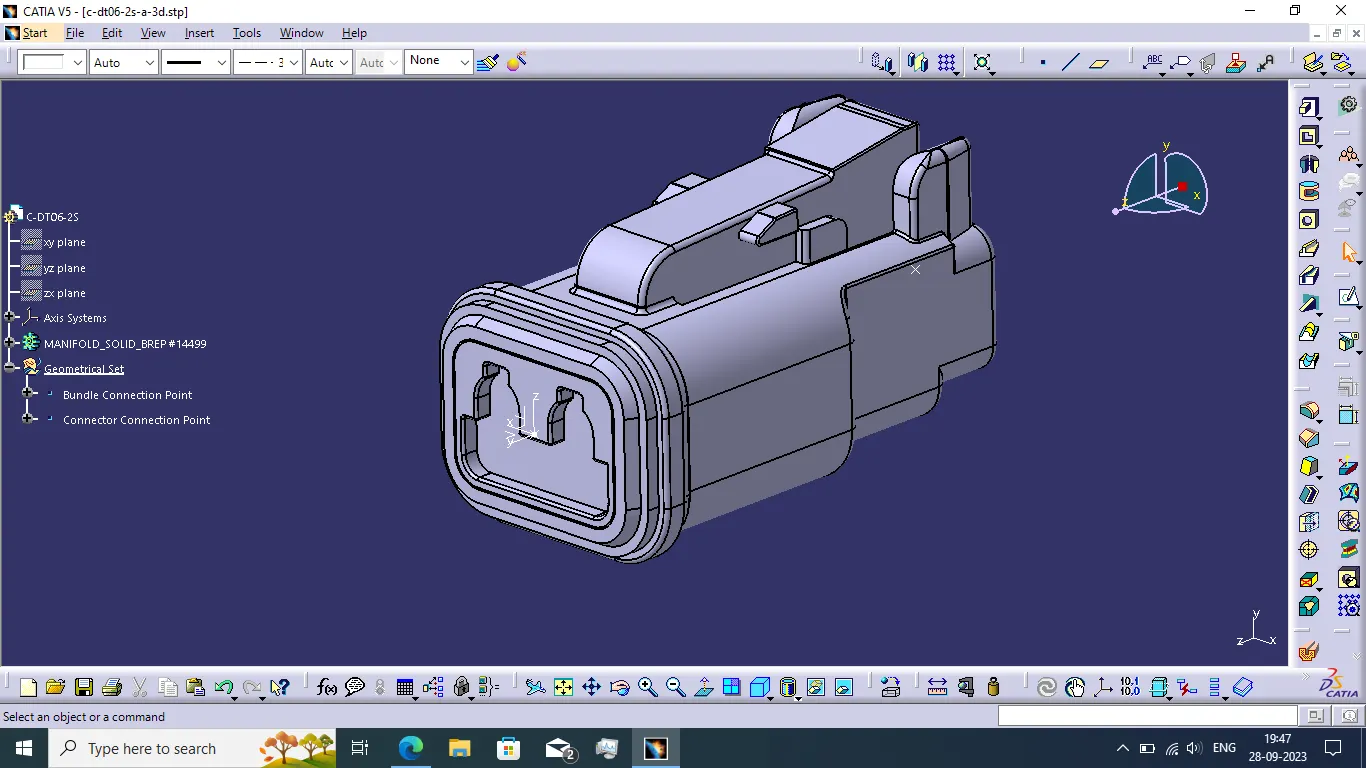
DT06-2S:
- First we want to create bundle connection point and connector connection point.
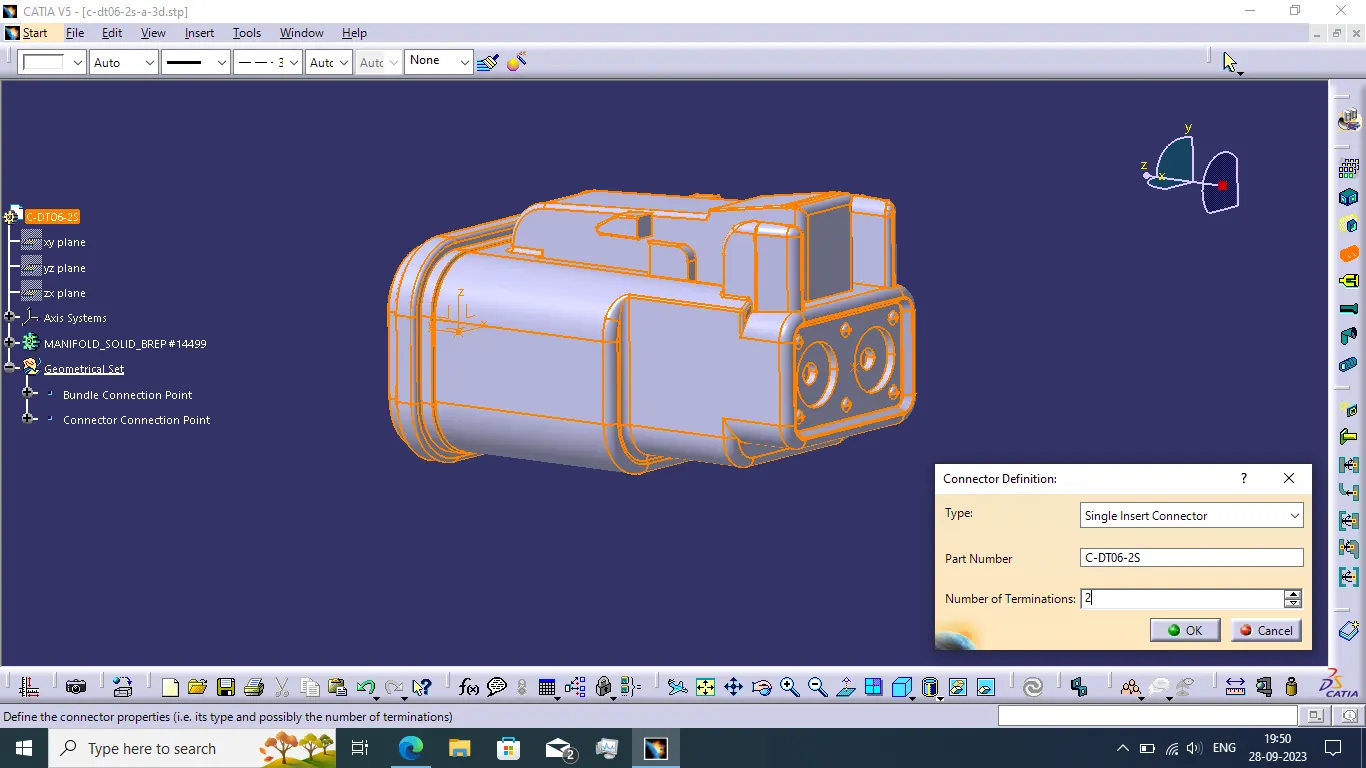
- Next we go to electrical part design workbench and define the connector electrically.
CREATING WIRING HAARNESS ASSEMBLY:
- Create the new product with name of assy_Wiring_Harness_Context.
- Next add the Geometrical_Bundle_Assy and Electrical_Bundle_Circuit to the Assy_Wiring_Harness_Context.
- Then Add the connectors into the Geometrical_Bundle_Assy product file.
- Go to the Mechanical asembly and Positioning all the required connectors to guide of given harness layout.
- Use translation and rotation command for positioning the connectors to the required positions.
- Also use compass manipulation method to position the connector.
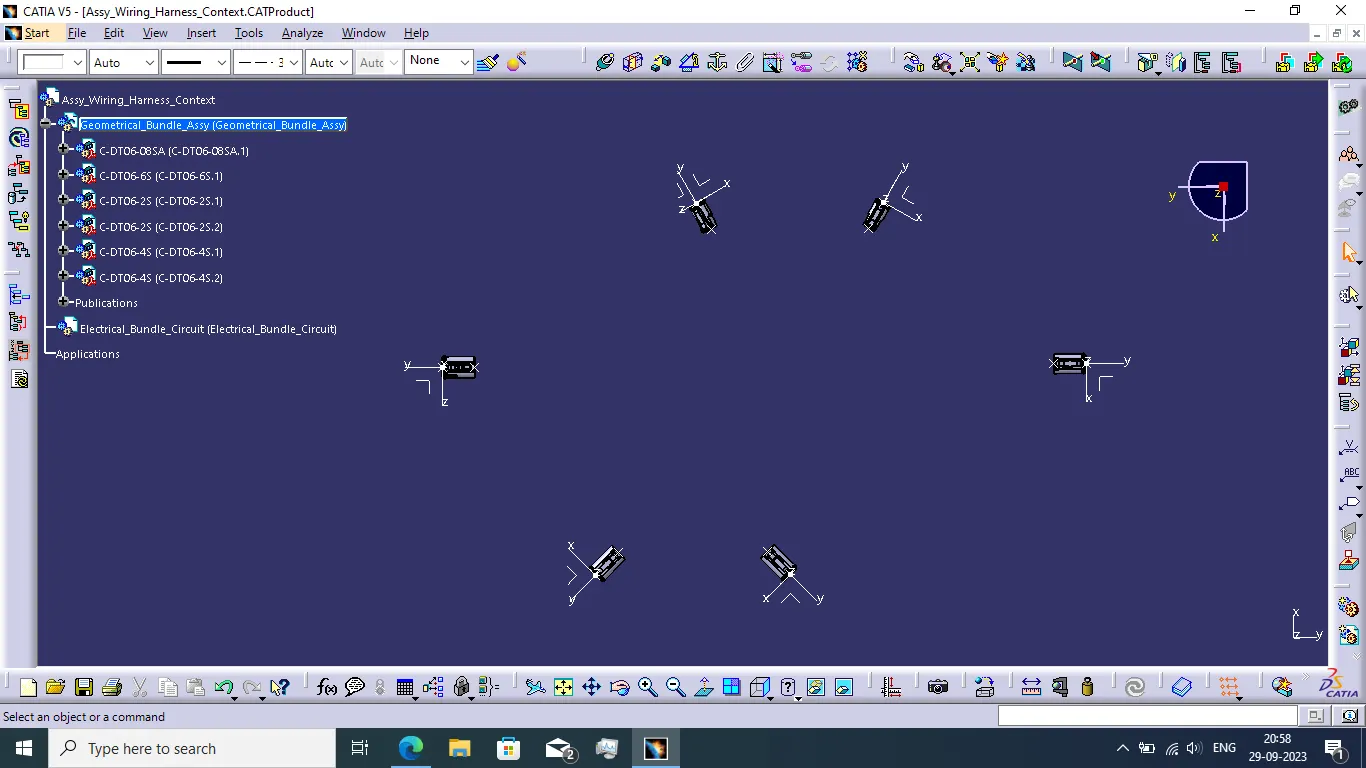
- When completed the positioning of all connectors next we go to the wiring harness assembly workbench.
- Then convert the mechanical assembly file of Geometrical_Bundle_Assy into electrical assembly file using geometrical bundle command to touch the required changable assembly.
- Defining of geometrical bundle is necessary for connecting the wires of connectors and creating harness assembly.
Creating wiring harness:
- Now we create the wiring and wiring harness of the given routing layout after positioning the connectors.
- First select the Geometrical_Bundle_Assy. Then use multi-branchable document command for creating the wiring of the connectors.
- When we select multi-branchable document command the branch definition box is opened and put the required data of the wiring and go to the route definition option and select the connectors to create the branches.
- Do the same process to connect all connectors using given routing layout for the reference.
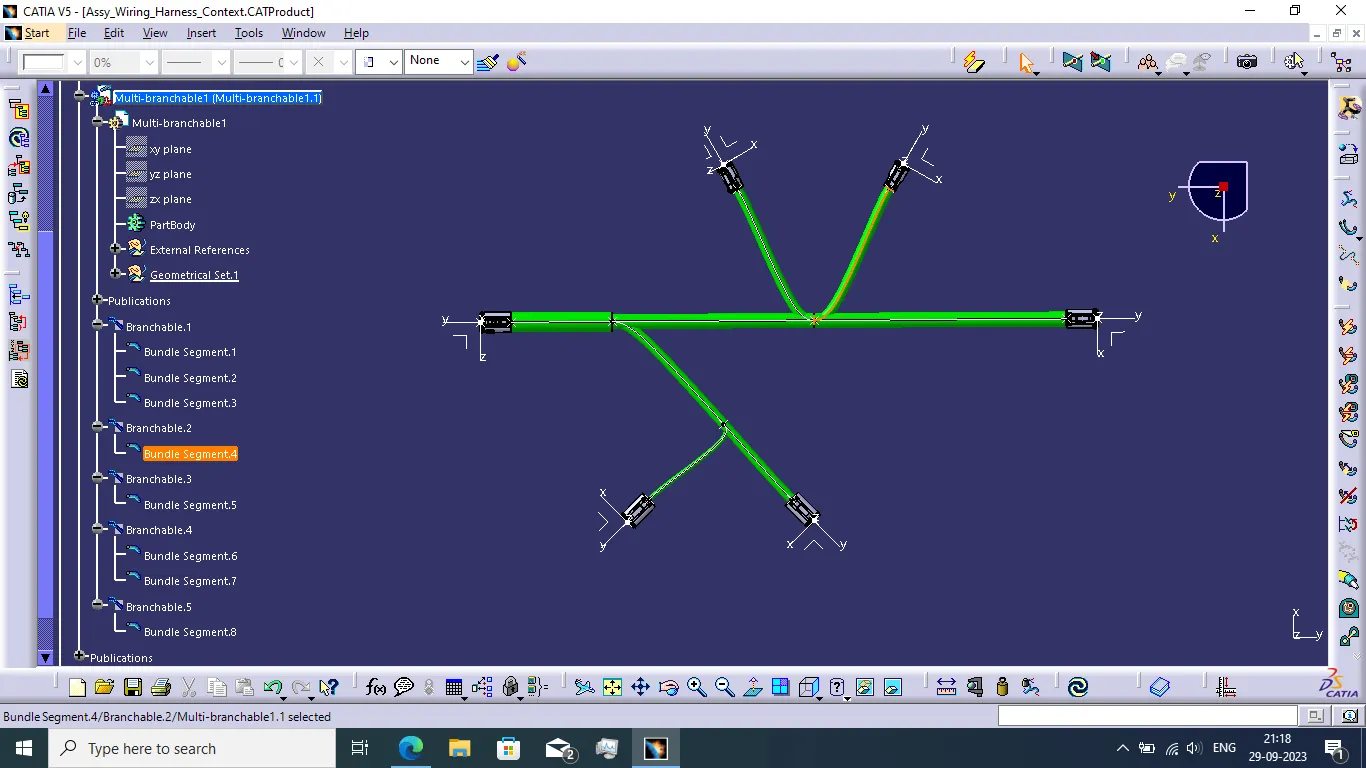
- finally we want to add the protective coving to the wiring harnesses for using protective cover command. we select the saved catalogue data to use this protective coving process.
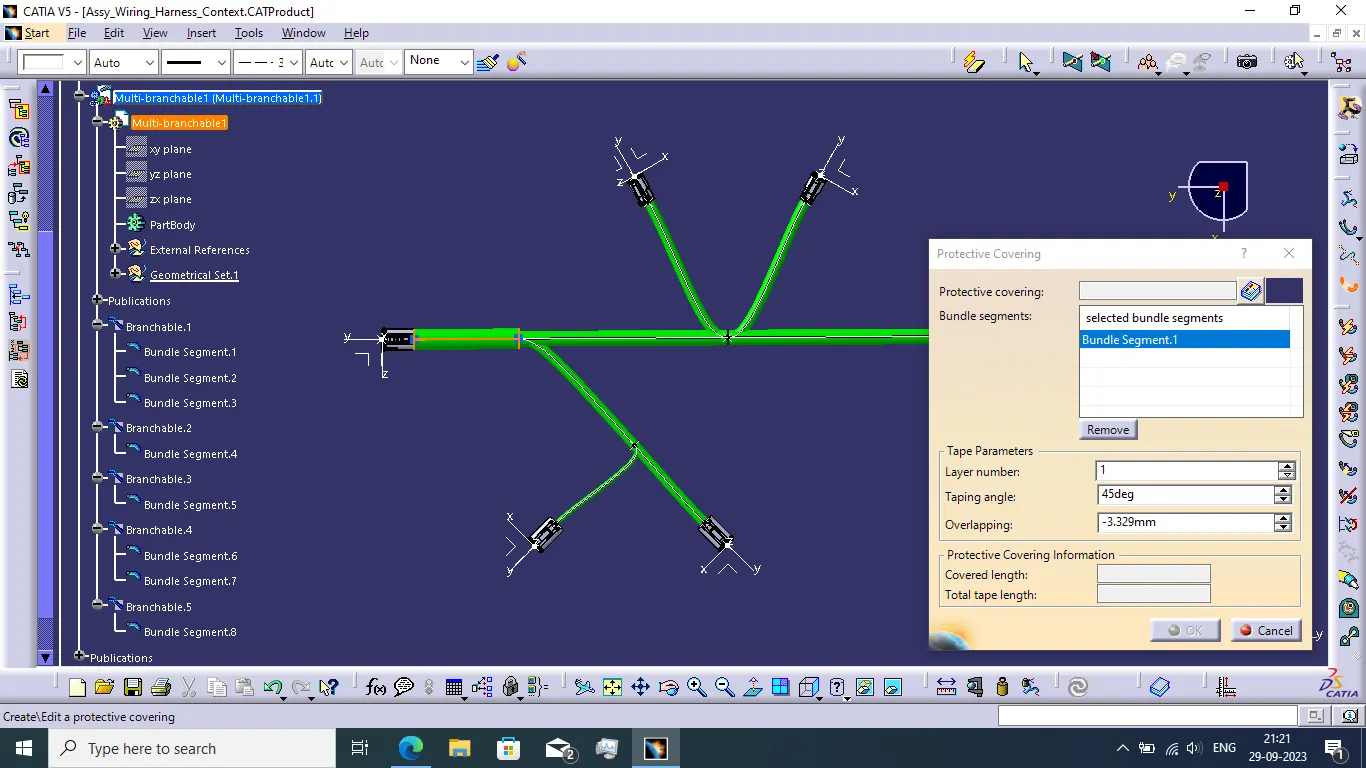
- When open the catalouge file select the required size of COT tube and change the start and end extremity of the tube to required distance.
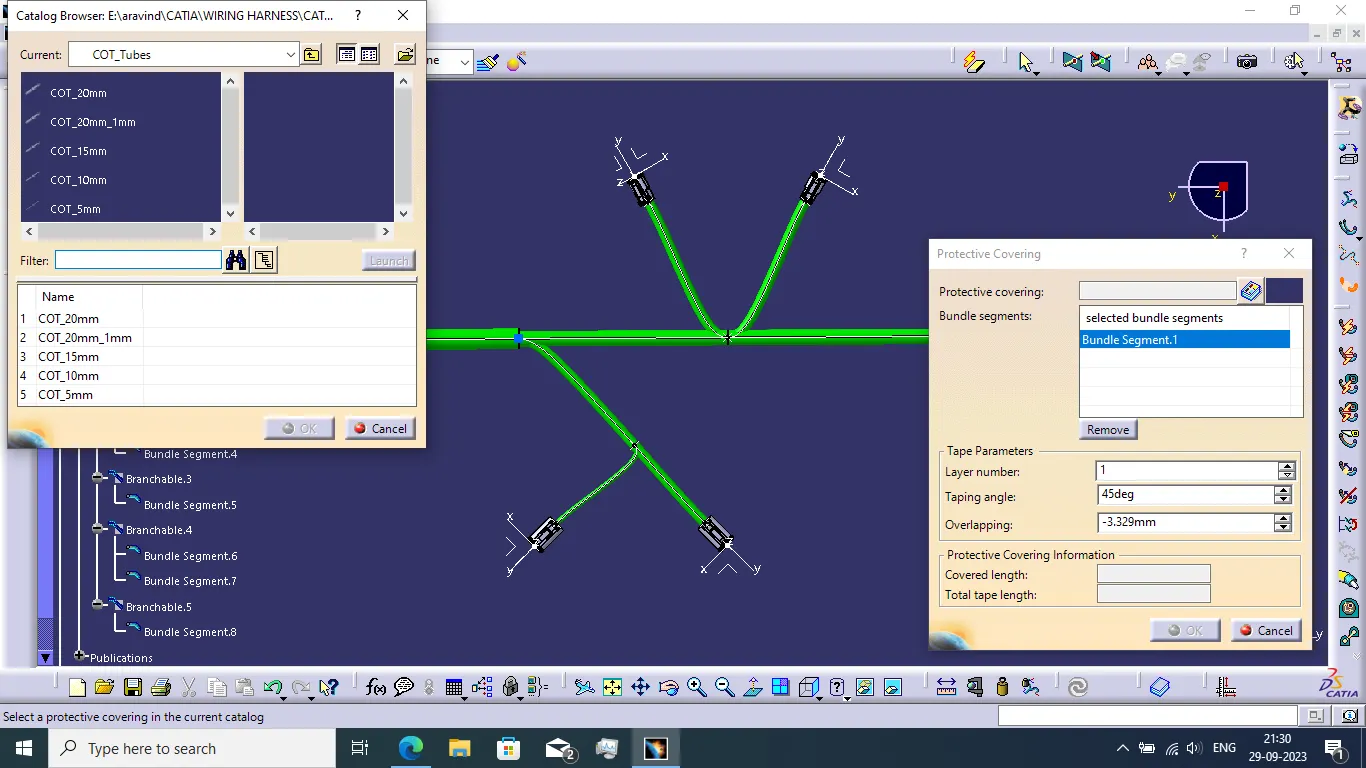
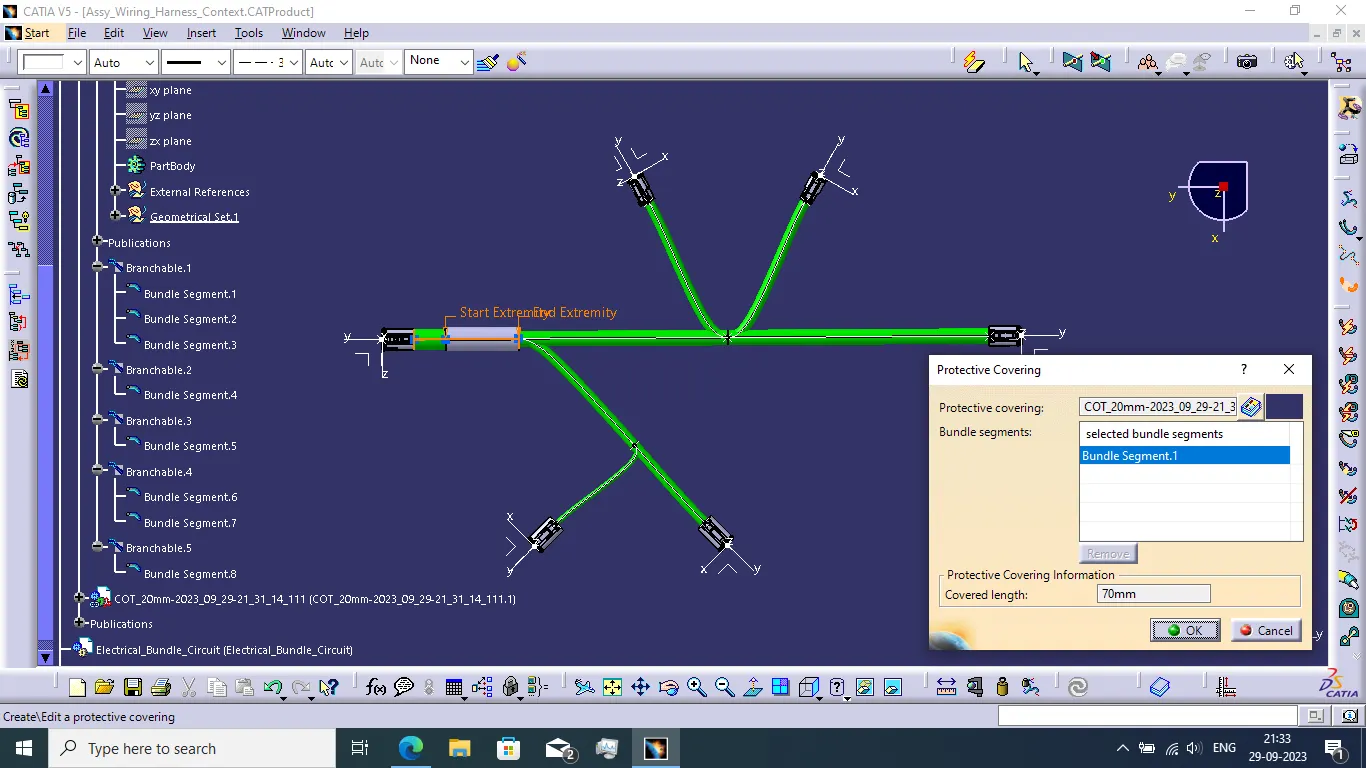
- Do the same procedure for adding COT tubes for all wiring. And keep the end extremity of all the connector end distance is 30mm.
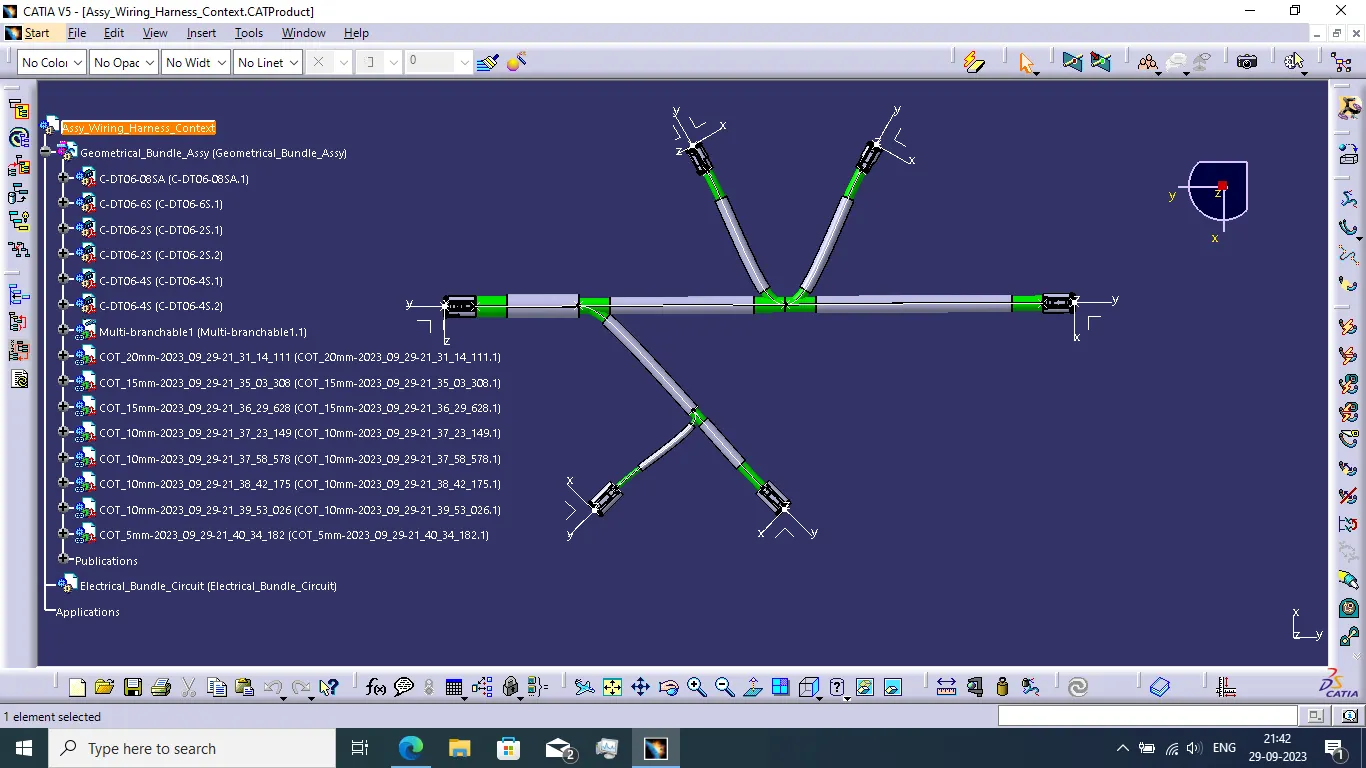
CONCLUSION:
Finally, I completed to routing the wiring harness basis of given routing layout. And add the all connectors DT06-08SA, DT06-6S, DT06-4S and DT06-2S to the routing process as same as given layout. Then add the protective covering of the wiring is also completed.