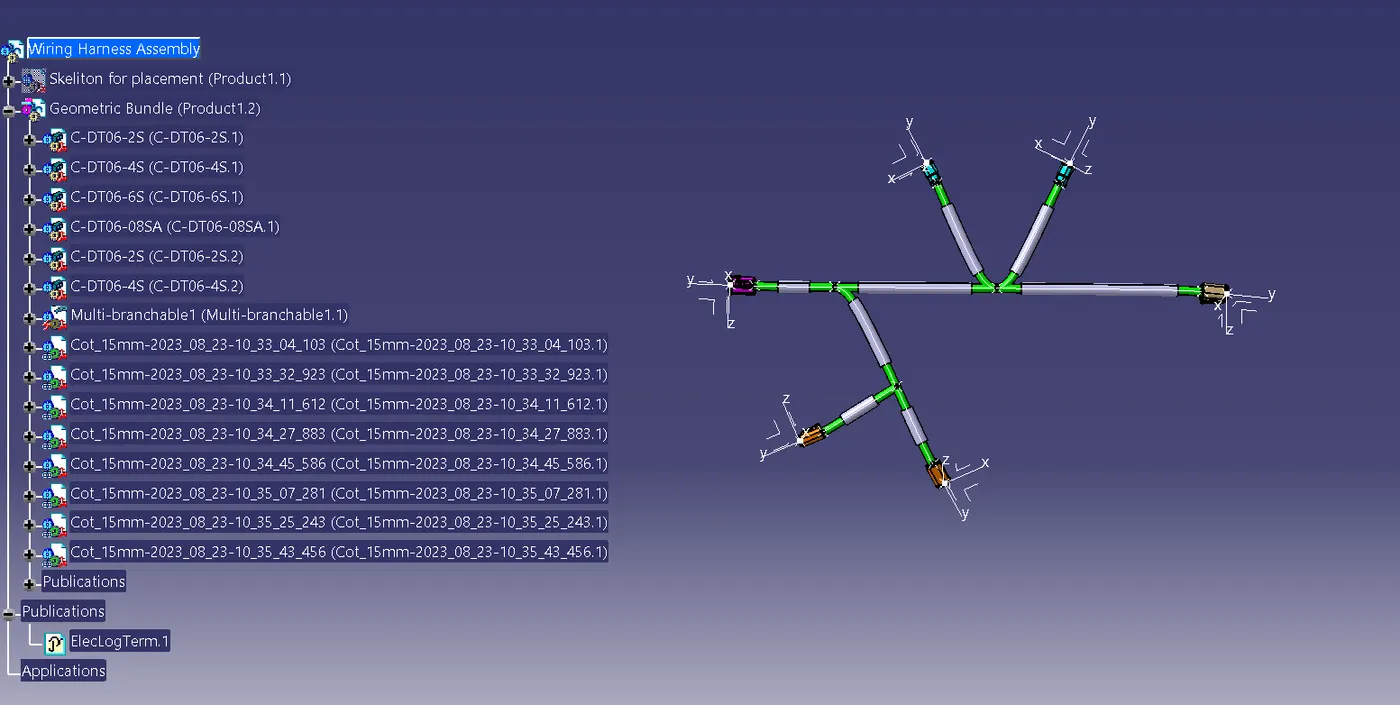
Wiring harness design in CATIA V5 - 3D modeling Week 4 Challenge
Step1: Ensure proper electrical definition of connector CAD files. Start by downloading all input files and organizing them in a single folder for streamlined management. Utilize the electrical part design workbench to define downloaded connectors. Note that terminal listing during definition is crucial, as adjustments won't be possible post-definition. Remember, connectors must have connection control and bundle entry points, vital for efficient routing.
- C-DT06-2S
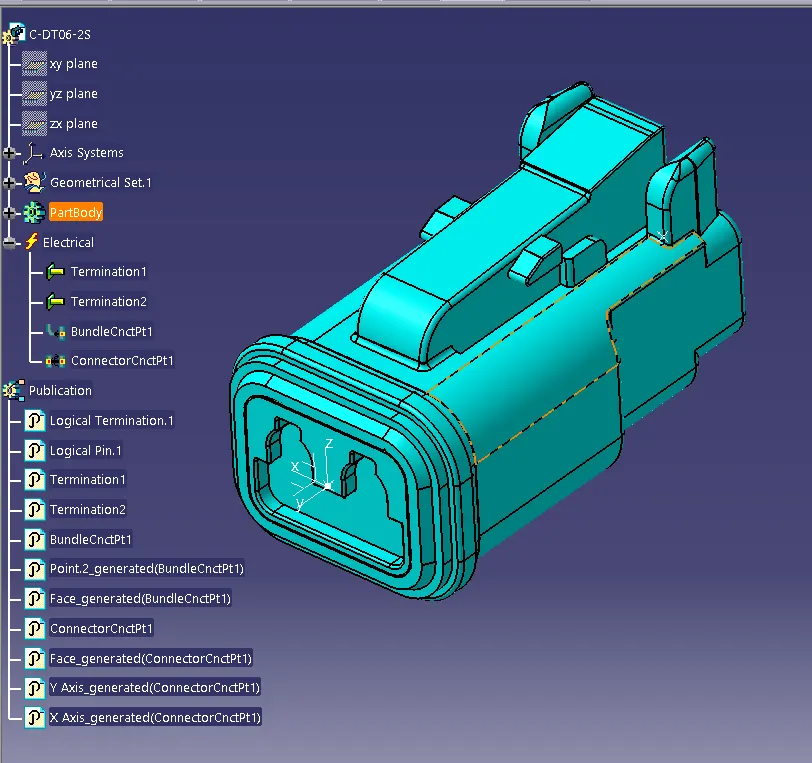
- C-DT06-4S
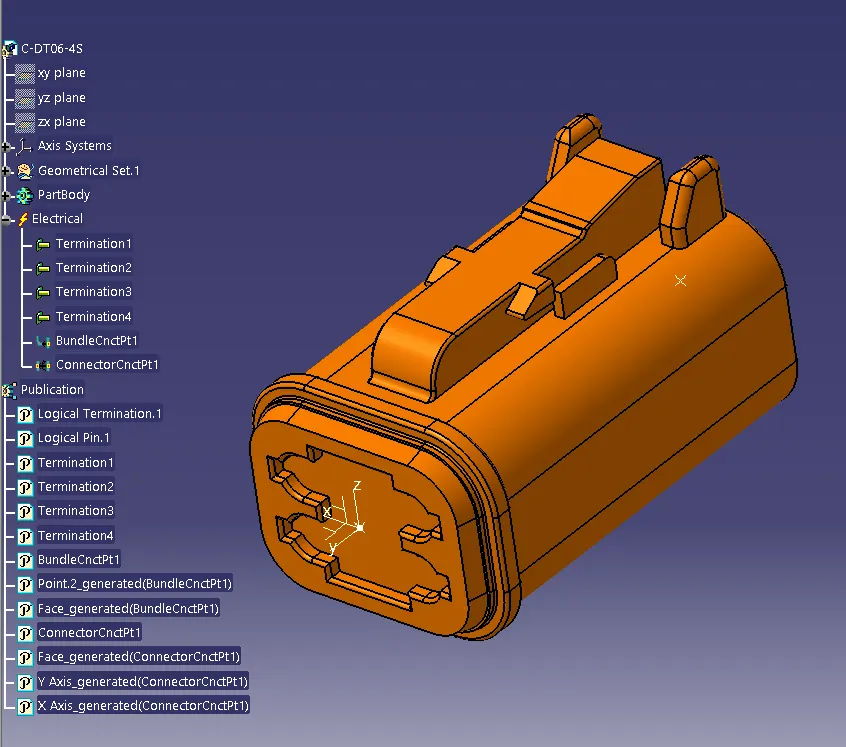
- C-DT06-6S
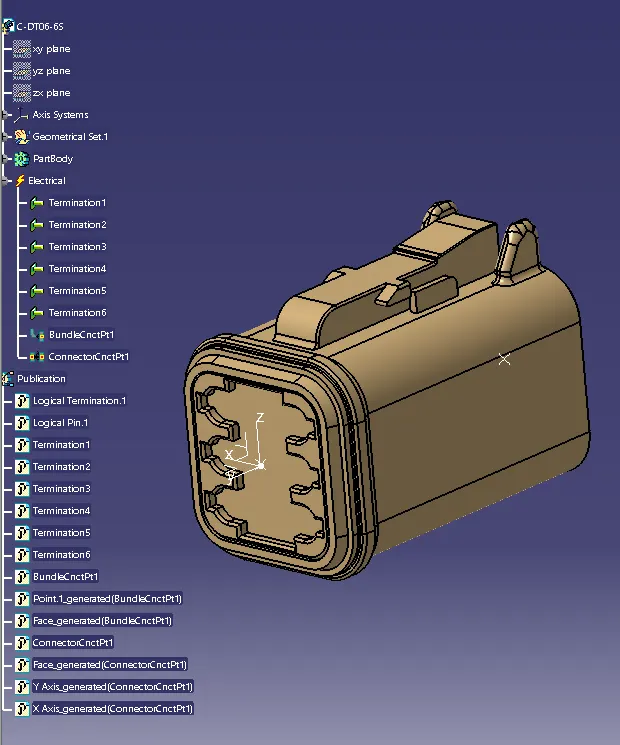
- C-DT06-8S
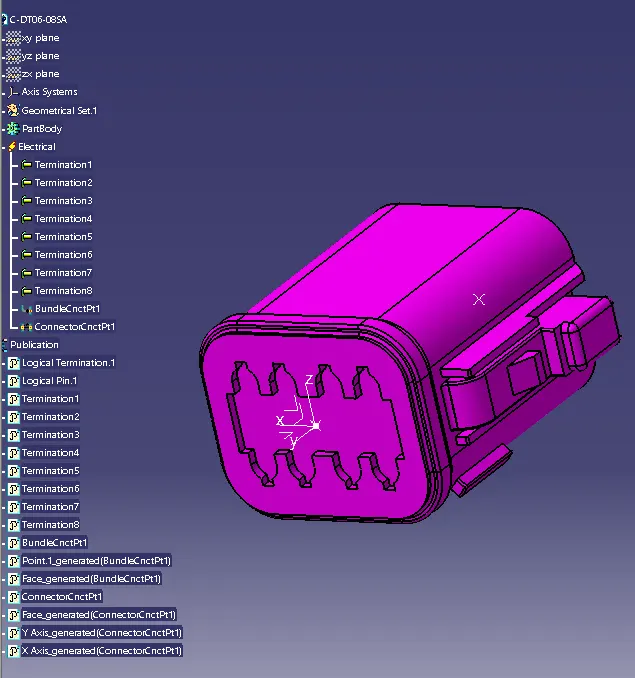
Step 2: Establish a central product termed 'Context Assembly.' Inside, generate two additional product files named 'Geometrical Bundle' and 'Skeleton Drawing.' Note that the 'Skeleton Drawing' aids connector positioning but lacks routing impact. Within the 'Geometrical Bundle' assembly, shift to the electrical harness assembly workbench, and characterize it as a geometrical bundle assembly/product.
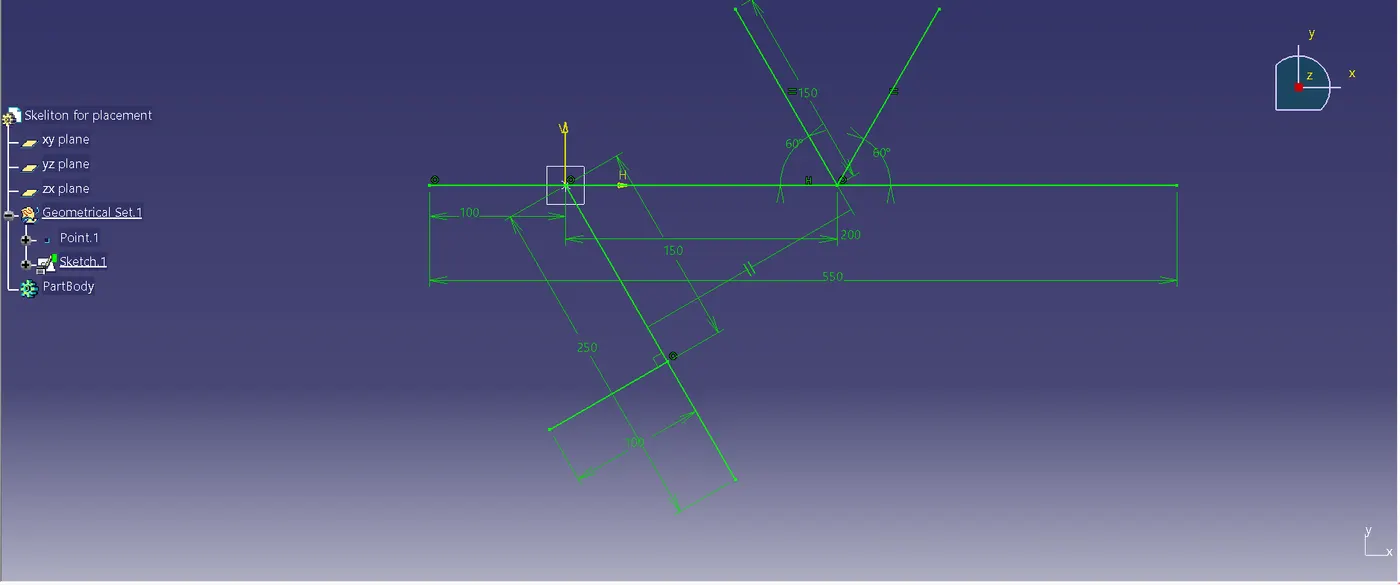
Step 3: Populate the 'Geometrical Bundle' assembly with all essential connectors for respective harnesses. Ensure inclusion of electrically defined connectors within the 'Geometrical Bundle' assembly.

Step 4: Open the geometrical bundle and use the manipulation tool, the compass and Smart move commands to adjust the position of the connector according to the drawing and you can use snap and rotational tool as well for positioning of the connectors.
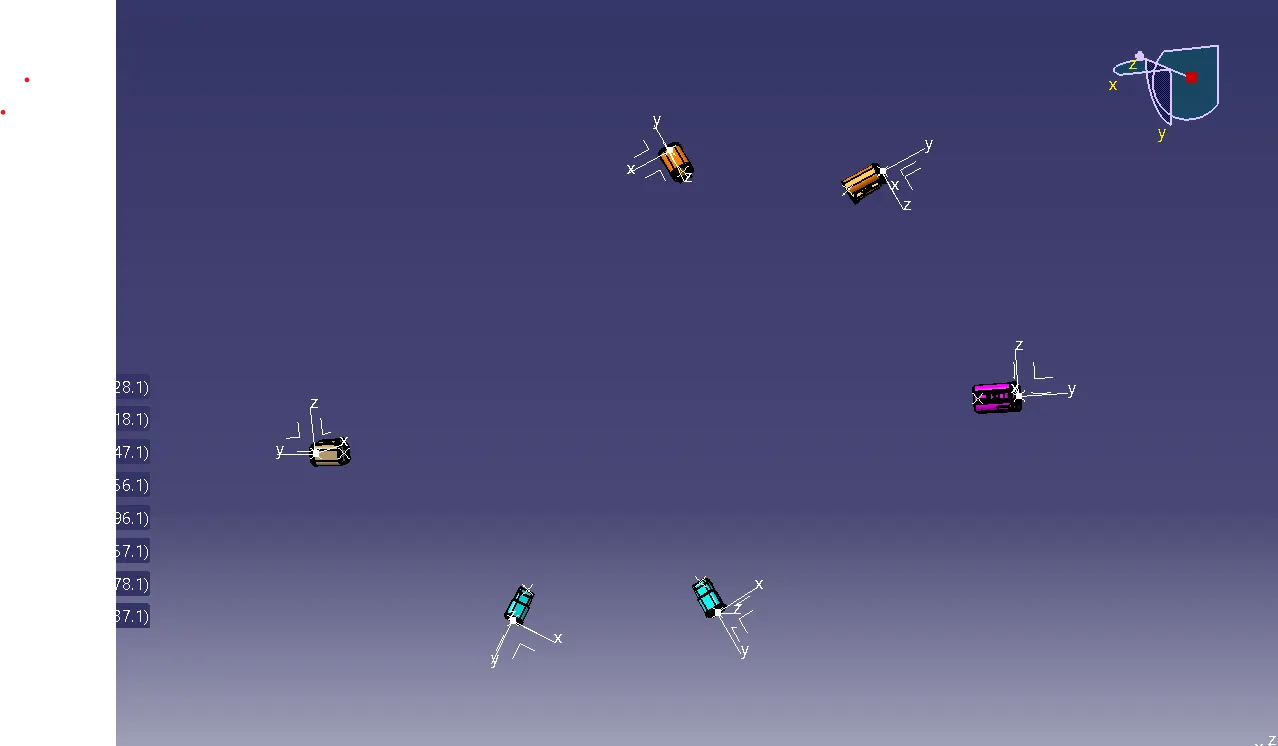
Step 5: Once connectors are appropriately positioned, initiate routing using the 'MULTI-BRANCHABLE' command in the electrical harness assembly workbench. Define branching using this command. The routing path is established between chosen connectors, and it can be adjusted using methods like tangency, exterior path, clearance-based automation, and other available tools."
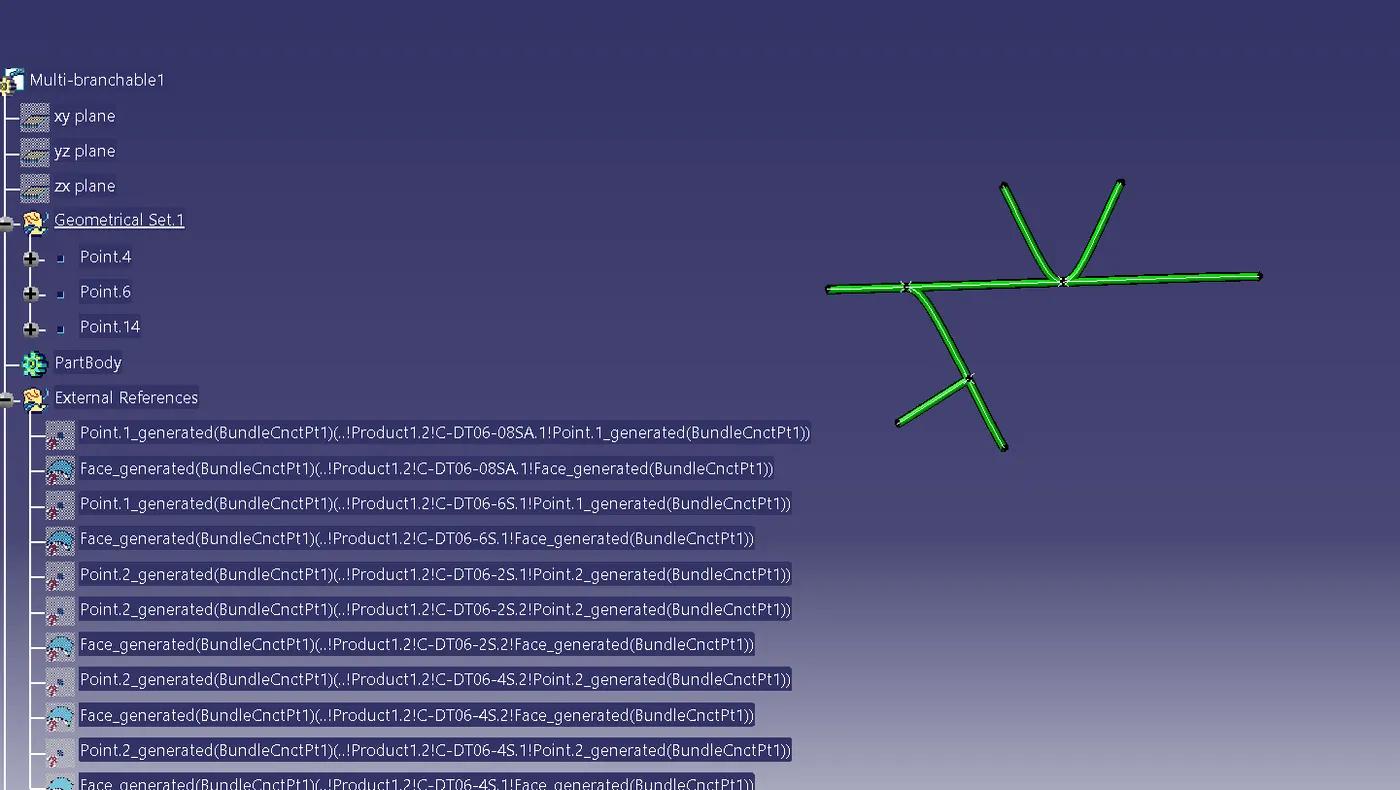
Step 6: Introducing cot tubes for both aesthetic appeal and a slight separation from the connectors. Access the catalog to add these tubes; you can either create new ones or use those stored in the existing catalog. Within the electrical harness assembly, navigate to the protective covering toolbar but we have to keep im mind that we have to keep end extremity at 30mm. Point to the specific catalog directory where cot tubes with standard diameters are saved.
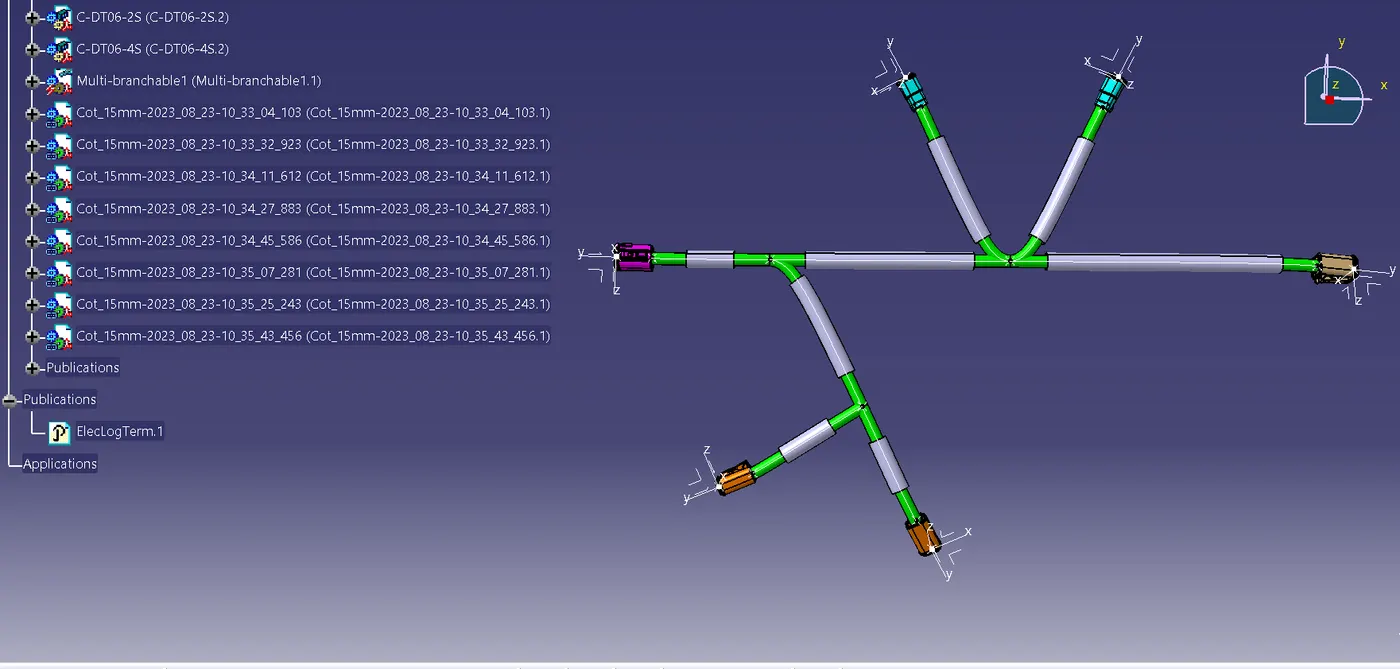
Final Assembly:-