Wiring harness design in CATIA V5 - 3D modeling Week 4 Challenge
Aim: Route the given harness layout in Electrical workbench. Make assumption for harness bundle diameters
1) To Route the following harness layout in the Electrical workbench.
2) Add protective covering on all branches connected to DT06-2S & DT06-4S connectors.
Given:
CAD data of the following Connectors:
- DT06-4S
- DT06-6S
- DT06-2S
- DT06-08SA
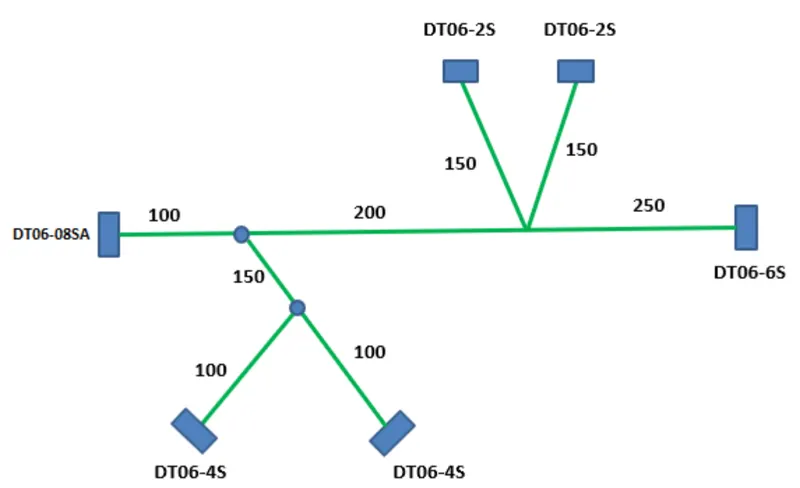
Connectors Layout Design:
Steps to be followed:
1. Download connector 3D data from te.com
- DT06-4S
- DT06-6S
- DT06-2S
- DT06-08SA
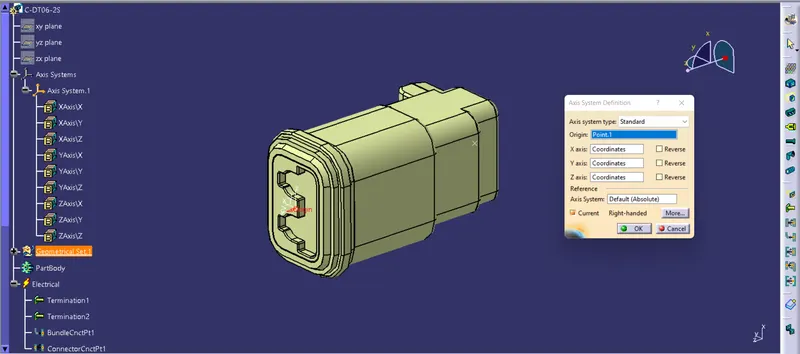
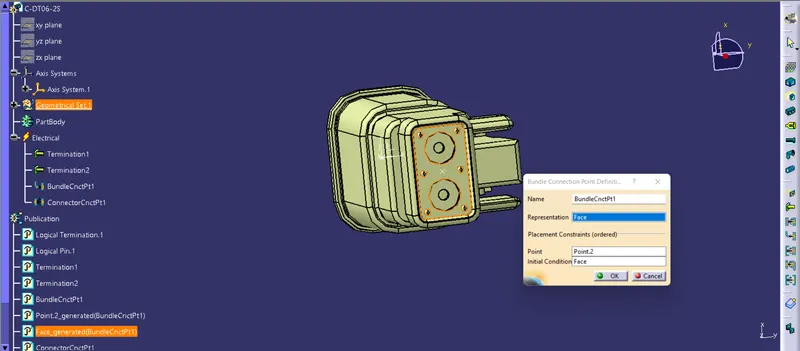
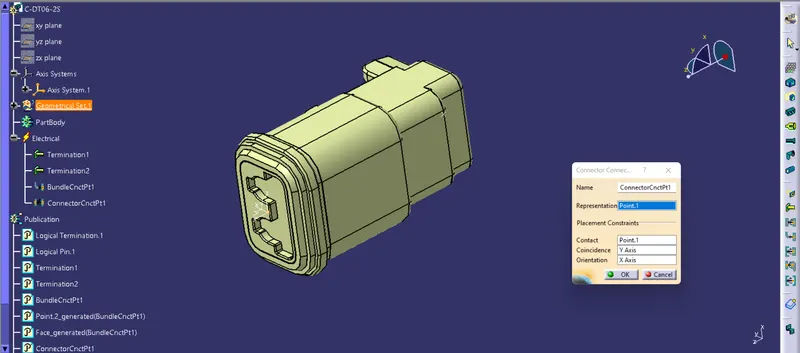
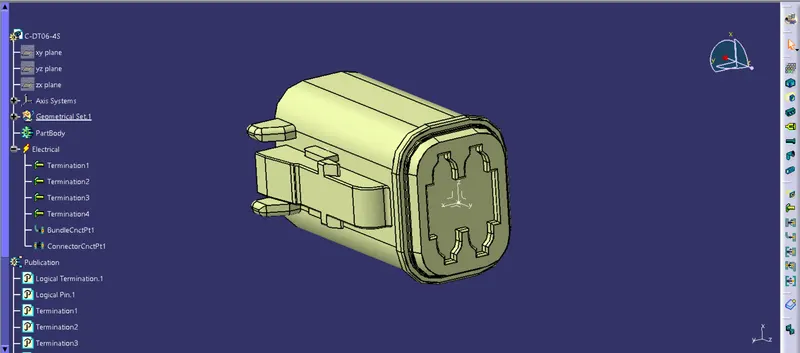
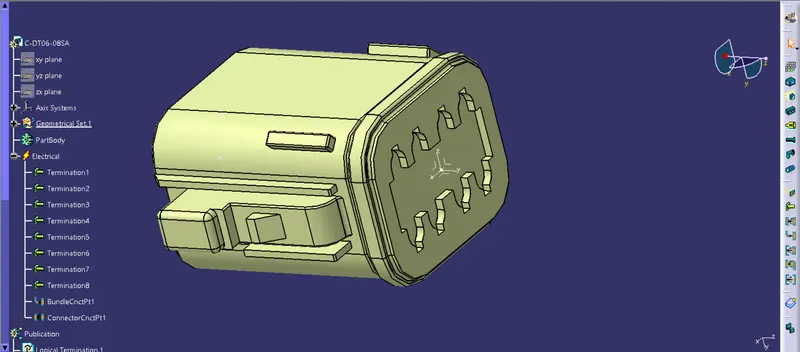
2. Convecting the Mechanical part into the Electrical part for that I had followed the following steps.
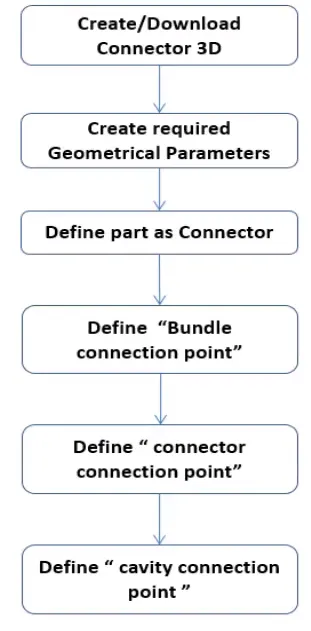
Defining Connectors properties -
- For DT06-2S
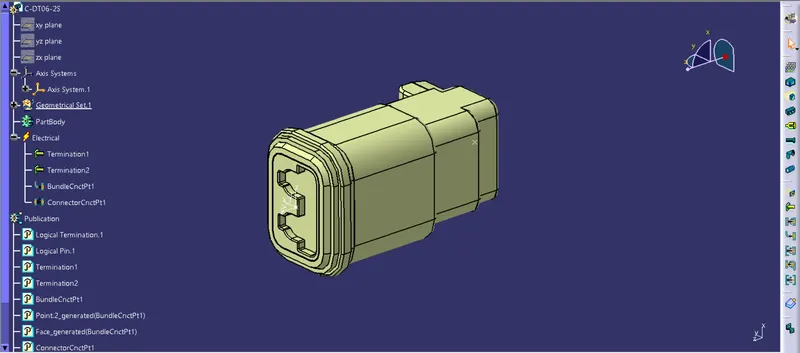
- For DT06-4S
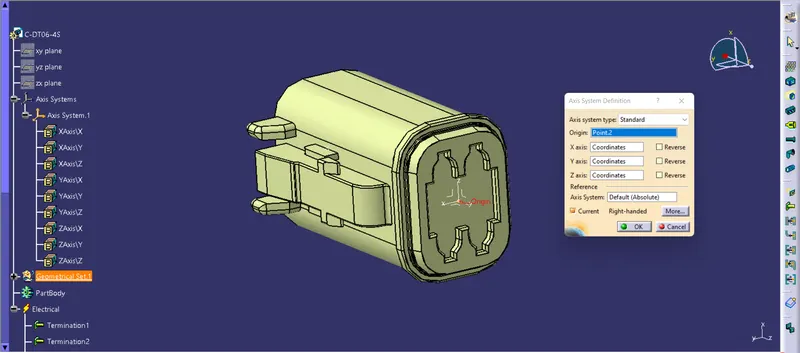
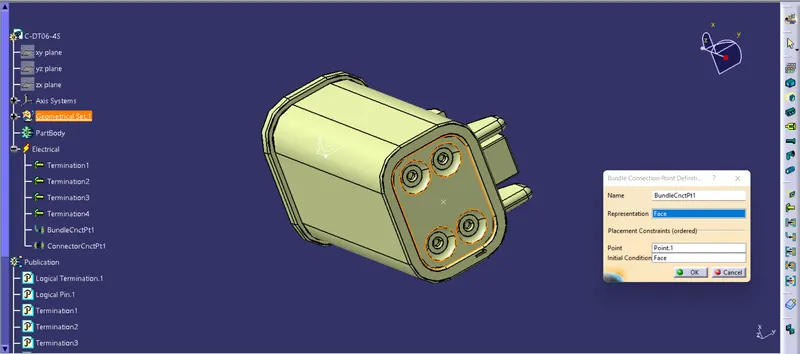
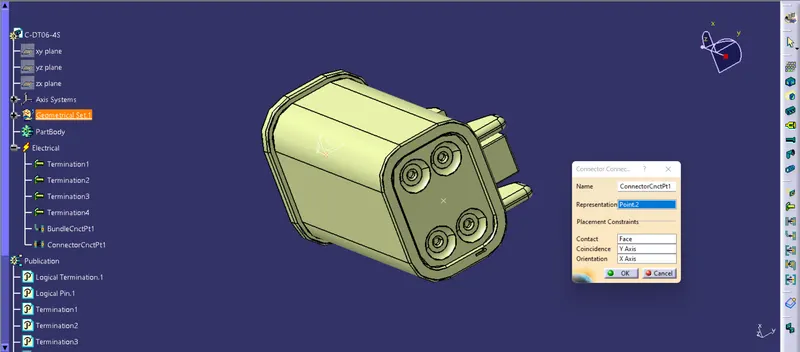
- For DT06-6S
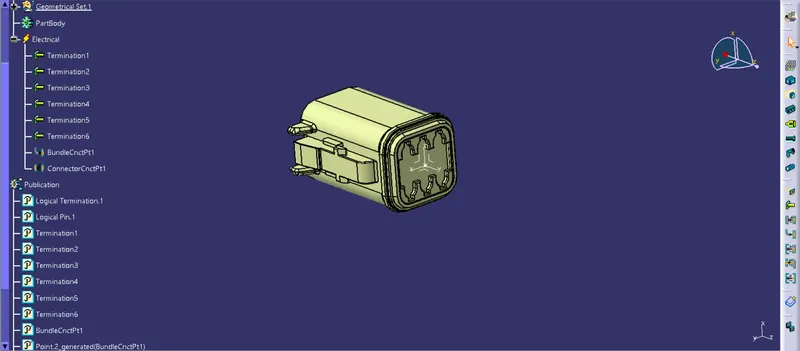
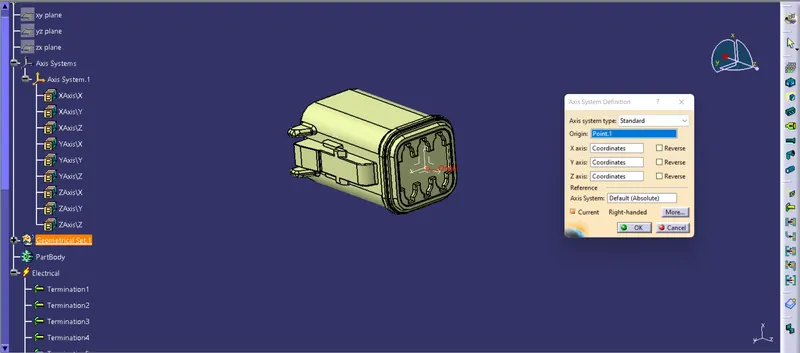
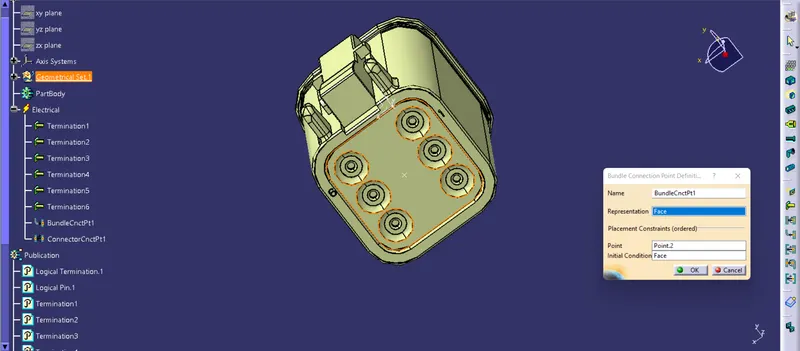
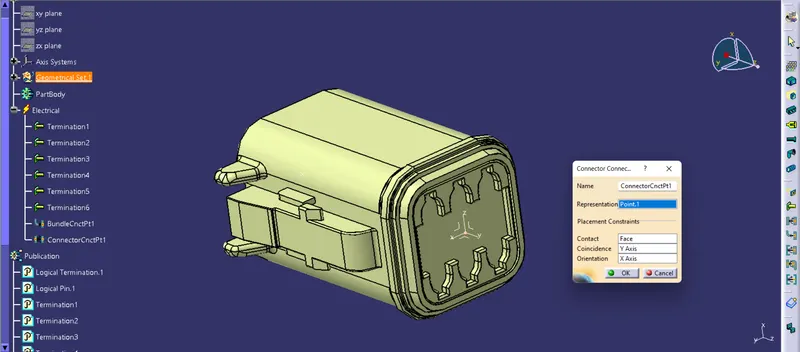
- For DT06-08SA
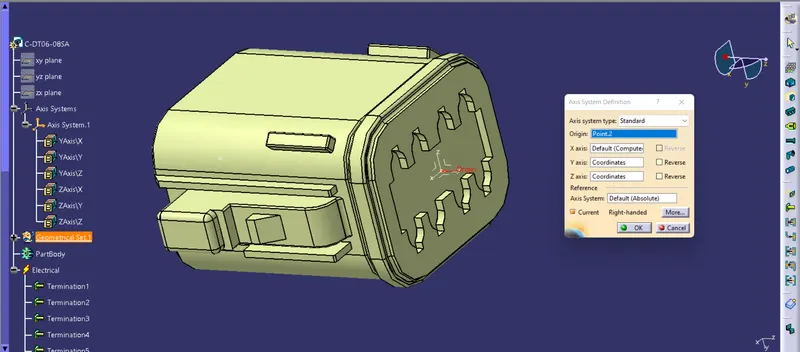
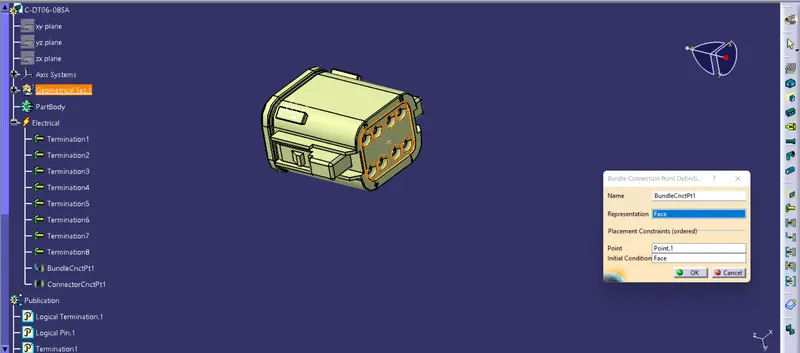
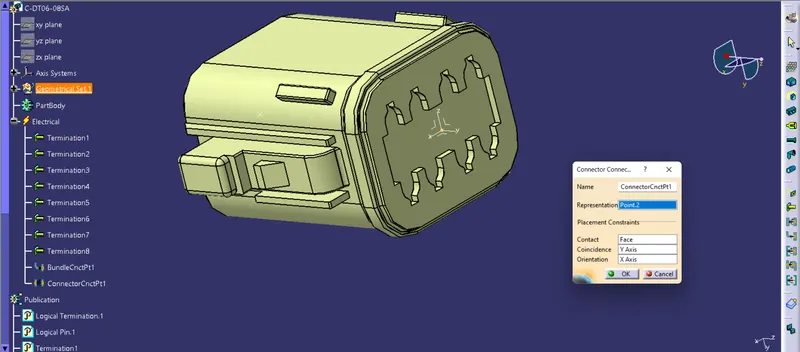
Sketch for reference
Defining connector is done now we need to make a sketch so we can easily align all connector in required diamensions
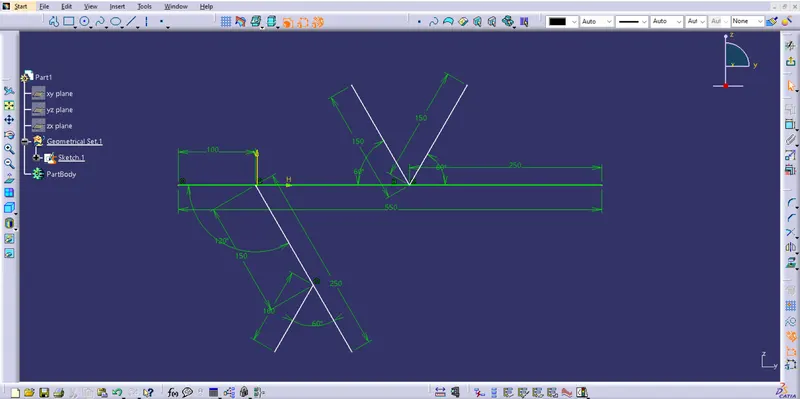
Import this sketch in context assembly and import all connectors from catalog
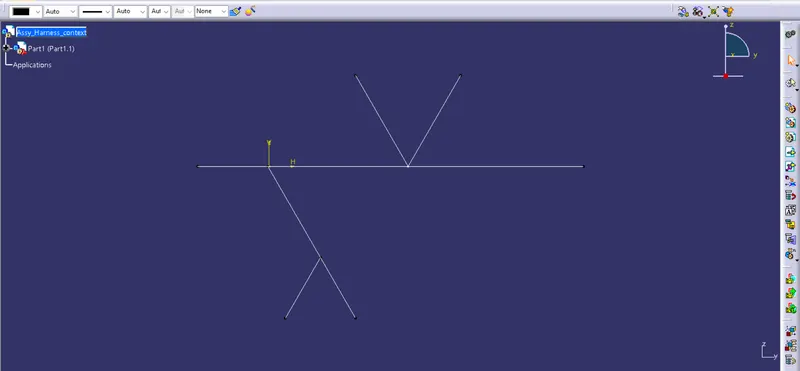
3. Aranging connectors
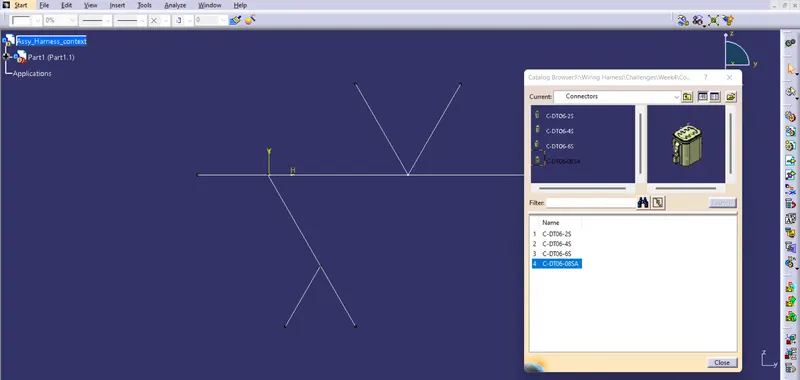
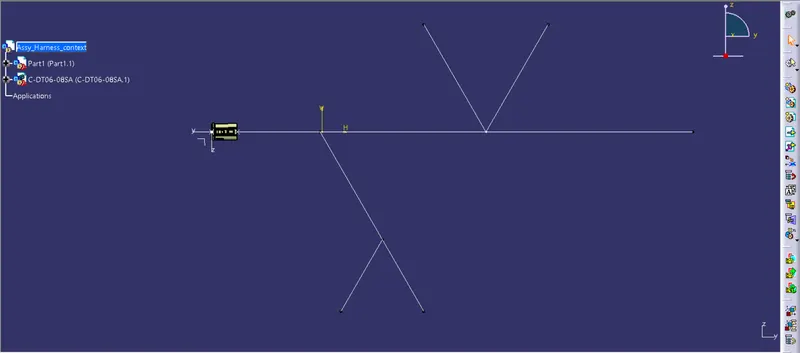
Use snap command and align them properly use compass or manipulation tools to align it properly and reset compass
similarly arrange all connectors
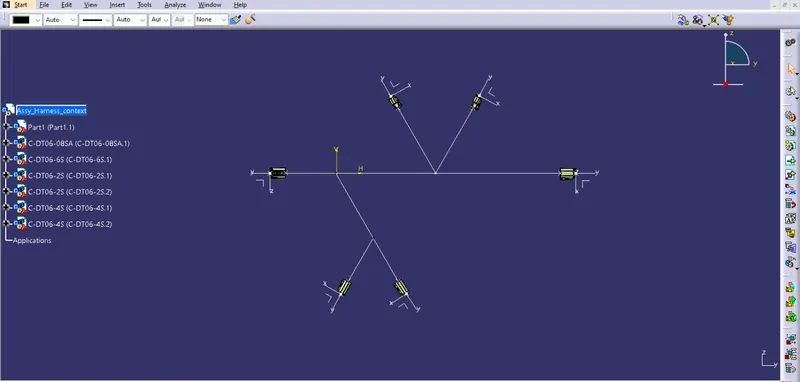
Now Hide sketch and go to electrical harness assembly
click on geometrical bundle then click on product file
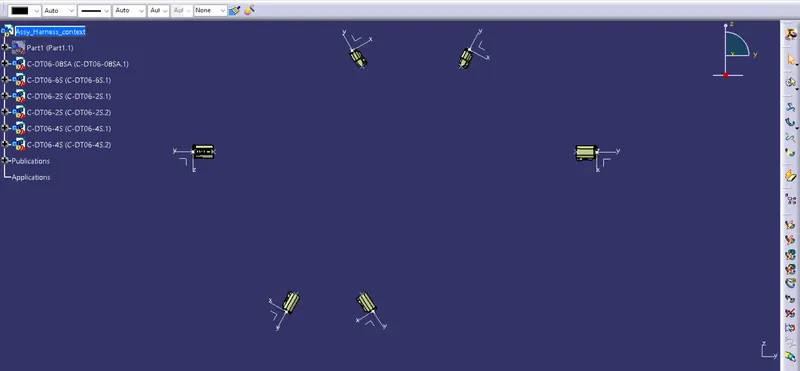
4. Routing harness
Multi brachable -
Now click on multi branchable and start routing
Select diameter and bend radius ratio and click on routr defination. then select first connector and then second connector change the tangent if required also provide some slack if required and click ok
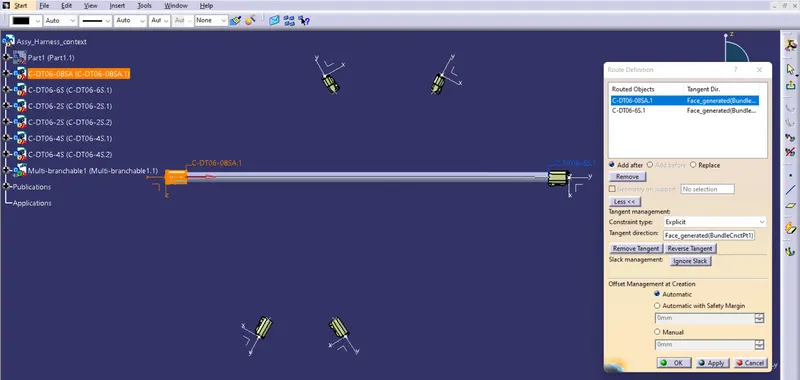
Now we need to branch point at 100 mm. so click on brach point defination and click on main branch and give dimension and then route the harness
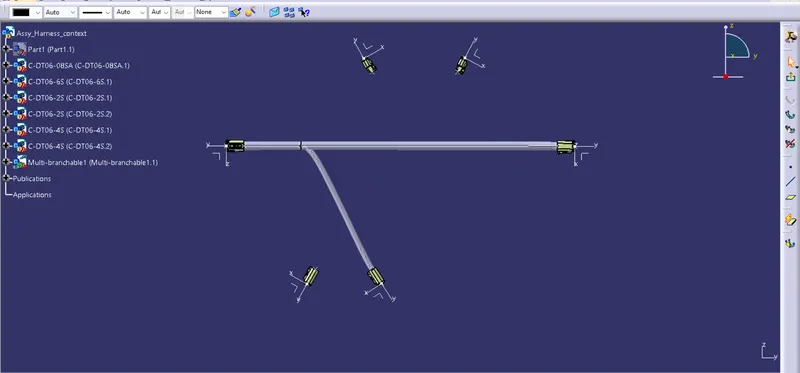
Similarly create branch point and route the remaining harness and connect all connectors
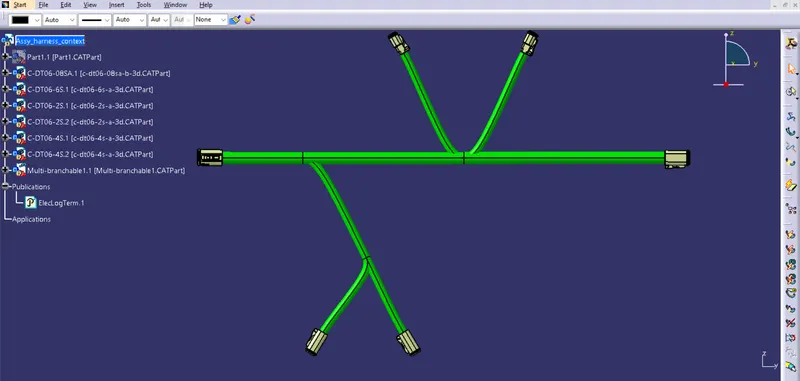
5. Apply protective covering
Protective covering -
Now we need to provide insulation on all branches so we need cot tubes
from our bundle we have 15 mm and 10mm harness bundle so create a cot tubes of this size
We have catalog for cot tubes so lets apply on bundles
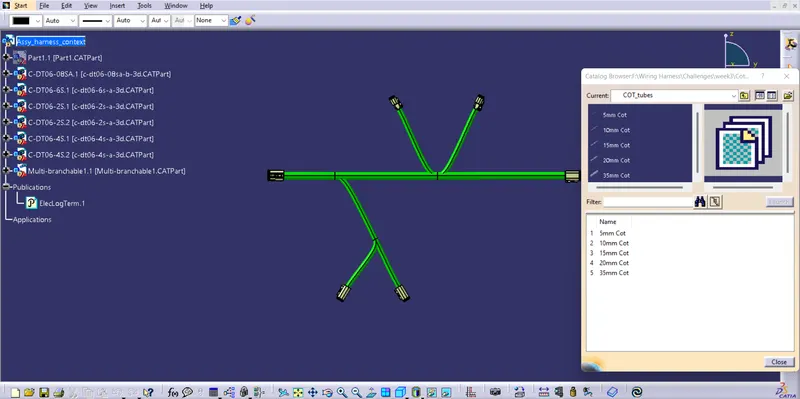
Now click on protective covering select branch and open catalog
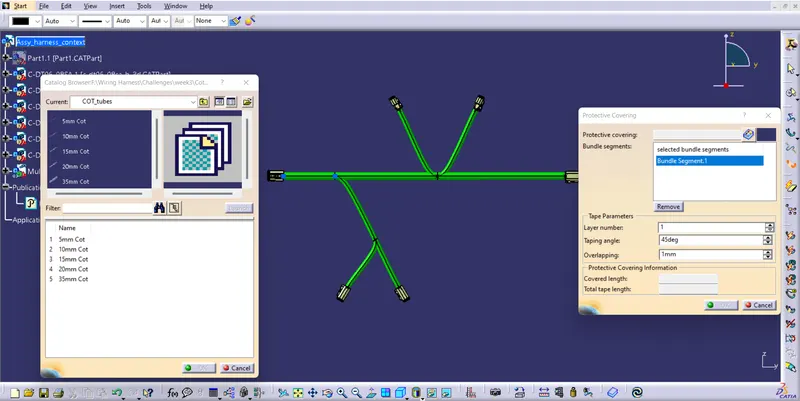
Now select cot tubes as per size and apply ok
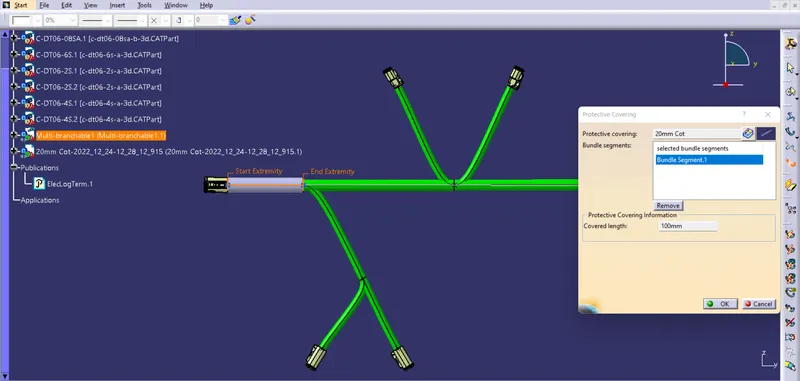
Now select end extrimity as 30mm from connector and then ok
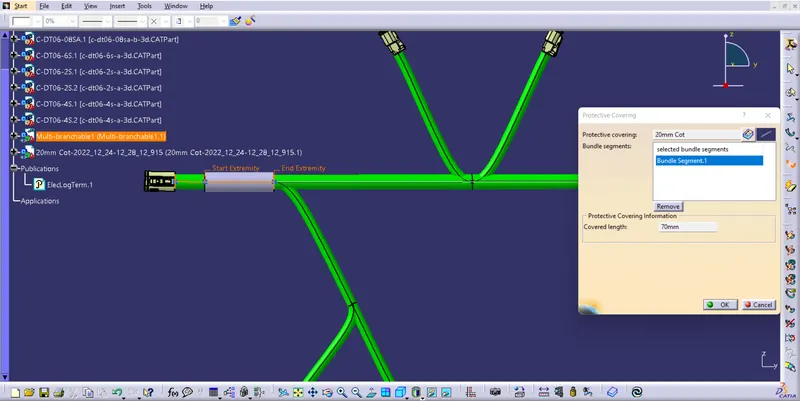
similarly apply cot tubes and give end extrimity as 30mm from connector side
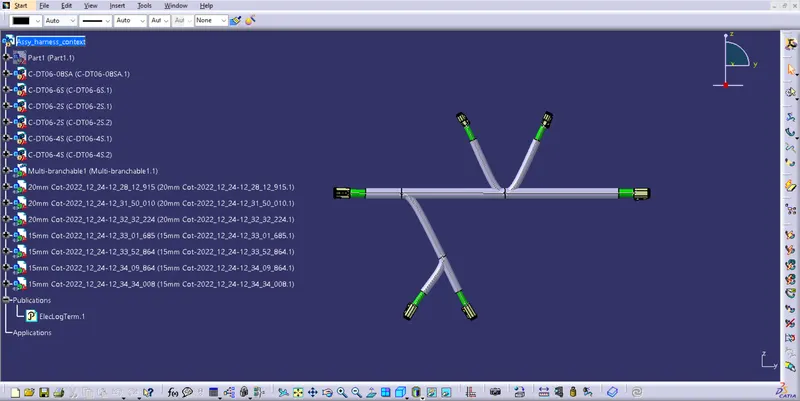
Now save it. We can delete the sketch if required but we can use it as reference we keep it.
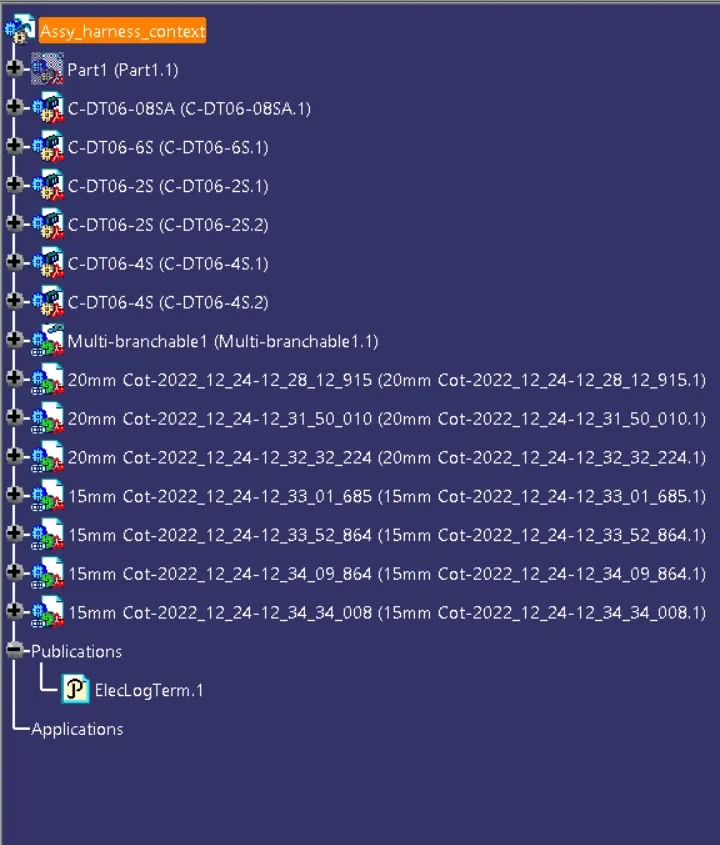
Feature tree -