Wiring harness design in CATIA V5 - 3D modeling Week 2 Challenge
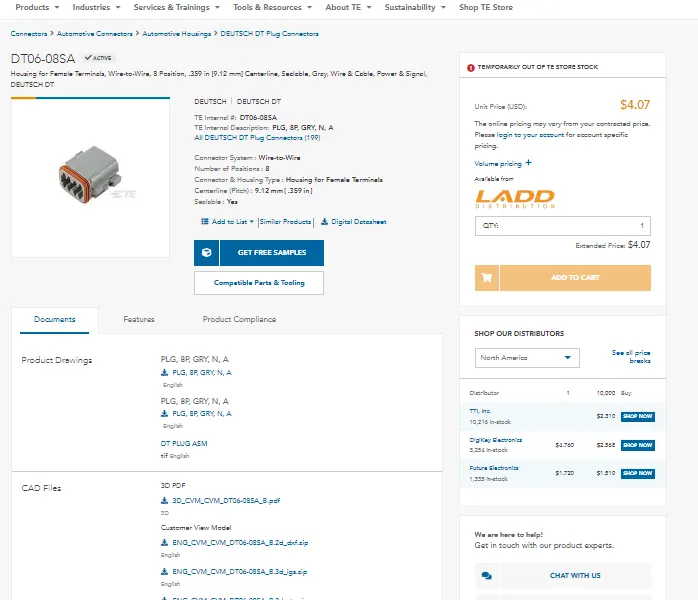
Download the parts from given link from TE.com as below
Deutsh Connector Tyco Housing Connector Accessories--Clip
Connector--A device which connects electrical circuit.it contains male and female contacts.
Clip-- Mounting clips are used to hold the connectors which are anti rotational.
Open catia V5 and import the CAD File Deutsch DT06 – 08SA.
in this connector consists of 8 postions.
adding point on contact side
added point on cable entry side as below.
adding axis system as below on both side.
Y-- Axis for Coincidence
X-- Axis for Orientation.
Now this part is on part design we need to switch to electrical part design in which mechanical part is converted into electrical part design.
in this section we have to define the part like Connector, bundle connection point and Connector Connection point.
Defining Connector--
As i mentioned earlier 8 postions/ terminals, so update 8 in num of terminations.
Defining as Bundle connection as below
please select as below.
click ok.
Defining as Connector connection point as below.
click ok.
Below snap represents electrical properties as below.
import Cad file into CATIA V5
creating point of definition
create point on mating face of connector as below
adding point on rear end of connector as below.
adding axis system for both side of connector as below.
Y--Axis for coincednce
X--Axis for orientation
Now we need to use same method on mounting side of coonector as below.
Now move to electrical part design
defining as connector
there are 3 postions in this connector
Defining Bundle connection point
Defining connector connection point.
Adding cavity connection point on mounting side of connector
overall all electrial properties are added as below.
Now open the mounting clip in catia v5 and add the point of defintion in part design
</> <>> <>< ></> <>> <>> <>< ></>
<>>
<>< ></>
<>>
<>>
<>< alt>
next move on to electrical assembly design in which we need to mount connector on clip by using electrial connection device option
select clip and you can see green color connection point click on that point both are assembled as below.
you can see perfect mounting in below image.