Wiring harness design in CATIA V5 - 3D modeling Week 2 Challenge
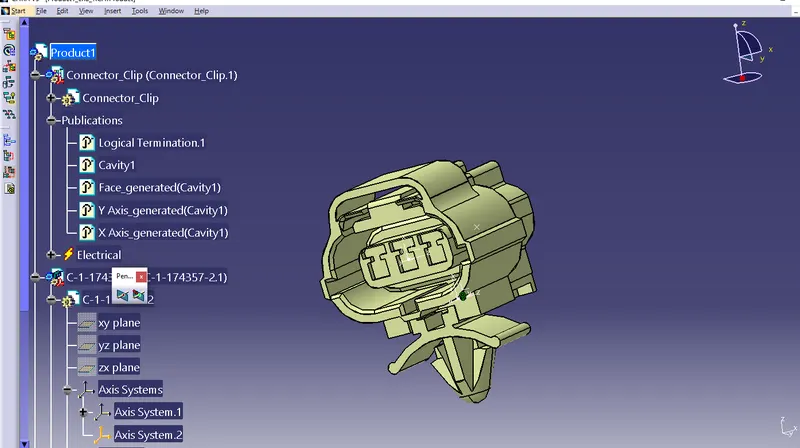
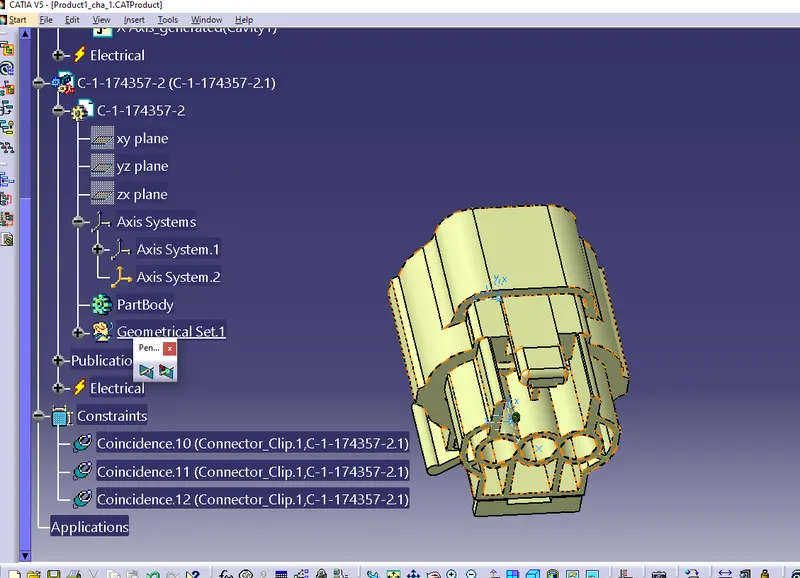
Download following connectors & Connector clip cad data from given link & define it as Electrical Connector using Electrical Part design Workbench. Define all the necessary properties to Connectors & Clip.
- Deutsch DT06 – 08SA ( https://www.te.com/usa-en/product-DT06-08SA.html)
- Tyco 174357-2 (https://www.te.com/usa-en/product-2-174357-2.html?source=header-match)
- Tyco 85229-1 – (https://www.te.com/usa-en/product-85229-1.html?q=85229&source=header)
AIM- Define given connectors & connector clip as an Electrical Connector and add their necessary properties using Electrical Part design workbench in CATIA V5
OBJECTIVE- The objective of this project is to first, download the given files from TE.com then define them as an electrical connector or equipment and lastly give all the required electrical properties to them using the electrical part design workbench on CATIA V5.
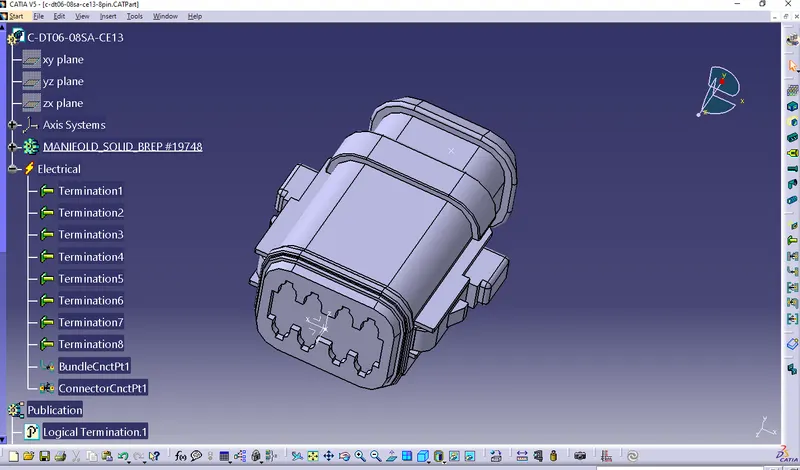
These are the steps required to do this project-
- Create the required geometrical parameters for connector
- Create a bundle entry point
- If connector accommodates clip then define a geometrical parameter for the clip
- Define part as a connector or mounting equipment
- Create bundle connection point
- Create a connector connection point
- Create a cavity connection point if there is a clip
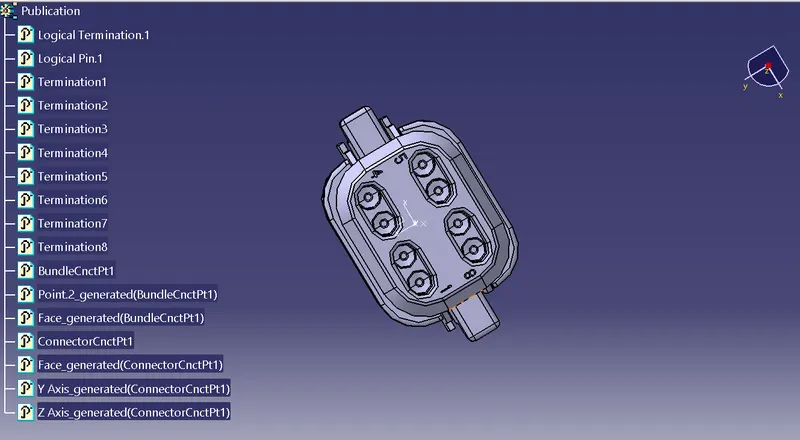
step :1 create and downlode the 3d connecter
step :2 create a required geomentrical perameters
step:3 define partes as connector
step :4 difine bundile connection point
step :5 define connector connection point
step :6 define cavity connection point.
step :7 add the componentes or parts number of partes are called product.
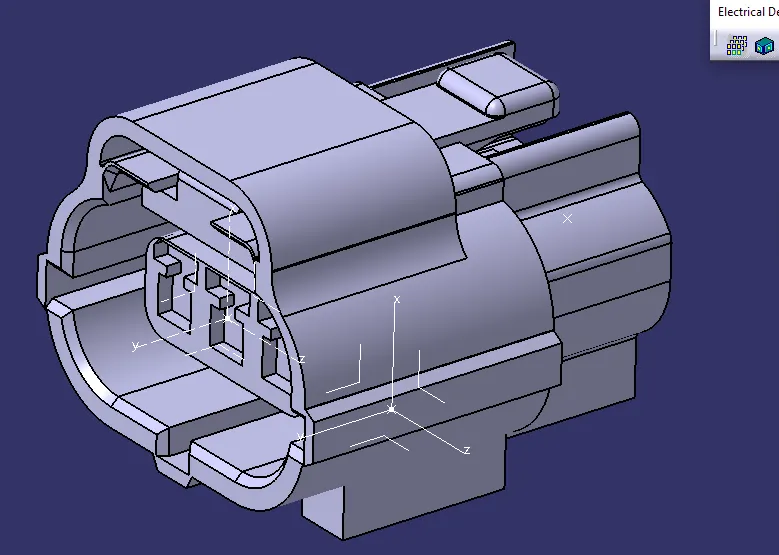
- Create midpoint
- create Connector connection point
- create Connector connection axis system
- create cavity connection point
- create cavity connection axis system
- Switch to Electric part design and define part as connector
- Define Connector connection point and cavity connection point
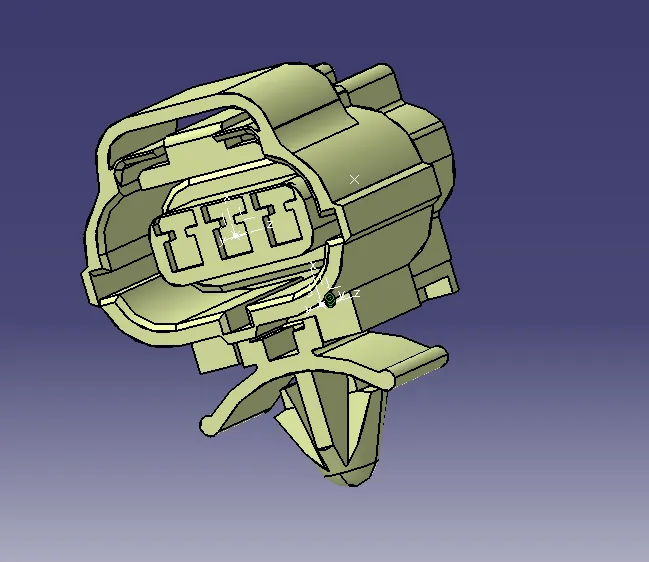
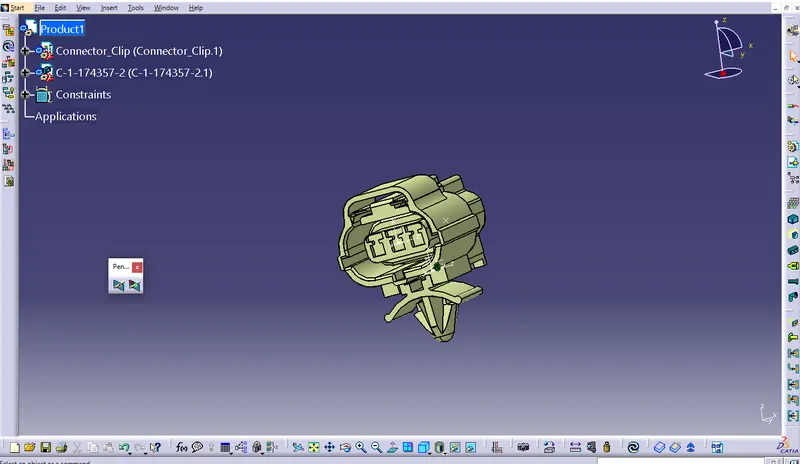
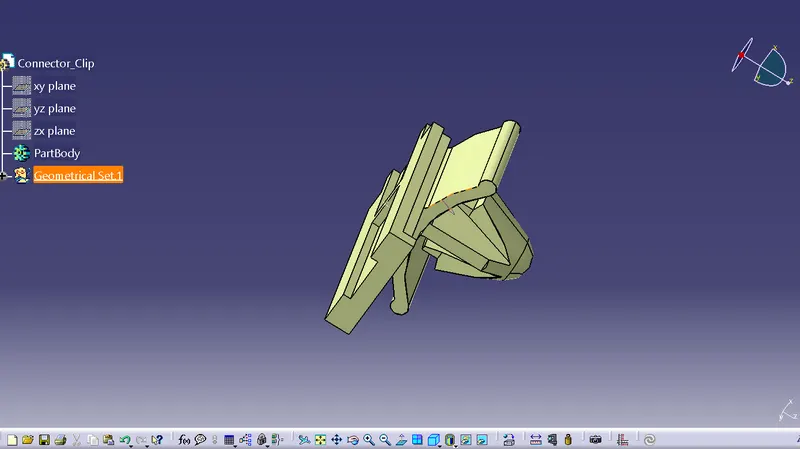
- Import Connector and cavity / mounting clip.
- Select Defing Eelectric connection
- select cavity and then connector.