Wiring harness design in CATIA V5 - 3D modeling Week 2 Challenge
Answer:
1.Deutsch DT06 – 08SA
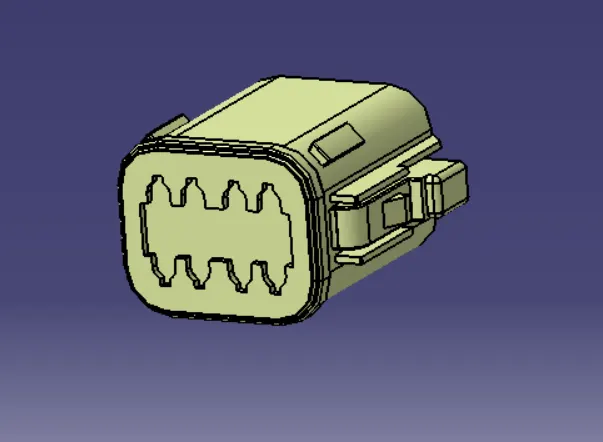
- The Connector is downloaded from the Te.com
- It is opened in the Catia software
Part Design
There are various workbenches in the software , first we need to go with the part design model
- Creation of points on both the ends
- Creation of the axis on the mating side of the Connector
Axis Consideration
Y axis- towards the mating the surface
X axis- towards facing towards the top
z axis- along the product
Electrical part Design
- So here we need define the given in the Electrical part such as the connector
- From the menu select the connector - select the product
- Now we need to define the two sides of the Connector connection side and the bundle connector side
The final product after defining all the parts is pasted below.The Catia zip is also pasted below.
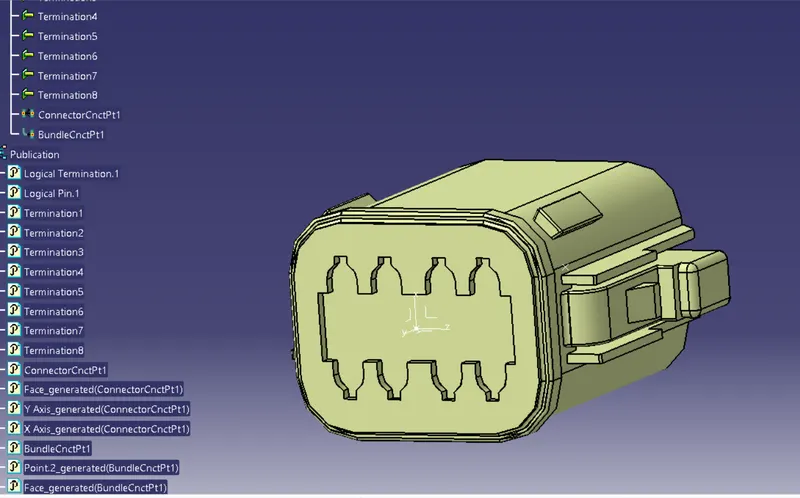
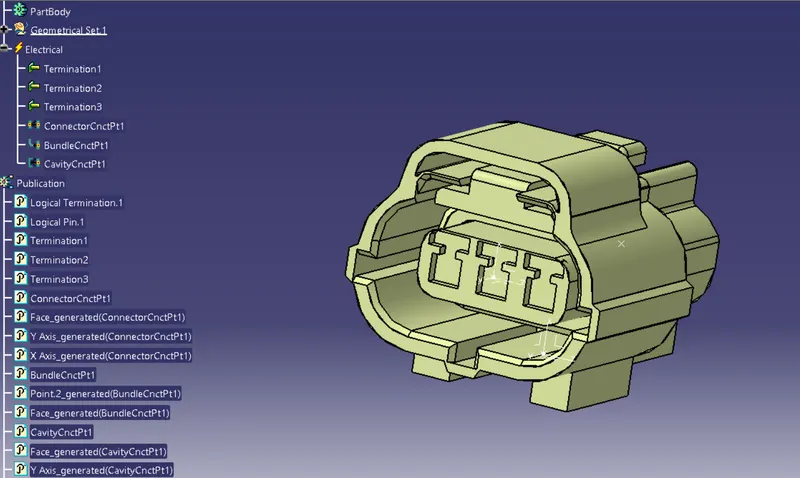
2.Tyco 174357-2
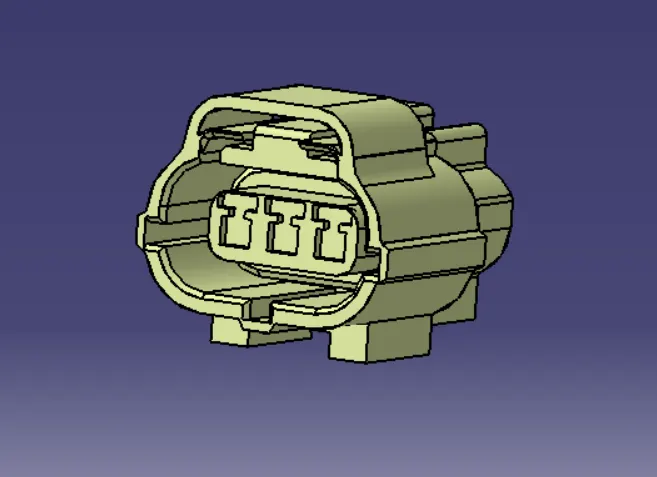
- The Connector is downloaded from the Te.com
- It is opened in the Catia software
Part Design
There are various workbenches in the software , first we need to go with the part design model
- Creation of points on both the ends
- Creation of the axis on the mating side of the Connector
- Here there is one new part which is needed to be created which is the cavity connection point where we can mount the cavity
- One more axis is created in the mating side of the cavity by following the same direction
Axis Consideration
Y axis- towards the mating the surface
X axis- towards facing towards the top
z axis- along the product
Electrical part Design
- So here we need define the given in the Electrical part such as the connector
- From the menu select the connector - select the product
- Now we need to define the two sides of the Connector connection side and the bundle connector side
- here we need to also define the cavity connection side so that the cavitiy is mounted
The final product after defining all the parts is pasted below.The Catia zip is also pasted below.
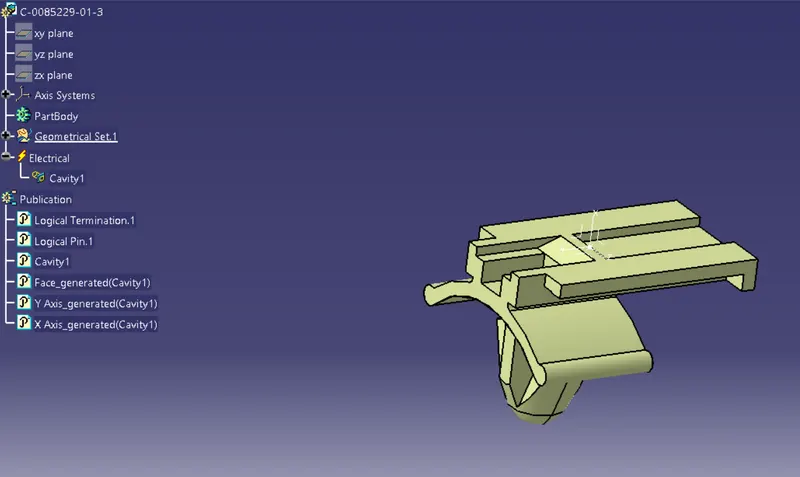
3.Tyco 85229-1
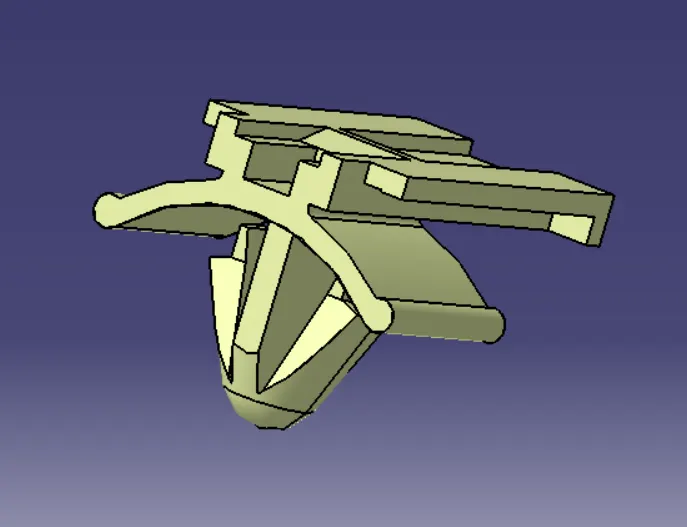
- The cavity is downloaded from the Te.com
- It is opened in the Catia software
Part Design
There are various workbenches in the software , first we need to go with the part design model
- Creation of points on the mating surface
- Creation of the axis on the mating side of the Cavity
Axis Consideration
Y axis- towards the mating the surface
X axis- towards facing towards the top
z axis- along the product
Electrical part Design
- So here we need define the given in the Electrical part such as the cavity
- From the menu select the cavity - select the product
Axis Consideration
Y axis- towards the mating the surface
X axis- towards facing towards the top
z axis- along the product
The final product after defining all the parts is pasted below.The Catia zip is also pasted below.