Wiring harness design in CATIA V5 - 3D modeling Week 2 Challenge
CHALLENGE 03
I have downloaded the CAD.PART from the link provided, the downloaded parts are
1) CONNECTOR
2)FEMALE CONNECTOR
3)CAVITY CLIP
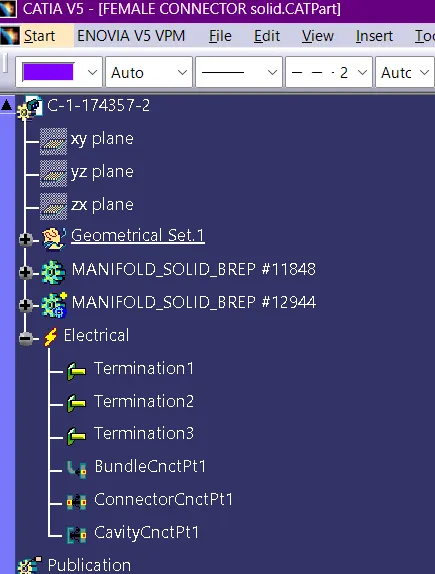
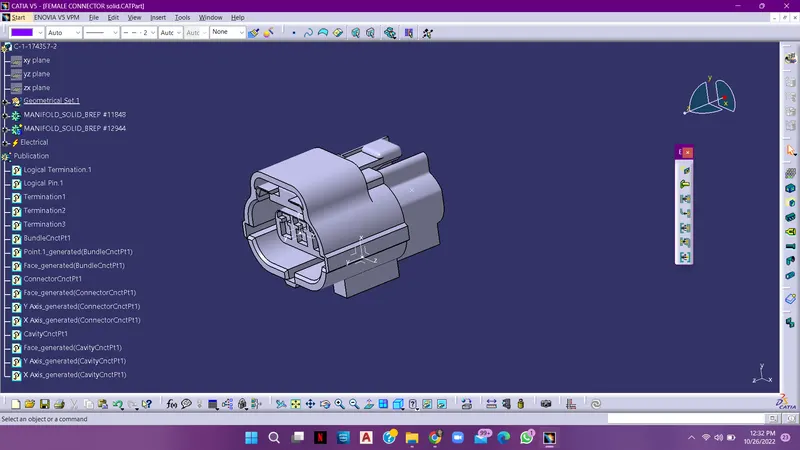
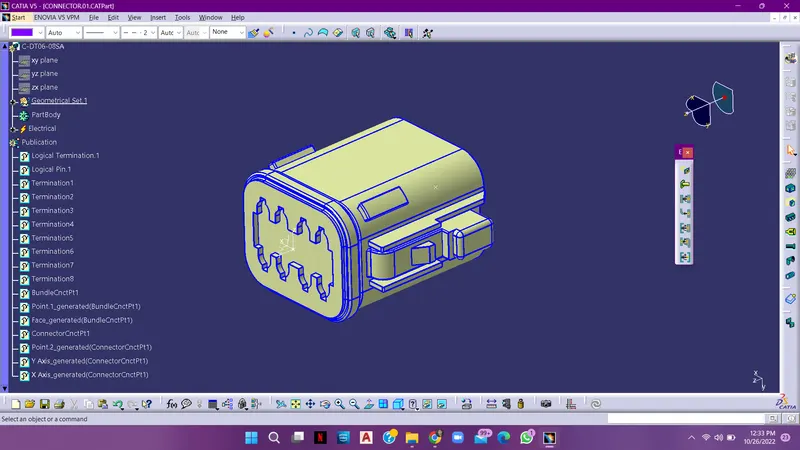
FEMALE CONNECTOR After successfully installing this cad part we have to open it in the CATIA.
We have to insert a point at the center of the bundle entry side of the connector and then again insert another point at the center of the mating side of the connector. At this point insert an axis system where the y-axis should be perpendicular to the mating surface and orientation should be in the x-axis.
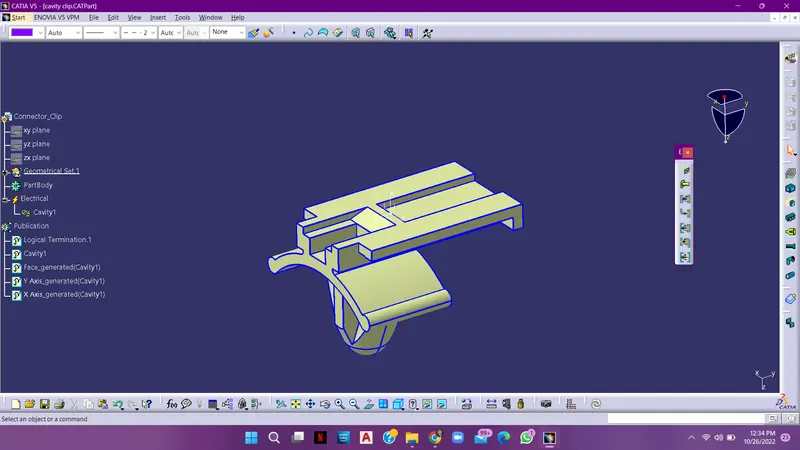
So we have to mount the cavity clip to this connector to we have to add another point and axis to the cavity clip mating surface of the connector
After the successful creation of all the point and axis systems, we have to define it electrically.
To define it electrically we have jump into the electric part design.
i)Define the component as a connector( as our CATIA does not know that it is a connector) until we define it ( to define it is a connector we have to go to electrical part design, and then we have to define it as a connector in electrical define definition command box)
ii)Define the component as a bundle connection point which is the bundle entry side of the connector. male sure that all the options in the bundle connection point are selected properly. the command for defining the component as a bundle connection point is available in the electrical connection point definition.
iii)Define the component as the connector connection point (which is the mating side of the connector) while selecting, select the coincidence axis as Yaxis and the orientation axis as the X axis.
iv)As we have to mount the cavity clip to this connector and we have to define the connector as a cavity connector point, as the coincidence axis should be y axis and orientation axis should be x axis
CONNECTOR
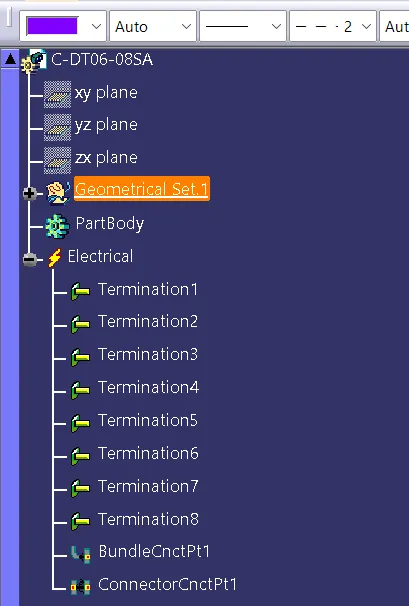
After successfully installing this cad part we have to open it in the CATIA.
We have to insert a point at the center of the bundle entry side of the connector and then again insert another point at the center of the mating side of the connector. At this point insert an axis system where the y-axis should be perpendicular to the mating surface and orientation should be in the x-axis.
After the successful creation of all the point and axis systems, we have to define it electrically.
To define it electrically we have jump into the electric part design.
i)Define the component as a connector( as our CATIA does not know that it is a connector) until we define it ( to define it is a connector we have to go to electrical part design, and then we have to define it as a connector in electrical define definition command box)
ii)Define the component as a bundle connection point which is the bundle entry side of the connector. male sure that all the options in the bundle connection point are selected properly. the command for defining the component as a bundle connection point is available in the electrical connection point definition.
iii)Define the component as the connector connection point (which is the mating side of the connector) while selecting, select the coincidence axis as Yaxis and the orientation axis as the X axis.
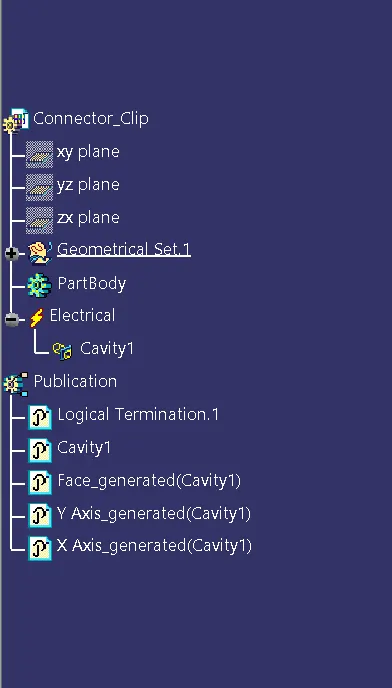
CAVITY CLIP As this has to be mounted to the female connector we have to arrange a point and axis to that point to define it as a cavity
After defining it as a cavity we have to define this cavity as a cavity connection point.
FEMALE CONNECTOR
CONNECTOR
CAVITY CLIP
CONNECTOR CATALOGUE
After successfully defining all the connectors as electrically we have to add them in a new catalogue so that whenever we need those connectors we need not to be defing them again electrically.
so this saves a lot of time for wiring harness engineer.
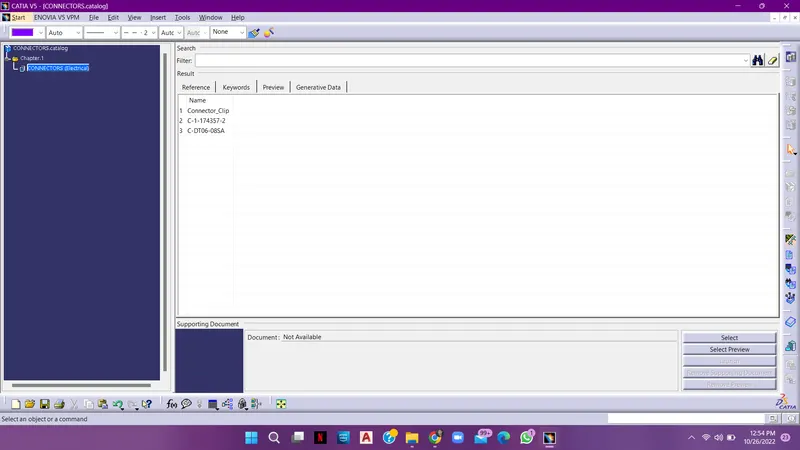
So we can directly select any connector from this catalog whenever needed.