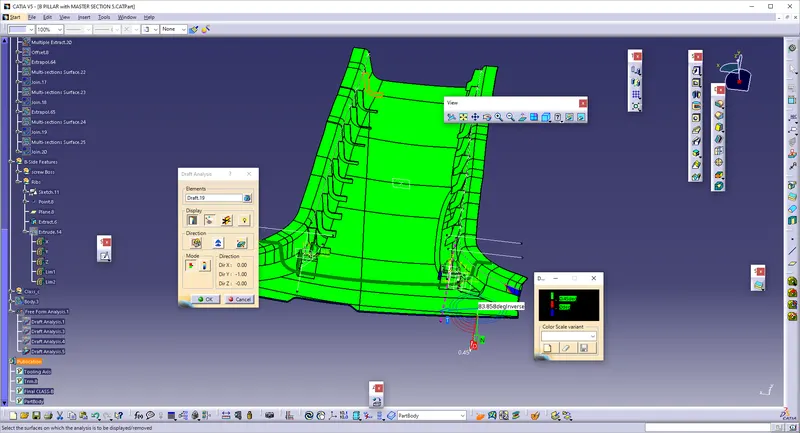
Week 9 - Project - Master Section Development
Aim:
To Create the Pillar cover with attachment features, with reference to the MASTER SECTION CURVE.
Procedure:
* Download and open the CAT part and open the model.
* The A-surface is only shown.
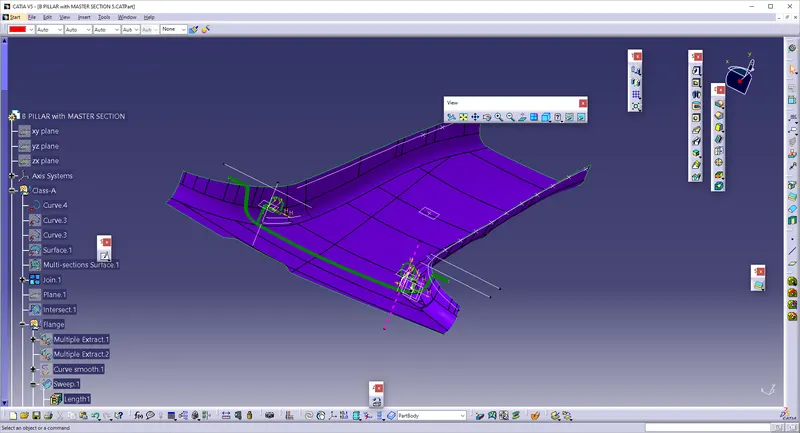
* Create the Tooling Axis as shown.
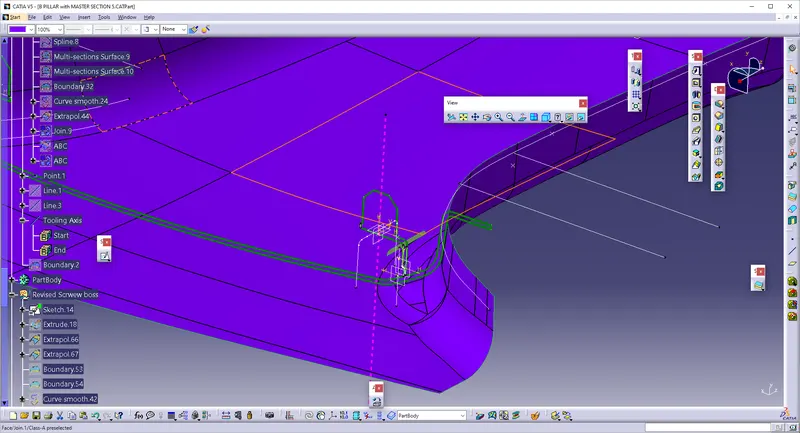
* Then, We need to Create The B-surface with respect to A-surface.
* Use MULTIPLE EXTRACT and select the elements, so the extracted elements do appear.
* Create the Boundaries on the either sides, and Sweep the edges perpendicular to it.
* Then, Join the elements and Offset the element to 2 mm thickness.
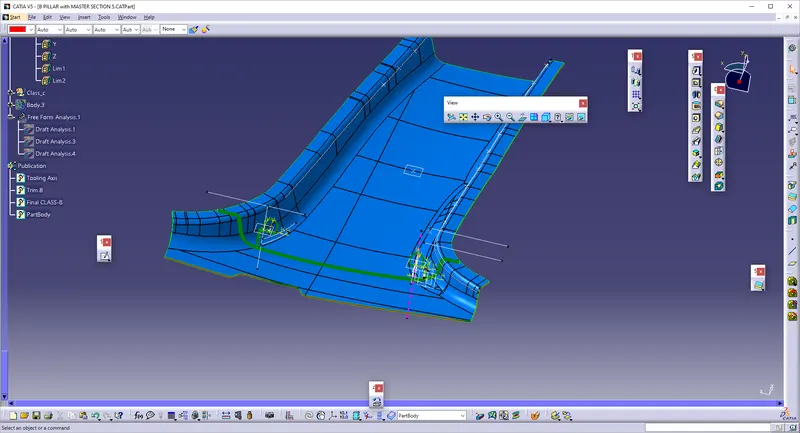
* To Create the C-Surface, Create the Boundaries on A-Surface and smooth the curves and sweep the surfaces.
* Extrapolate the Edges on Class-B and Trim it, so the total A,B,C surfaces are obtained Together.
* Convert the surfaces into the Part Body.
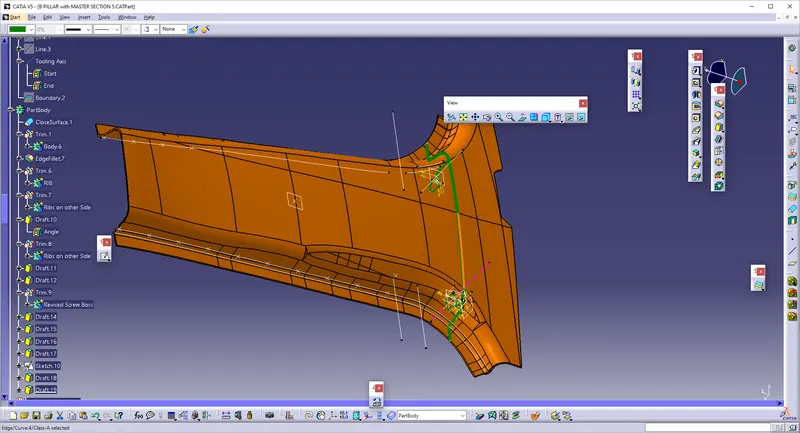
Creation of DOGHOUSES:
* Now, we are going to create the Ribs with respect to the Master Section curves.
* Using the PROJECTION of the curves, Project the curves and Draw the Sketch for creating the DogHouse as Shown.
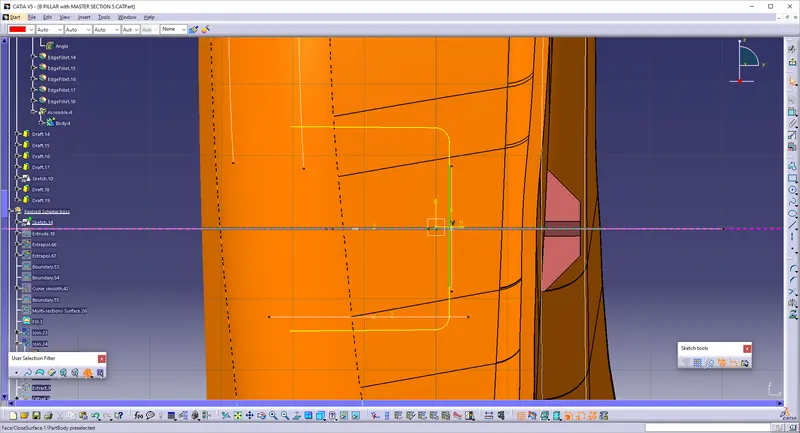
* Extrude the Sketch to create the Surfaces.
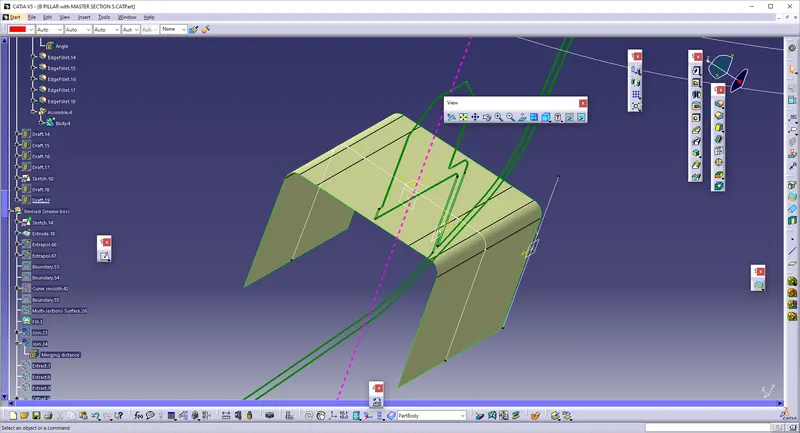
* Extrapolate it and also Create the Multi section Surface for closing the surfaces.
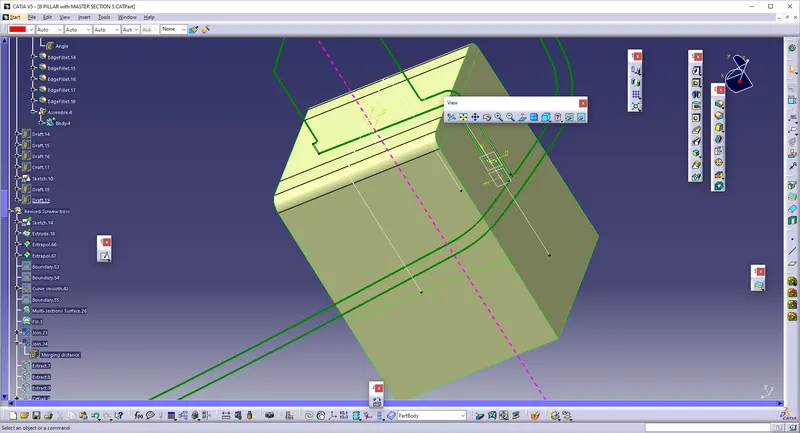
* Give Thicken Solid for 2 mm and thus the solid part is created.
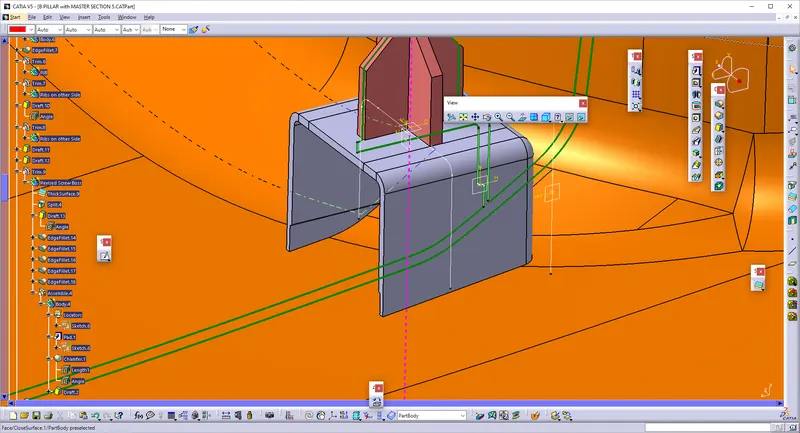
* Make sure that the solid-part and the Master section curve should be in coincidence.
* Perform Draft to bring the component for 0.5 degrees.
* Use FILLET in all the edges.
* Use UNION TRIM to remove the excess parts and then it will assemble in the main partbody.
* Repeat the same procedure to make the DogHouses on other sides.
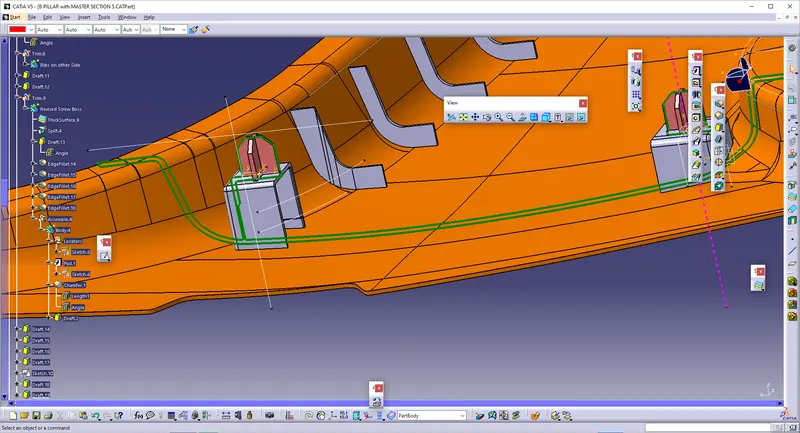
Creation of LOCATORS:
* To create the locator, We need to Draw the sketch as shown.
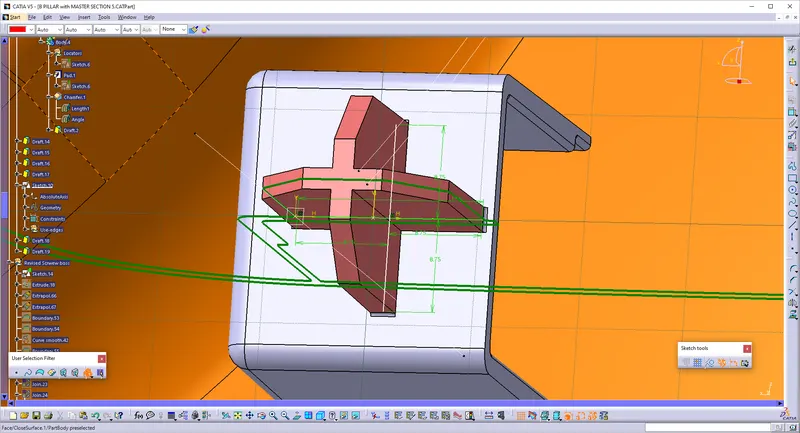
* Create the Partbody and Use PAD option to extrude the sketch.
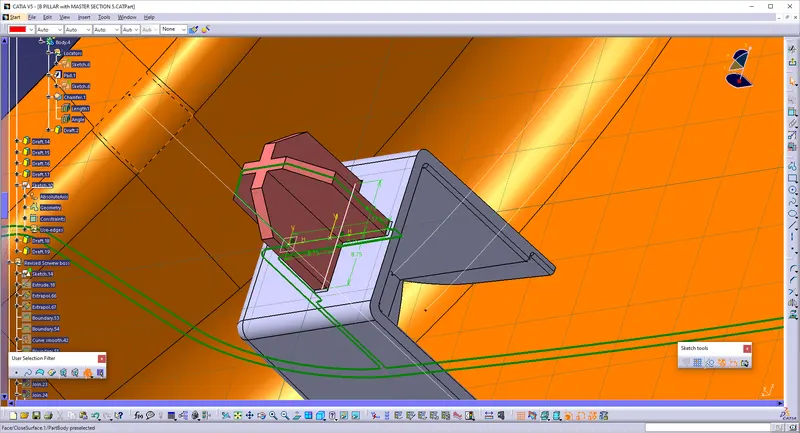
* Perform The Drafting to bring the thickened part to 0.5 deg.
* Use chamfer to make it as 1 mm and so the edges will become blunt as shown.
* Assemble the locators to the doghouse.
* Repeat the same procedure on either sides By creating the other bodies.
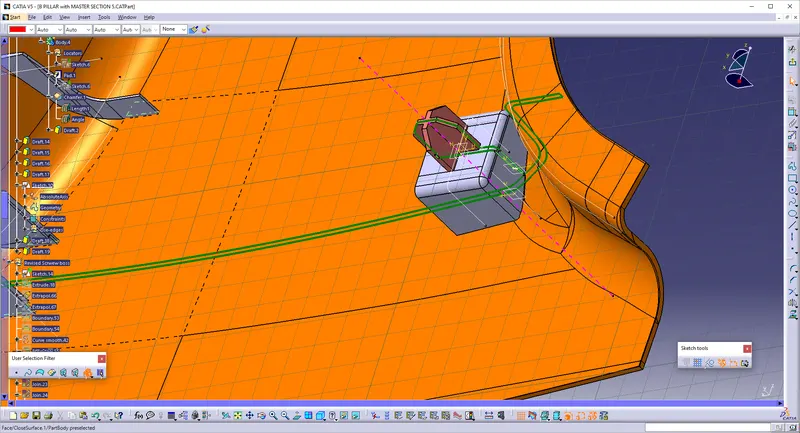
* Then, Again Assemble the parts to the main partbody.
Creation of RIBS:
* To Create RIBS, we need to make a plane and point, so draw the line as shown.
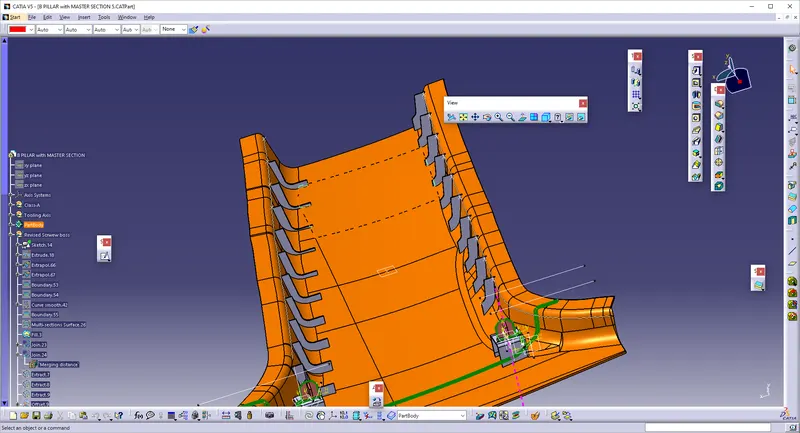
* Extrude the Lines
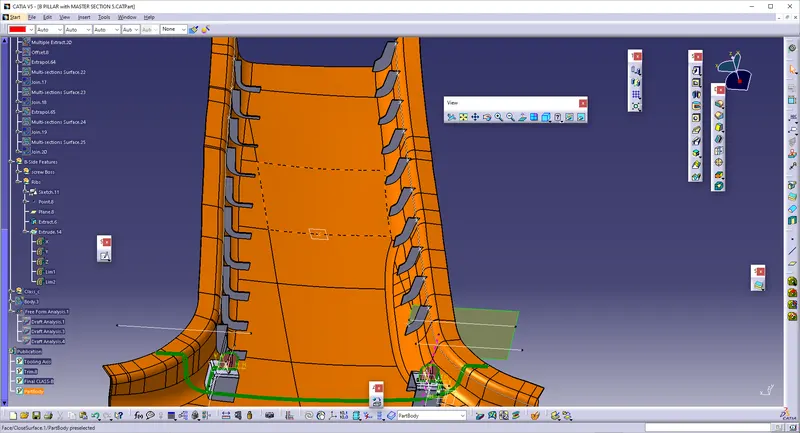
* Go to Part Design and make it as Thickened surface.
* Use Multiple Extract to extract the neighbouring surfaces and then offset to 2 mm.
* Use Split to make the ribs with proper cut.
* Give Union Trim to remove the excess faces.
* Create the boundary and use Point Repetition to create the more points, so that by using USER PATTERN, we can multiply the number of ribs.
* Repeat the process to do in other sides.
* Then The Draft Analysis is performed.